Arcygenical
Fully [H]
- Joined
- Jun 10, 2005
- Messages
- 25,066
Arcygenical00 Cubed
It seems like every fall I get the urge to upgrade or modify my perfectly working system. Fortunately for me, a large electrical storm knocked out much of my older C2Q system, so an updgrade - this year - was a forced necessity. I've always wanted a small, quiet and fast mATX gaming system... I don't game all that much any longer, so a single card, CPU only watercooling loop system will work just fine. No riced out bling case for me either, something smaller but classy.
As such, I picked the Lian Li PC-V351B case for modding. Since it's not the USB3 model, I got it at a great price point, of around 55$ shipped") .
.
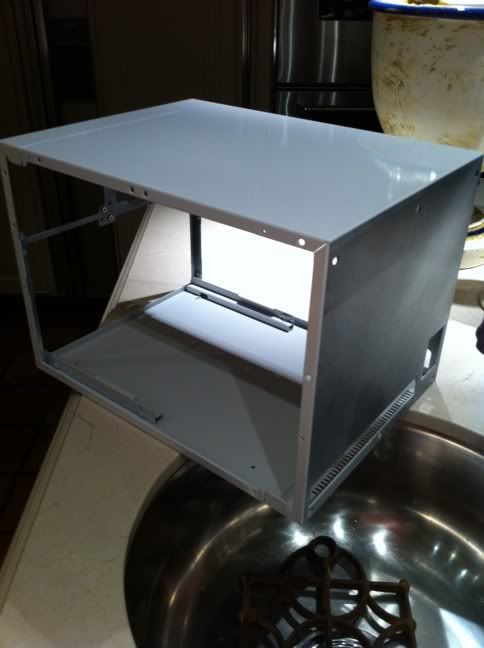
You can all go ahead and search for pictures of the Lian Li PC-V351B on the internet. I'm not going to bore you with stock pictures of the case. I will say that this case lacked the typical LL quality I was used to. Side panels were thin, not the 3mm aluminum I was used to. Nonetheless, the anodized finish was top quality, which made for some very easy painting later on.
I don't have any pictures of the case being gutted, but I simply drilled out rivets and removed the internal support structure. You can use your imagination there. What you can see, is the motherboard tray. It was painted rubberized black, to help dampen some of the inevitable vibrations the case will experience from the water pump mounting.
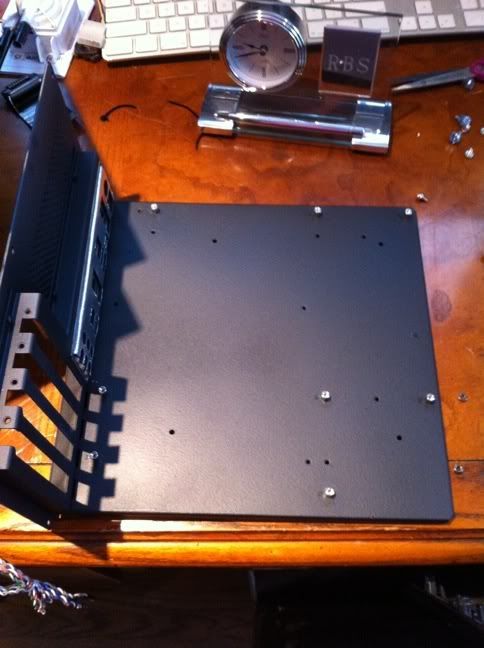
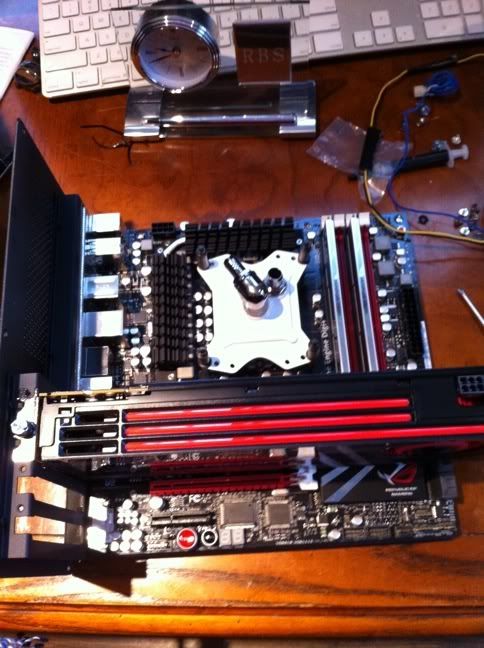
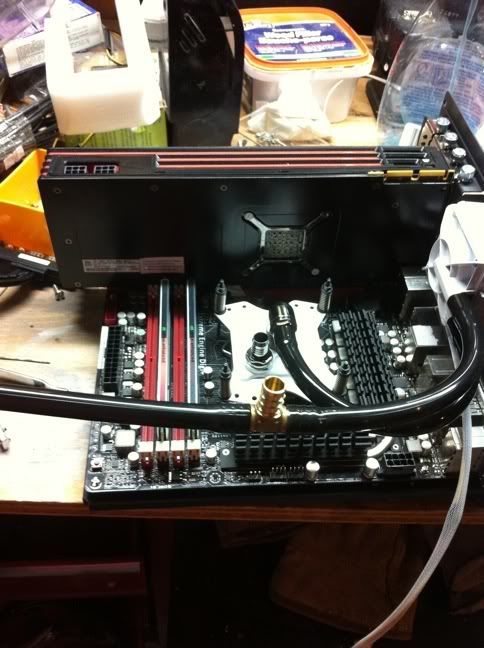
Here's the motherboard try with the Asus Maximus IV Gene-Z mounted. You can see my painted Dtek Fuzion V1 with a modified retention bracket to support the 1155 socket. This block performs very well. Over 3mm of copper has been removed from the base through lapping, and other modifications (such as internal O rings and a larger base O ring for a bowed base) have been installed. As such, it makes no sense to drop 50-70$ on a new block for 3-4c.
The first custom piece being made is a support for the dual radiator. It's made from gorgeous 1/2" Lucite.
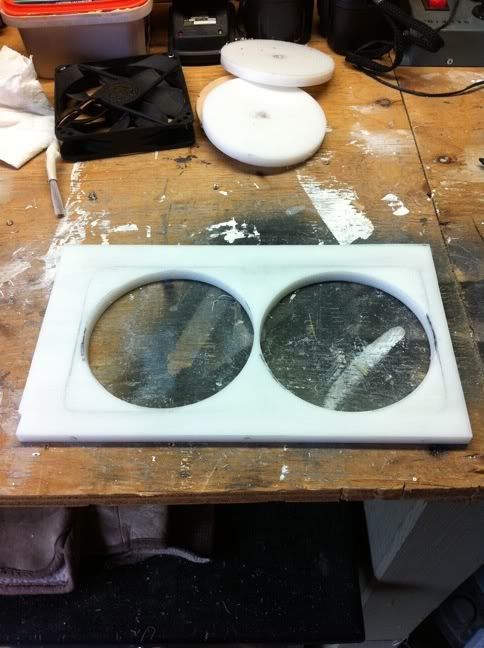
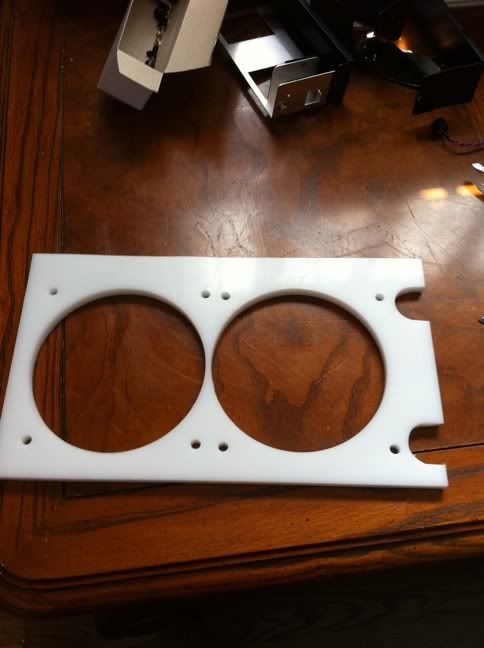
Here's the piece finished and polished. There are mounting holes drilled in the top and bottom sides of the piece, as it will be installed vertically in place of the stock aluminum dual fan bracket. This version is much wider, and it provides a better seal for the front air plenum.
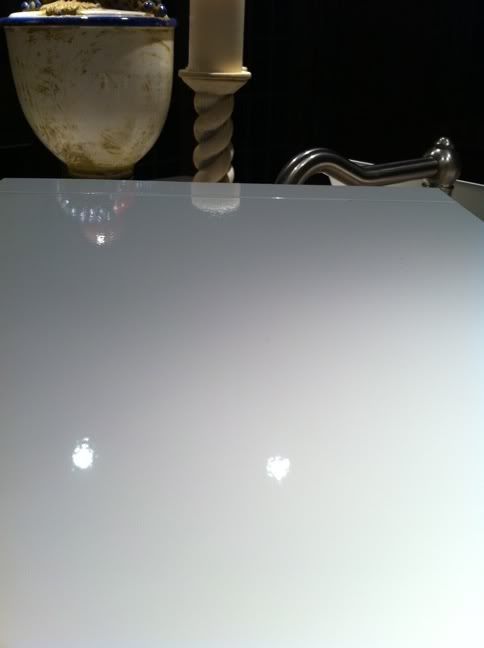
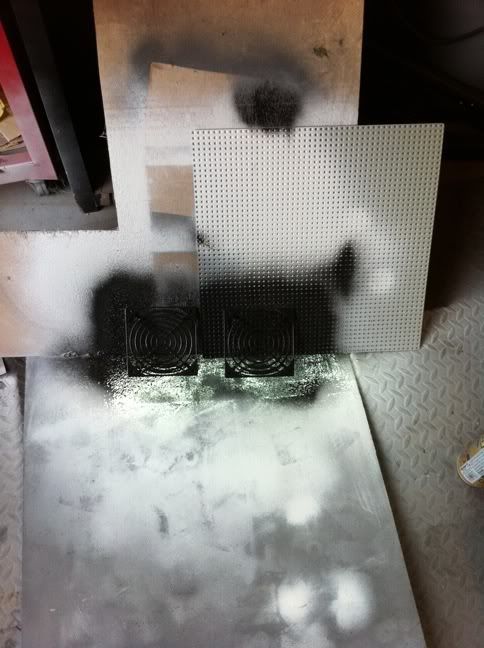
A few pictures of the case painting fallout. As you can see, the theme is white and black. The white is pearlescent. It's really a nice color. Yes, I'm Canadian, so having a snowblower and canoe paddle is very normal for me.

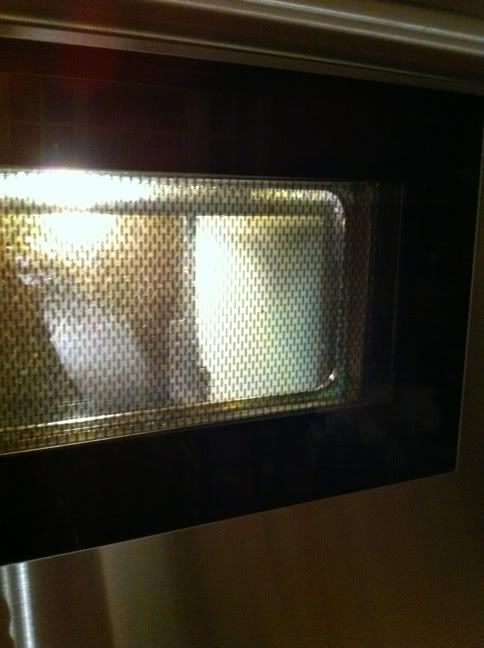
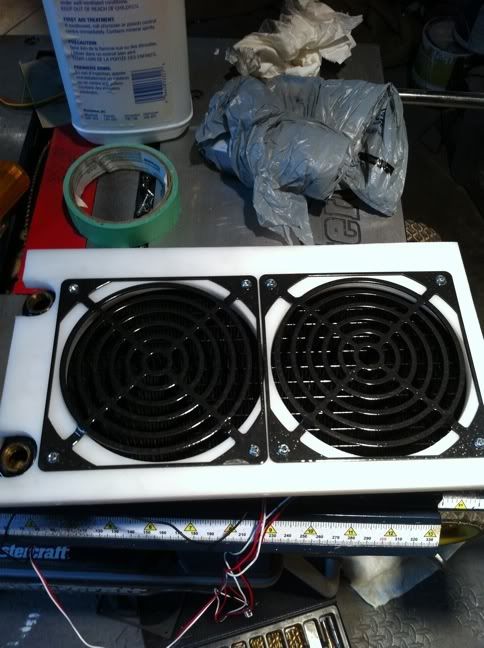
Hard to see, two painted fan guards... And a very ruined piece of large 2x2' lego base board (don't fret, the business side is paint free). The paint is hammered black over the rubberized black. Gives a really cool wrought iron finish that contrasts very nicely with the semi transparent lucite.
You can see them better here, installed onto the lucite radiator mount, with the radiator and fans mounted behind it.
The beginnings of the case plumbing. A stock, MCP355 painted white is mounted on the side of the motherboard tray. I'll be using a brass T line for filling.
That's it for now, gotta wait for the paint to dry
It seems like every fall I get the urge to upgrade or modify my perfectly working system. Fortunately for me, a large electrical storm knocked out much of my older C2Q system, so an updgrade - this year - was a forced necessity. I've always wanted a small, quiet and fast mATX gaming system... I don't game all that much any longer, so a single card, CPU only watercooling loop system will work just fine. No riced out bling case for me either, something smaller but classy.
As such, I picked the Lian Li PC-V351B case for modding. Since it's not the USB3 model, I got it at a great price point, of around 55$ shipped
. You can all go ahead and search for pictures of the Lian Li PC-V351B on the internet. I'm not going to bore you with stock pictures of the case. I will say that this case lacked the typical LL quality I was used to. Side panels were thin, not the 3mm aluminum I was used to. Nonetheless, the anodized finish was top quality, which made for some very easy painting later on.
I don't have any pictures of the case being gutted, but I simply drilled out rivets and removed the internal support structure. You can use your imagination there
. What you can see, is the motherboard tray. It was painted rubberized black, to help dampen some of the inevitable vibrations the case will experience from the water pump mounting.
Here's the motherboard try with the Asus Maximus IV Gene-Z mounted. You can see my painted Dtek Fuzion V1 with a modified retention bracket to support the 1155 socket. This block performs very well. Over 3mm of copper has been removed from the base through lapping, and other modifications (such as internal O rings and a larger base O ring for a bowed base) have been installed. As such, it makes no sense to drop 50-70$ on a new block for 3-4c.
The first custom piece being made is a support for the dual radiator. It's made from gorgeous 1/2" Lucite.
Here's the piece finished and polished. There are mounting holes drilled in the top and bottom sides of the piece, as it will be installed vertically in place of the stock aluminum dual fan bracket. This version is much wider, and it provides a better seal for the front air plenum.
A few pictures of the case painting fallout. As you can see, the theme is white and black. The white is pearlescent. It's really a nice color. Yes, I'm Canadian, so having a snowblower and canoe paddle is very normal for me.
Hard to see, two painted fan guards... And a very ruined piece of large 2x2' lego base board (don't fret, the business side is paint free). The paint is hammered black over the rubberized black. Gives a really cool wrought iron finish that contrasts very nicely with the semi transparent lucite.
You can see them better here, installed onto the lucite radiator mount, with the radiator and fans mounted behind it.
The beginnings of the case plumbing. A stock, MCP355 painted white is mounted on the side of the motherboard tray. I'll be using a brass T line for filling.
That's it for now, gotta wait for the paint to dry
Last edited: