NavidsonRecord
n00b
- Joined
- Dec 21, 2010
- Messages
- 24
Hi everyone,

I have been planning this build for a huge amount of time and its time to start... I have holidays in 2 weeks and this is my project.
The inspiration has come from a bunch of co-modding members of the forum community and with my own ideas to top it all off. I will be adding stuff as I think of it and hope this will be an entertaining build for myself and everyone interested.
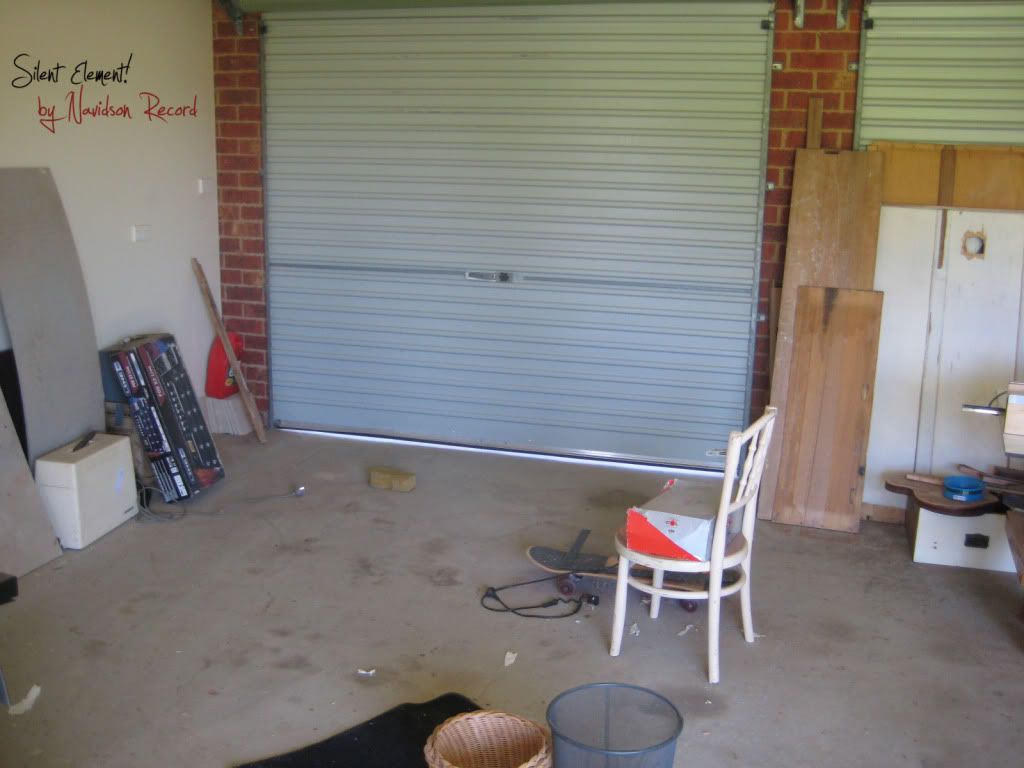
Some might remember my old build Eclipse, sadly it was damaged by removalists when I joined the military earlier this year. I will still be using alot of the gear from it but most was crushed beyond repair.
I guess this is a teaser of the first concept but the overall shape has changed. more soon

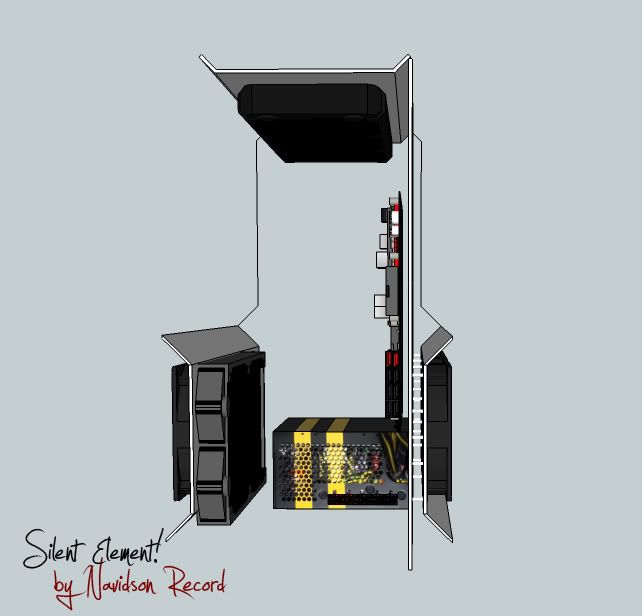
This is the original concept I made about 2 years ago but since the shape has changed a little but this shows the outer shell with the inner that can slide out. Once the new sketch up images are finished you will see the new version.

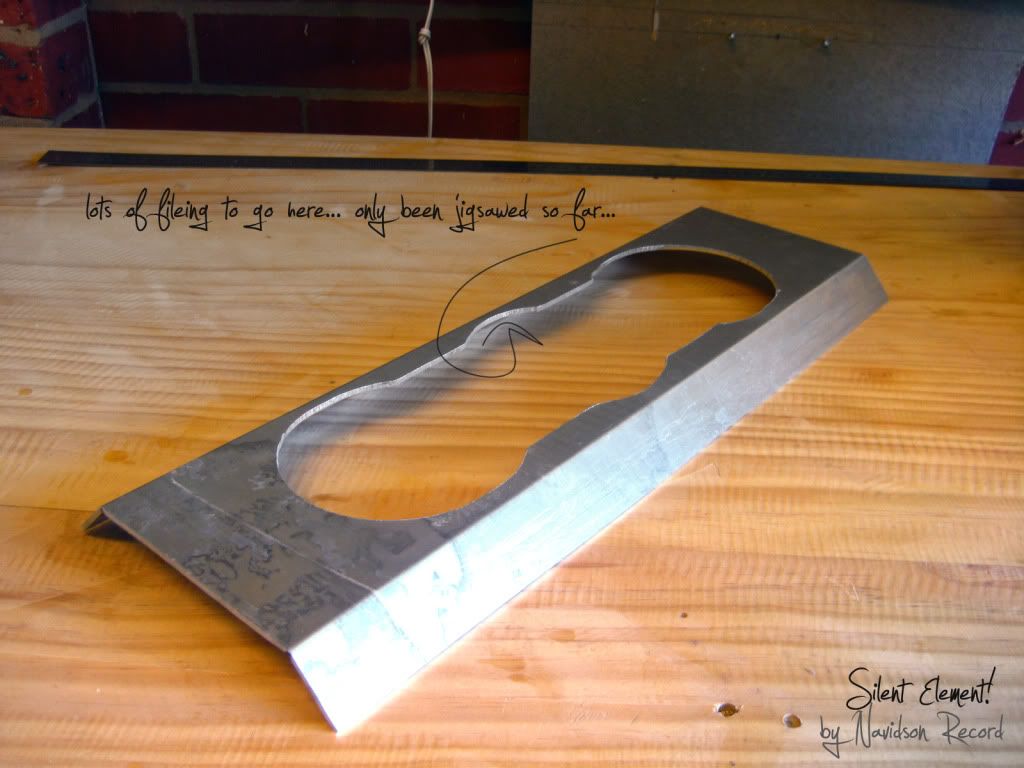
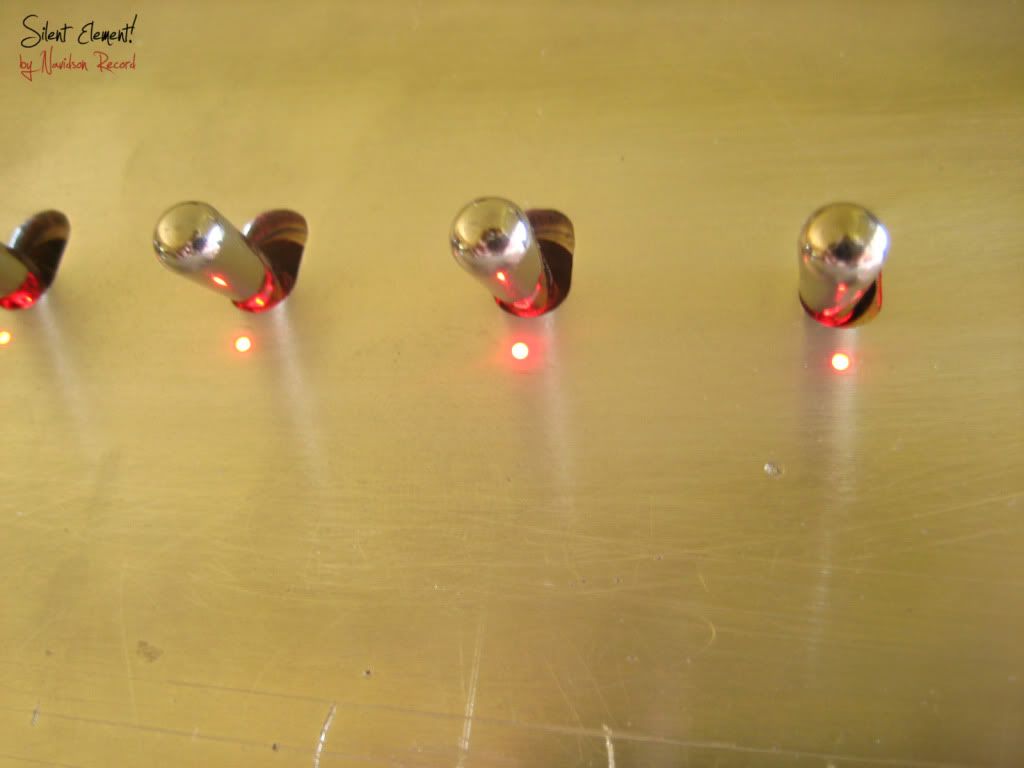
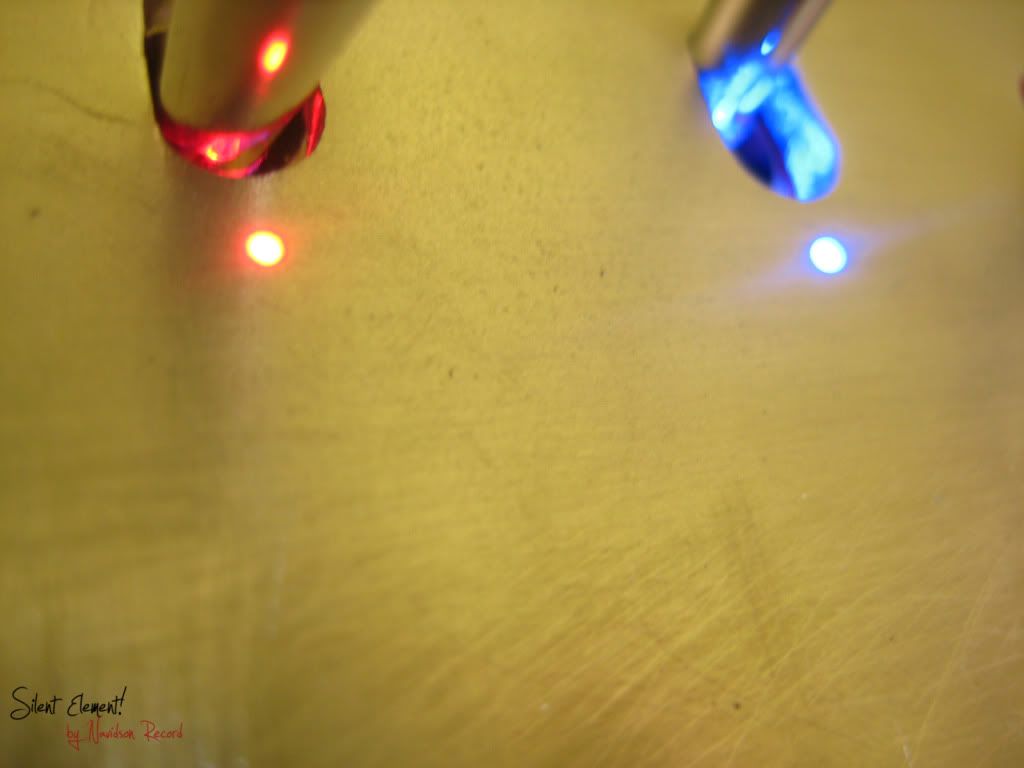
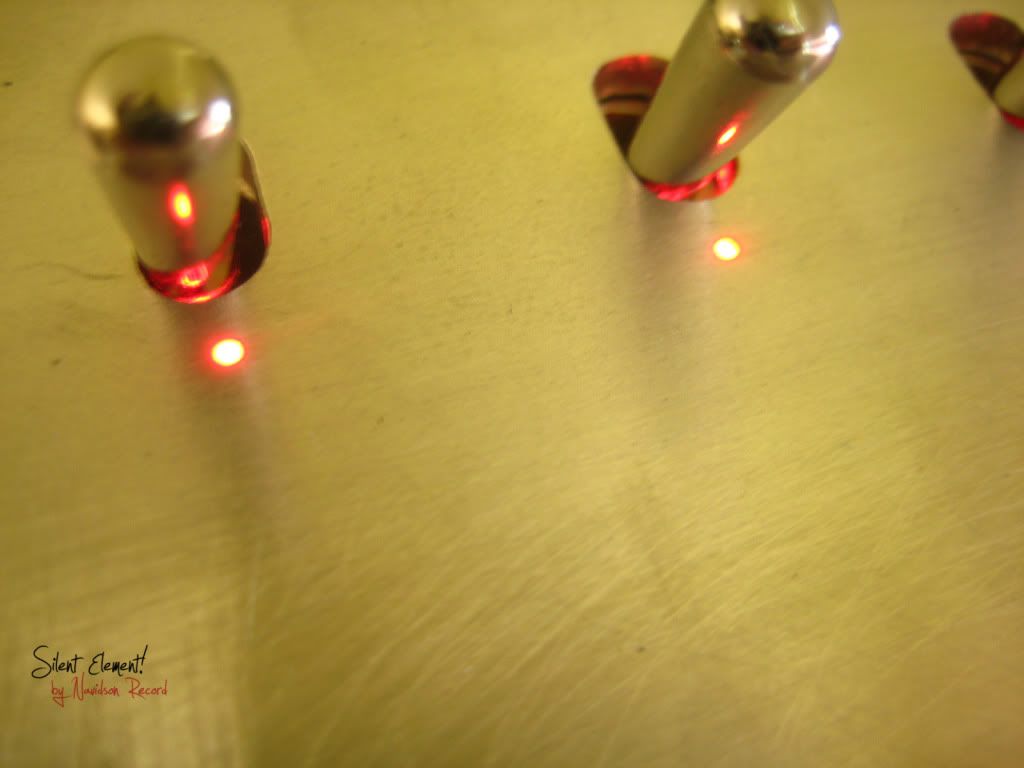
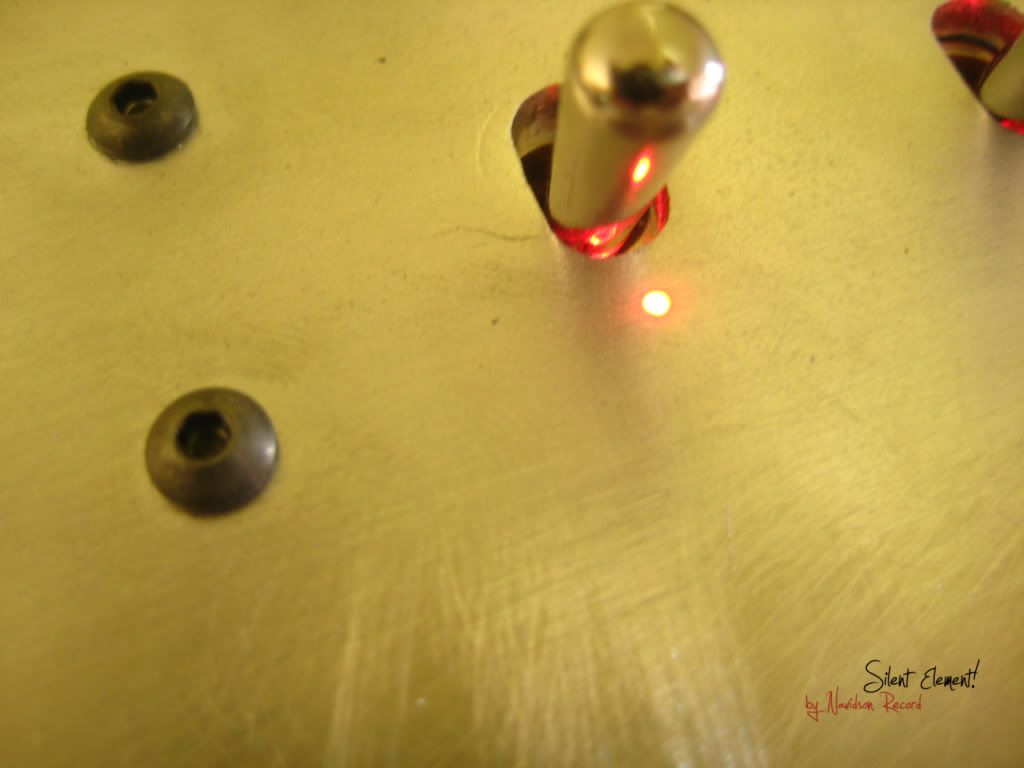
Here is the most recent shape for the front panel, it might change slightly in the manufacture.
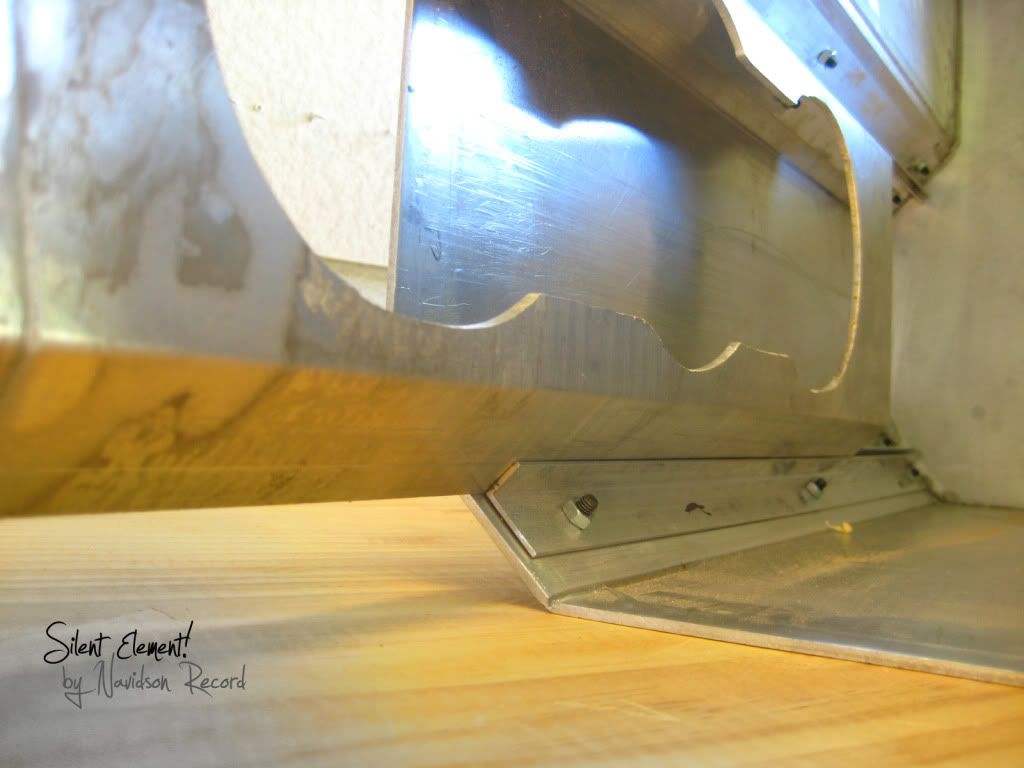
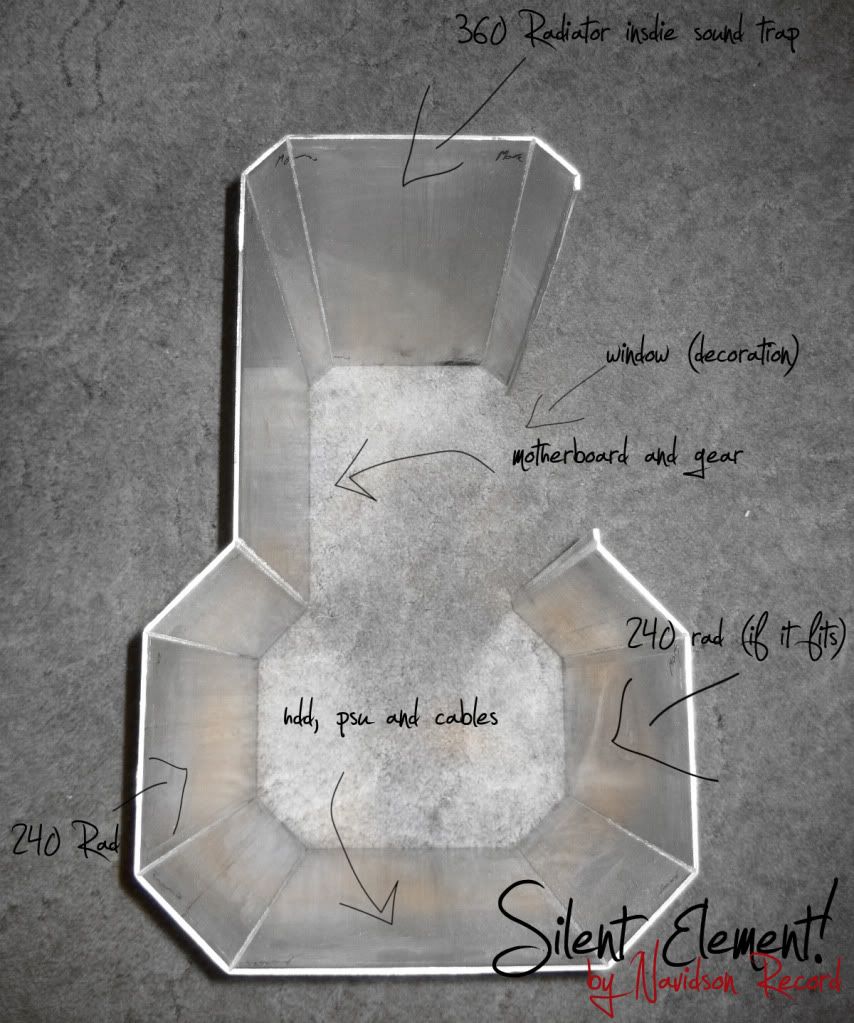
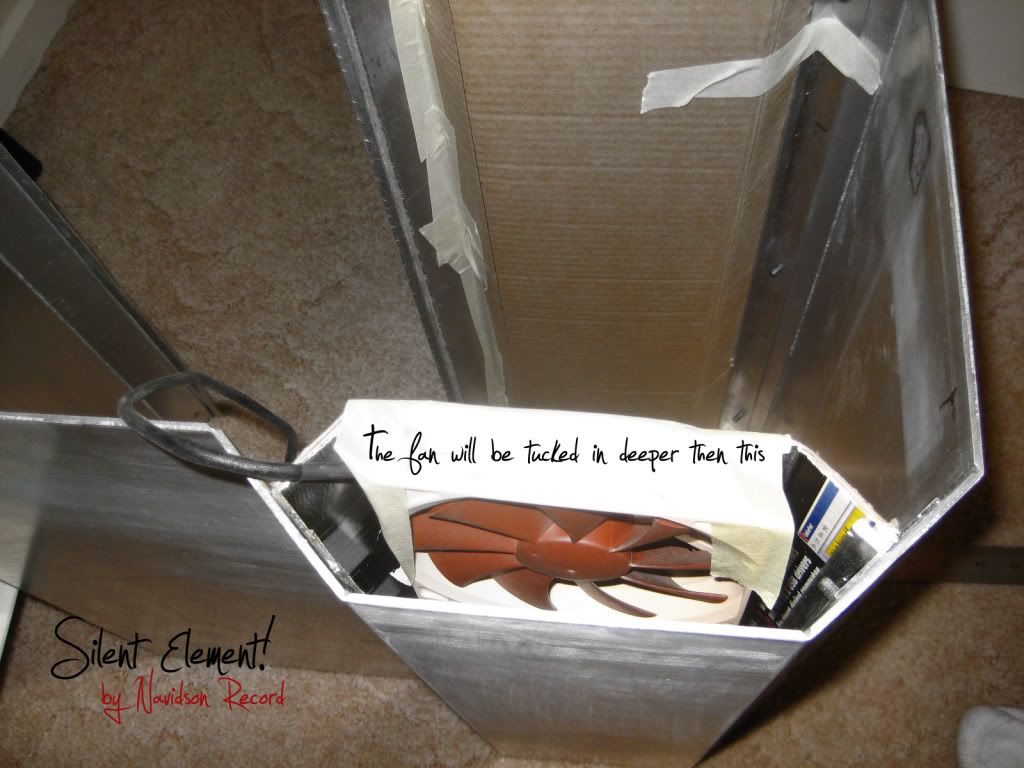
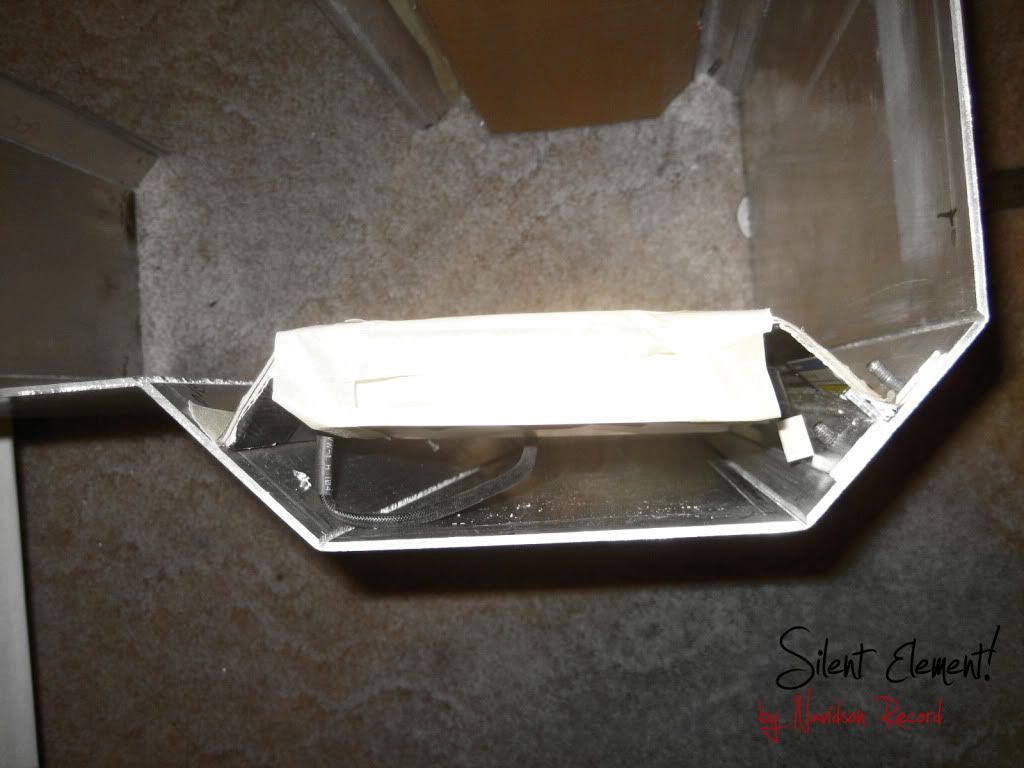
The holes in the front will span the entire length of the case. Inside these channels will be fans to intake and expel air to the case. These intakes and exhaust will contain sound trap foam wedges to stop any sound generated escaping, hopefully making this case 100% silent.
With 2 intakes in the bottom and 1 exhaust in the top the the air will be excellerated through a radiator in top with all the positive air pressure generated.
I will be making a mock up of the idea to be sure it will work and if it dose it should make quite effective use of air and watercooling in unison.

Here is a bunch of the concept sketches I drew at work over the last few months.

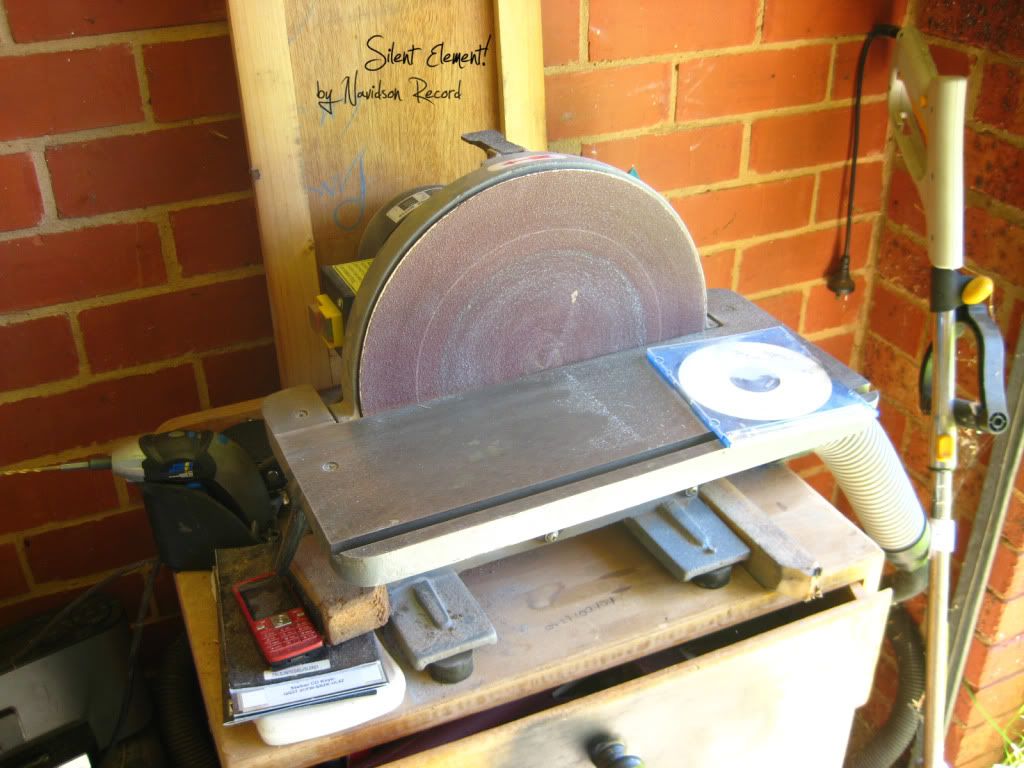
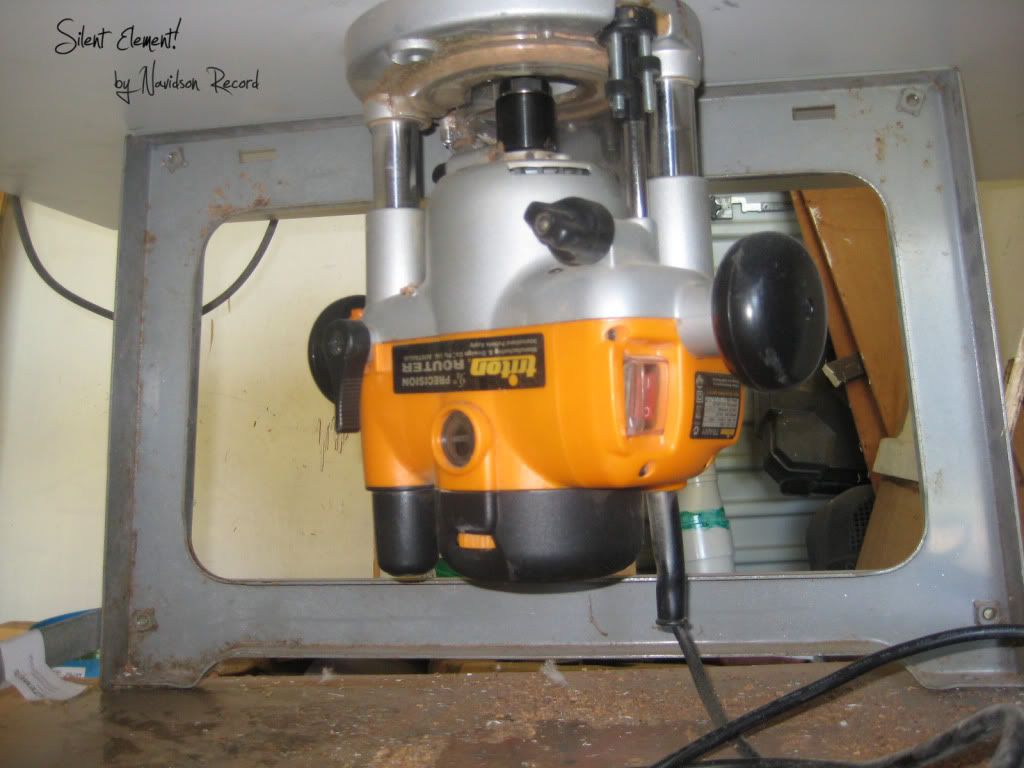
My new helper. Everyone needs one


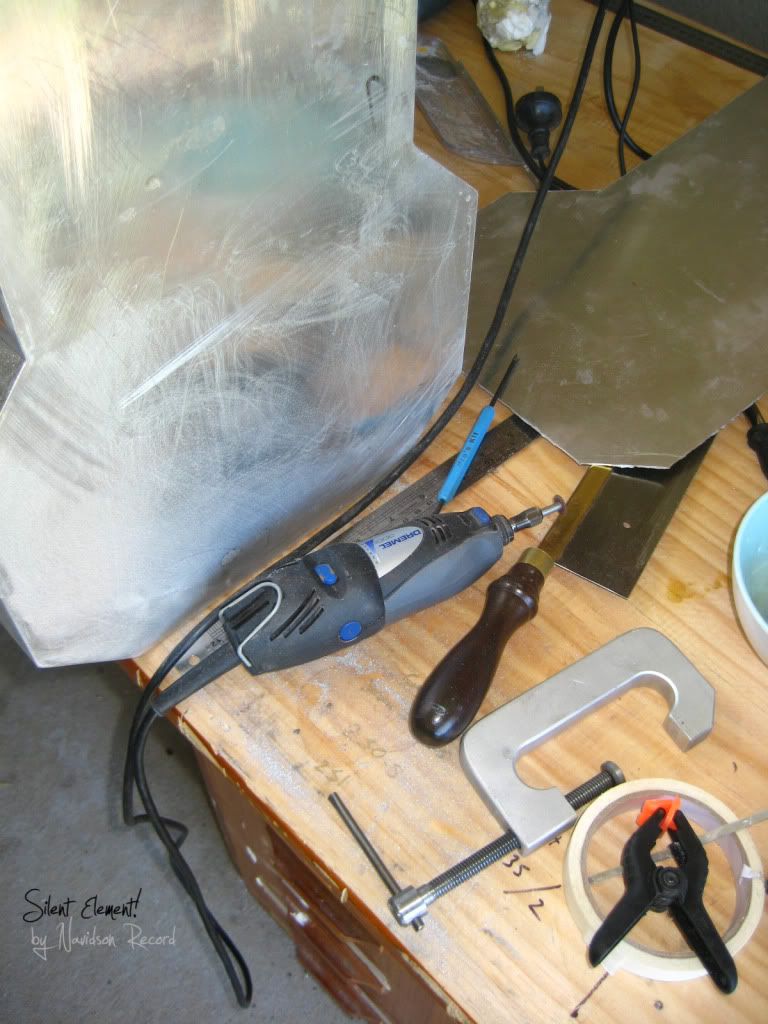
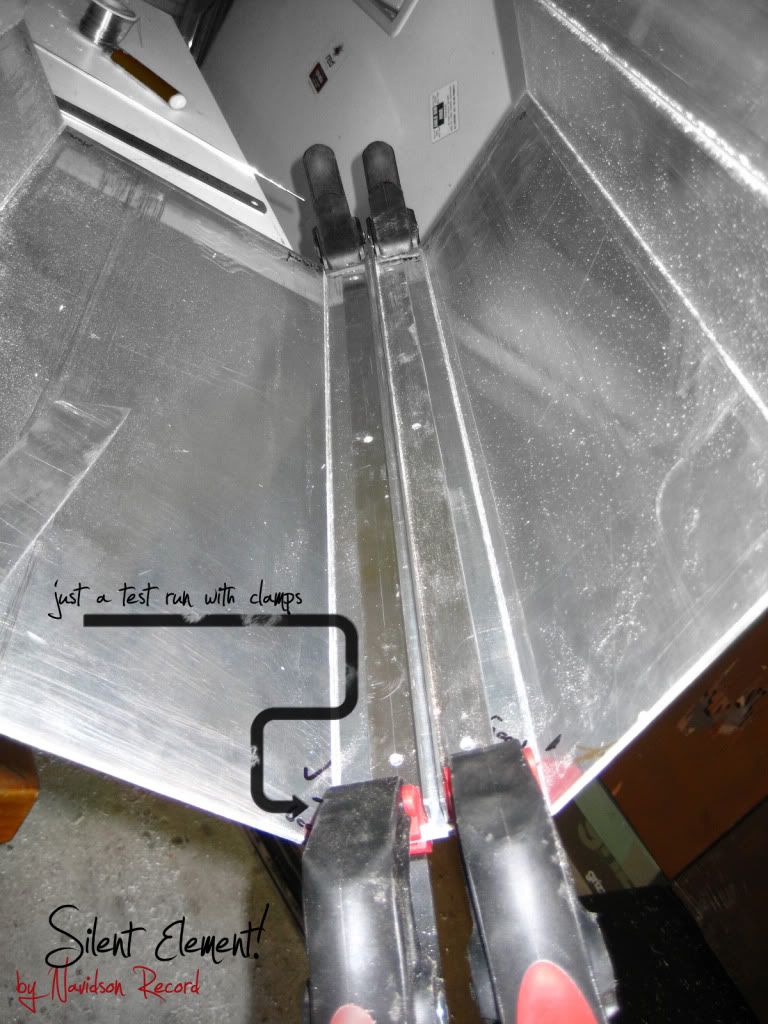
I Have been working on a way to bend the alloy shell without a bender.
90 degree router bit and bend by hand either inward or out...
I will weld up the cut to ensure strength after.
anyone got a better Idea?
It begins...
So here is the bending efforts done yesterday
hehe cant spell :wallbash:

OMG craziness has no y!!!:duh:


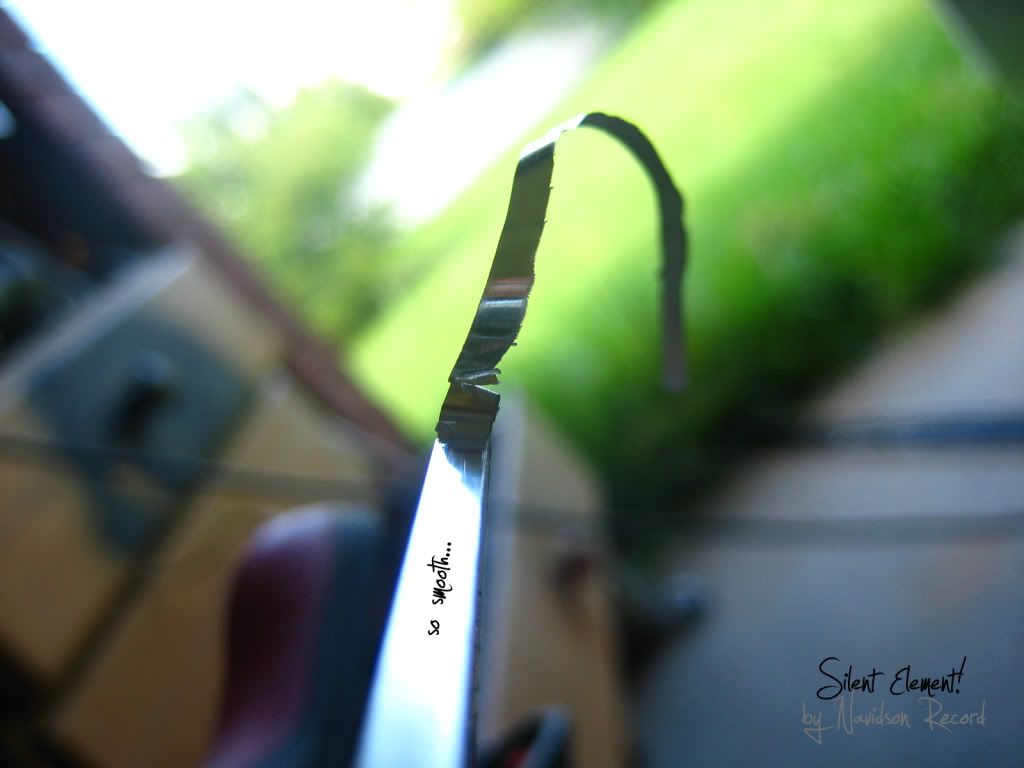
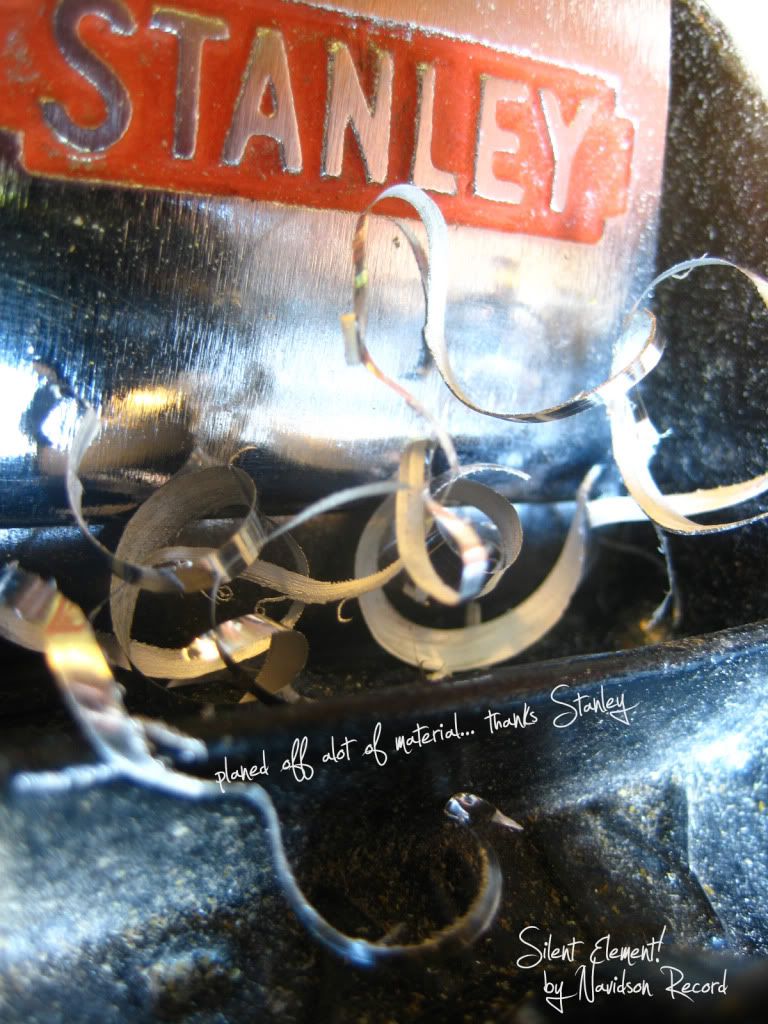
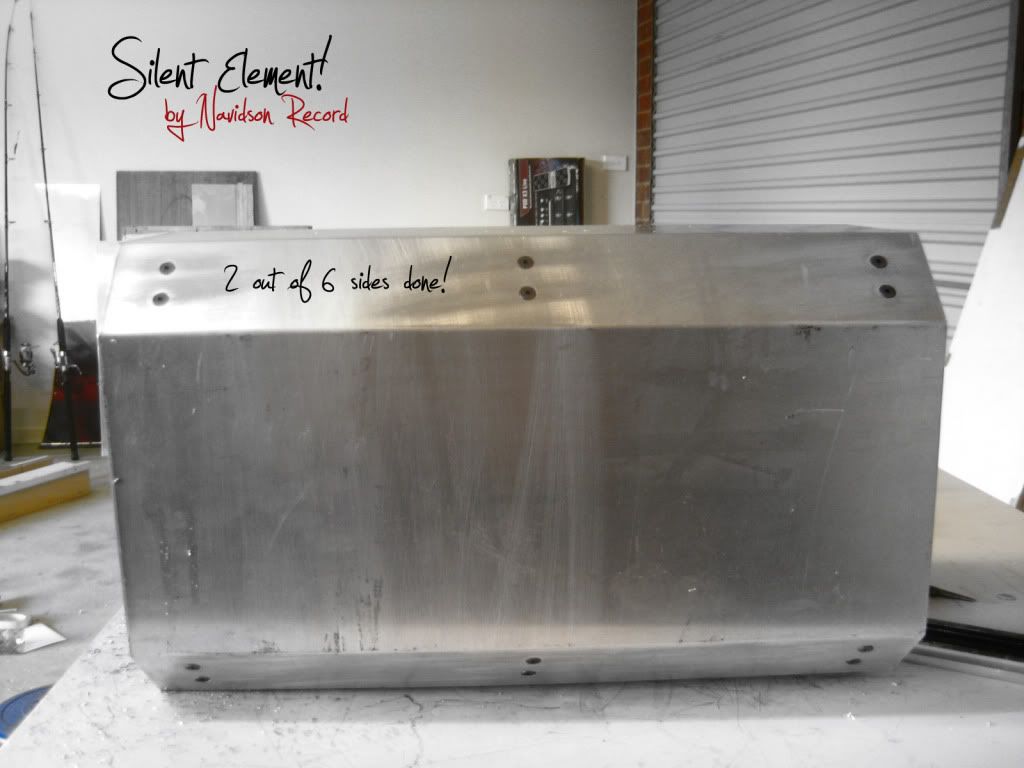
A bit more from what i have done today.
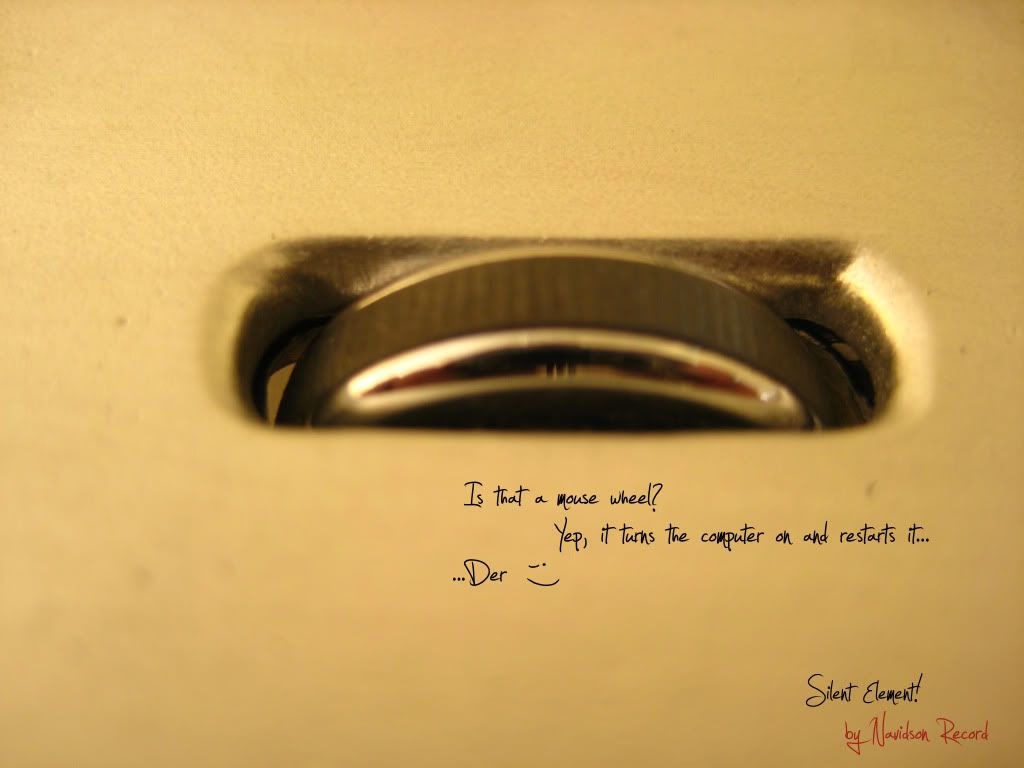
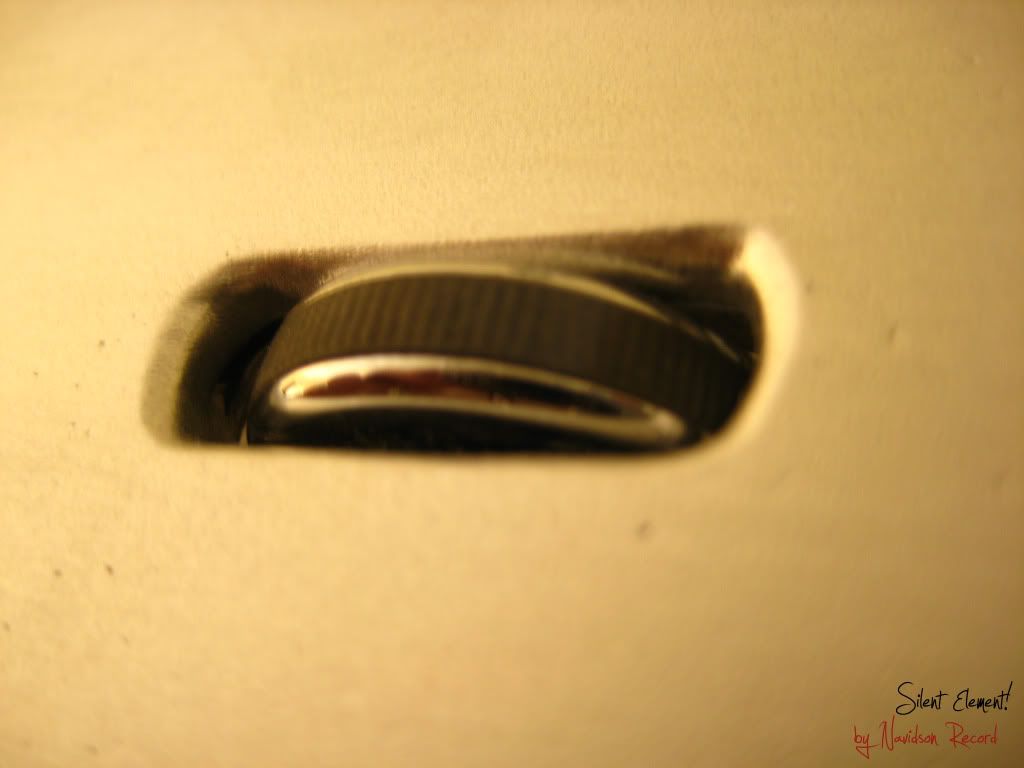
I was wondering why my camera was 'le crap' excuse my French. I had it on crud setting to send a receipt copy to steam and their upload size was like 200kb. So from now on my images will look a lot nicer. Sorry It took this long to realize.


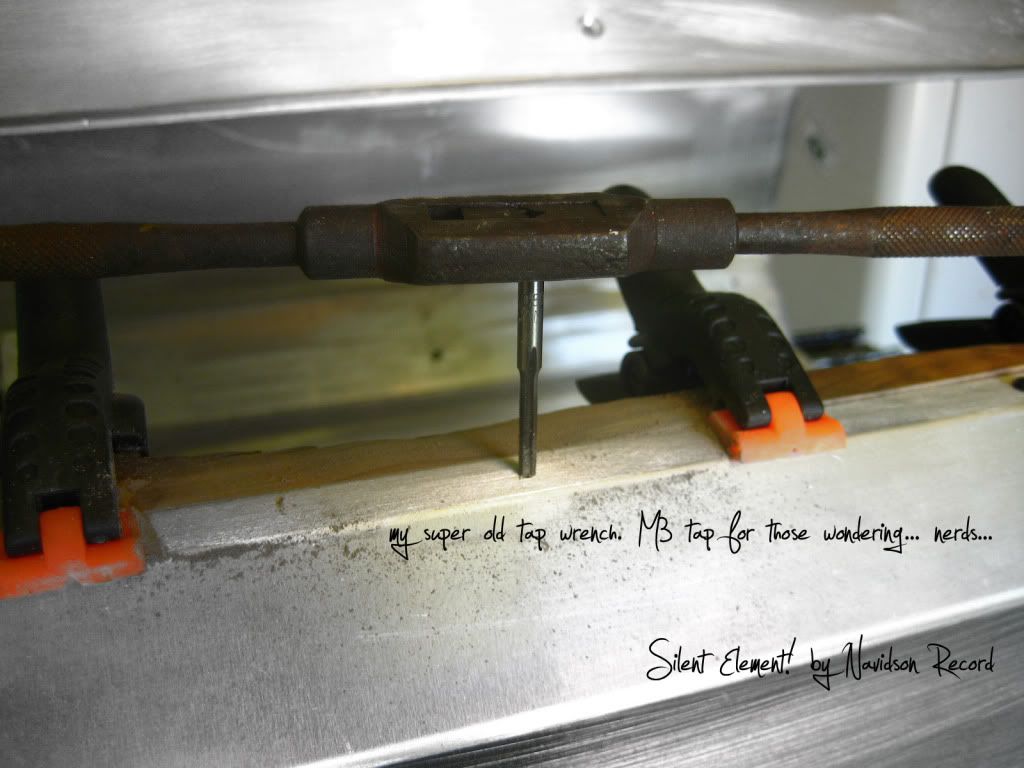
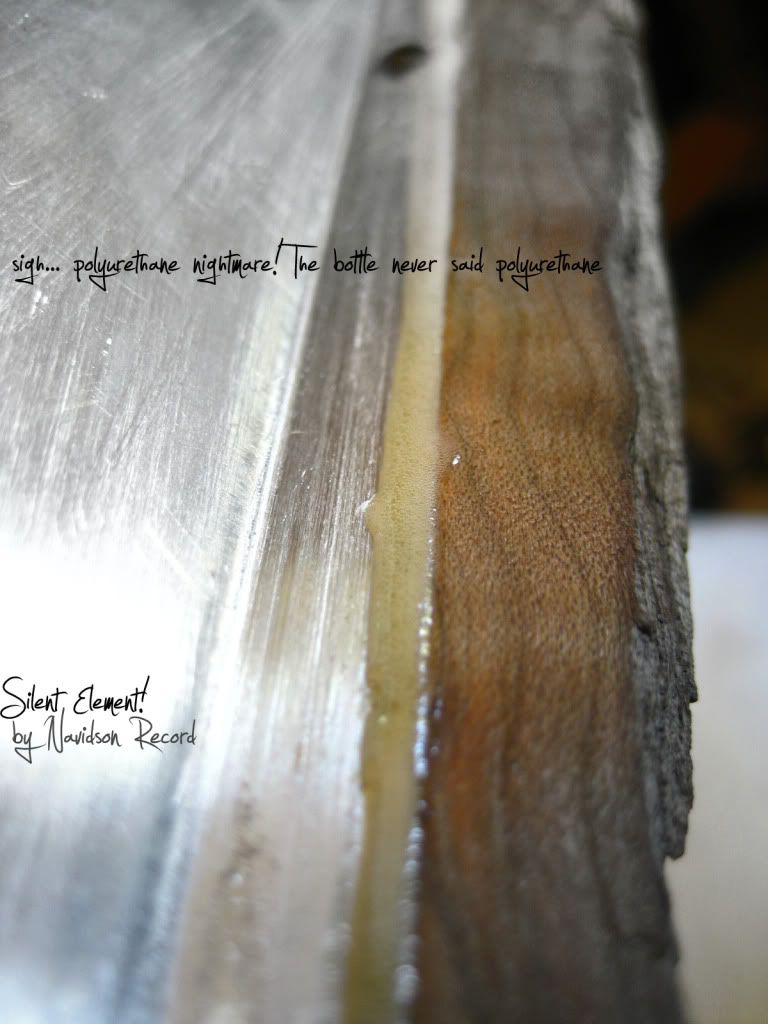
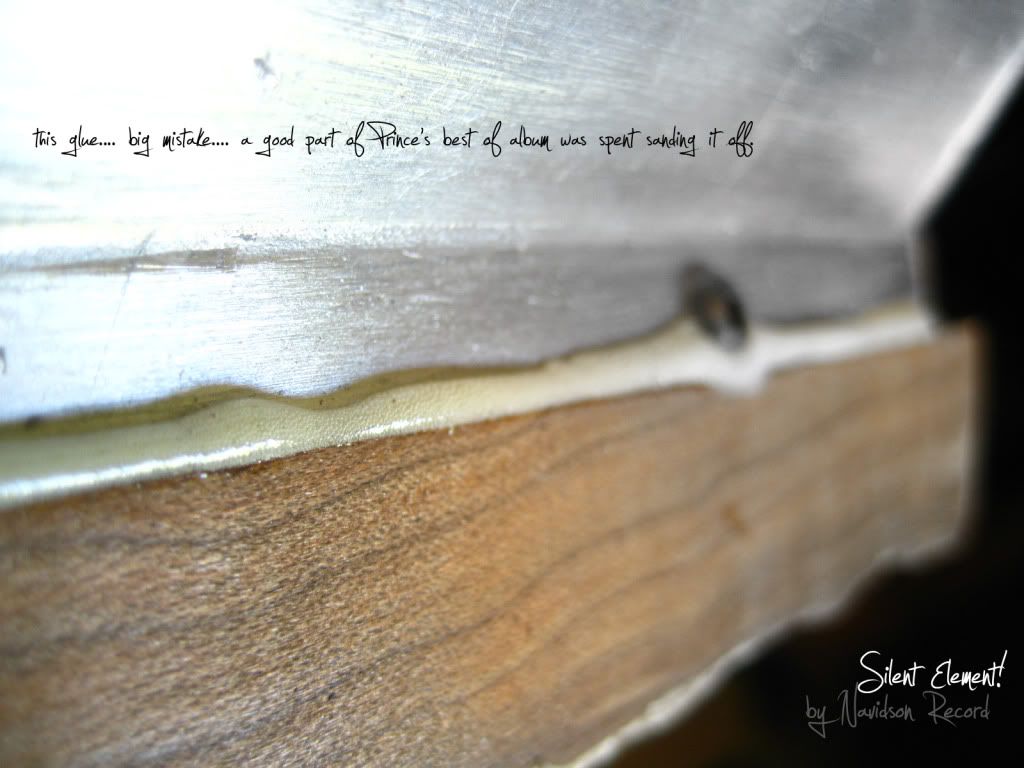
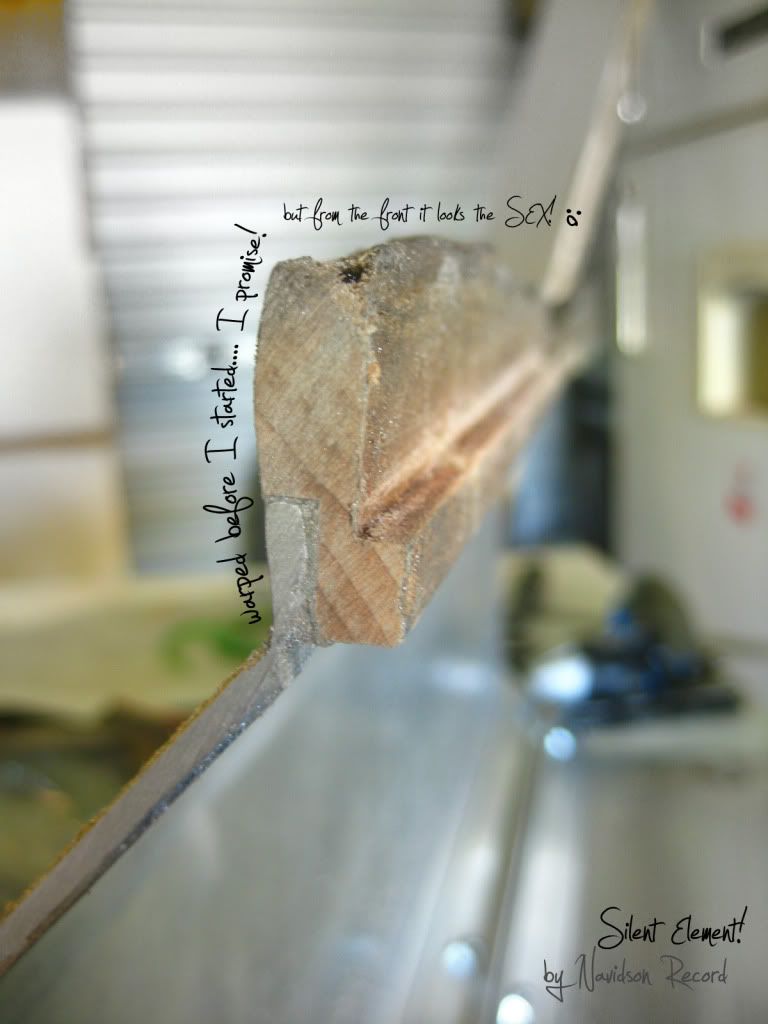
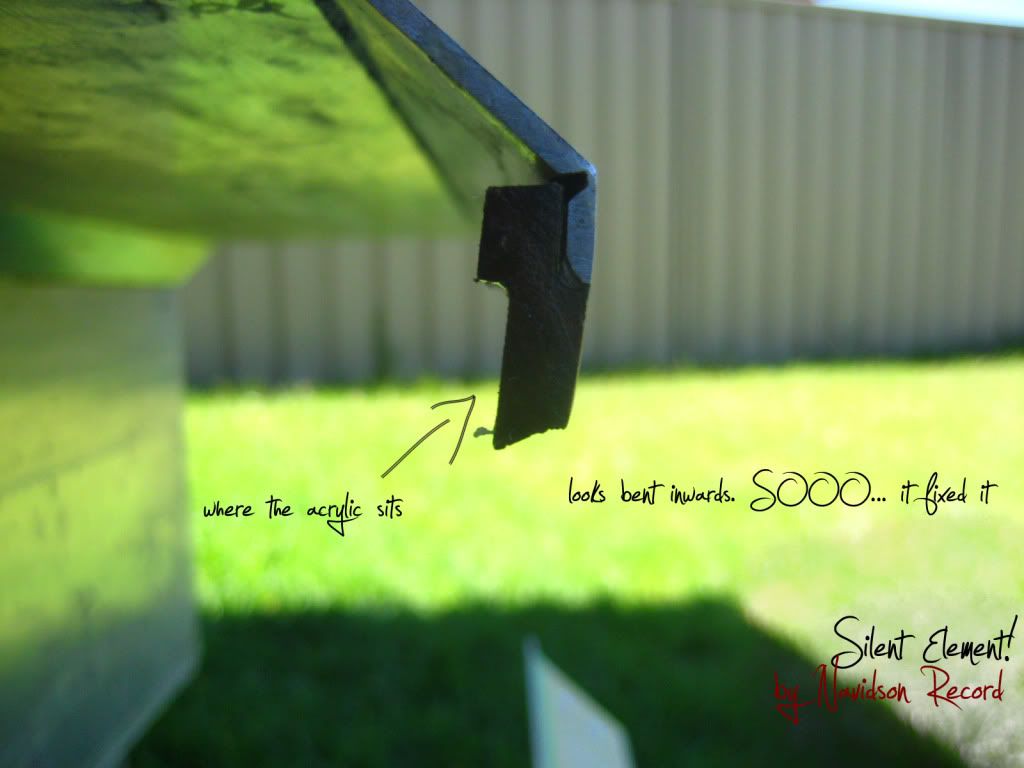
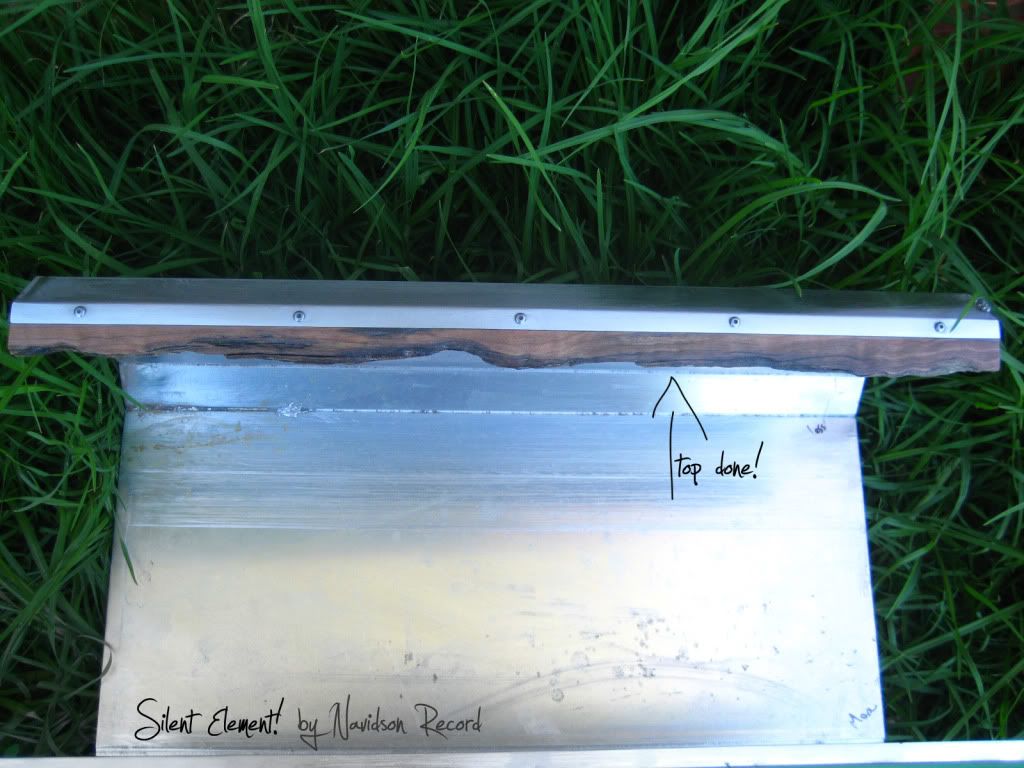
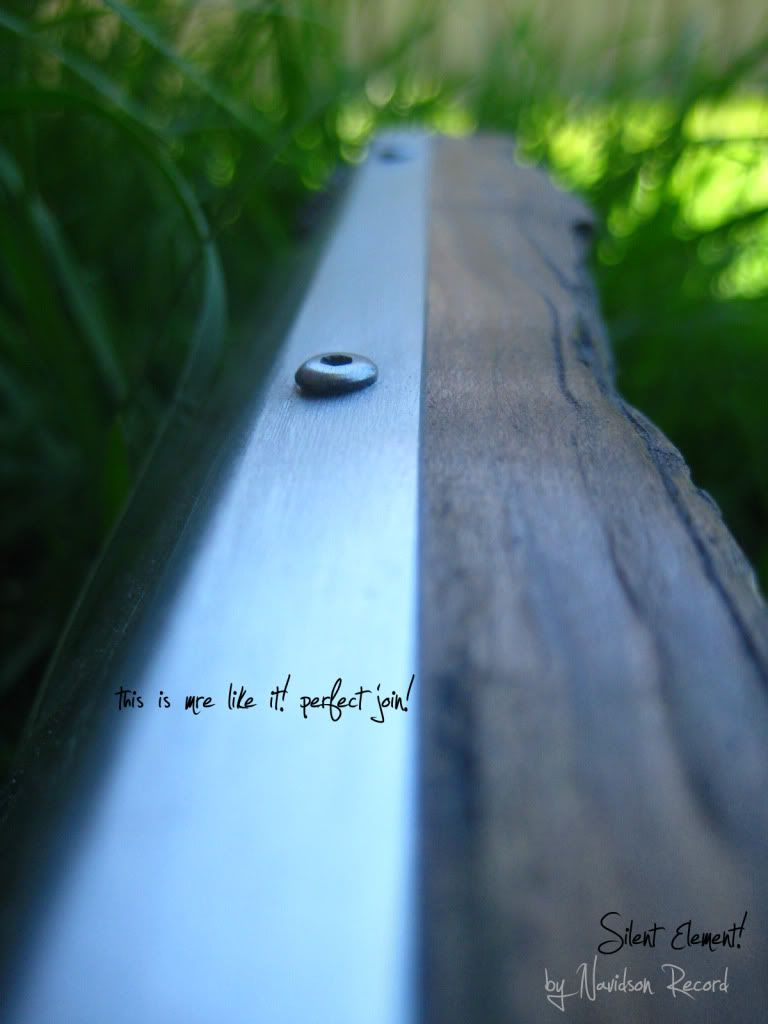
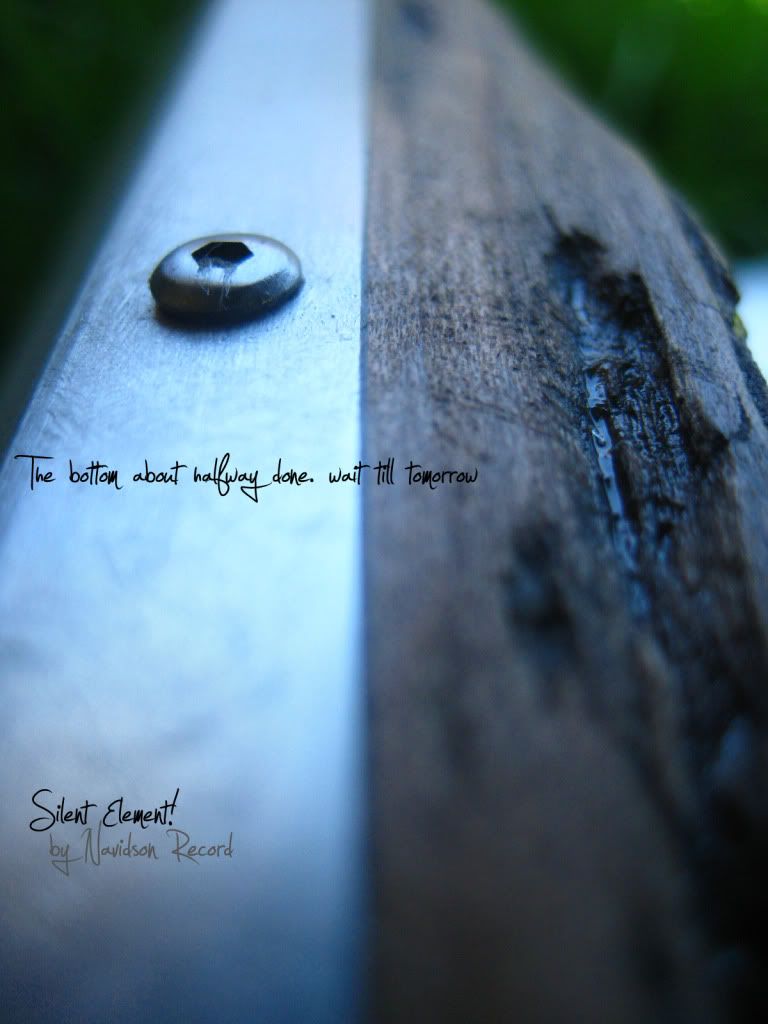
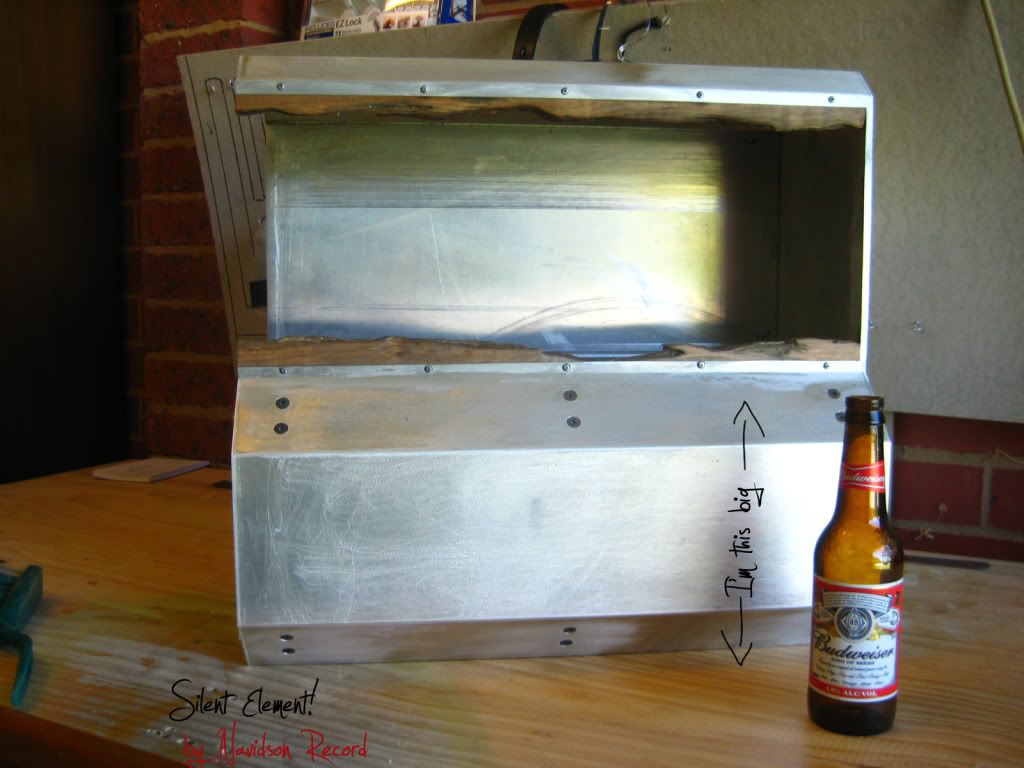
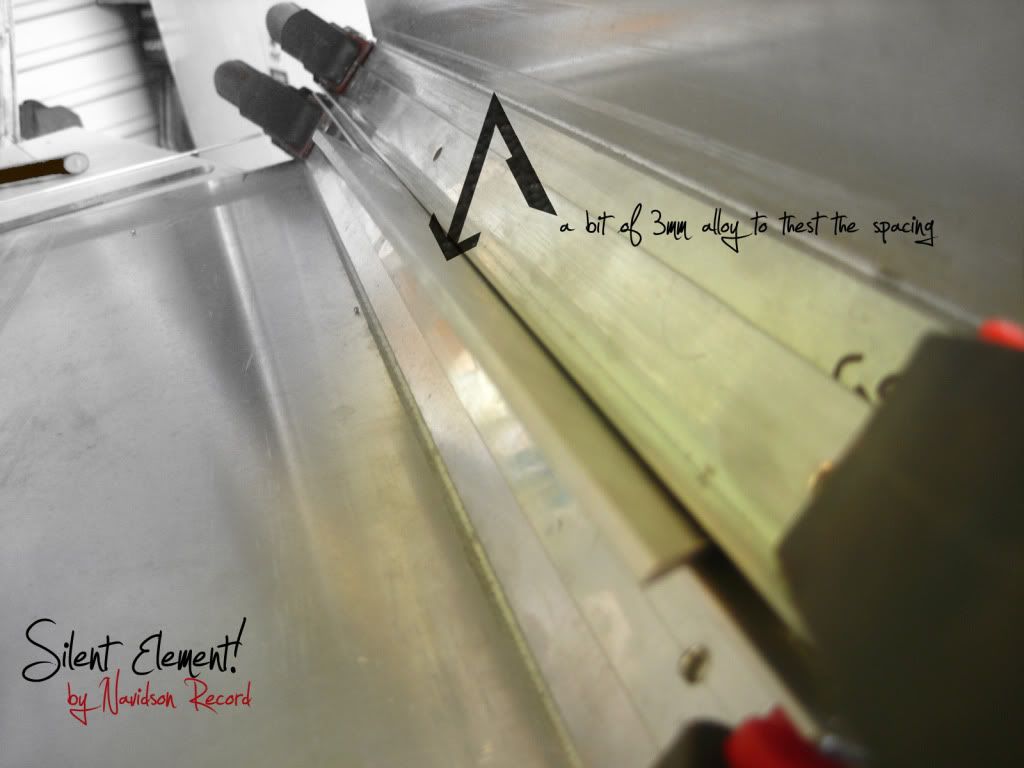
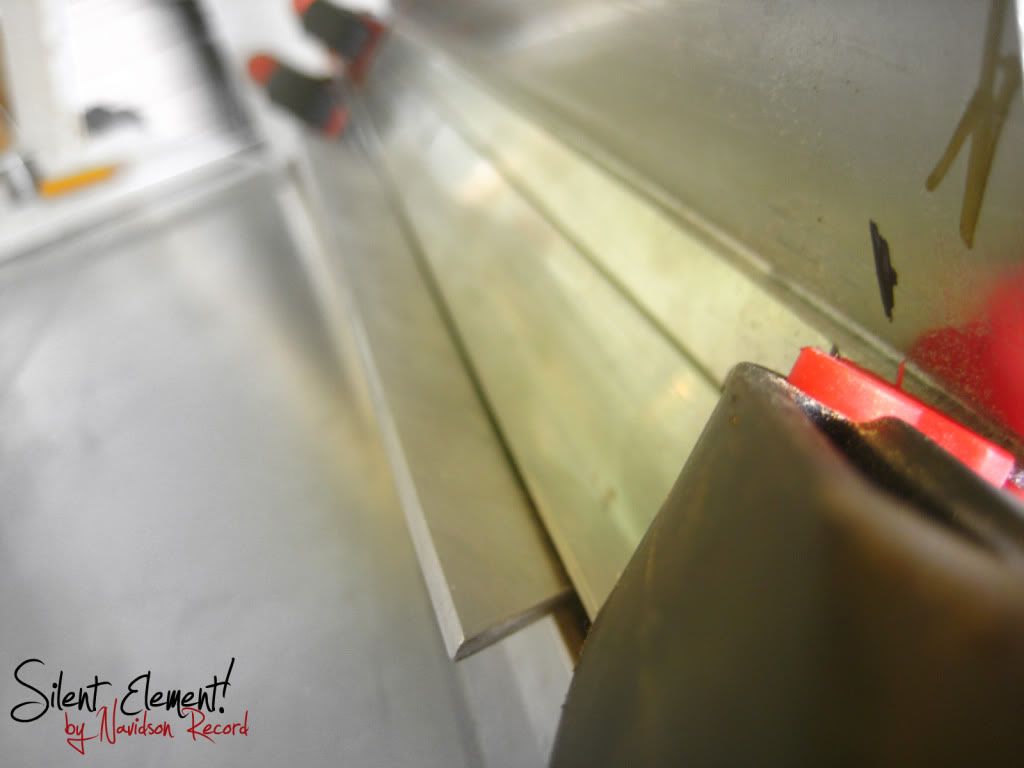
Much better!

Geez! so many updates today. I guess when your on holidays you have a alot of time on your hands!


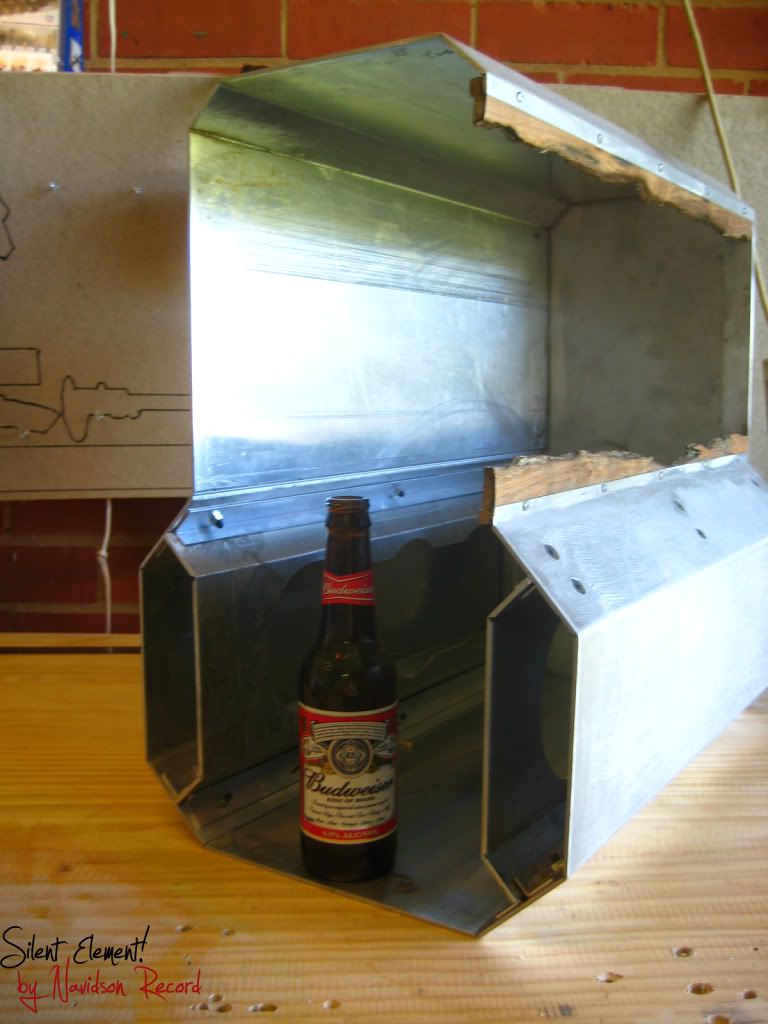
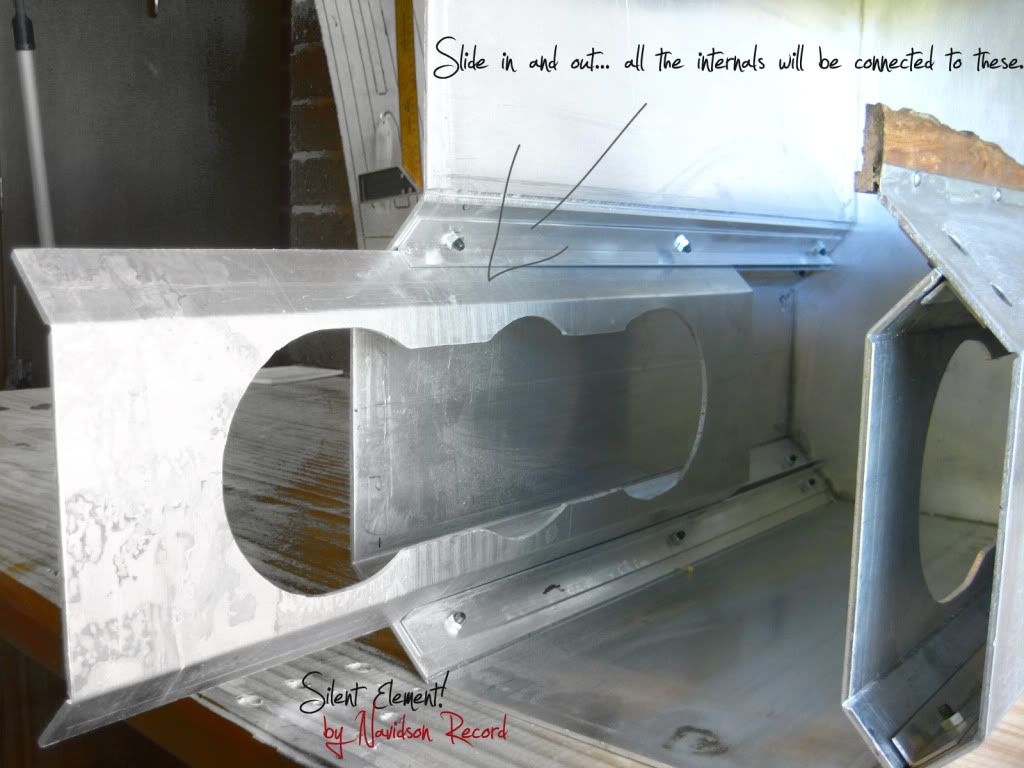
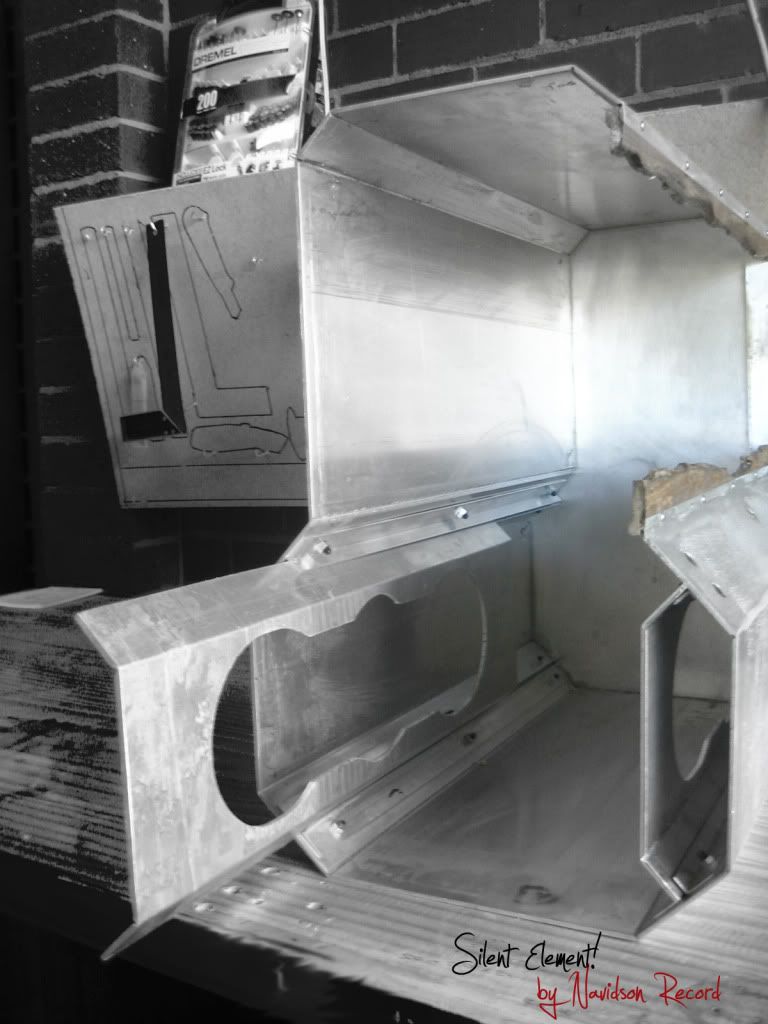
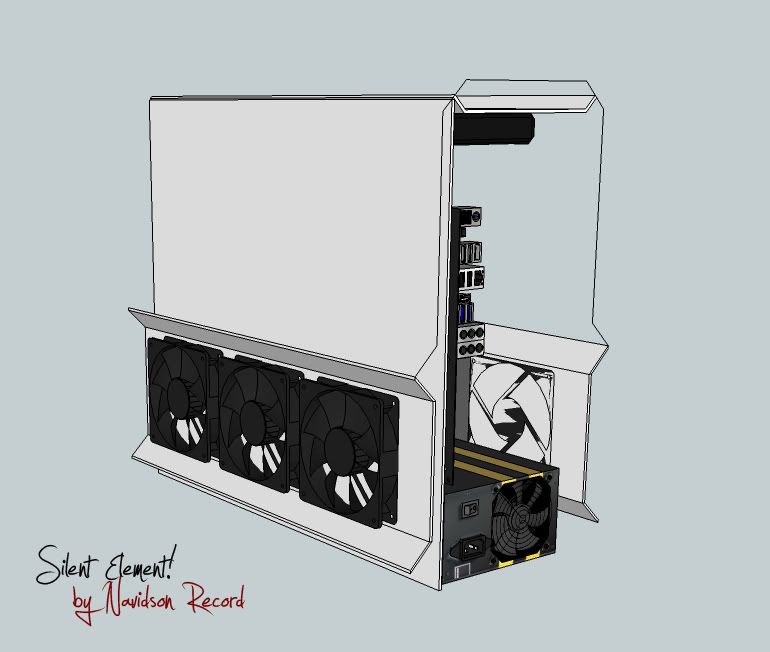
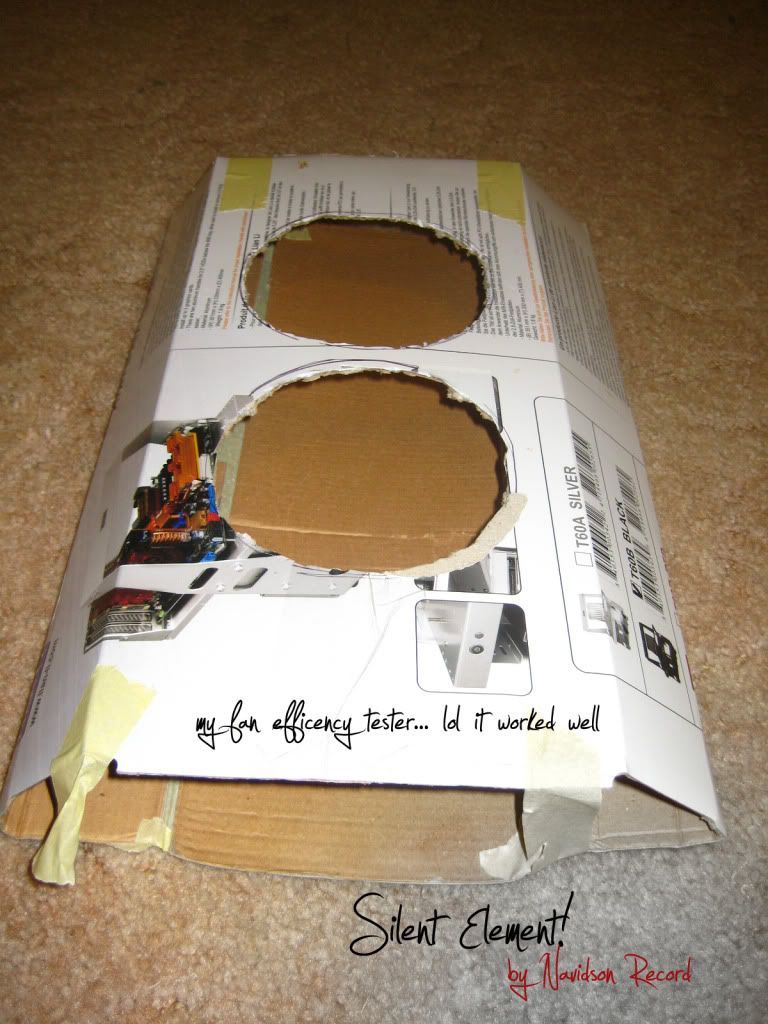
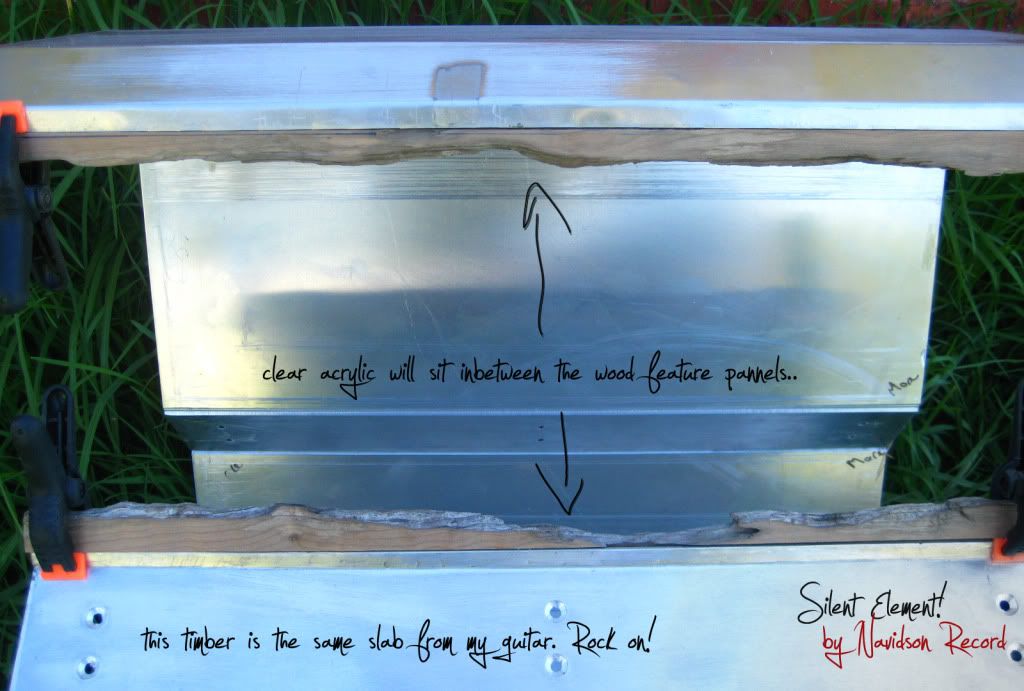
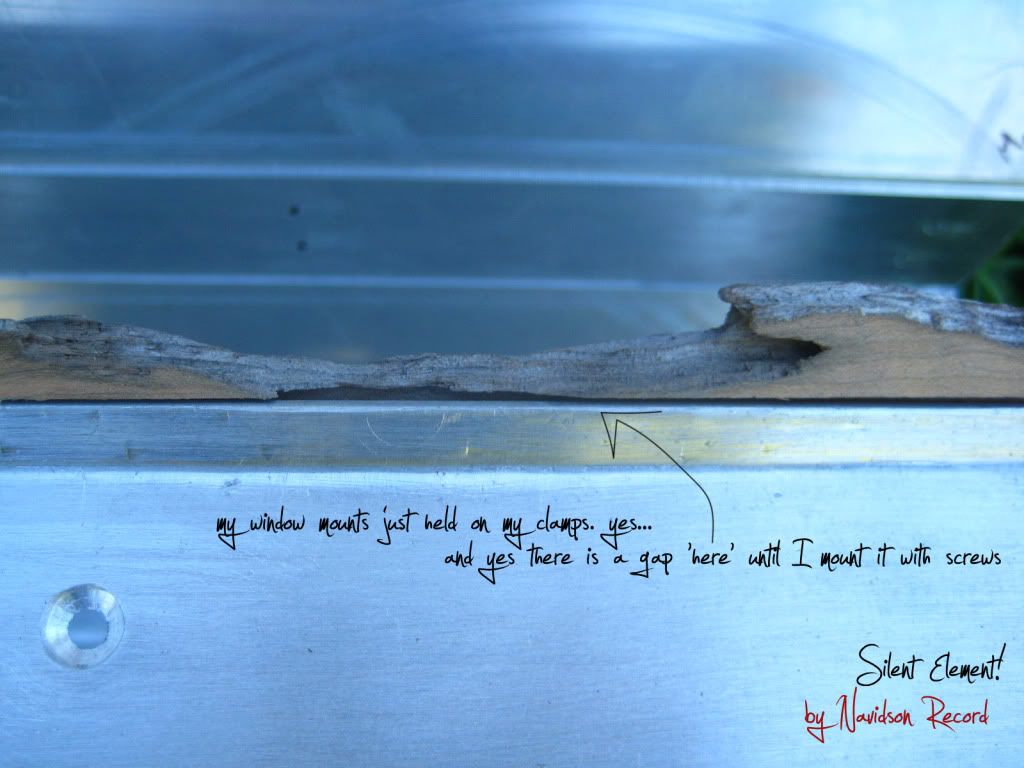
The internal will slide out without the need to unplug anything but you will need to wait for me to start the internals before you know what I'm on about.

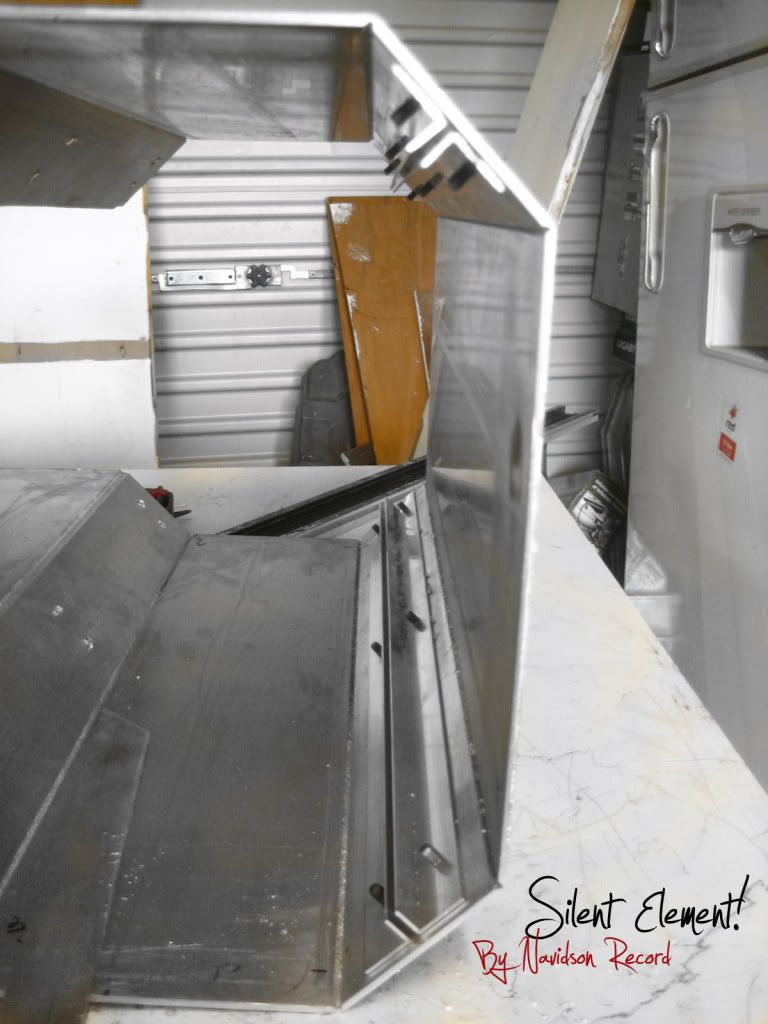
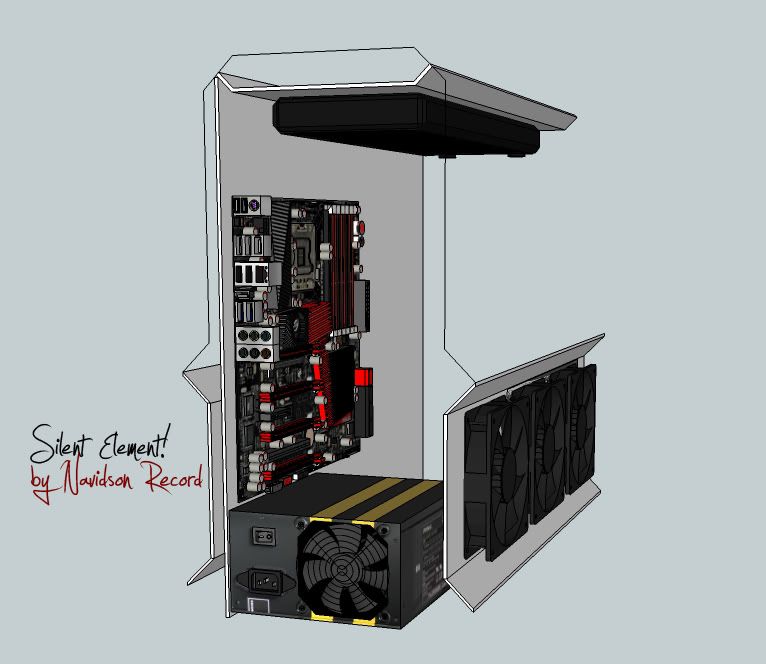
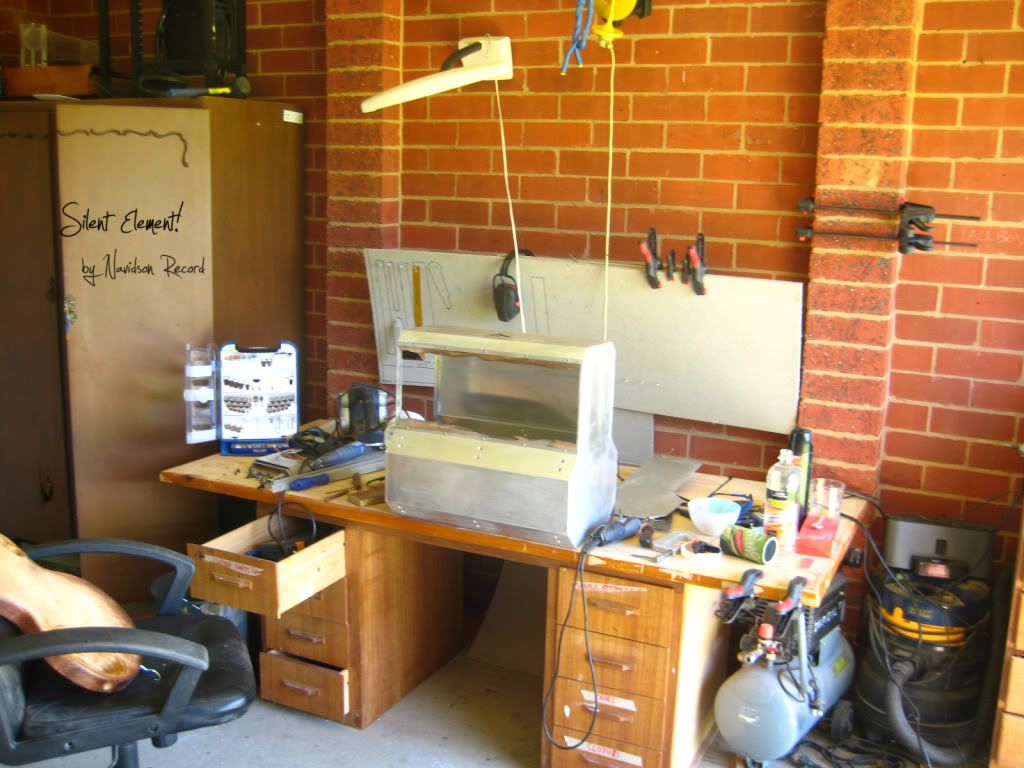
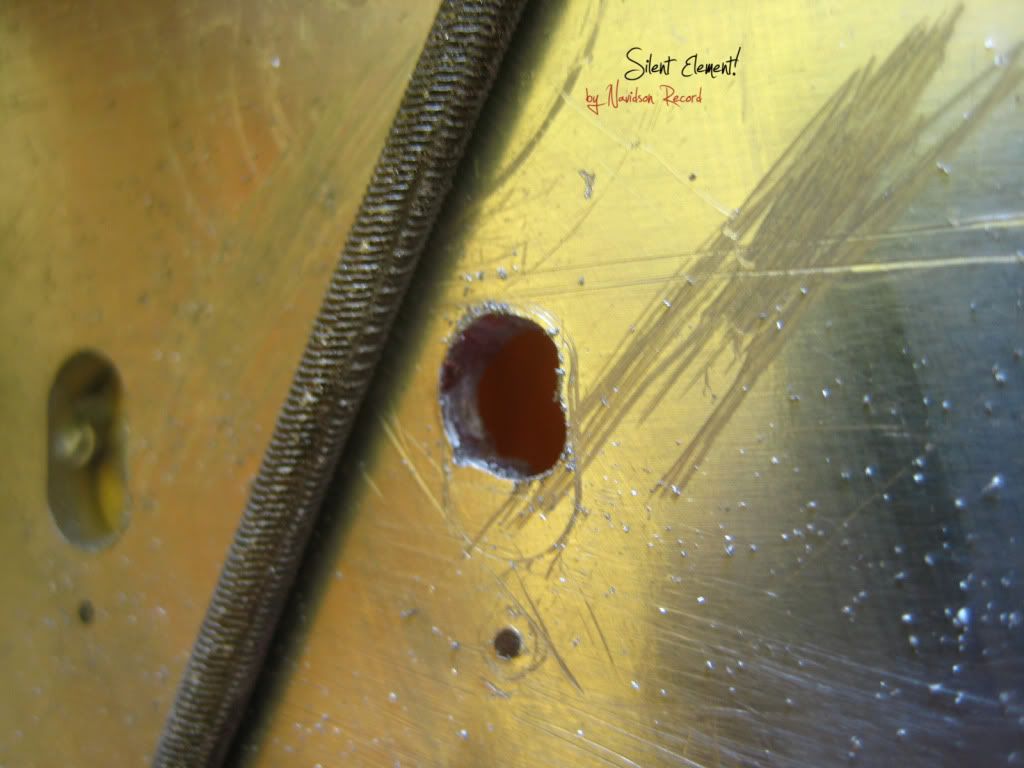
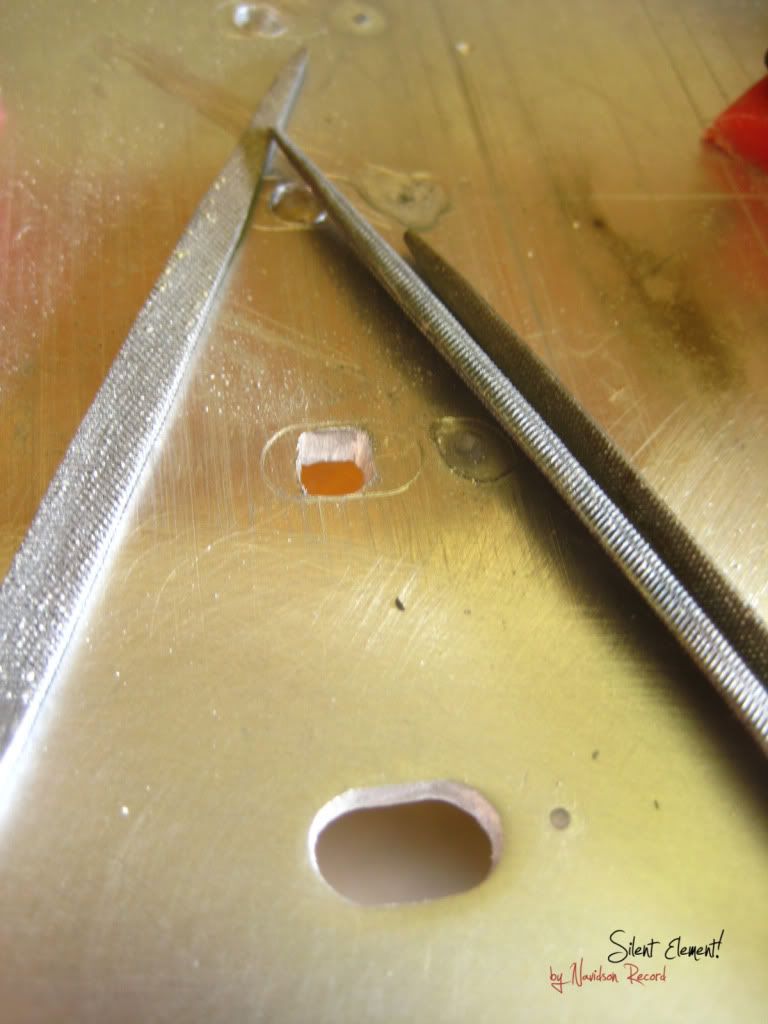
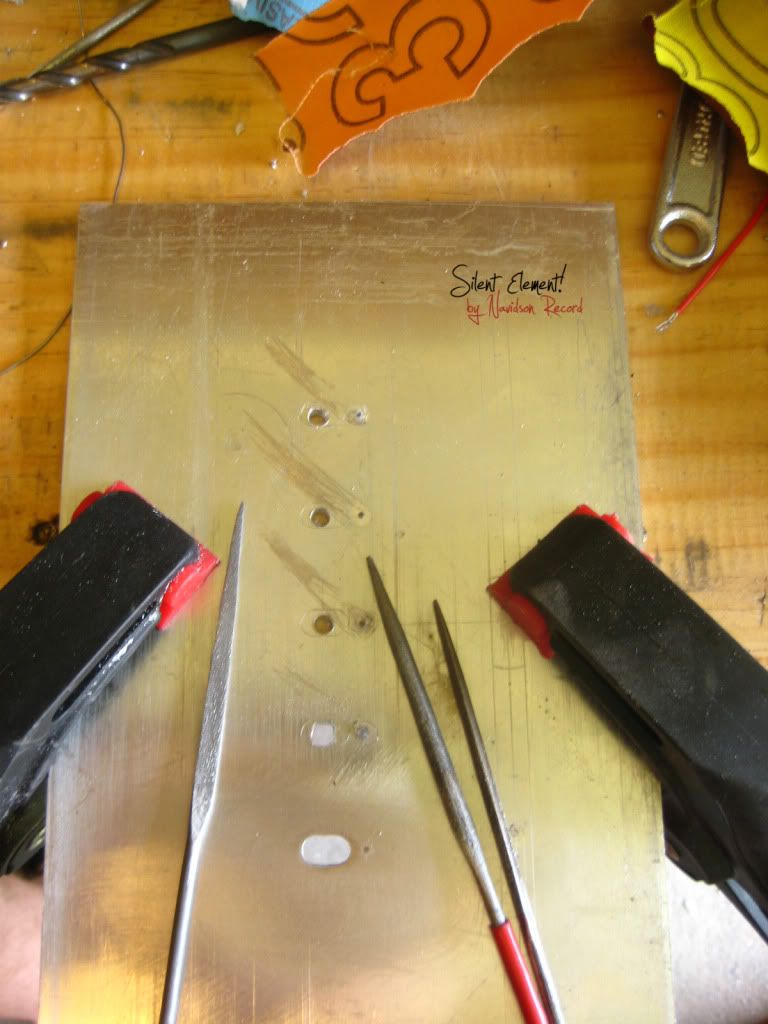
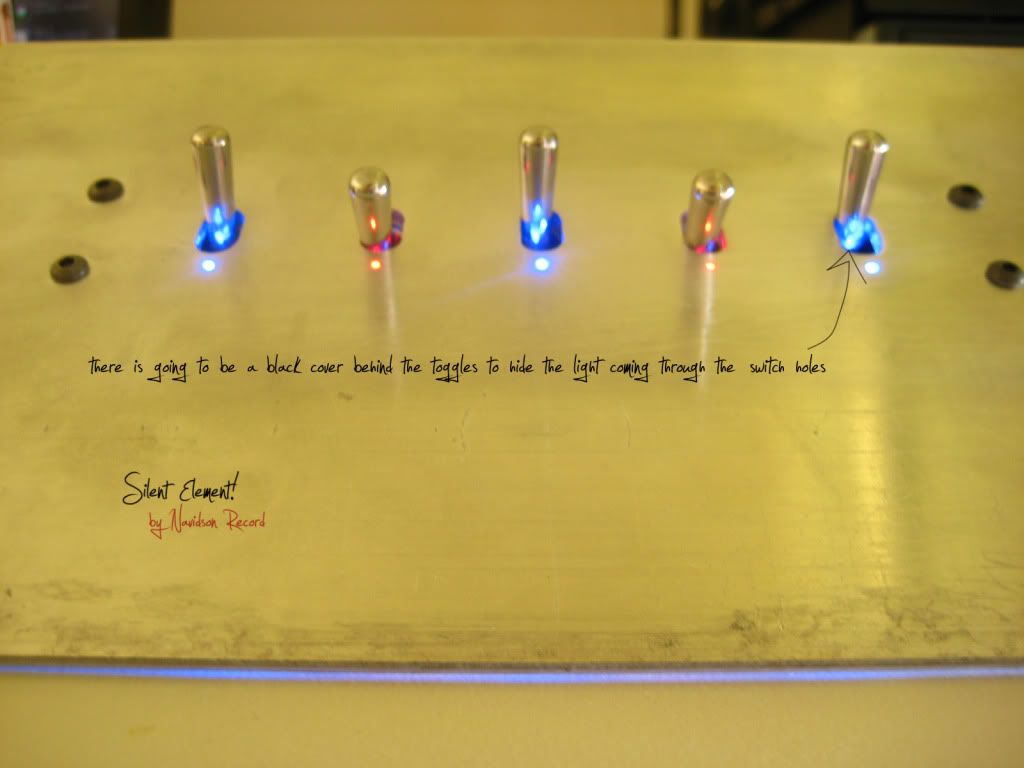
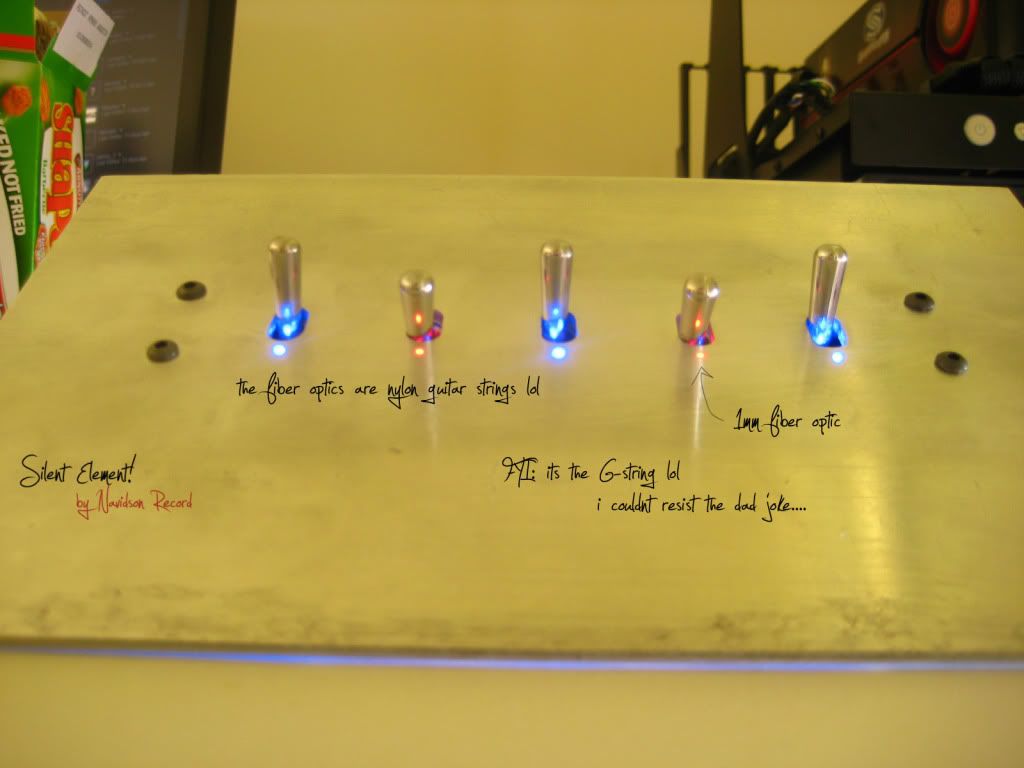
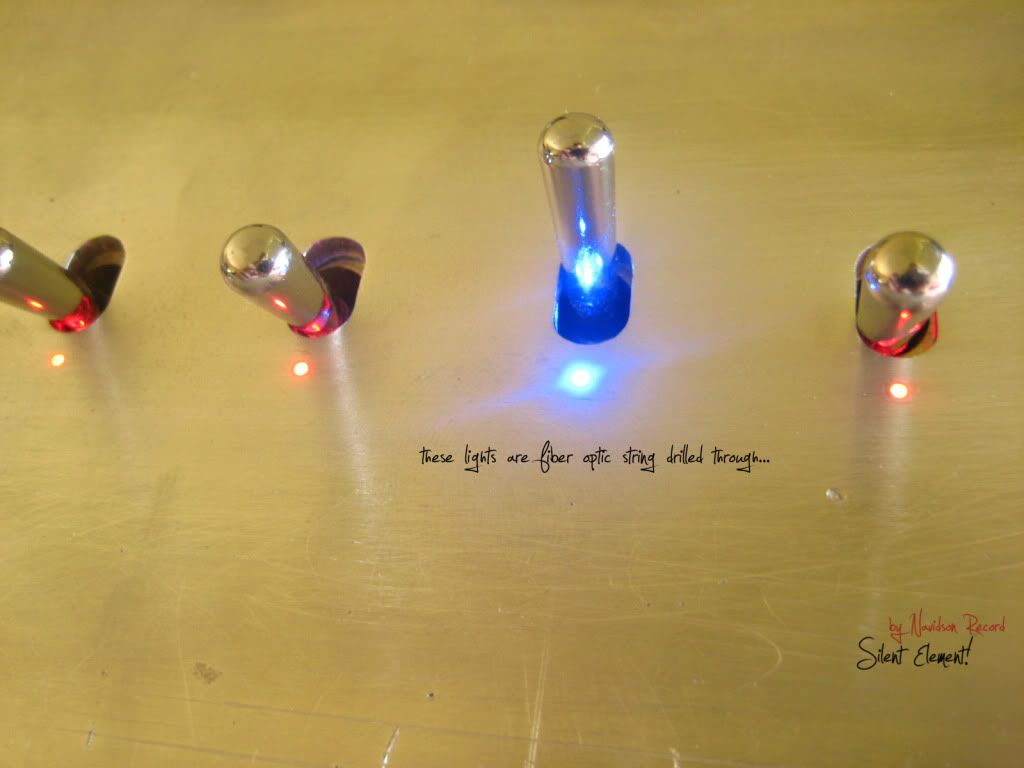
A small update where I started mocking up the internals.

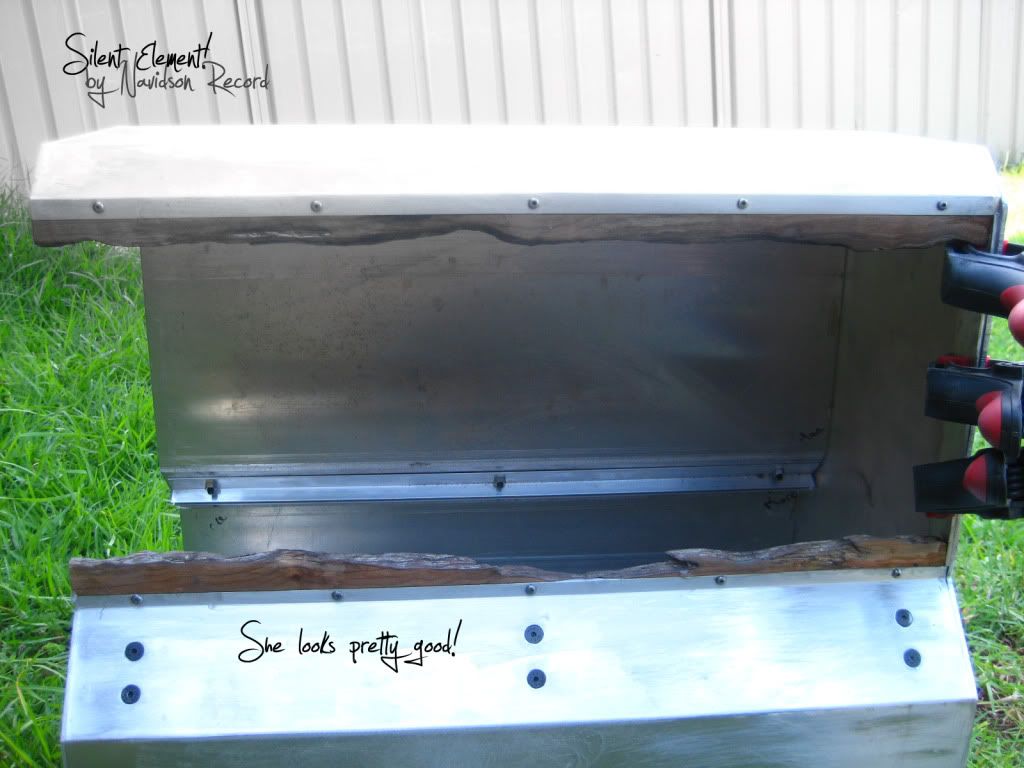
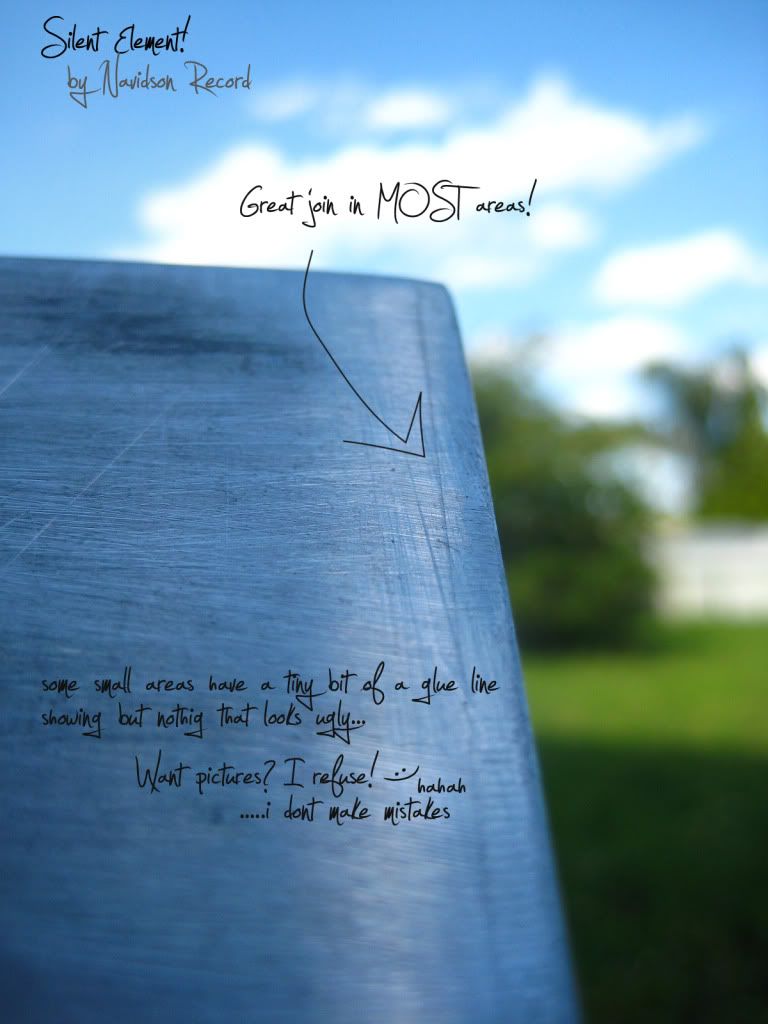
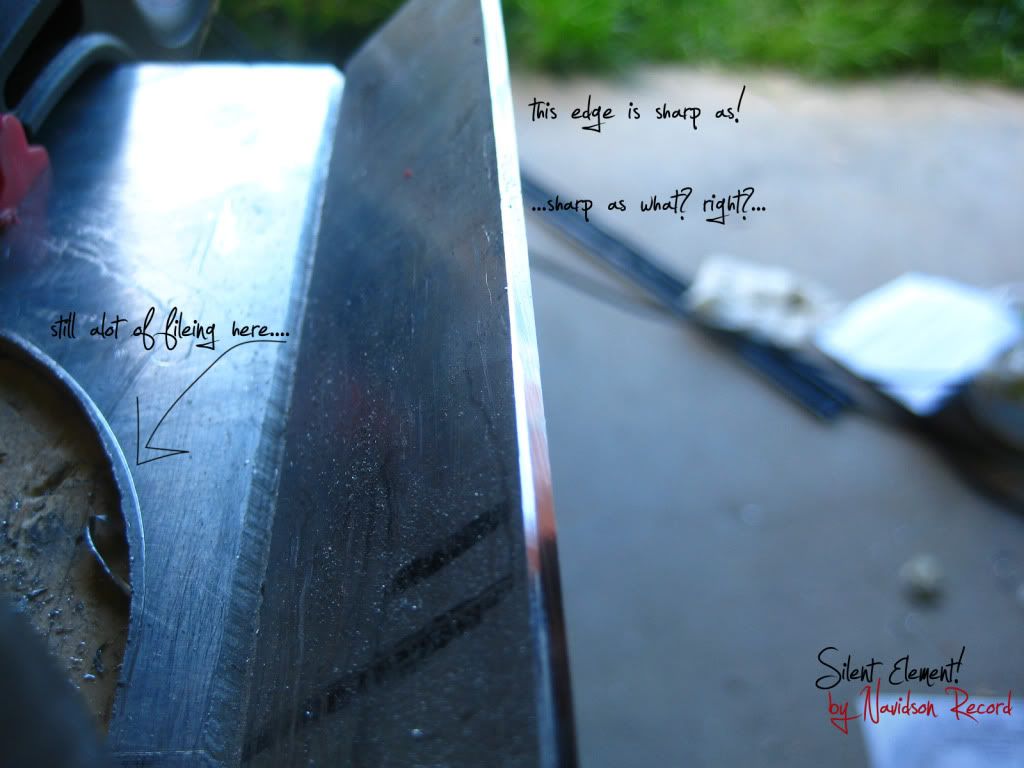
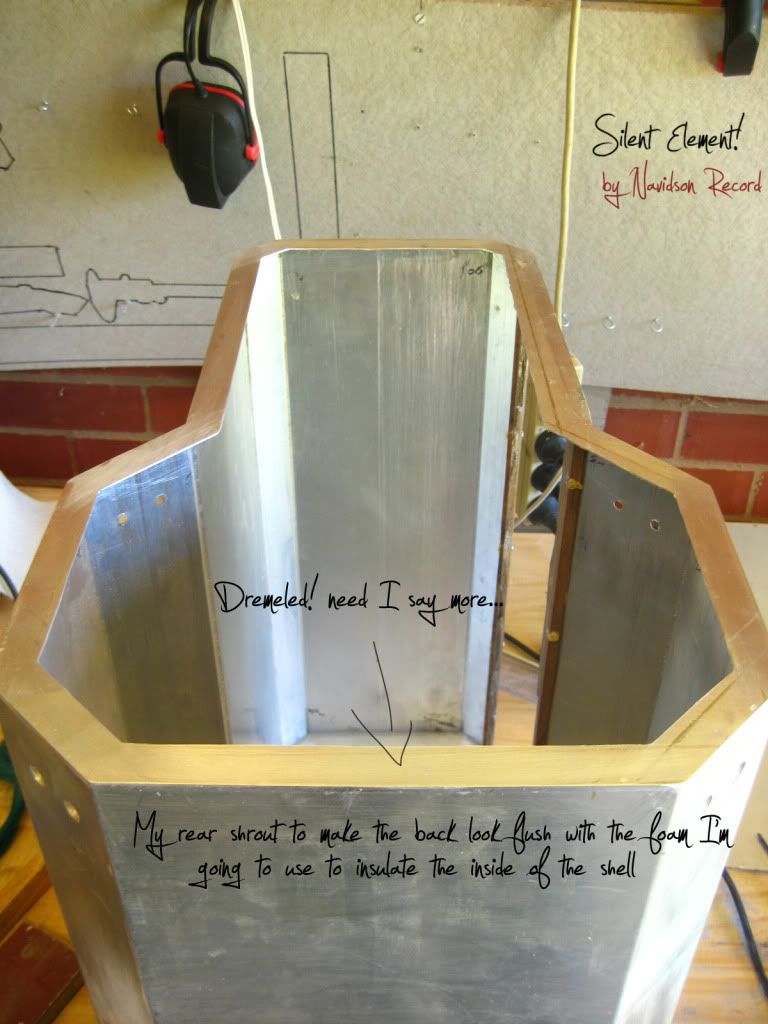
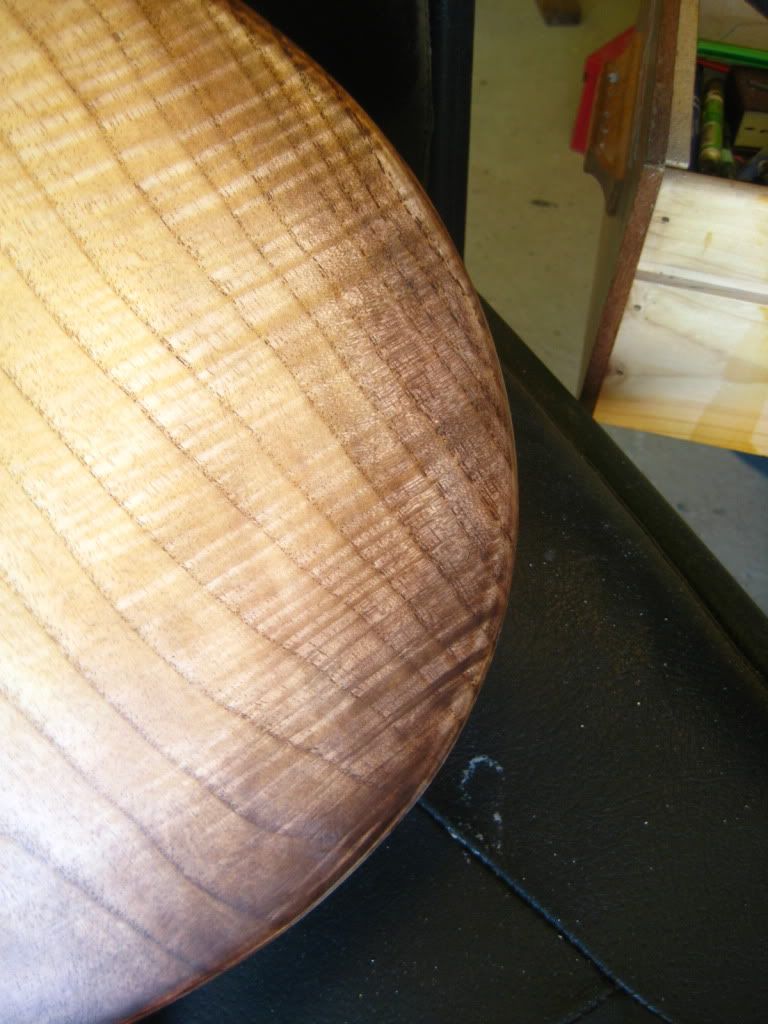
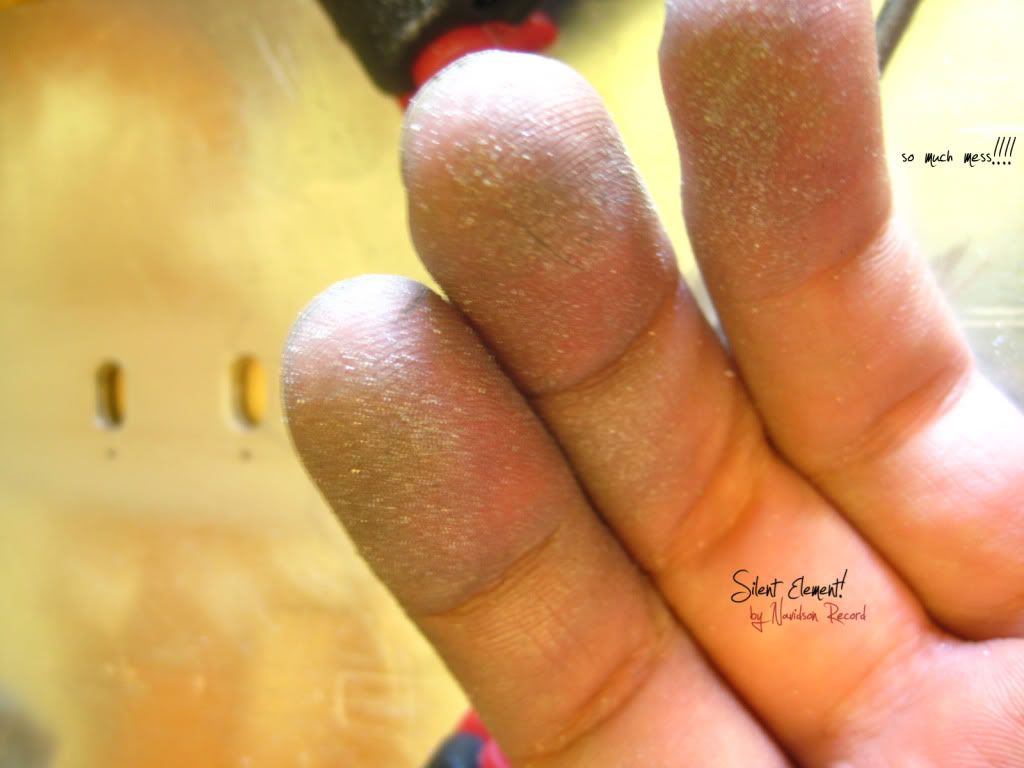
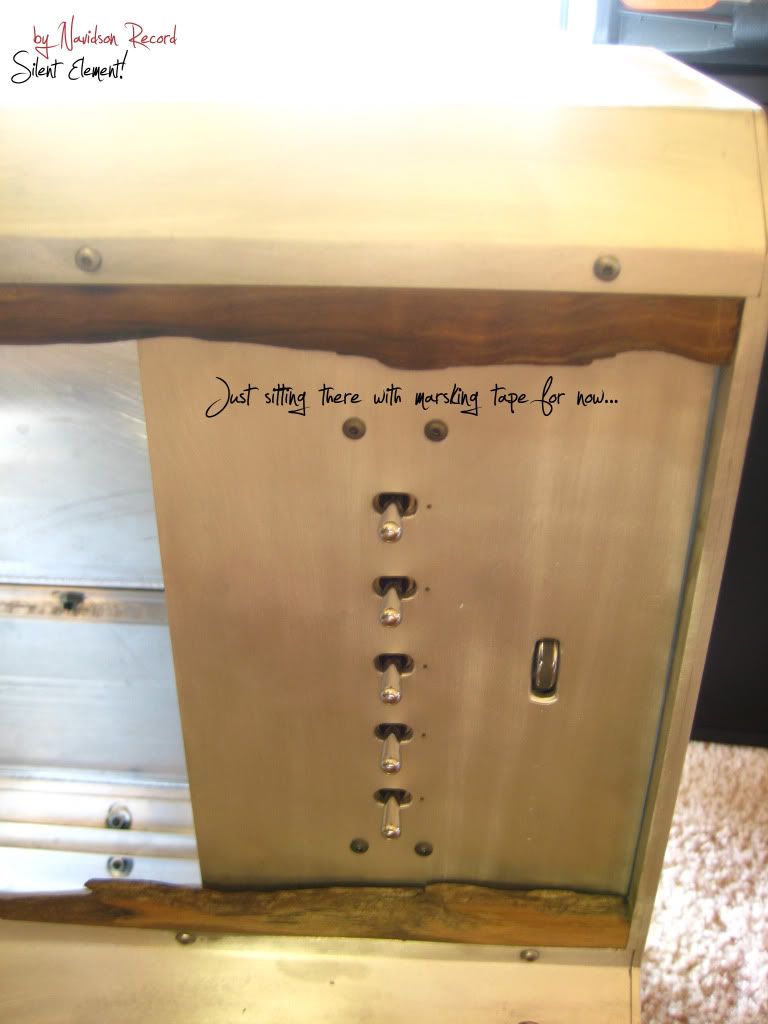
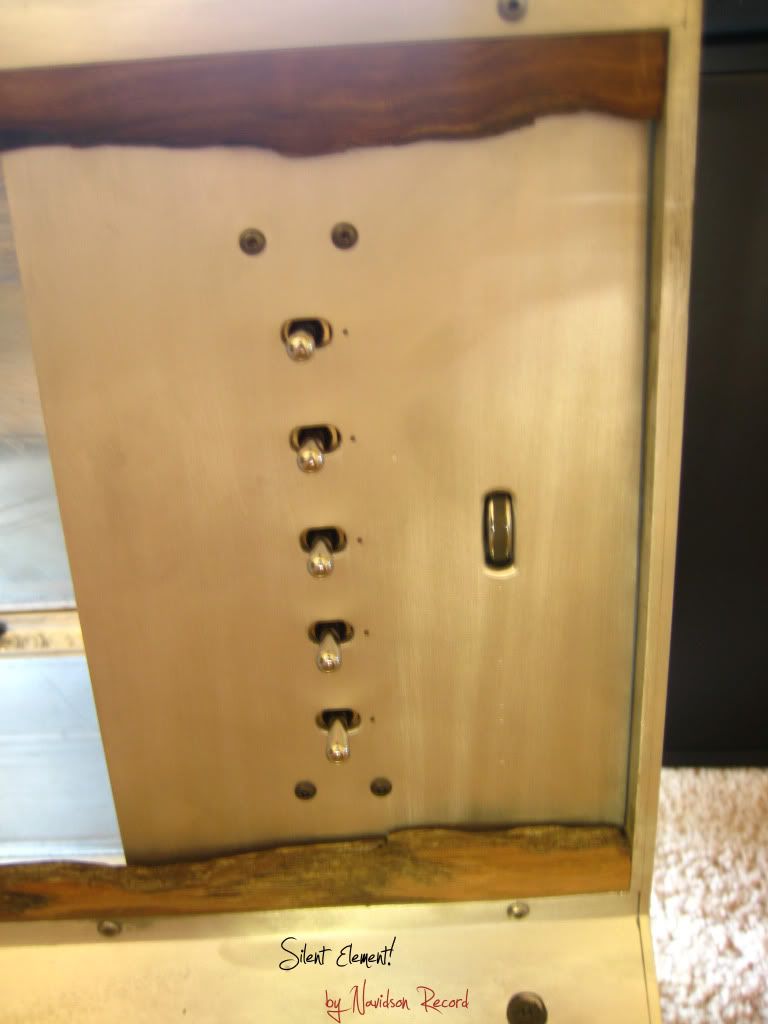
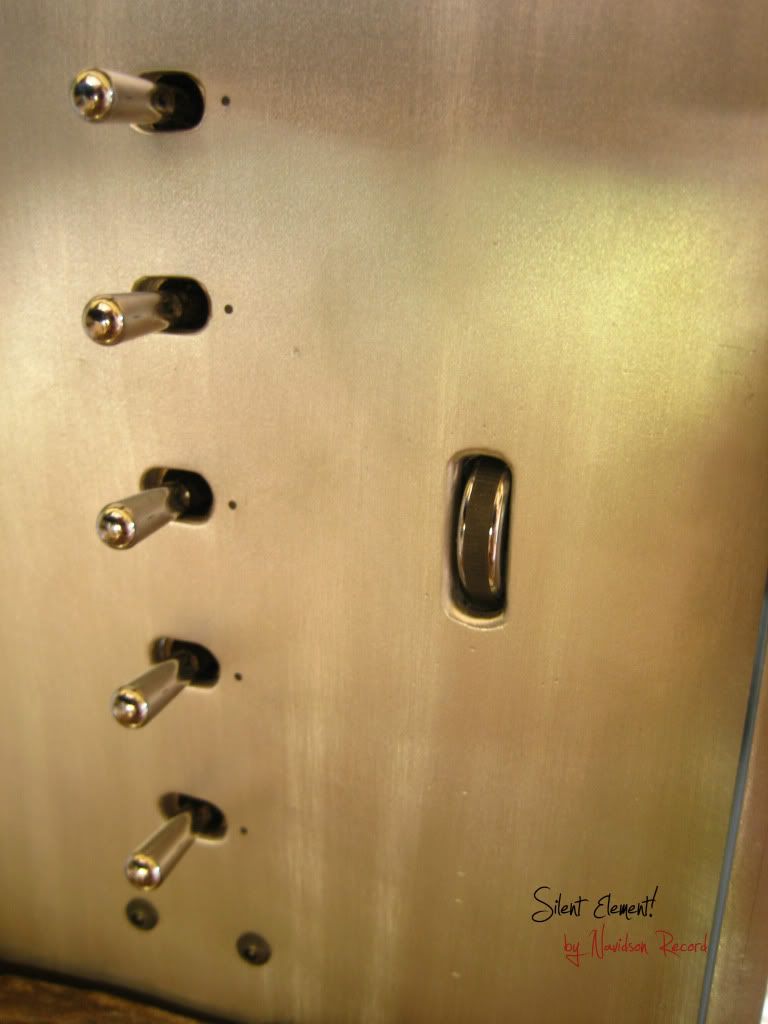
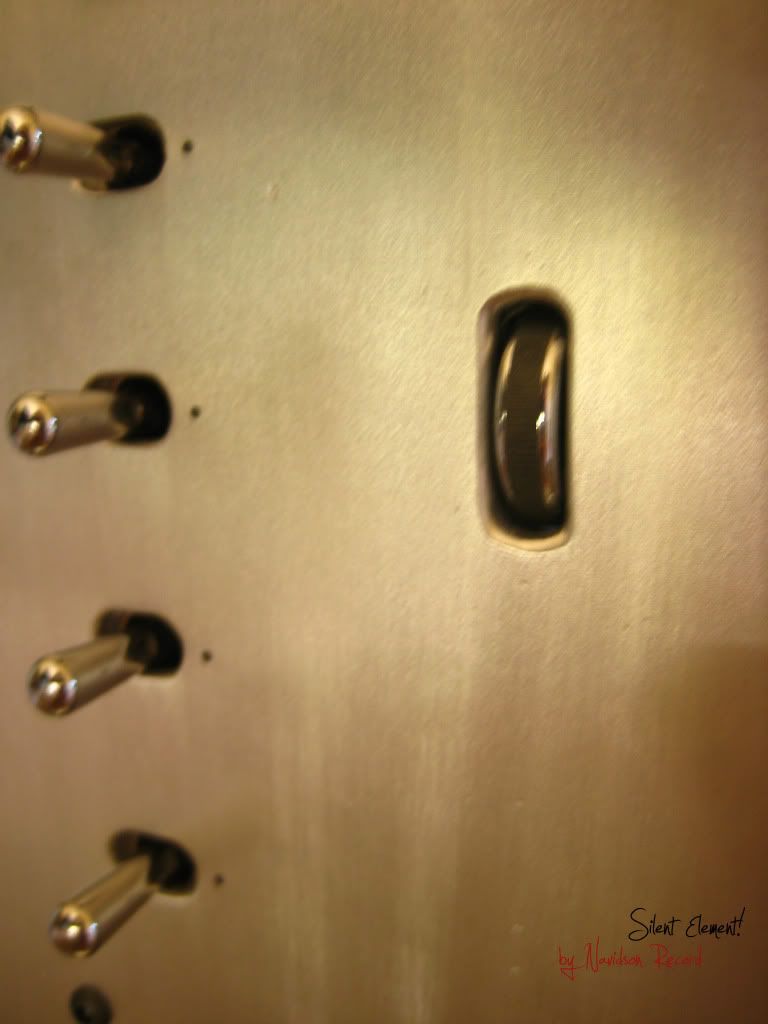
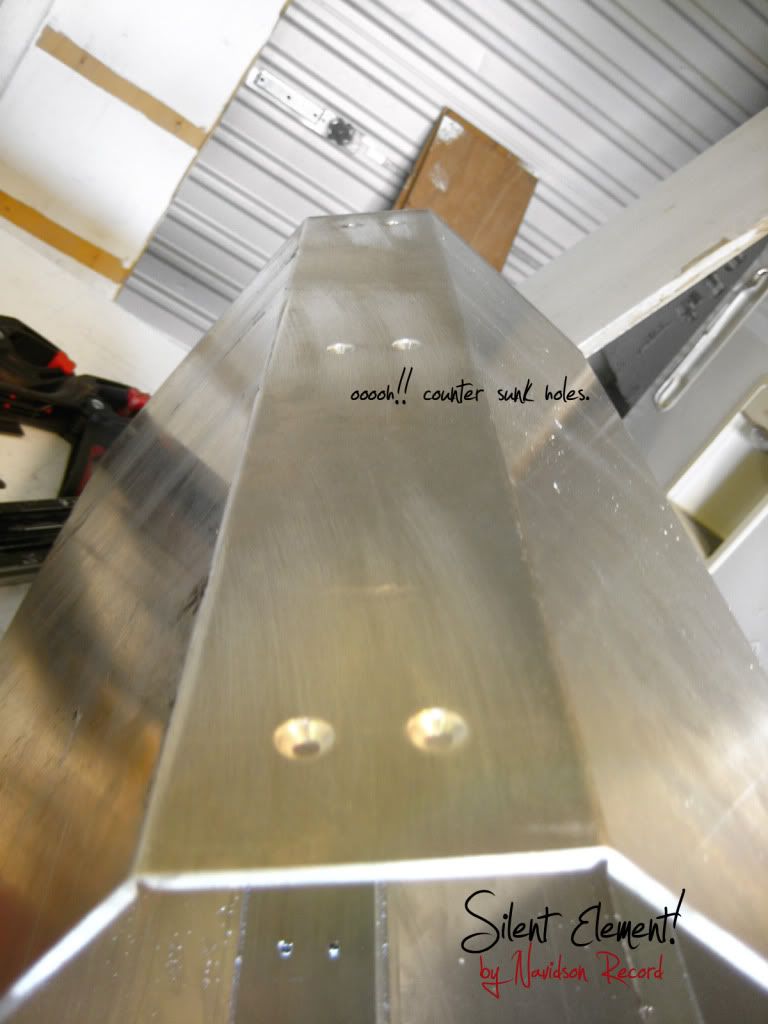
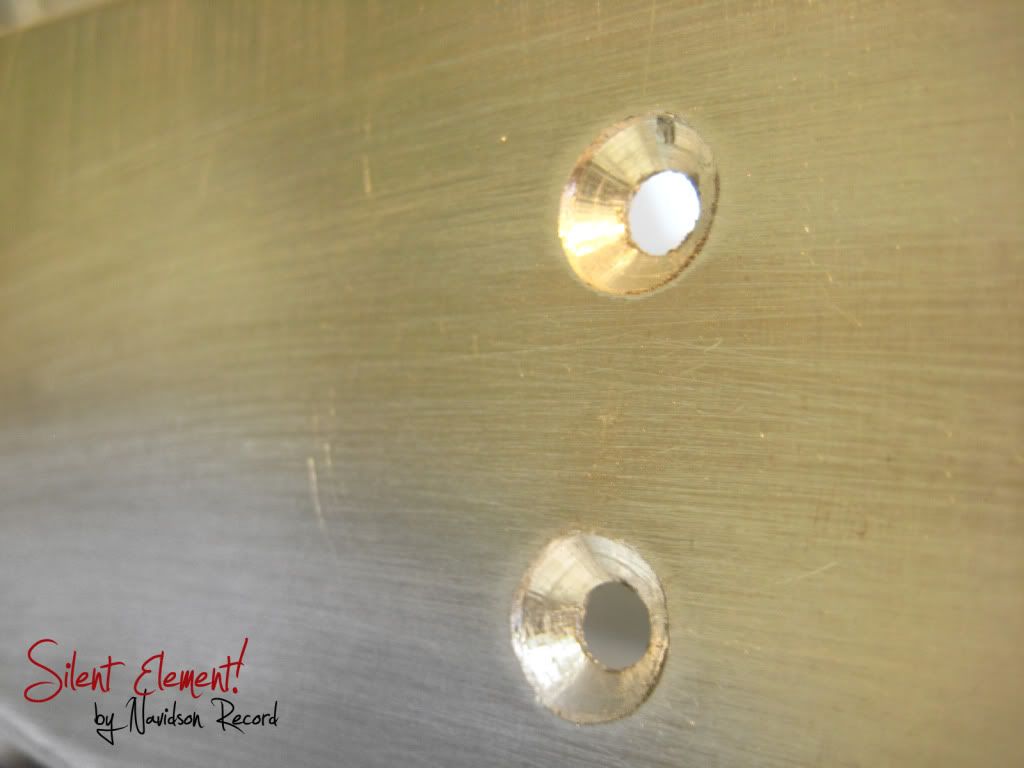
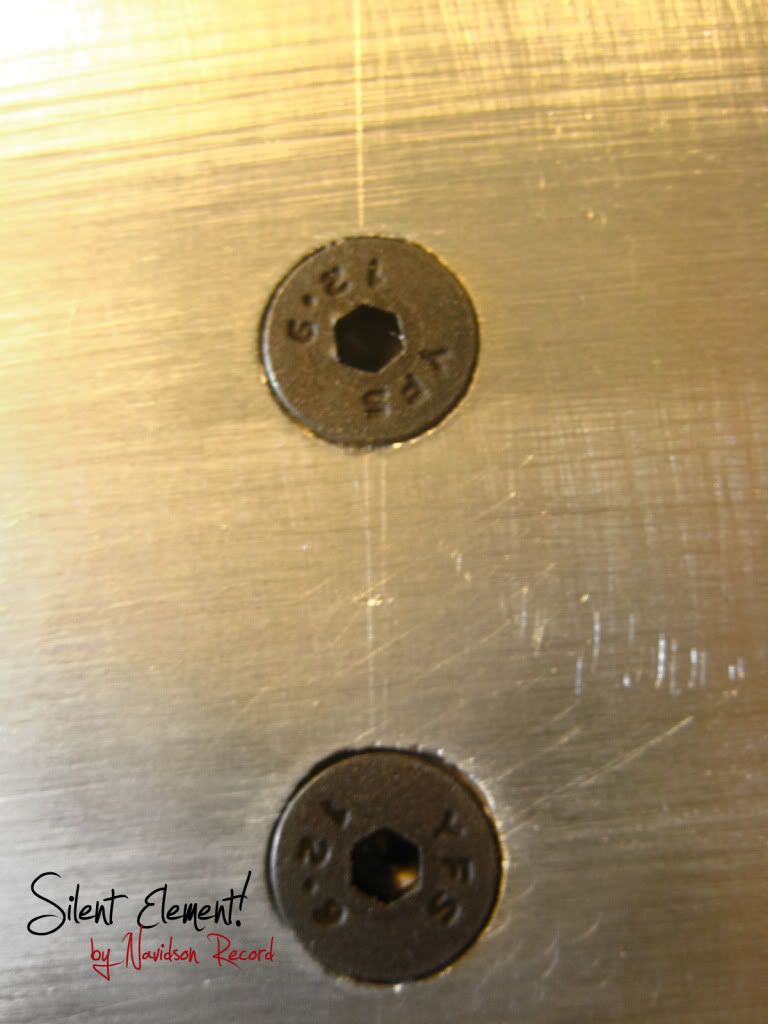
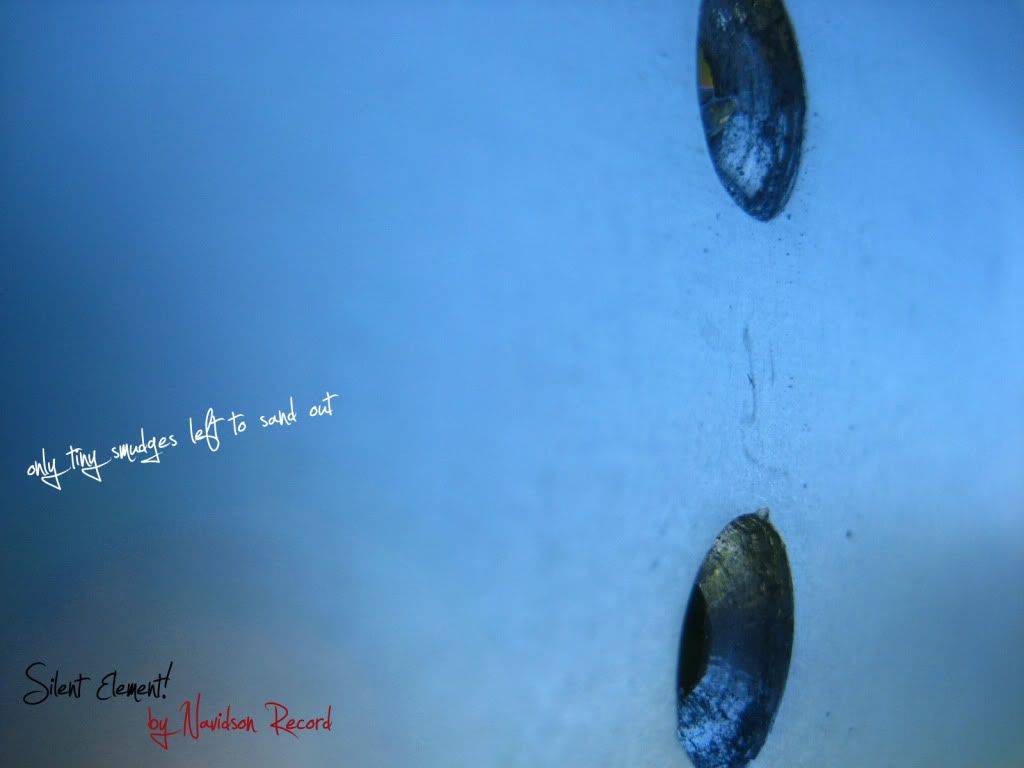
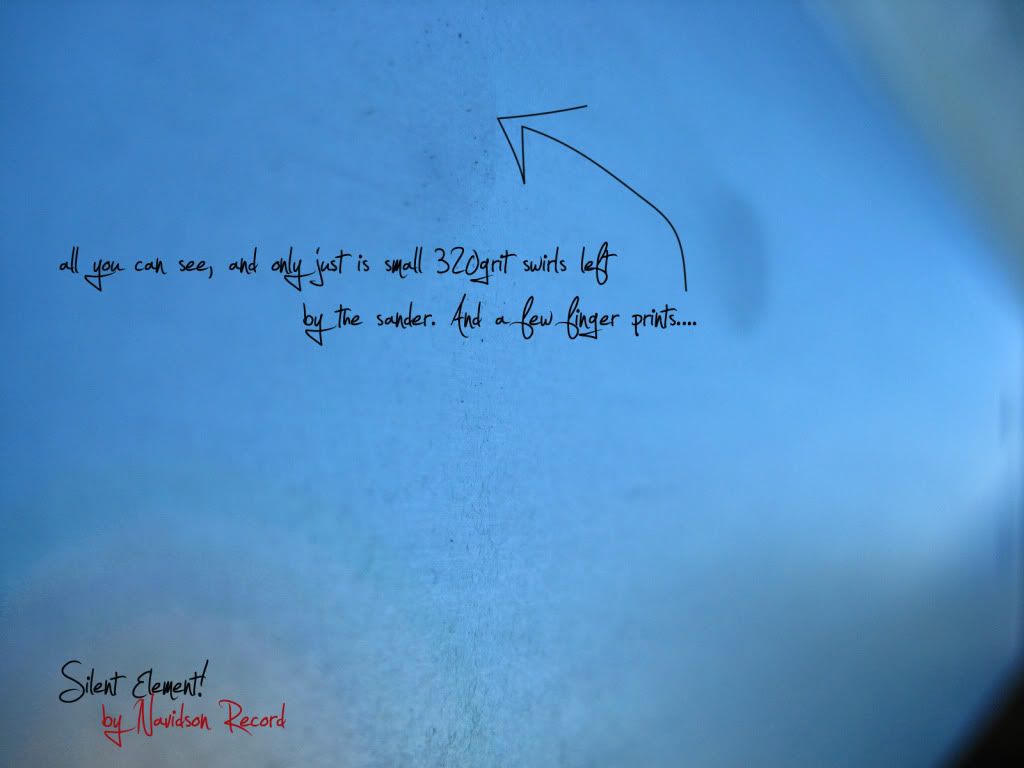
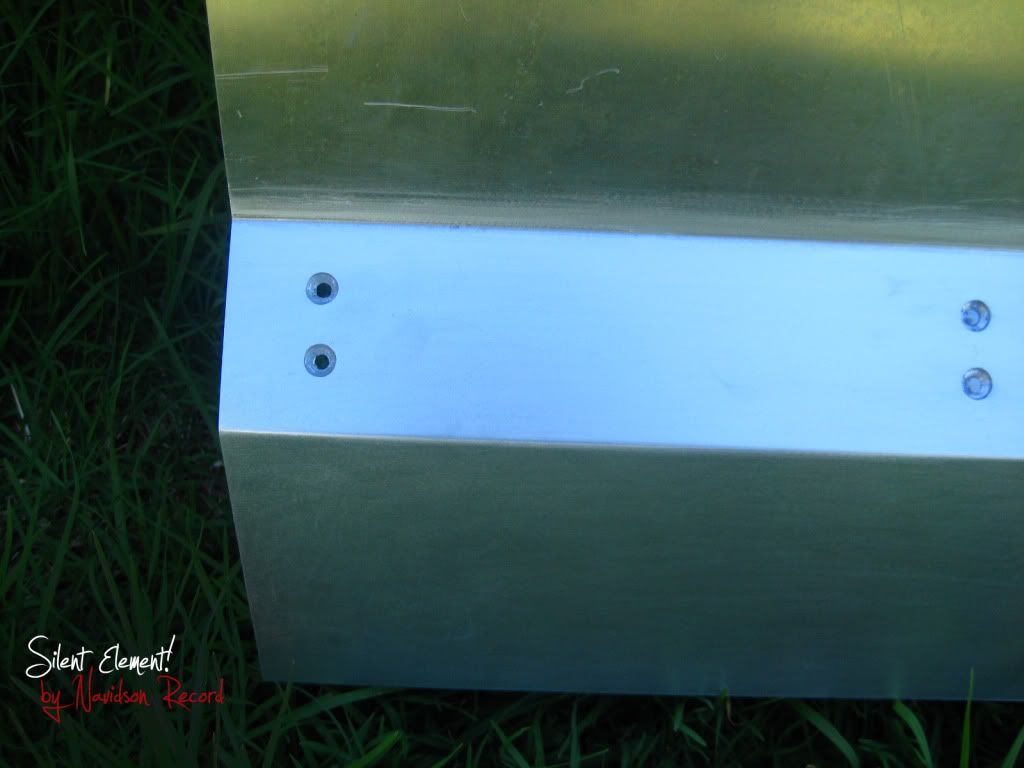
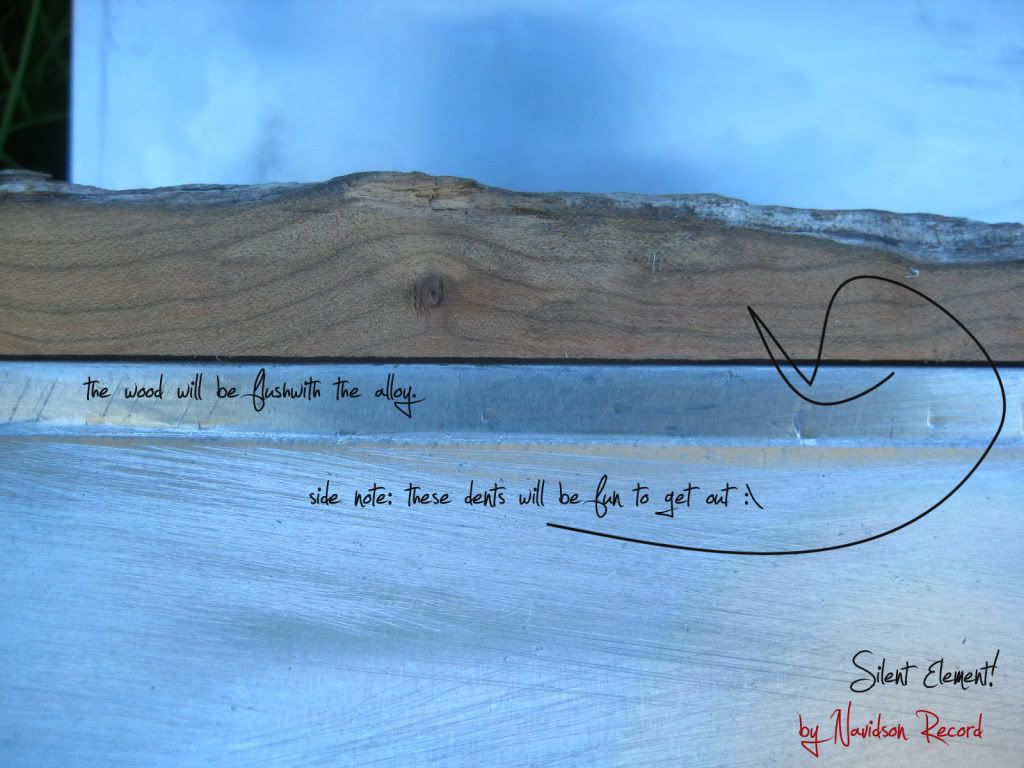
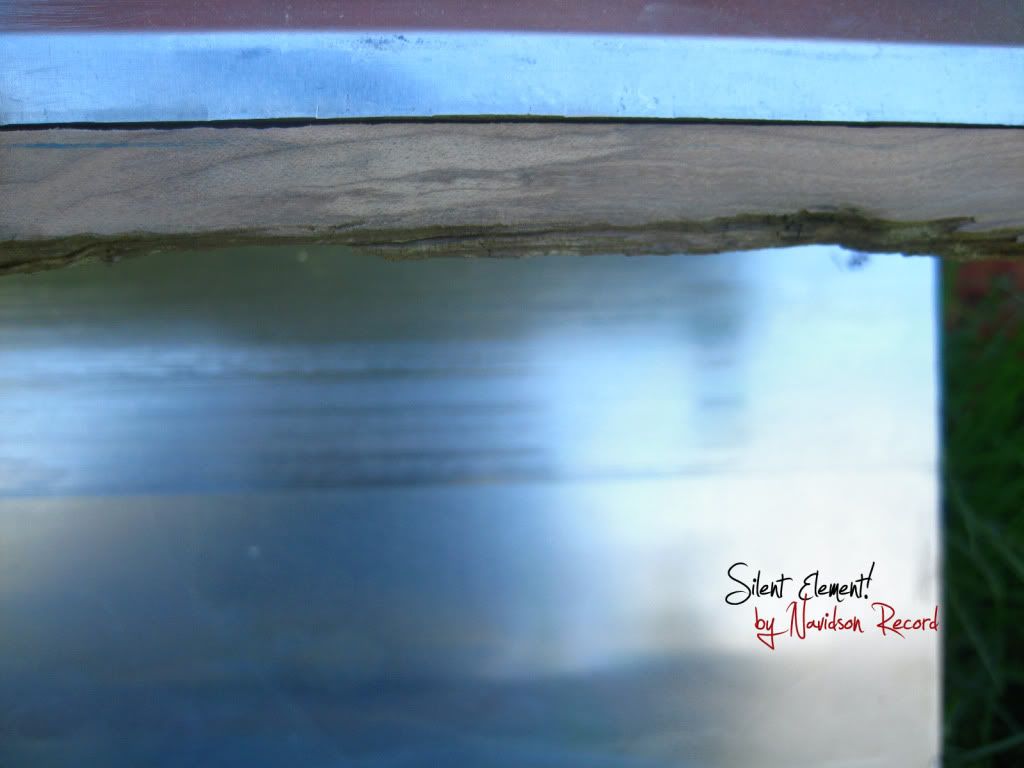
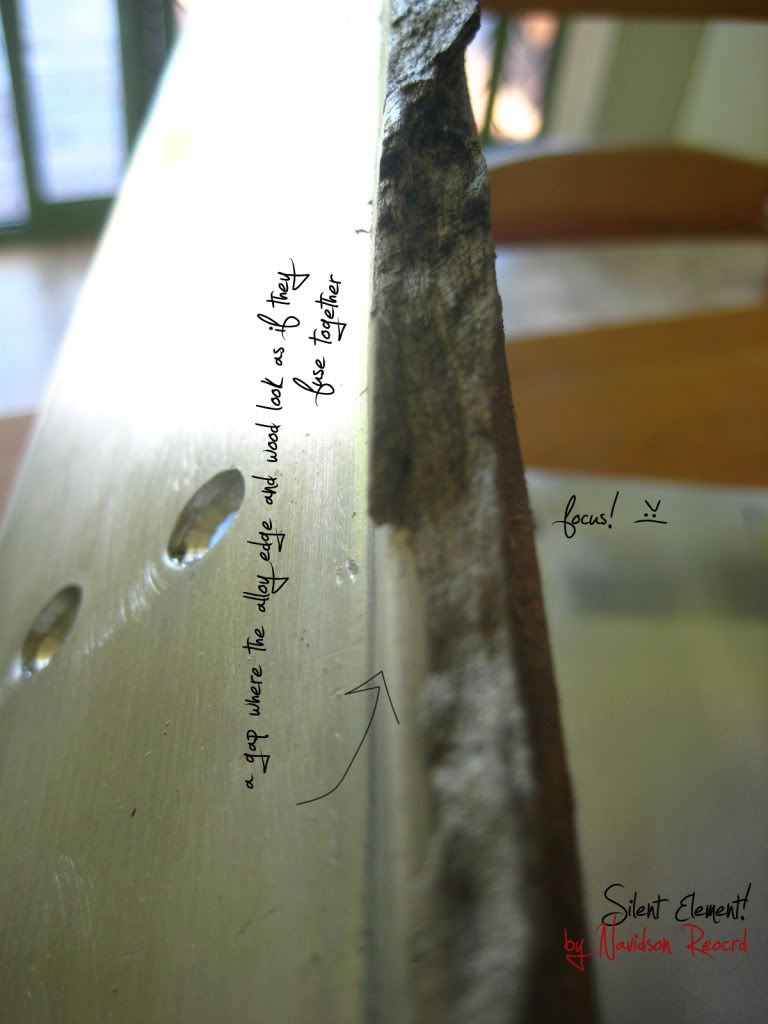
A little update showing things to come. I sanded 1 small part to make sure the deeper scratches would come out, the alloy had been sitting in an aircraft hanger for some time.
I have been planning this build for a huge amount of time and its time to start... I have holidays in 2 weeks and this is my project.
The inspiration has come from a bunch of co-modding members of the forum community and with my own ideas to top it all off. I will be adding stuff as I think of it and hope this will be an entertaining build for myself and everyone interested.
Some might remember my old build Eclipse, sadly it was damaged by removalists when I joined the military earlier this year. I will still be using alot of the gear from it but most was crushed beyond repair.
I guess this is a teaser of the first concept but the overall shape has changed. more soon
This is the original concept I made about 2 years ago but since the shape has changed a little but this shows the outer shell with the inner that can slide out. Once the new sketch up images are finished you will see the new version.
Here is the most recent shape for the front panel, it might change slightly in the manufacture.
The holes in the front will span the entire length of the case. Inside these channels will be fans to intake and expel air to the case. These intakes and exhaust will contain sound trap foam wedges to stop any sound generated escaping, hopefully making this case 100% silent.
With 2 intakes in the bottom and 1 exhaust in the top the the air will be excellerated through a radiator in top with all the positive air pressure generated.
I will be making a mock up of the idea to be sure it will work and if it dose it should make quite effective use of air and watercooling in unison.
Here is a bunch of the concept sketches I drew at work over the last few months.
My new helper. Everyone needs one
I Have been working on a way to bend the alloy shell without a bender.
90 degree router bit and bend by hand either inward or out...
I will weld up the cut to ensure strength after.
anyone got a better Idea?
It begins...
So here is the bending efforts done yesterday
hehe cant spell :wallbash:
OMG craziness has no y!!!:duh:
A bit more from what i have done today.
I was wondering why my camera was 'le crap' excuse my French. I had it on crud setting to send a receipt copy to steam and their upload size was like 200kb. So from now on my images will look a lot nicer. Sorry It took this long to realize.
Much better!
Geez! so many updates today. I guess when your on holidays you have a alot of time on your hands!
The internal will slide out without the need to unplug anything but you will need to wait for me to start the internals before you know what I'm on about.
A small update where I started mocking up the internals.
A little update showing things to come. I sanded 1 small part to make sure the deeper scratches would come out, the alloy had been sitting in an aircraft hanger for some time.
Last edited: