The Little Black Box : The Sketches

HUGE Update!

Well today I was happy to say I received the acrylic for the case, and also the power switch!

Well, by now you should know me and I hate waiting to do things so I got started right away with the acrylic.

I went ahead and cut out 3 sides 185mm x 217mm for the case and also the mobo tray.
Mobo-Tray-001.jpg


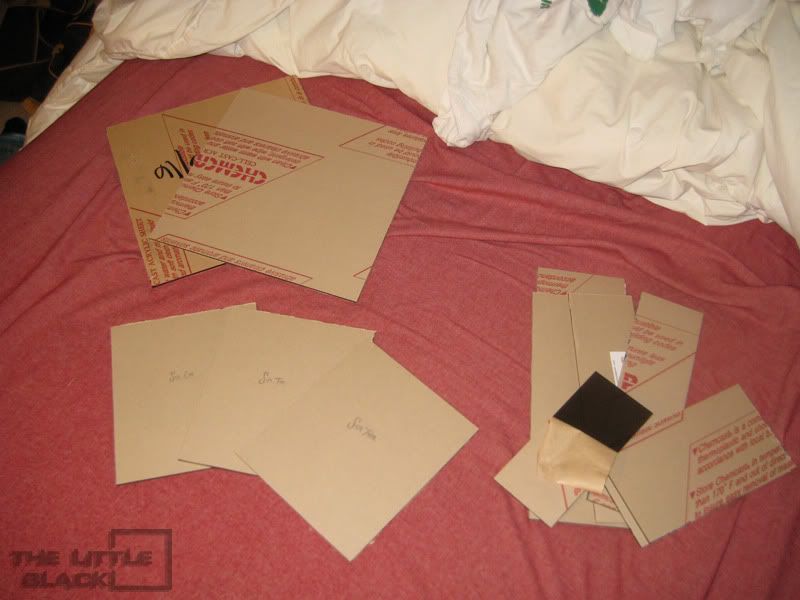
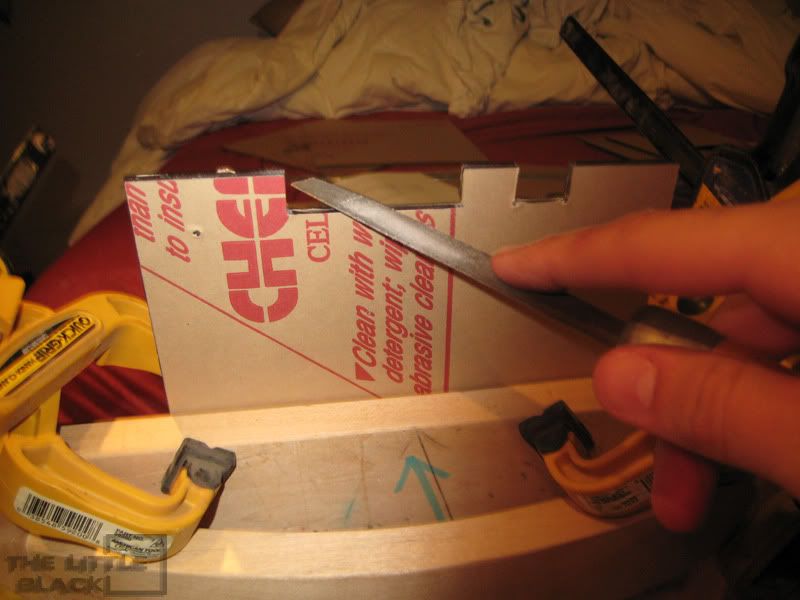
I used a razer to score the acrylic and then broke it off. I was surprised on how well this worked.

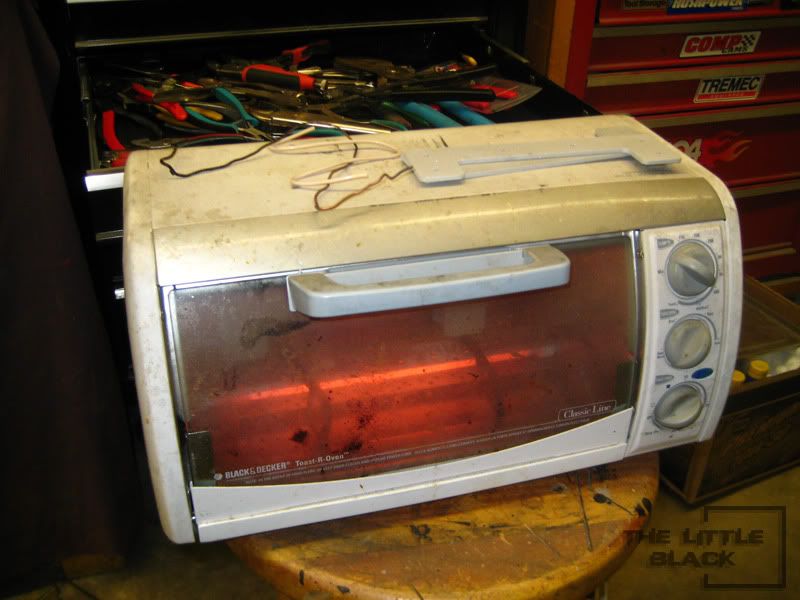
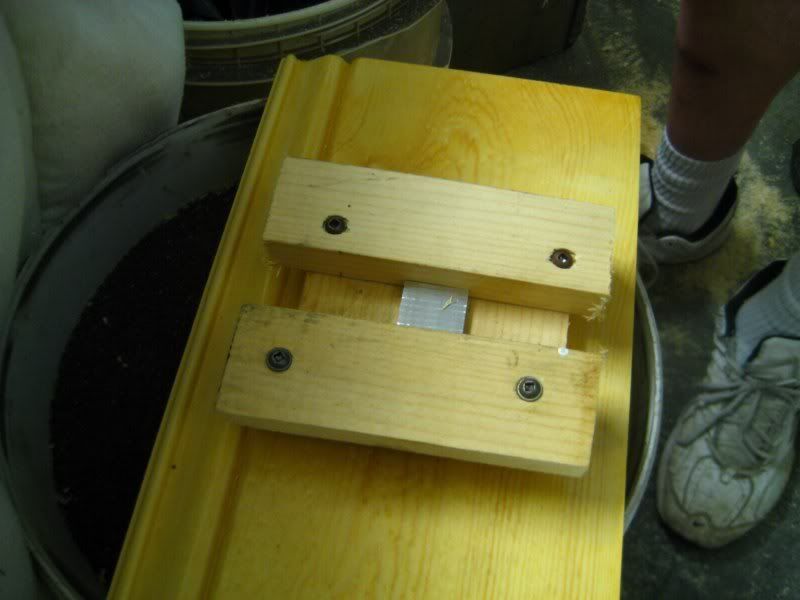
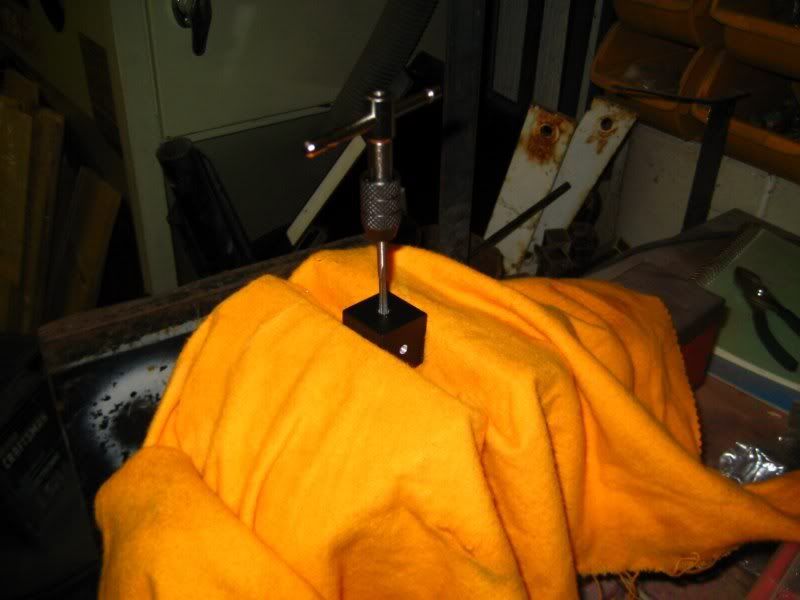
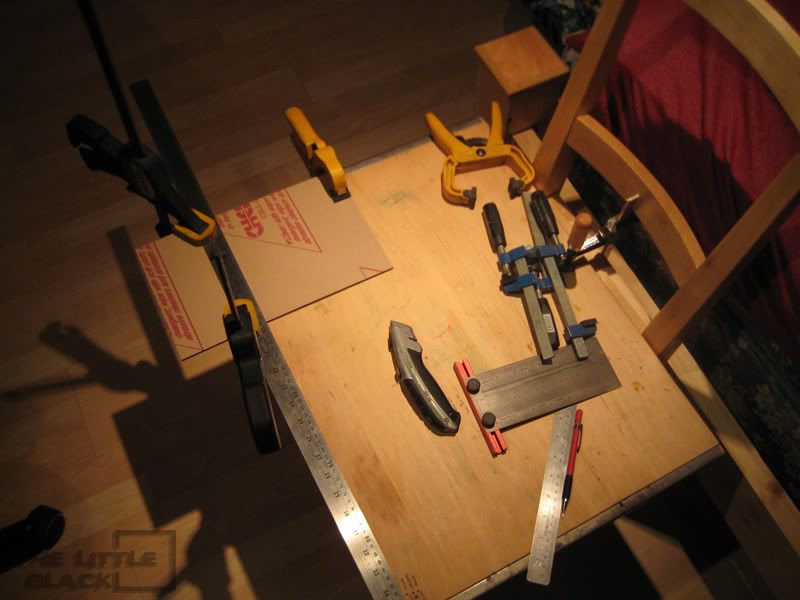
Heres my make shift workbench in my room.
Mobo-Tray-002.jpg


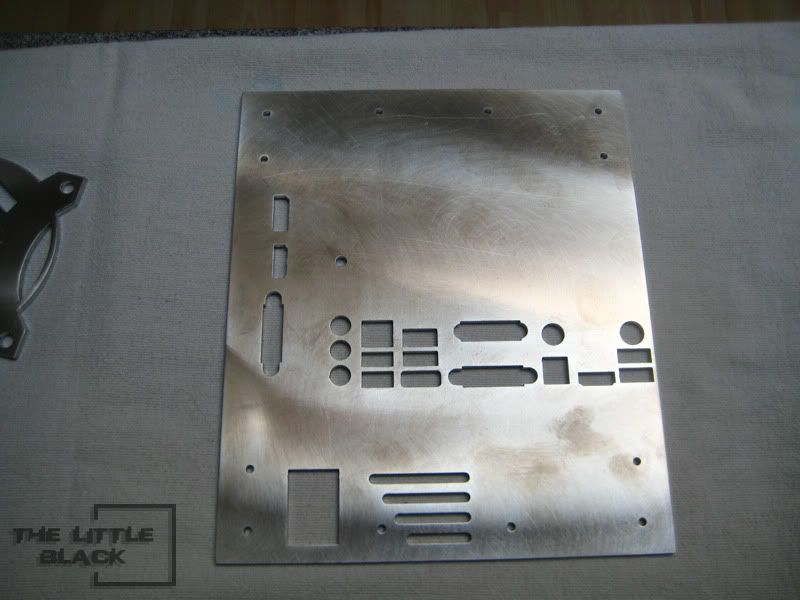
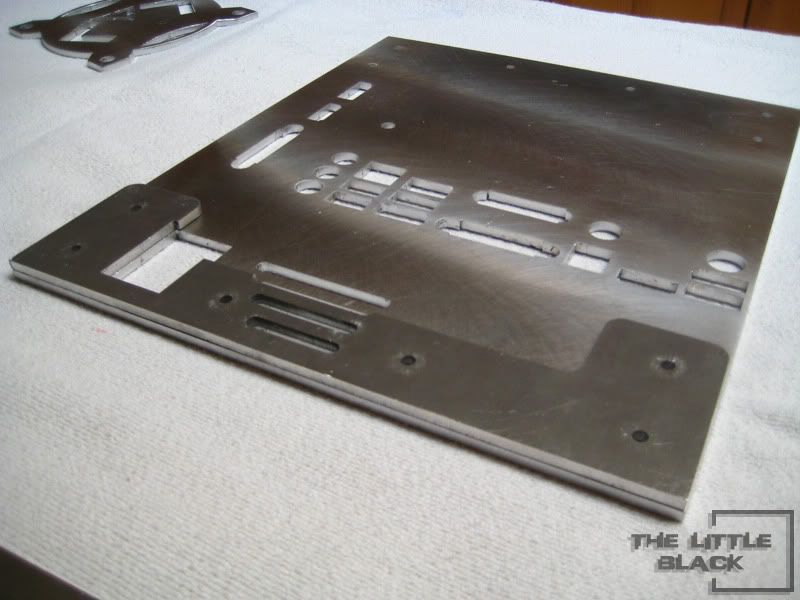
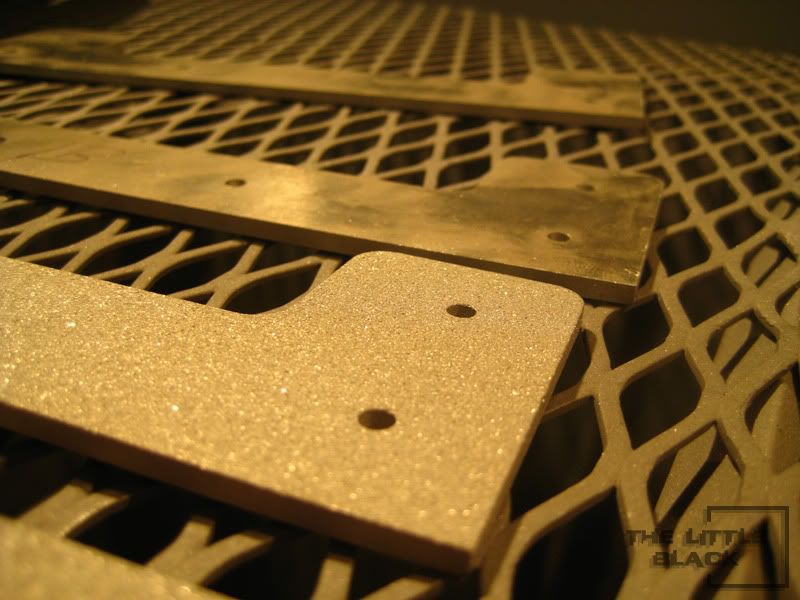
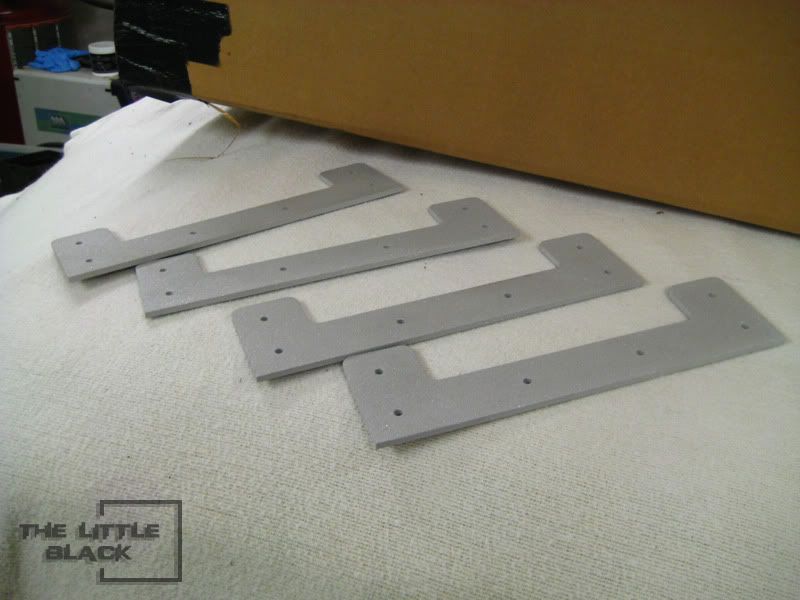
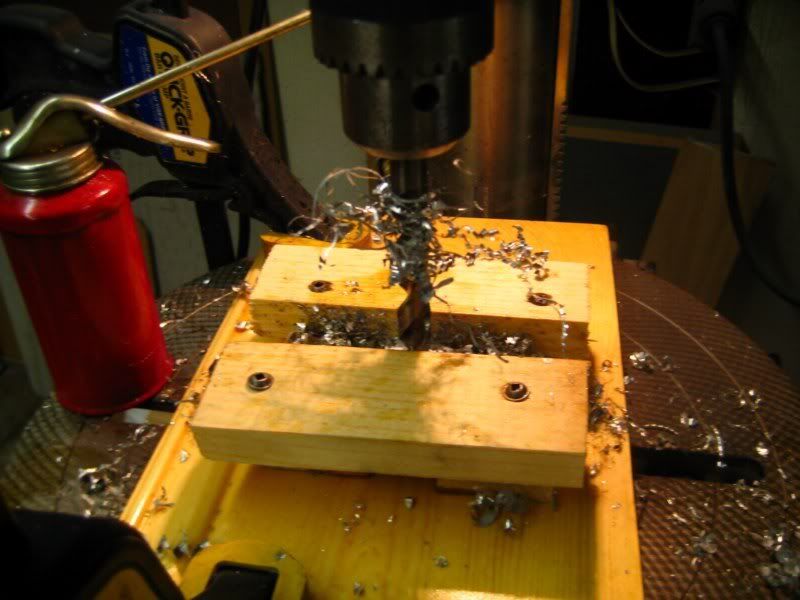
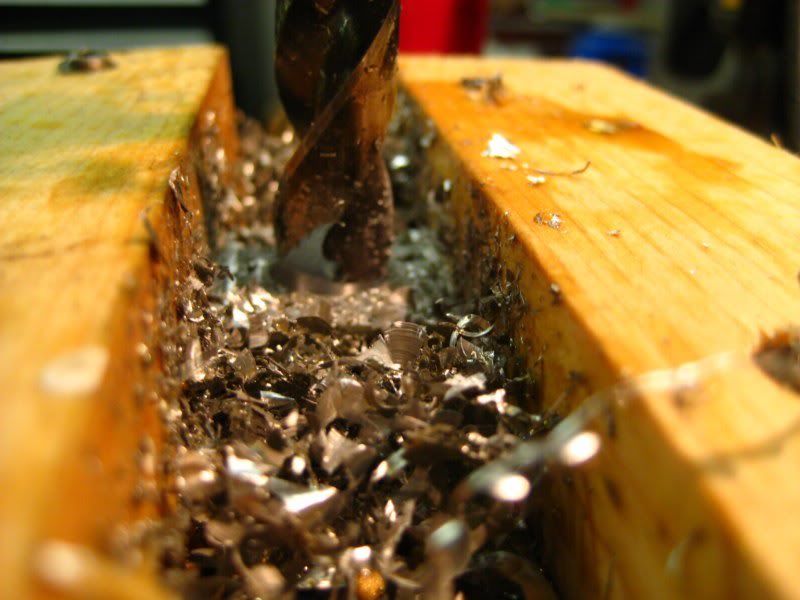
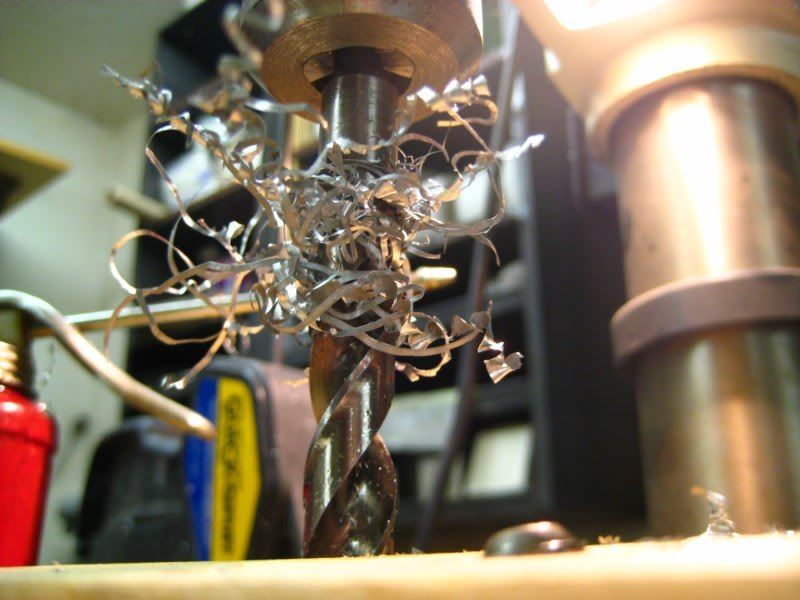
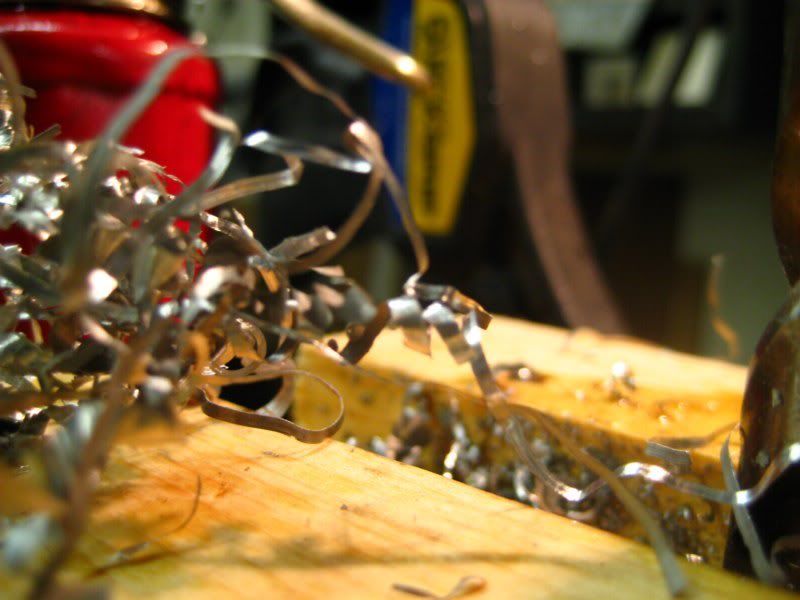
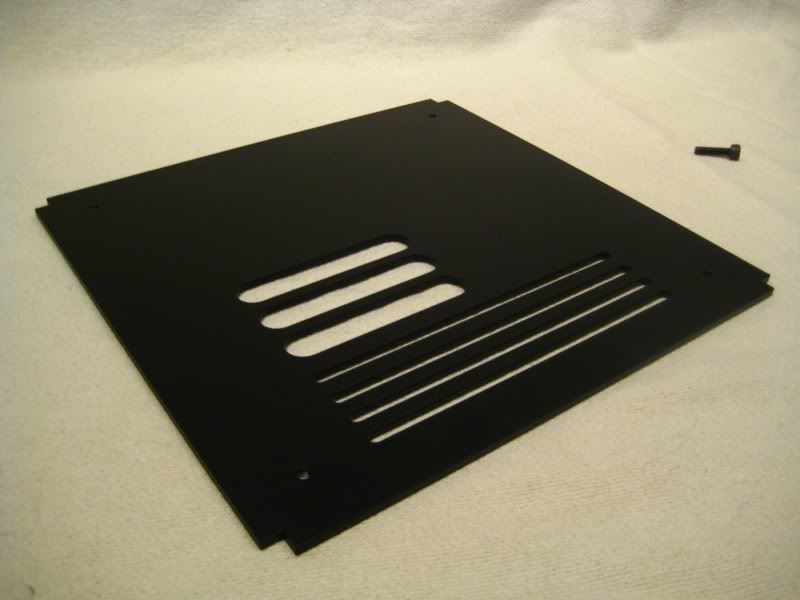
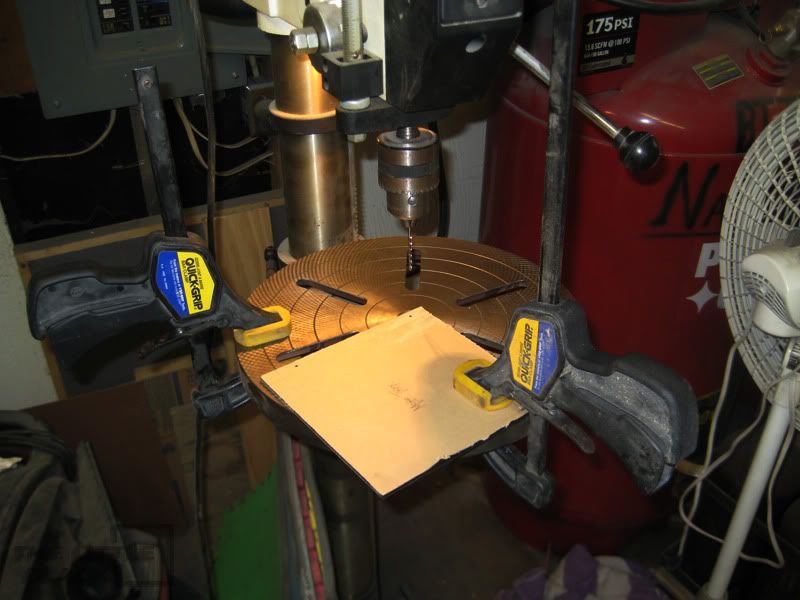
After getting them all cut out, it was time to mod the mobo tray and drill the holes.

Here is the mobo tray on the drill press
Mobo-Tray-005.jpg


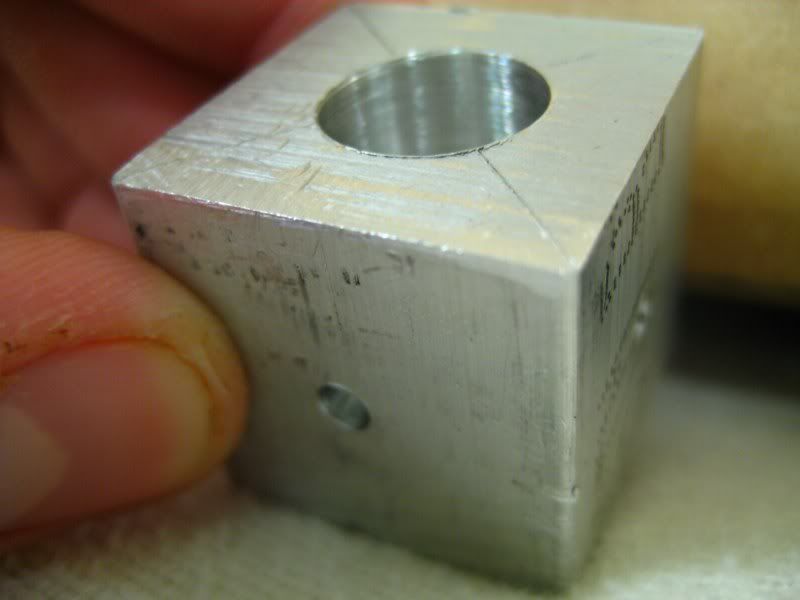
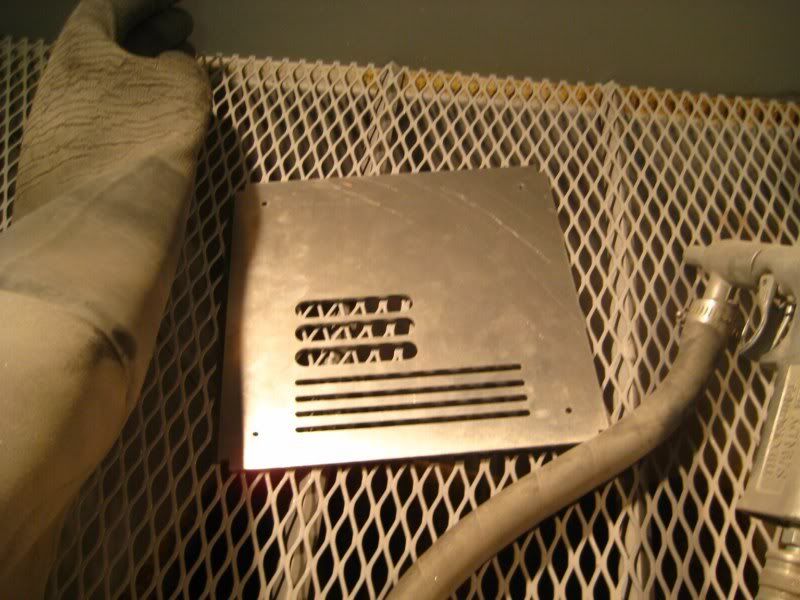
After the holes were drilled I cut out spots for the 24 pin cable to come through and also the 4 pin,
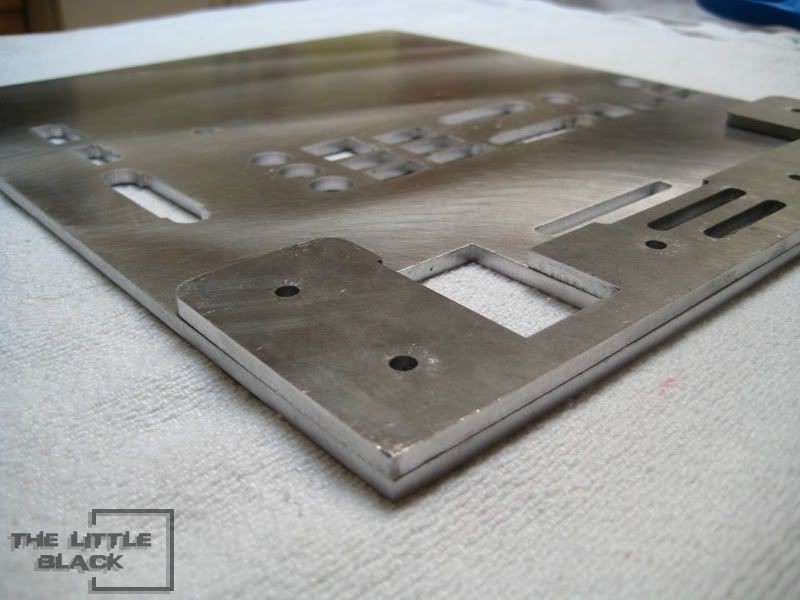
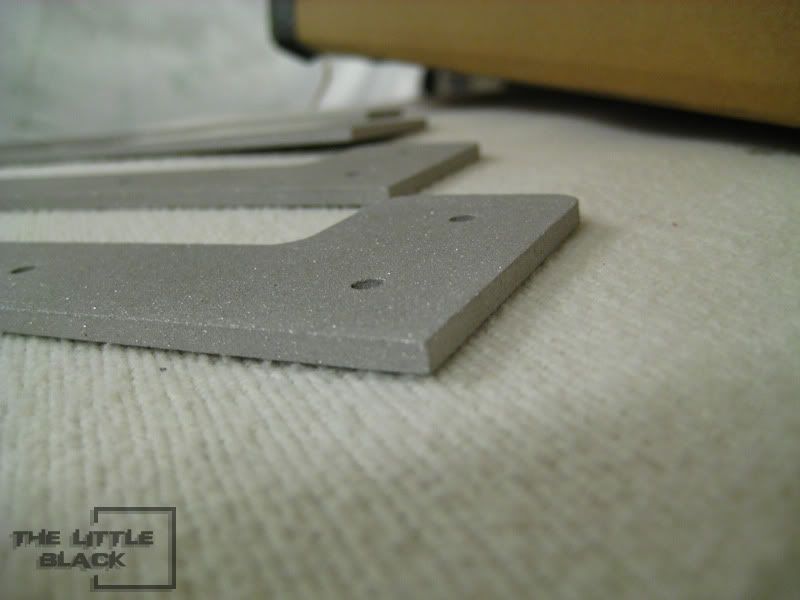
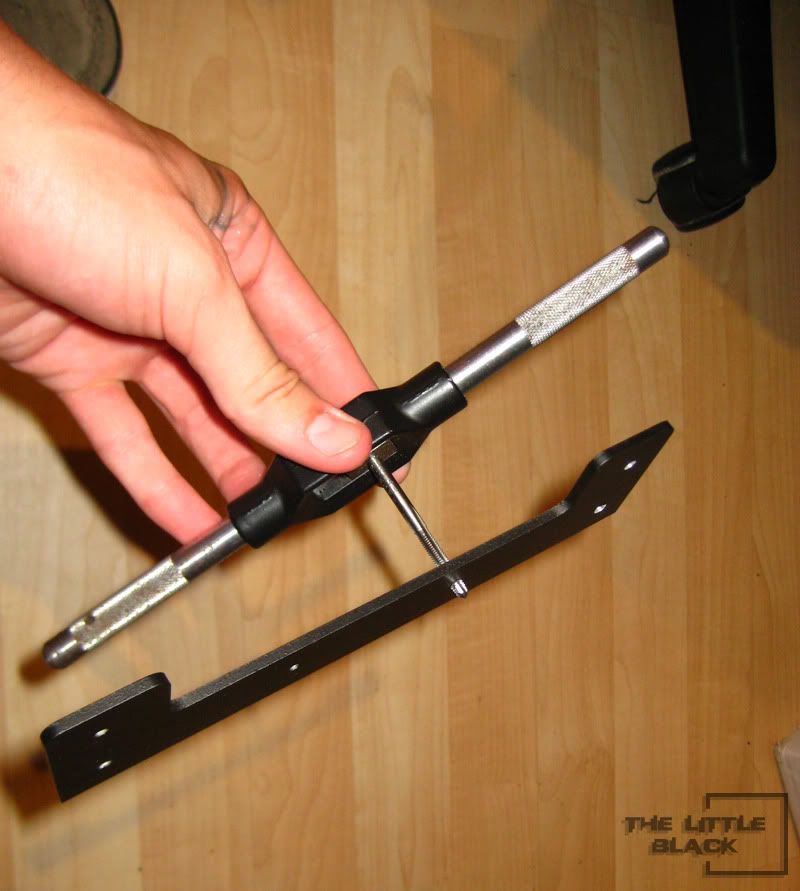
in this picture you can see my filing down the edges and getting them perfect
Mobo-Tray-007.jpg


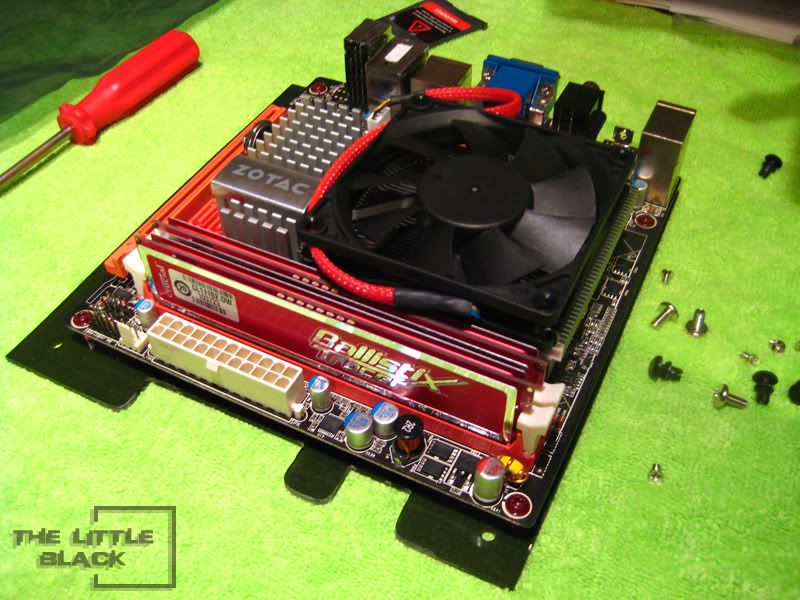
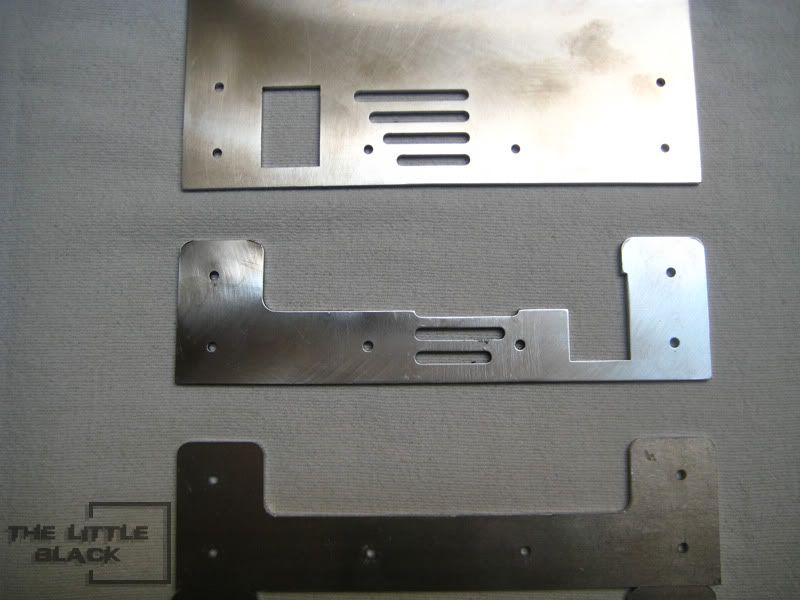
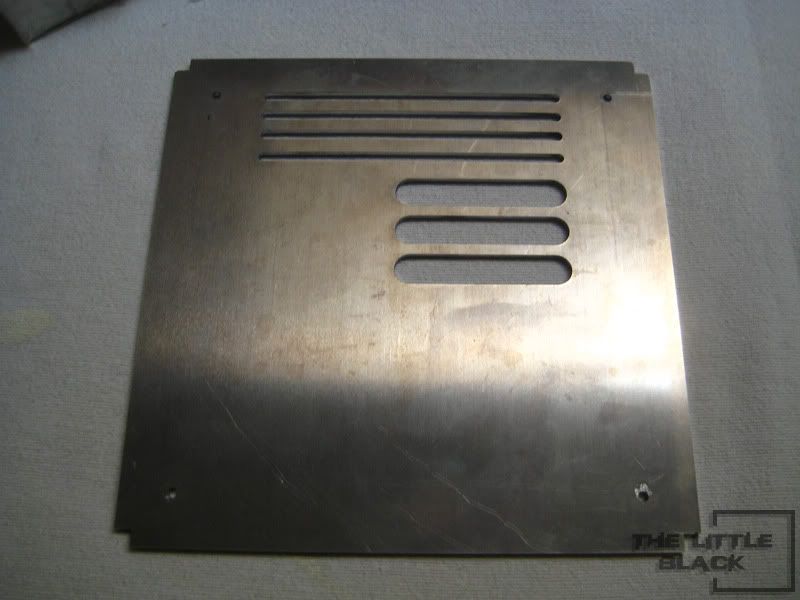
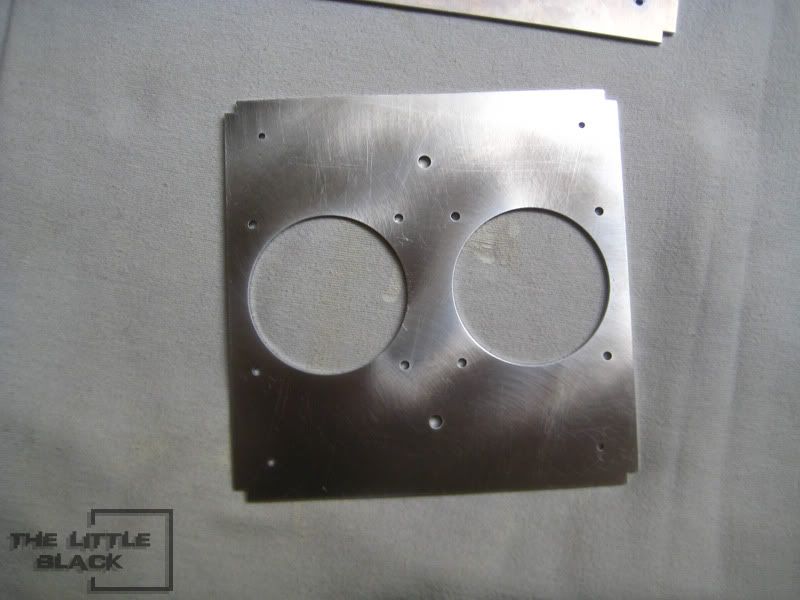
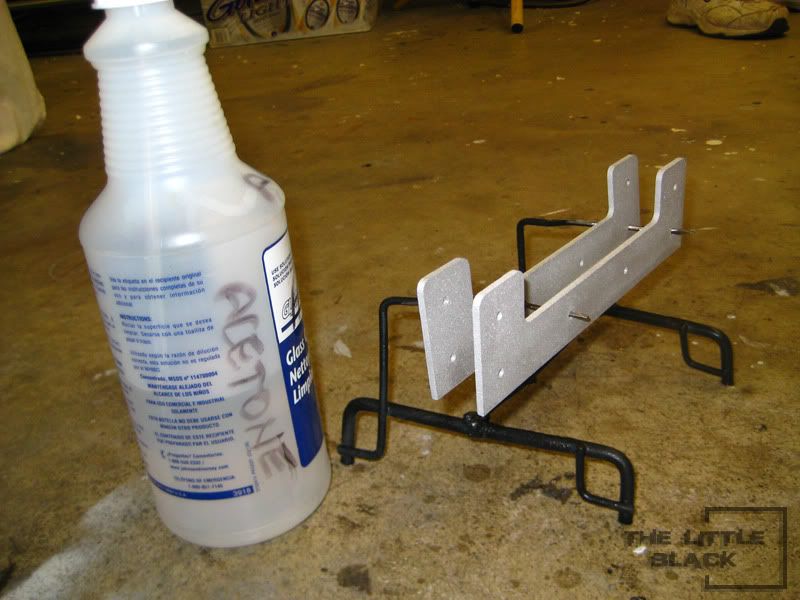
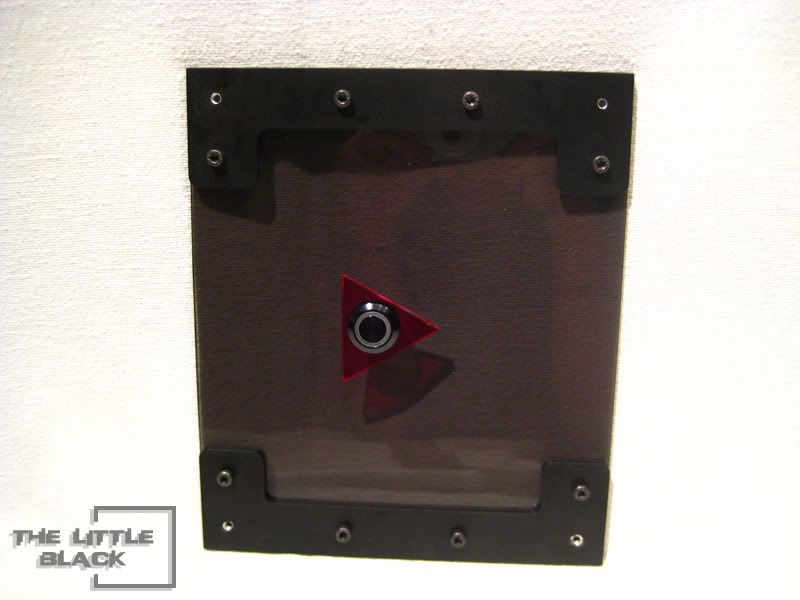
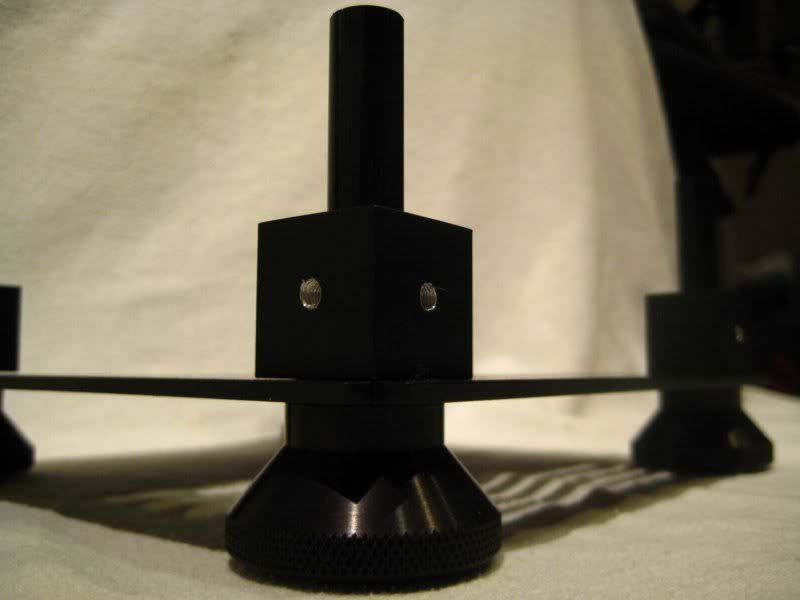
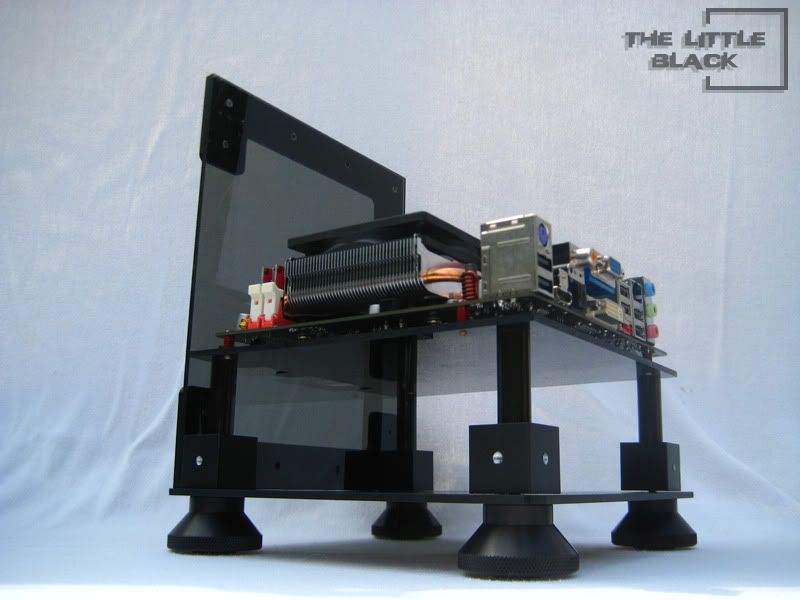
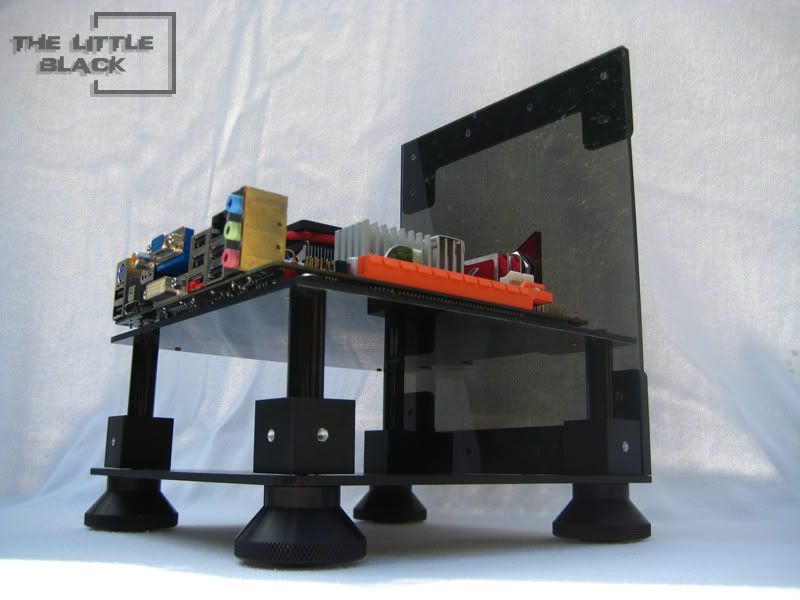
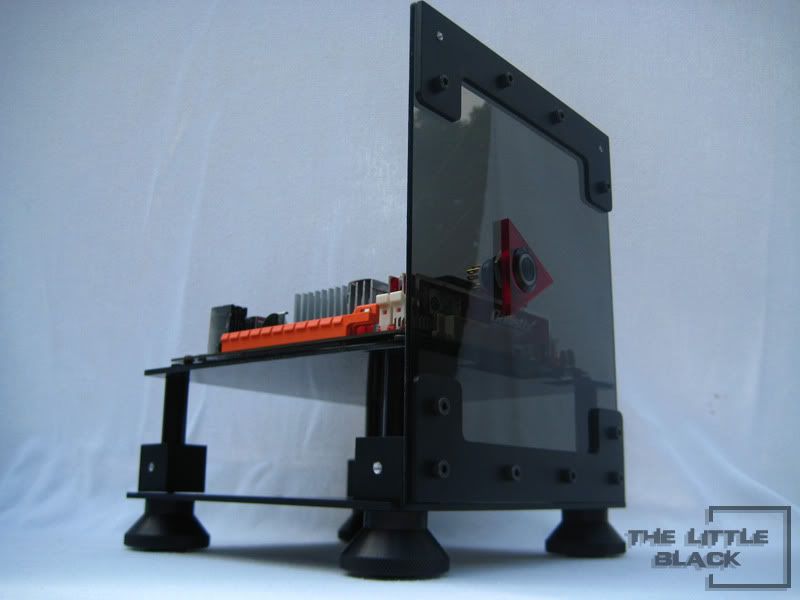
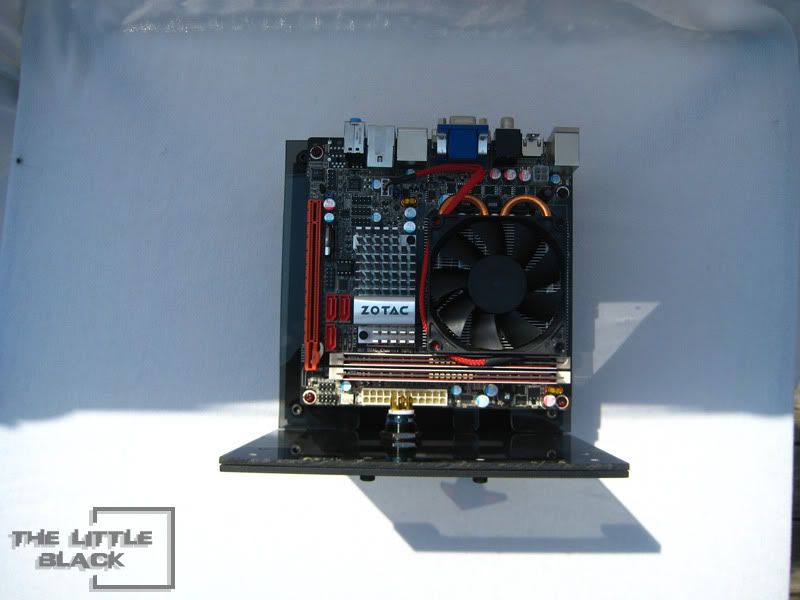
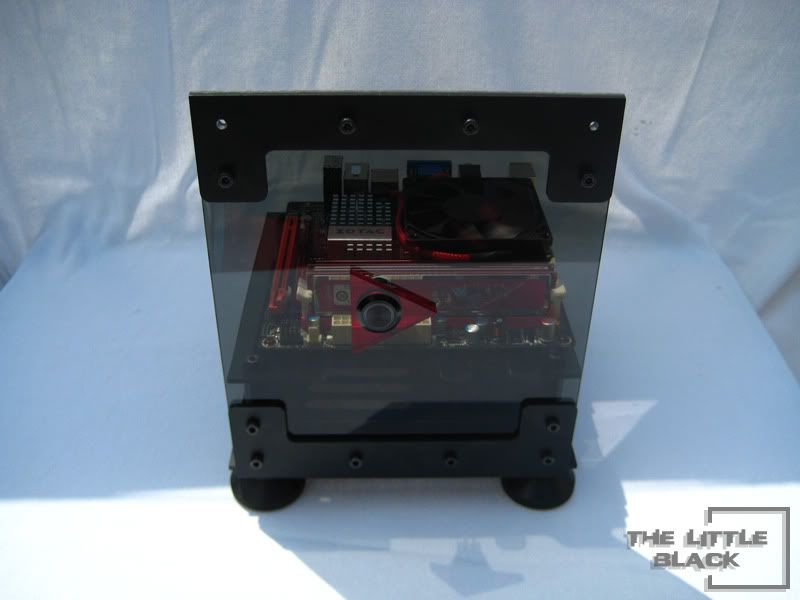
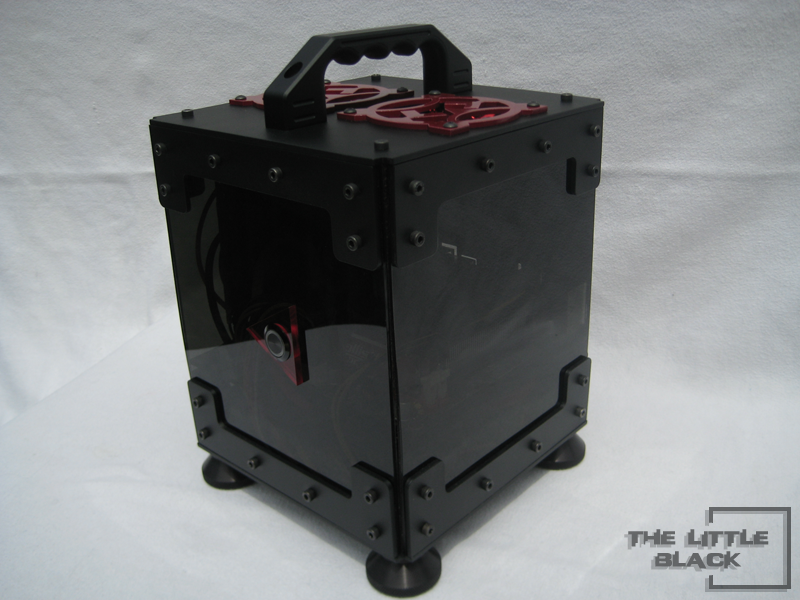
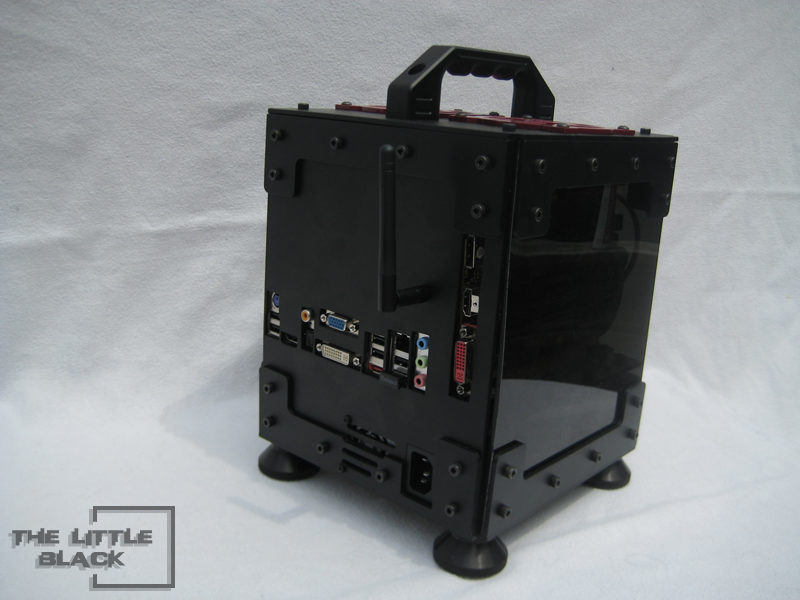
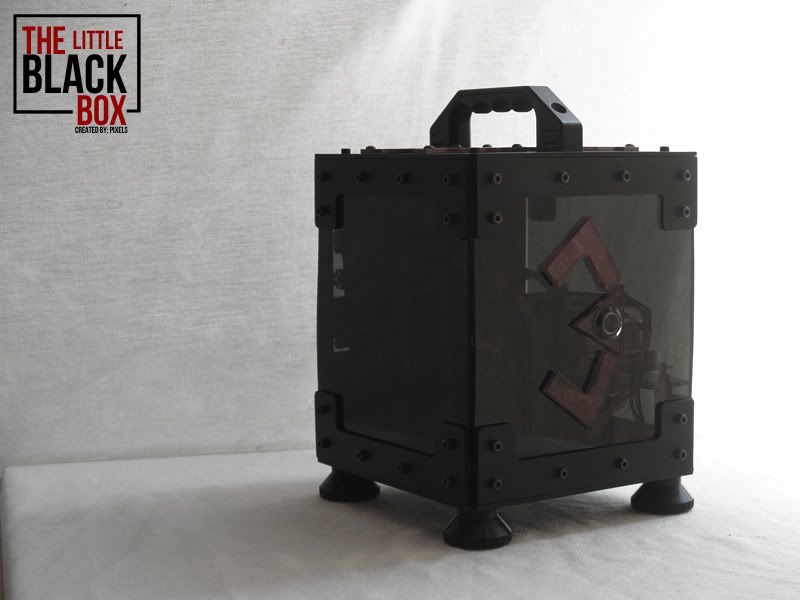
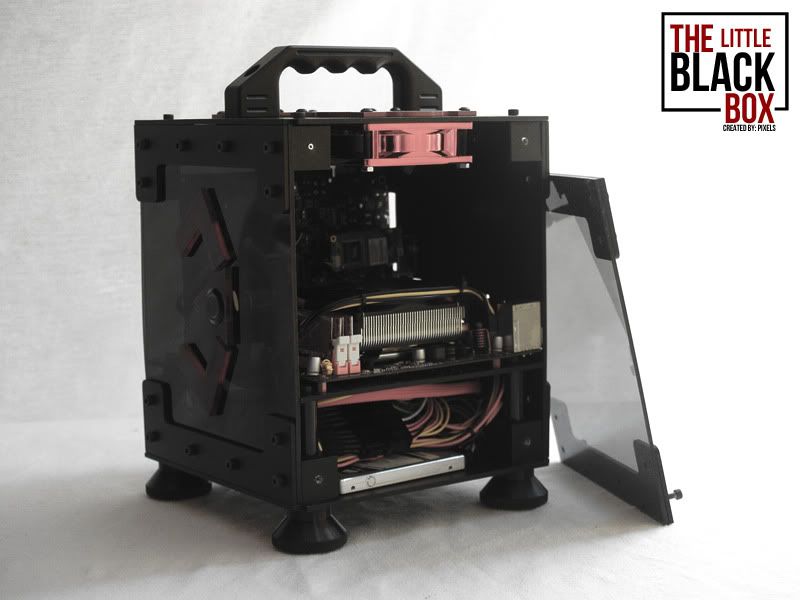
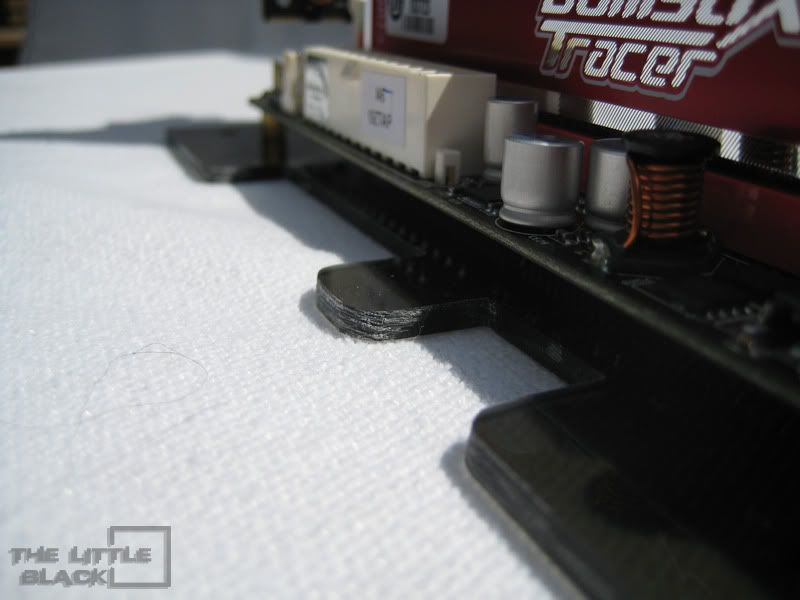
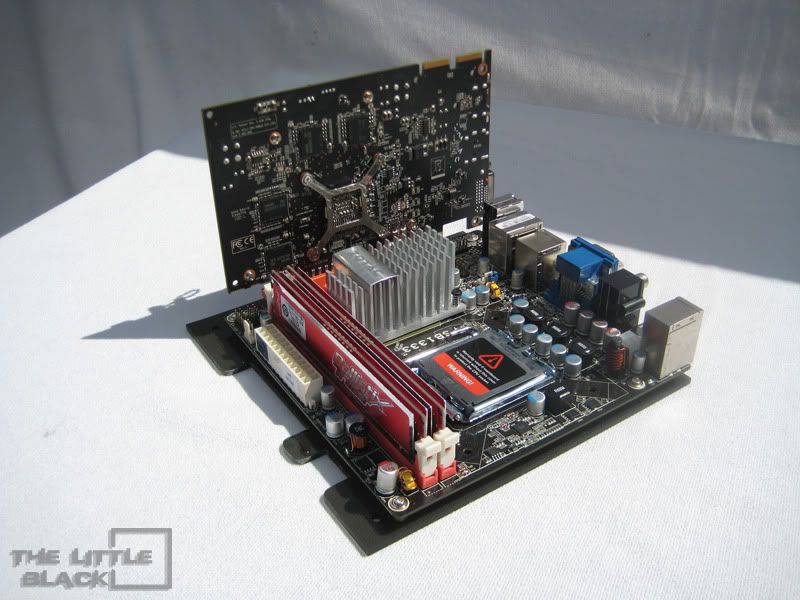
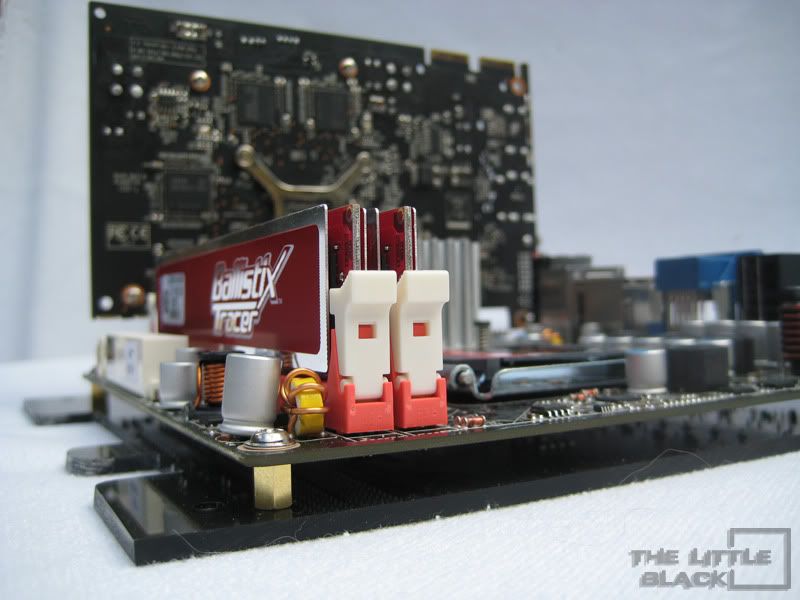
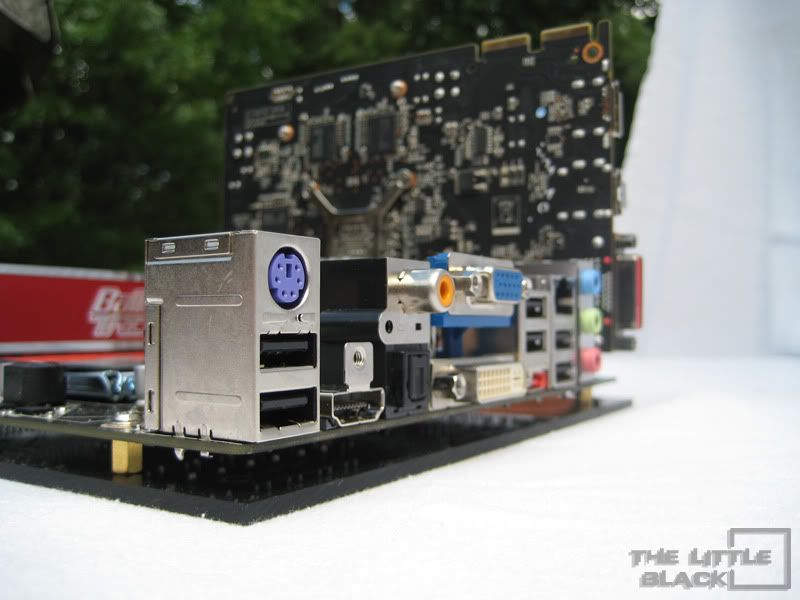
Last but not least I leave you with a bunch of glory shots. of what I have done so far.
Mobo-Tray-010.jpg


Mobo-Tray-011.jpg


Mobo-Tray-012.jpg


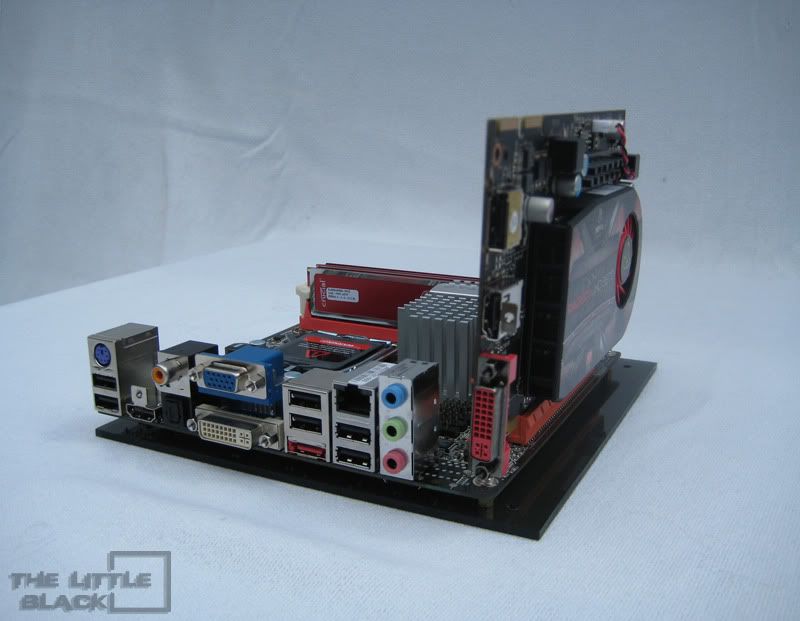
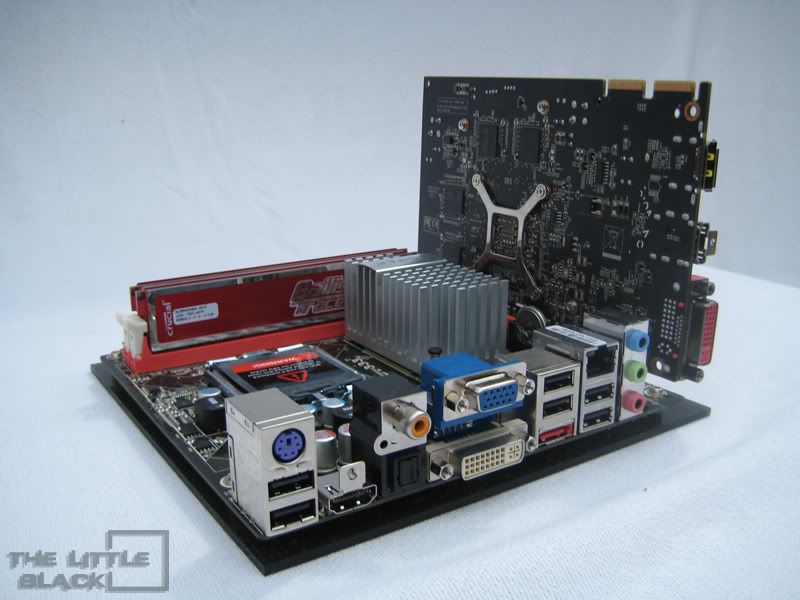
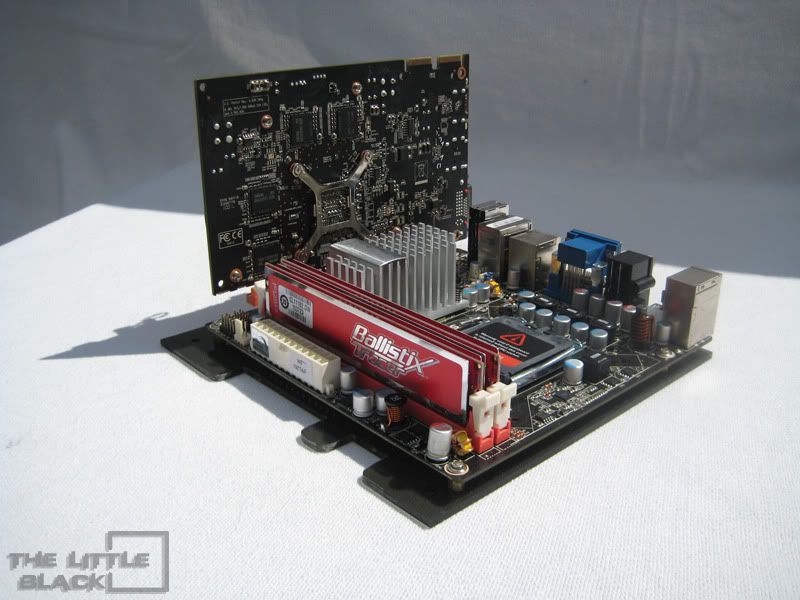
As you can see here the edges on the acrylic aren't see through, this will be fixed before the whole case comes together, I will be buffing it.
Mobo-Tray-014.jpg


Mobo-Tray-016.jpg


Mobo-Tray-017.jpg


Mobo-Tray-019.jpg


Mobo-Tray-020.jpg


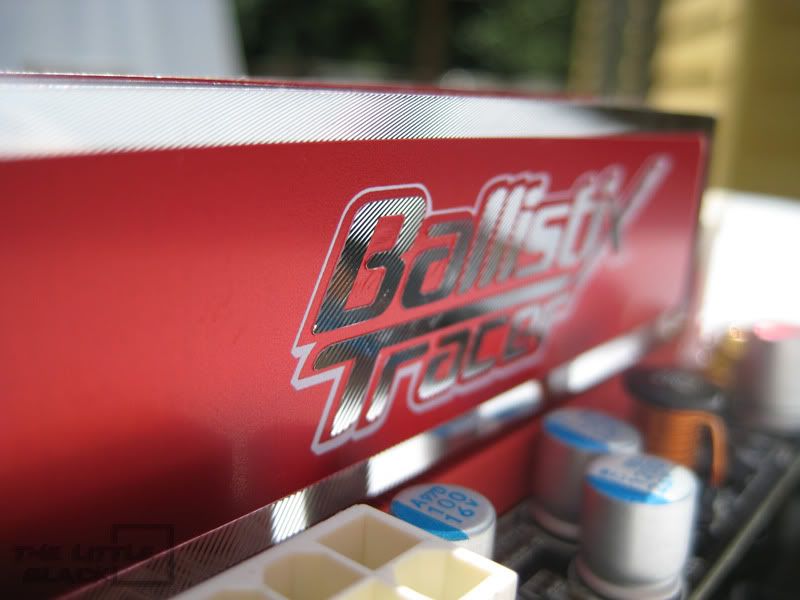
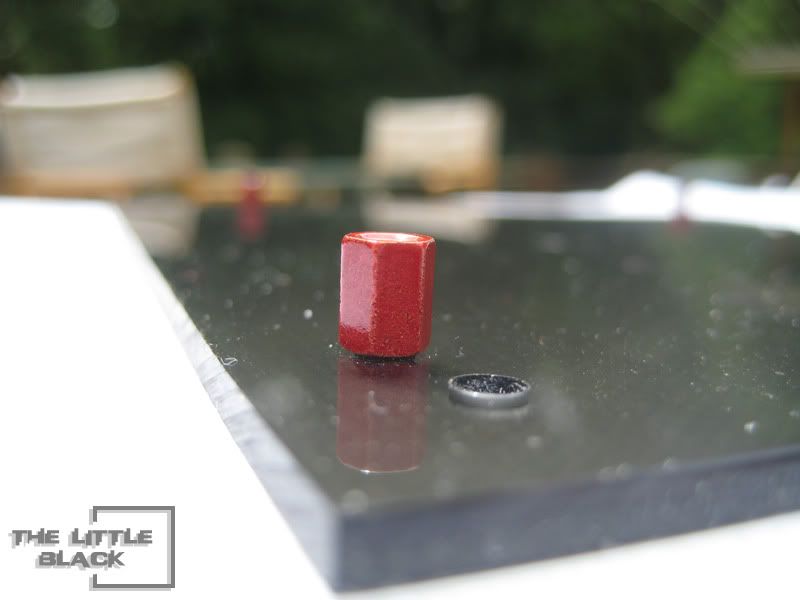
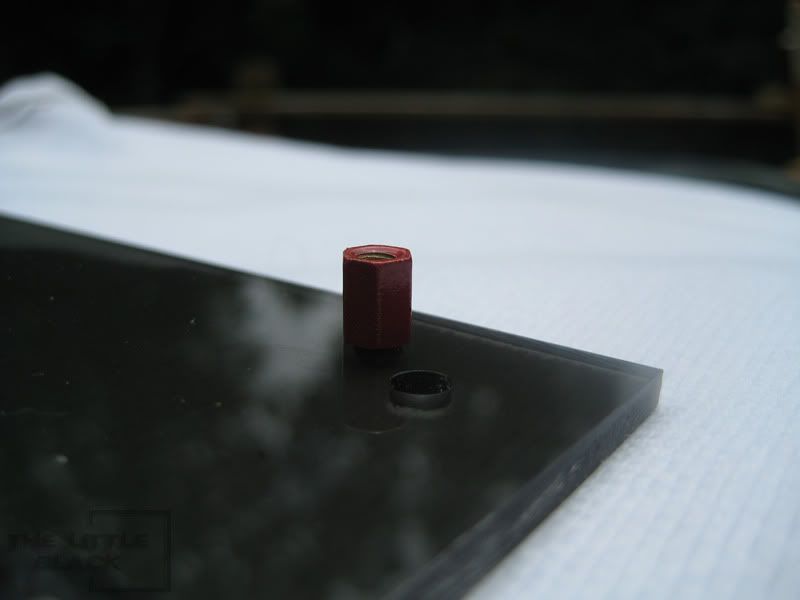
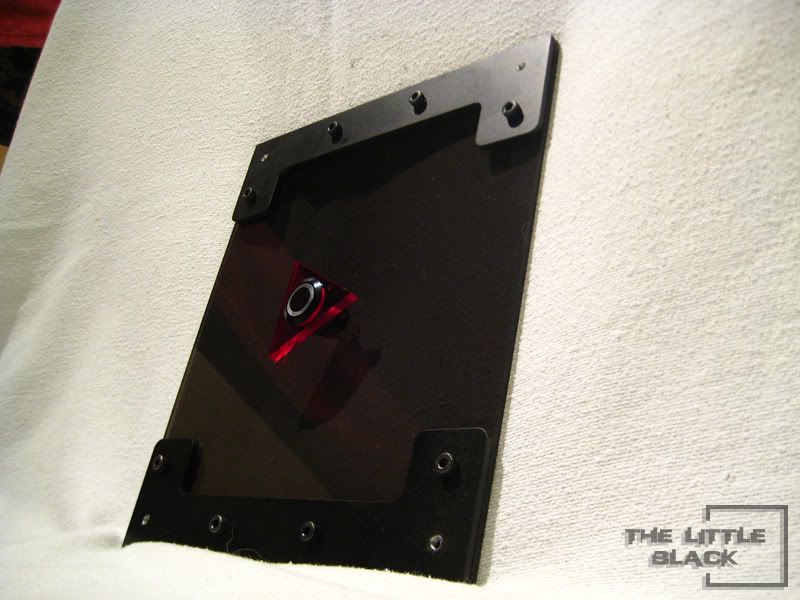
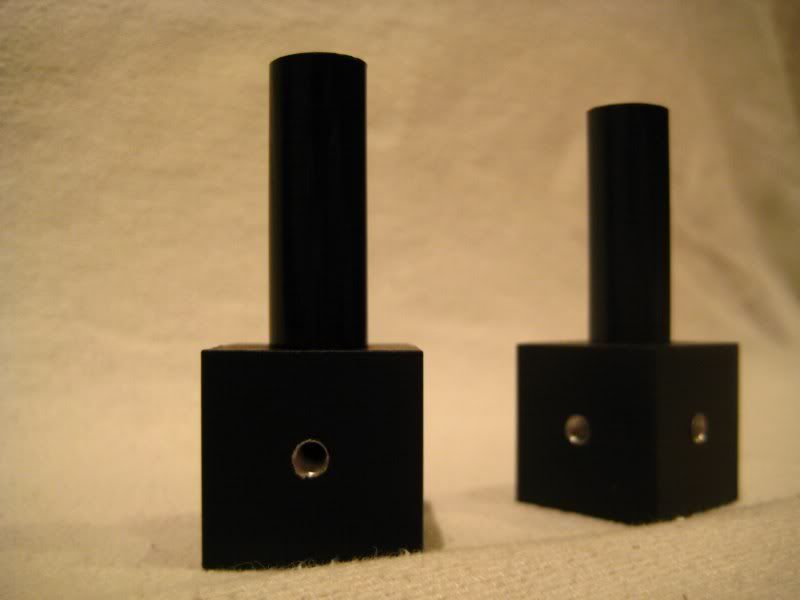
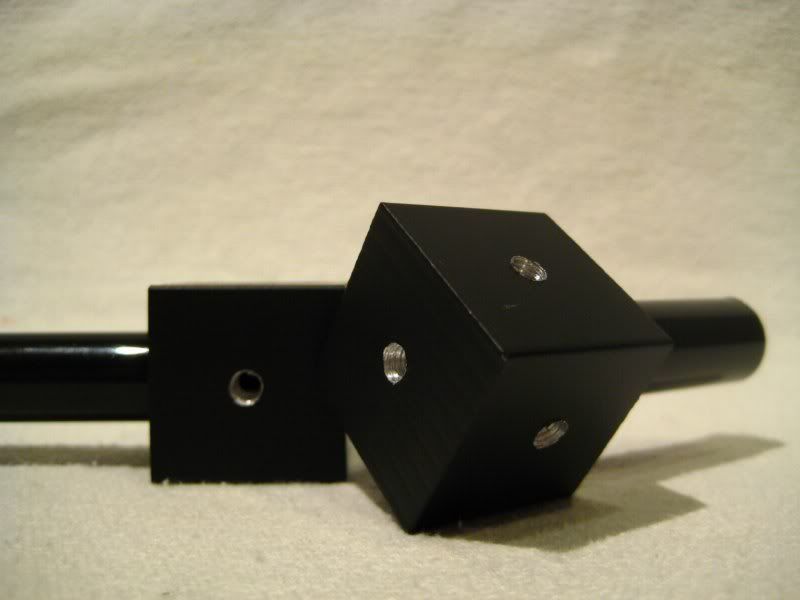
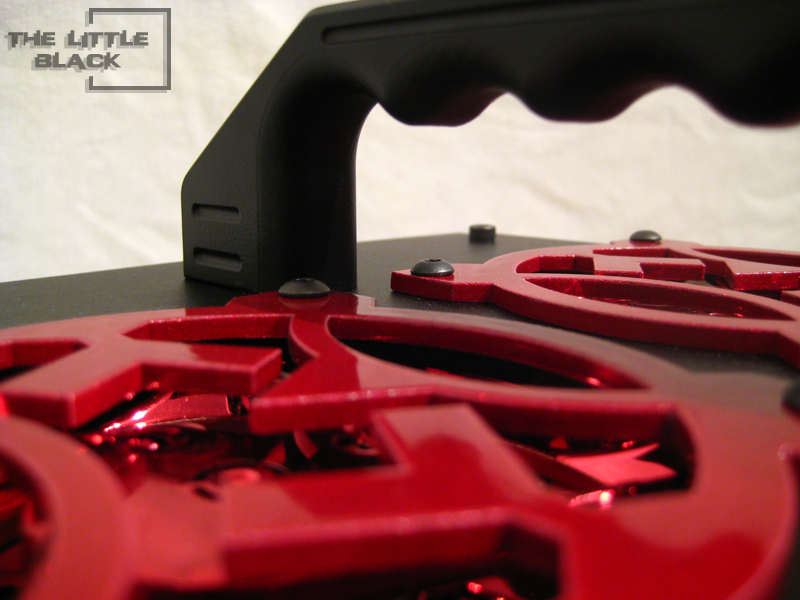
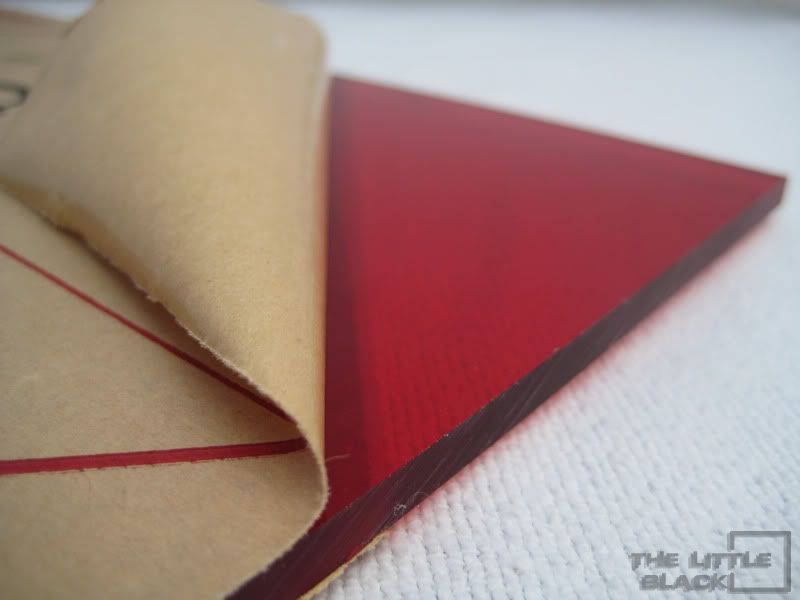
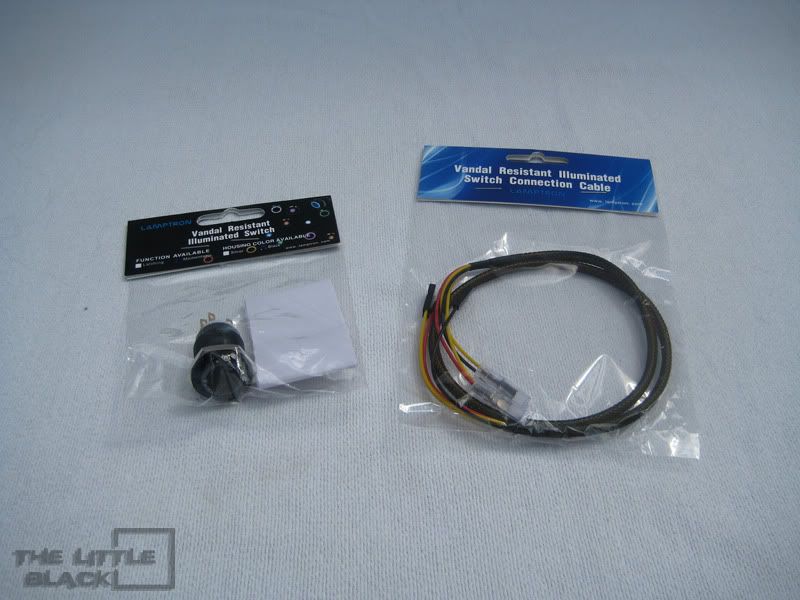
These next pictures are to give you a clue of what is to come next,

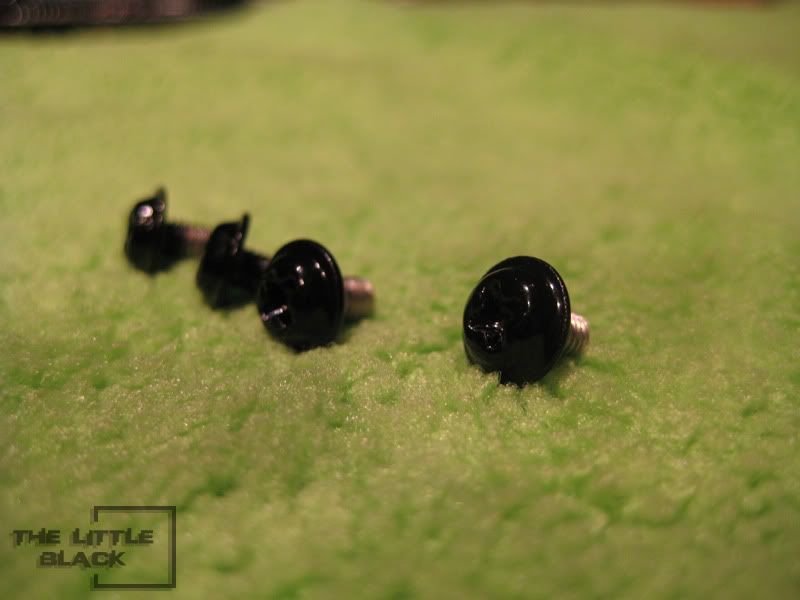
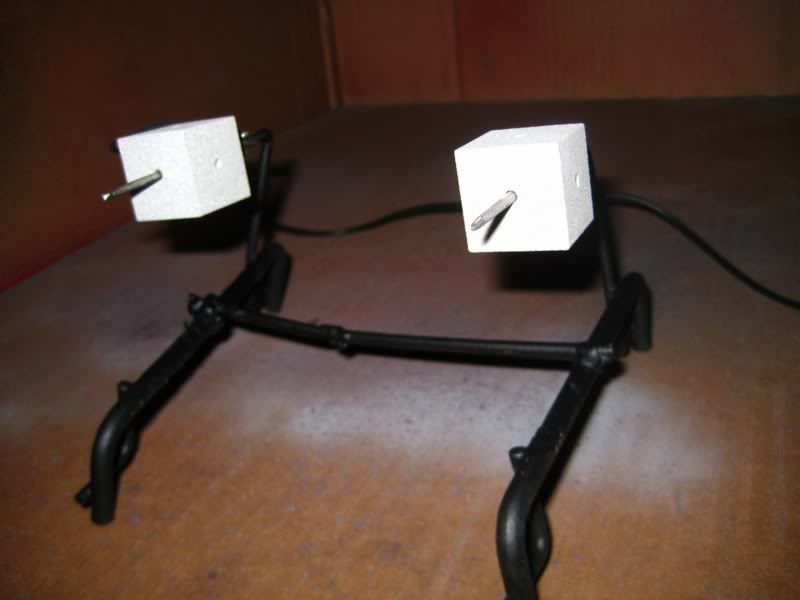
The Red Acrylic will be used to for the logo on the front on the case, and also a couple pictures on the black vandal switches I got with a Red Ring LED.
Mobo-Tray-025.jpg


Mobo-Tray-027.jpg


Thanks for keeping an eye out on this build, more to come soon!!!

Pixels
 
mmm starting to pickup interest.. i like mini builds
 
Small Update:

Well in the paste few days I have been working 10 hours a day and have very little time to mod... It sucks! But I did get a little done today.

I think I took modding to a whole new level of detail, I cant say I've seen anyone powder coat the motherboard stand offs and mobo screws but, I bet someone has.

Well I did that today and boy they look awesome! I found out I had RED ANODIZED color so I will be testing that to see how it looks. Red mobo stand offs and mobo screws will totally rock on this case.

Also arriving tomorrow will be my SSD and CPU for the computer and also hopefully all the laser cut ALUMINUM!!! Enermax has also sent out today 2 Apollish Red fans for the case!

I'll leave you with two pictures of the mobo stand offs and the screws. Until tomorrow, Thanks for viewing.

- PIXELS!


Mobo-Stand-Offs-001.jpg


Mobo-Stand-Offs-002.jpg
 
Update

Well in the last couple days I managed to powder coat the stand offs red and man do they look good. Also received my Micro CPU cooler for the case be the stock one looked terrible and sucked ***. So I sleeved the new one and powder coated the bottom bracket black.

Here are some pictures to keep you guys entertained until next week when I receive my aluminum!!!

Red-Mobo-Stand-Offs-006.jpg


Red-Mobo-Stand-Offs-003.jpg


CPU-Heatsink-003.jpg


Oh and also made the logo for the front of the case! May redo though. I will try and buff it.

Red-Acrylic-Logo-002.jpg


Red-Acrylic-Logo-003.jpg
 
Well in the spirit of Fathers Day, it was beautiful outside and I wanted to get some modding done! So after going to Chillies for lunch, mmmm mmm good I got home and decided I didn't like the old logo I made for the front of the case, it looked like I rushed it... which I did so I made a new one. I also realized the middle of the triangle piece would be a fantastic spot for the power button, SO without further adieu, let me take you on todays modding journey! Oh and P.S. I couldn't decide which pictures I wanted to post so I posted them all, Enjoy the modding porn!

First I must do a shout out to oliverw92 on the [H]ardOCP Forums. He gave me some instructions which worked perfectly on polishing the edges up.

So Here is my work area outside on the beautiful day
As you can see I have 4 different pieces of sand paper. 80, 120, 240, 400.
These were key to polishing up the sides after I cut them

New-Front-Logo-001.jpg


New-Front-Logo-012.jpg


Here is two of the three pieces I have cut out for the logo, if you look at the triangle piece you realize I didn't cut the middle of this one out, wait till you see what I have in store!

New-Front-Logo-002.jpg


Here's the piece of Red Acrylic I was cutting out of, I had to cut one of the parts three time due to the first one cracking and the second time the Dremel got away from me and scratch the top of the piece.

New-Front-Logo-011.jpg


Heres a cool picture of the saw blade I used to cut the acrylic, as you can tell its getting pretty dull.

New-Front-Logo-016.jpg


Oh look, What is Pixels doing he just drilled a hole in the triangle.... WTF?!?!?!
Don't worry I did it on purpose. You'll find out soon enough!

New-Front-Logo-004.jpg


Gotta love Macro pictures heres a couple awesome ones!

New-Front-Logo-005.jpg


New-Front-Logo-006.jpg


Well after sanding all the edges of each piece starting with 80 and ending with 400 its time for a little POLISH!

New-Front-Logo-003.jpg


New-Front-Logo-013.jpg


Oh me and my Macro Obsession!

New-Front-Logo-015.jpg


After polishing its time to give these babies a bath! Time to get them squeeky clean.
OH MY LOOK AT THOSE EDGES!

New-Front-Logo-008.jpg


New-Front-Logo-009.jpg


And now to my favorite part the Photo Shoot! Enjoy all the pics, theres A LOT!

New-Front-Logo-017.jpg


New-Front-Logo-018.jpg


New-Front-Logo-020.jpg


New-Front-Logo-023.jpg


Does the Vandal Switch give you a hint why I drilled the hole now?!?

New-Front-Logo-024.jpg


New-Front-Logo-027.jpg


New-Front-Logo-026.jpg


New-Front-Logo-025.jpg


The hole is to hold the switch! Should be a kick ass power button on the front

New-Front-Logo-028.jpg


New-Front-Logo-029.jpg


New-Front-Logo-030.jpg


Hop you enjoyed! My aluminum will be here ready for next weekends modding until then, HAPPY MODDING!
 
Looking good. Now that you have a hole in the front for the switch, the logo kinda looks like it's saying "LOL!"
 
Well another huge update to give you guys! I received my aluminum!
Everything was perfect except for the top piece they cut out wrong so working on getting a new one cut. But that won't slow my down! I can get everything else done and then do the top part. So HERE WE GO WITH PICTURES!!!

Oh look package just for ME!
Epic-Laser-Cut-Pieces-003.jpg


An awesome picture of all the stamps.
Epic-Laser-Cut-Pieces-004.jpg


OMG! Whats inside?!?!
Epic-Laser-Cut-Pieces-005.jpg


So much awesomeness!!! Here is all the part cut out!
Epic-Laser-Cut-Pieces-009.jpg


Custom fan grills designed my Spenbrom.
Epic-Laser-Cut-Pieces-008.jpg


Back plate for the case.
Epic-Laser-Cut-Pieces-010.jpg


Here is the back side bracket and the regular brackets.
Epic-Laser-Cut-Pieces-011.jpg


Here is the bottom of the case. The slits are for air to be sucked into the case from the bottom.
Epic-Laser-Cut-Pieces-012.jpg


Here is the top piece everything is perfect except for its to small!!!! its 185mm x 185mm and should be 197mm x 197mm
Epic-Laser-Cut-Pieces-013.jpg


Here a couple pictures of the backplate with the bottom bracket. Fits so nicely!
Epic-Laser-Cut-Pieces-015.jpg


Epic-Laser-Cut-Pieces-016.jpg


Well after work I decided to start modding since I only have 3 weeks to work everything out!

So here is the sand blasting cabinet to get the pieces ready for powder coating.
Front-Side-Finished-001.jpg


Heres a picture of the pieces in the cabinet.
Front-Side-Finished-002.jpg


This shows you the difference between the sandblasted and non sandblasted parts.
Front-Side-Finished-003.jpg


Heres all the pieces sandblasted and ready for powder coating!!!!
Front-Side-Finished-004.jpg


Front-Side-Finished-005.jpg


After sand blasting we need to spray acetone over the parts to get rid off all the grease from our fingers and anything else.
Front-Side-Finished-007.jpg


Then We bake the piece for 15 minutes to make sure all the acetone is gone off the pieces then we spray the powder on the piece and bake the piece for 20 minutes.

You gotta like our little oven :p
Front-Side-Finished-008.jpg


Tapping the holes so I can screw them into the side of the acrylic.
Front-Side-Finished-011.jpg


AND HERE ARE THE FINAL PICTURE AFTER THE NIGHT!

Looks SO AWESOME!
Front-Side-Finished-024-1.jpg


Front-Side-Finished-025.jpg


Now I will be powder coating all the other pieces this coming weekend and working on the other parts of the case. Get ready for more updates!!!


Stay Tuned.
 
Thanks a lot guys, that means a lot!
Another update coming tonight :) It's gonna be a good one!!!
 
Hello everyone, Another update is ready. and this one is the biggest one yet. After working 12 hours straight on this mod I got a lot accomplished and get to feast your eyes! So here we go, I got a lot to show you!

Well after starting at 1pm and going until 1am this is what I have accomplished!

First off I needed to make the 4 cubes for the bottom of the case. These cubes will hold the sides and the feet on. They will also have a acrylic rod going half way through to hold the mobo up.

When I received the blocks they had a lip I needed to files down.
Case-Building002800x600.jpg


Here it is after the lip is gone.
Case-Building003800x600.jpg


After getting all 4 blocks filed down I had to make a jig to hold the block when I drilled all the holes.
Case-Building005800x600.jpg


Here are some pictures of the after math. Macro is so cool,
Case-Building009800x600.jpg


Case-Building013800x600.jpg


Case-Building011800x600.jpg


Case-Building014800x600.jpg


This is what the 4 cubes look like after drilling all the holes.
Case-Building018800x600.jpg


Next it was time to sand blast them and get them ready for powder coating.
Case-Building019800x600.jpg


After sandblasting it was time to powder coat. I even took a video for you guys :eek:
Case-Building022800x600.jpg


Case-Building023800x600.jpg


The Video


Heres a cube after the powder coating was complete.
Case-Building028800x600.jpg


After powder coating it was time to tap them.
Case-Building045800x600.jpg


Here are the cubes finally finished with all the tapping and the rods in place.
Case-Building037800x600.jpg


Case-Building034800x600.jpg


Next thing to get done was the bottom panel of the case.

First step sand blasting!
Case-Building040800x600.jpg


Heres the bottom after the coating.
Case-Building046800x600.jpg


Next I attached the cubes and feet to the bottom plate.
Case-Building053800x600.jpg


:eek::eek::eek: OMG ITS COMING TOGETHER!!!! :eek::eek::eek:

THE FINAL PICTURES AFTER THAT NIGHT.

12-Hours-001.jpg


12-Hours-002.jpg


12-Hours-003.jpg


12-Hours-004.jpg


12-Hours-008.jpg


12-Hours-009.jpg


Thanks for following! More to come tonight!
 
Bad news all..... I'm depressed to tell you I almost had the whole thing done but the psu fried and maybe took some of my parts with it.......


More to report tomorrow......

:(
 
Well, even with the setbacks, it's looking awesome! Thanks for sharing all your steps with us!!
 
Well after a brutal 9 months I have finally completed the case.

Here is a teaser pic of the final update coming tomorrow sometime.
Going to have a little photoshoot!

first-photoshoot-015.png


Enjoy, and I just want to thank all my sponsors who helped me and everyone one for following!


-Pixels
 
That teaser looks fantastic. Looking forward to seeing the rest of the pictures!
 
awesome work dude, I was thinking about getting that mobo, let me know how you like it once you have it running.
 
Thank you for all the comments guys! and Thank you for following this build!

Here are the final pictures!

Final-photoshoot-010.png


Final-photoshoot-006.png


Final-photoshoot-012.png


Final-photoshoot-015.png


and because you guys know how much I love Macro, here is one of my fav's

Final-photoshoot-017.png


Thanks again guys! Hopefully I will be able to start another mod next year sometime.
I also want to thank all my sponsors! Without them this wouldn't have happened!


Happy Modding!
 
Looks great. You never really get how tiny these things are until you see them next to something else. That's a great, portable little rig. Awesome job.
 
Yeah, I also needed those shots next to you to realize just how small it is! Truly inspiring job!! Thanks for sharing the process with us.
 
The Final Update For The Build

I would like to announce that The Little Black Box will be featured in CPU Magazine!!!

I attended the PDXLAN and was picked for the top five case mods there, and ended up getting 1st Place!!! After all the hard work and problems I battle through it was all worth it!

I want to thank all my sponsors to help me get this computer finished!
I also want to thank everyone for watching my log, without you guys it would have been hard to make it through.

So, get ready to see The Little Black Box on the cover of CPU Magazine!!!

Here a couple final pics Enjoy!

TheLittleBlackBox.jpg


TheLittleBlackBox-1.jpg


THANKS!

Can't wait to come back for my next mod!

- Pixels
 
your build made it onto the cover of CPU mag. as i'm sure you're already aware of this (no doubt) good job!
 
Back
Top