Nicepants42
Gawd
- Joined
- Aug 30, 2004
- Messages
- 772
It was just an idea in the event that a large knife is hard to incorporate. I agree that it'd probably be a little over-the-top.Why would you ever want to do a thing like that?
Follow along with the video below to see how to install our site as a web app on your home screen.
Note: This feature may not be available in some browsers.
It was just an idea in the event that a large knife is hard to incorporate. I agree that it'd probably be a little over-the-top.Why would you ever want to do a thing like that?
Yeah, I didn't make it. Maybe I could make a corrected version though?
EDIT

 ).
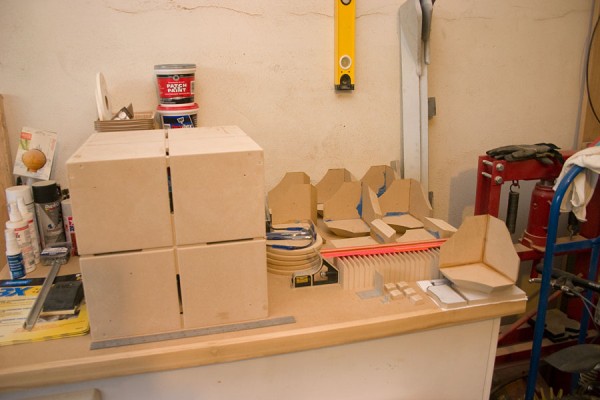
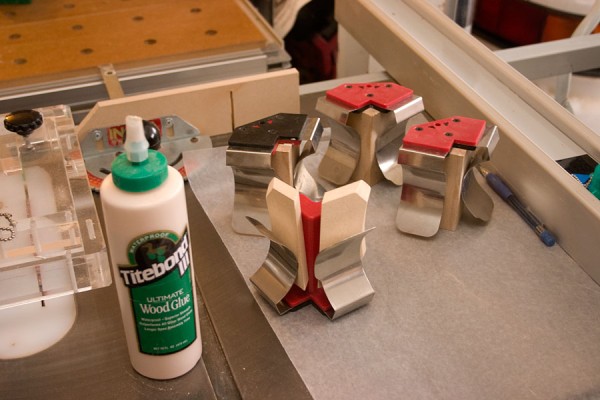
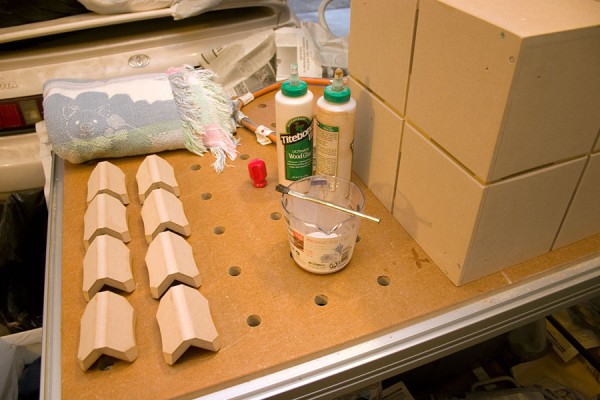
).Coming along great. Good job. You may want to put these around your PC too.
http://search.deviantart.com/?section=browse&q=portal in:traditional/streetart/stencils&qh=sort:time
)
 )
)
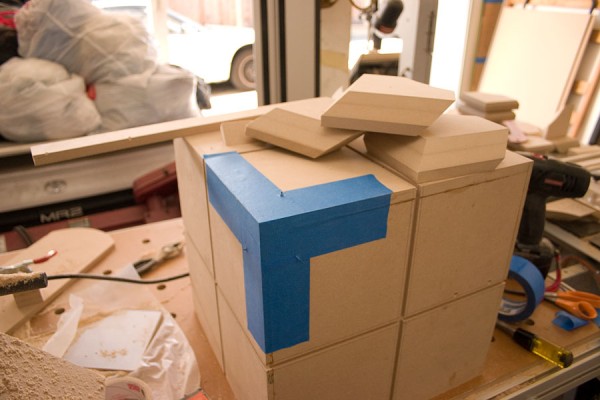
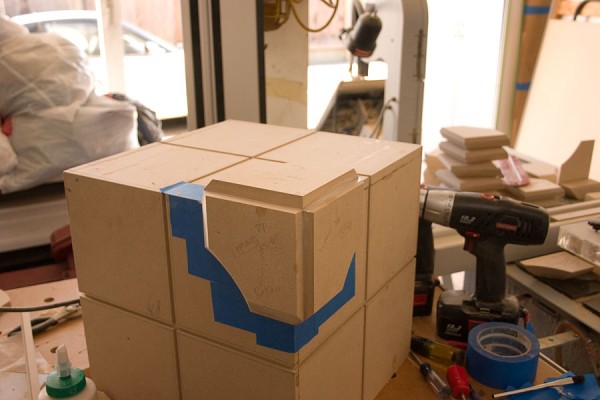
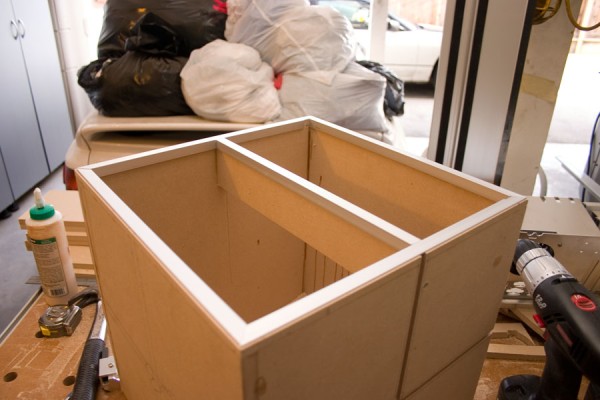
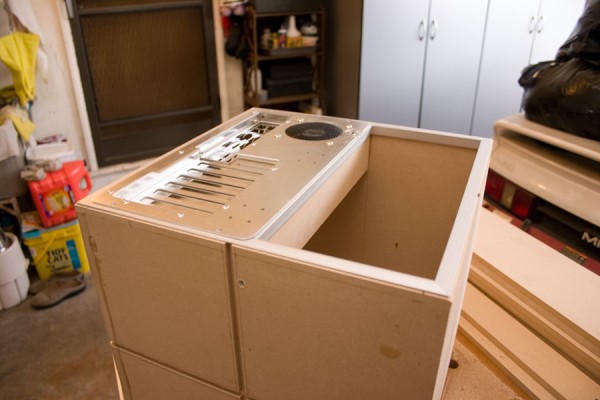
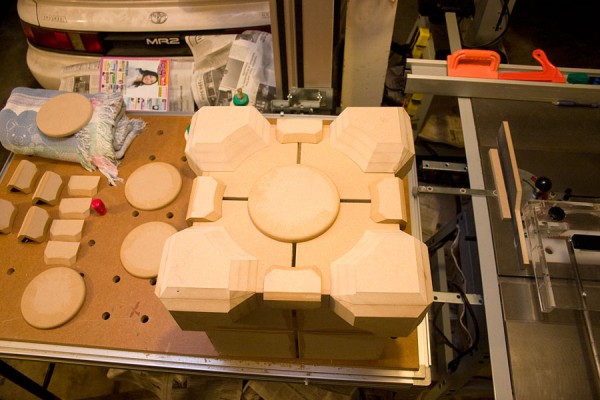
 It looks amazing dude, keep it up ! Keep up the project and please update with more pictures when progressed.
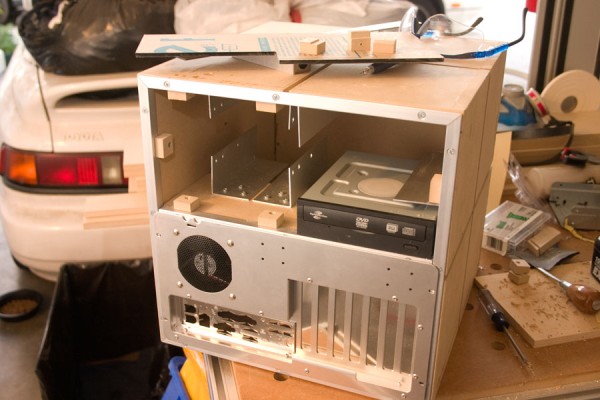
Looking good so far, and interesting wood works. /subscribed
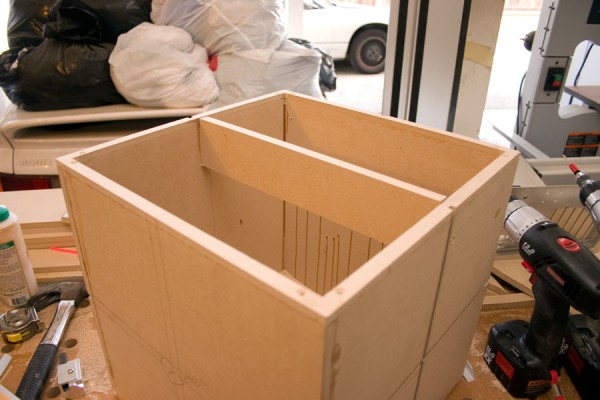
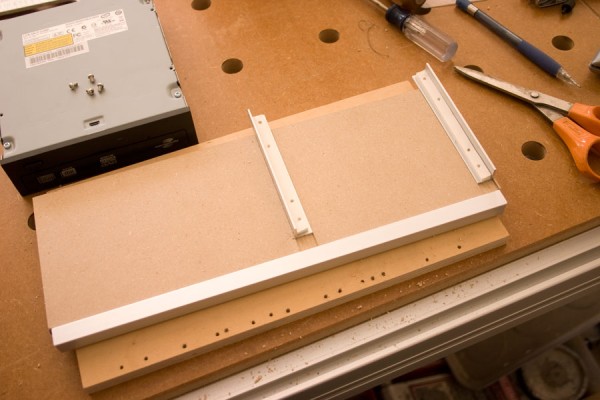
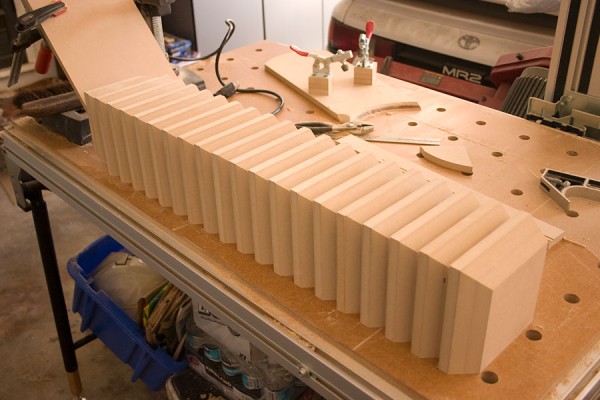
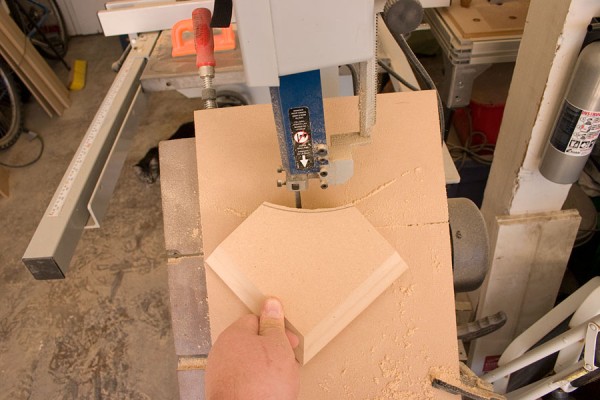
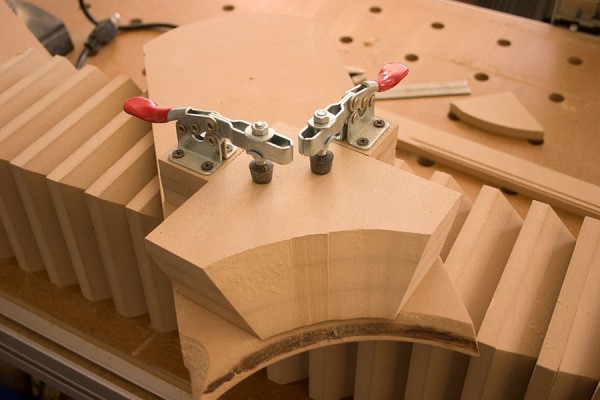
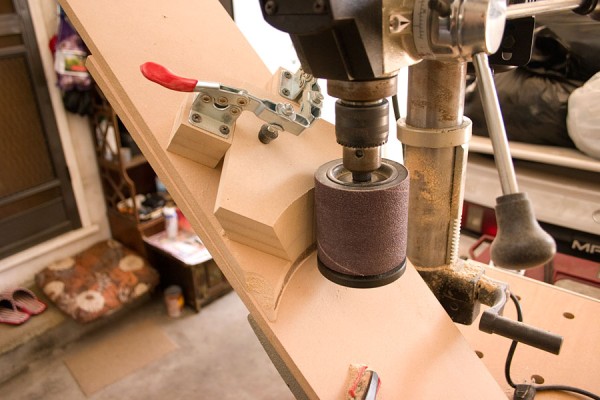
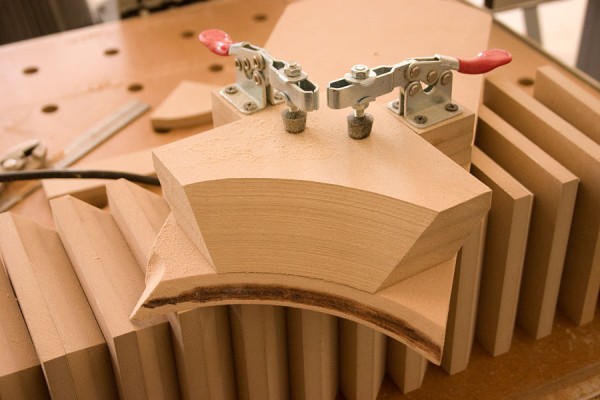
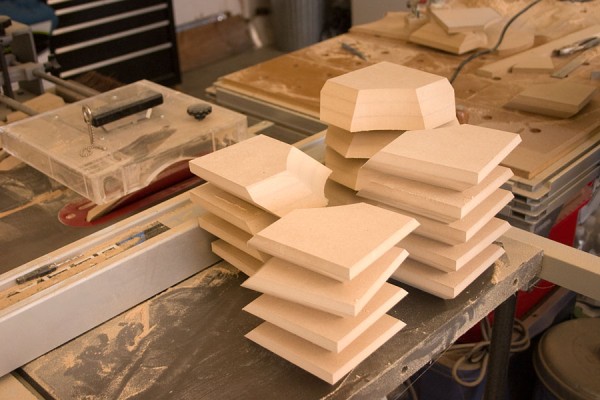
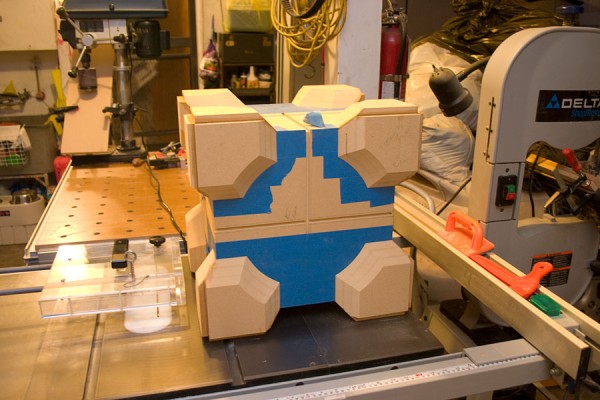
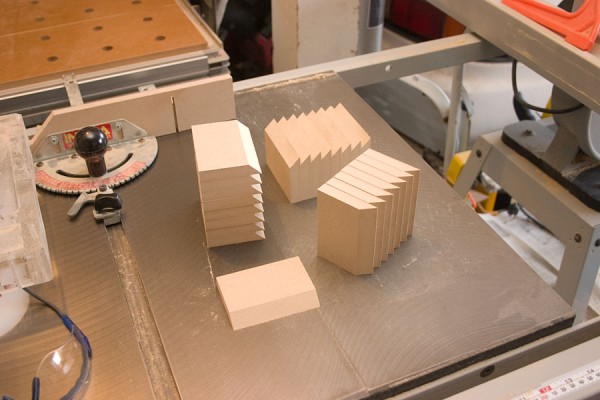
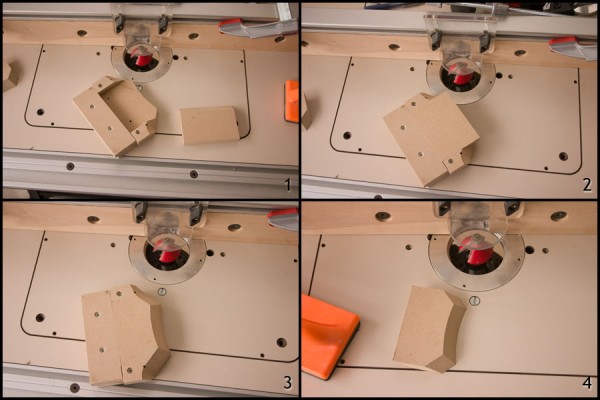
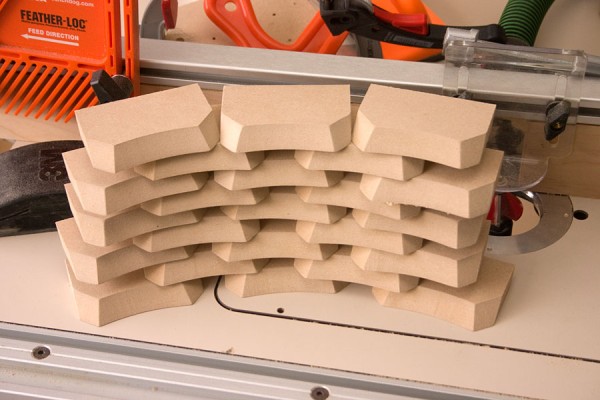
Did I hear somebody say Wood Works? lol
...
. When is the next update?I thought someone might reply upon that issue... Oh well
. Thanks for the ideas, regardless.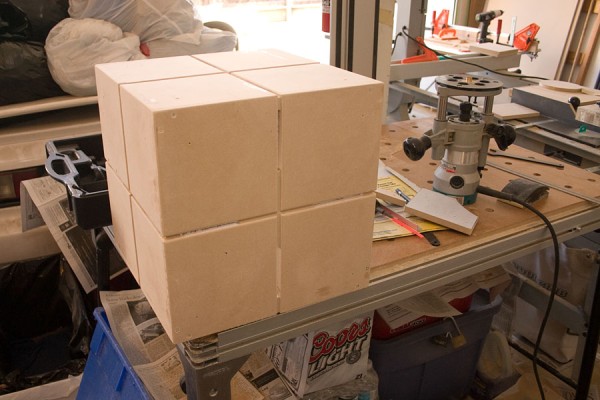
amazing sauce