Tale Gunner
Limp Gawd
- Joined
- May 29, 2007
- Messages
- 141
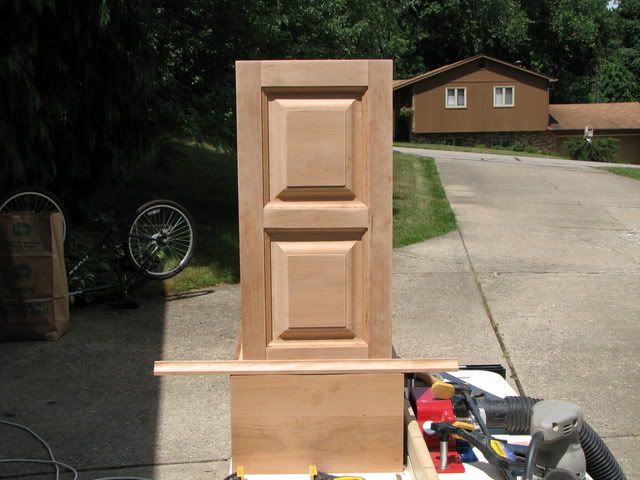
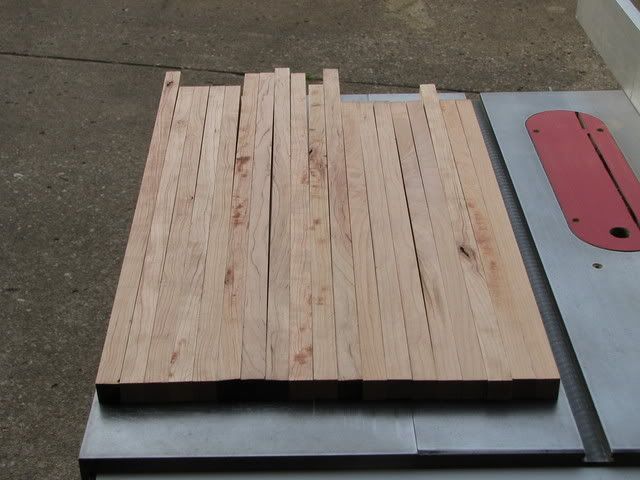
what colour are you going to end up staining it? Any pics of what it is going to go next to?
Im favoring darker stains. I love that rich color on cherry. Not yet but I will when its finished (the office).