Leadslinger
n00b
- Joined
- Aug 4, 2005
- Messages
- 48
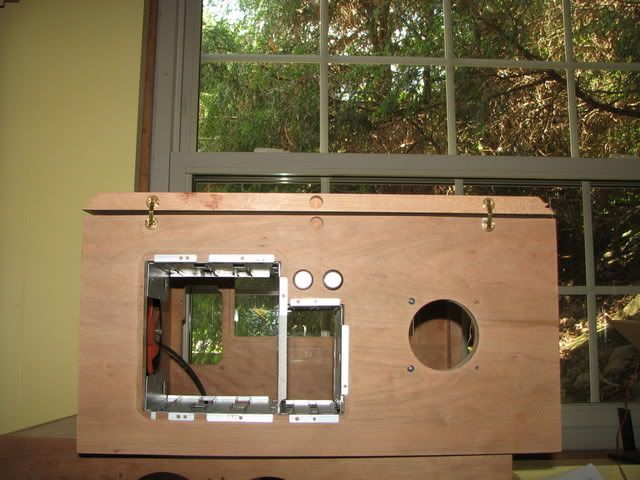
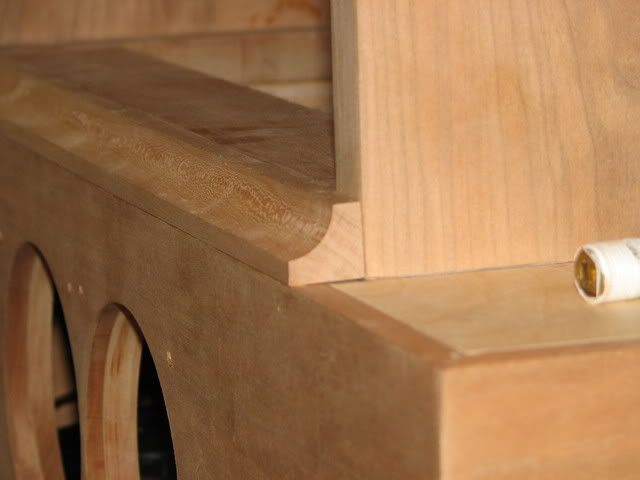
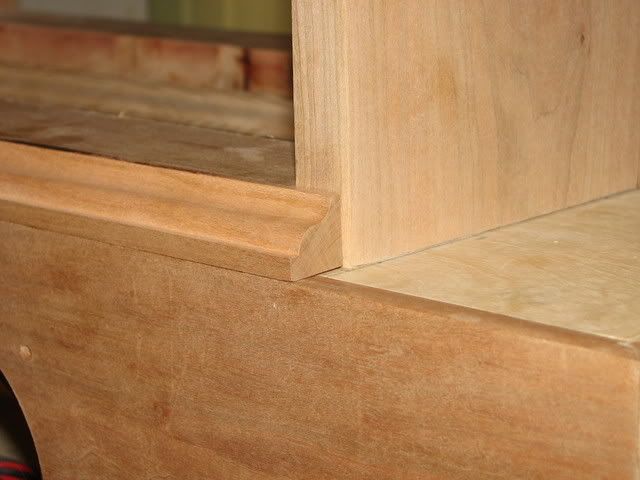
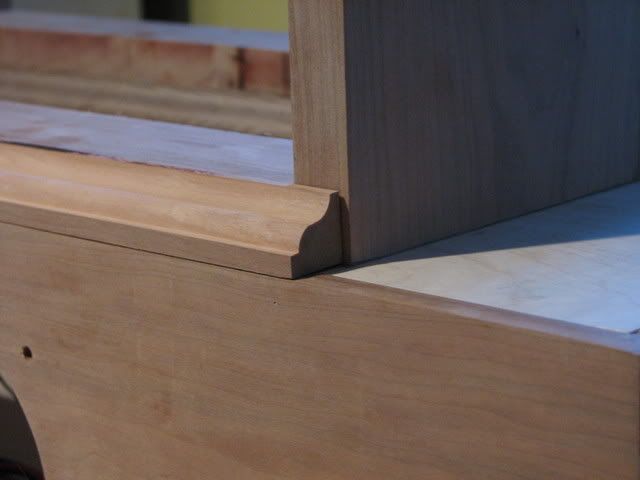
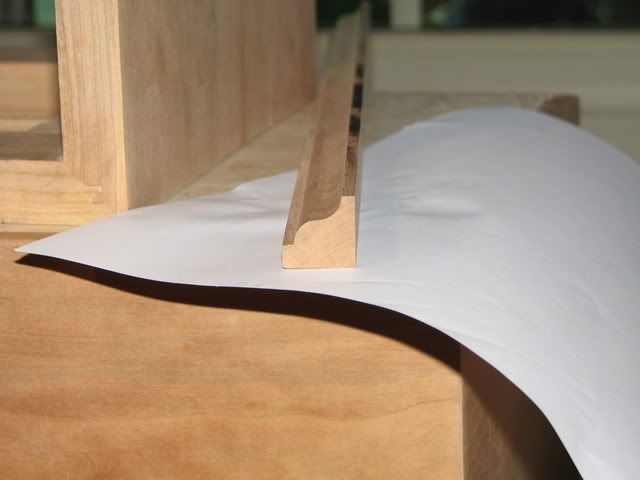
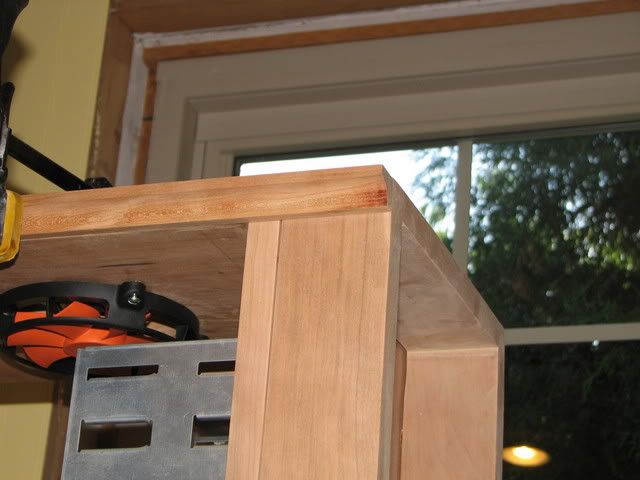
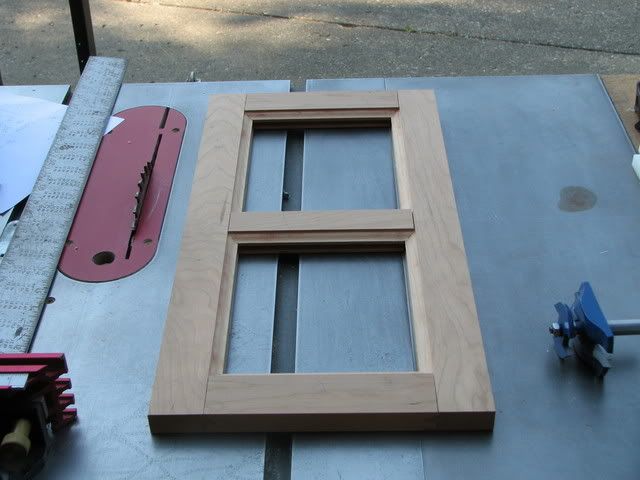
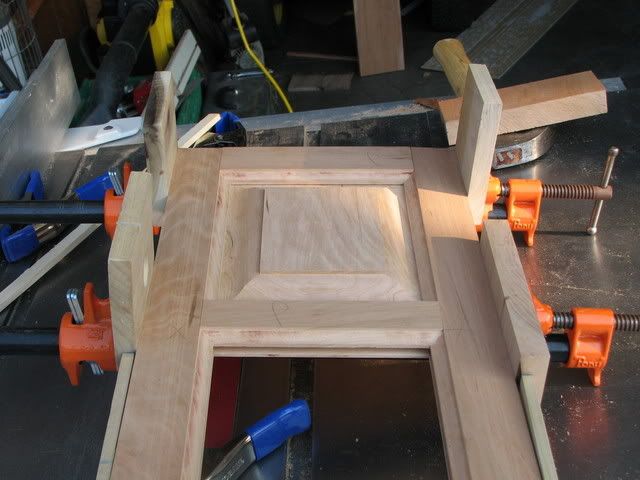
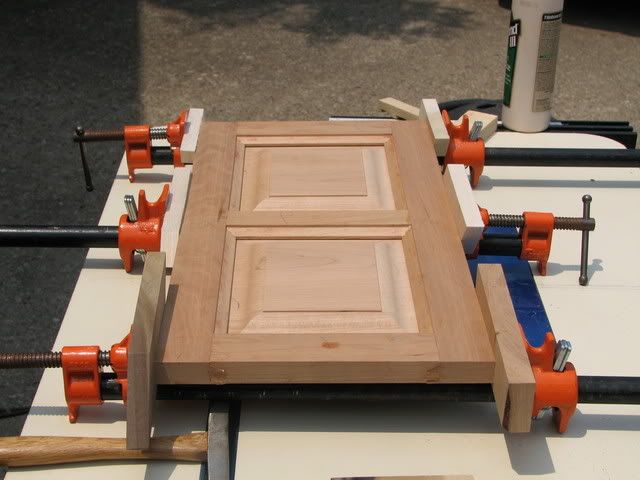
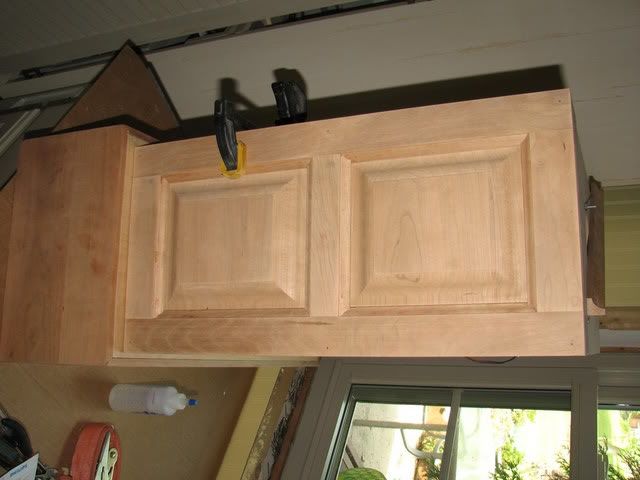
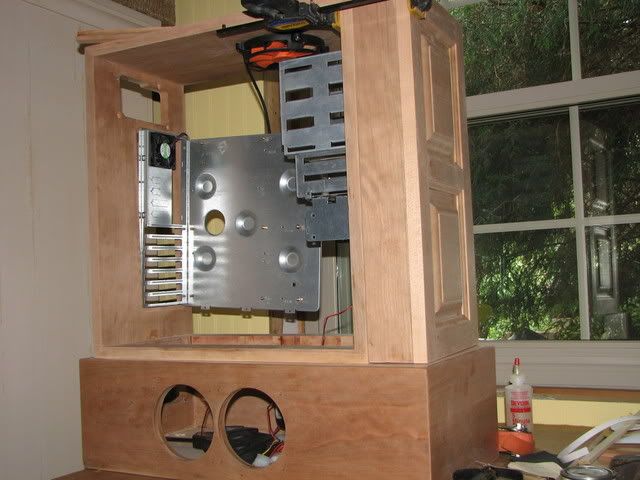
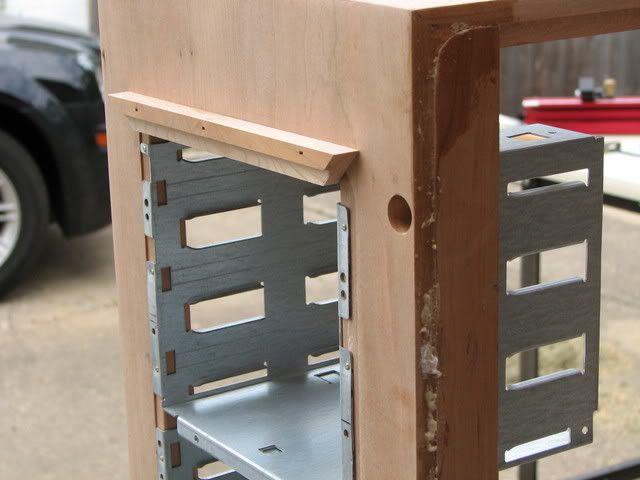
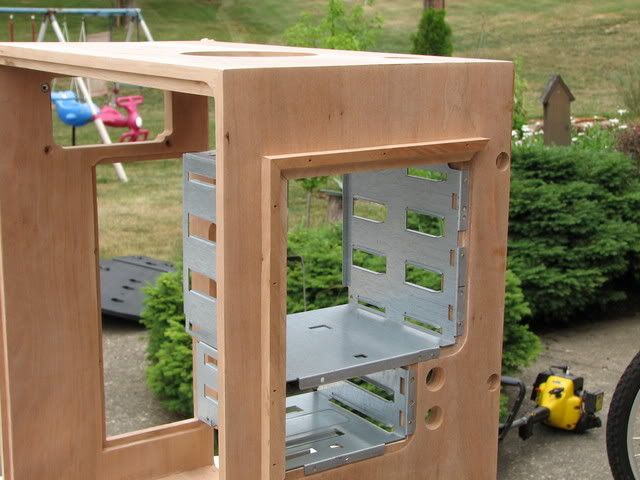
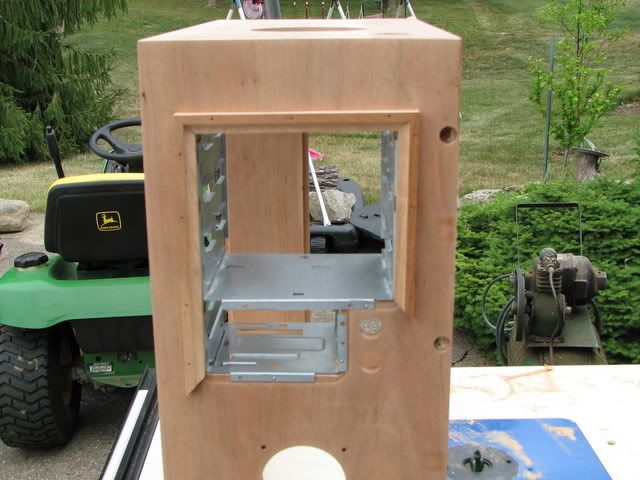
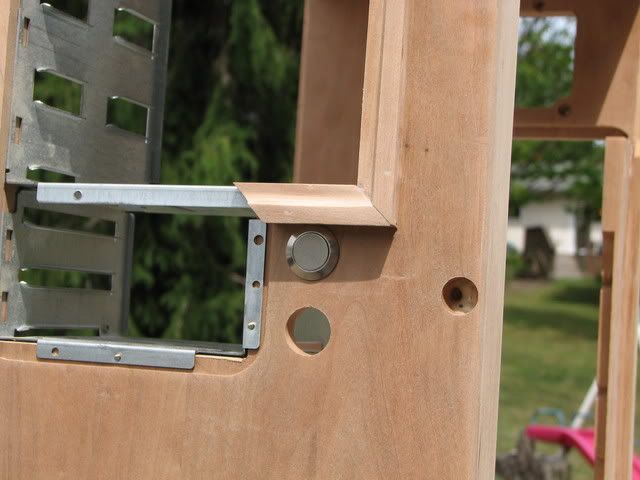
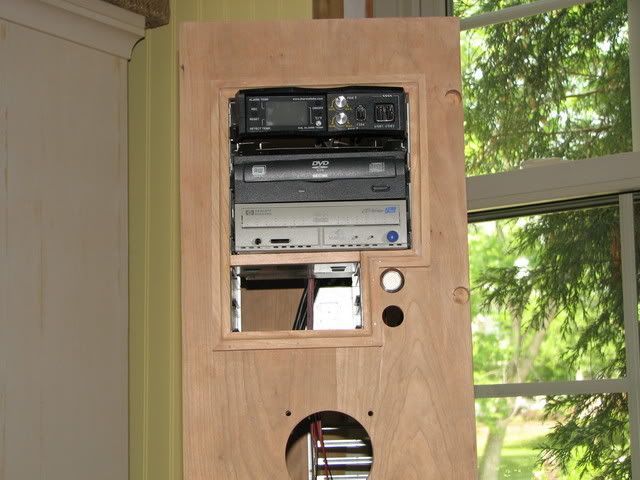
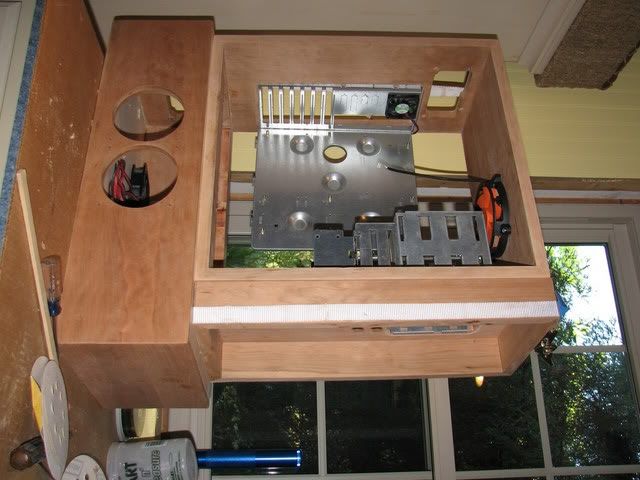
Fantastic work M8, If you aren't a finish carpenter by trade, you sure could be. I haven't seen fine cabinet building like that done since my Dad retired from contracting. Anyone can build a box, but skills are truly appreciated.

") ....)
....)