eumskickin
Weaksauce
- Joined
- Jun 30, 2005
- Messages
- 88
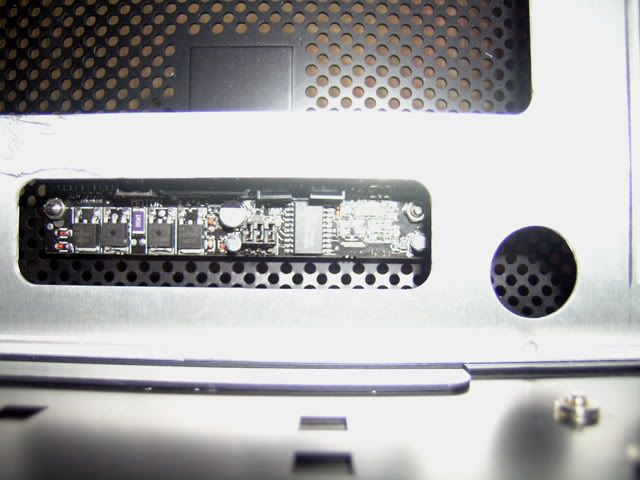
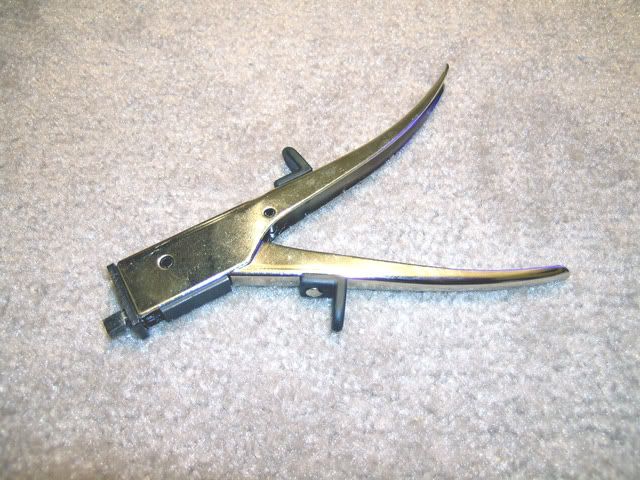
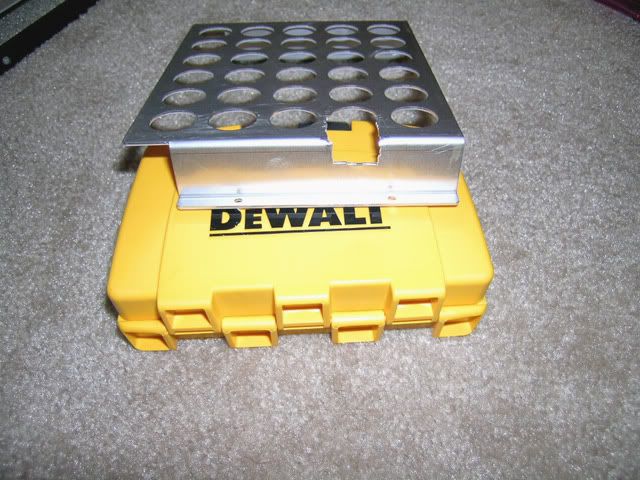
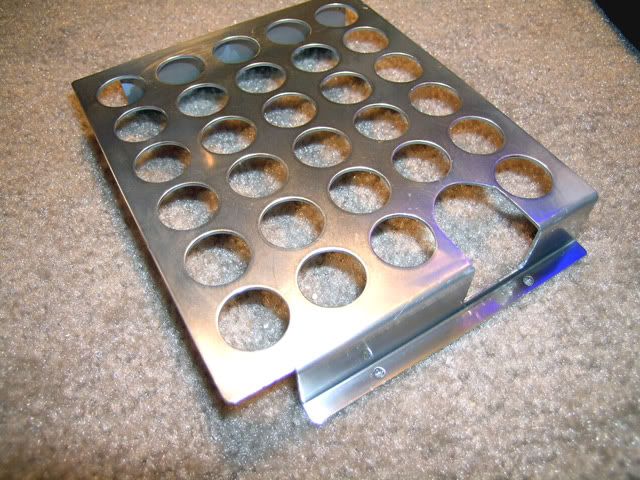
Top Nurse said:Aluminum would be fine as there is no real need for strength. I'm still trying to get the thread spec from Koolance.They don't seem to helpful on this subject. Do you have a knurling tool? How about I just give you one of the Koolance coolers and the Koolance/AC tubing to work with?
i do have a knurling tool, but i have never used it
so i don't know how it would come out ( i got it to try and put knurling on Titanium parts i made and it would not come out right. but in Alu it should be MUCH easyer ) If koolance won't give you the info, sure. just let me know and i can make the adaptes.