Post your "Ghetto Mod" pics

  • Thread starter Deleted member 96510
  • Start date
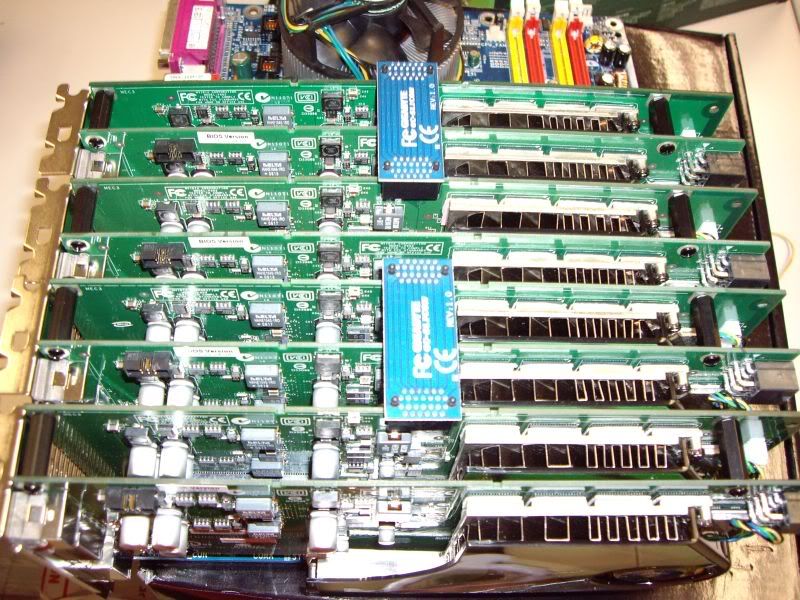
i "modded" one of those thick IKEA picture-frames to hold my old 6600GT gfx card.

cadsie1jkd225ht86.jpg


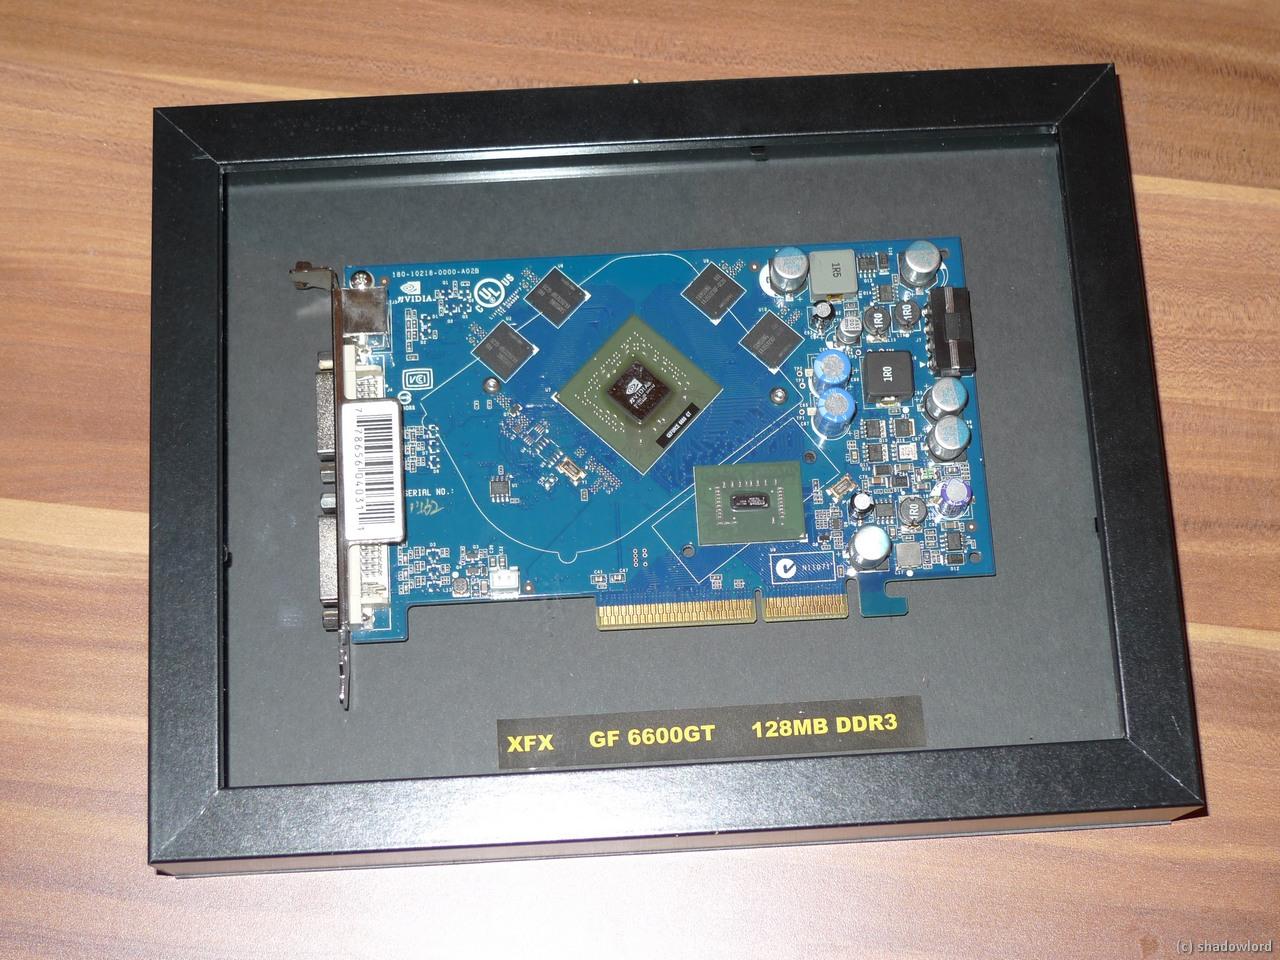
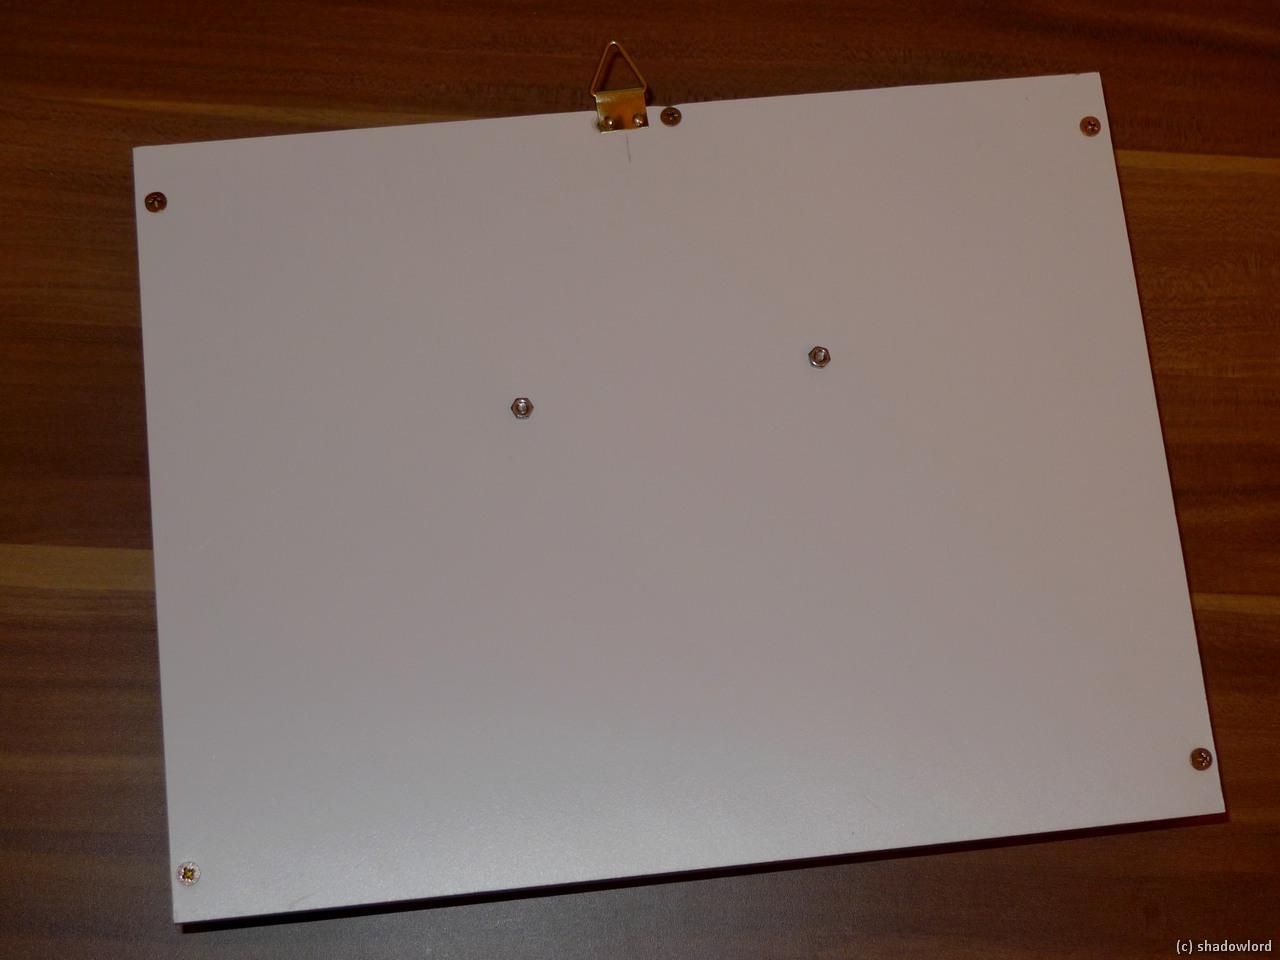
I made a new backside to use all the available space to fit the card.

cadsin8a3punyedrq.jpg
 
Sentimental attachment? I could see framing a VooDoo 5 card, but a 6600?

Wanted to say this too.

Some voodoo cards, ATI 9800 Pro, 5800 Ultra with hsf (lulz factor), maybe a 6800ultra/7800/7900gtx, 7950GX2, 8800 Ultra/gtx would probably be what I'd like to see framed.

edit: also, too bad this never worked ;)

Quad_SLI_1.jpg
 
Yeah the CPU fans a little too big for my case. So the side hangs off the edge. It has worked fine over the years and only issue is sometimes I bump into the side and it tips back like the 2nd pic shows.


Last edited:
Wanted to say this too.

Some voodoo cards, ATI 9800 Pro, 5800 Ultra with hsf (lulz factor), maybe a 6800ultra/7800/7900gtx, 7950GX2, 8800 Ultra/gtx would probably be what I'd like to see framed.

edit: also, too bad this never worked ;)

Quad_SLI_1.jpg

A+ for effort, somebody gets a punch on their [H] card.
 
Could someone tell me what cards those are? Yeah, I can tell they're graphics cards... but make/model? I don't game, really (and when I do I need DOSbox) -- so I don't really follow graphics cards all that well.
 
Yeah the CPU fans a little too big for my case. So the side hangs off the edge. It has worked fine over the years and only issue is sometimes I bump into the side and it tips back like the 2nd pic shows.


YIKES! That's a lot of dust :eek:
 
Yeah the CPU fans a little too big for my case. So the side hangs off the edge. It has worked fine over the years and only issue is sometimes I bump into the side and it tips back like the 2nd pic shows.


good god, take that thing outside and blow it out plus while it's out of the corner there, vacuum up the dust back there too. looks like it's been hanging there for eons. :)
 
How about my iPhone 5 tripod mount using an otterbox belt clip, a random Ikea L bracket, a nut of the correct size, some super glue and of course, hot glue!!

iphone_tripod01.jpg

iphone_tripod02.jpg

iphone_tripod03.jpg
 
*looks at the last pic to the right* who the hell is on the bed? :eek:

Use this for taking sexy pics I see.
 
So I ordered my first loop the other day, and I got kind of excited/impatient waiting for it - so I put this together.
There's a 120v aquarium pump in the bucket, and the sink is a stock LGA775. I gouged out the center with a drill press, and cut a piece of acetal for the top. tapped in a couple barbs and..
Stuck it on this Athlon 64 3500+, mild OC, best I could eke from it.
Air temps were about 40~ under load
In the pic are the idle/load temps as min/max.
The ice works great!
overallsmall.jpg

coolermountedsmall.jpg

icesmall.jpg

tempssmall.jpg
 

So after careful thought what to use as new material, I noticed one of my socks has a hole init and I decided this is it!
[IMG]http://i.imgur.com/74OzY.jpg
Behold!

This made me chuckle, +food stamps
 
Here it is, my getto mod of the year:

My computer chair has fallen into disrepair, more so that it is now a stool rather than a chair, and a very uncomfortable one at that:
http://i1358.photobucket.com/albums/q767/Taco_Island/PleasantGrove-20120930-00216_zps83d194d7.jpg
So, after removing the padding and an endless supply of staples that they used to keep it on:
http://i1358.photobucket.com/albums/q767/Taco_Island/PleasantGrove-20120930-00217_zps27ae71a8.jpg
And just for comfort, I decided to celebrate the 25th anniversary of my beloved Cadillac Brougham. By getting it ready to demo. But damn those seats are comfortable...
http://i1358.photobucket.com/albums/q767/Taco_Island/LarnedCity-20120930-00218_zpsdc541b67.jpg
So, after a bit of drilling and then thinking that some electric tilt action would be appealing, I got one hell of a seat that has lasted 25 years and will go a lot longer than some IKEA crap off of a wal-mart shelf and is a hell of a lot more comfortable. Just had to put the finishing touches on it with some scrap metal, spare UPS battery lying around and a neon tube for a laugh (not like the rest of it isnt) and I gots me a chair.
http://i1358.photobucket.com/albums/q767/Taco_Island/PleasantGrove-20120930-00223_zps9ca554aa.jpg
http://i1358.photobucket.com/albums/q767/Taco_Island/PleasantGrove-20120930-00224_zps22922c3d.jpg
Tilt works, tube is working (its low enough to pick up footsteps at the moment, should drive the wife nuts), now need to go on to the next mod: charging the battery : )

That is awesome. I kept thinking of Jamie Foxx in Great White Hype...

"What's a brougham?" LOL
 
VPou41l.jpg


Ripped the mic from a lx-3000 headset to use with my HA-RX700. Wrapped the whole thing up in electrical tape with a metal plate inside and blu tacked it on the headphones. :p Sorry the picture is dark :(
 
Here's my fan tester :p

evrOKvu.jpg


eBay no-name drive-tester power brick (I have two of these) and *most* of a molex fan power adapter. Problem with just putting the molex fan adapter on the power brick is (if you have one of these bricks you'll know this) there's only one ground line, and it's next to the 5v line.

So: cut the two wires, throw out the molex pass-thru bit. Strip insulation, bend exposed leads back, and insert into the proper contacts.
 
Here's my fan tester :p

*snip*

eBay no-name drive-tester power brick (I have two of these) and *most* of a molex fan power adapter. Problem with just putting the molex fan adapter on the power brick is (if you have one of these bricks you'll know this) there's only one ground line, and it's next to the 5v line.

So: cut the two wires, throw out the molex pass-thru bit. Strip insulation, bend exposed leads back, and insert into the proper contacts.

If it was a regular molex you couldve just moved the pin to the right place.
 
Yeah, but that gets to be a real pain in the ass when you don't have the proper tools... which I don't.
 
I remove them with a knife by pressing down on the two side-pins that lock them in, no special tools needed.
 
Any number of hard devices with a small tip (thin screw driver of sorts, spudger, random craft knife or something) that can get into the male end of a molex cable can help bend two metal hooks and let you yank out the cable. Bend the hooks back and then insert them in the spots you want : done.
 
Didn't think of that trick.

Also: if I did that, it wouldn't make this thread! But if I hadn't made this thread, I wouldn't know the trick.

PEMPORAL TARADOX :eek:
 
I've used that trick while making 7v & 5v mods for case fans... I'd regard that as ghetto :D

More ghetto than using a fan controller, using a PWM fan, buying a lower RPM fan, or modding in some kind of resistor!
 
Latest. Got a 3.5" industrial SBC (low spec, but really really tiny) off eBay... yes, a motherboard that fits in the footprint of a desktop hard drive! Decided to build it a case out of a 5.25" drive bay, and in the process, decided to fit the motherboard... well, the only way it would fit... like a drive. One problem: ports are on the long side! Score: Commell 1, me 0.

Until I remembered my stash of PS/2 extension cables! See, this board does keyboard and mouse through PS/2 -- one port, both devices. Like on an old, old laptop. So I really only need one cable, but it has to bend 90deg in about a 5/8" space (well, OK, there's 1-5/8" between the board and the side of the bay, but that first inch is taken up by connector...).

So I sliced off the strain relief boot, and used electrical tape to compensate it for the loss. Works fine -- well, I tested it with my multimeter and there aren't any wires connecting where there shouldn't be... time will be the final verdict as I'm lacking a splitter cable...

Enough yap, here's a pic...
A2qOAYn.jpg
 
Nice backplane. Nice chip programmer (I think) -- is that for PICs?

Also, what board is that? I'm guessing either skt370 or skt462... could be either with that HSF.

Sure looks like a rugged build. Just don't spill your morning cuppa in there, K?
 
Back
Top