Machupo
Gravity Tester
- Joined
- Nov 14, 2004
- Messages
- 5,756

First and foremost: many of you participated in the design / idea thread, and I thank you very much. Your insights and advice are the basis from which this build log developed
")
Project Goals:
As the name "Neutronium" would indicate, the primary goal of this project build is to put the most "oomph" into the smallest container; "Neutron-degenerate matter" wasn't nearly sexy enough, so I went with the sci-fi popularization of the theoretical material. (On a side note, if you have a few bucks to give, shoot it to Wikipedia, we all use it more than we think!) Another goal for this project was to do this under a size limitation that could fit into a TSA-approved carry on container (such as a Pelican 1510) should I ever want to travel with it (oh, and that means no liquid cooling as well)
Finally, I wanted to limit desktop sprawl of this case, so that meant an upright design.Design:
For the bulk of design talk, I'll direct you to the previous Neutronium thread here, where you can see the slow evolution of the design / fab of some prototype parts. I will point out here, though, that the IDC definitions (see 1.1) of the various SFF cases is what I tend to use, so µSFF would equate to a system that is 4-8 liters in volume.
Components:
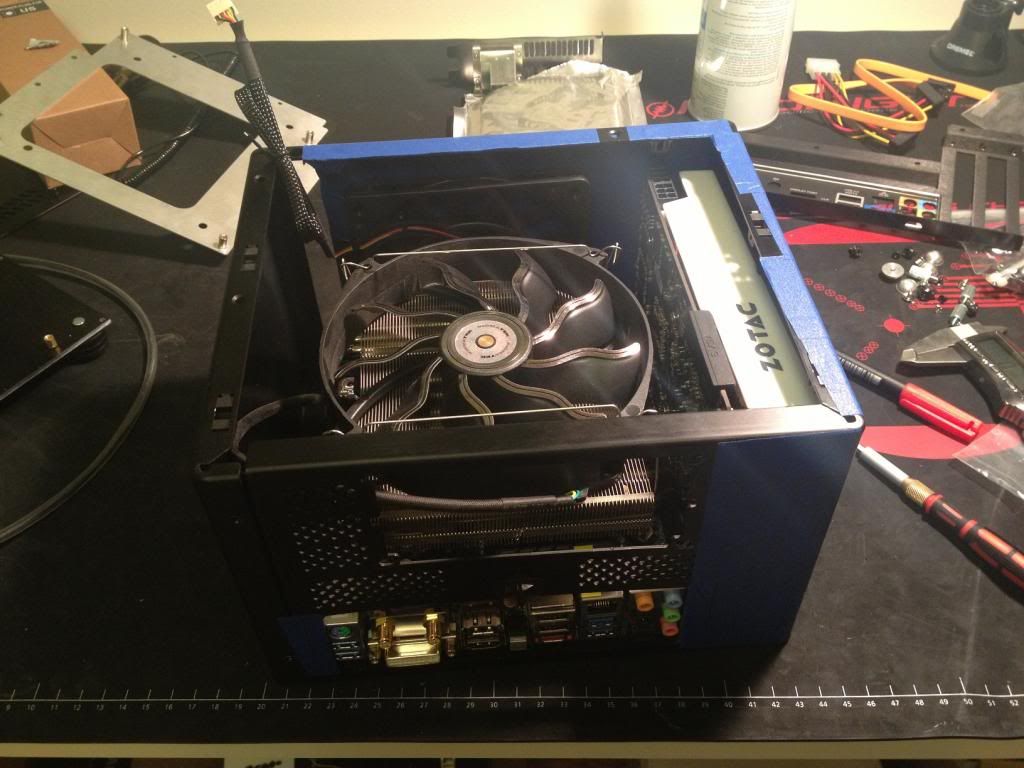
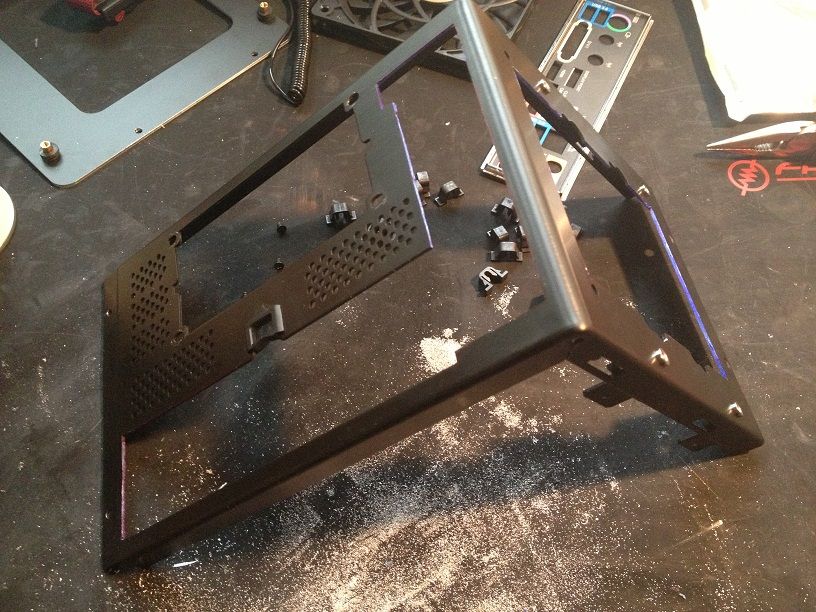
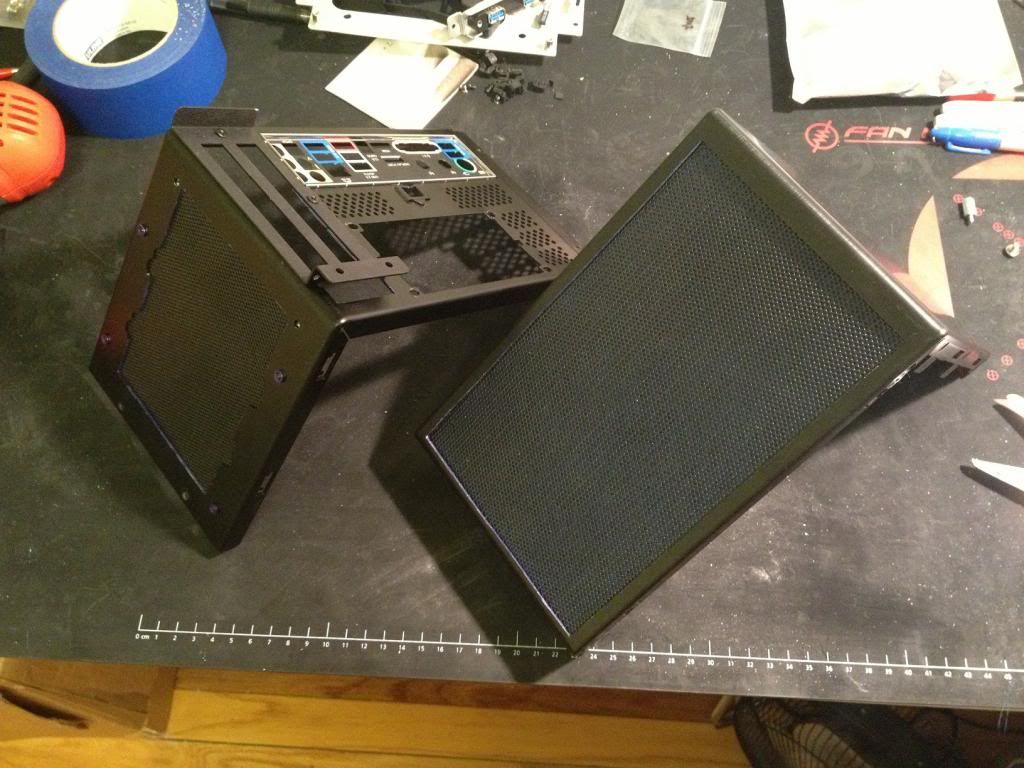
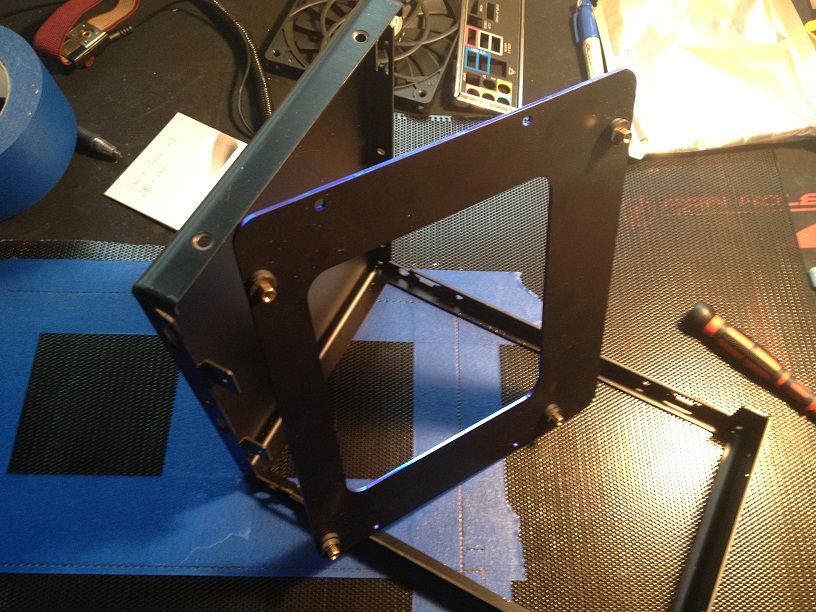
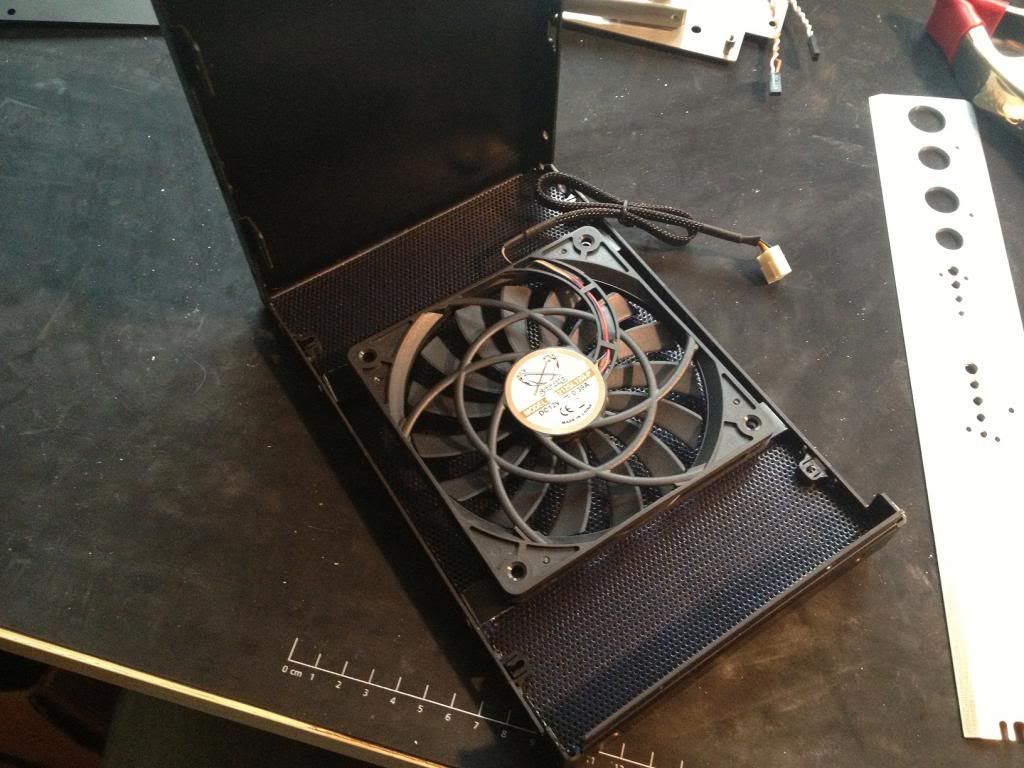
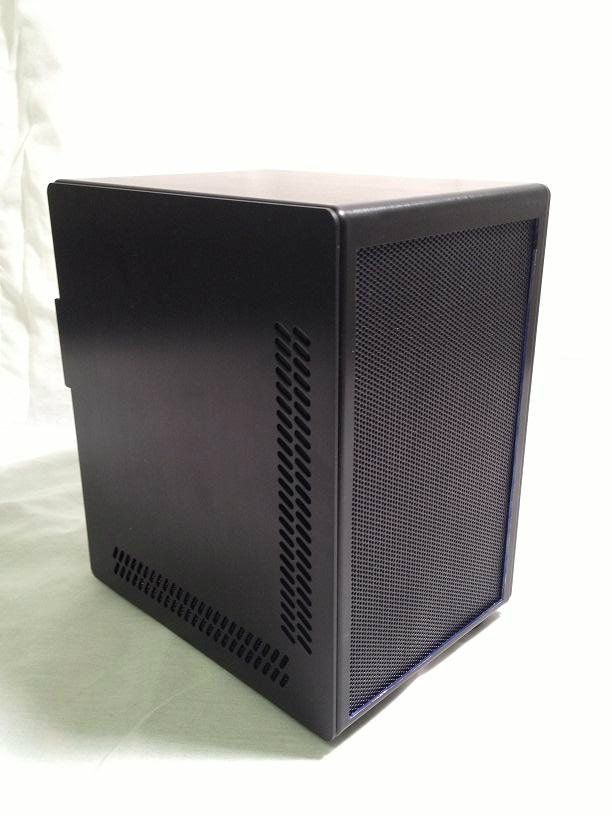
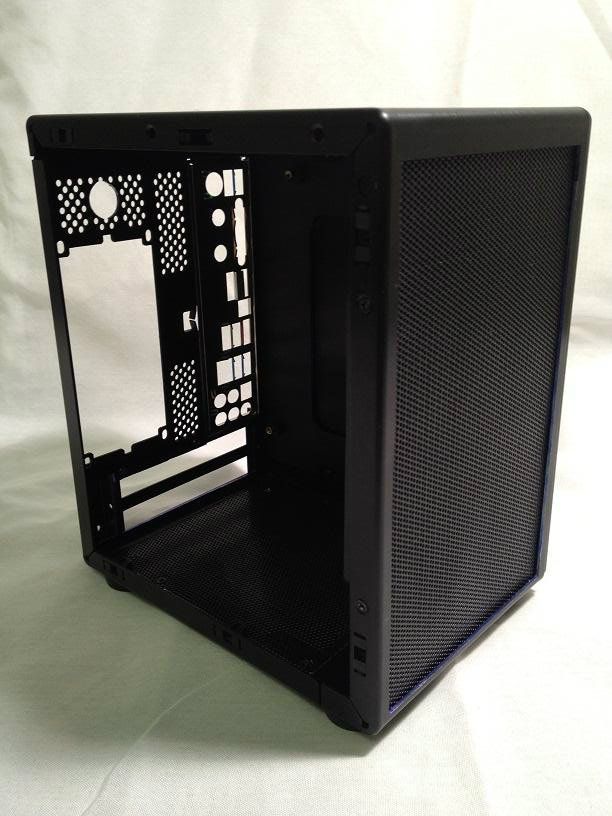
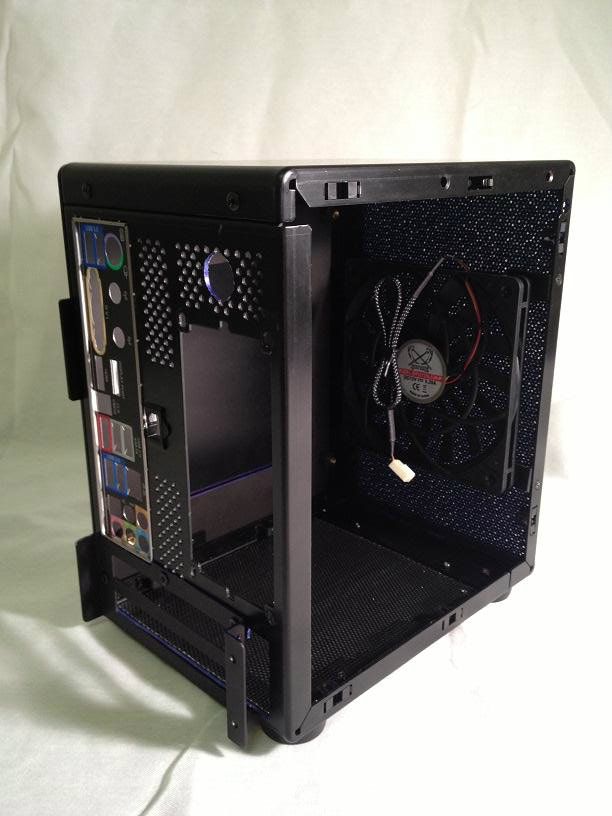
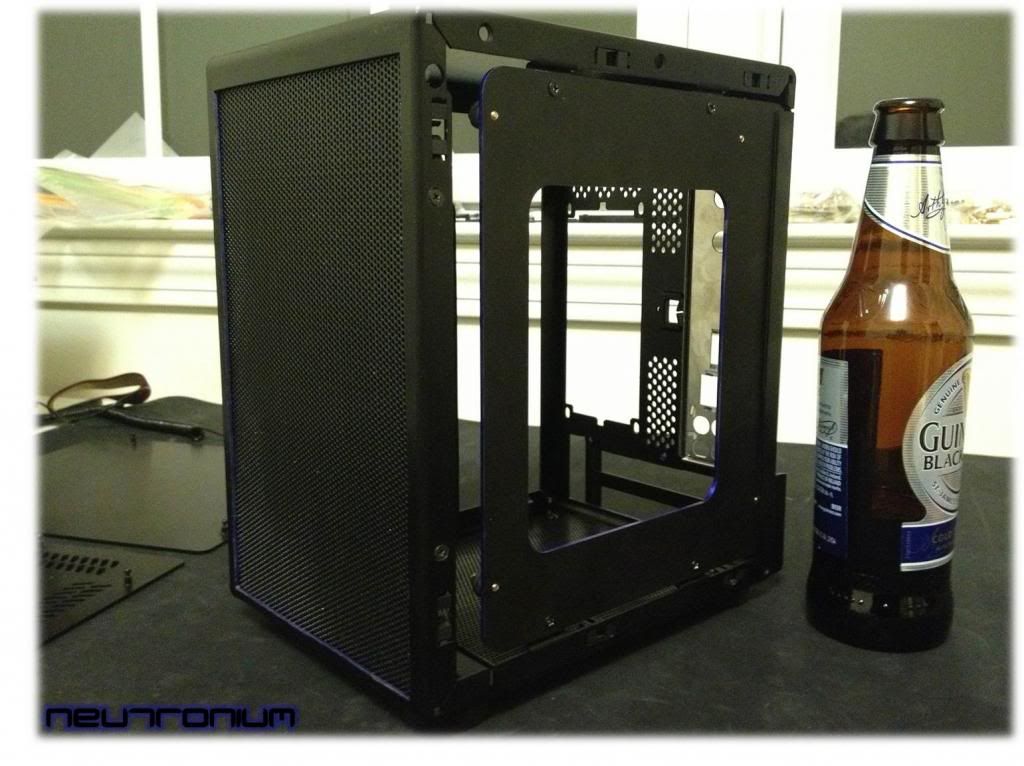
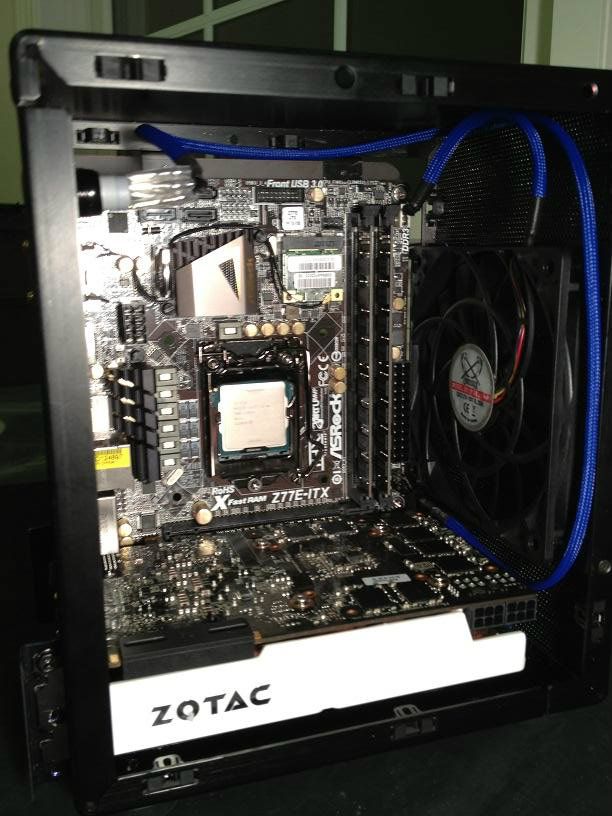
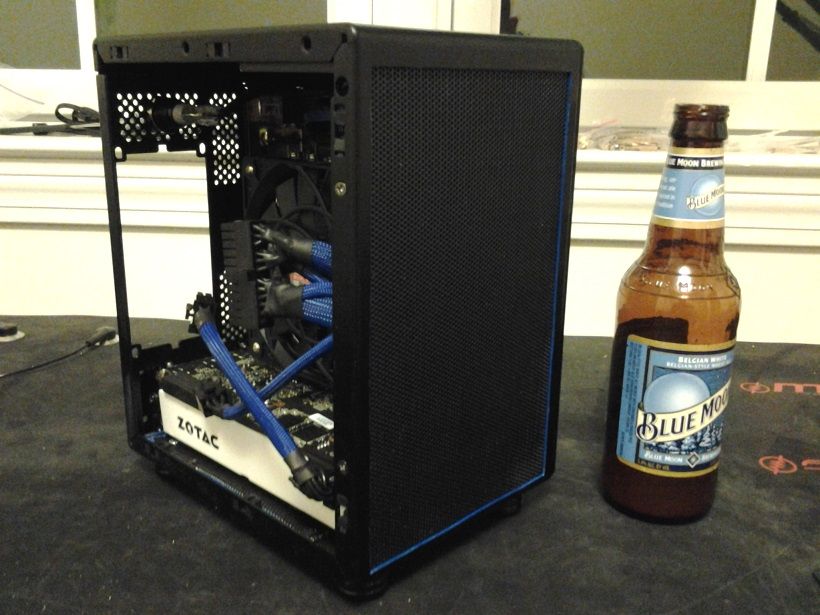
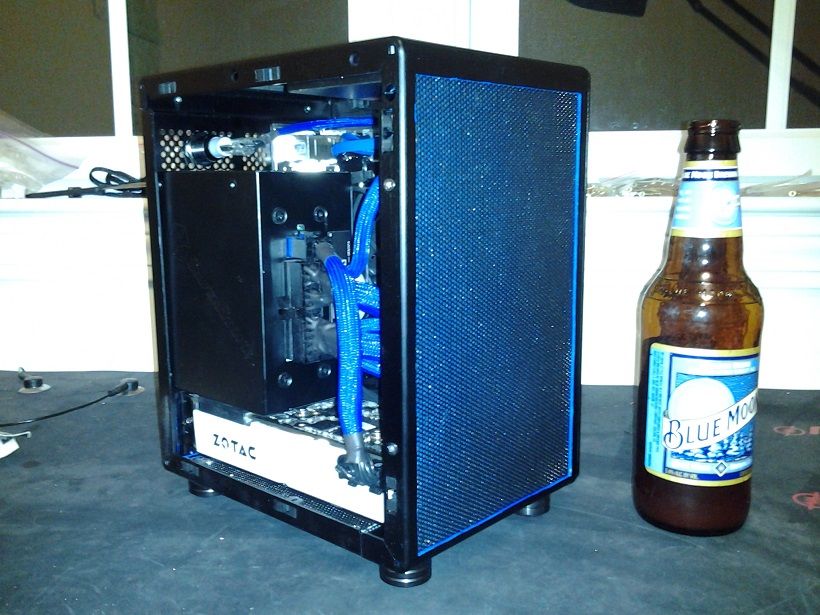
Case: Lian-Li PC-Q02 (in Black). Weighing in at 2.0kg and only 6.90L of exterior volume (minus short feet, which were thrown out at any rate
), this is a pretty tiny case to work in. I like the aluminum construction (VERY light) and very obvious attention to detail that you see in this case, everything goes together very well. Unfortunately, it doesn't have any PCIe slots and has a some questionable design elements on the front of the case; we'll see what we can do about that during this build.PSU: Silverstone ST45SF-G 450W SFX. There is only one choice if you're looking for the most/cleanest power in the smallest box, and this is it. It's modular, which is a massive plus, and the unit has gone through every torture test I can throw at it without an issue. Unfortunately, the fan that comes with this PSU is absurdly loud, so I swapped mine out for a Noiseblocker slim PWM fan. Much better!
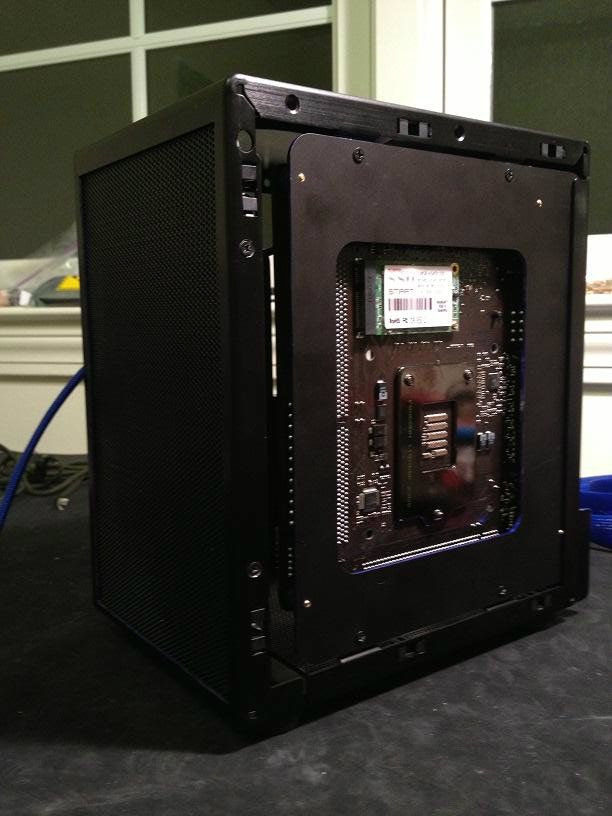
Motherboard: ASRock Z77E-ITX. Many of you use this board and know that it is the logical choice for this build. Yes, I could have used the Asus board, but with no major OC benefit and that big daughter board getting all up in my business, it wouldn't do. Bonuses for this board are the wifi and mSATA slot. While I plan on using RAID0 SSDs for the OS partition of Neutronium, the mSATA slot is a good alternate plan, and I'll probably find something useful to do with it.
Processor: Intel i7-3770k Ivy Bridge processor. Go big or go home, I guess, and Socket 2011 won't fit. 'Nuff said.
RAM: 2x Samsung 4GB DDR3-1600 30nm ultra-low-profile RAM. The stuff that most of the internet raves about, and even better, in a tiny little package that is shorter than the ram release/lock latches.
Processor Cooling: Thermalright AXP-100. Only 58mm tall, with a modular 120mm fan mount (allows lateral/vertical shifting of the fan... a very nice thing to have when mm's count!). Absurdly solid construction and the best cooling you will find in this form factor.
Video Card: EVGA GTX670 Superclocked+ 4GB with a transplanted Zotac Twincooler. The Lian-Li PC-Q02 presents us with an interesting quandry: no PCIe slots and only 200mm of (exterior) depth. Again, I'm looking for the highest performing parts in the smallest case: naturally, the short PCB GTX 670 is the go-to part. Since I game at 2560x1600 on my 305t+, I was leaning towards a card with 4GB of VRAM. Unfortunately, the only coolers I had seen that might fit the bill were either using water cooling (TSA no-no) or only released in the Asian Market. So, I used Tenso, a Japanese product forwarding service, to buy a Zotac Twincooler from Amazon.jp. Once I got the heatsink in my hands, it appears that it is the same triple-heatpipe heatsink that is found on the GTX 660Ti (albeit with a different shroud). So, heads up, if you want to do this type of build, you don't need to pay ridiculous prices to import parts from Japan, just grab a 660Ti and sell it as a bare card to someone who is trying to watercool.
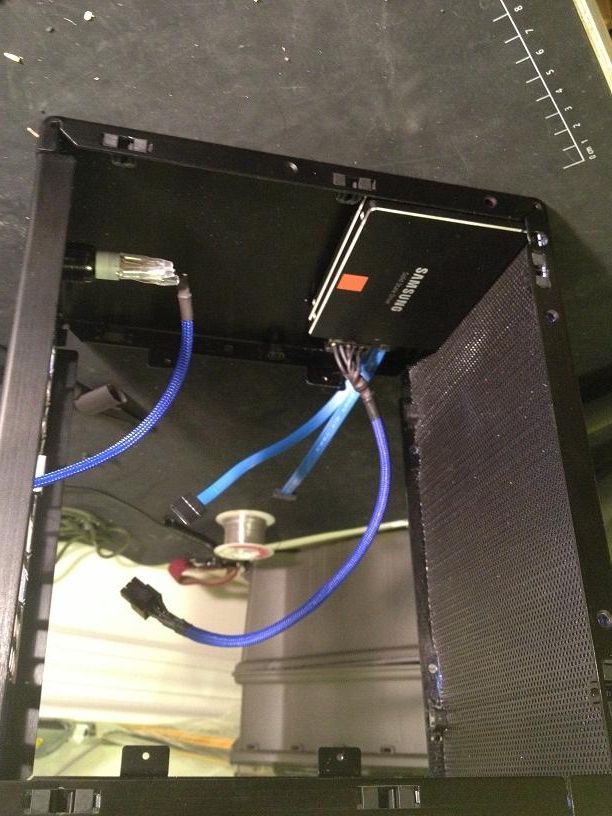
Storage: 2x Samsung 840 Pro 256GB SSDs (7mm) in RAID0. Does anyone else find it funny that Samsung doesn't have these listed on their website yet (just the 128GB ones)?
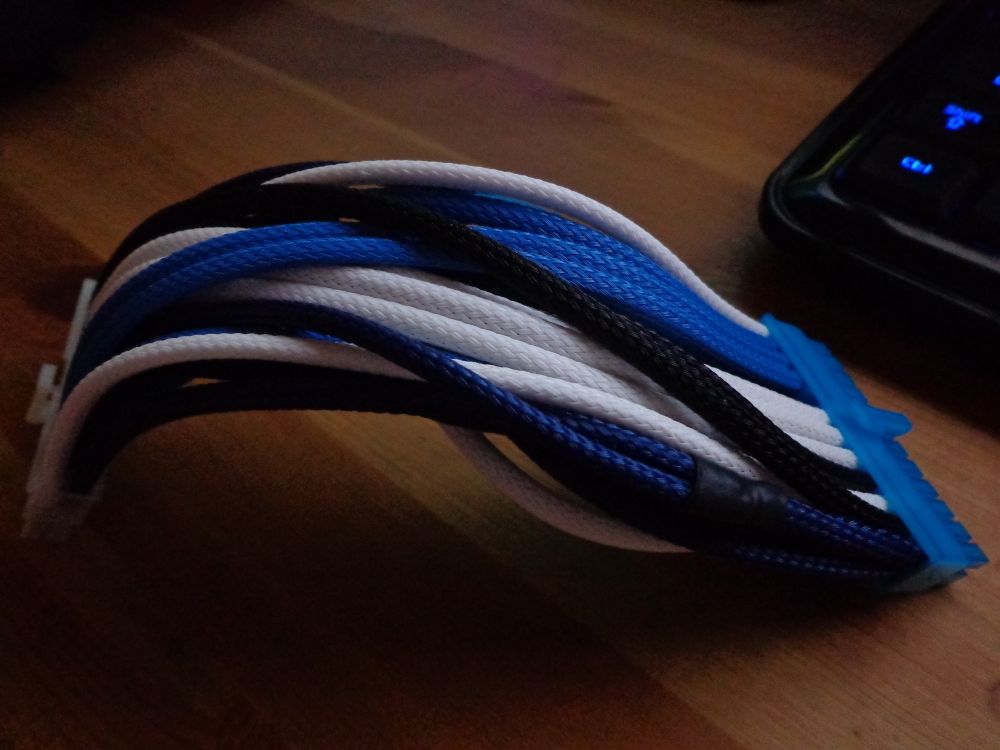
Other bits:
- 16mm Vandal Switch. Black Housing w/ blue illuminated ring.
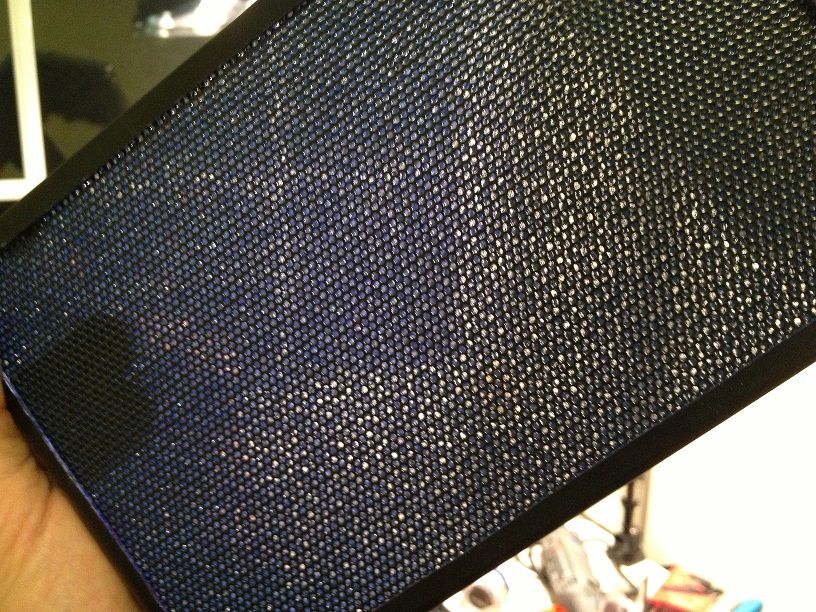
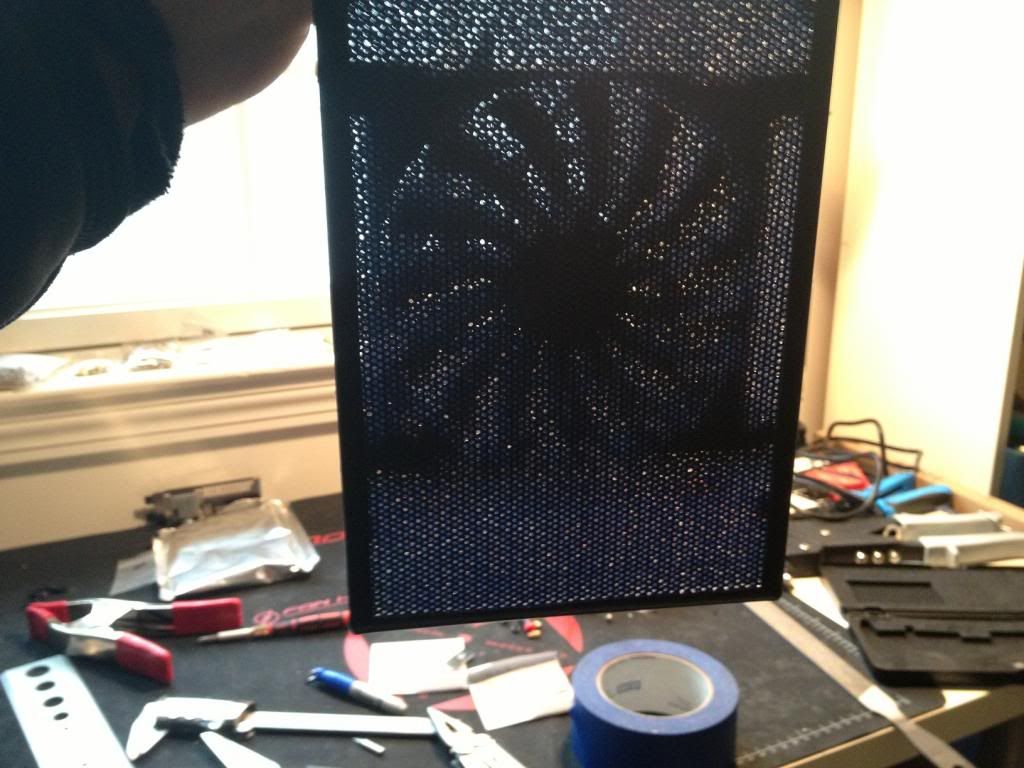
- Some Modder's Mesh
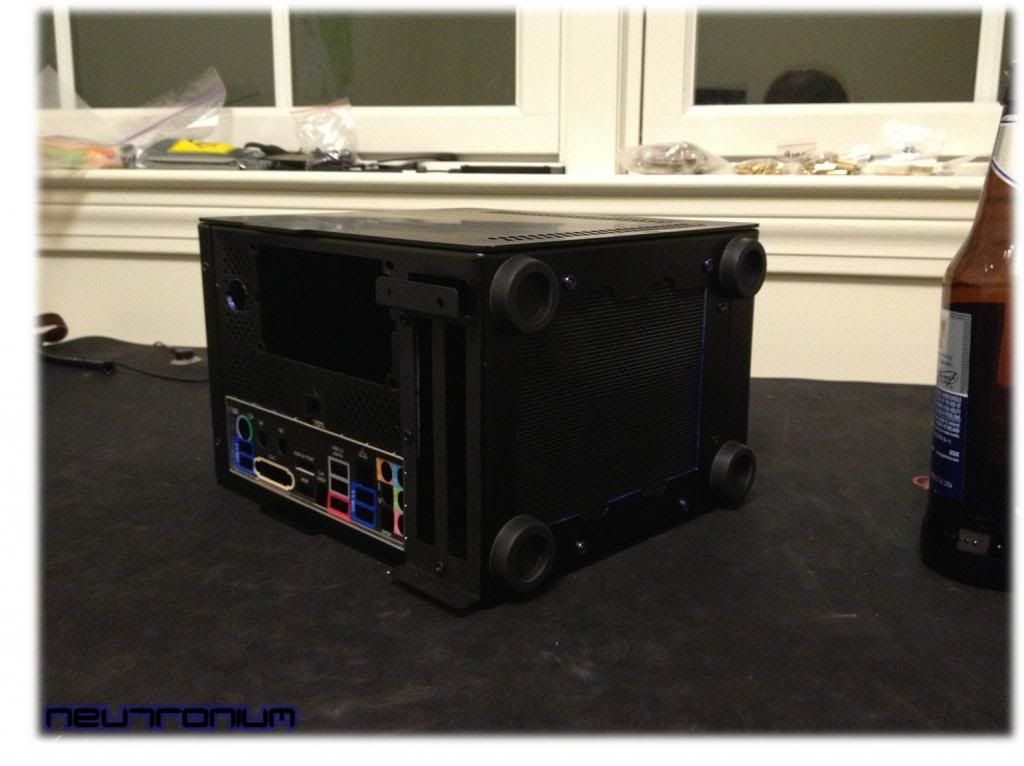
- MNPCTech Machined case feet
- Lots of Tools from MNPCTech, FrozenCPU, and Dangerden (R.I.P. )
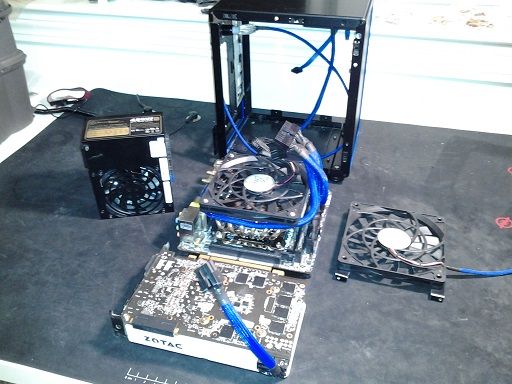
Current State of the Project:
As of 28 MAR 2013
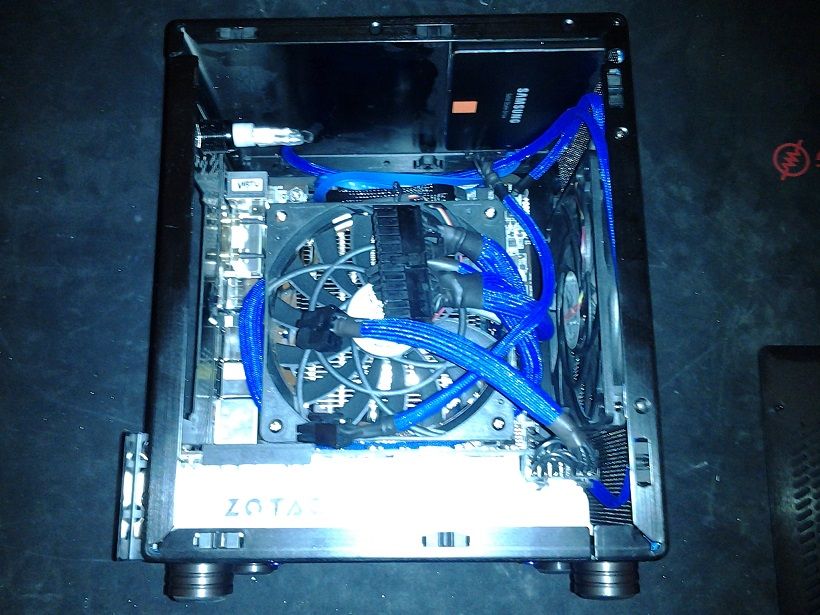
Assembly issues (so far
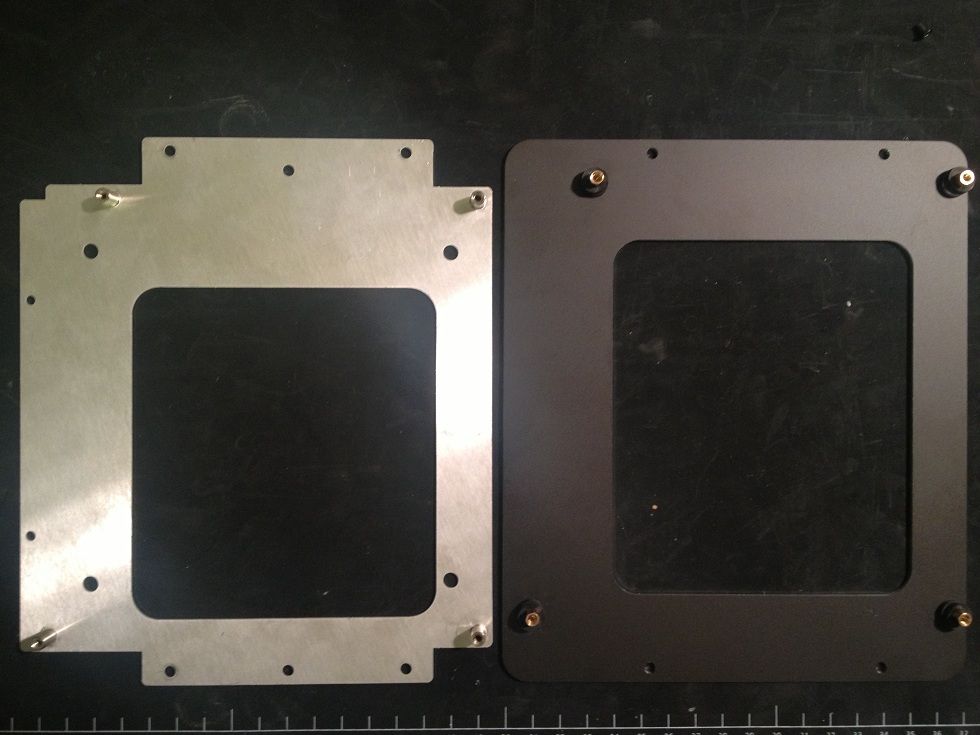
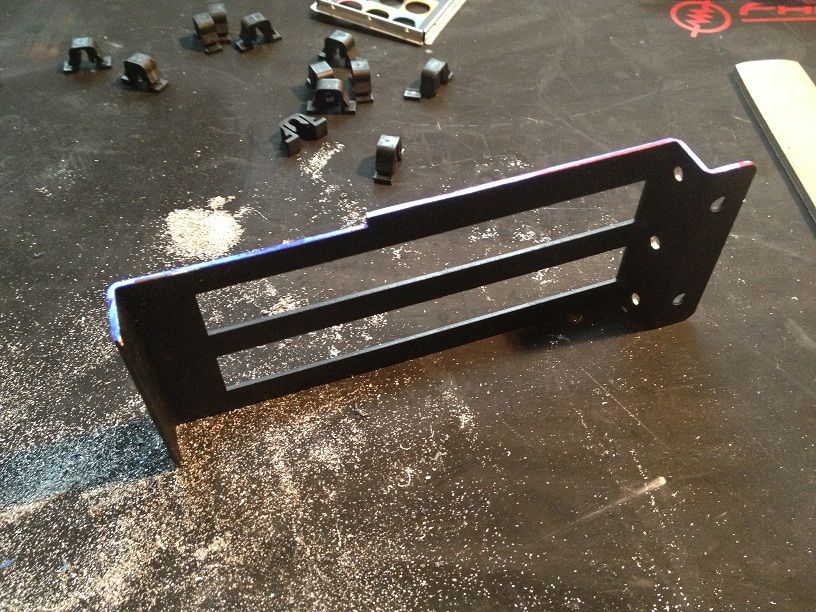
)- Reversed chassis fan mounts, 1mm short on depth and was intersecting with mobo 24-pin power release latch
- Shaved bottom filter mount to allow clearance with GPU
- Re-soldered one connection on Vandal switch which had come un-done
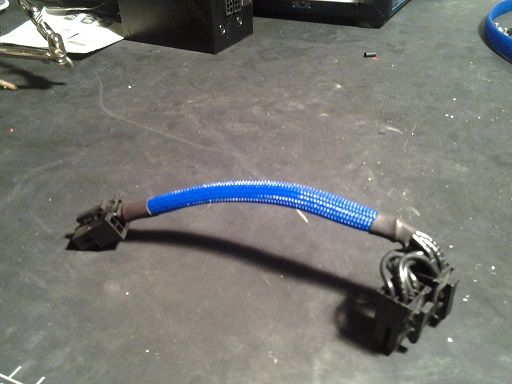
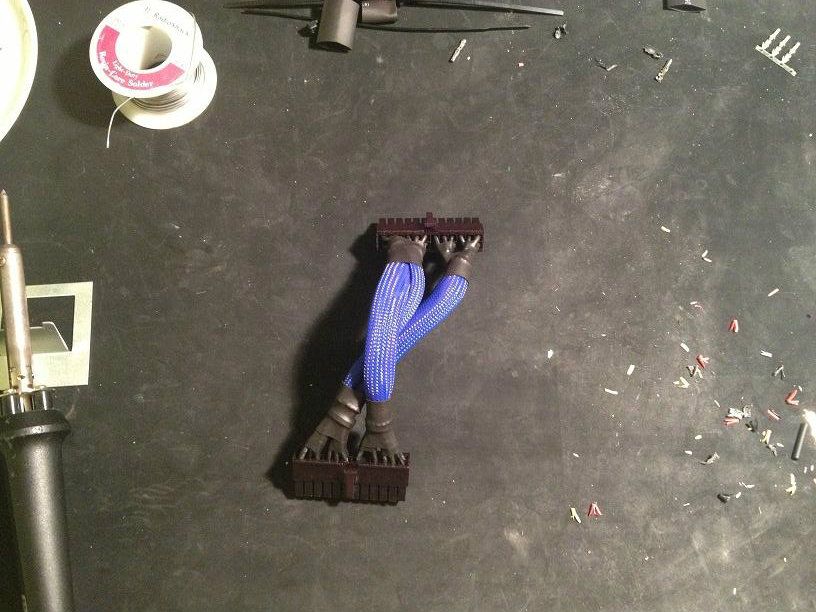
- Rewiring SSD power cable -- wires had backed out of second SSD power connector (retreated into the sheath)
Powers up just fine and once I get the second SSD up to speed, I'll install raid and Win7

Last edited: