shadowlord
2[H]4U
- Joined
- Jan 6, 2005
- Messages
- 3,109
Hello all !!
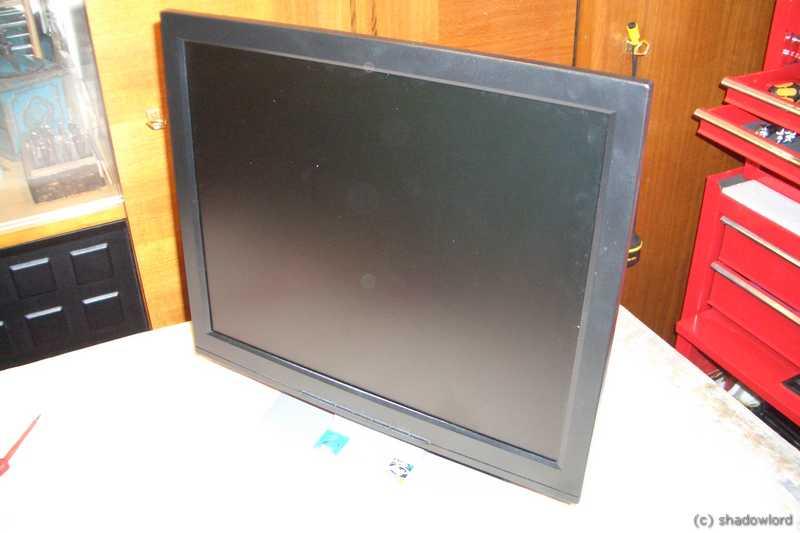
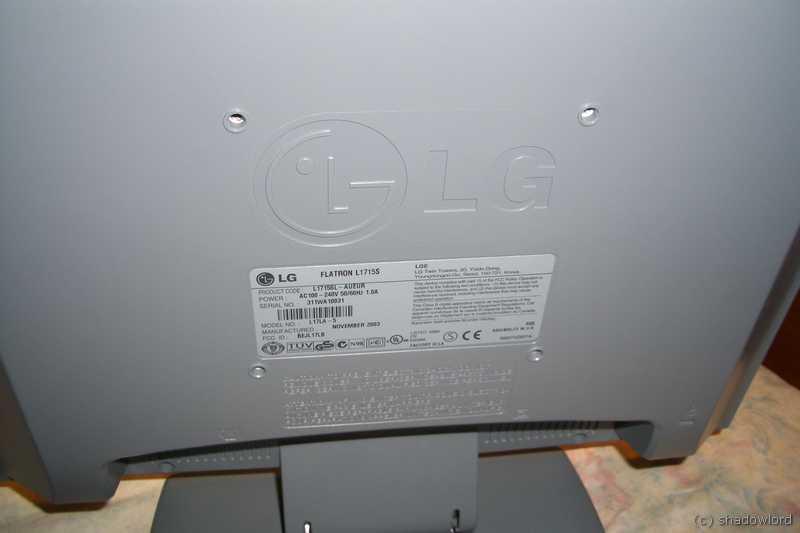
after seeing some monitor mods on the net i thought about doing this to my old 17" LG as well...
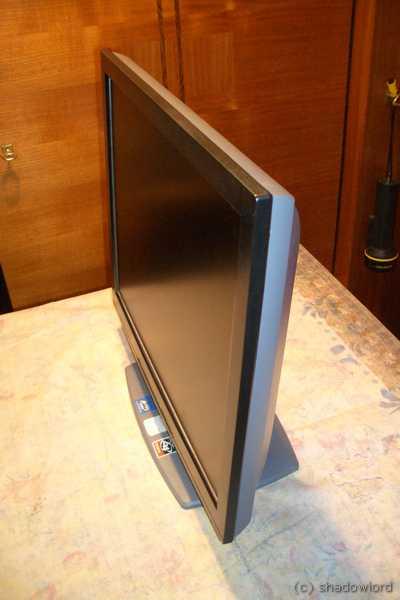
here's the stock lg monitor:
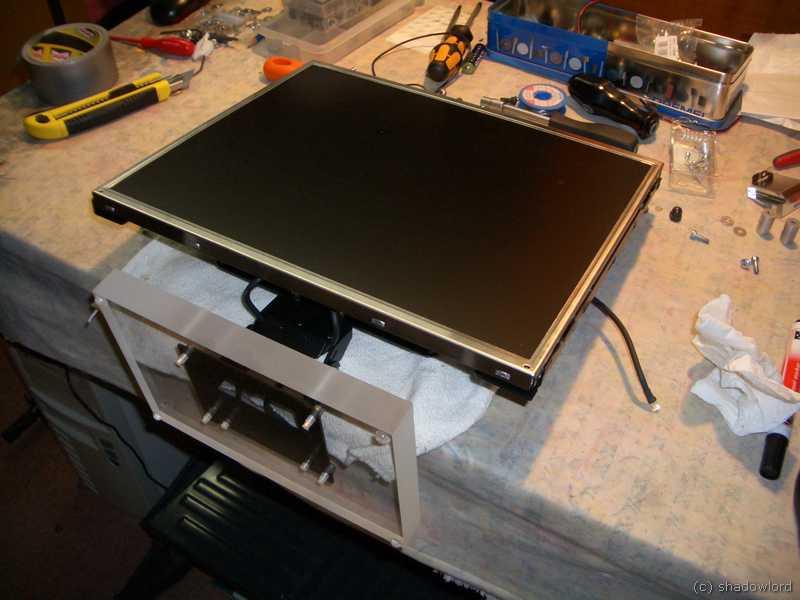
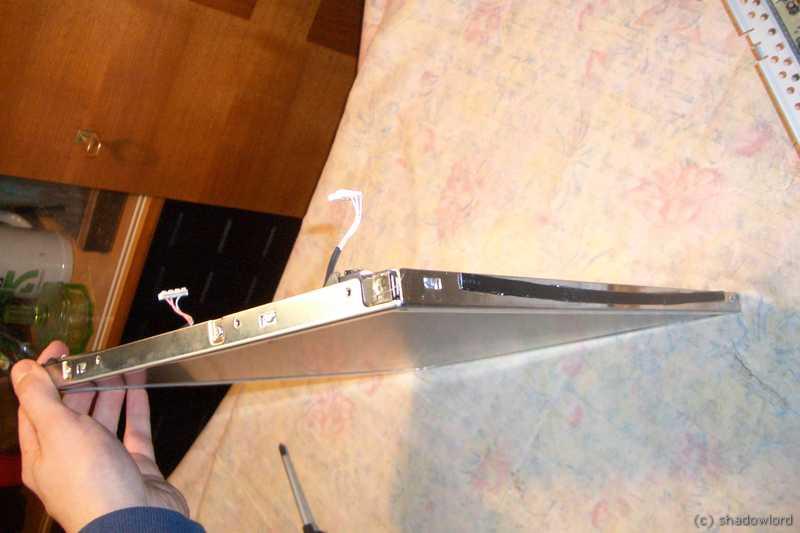
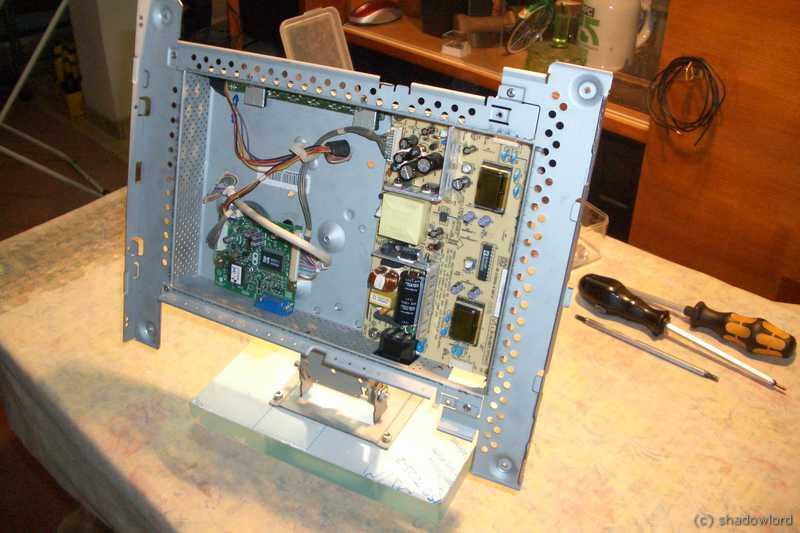
first disassembling
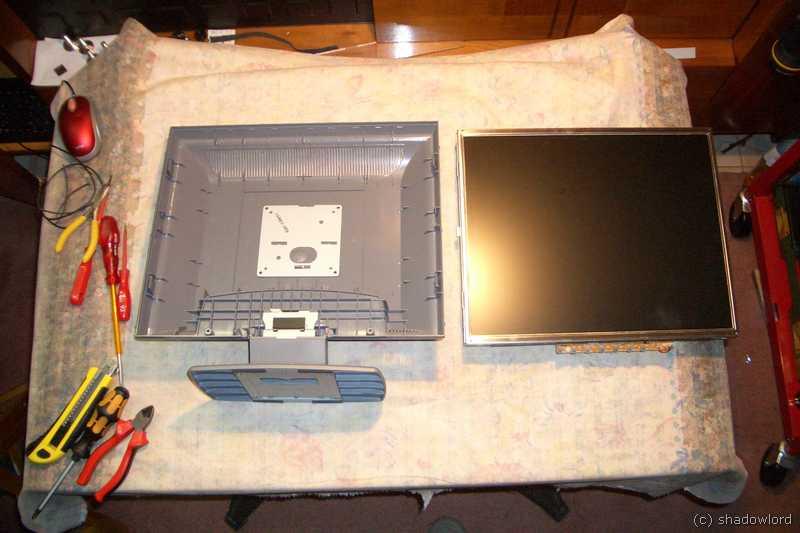
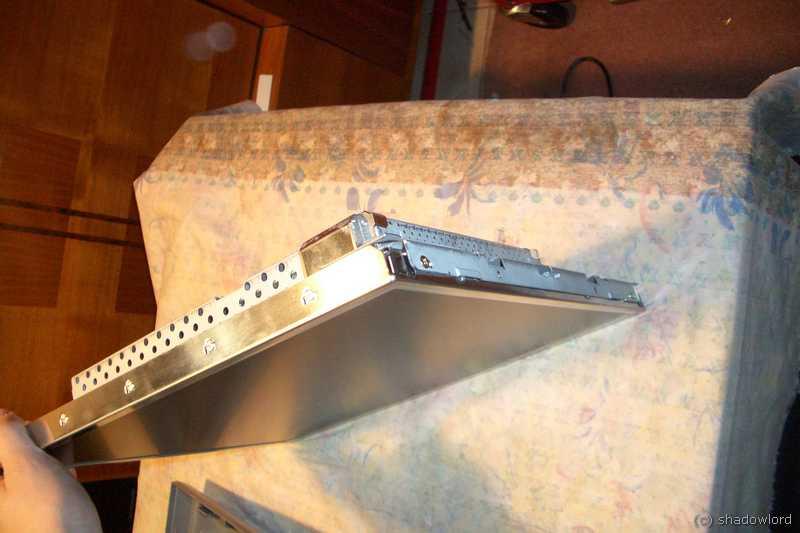
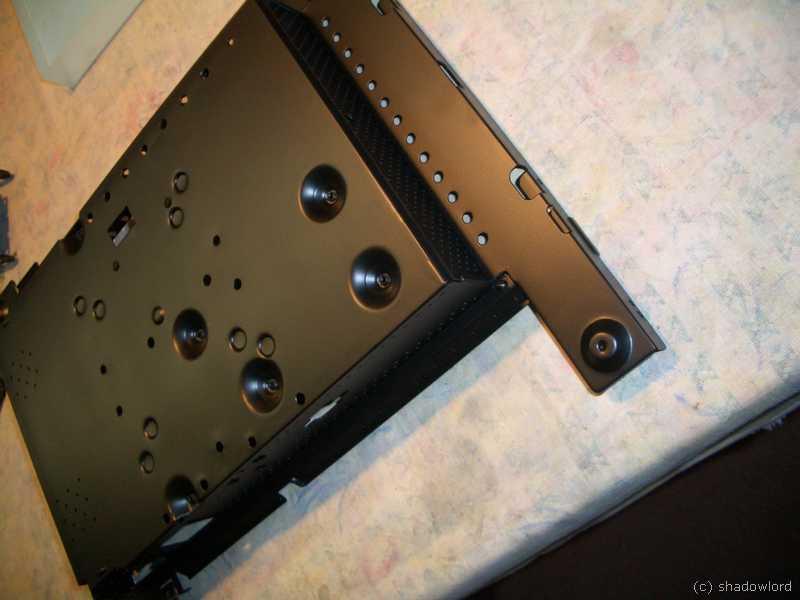
lcd-panel:
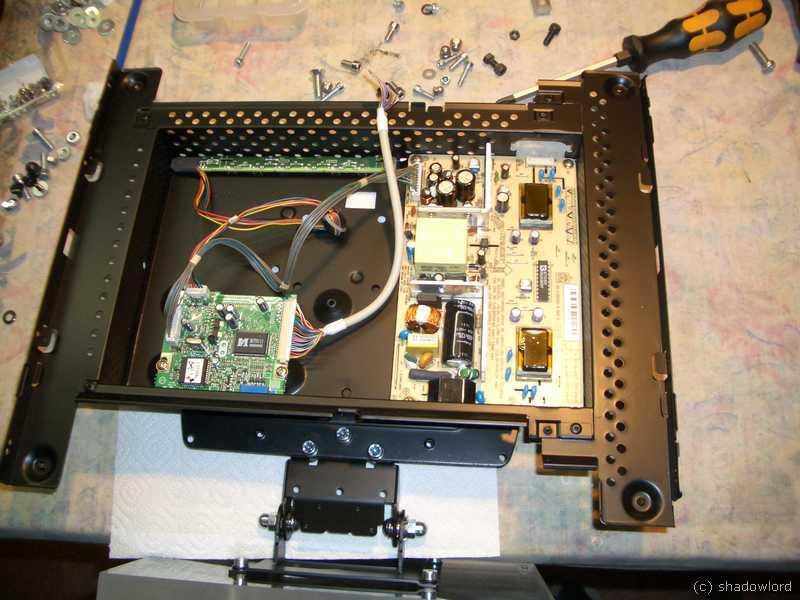
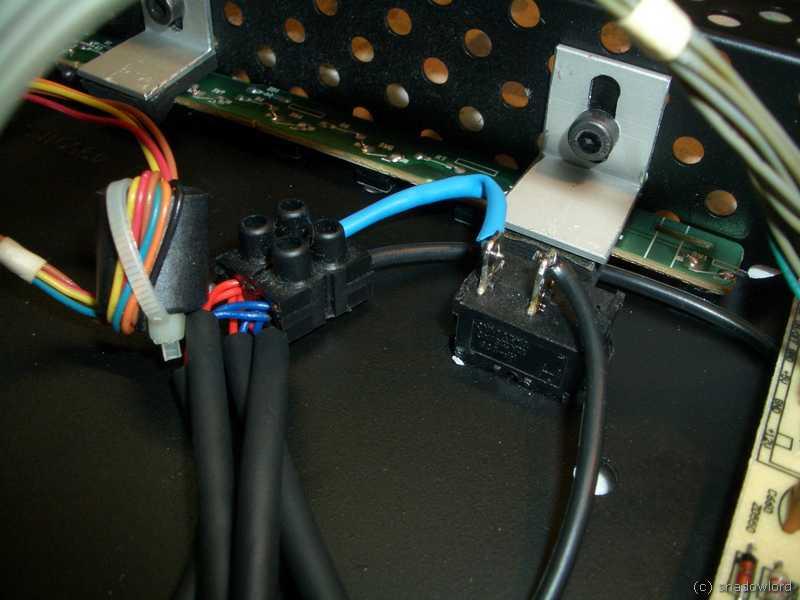
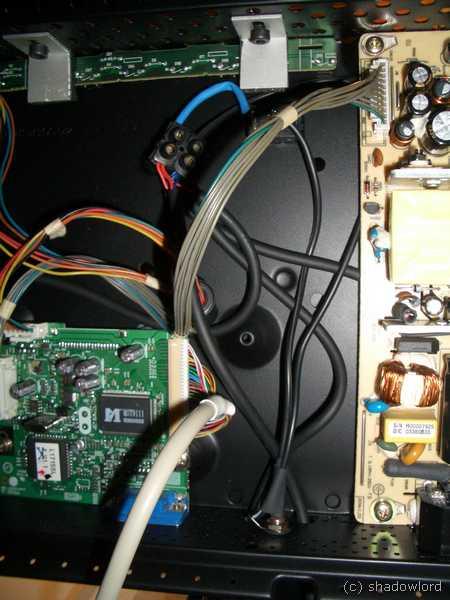
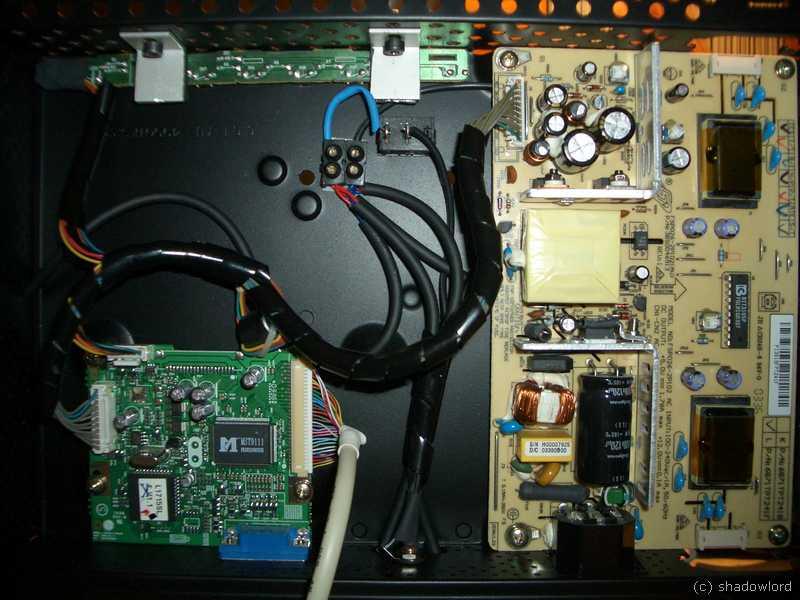
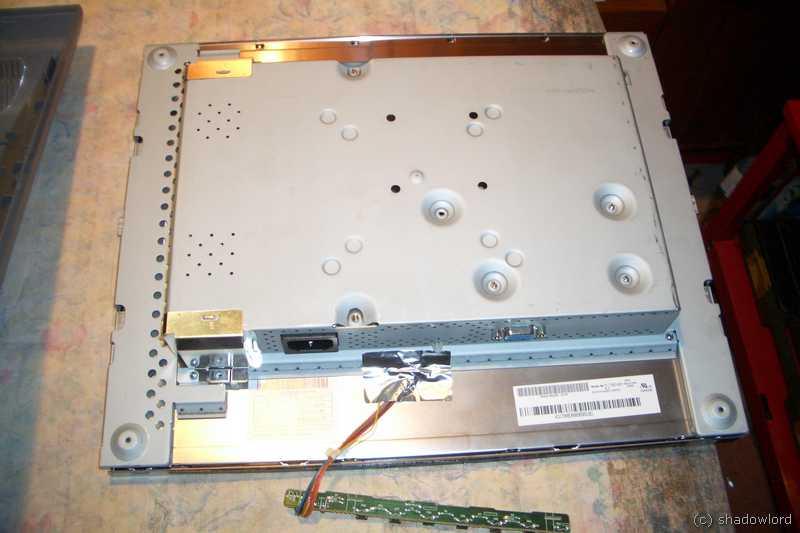
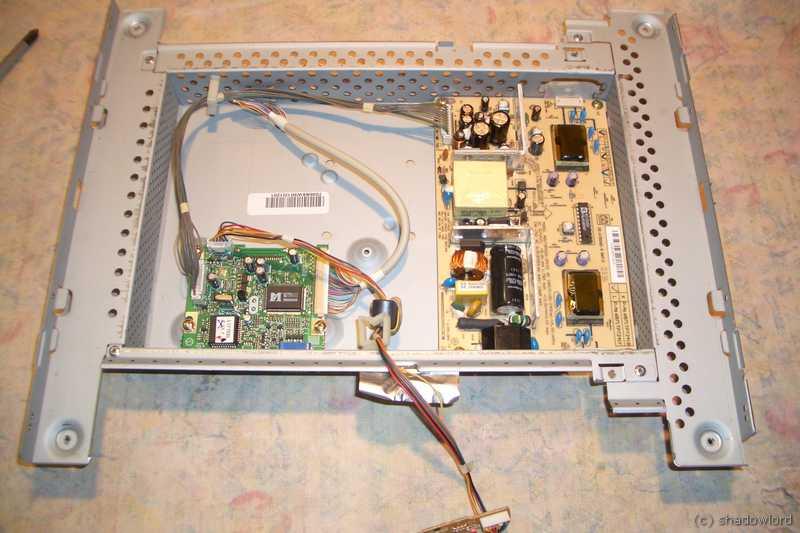
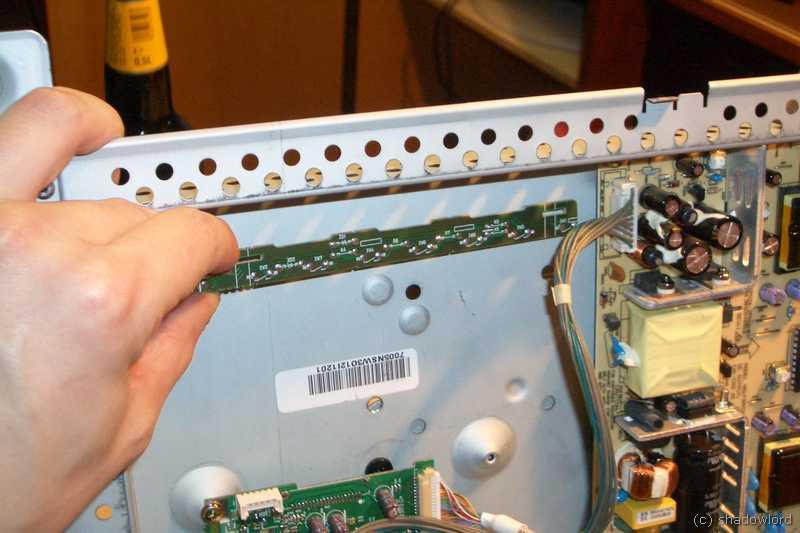
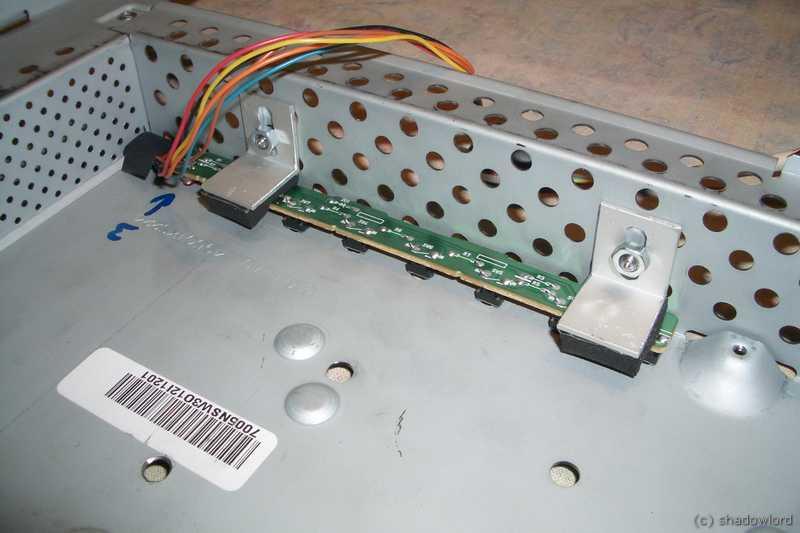
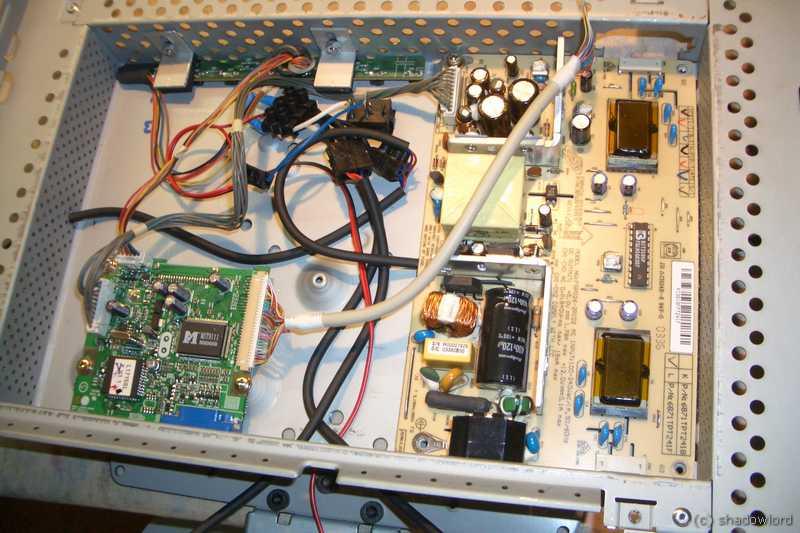
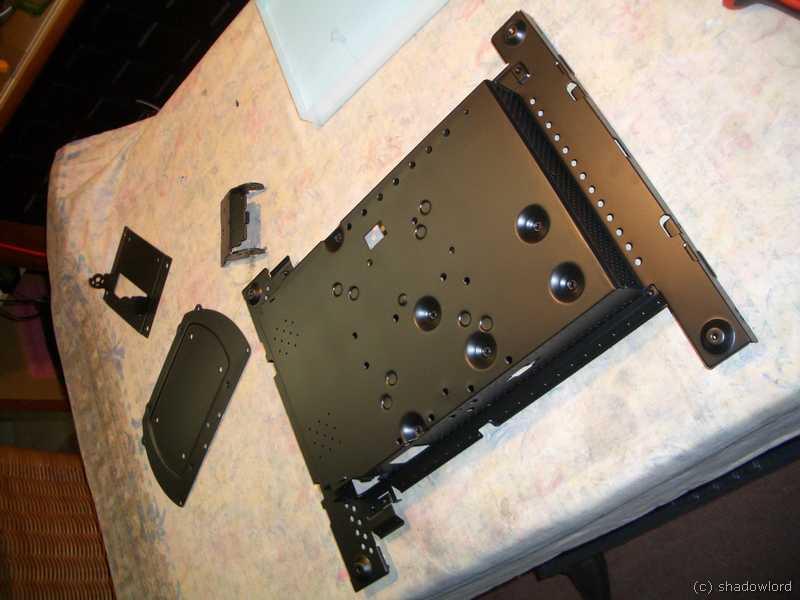
Electronics:
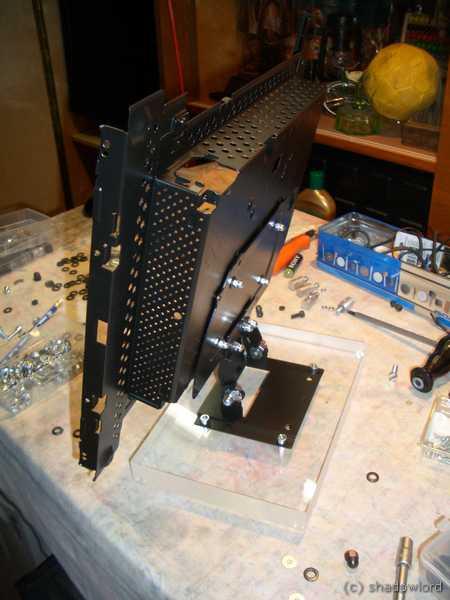
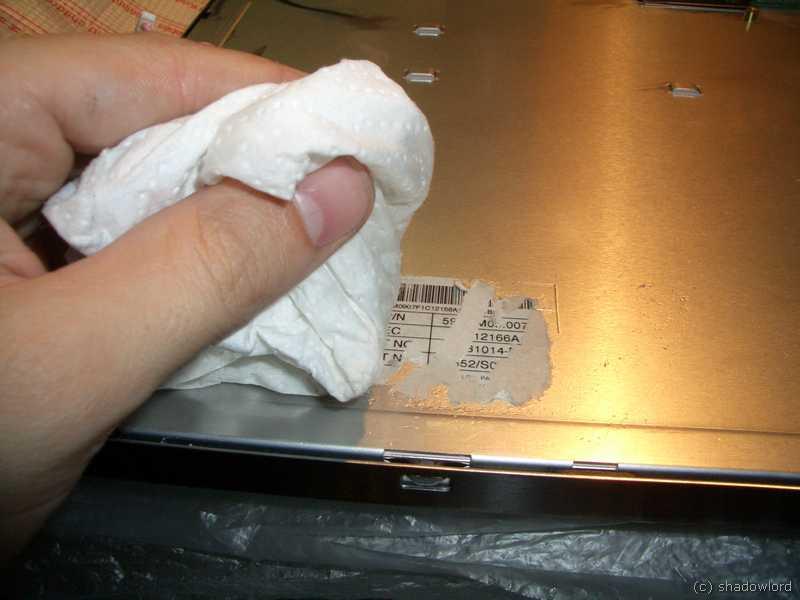
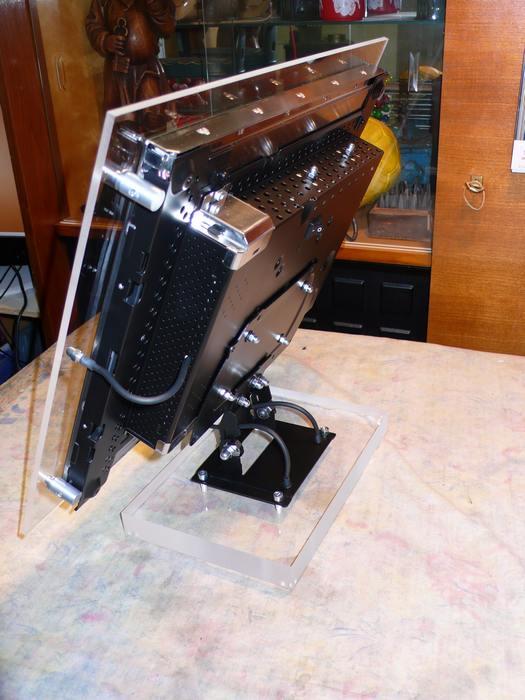
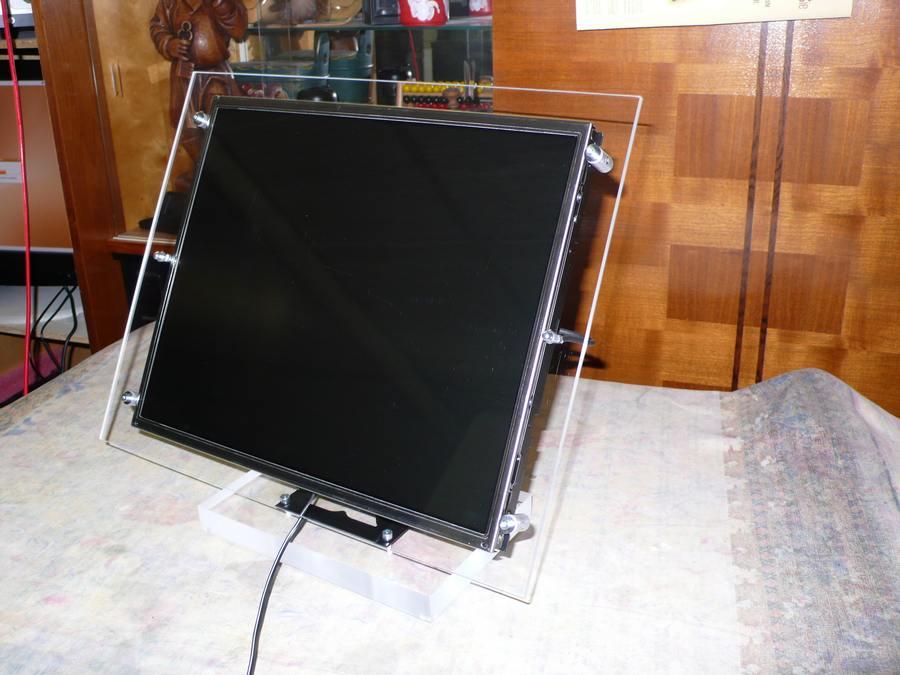
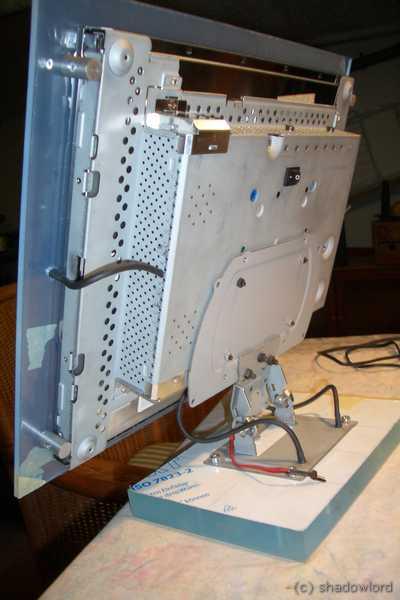
since i wanted to obtain a machine like look, i will remove all plasic parts and replace them clear plexi. for this i needed to think about a new way of joining the panel with the base together.
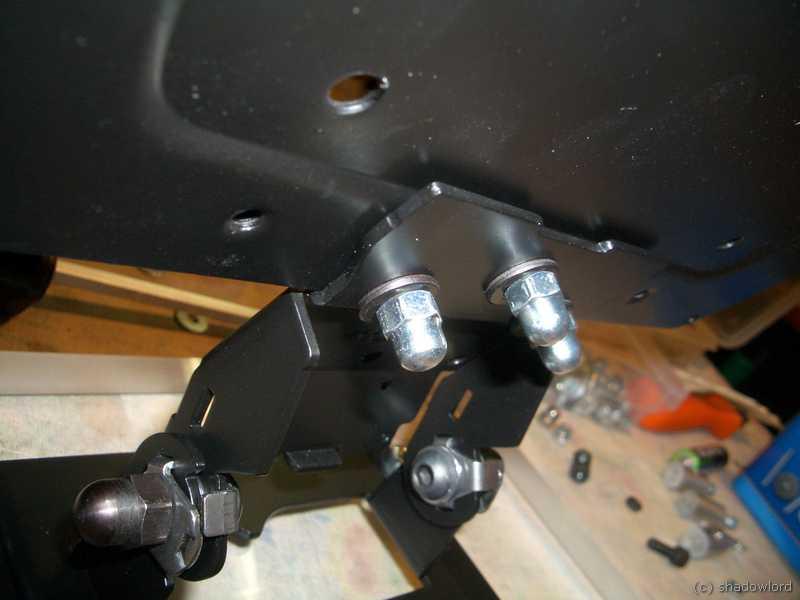
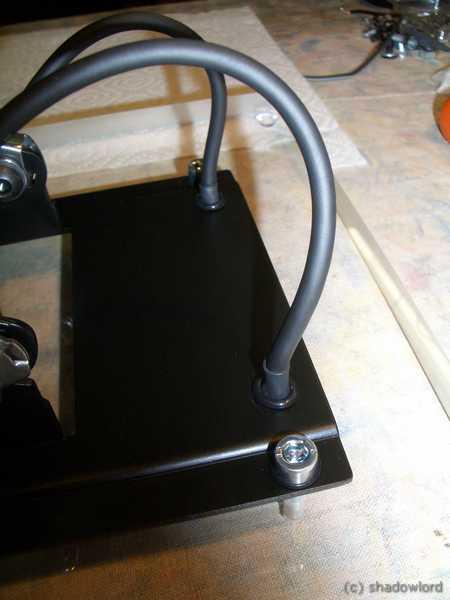
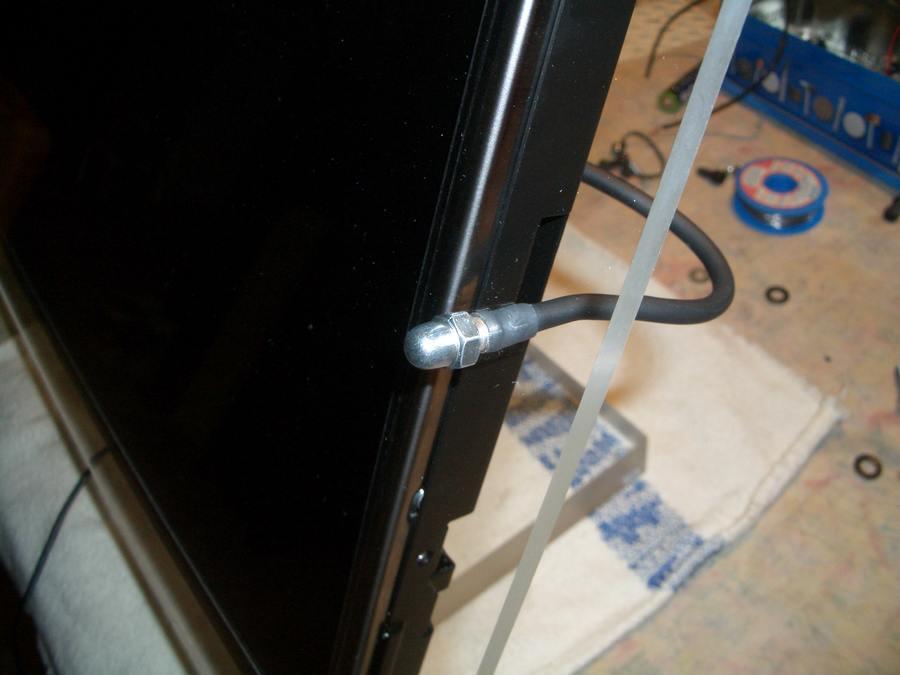
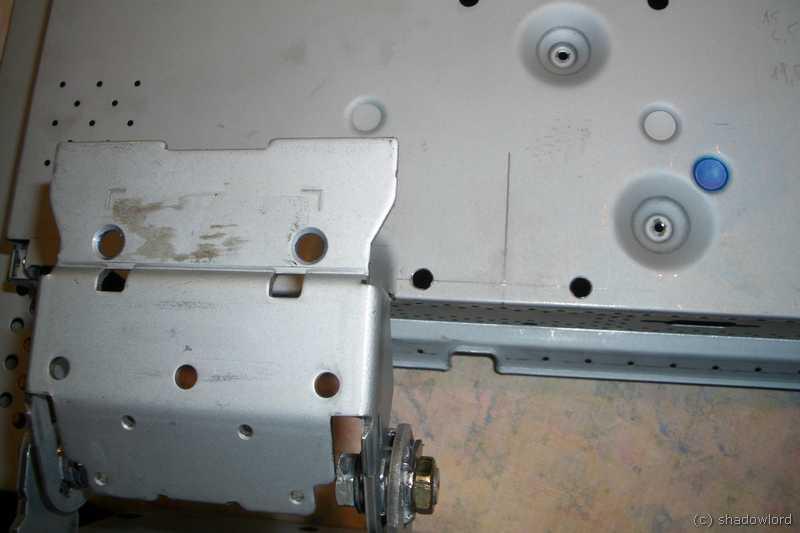
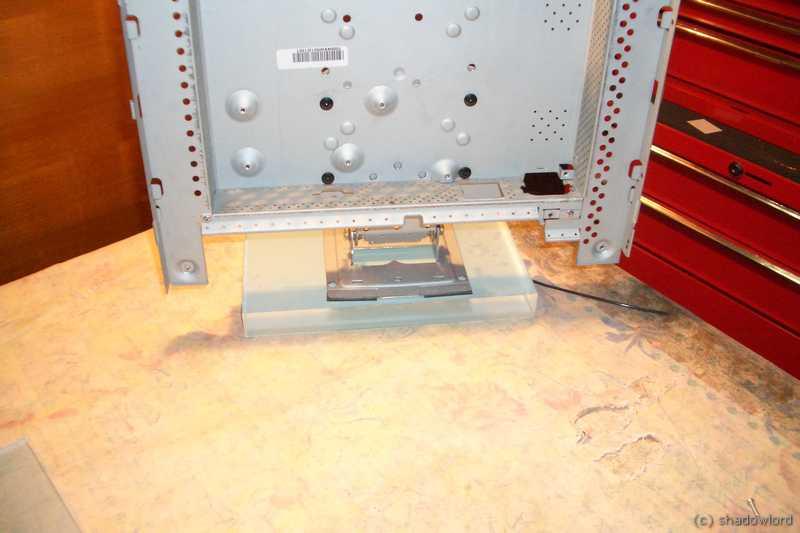
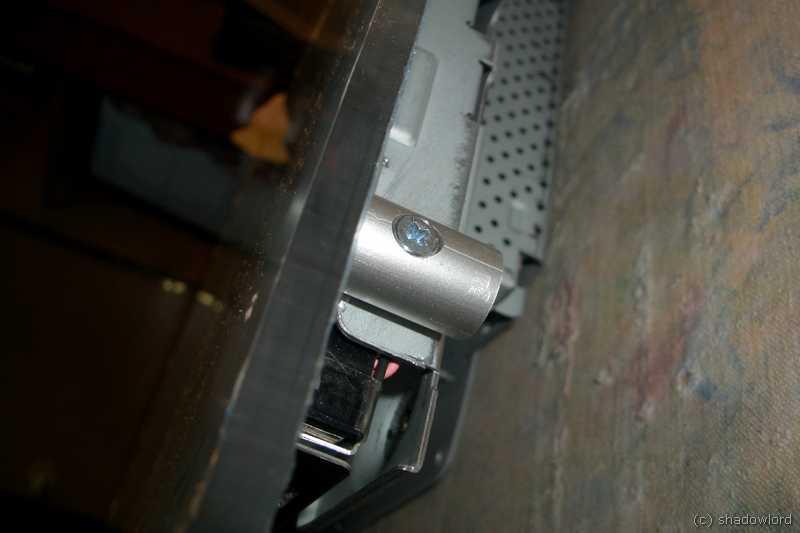
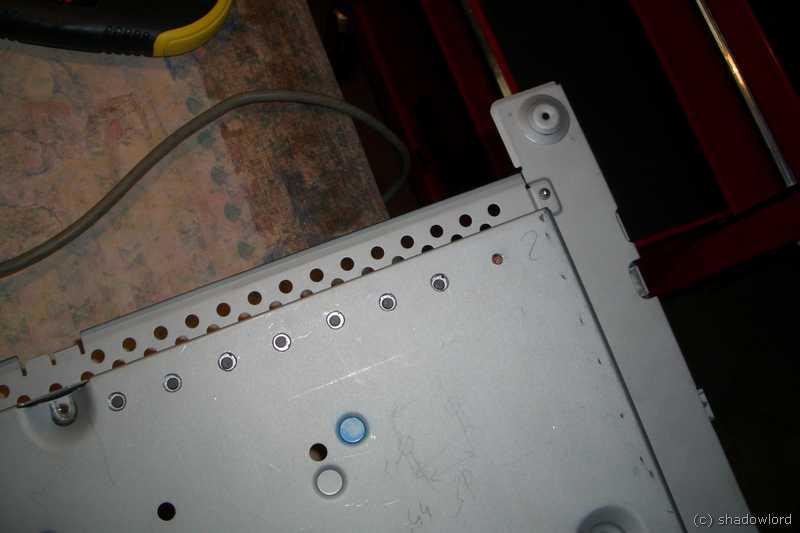
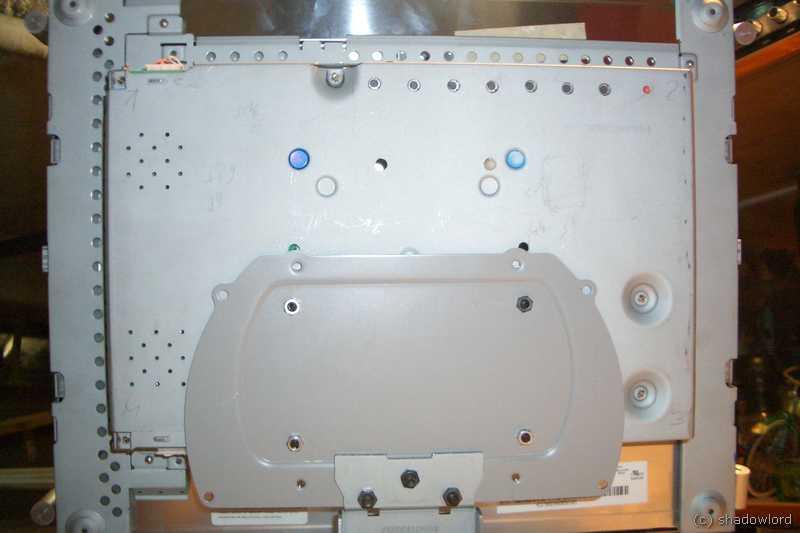
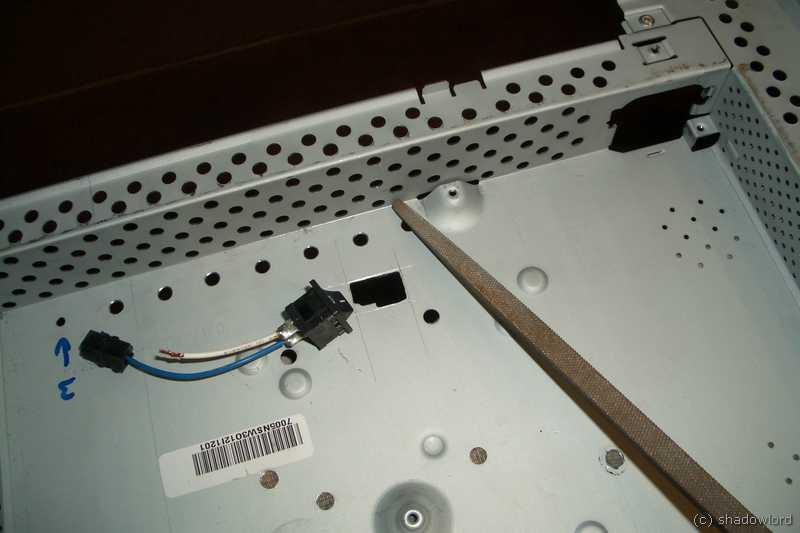
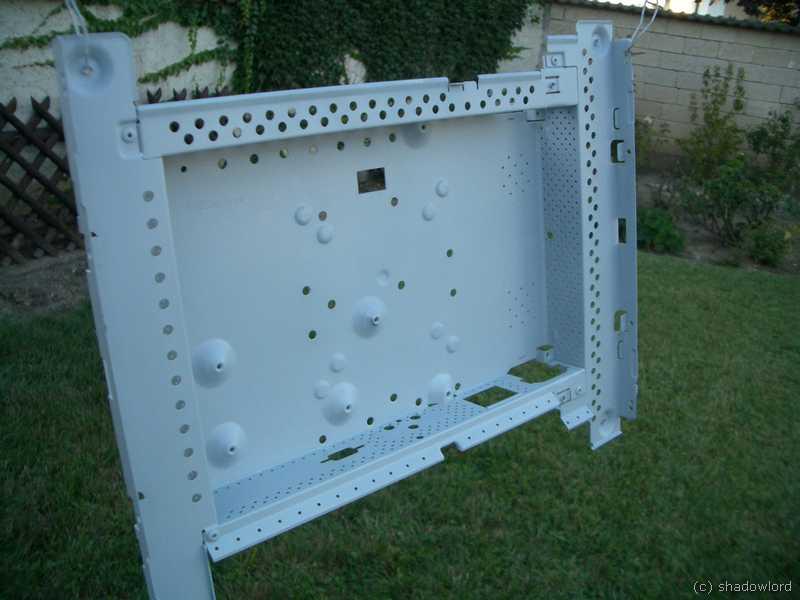
i drilled some holes in the back piece of the panel, so that i could join it together with the stock mounting mechanism. they where originaly hold together by the plastic frame.
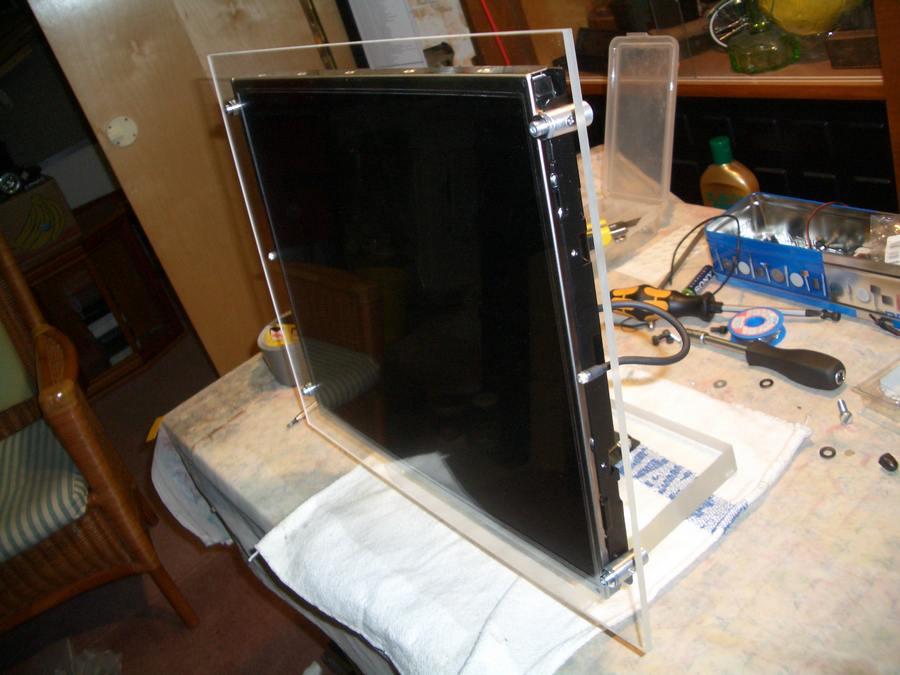
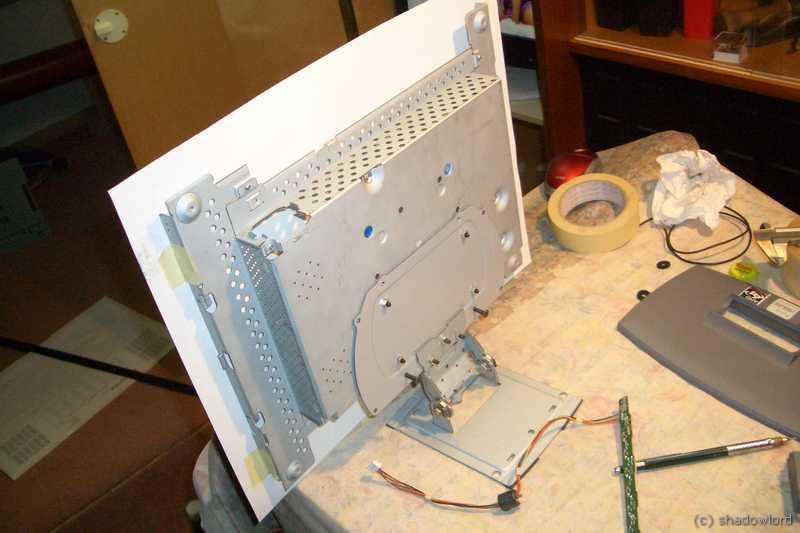
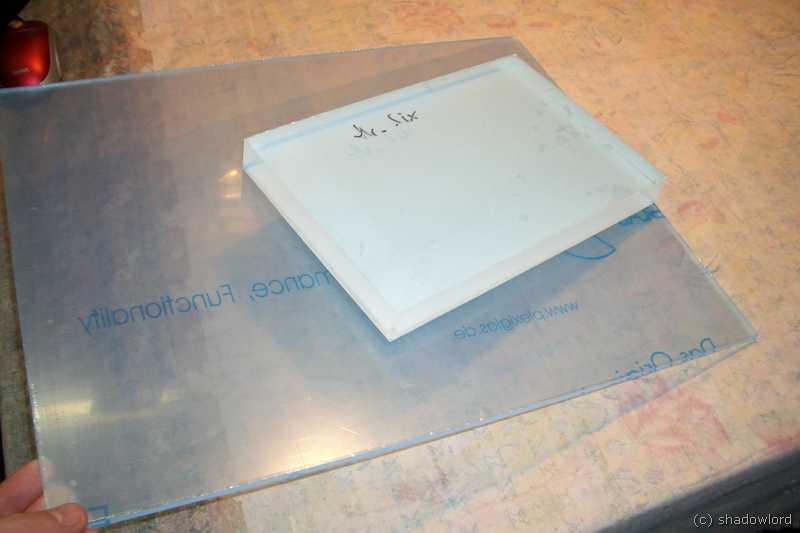
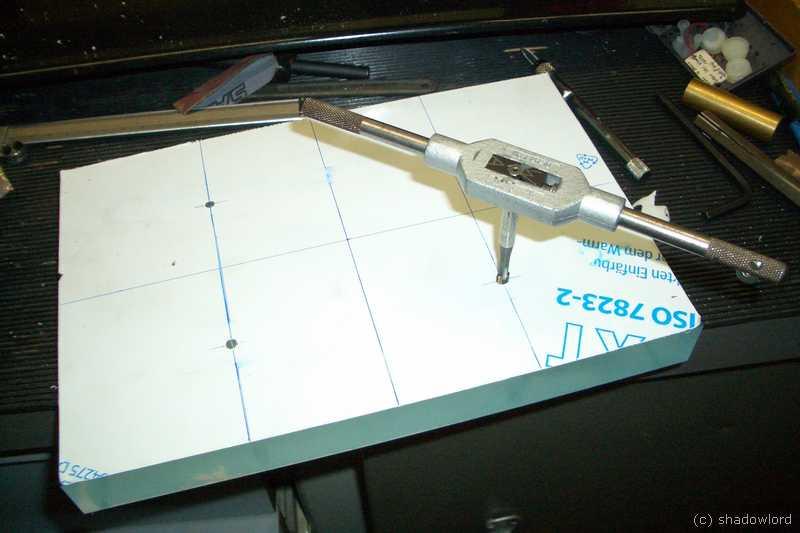
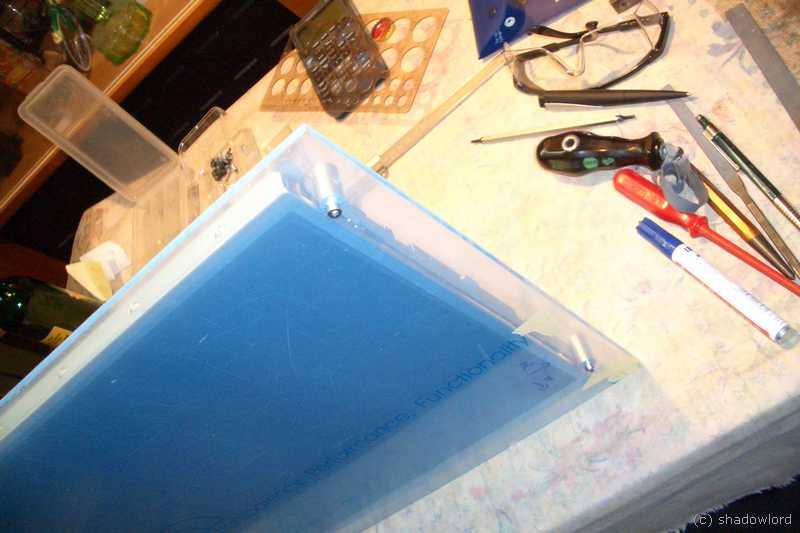
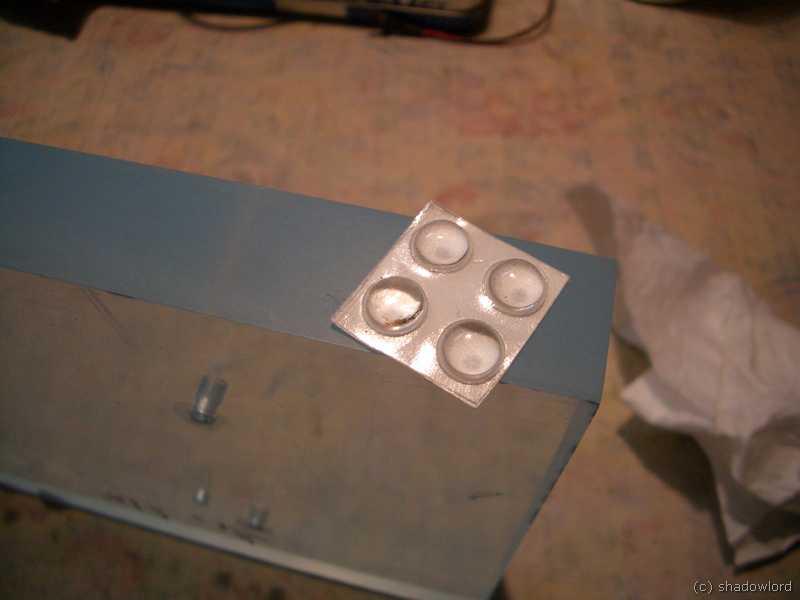
the paper template has the same size as the plexi panel that will go infront of the panel.
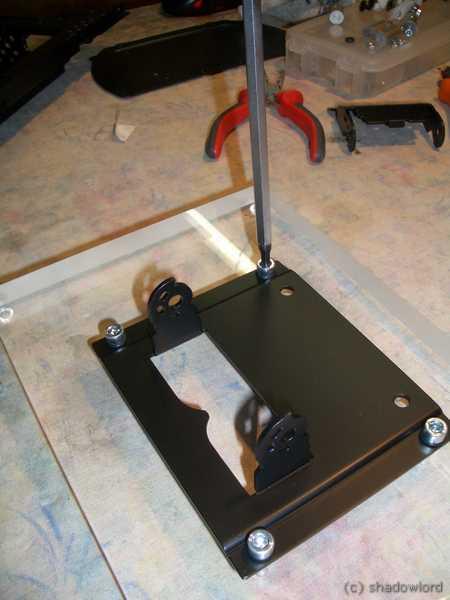
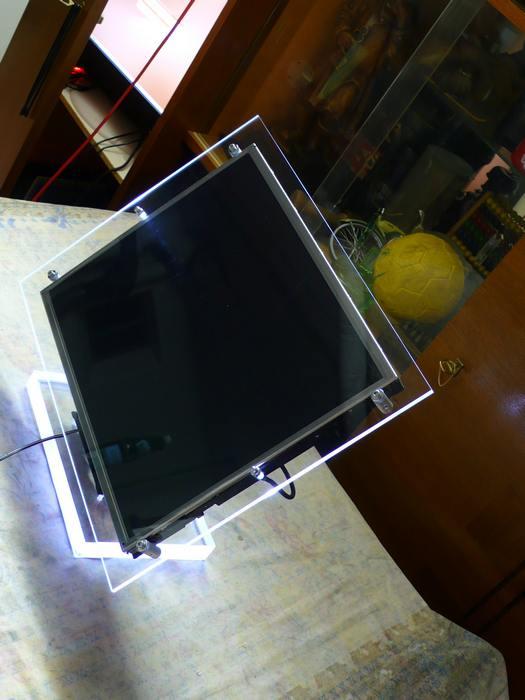
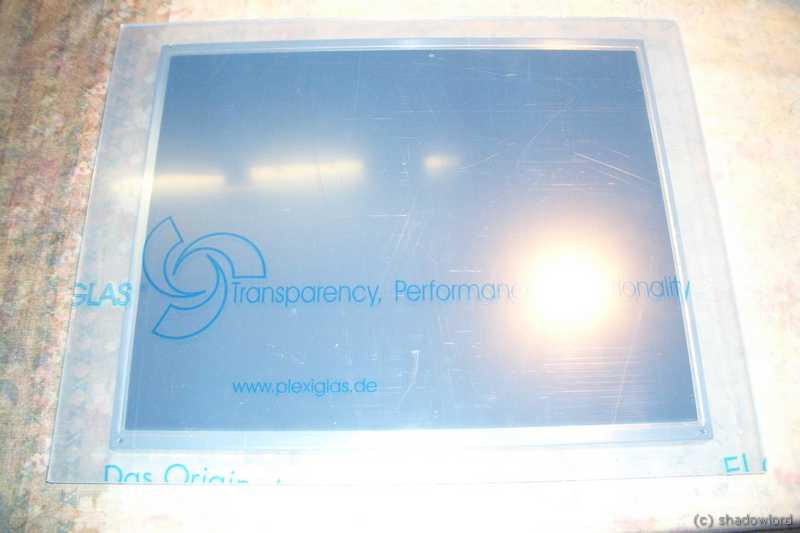
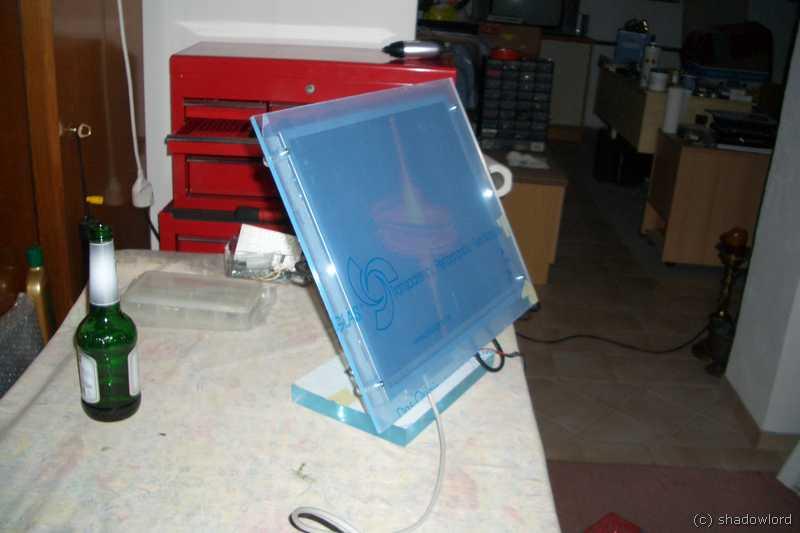
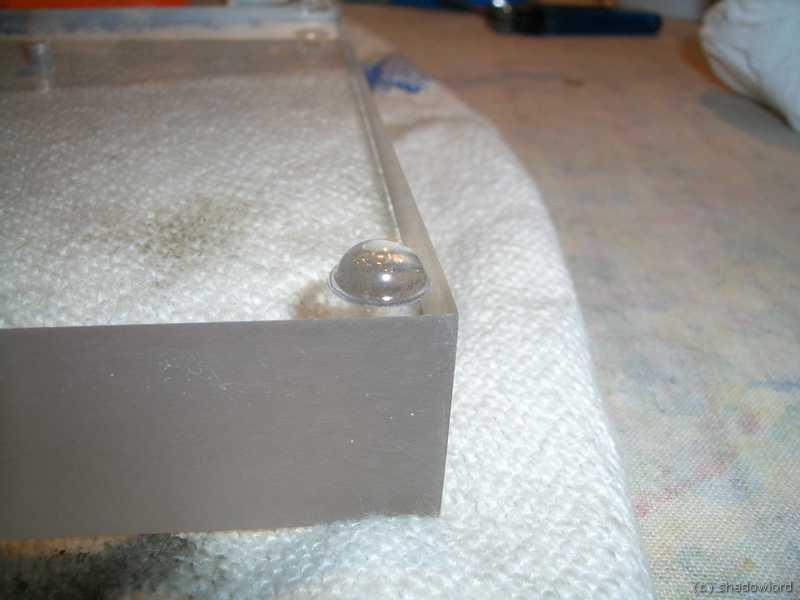
plexi panel and base arrived...
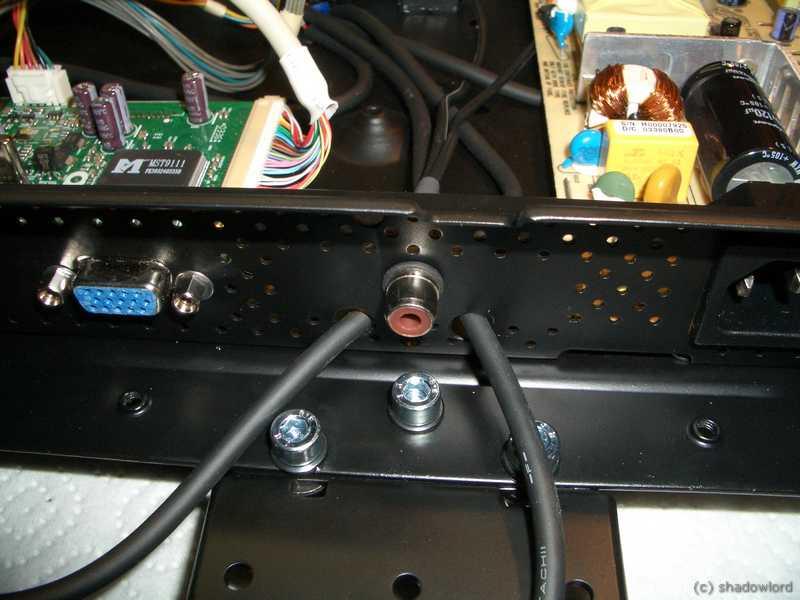
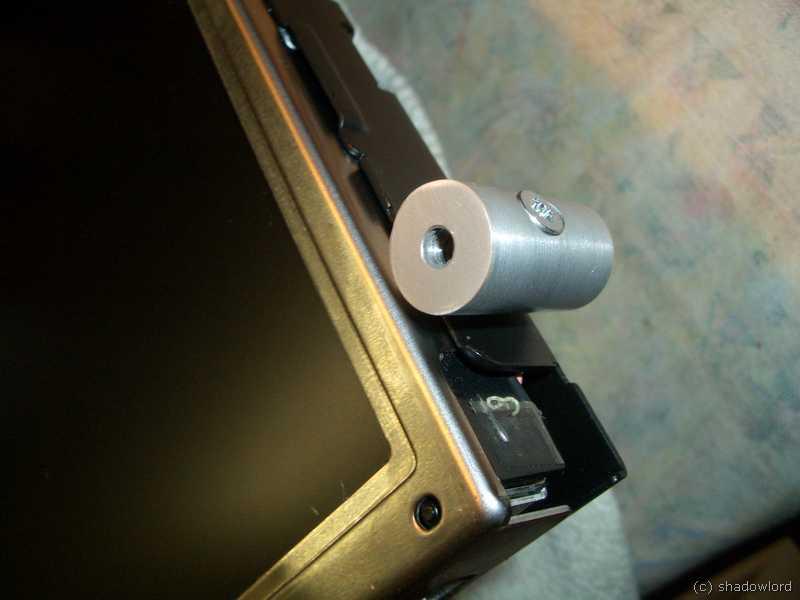
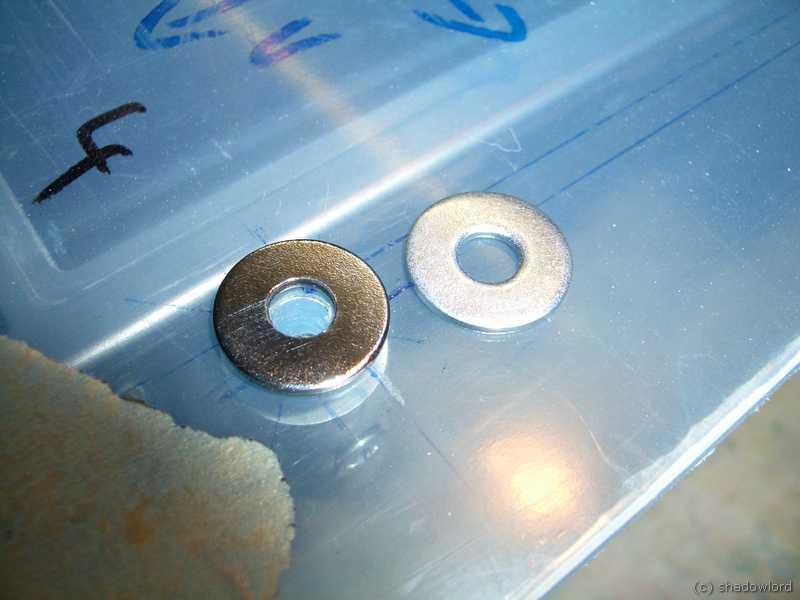
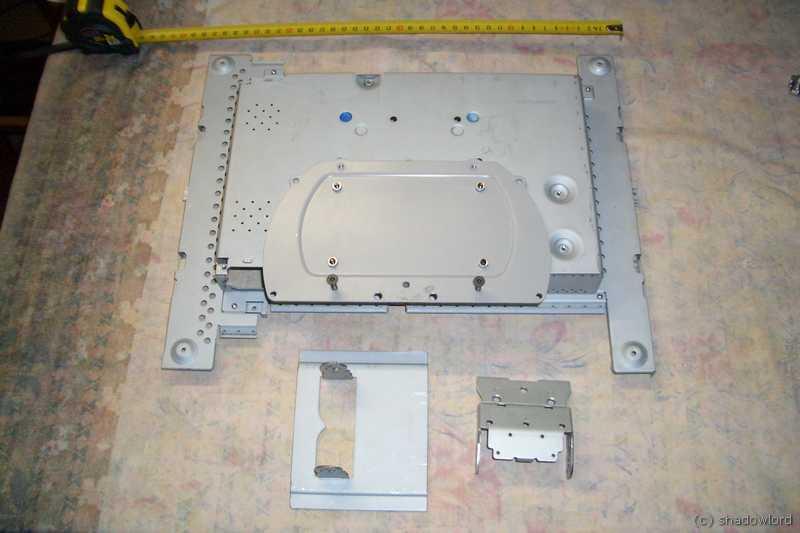
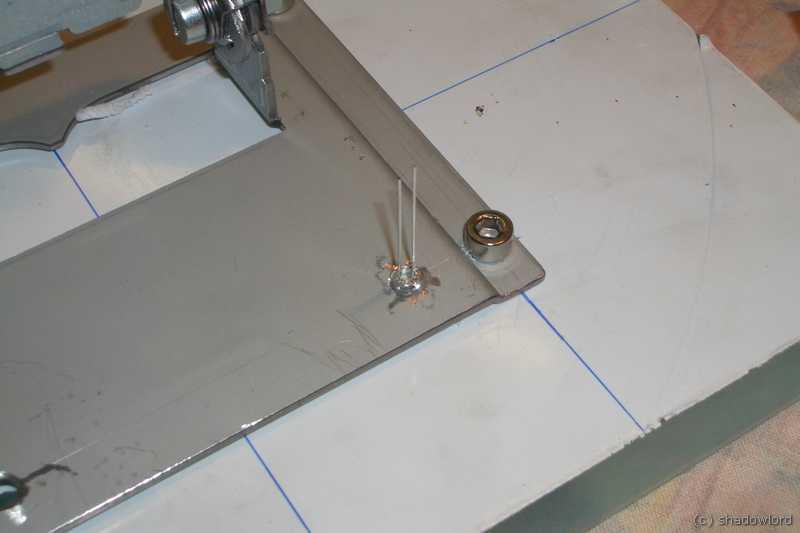
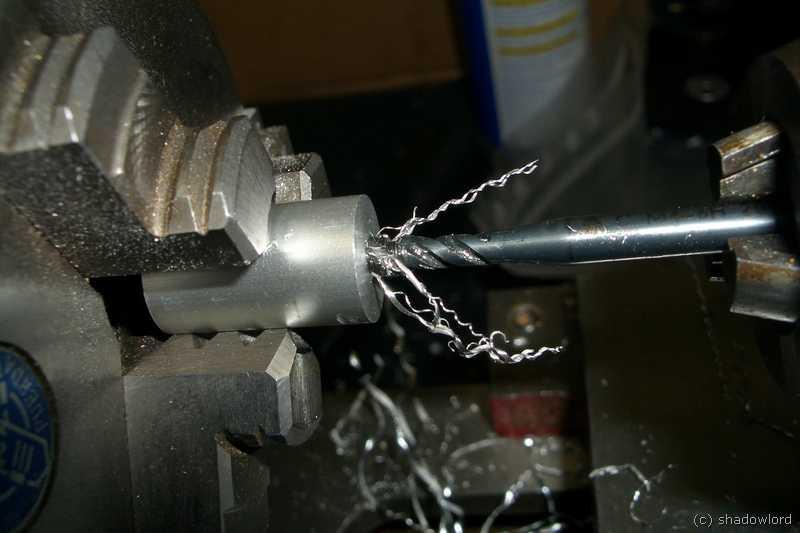
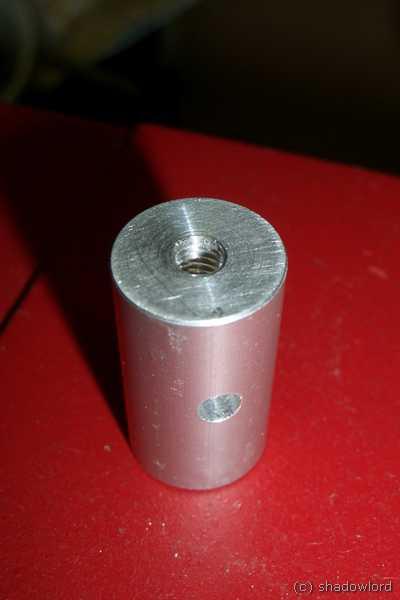
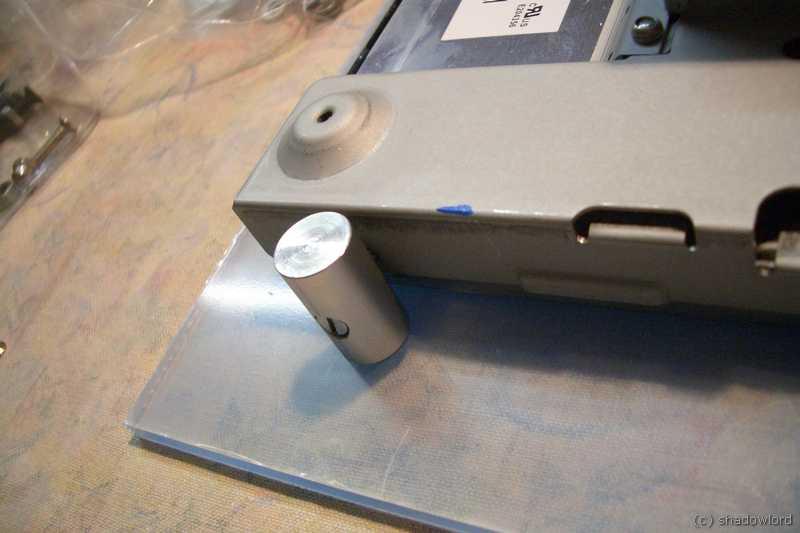
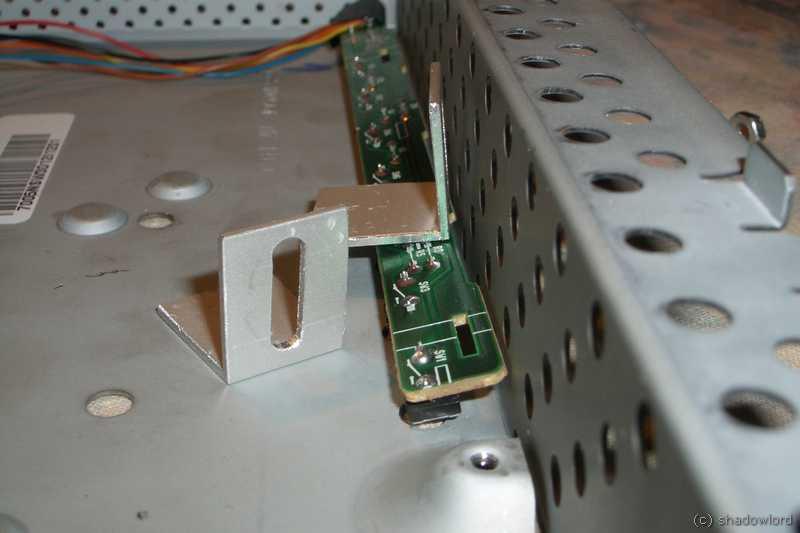
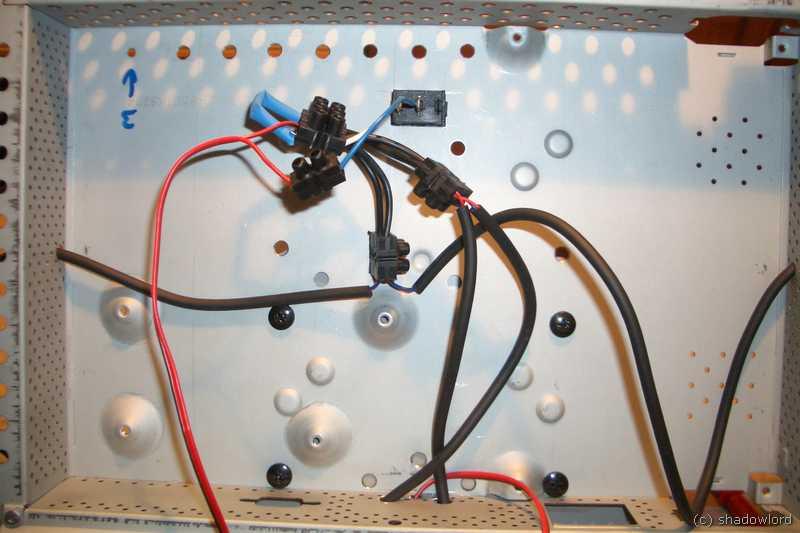
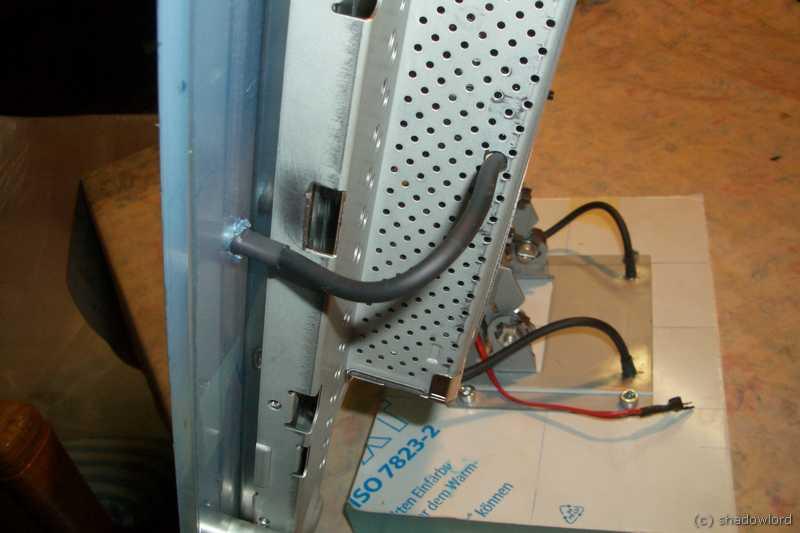
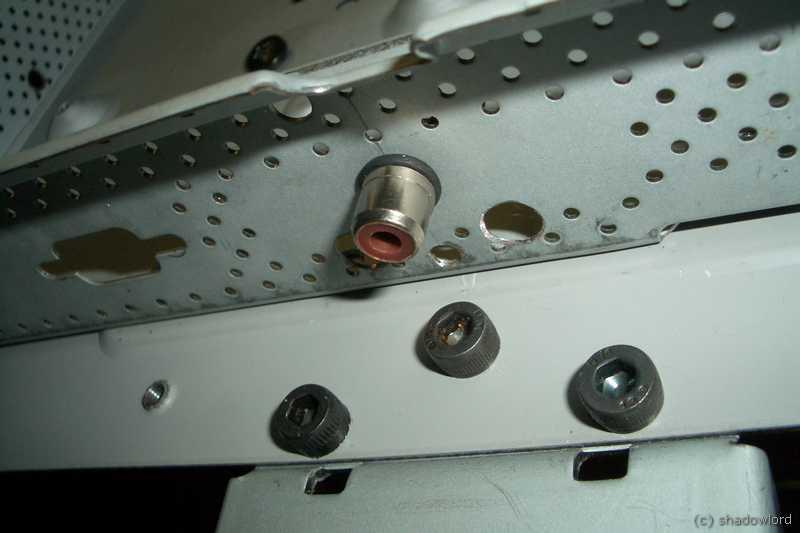
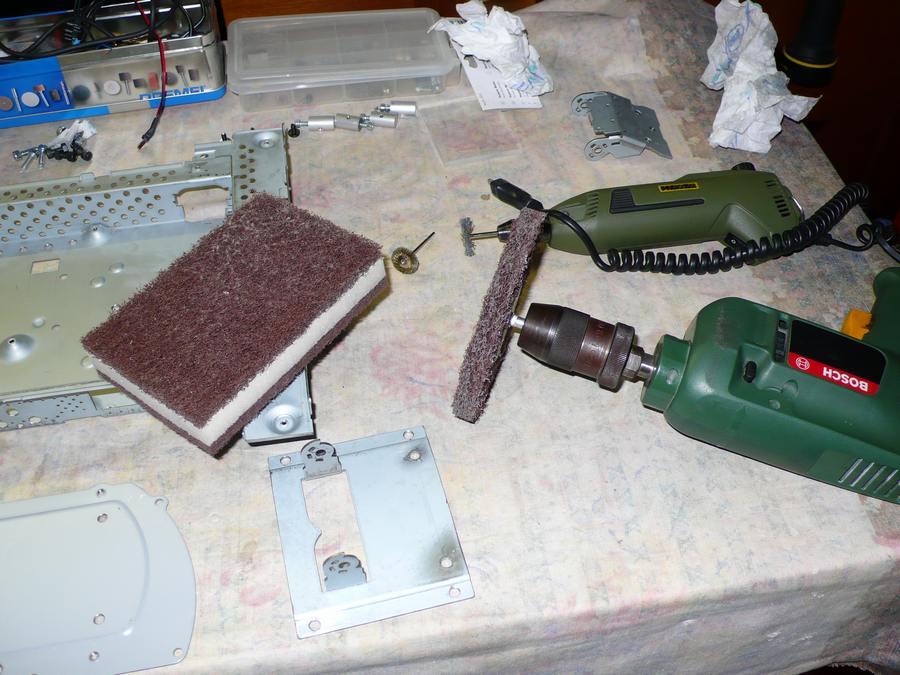
mounting parts...
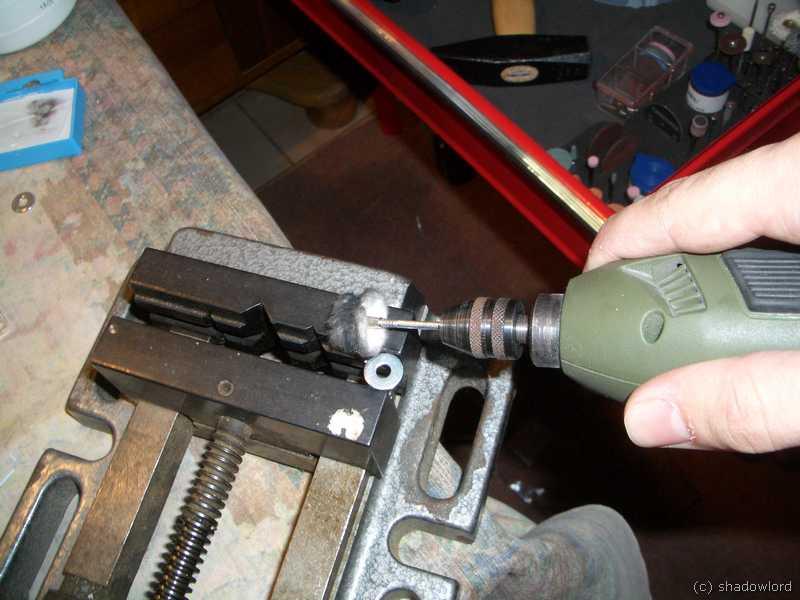
tapping the base plate...
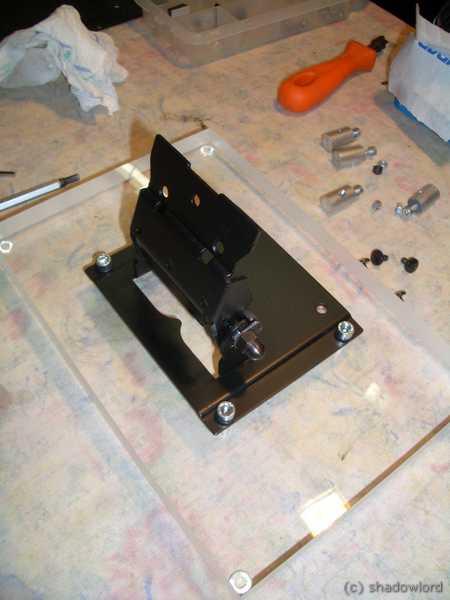
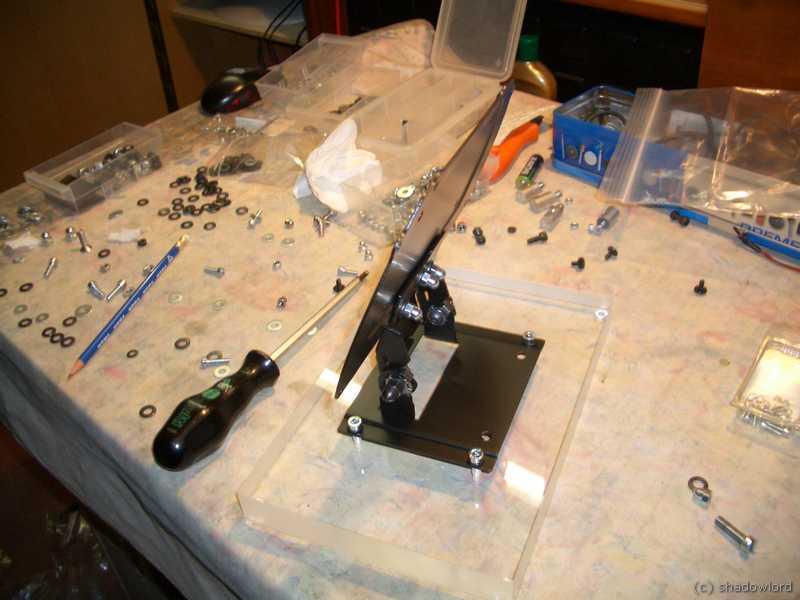
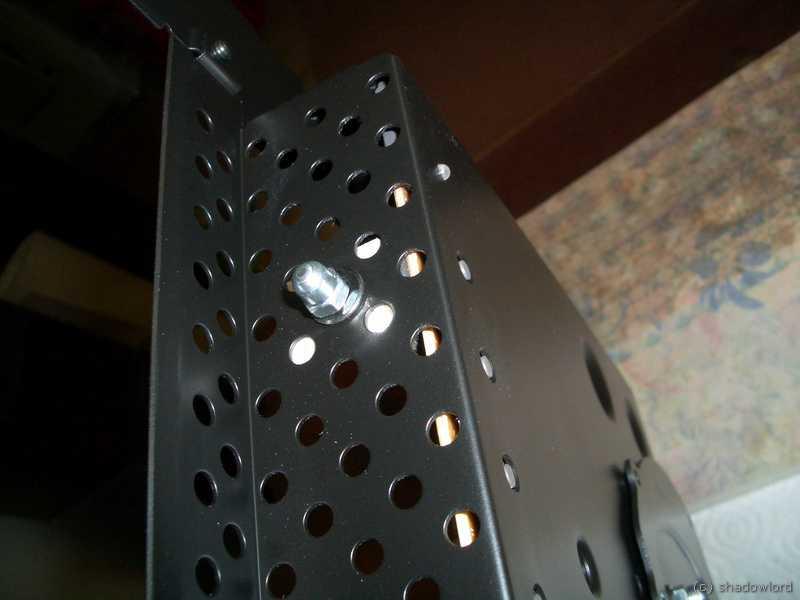
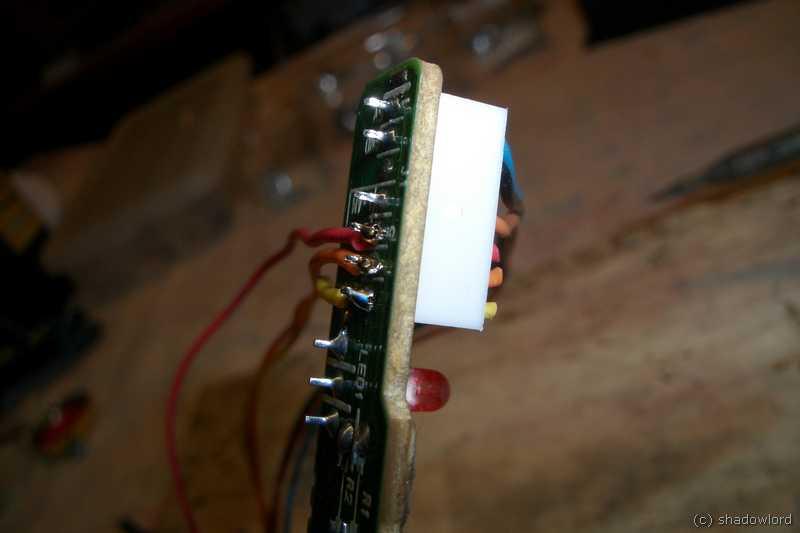
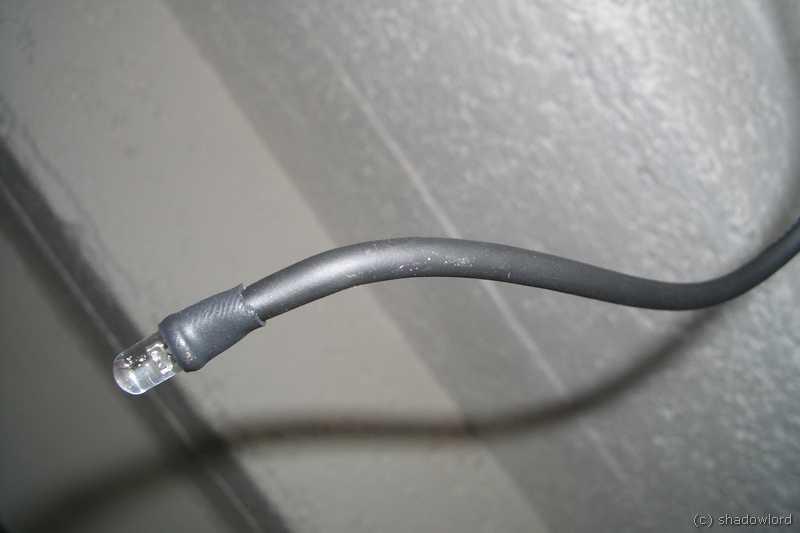
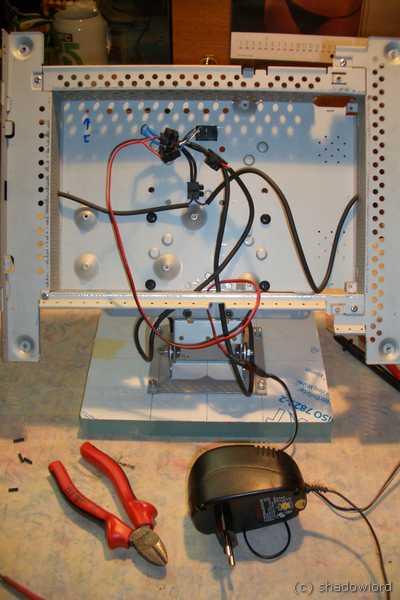
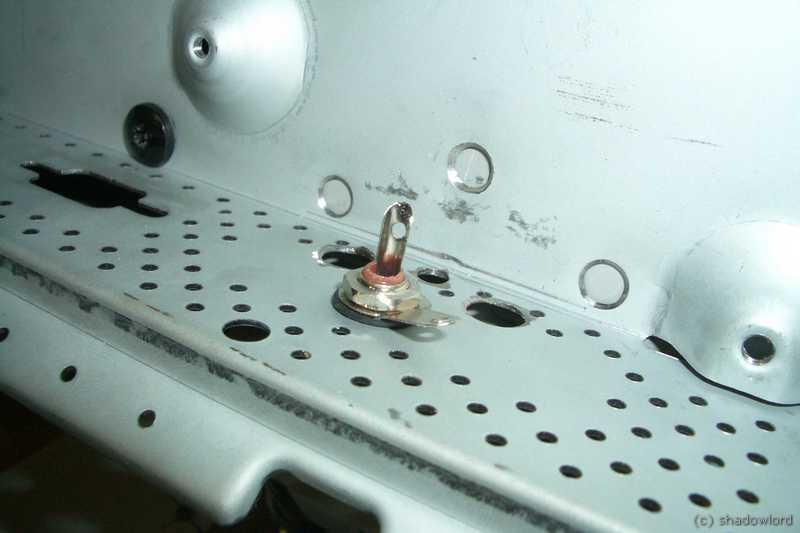
base plate with mountig plate and test led.
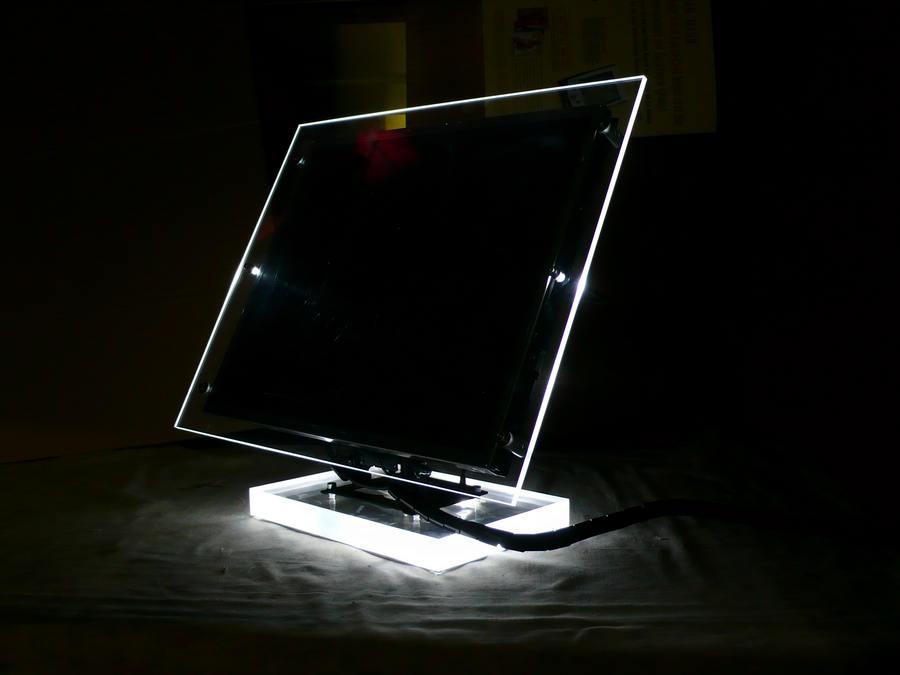
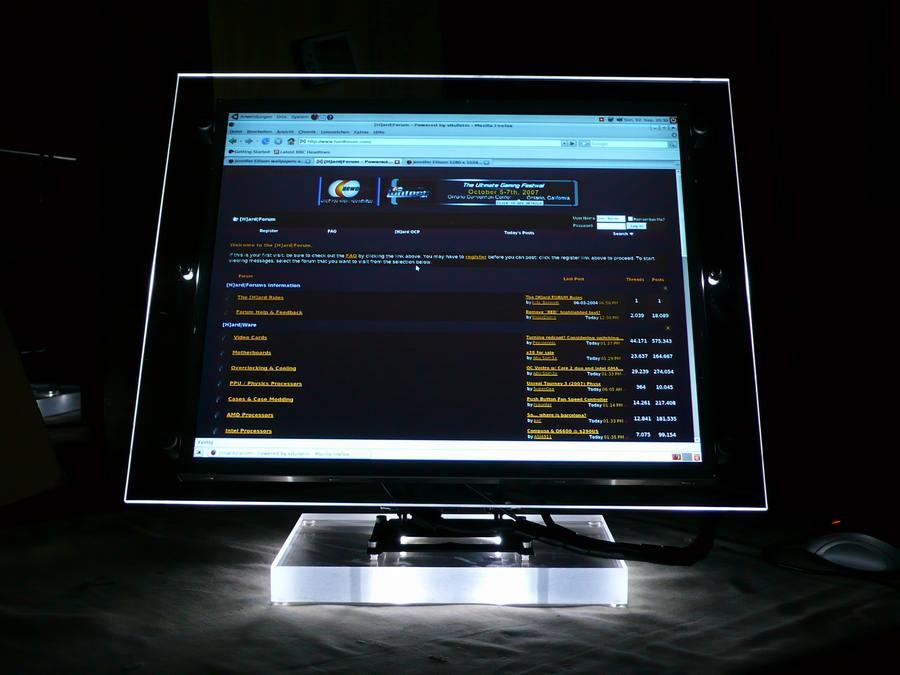
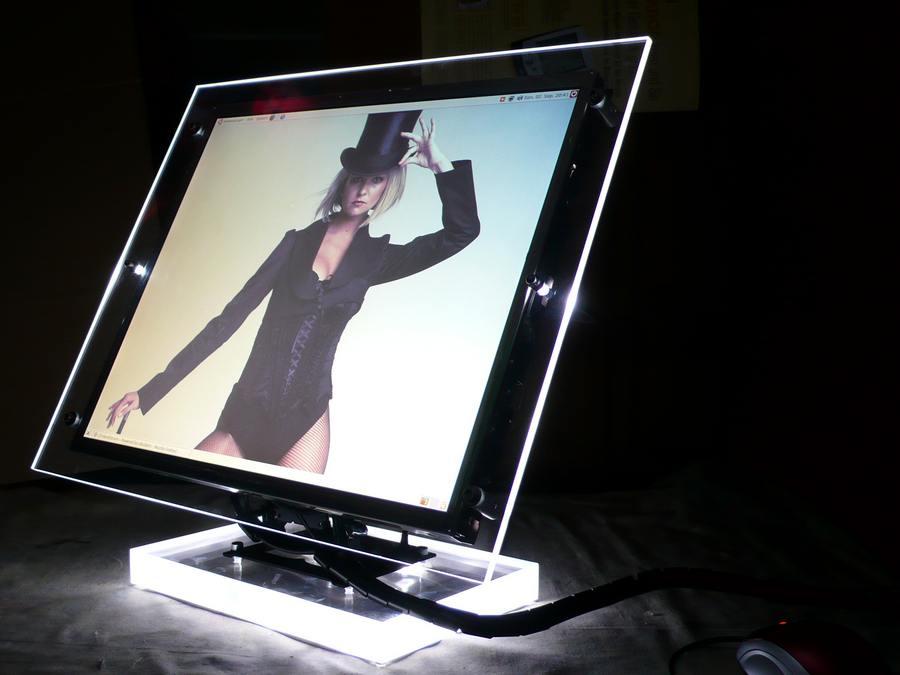
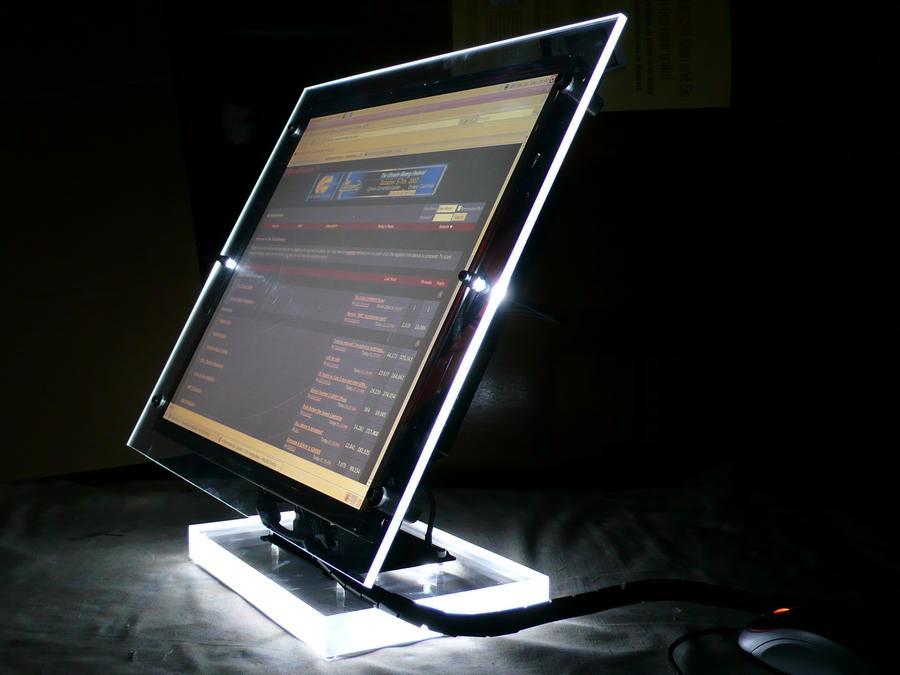
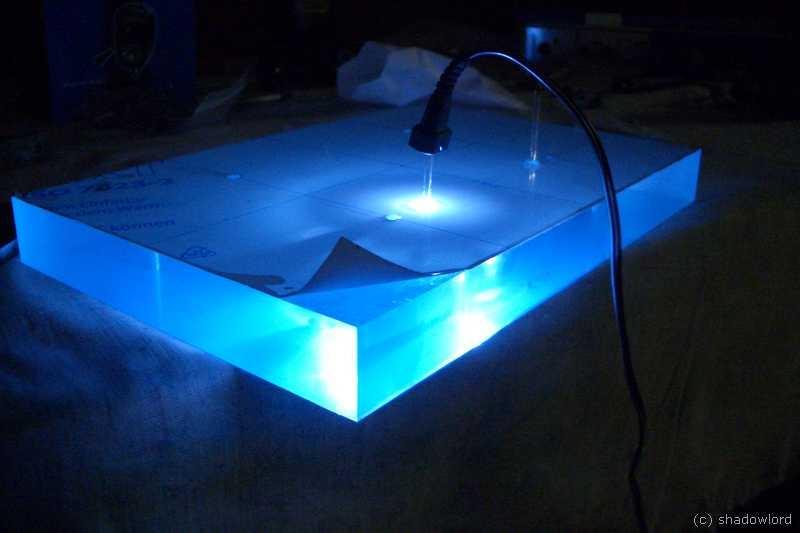
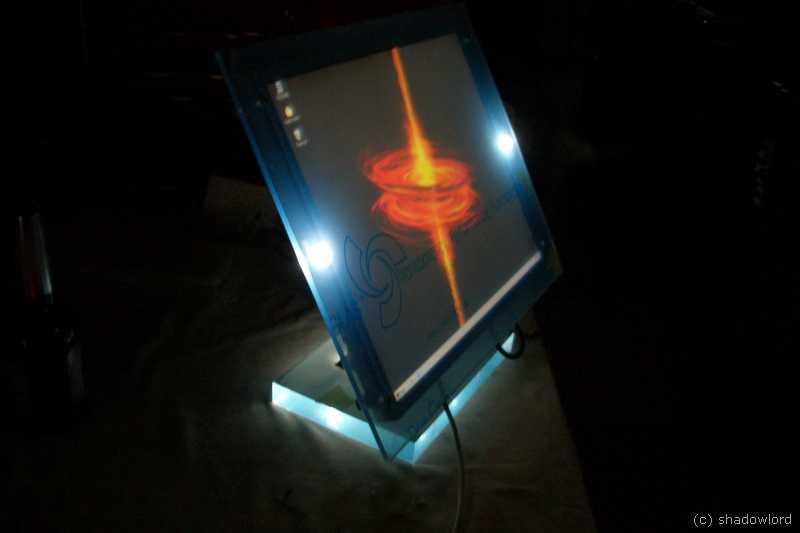
lightning test...
after seeing some monitor mods on the net i thought about doing this to my old 17" LG as well...
here's the stock lg monitor:
first disassembling
lcd-panel:
Electronics:
since i wanted to obtain a machine like look, i will remove all plasic parts and replace them clear plexi. for this i needed to think about a new way of joining the panel with the base together.
i drilled some holes in the back piece of the panel, so that i could join it together with the stock mounting mechanism. they where originaly hold together by the plastic frame.
the paper template has the same size as the plexi panel that will go infront of the panel.
plexi panel and base arrived...
mounting parts...
tapping the base plate...
base plate with mountig plate and test led.
lightning test...


")