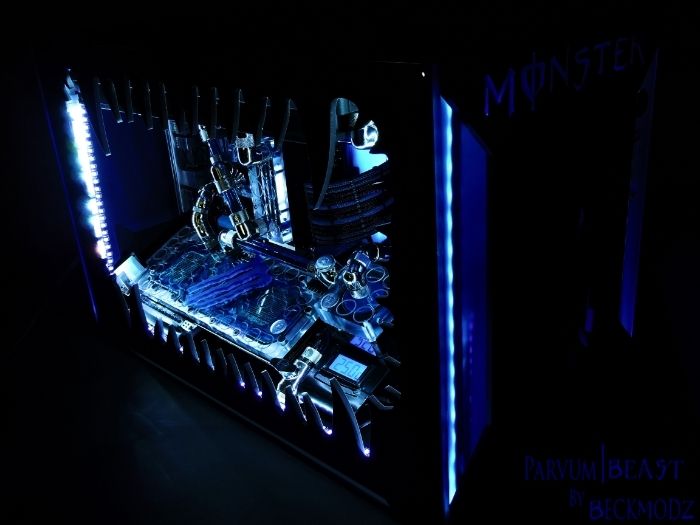
It's Build Time Again !!
Hi Guys,
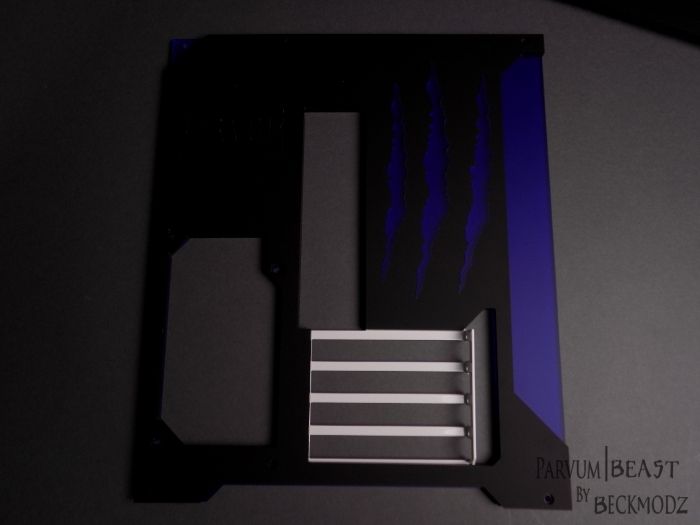
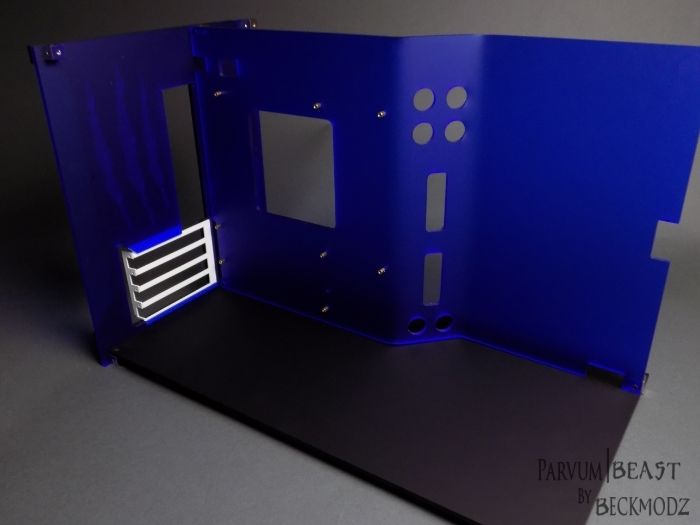
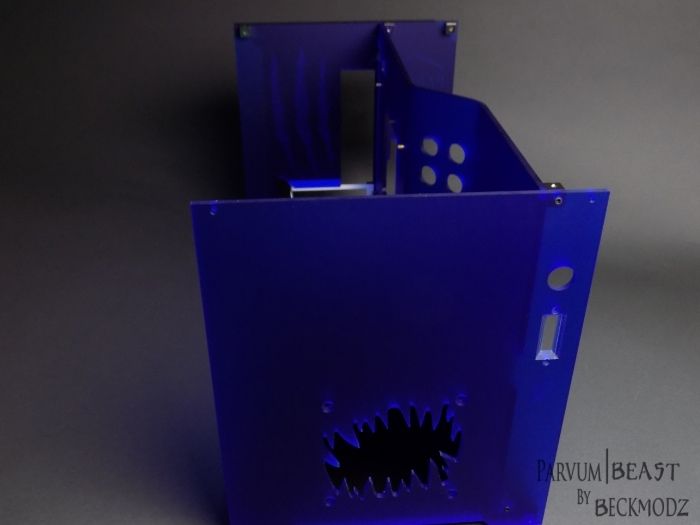
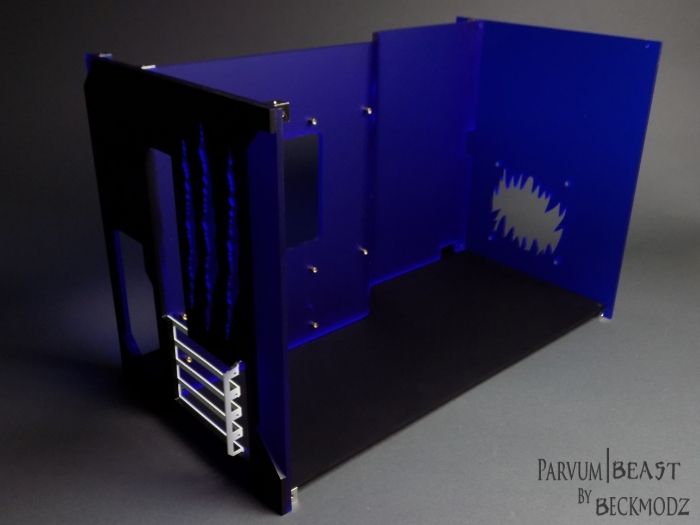
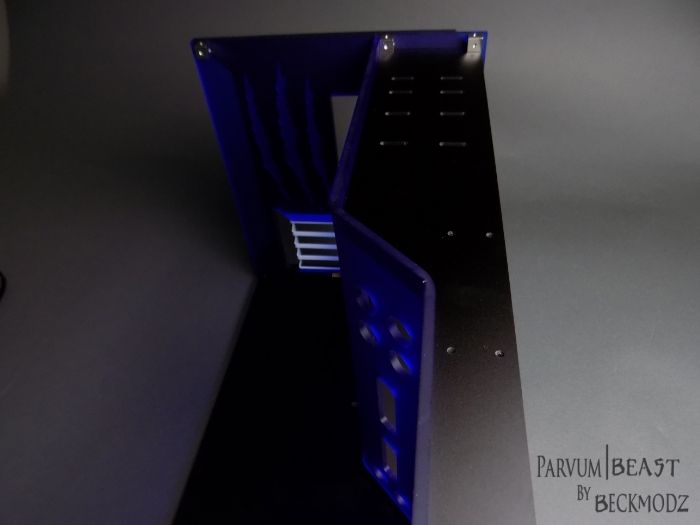
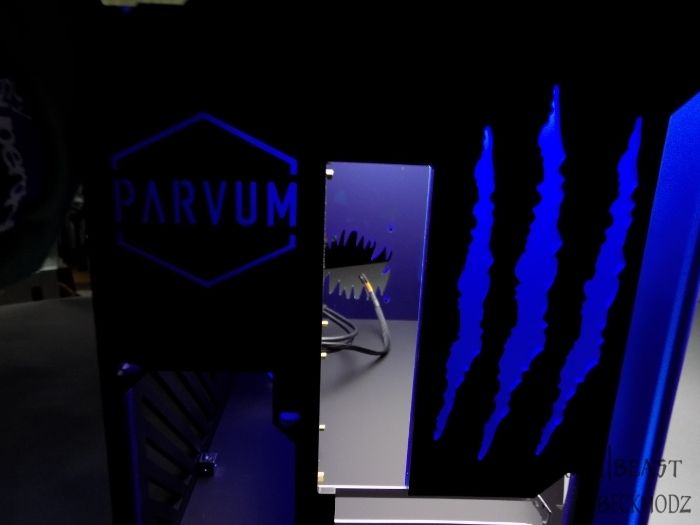
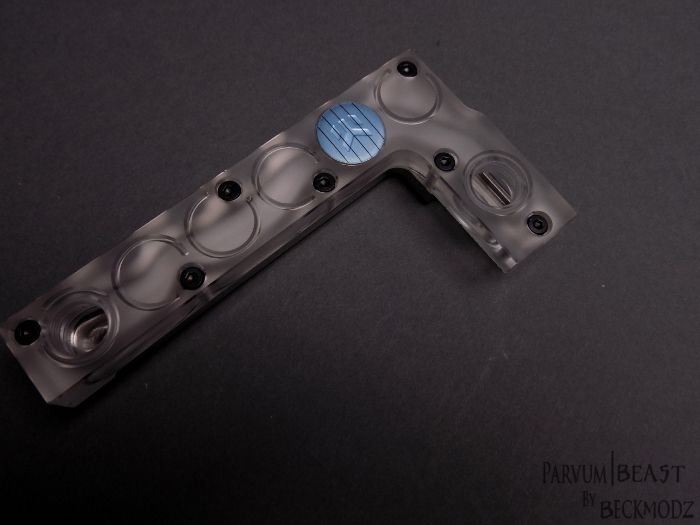
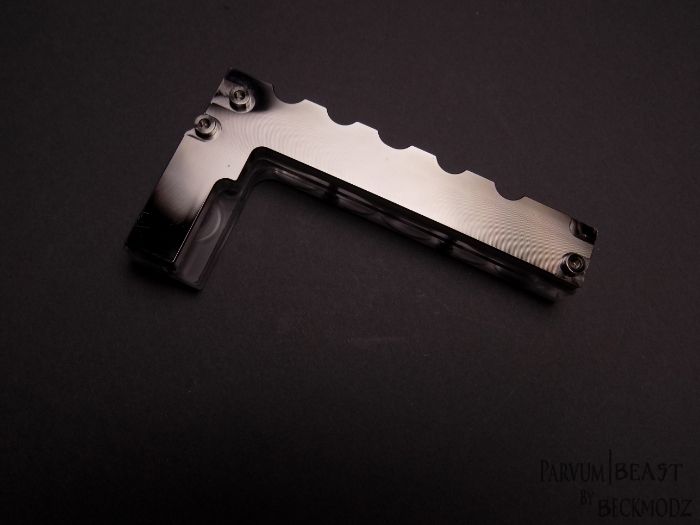
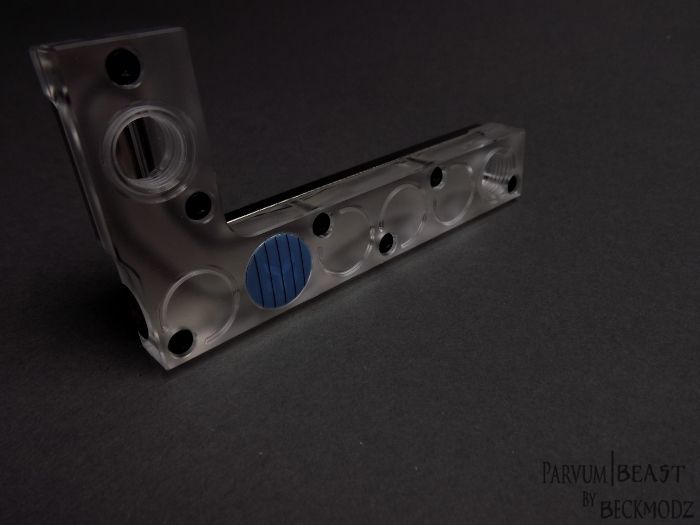
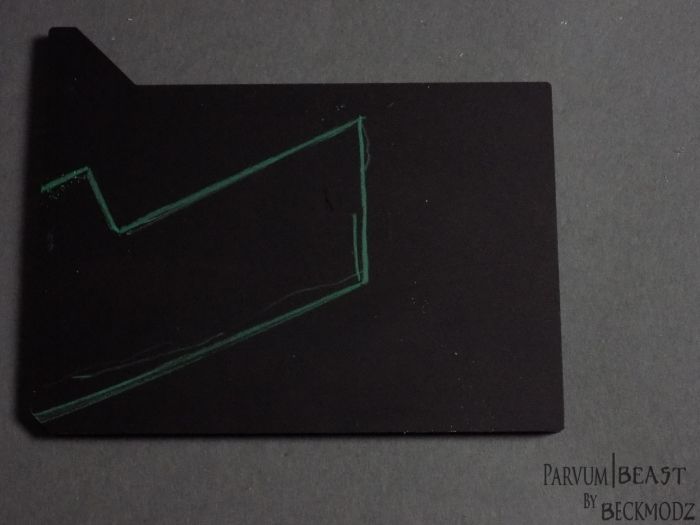
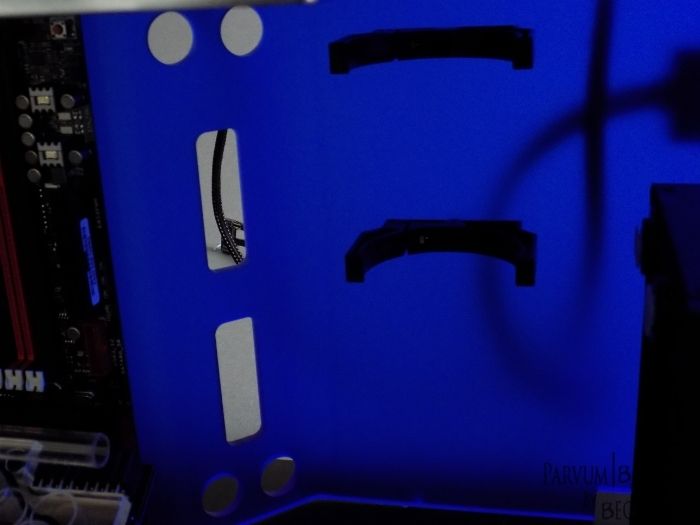
since nov-december 2014, I have been working on a case design in collaboration with Parvum Systems..
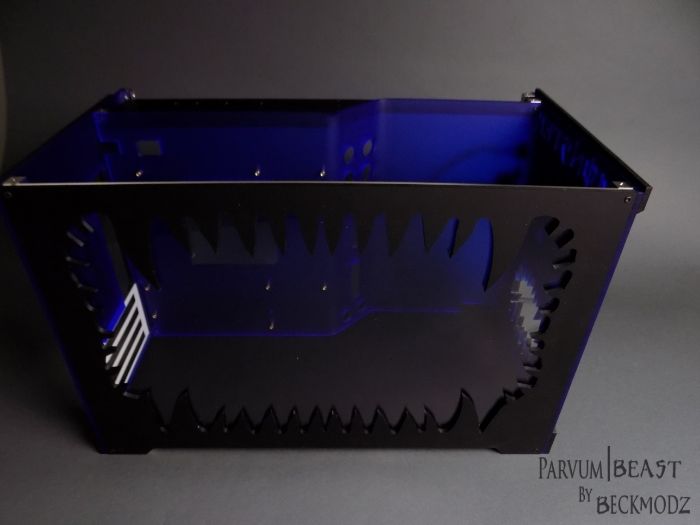
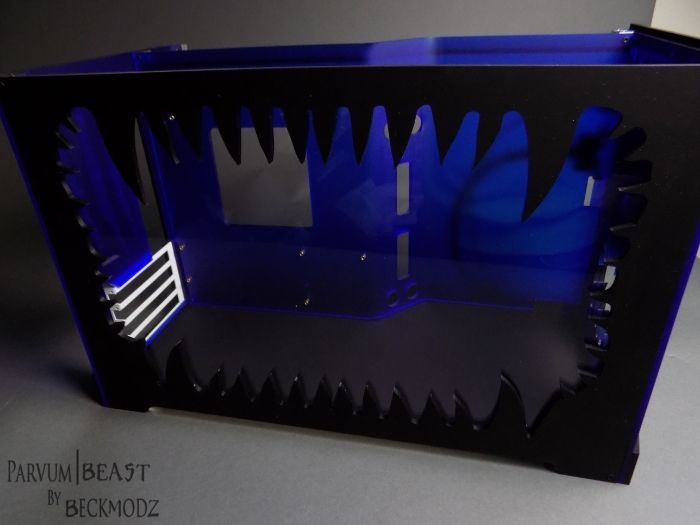
Basic idea was to take the Parvum Systems S2.0 case, Re-Design it,
and build kind of a Monster Blue Energy tribute build") ..
..
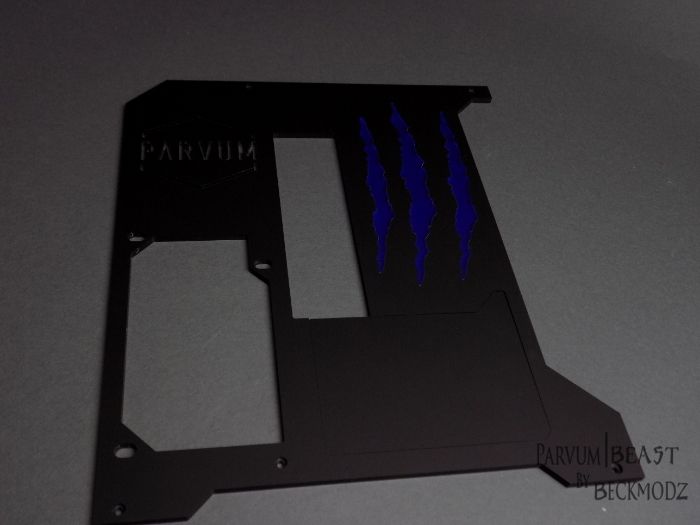
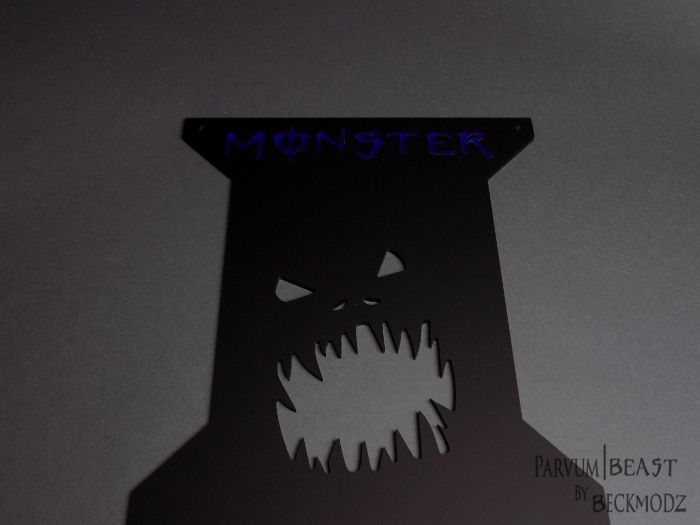
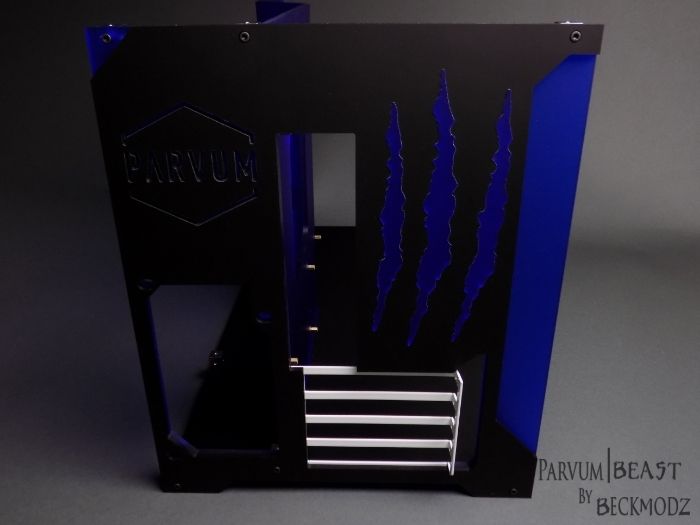
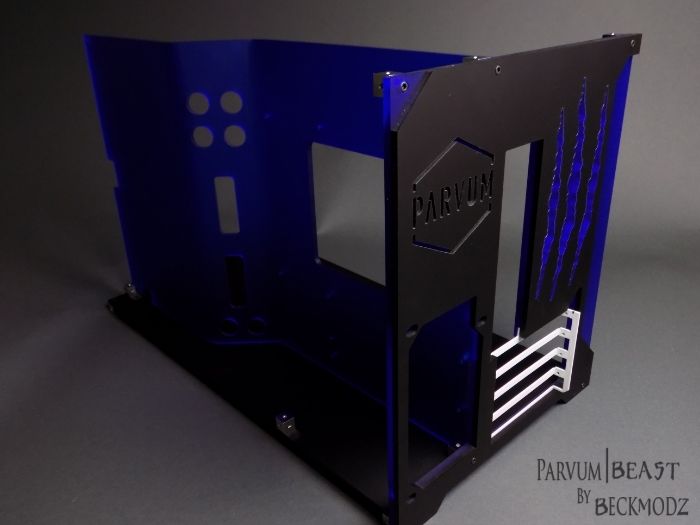
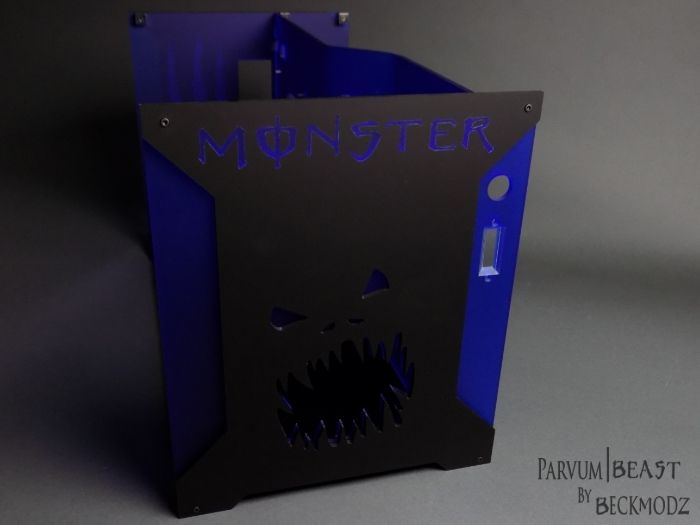
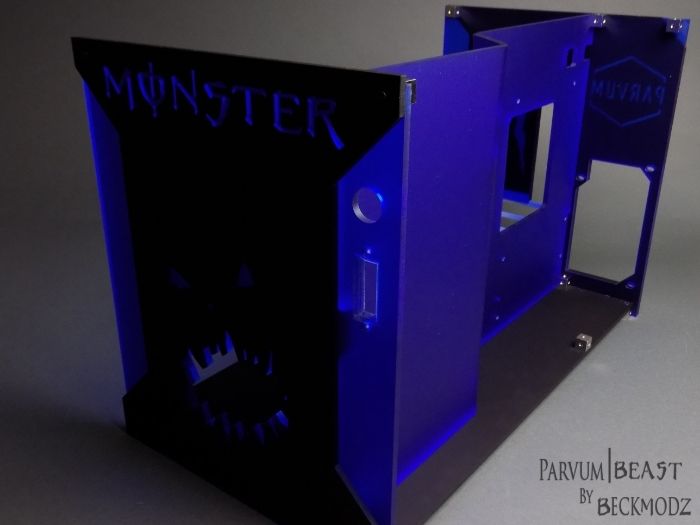
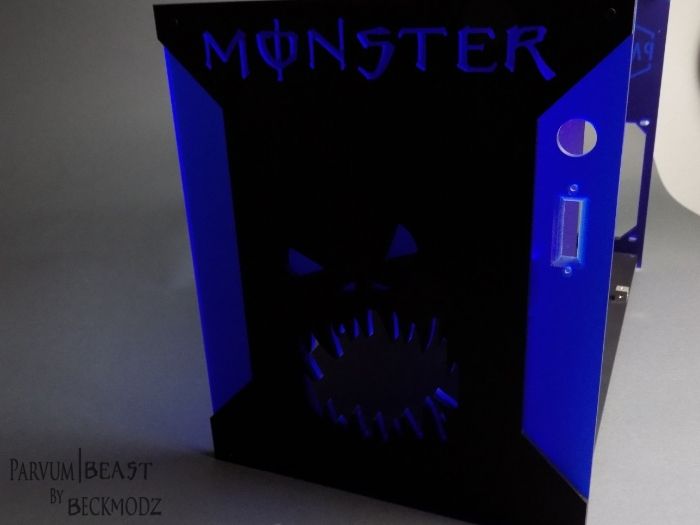
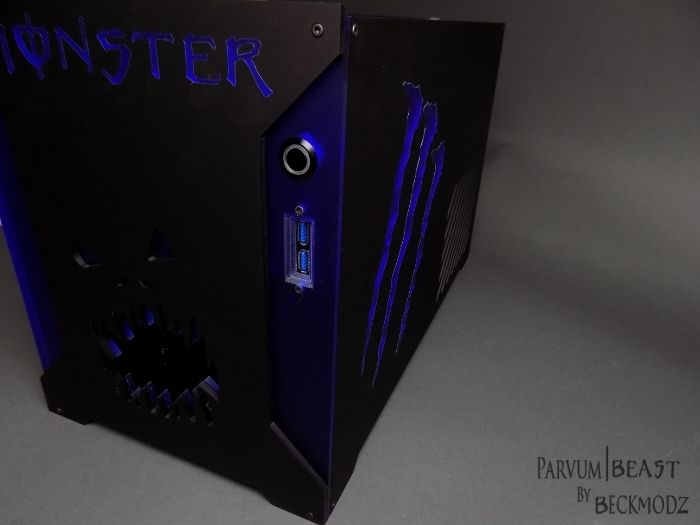
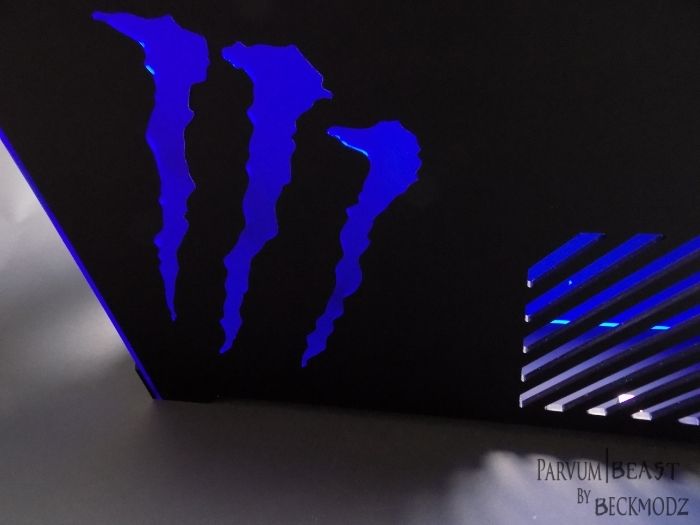
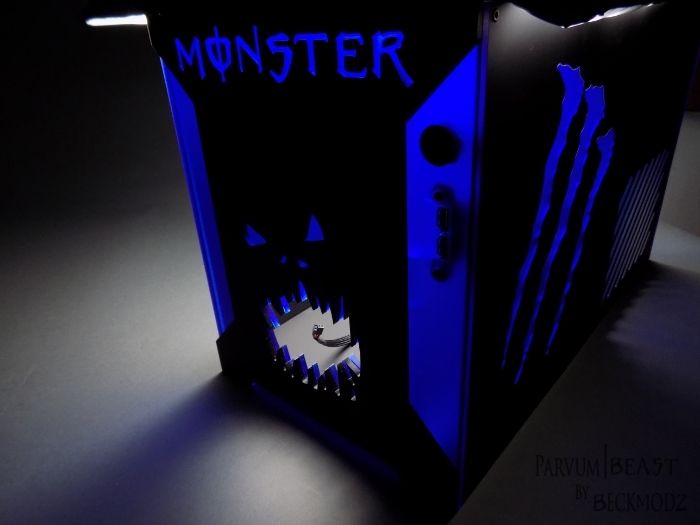
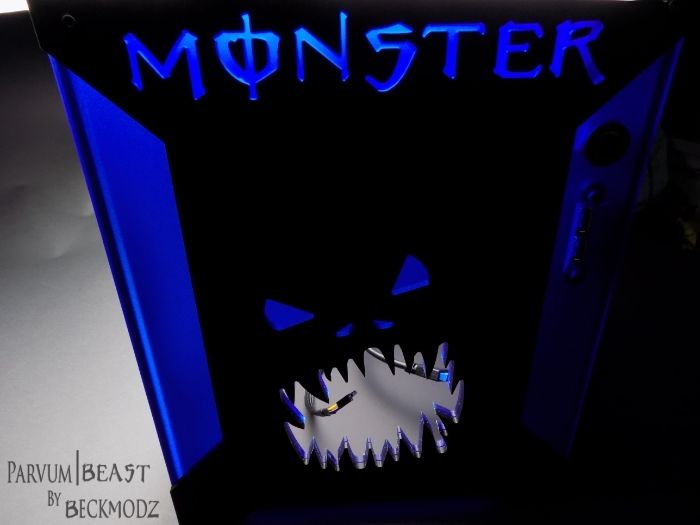
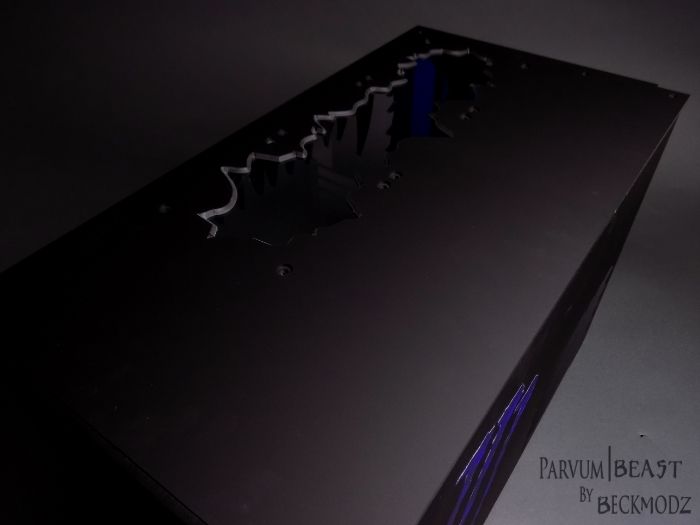
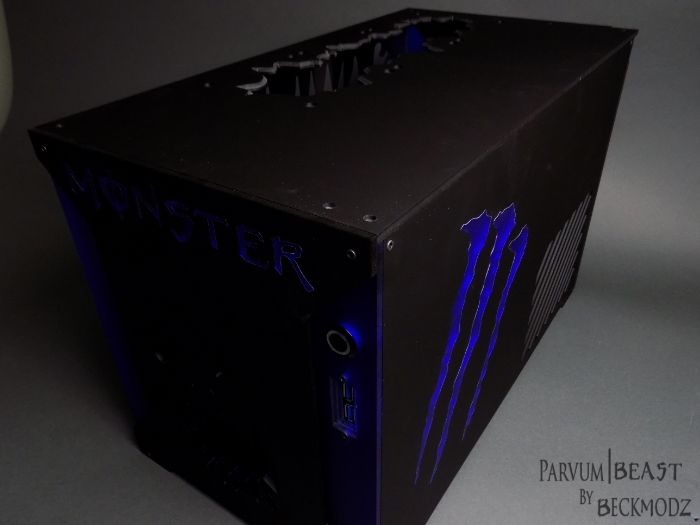
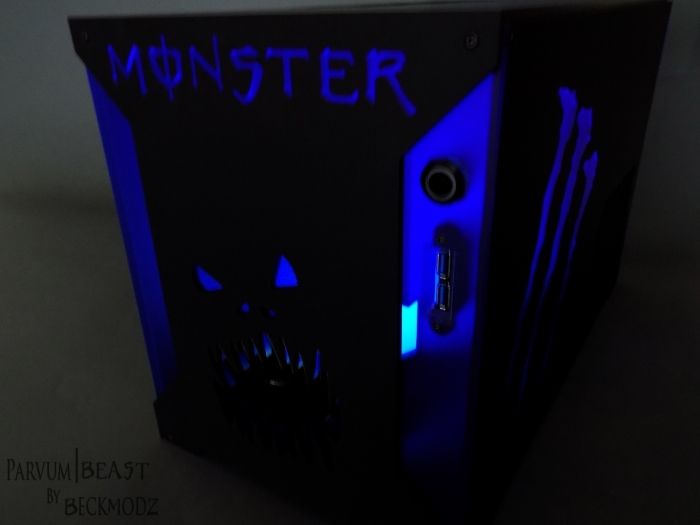
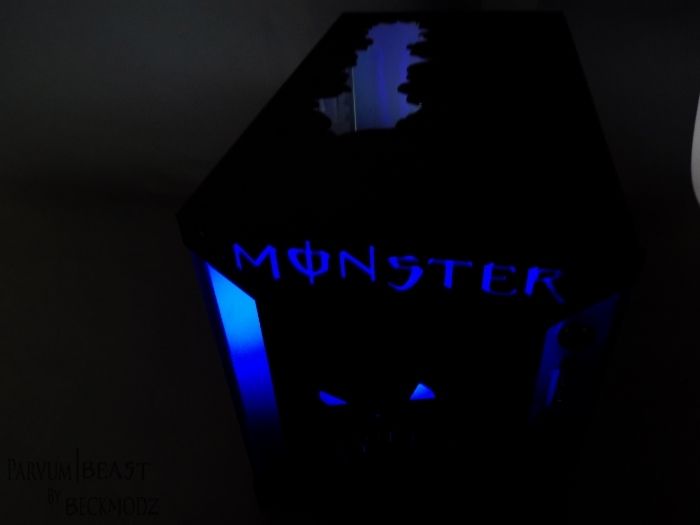
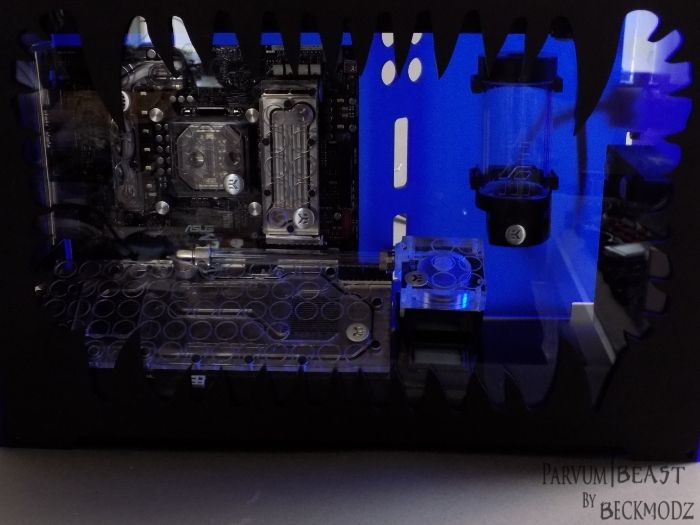
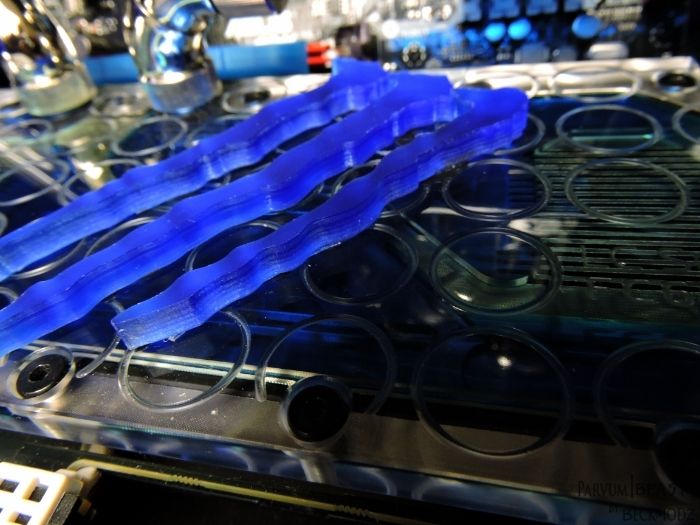
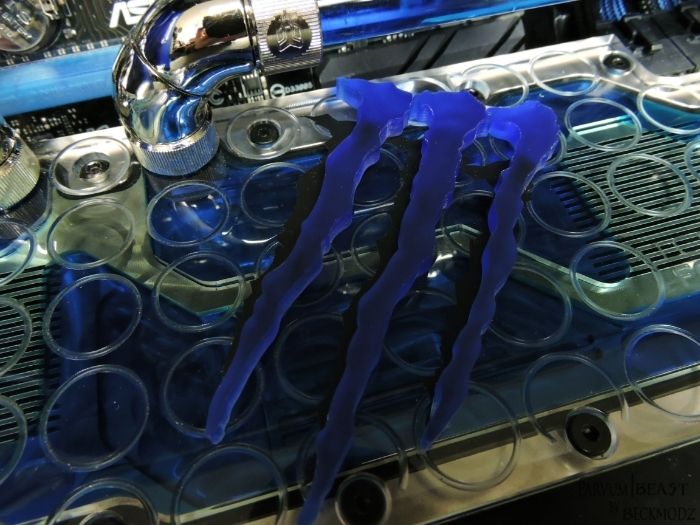
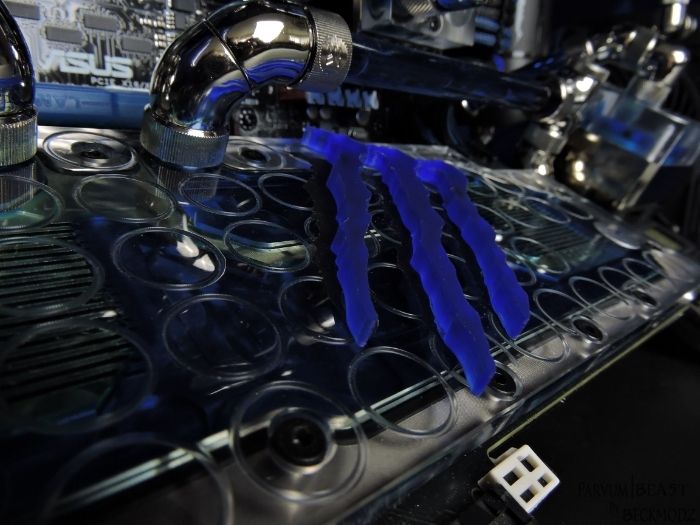
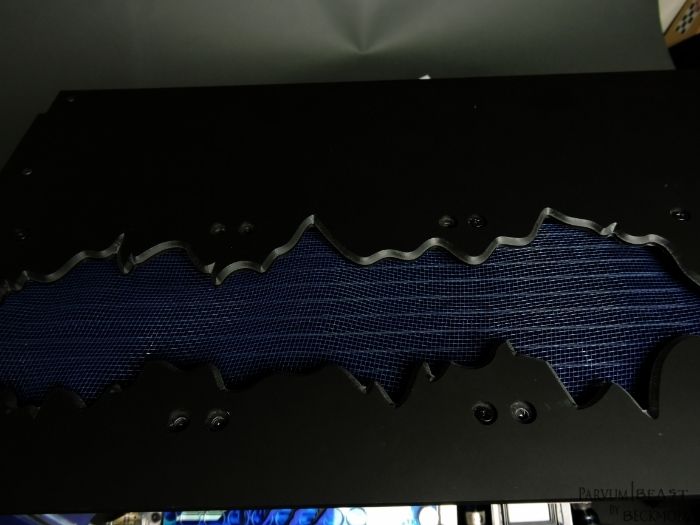
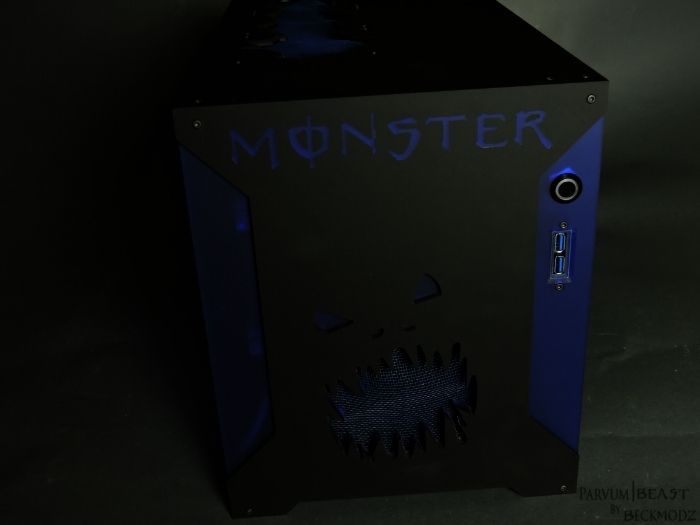
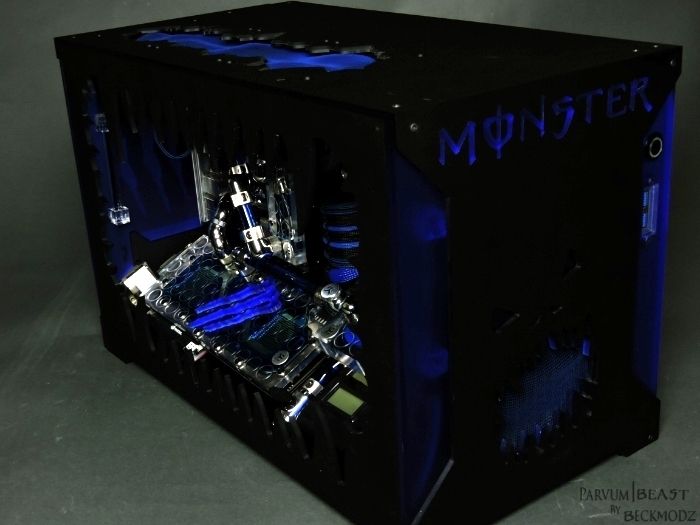
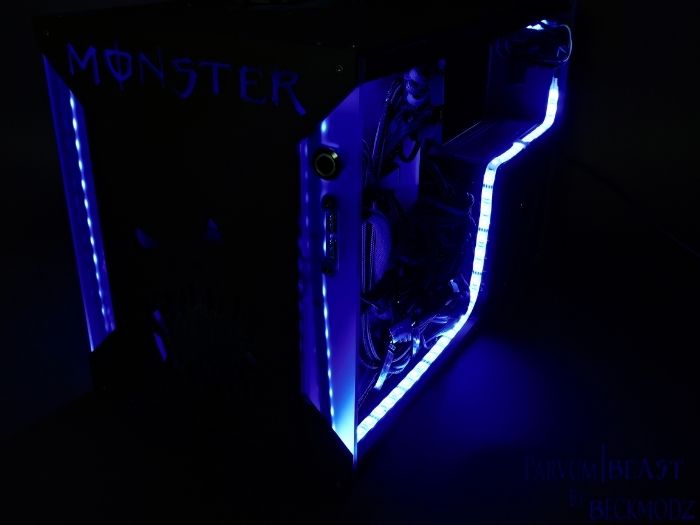
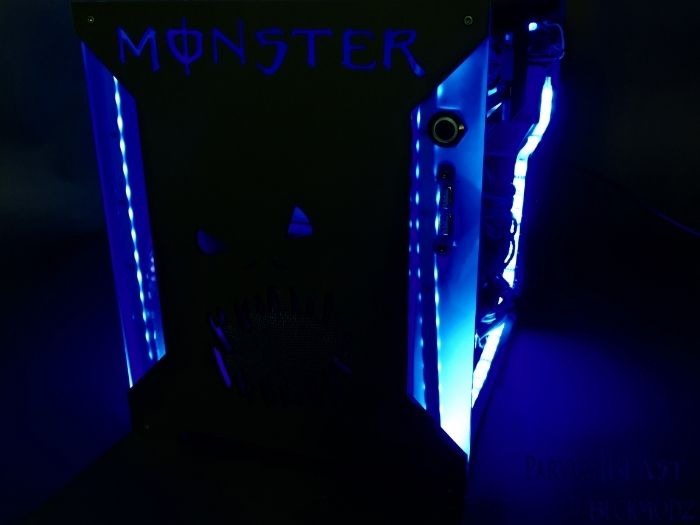
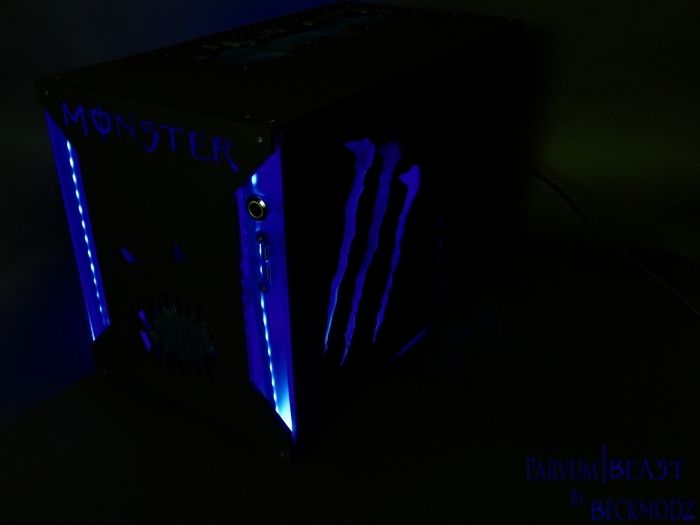
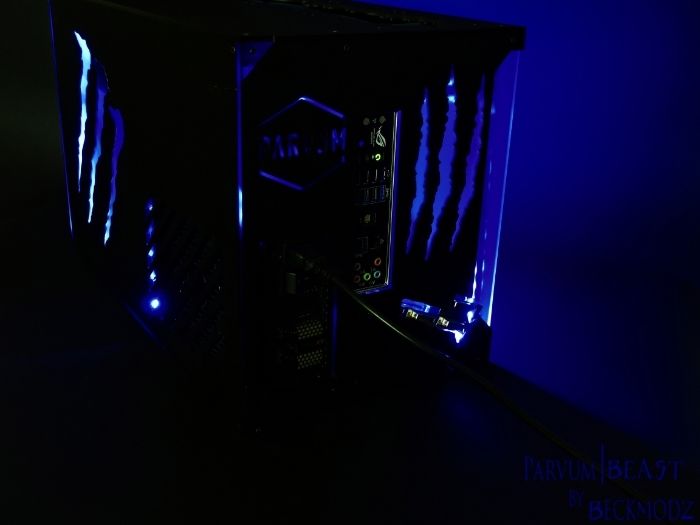
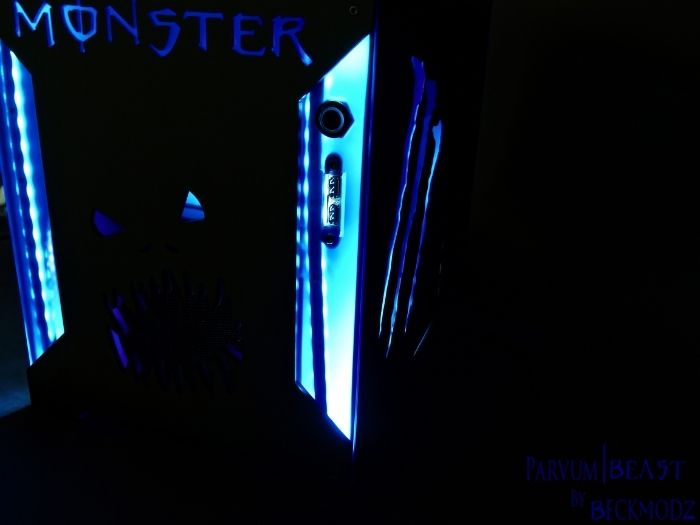
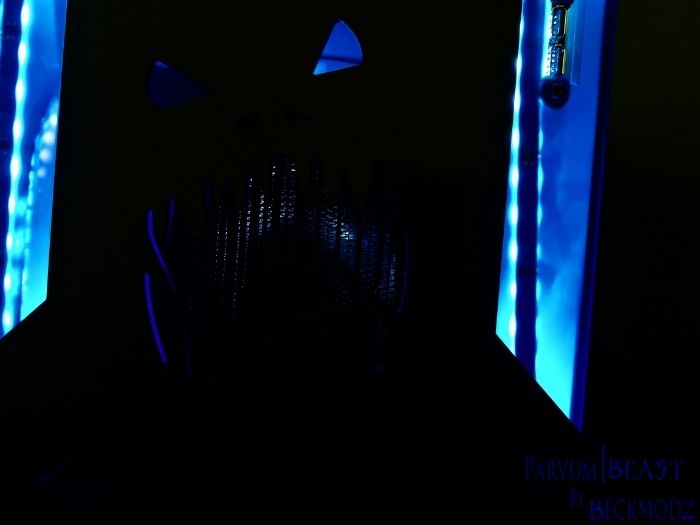
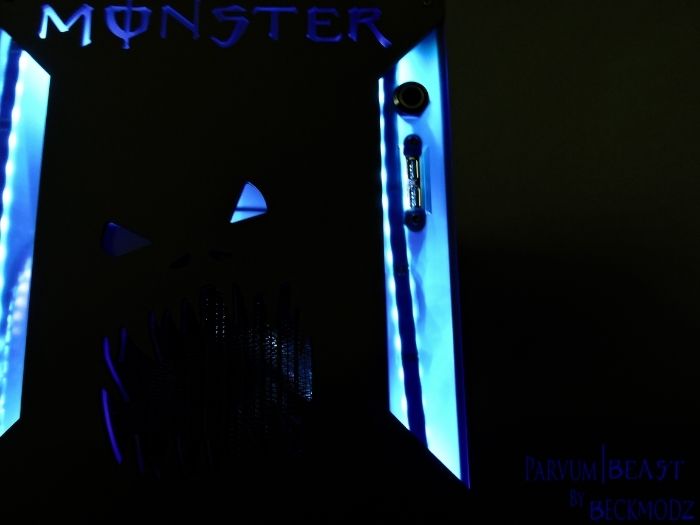
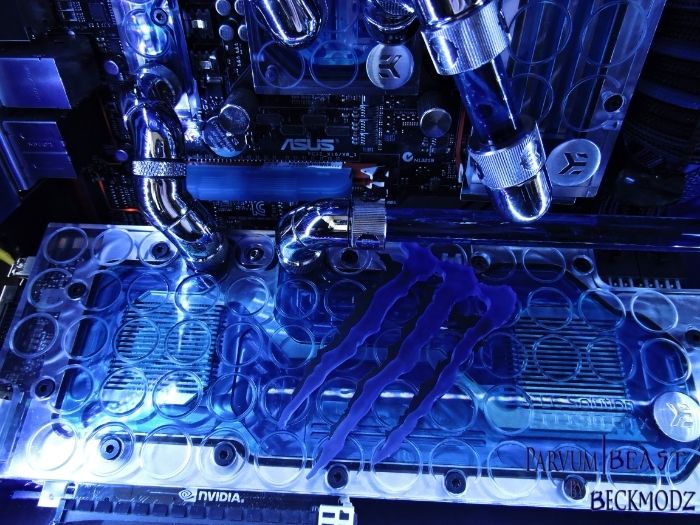
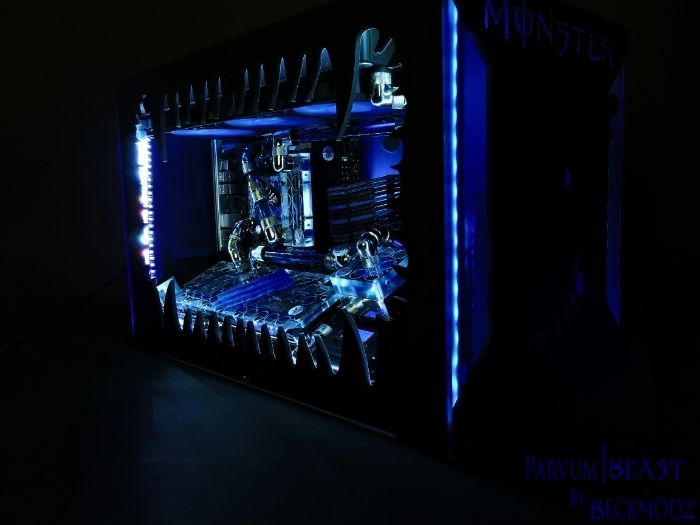
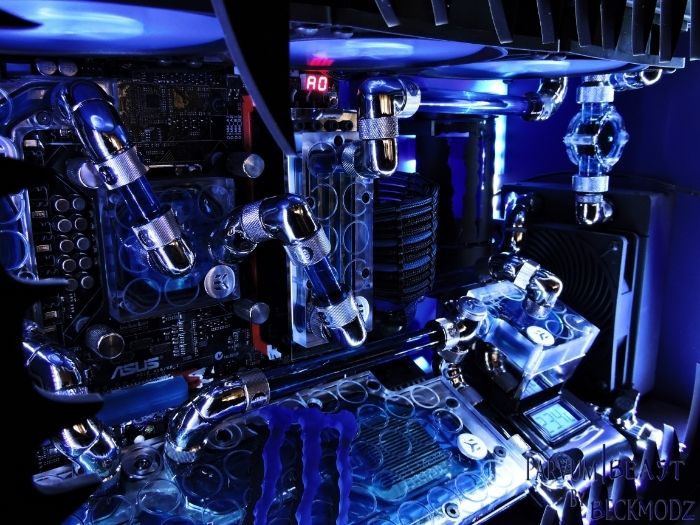
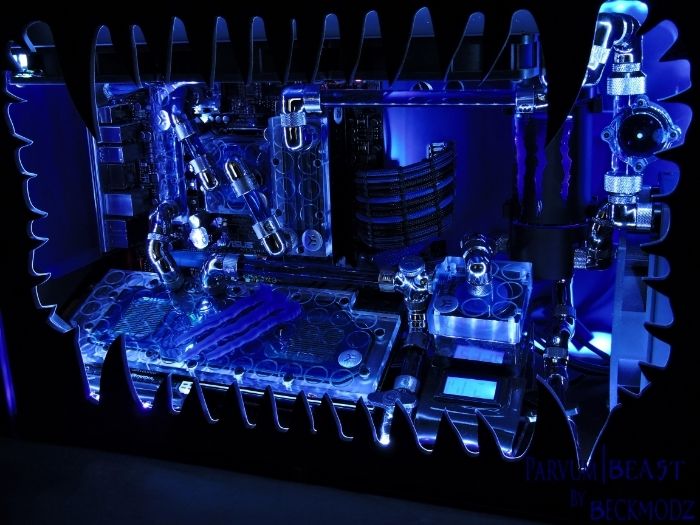
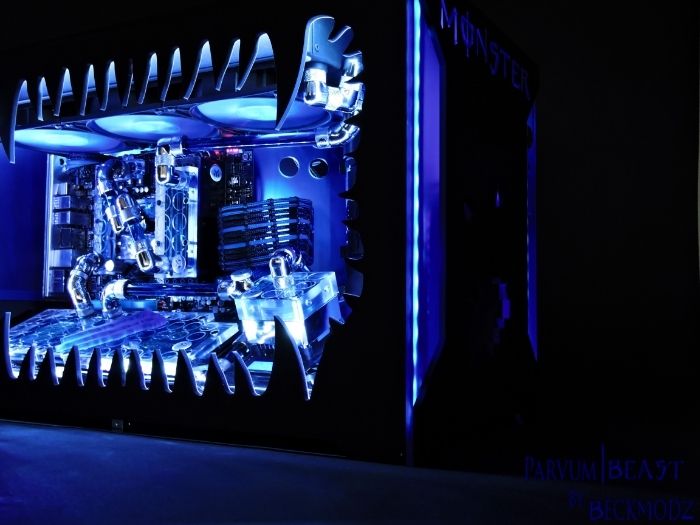
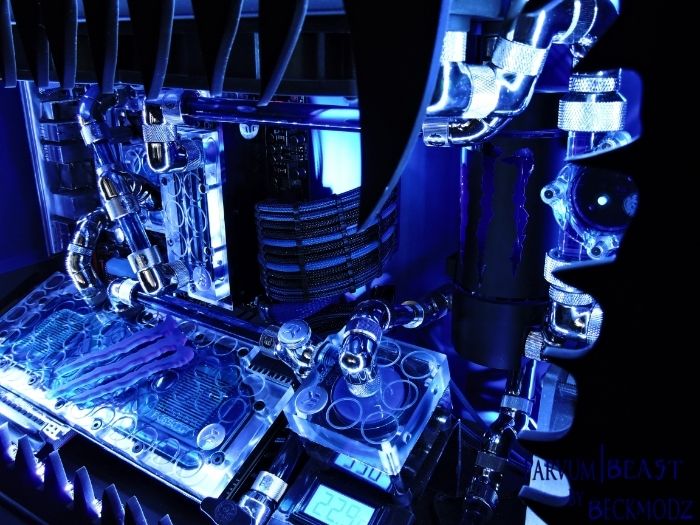
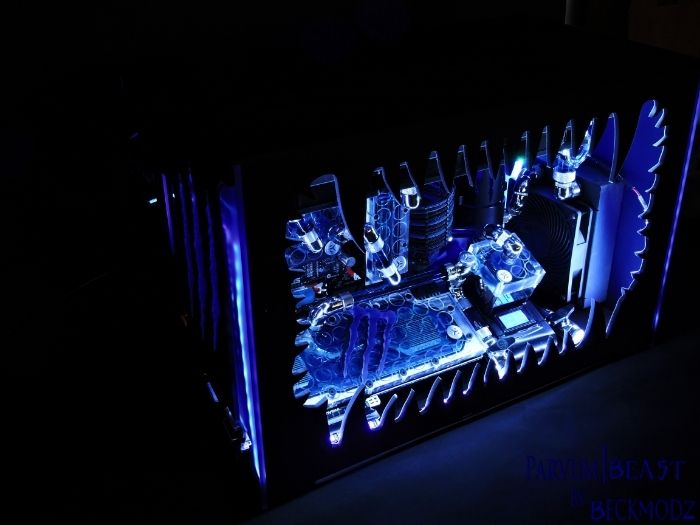
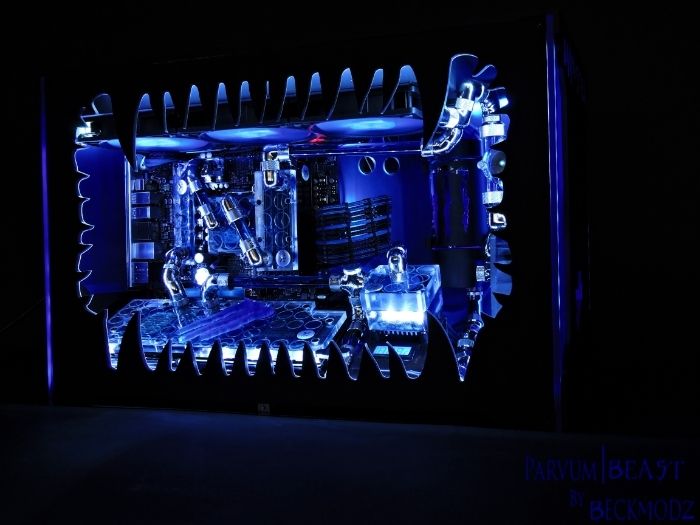
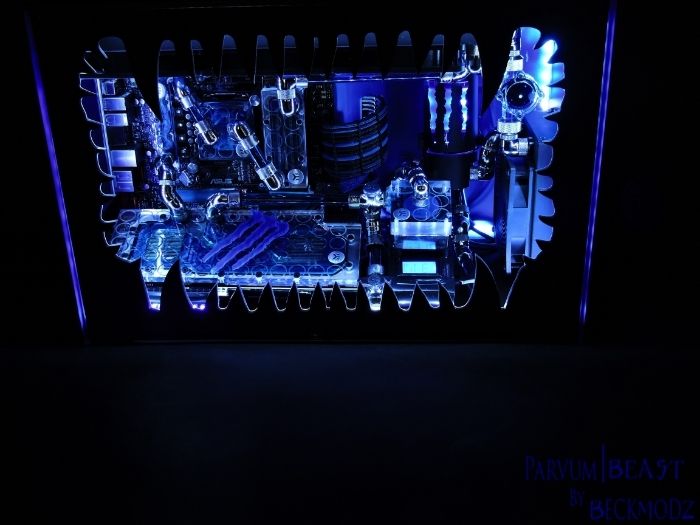
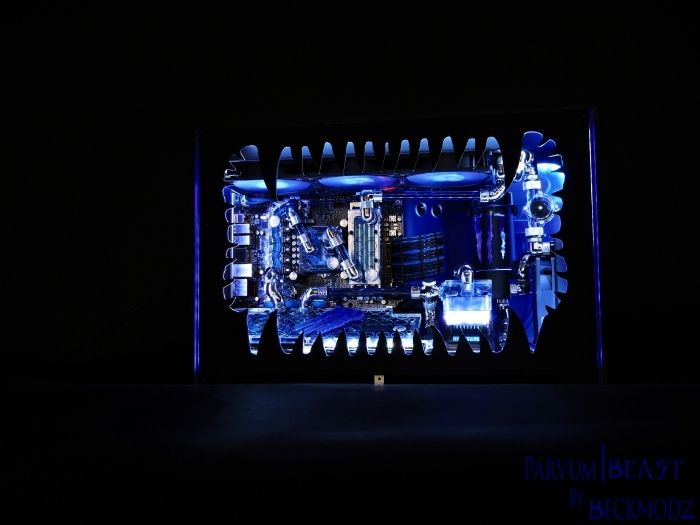
I call it "Parvum|Beast" ..
Hi Guys,
since nov-december 2014, I have been working on a case design in collaboration with Parvum Systems..
Basic idea was to take the Parvum Systems S2.0 case, Re-Design it,
and build kind of a Monster Blue Energy tribute build
..I call it "Parvum|Beast" ..

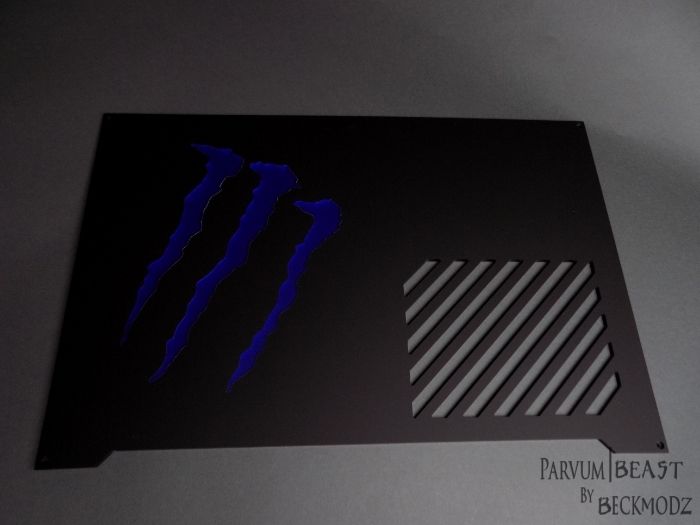
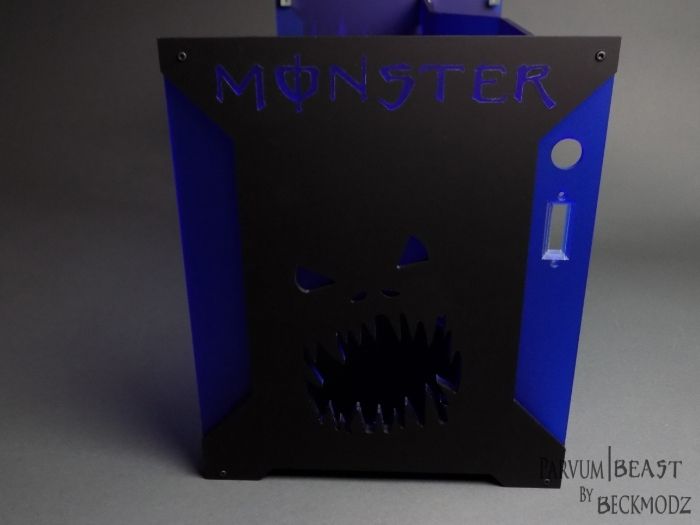
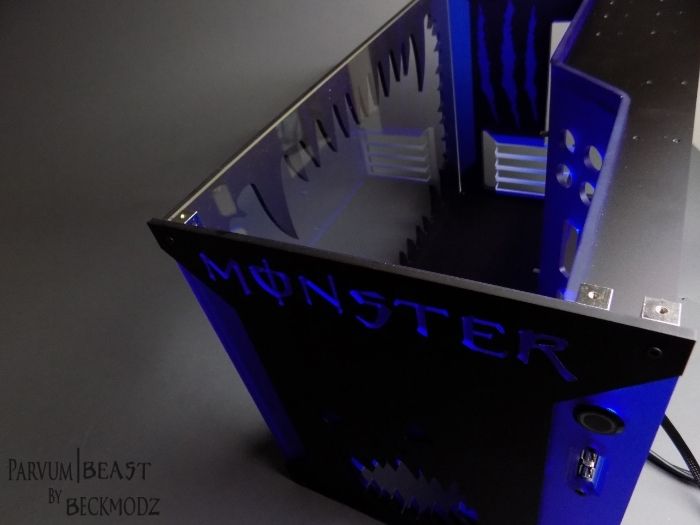
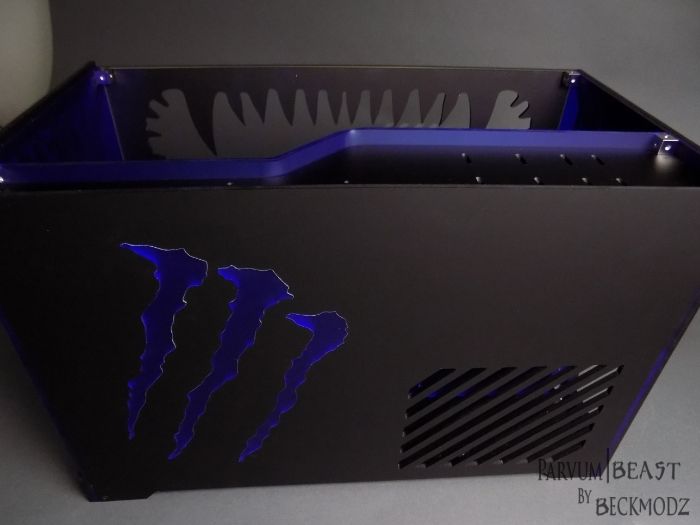
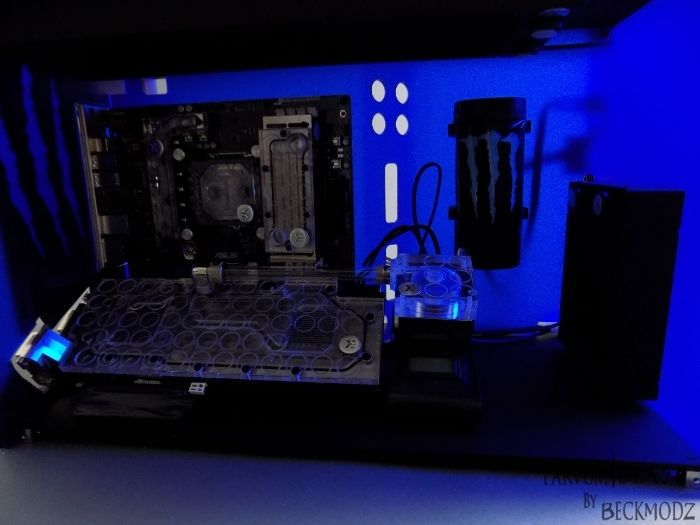
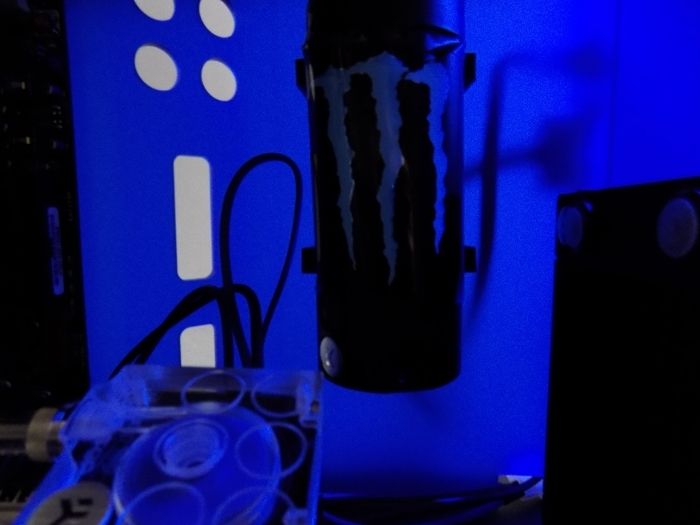
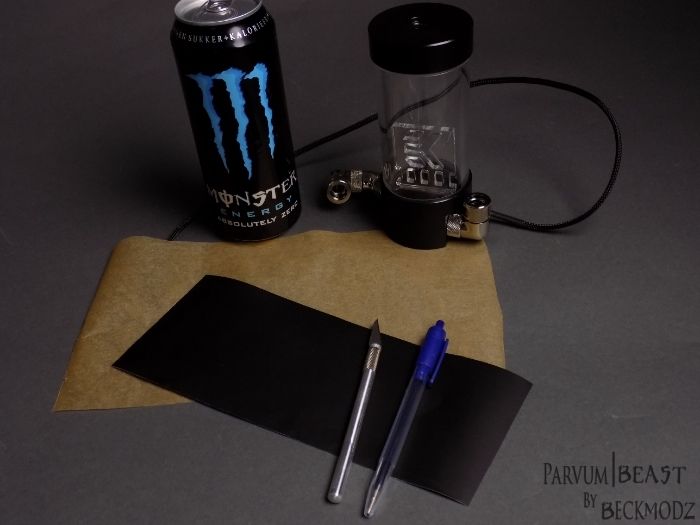
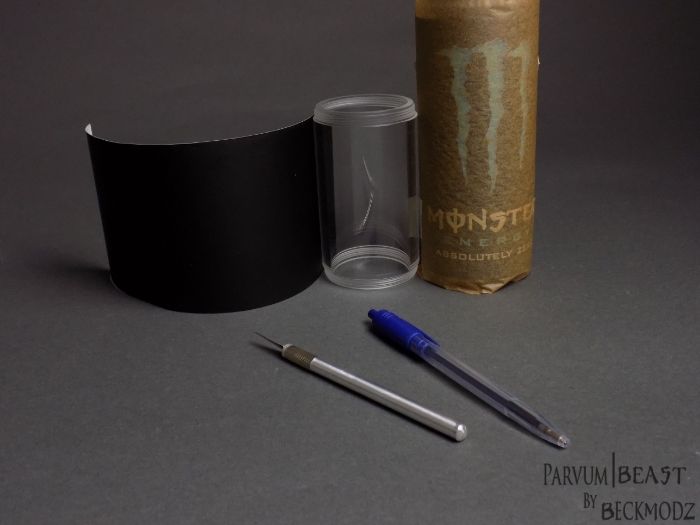
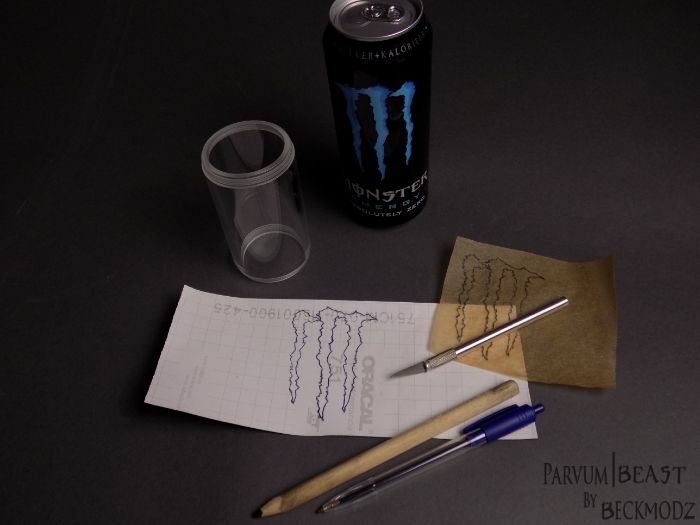
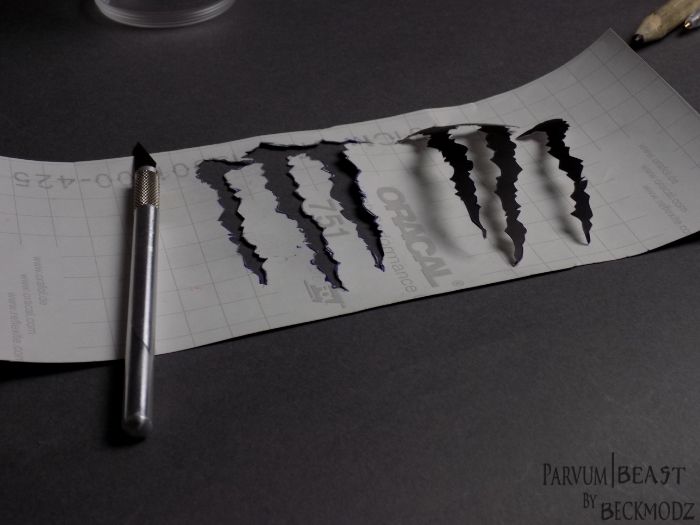
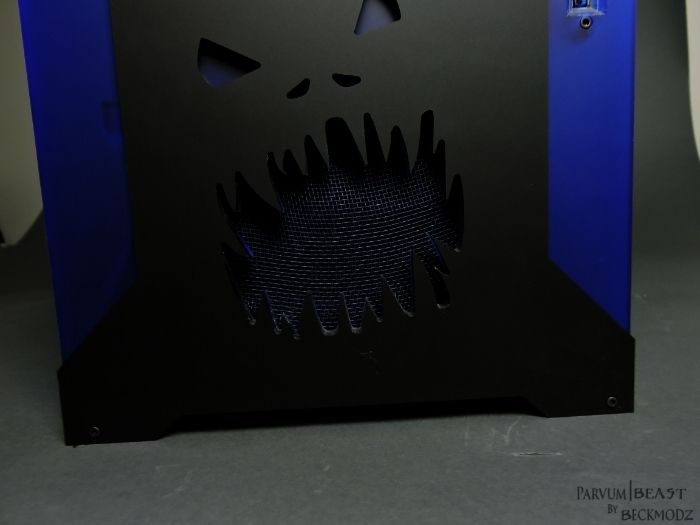
Here's Why i ended up building a monster energy drink Tribute machine.
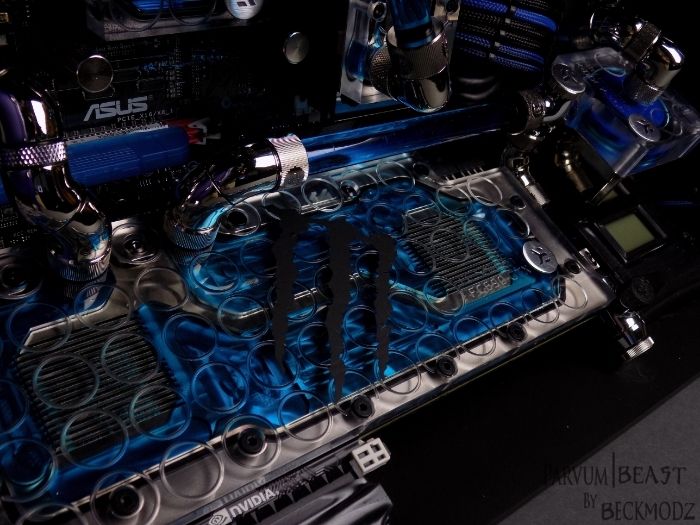
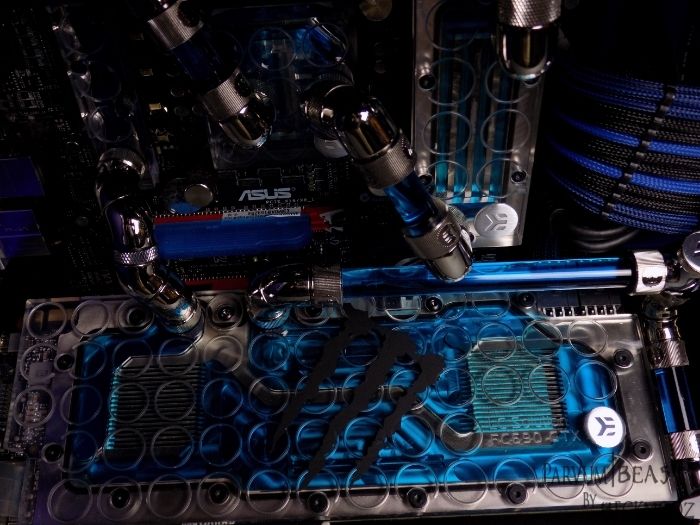
Well the reason why the monster logo and name plate is used in this build is because the Monster Blue Energy Drink, and Monster Gaming Army is what inspired this build..
Actually came up with the idea when i was googling the black/blue parvum systems s2.0 case, and was drinking my Blue Monster energy drink.
And have been wanting to build in a Parvum case for quite some time.
So I thought to myself, wth, why not build a parvum case inspired by the monster energy drink, and make it look Beastie
..I mean, people build tribute mods to all kinds of stuff, so why not build a monster tribute machine
So please dont judge me for building a Monster tribute Machine, Instead enjoy the level of detail and effort i put into this build

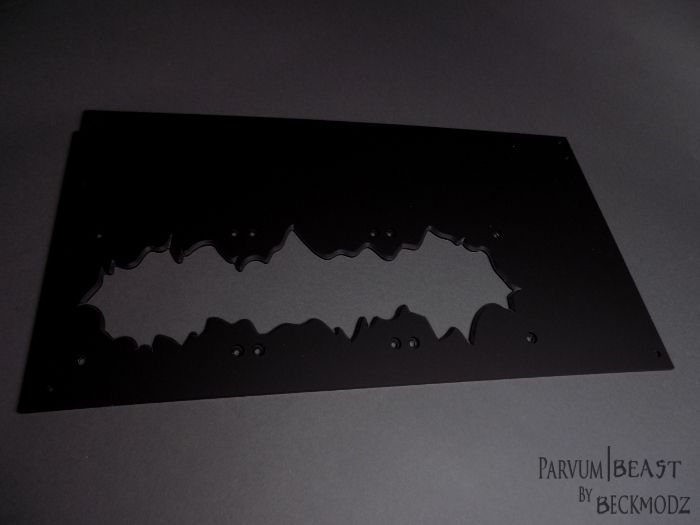
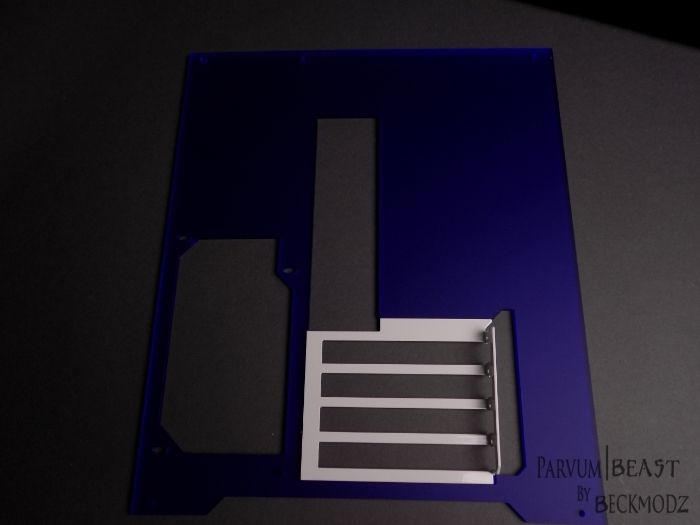
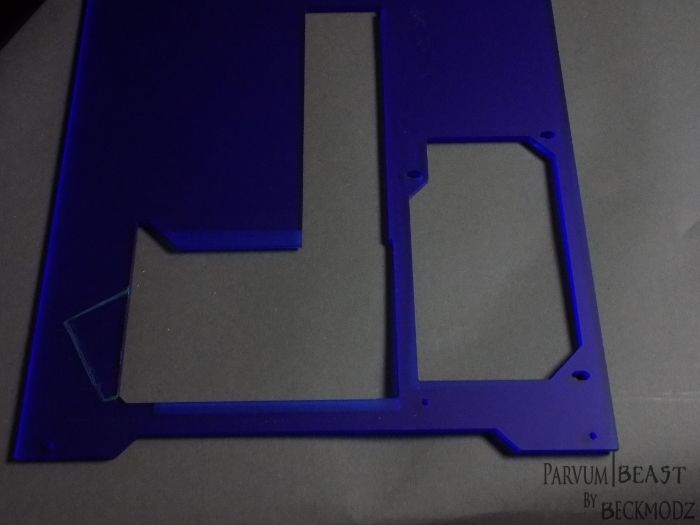
below is the link to the post with a few pics of the original S2.0 case,
And the 3d renderings of the final design we made
Big Thumbs Up to Justin and the rest of the crew at Parvum Systems for this,
such great work and such great details !
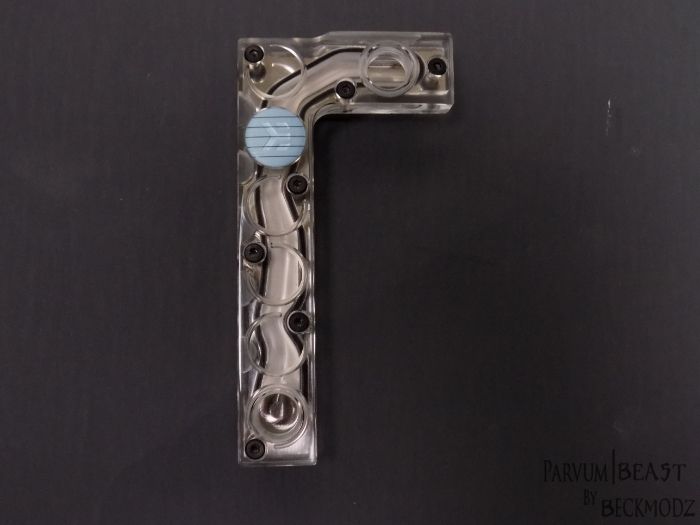
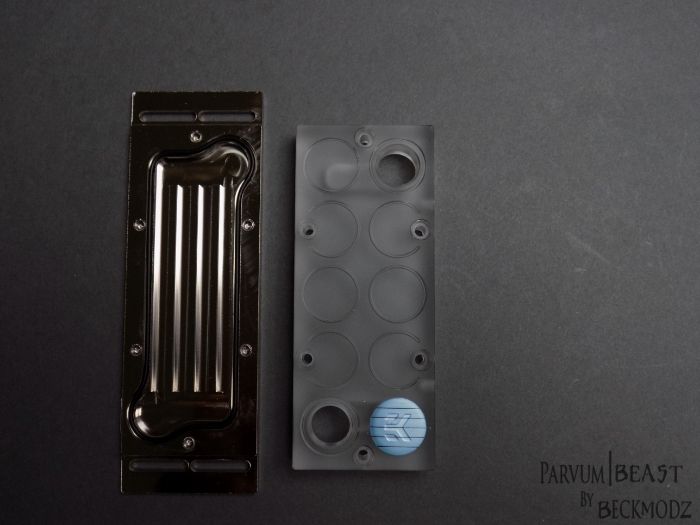
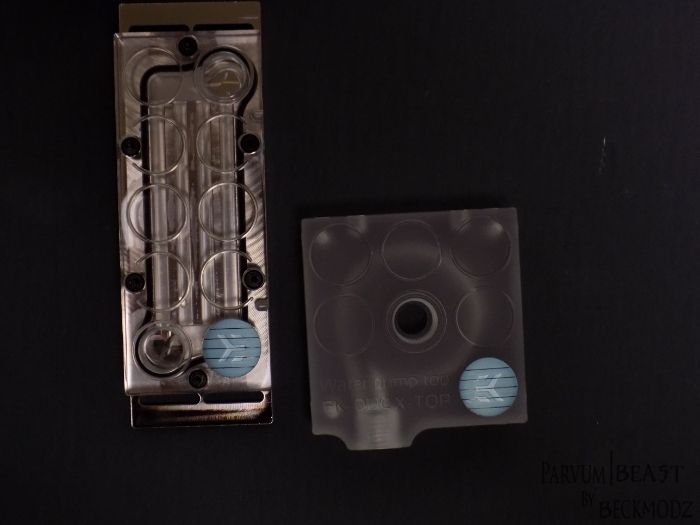
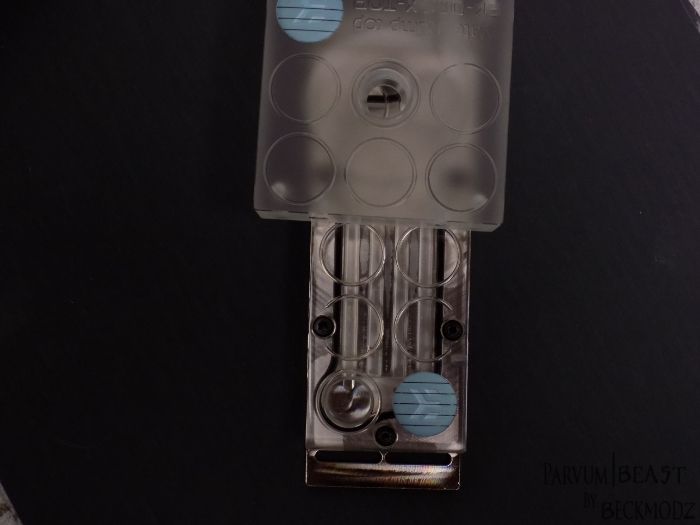
These guys can make ANYTHING in Acrylic ! <3
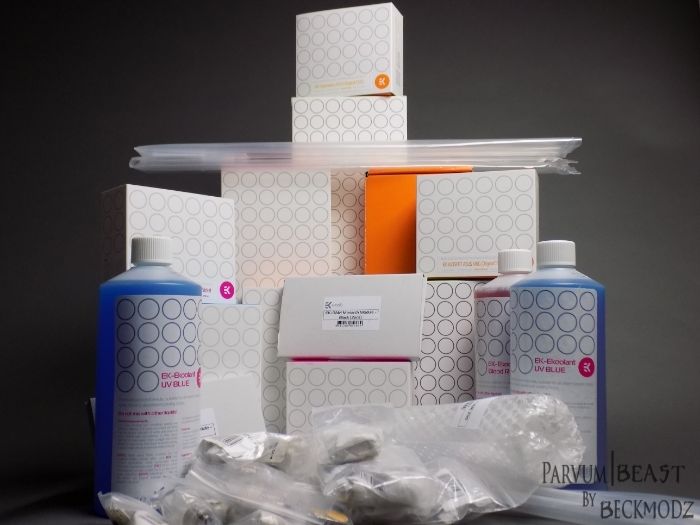
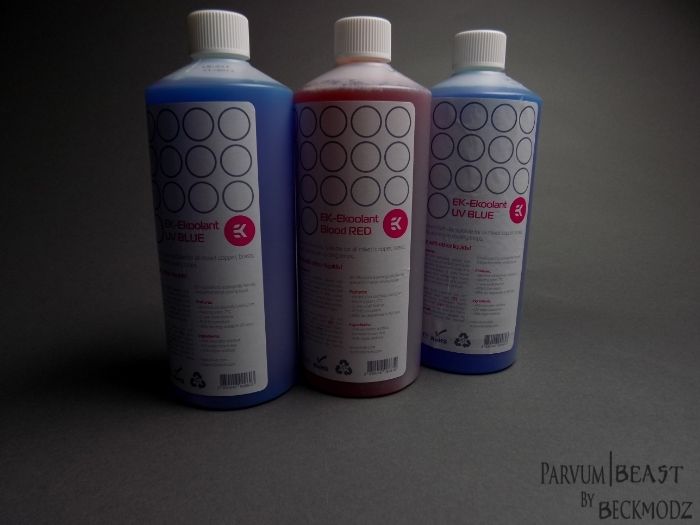
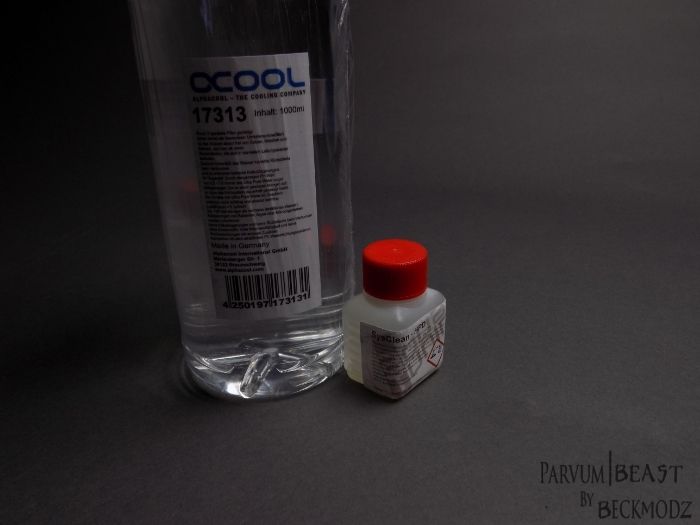
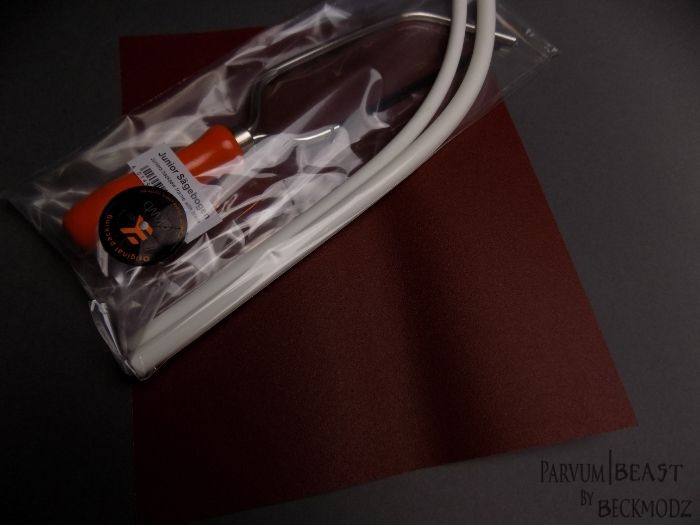
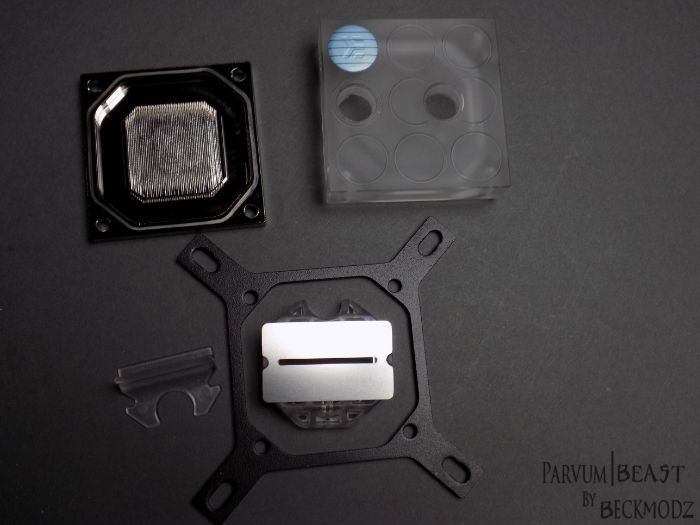
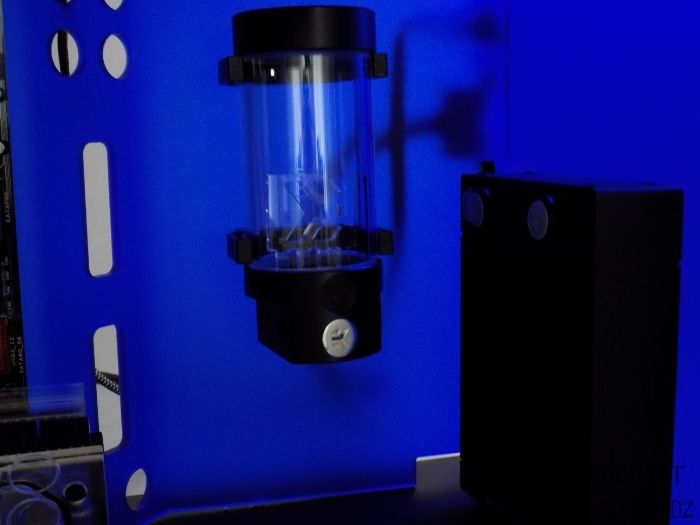
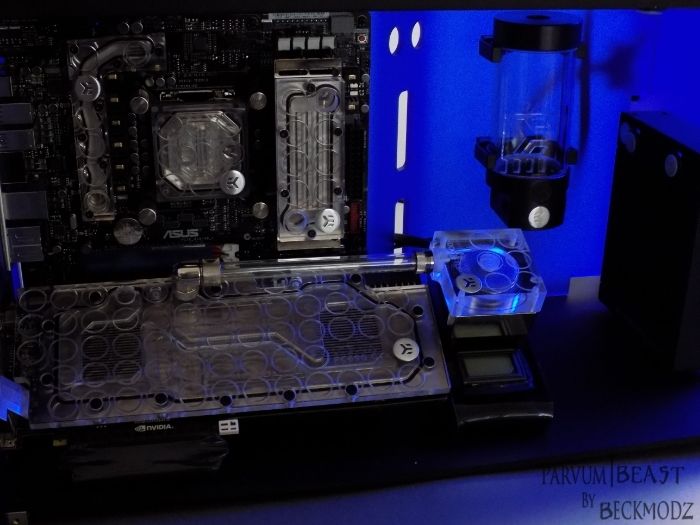
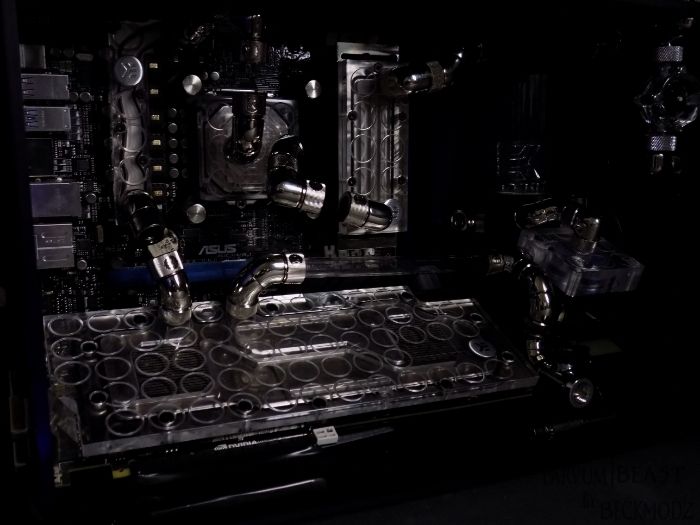
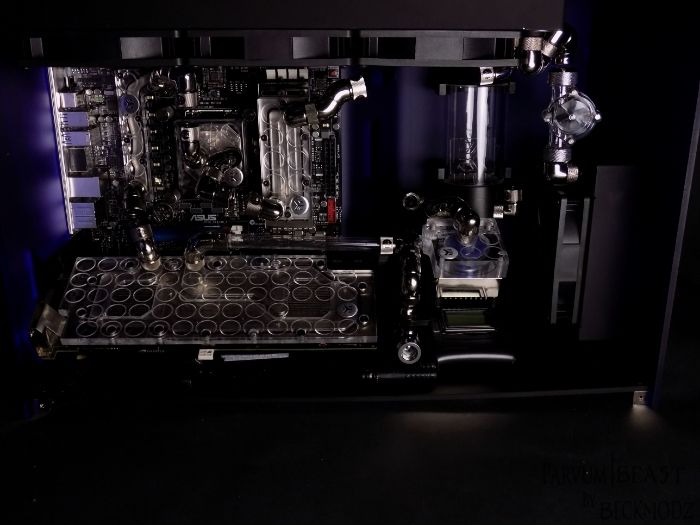
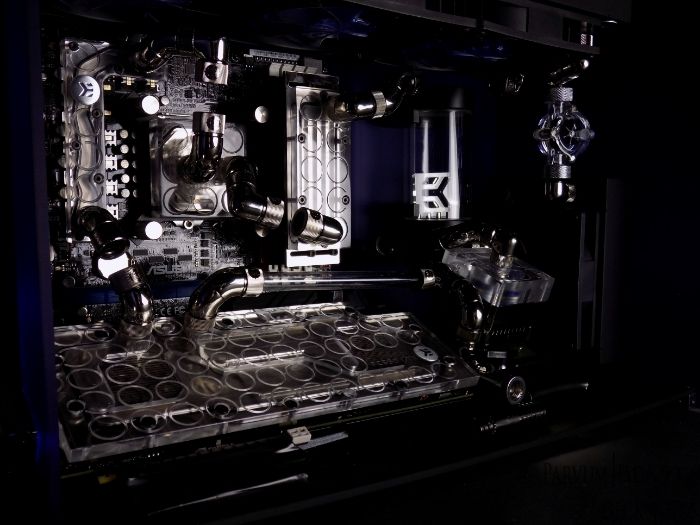
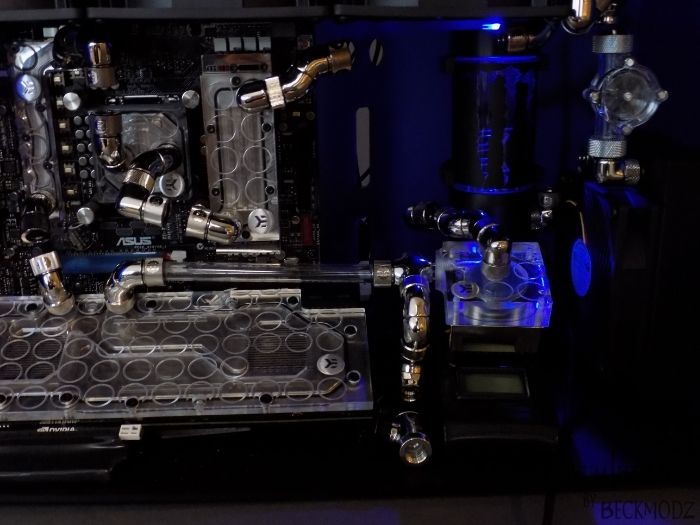
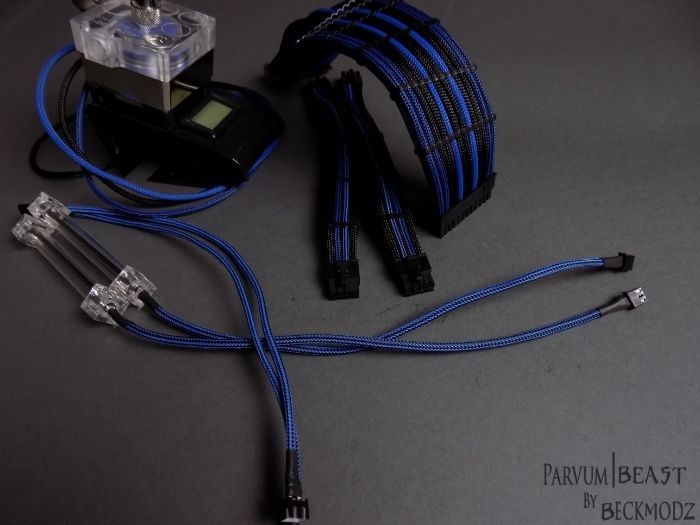
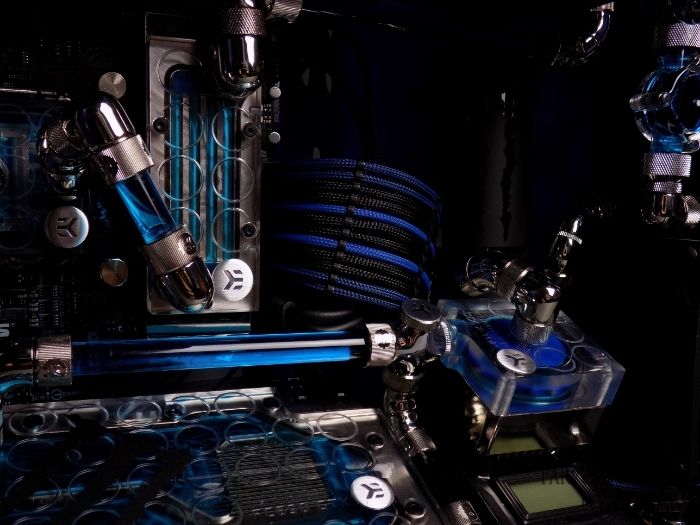
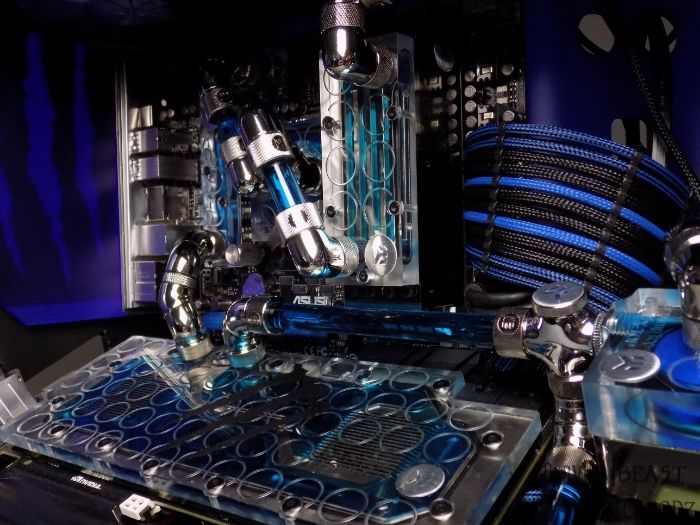
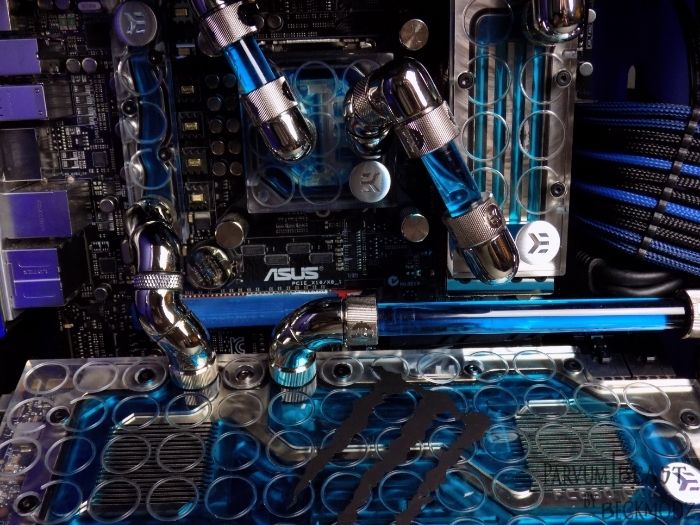
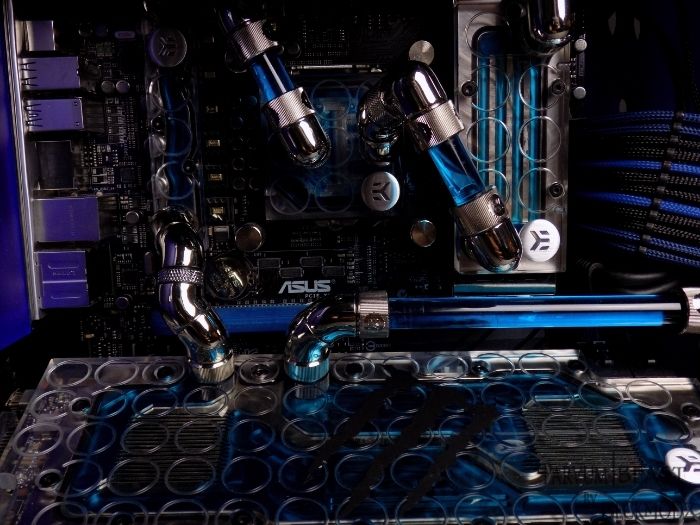
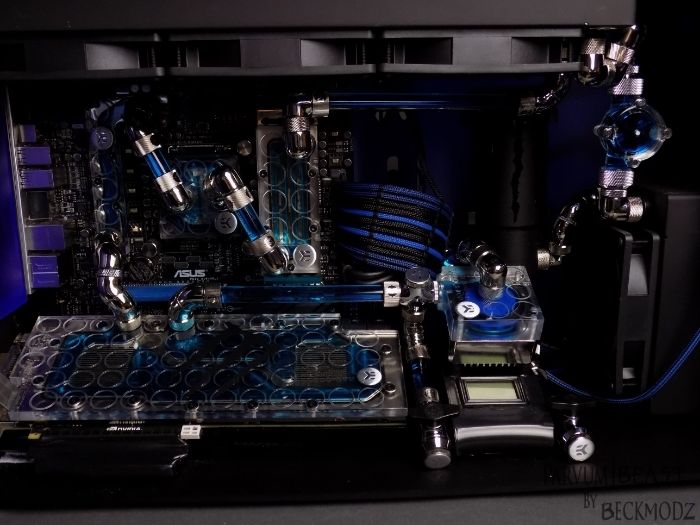
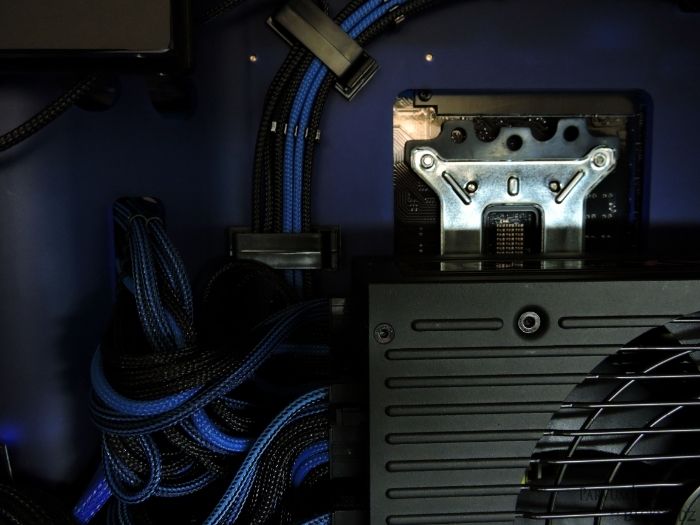
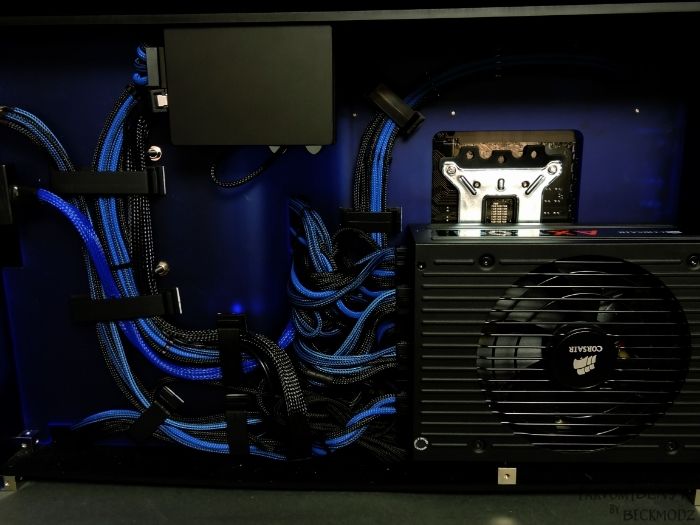
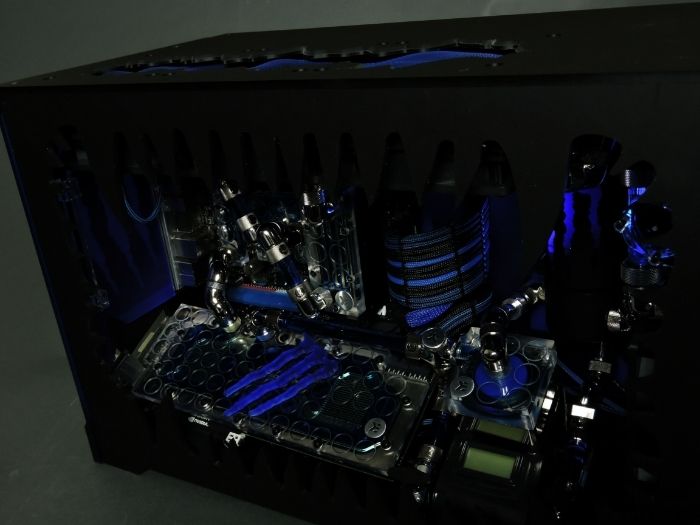
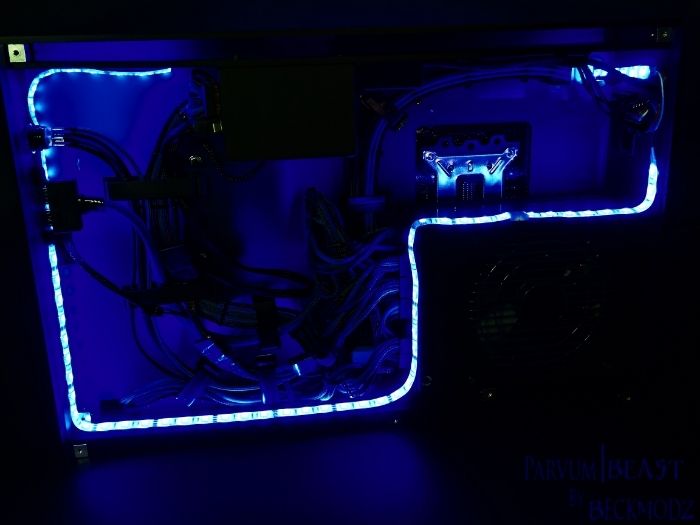
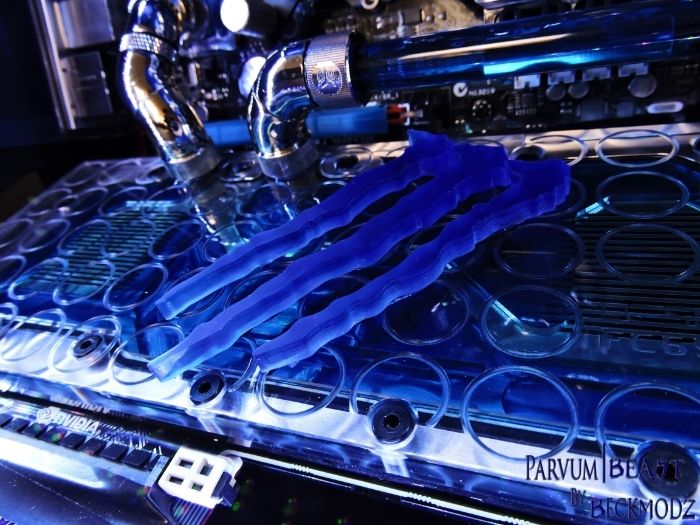
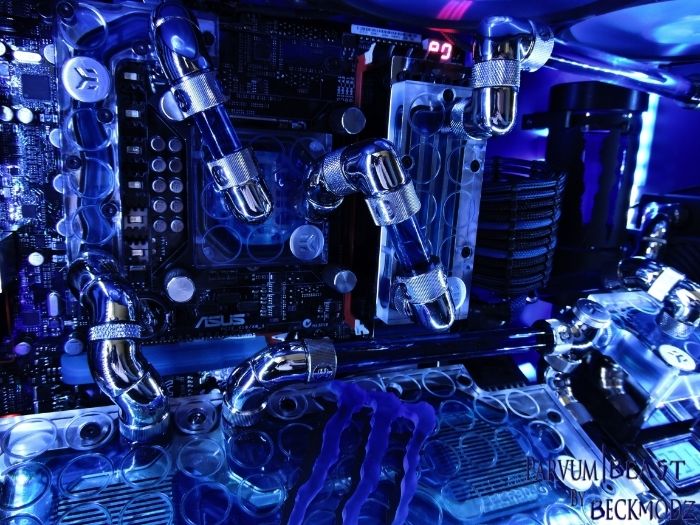
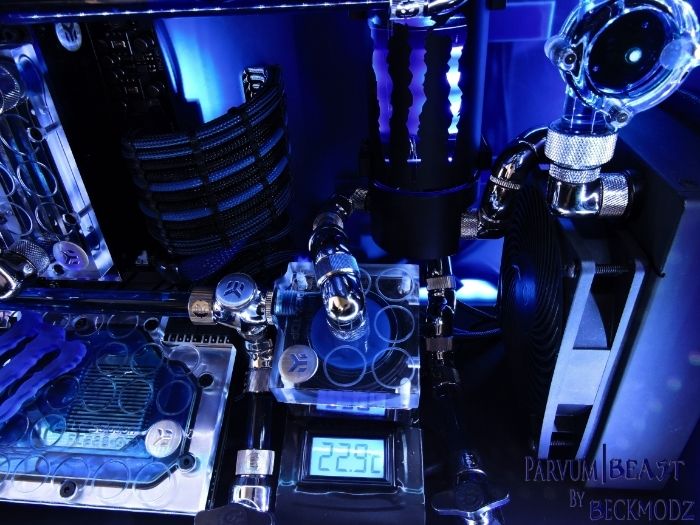
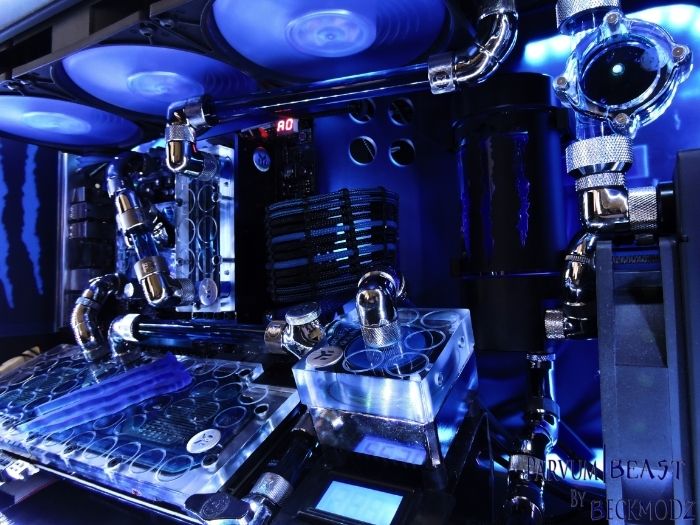
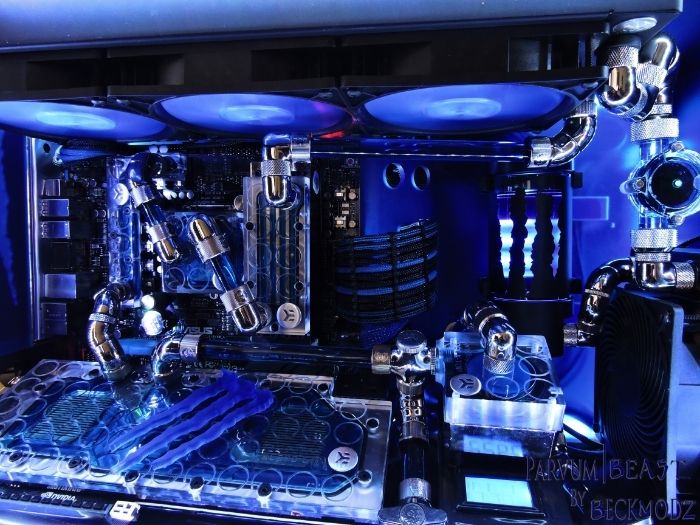
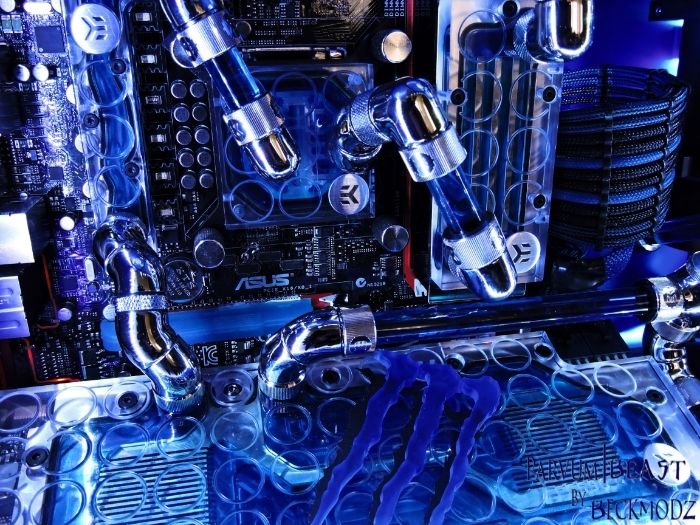
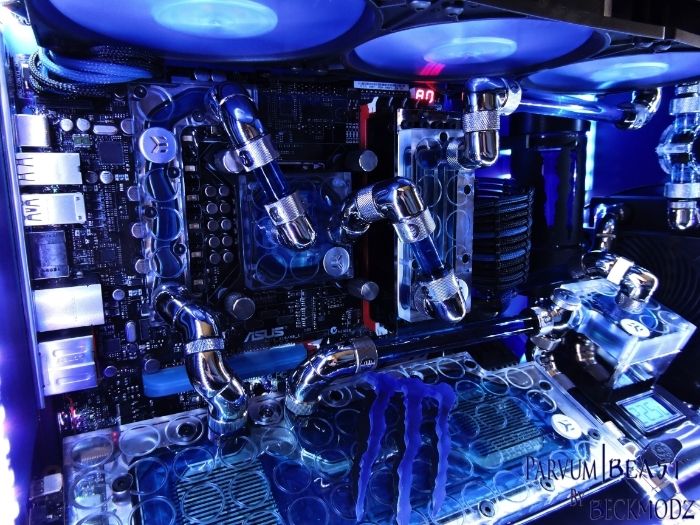
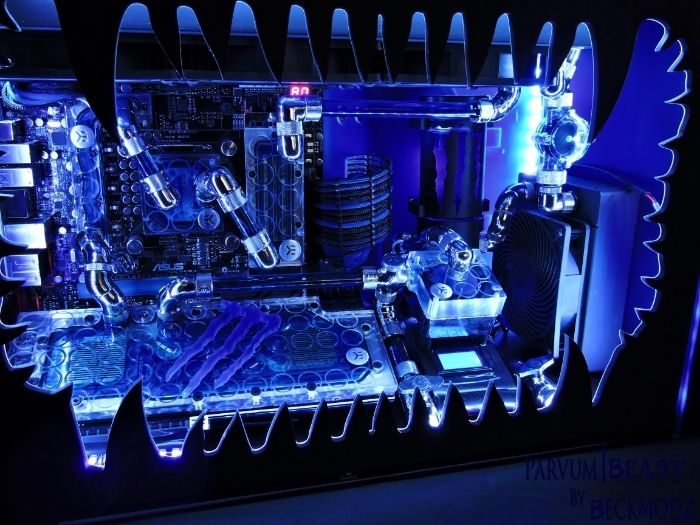
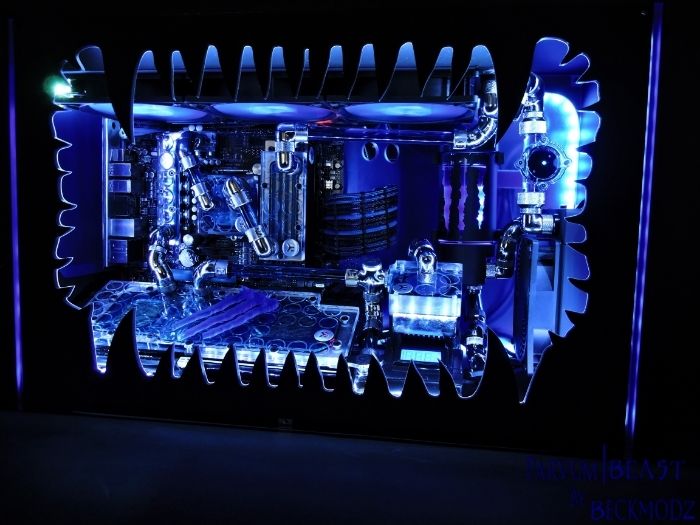
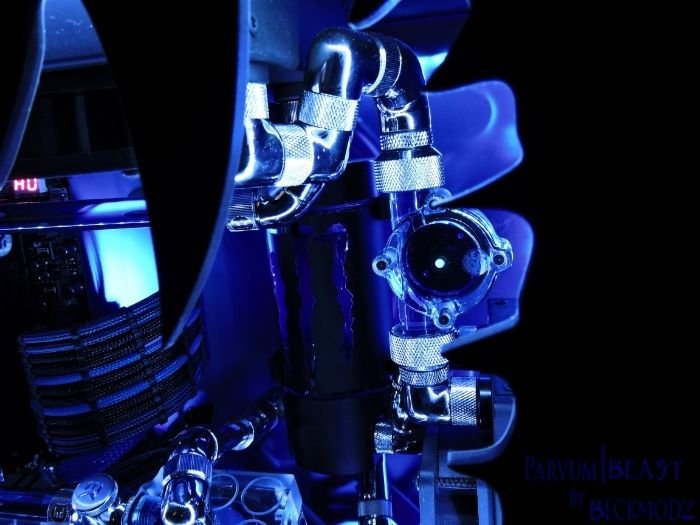
Everythig in this little beast is going to be watercooled with parts from EKWB.com, and Coolerkit.dk
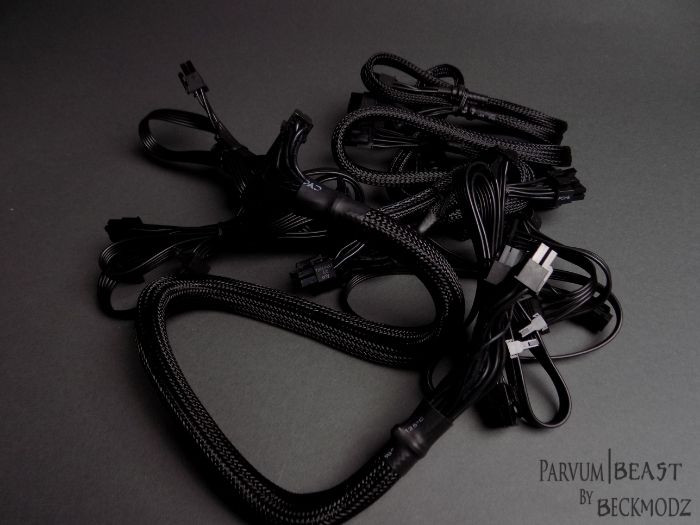
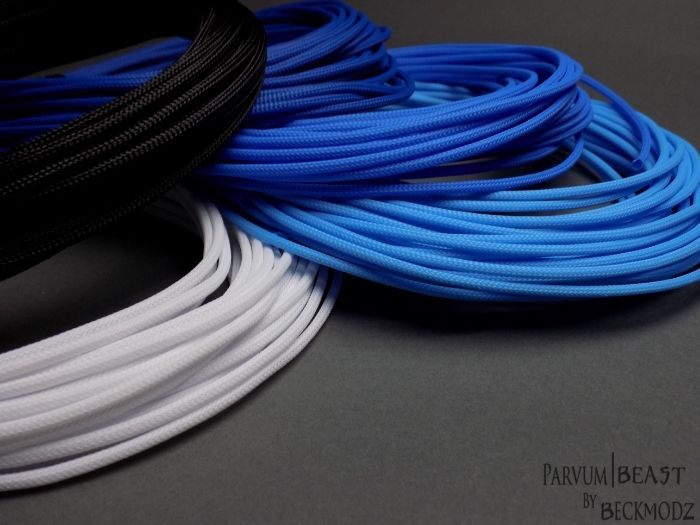
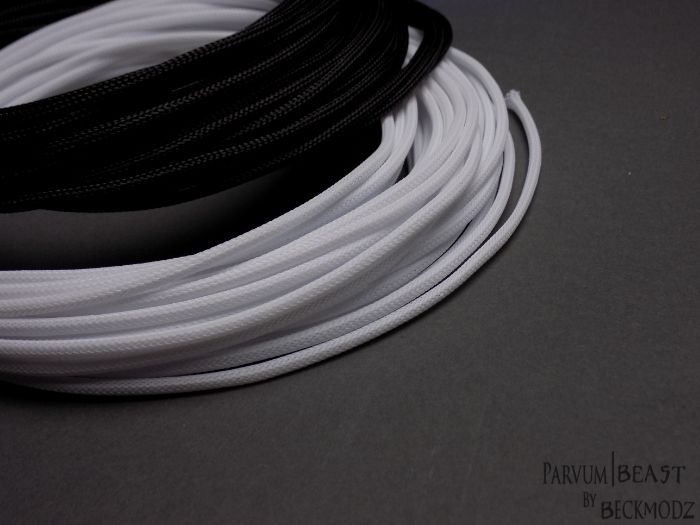
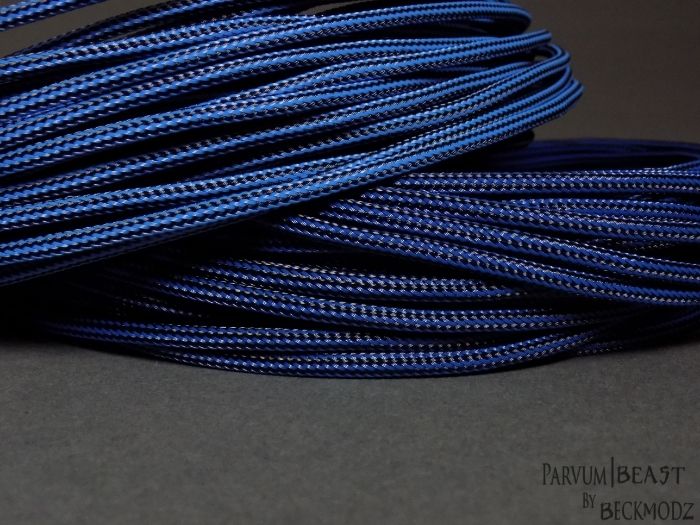
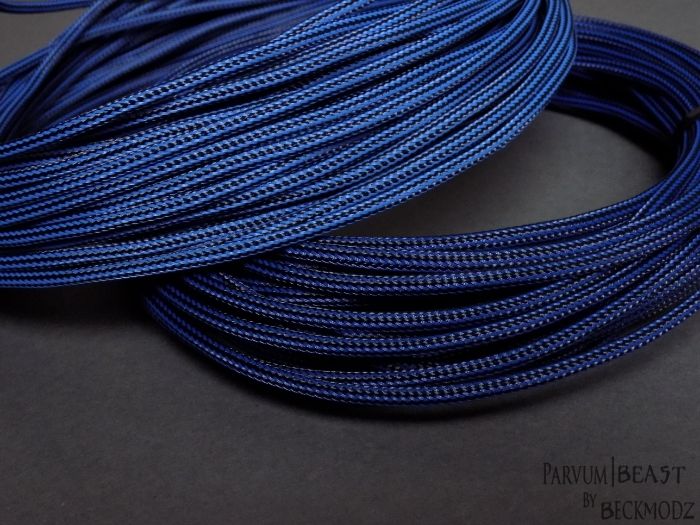
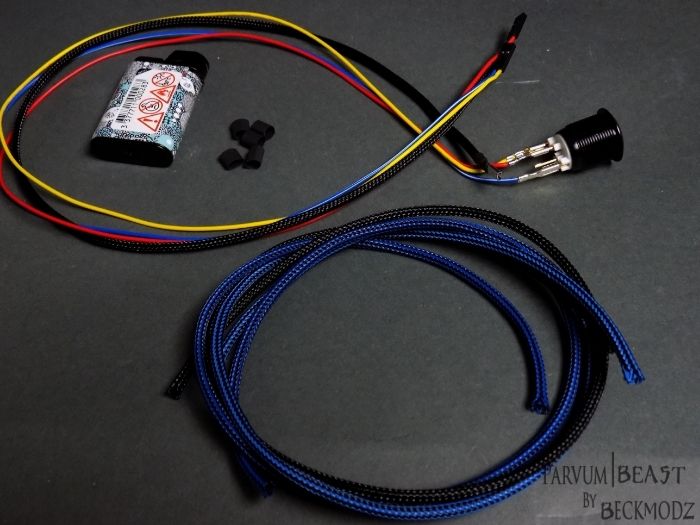
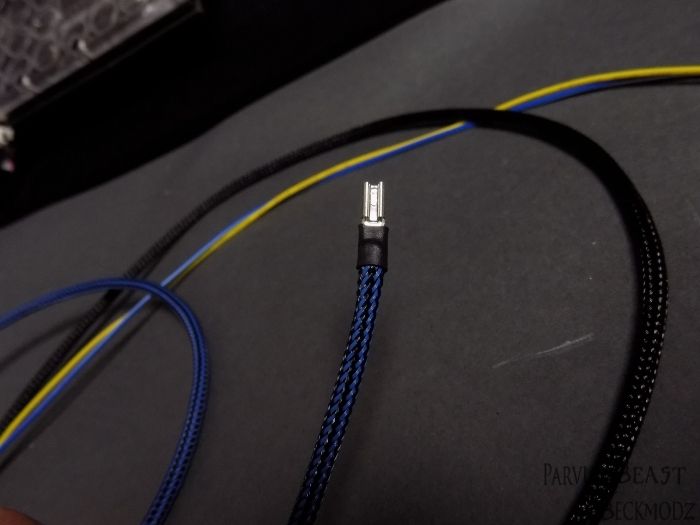
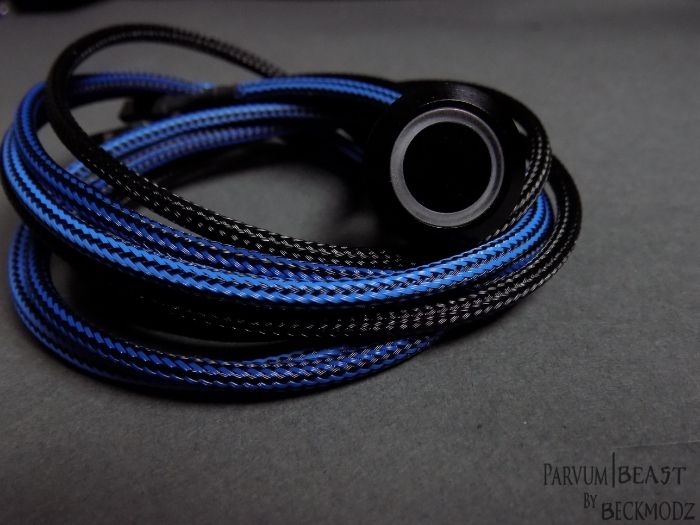
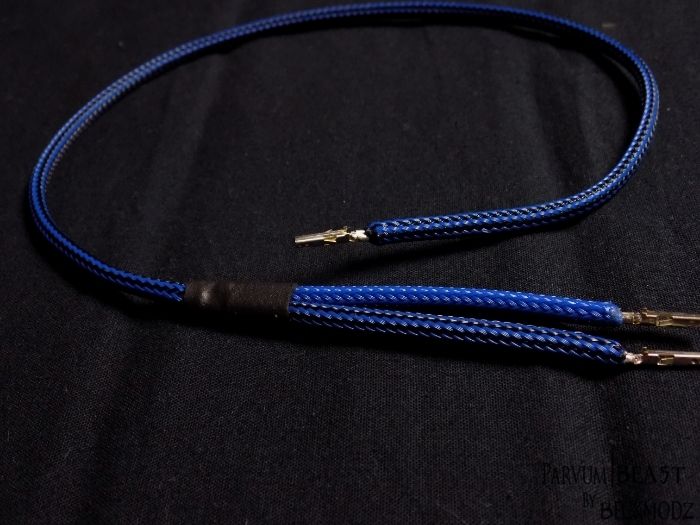
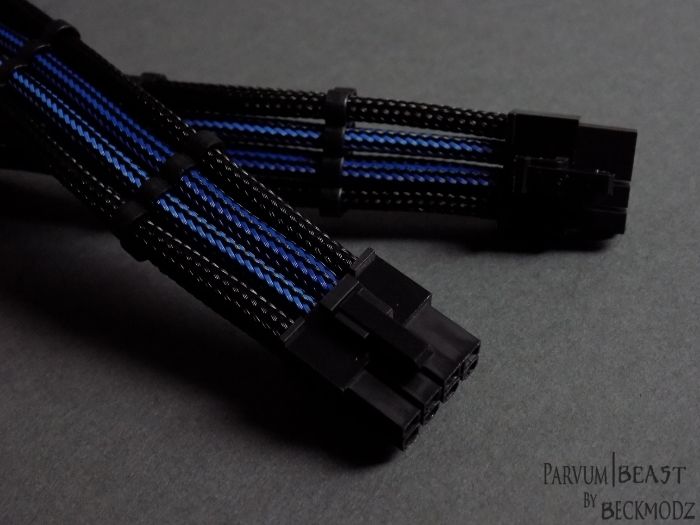
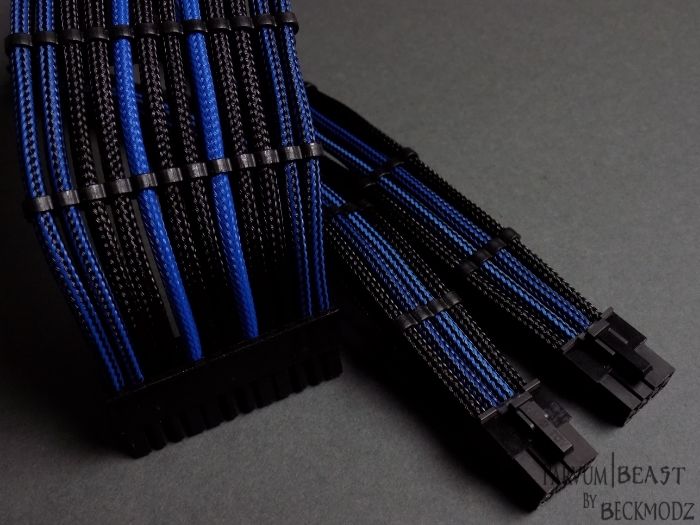
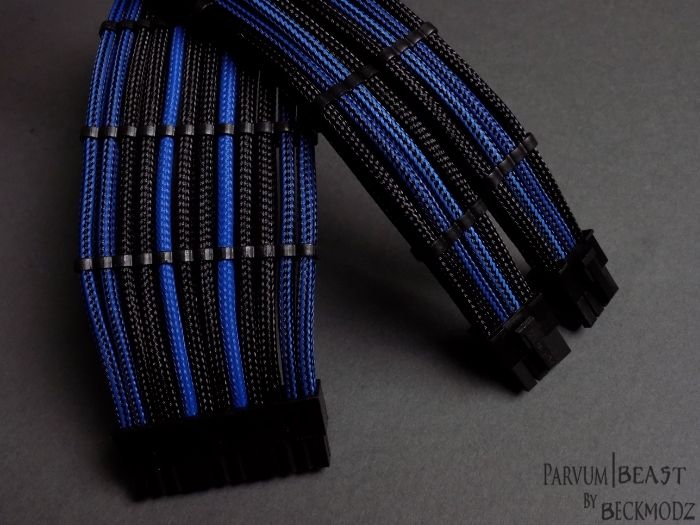
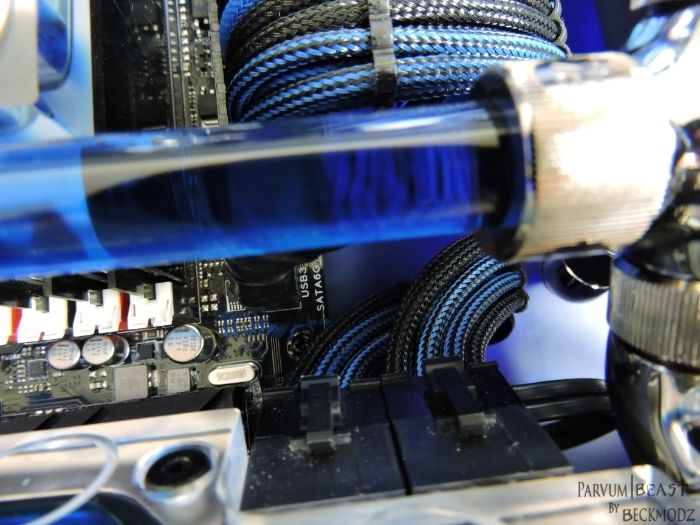
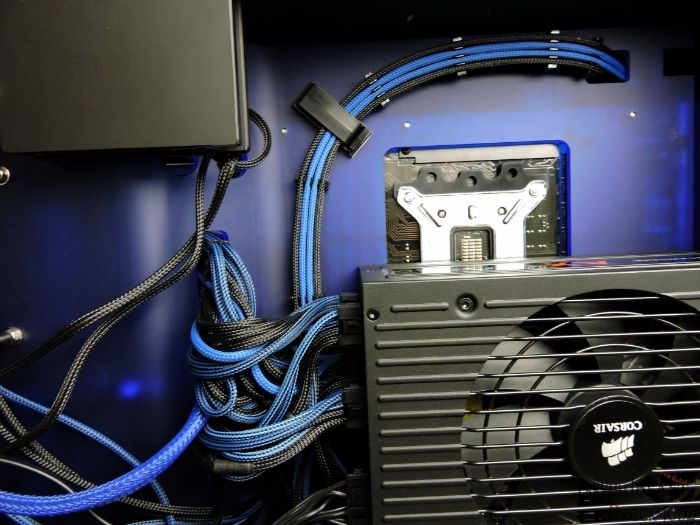
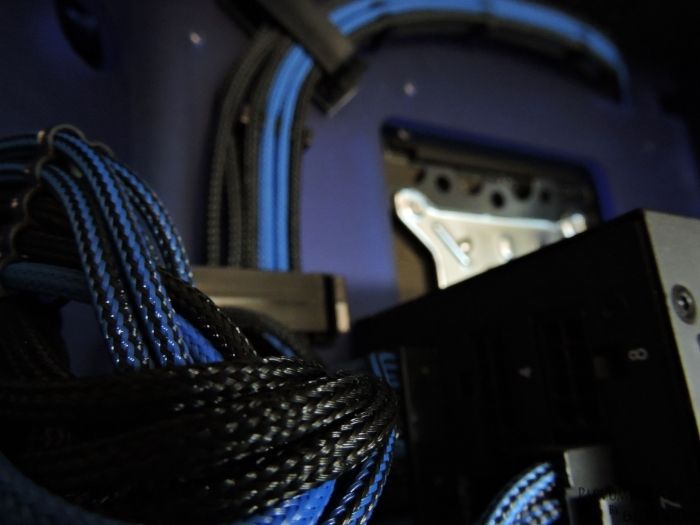
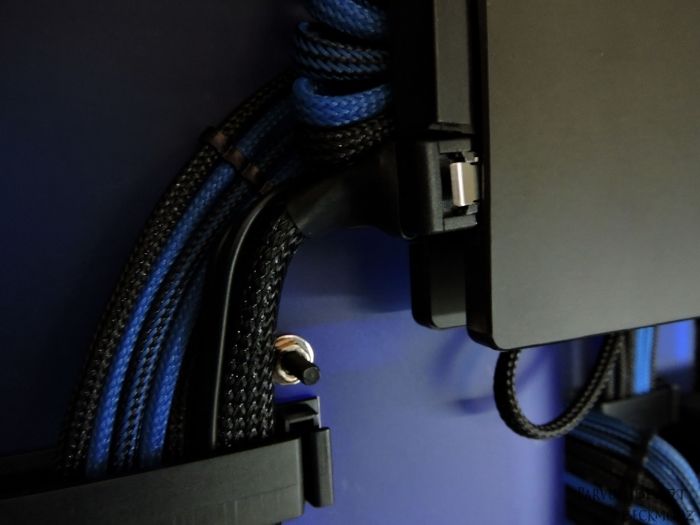
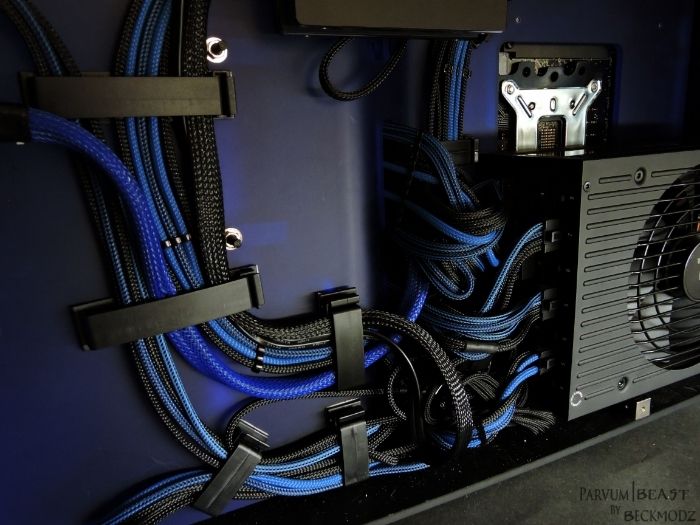
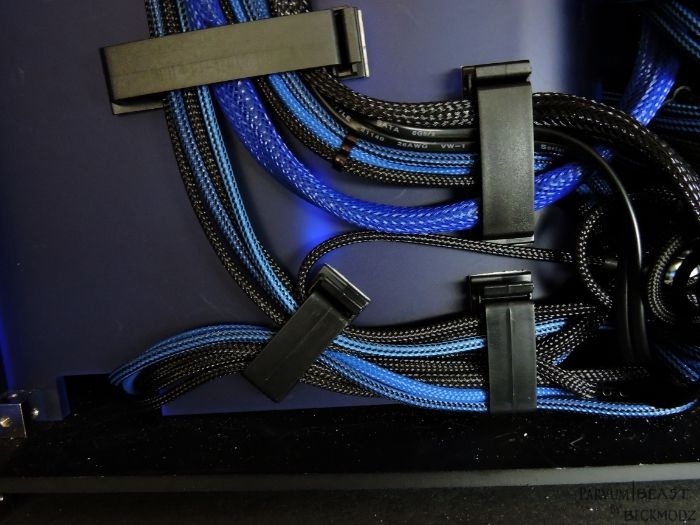
And all the PSU sleeving is from MainframeCustom.com
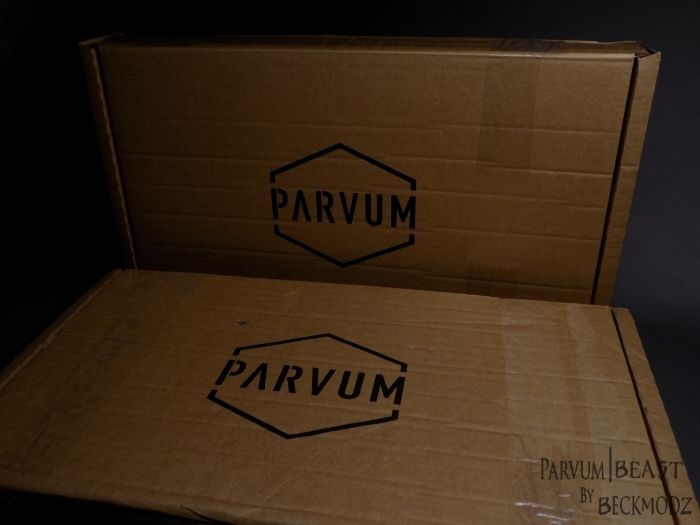
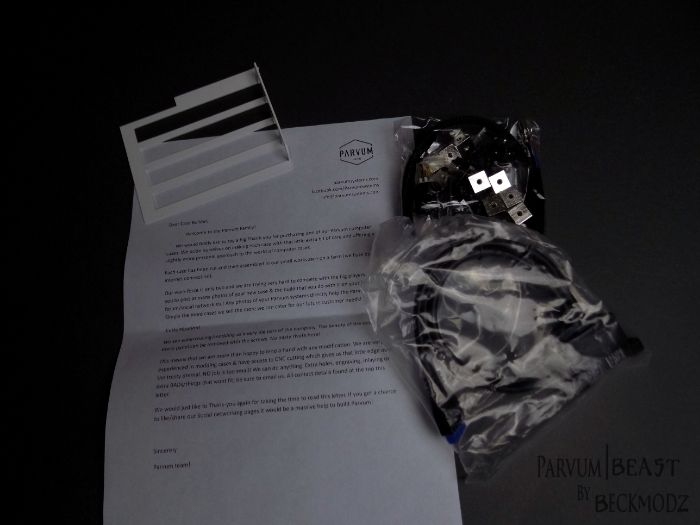
Here's a little teaser of what's allready been done, and more to come Enjoy

------------------------------------------------------------------------------------------------- Enjoy
Progress Links :
Parvum|Beast Renders
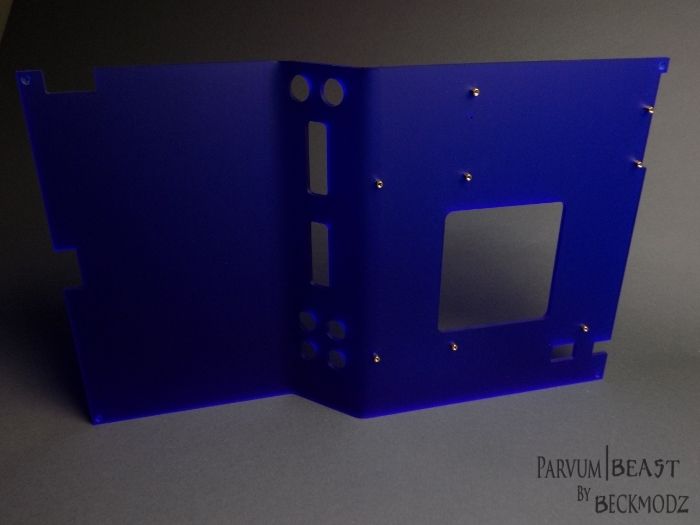
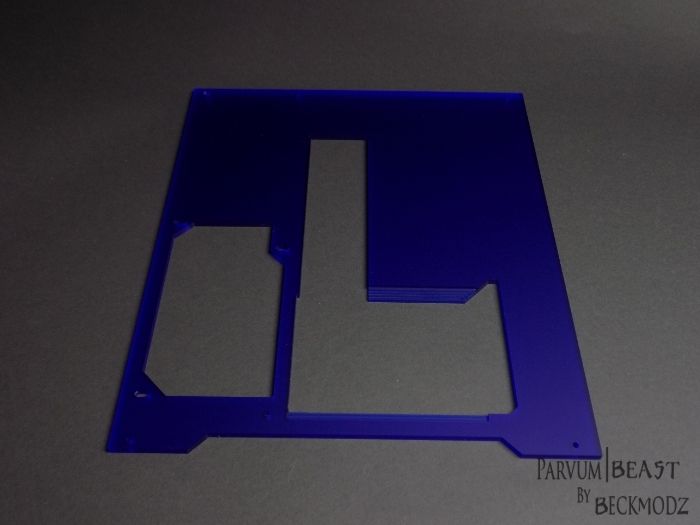
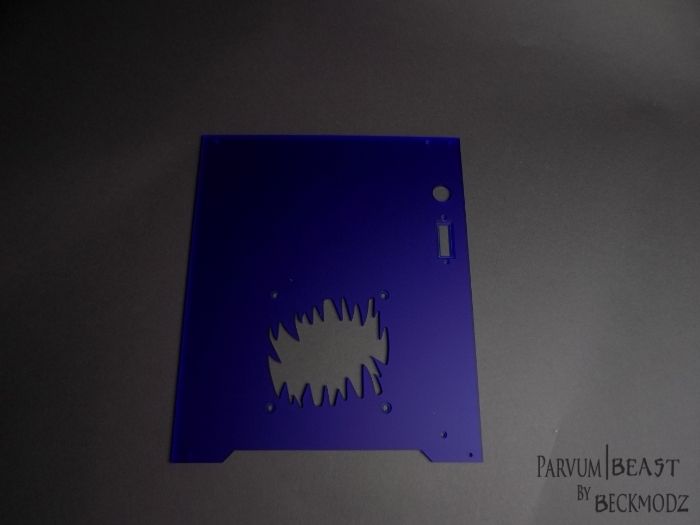
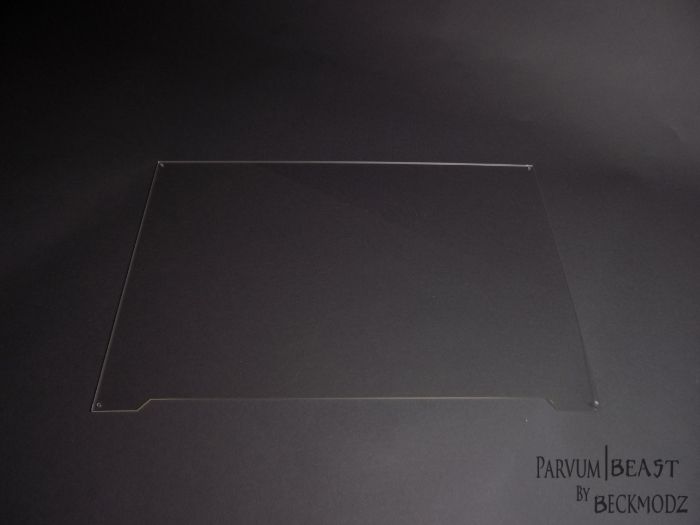
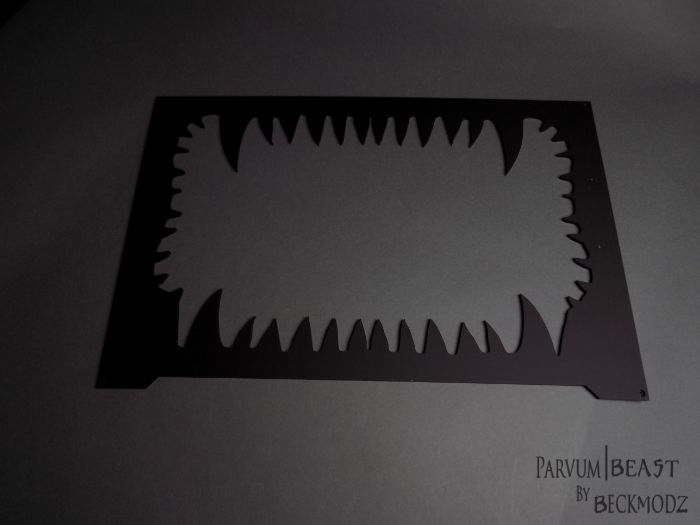
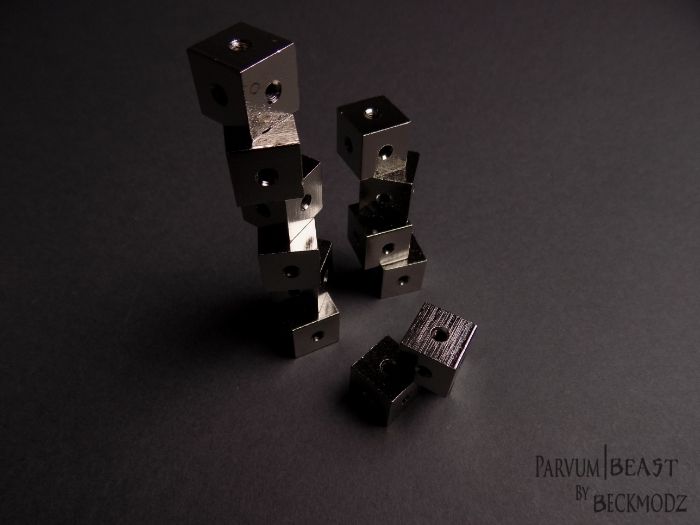
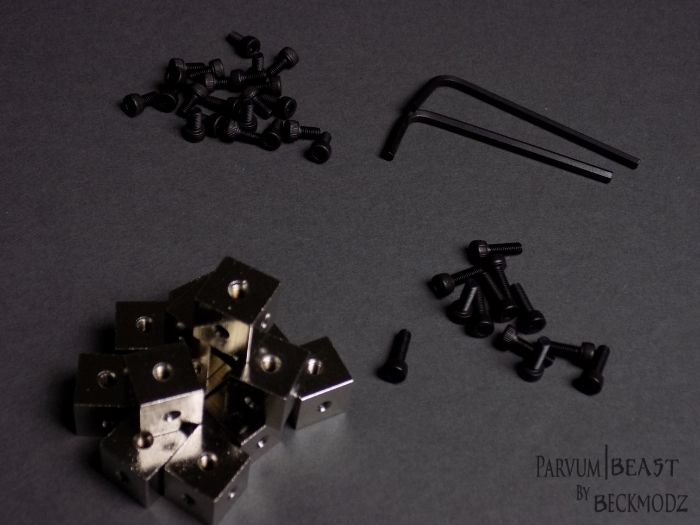
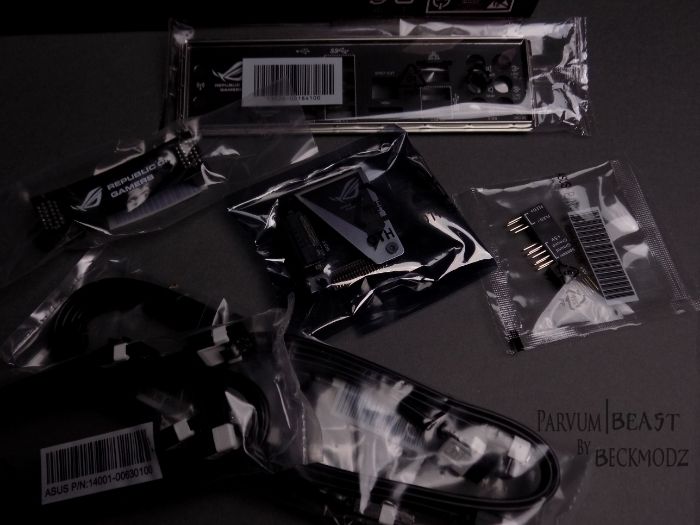
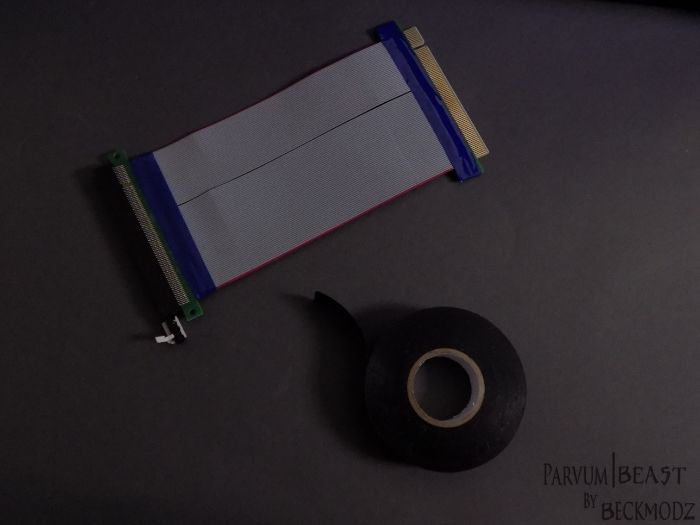
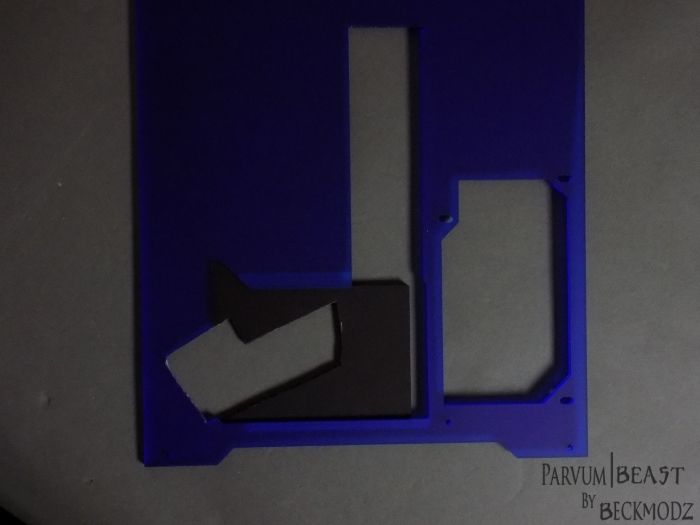
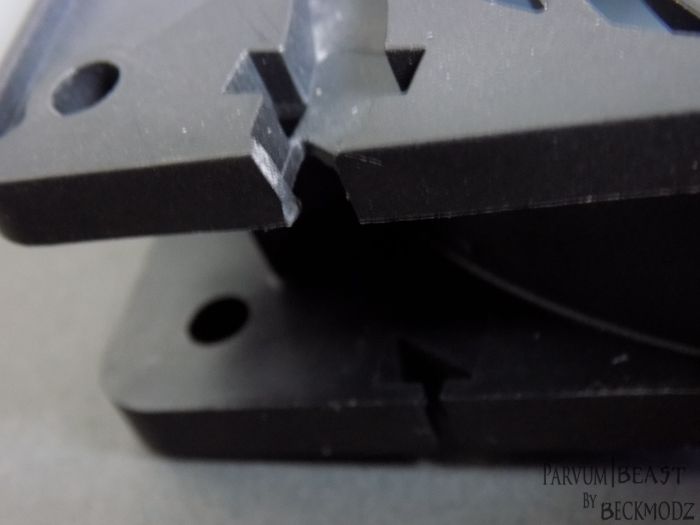
Parvum|Beast Case Parts
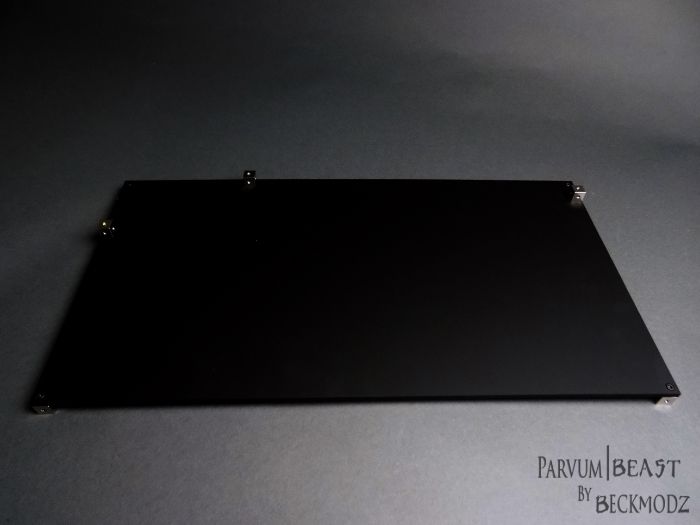
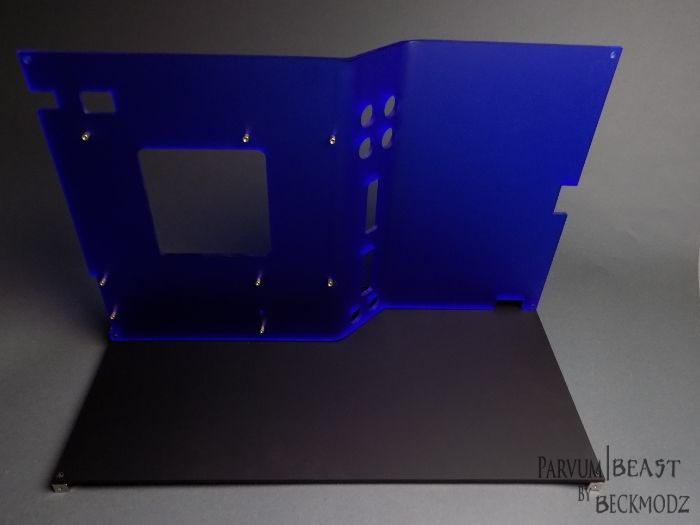
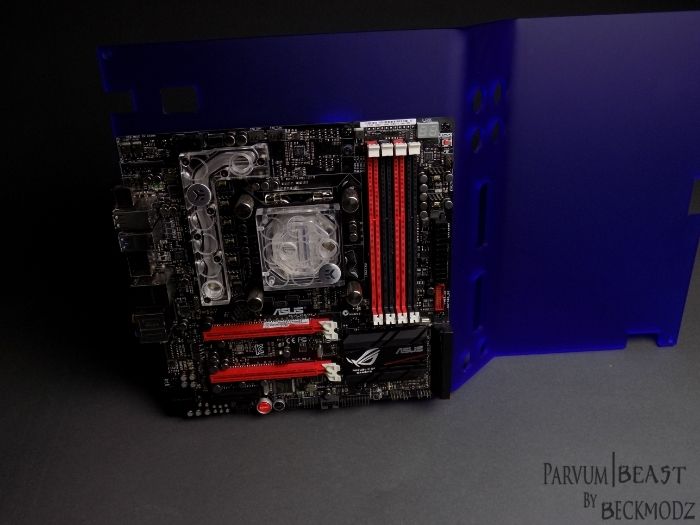
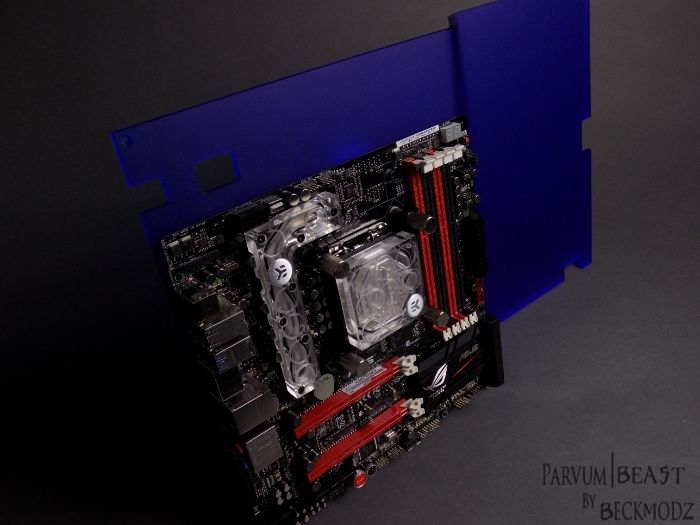
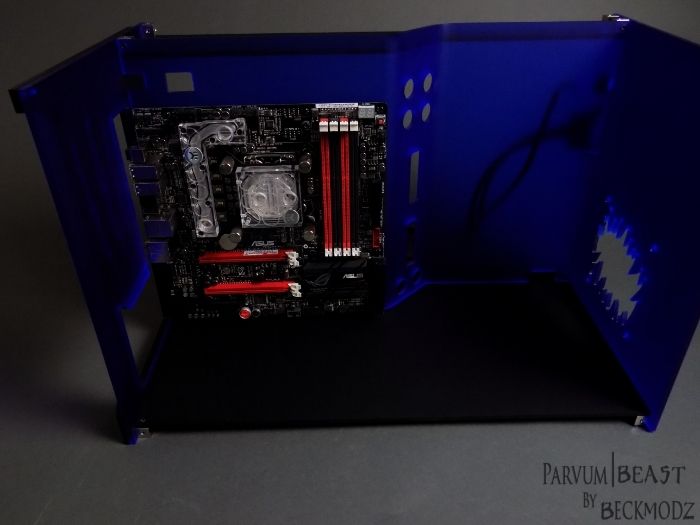
Parvum|Beast Assembling The Case
Parvum|Beast The Hardware
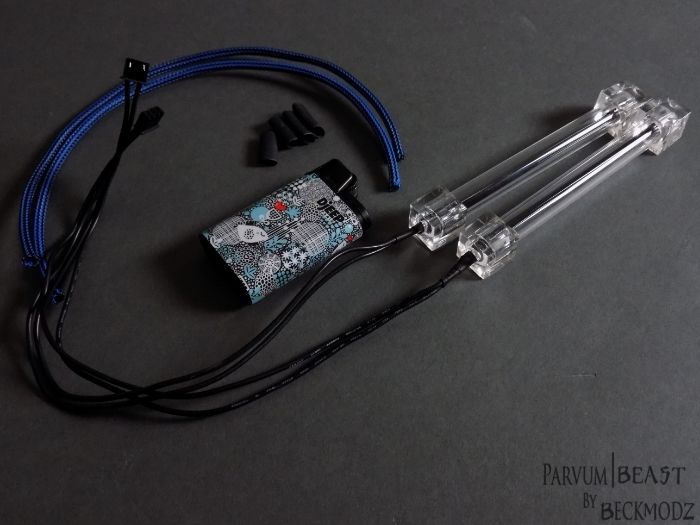
[COLOR="#DeepSkyBlue"]Parvum|Beast Part 1 of the Watercooling parts[/COLOR]
[COLOR="#DeepSkyBlue"]Parvum|Beast Part 2 of the Watercooling parts[/COLOR]
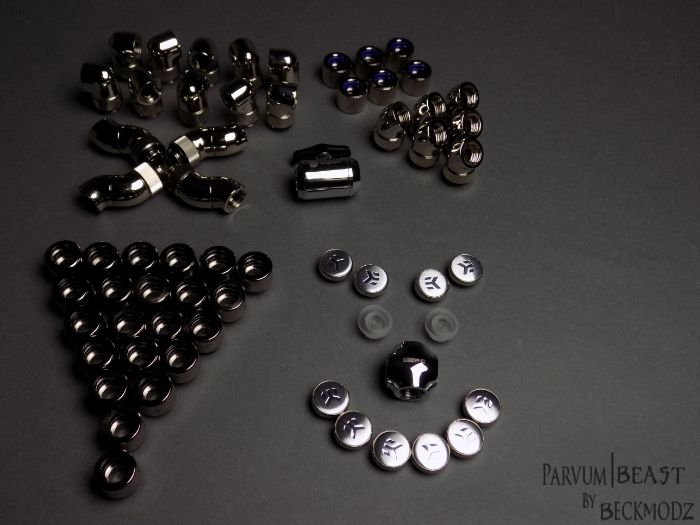
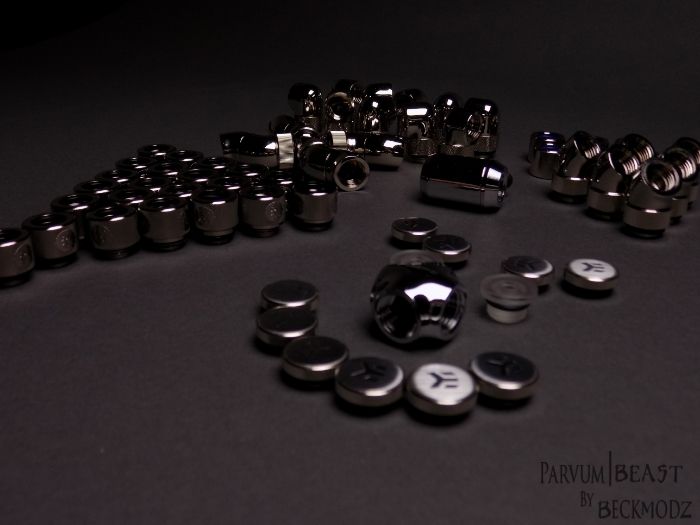
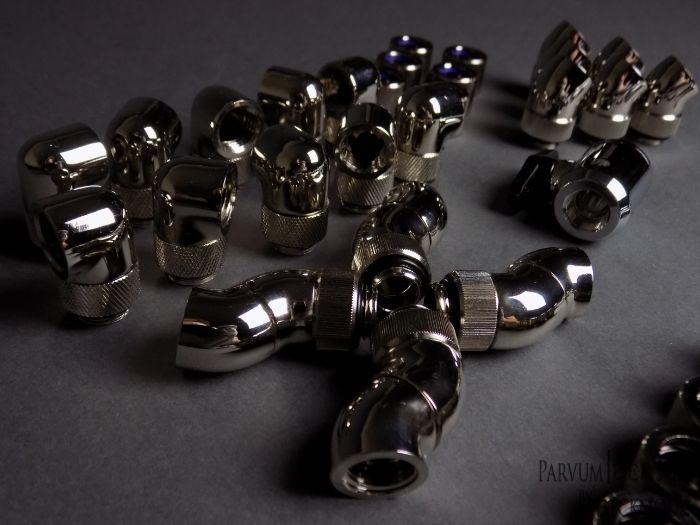
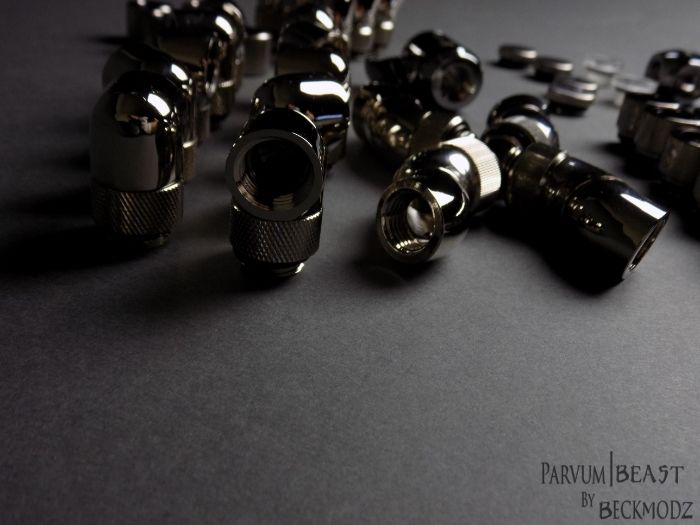
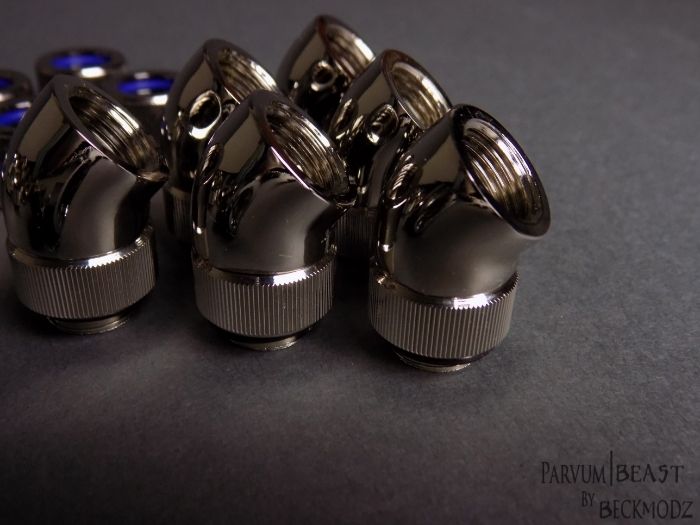
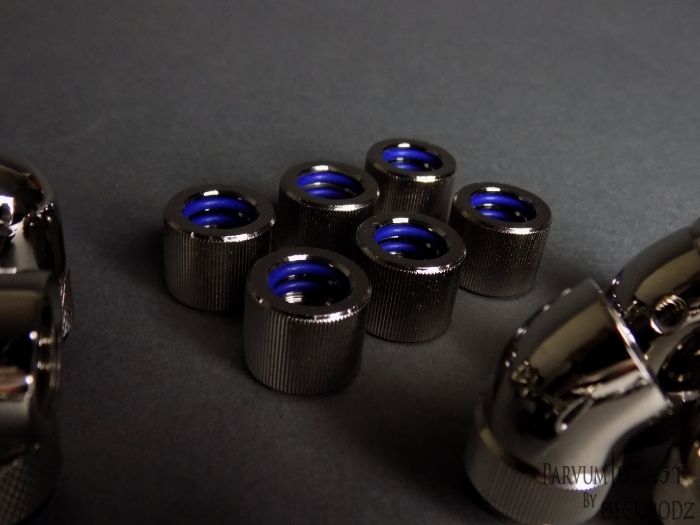
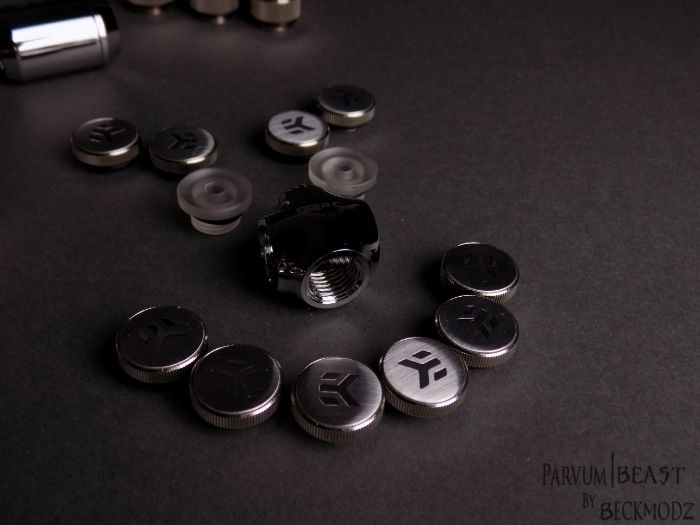
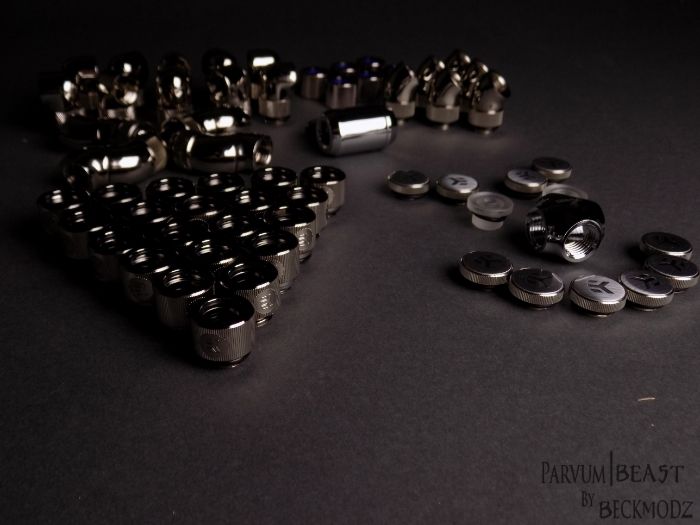
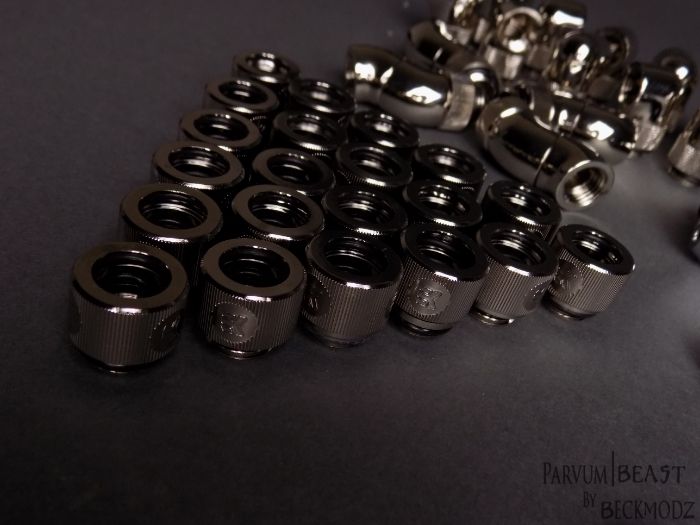
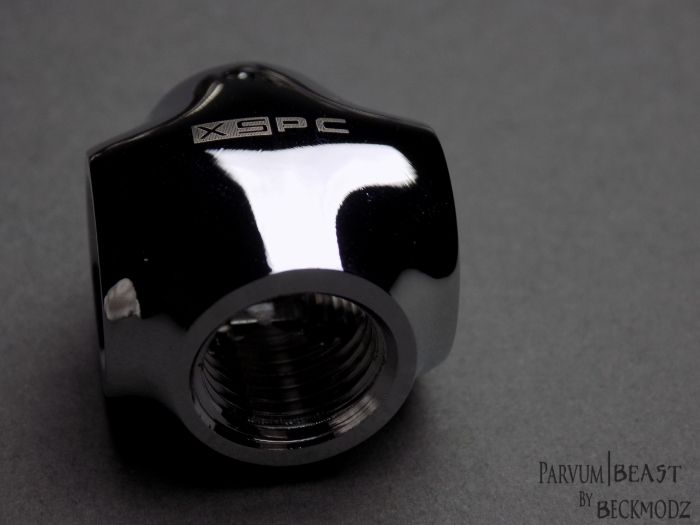
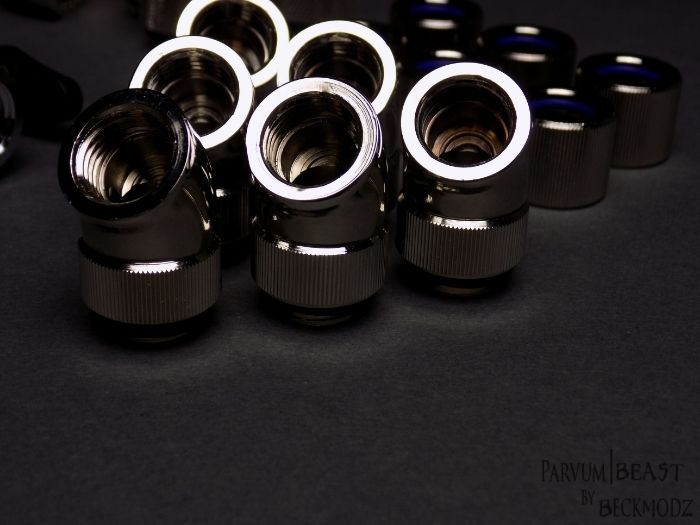
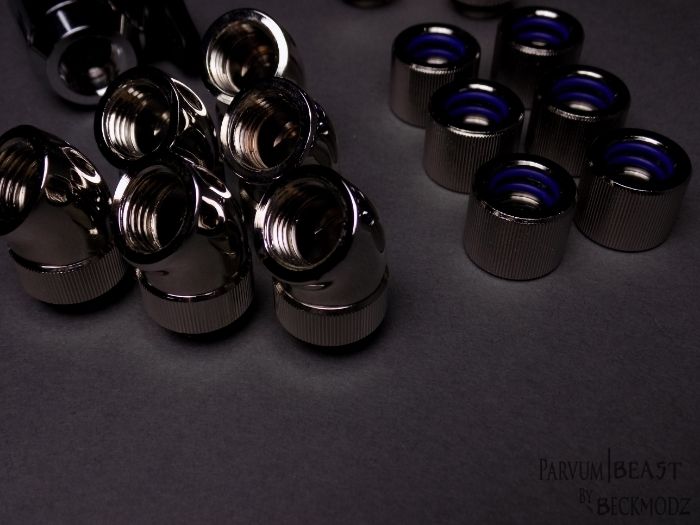
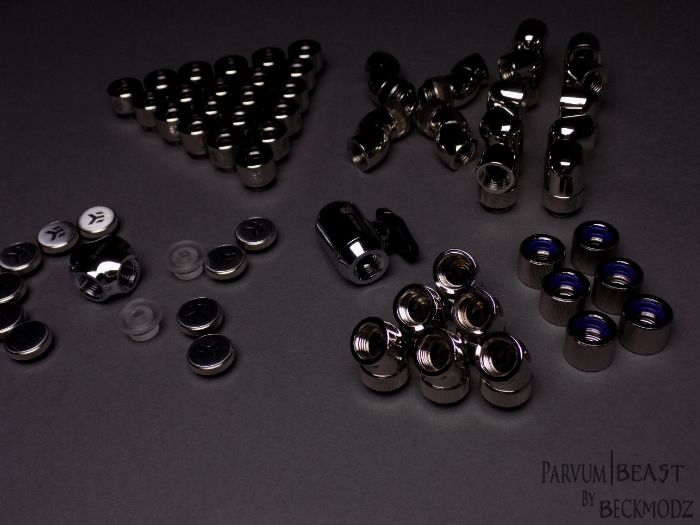
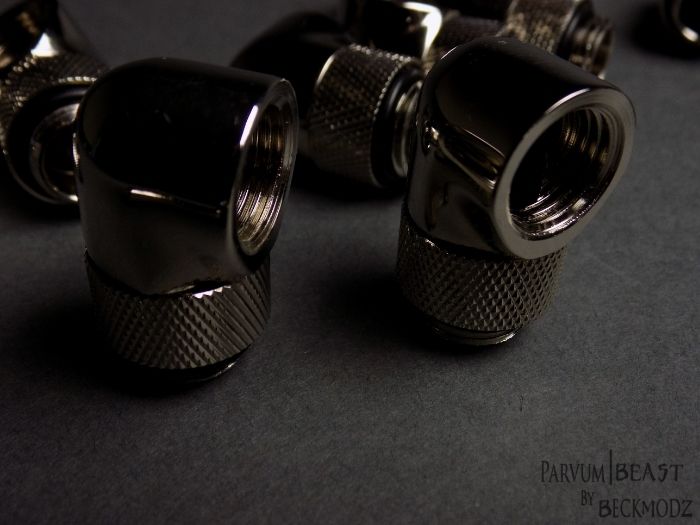
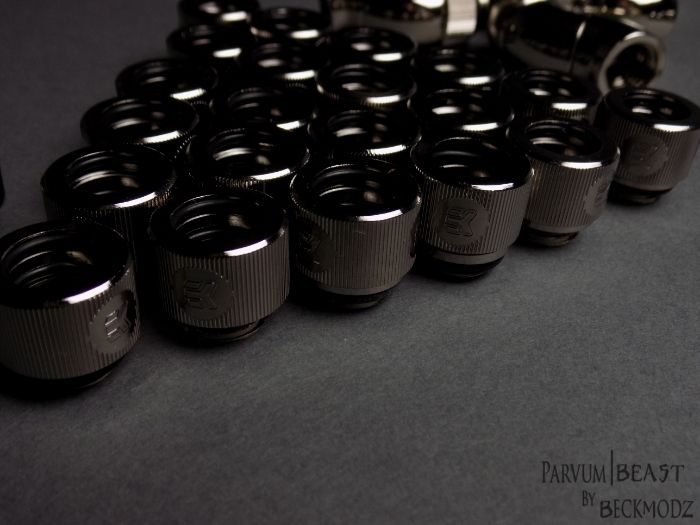
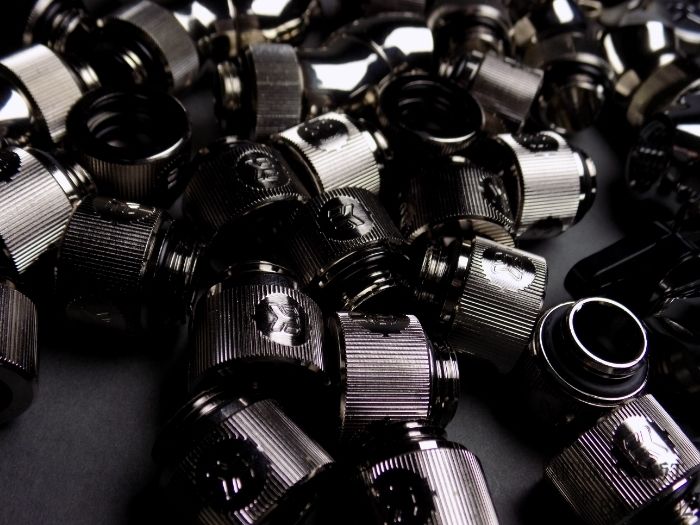
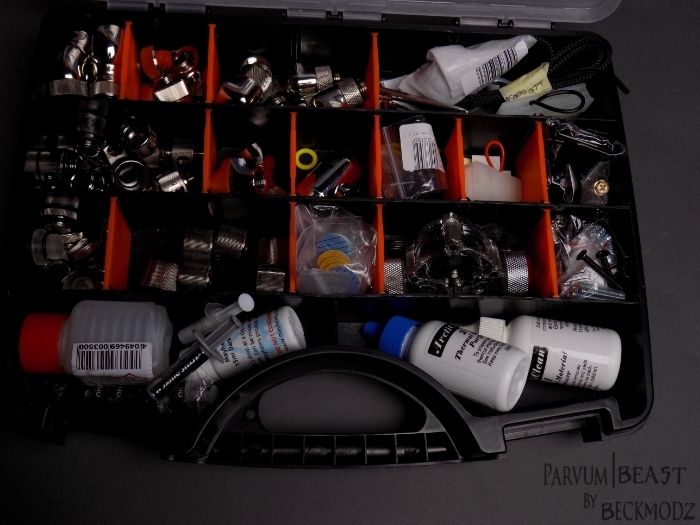
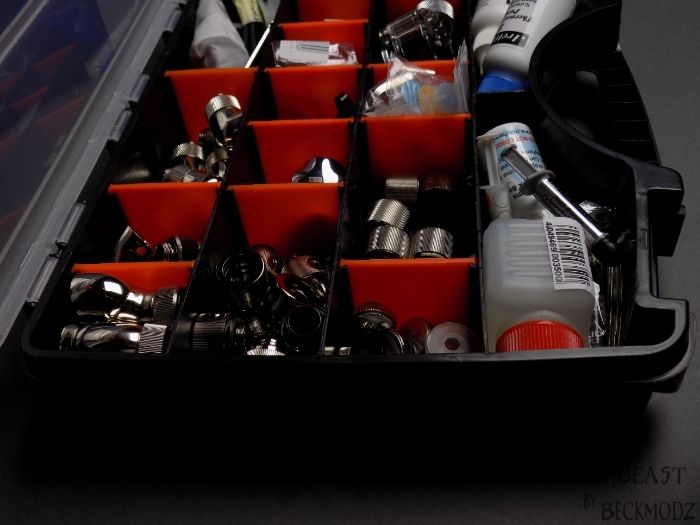
[COLOR="#DeepSkyBlue"]Parvum|Beast The Fittings[/COLOR]
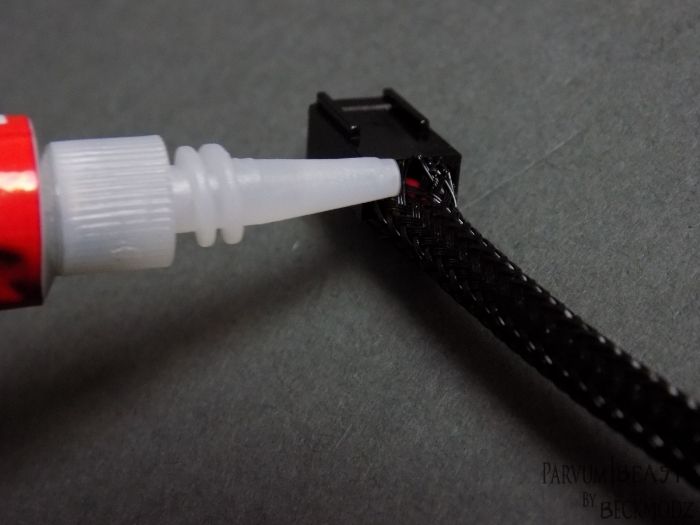
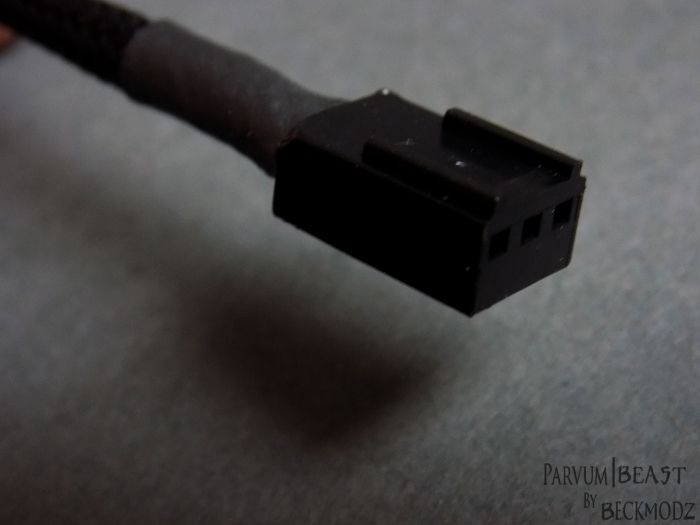
Parvum|Beast The Sleeving Has Arrived
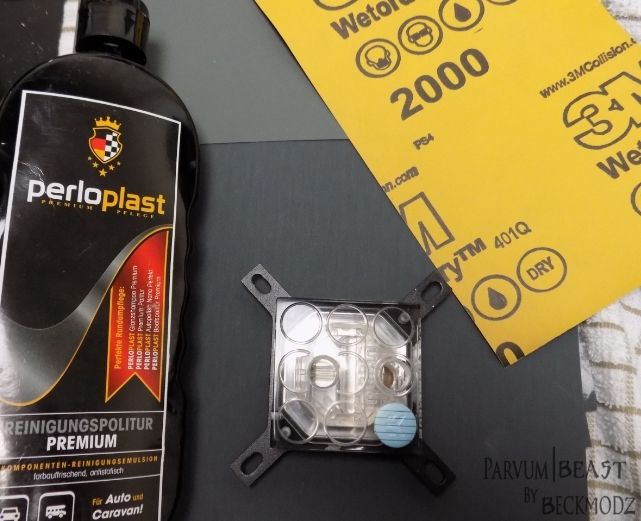
Parvum|Beast The Polishing Of EKWB Waterblocks
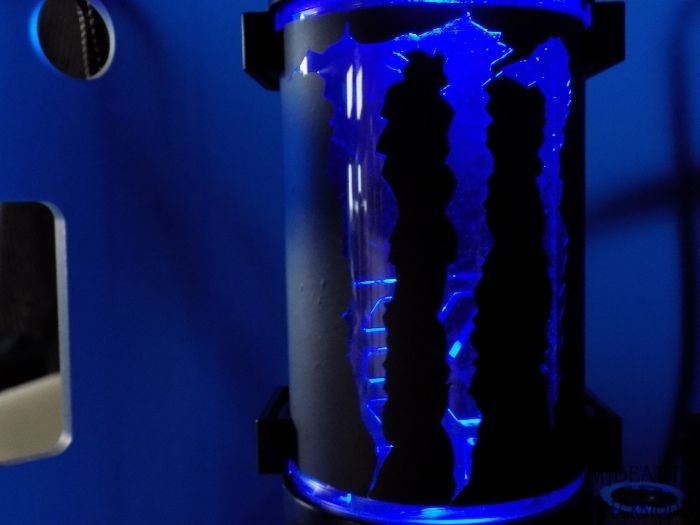
Parvum|Beast The Liquid & Light Test
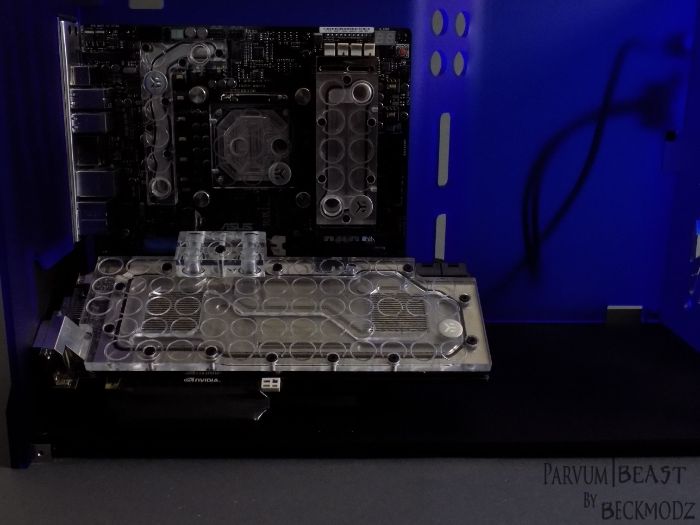
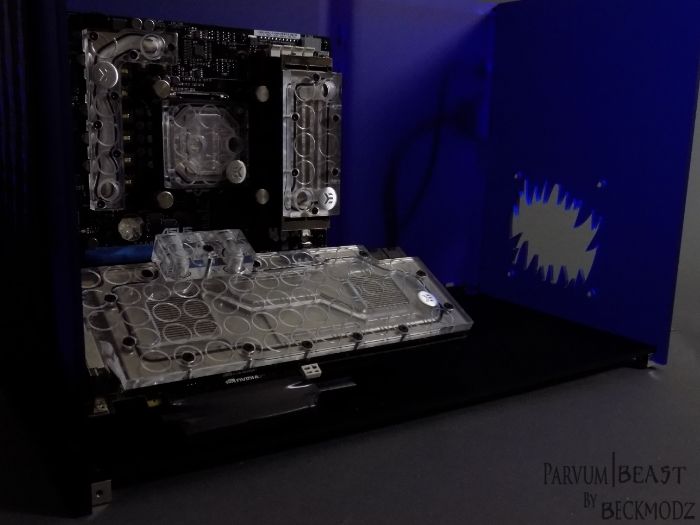
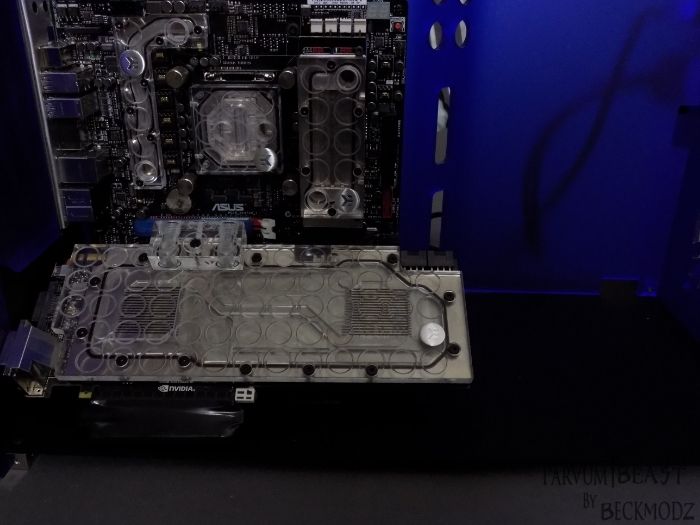
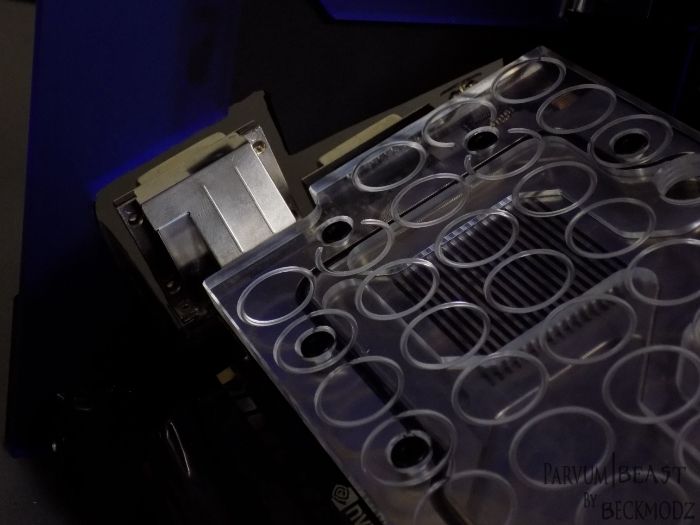
Parvum|Beast Installing the waterblocks
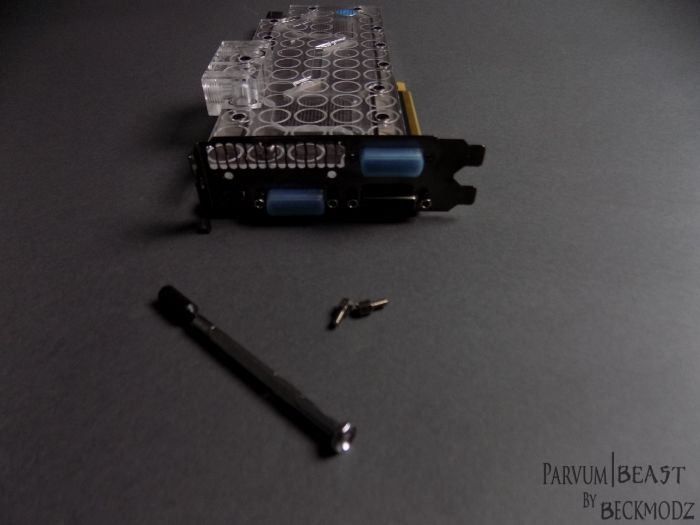
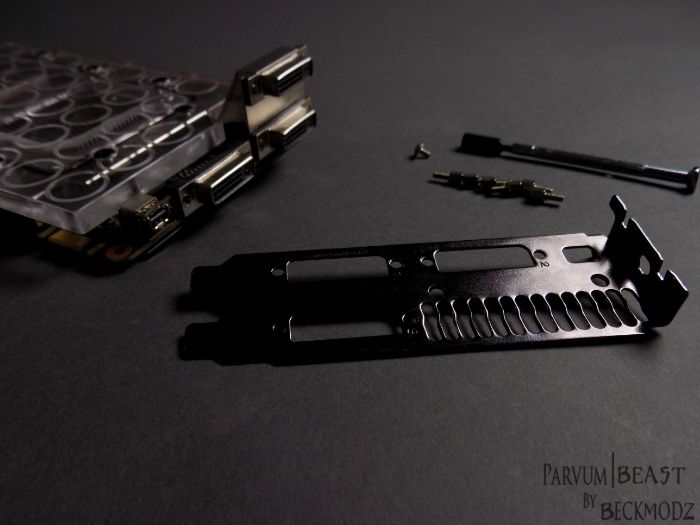
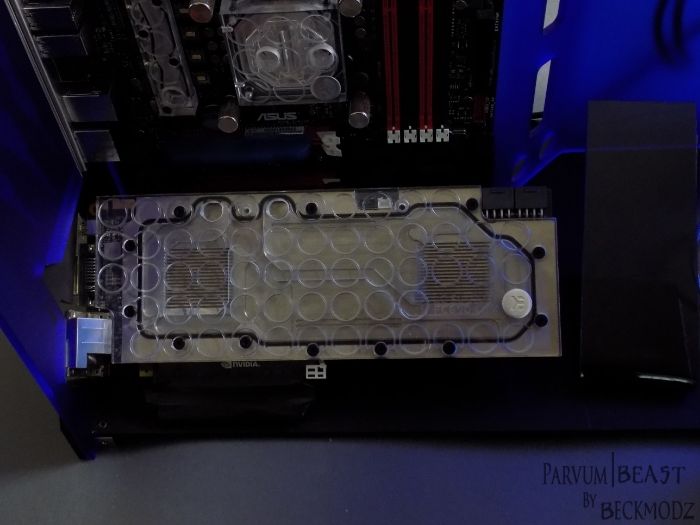
Test Mounting of the Waterblocks, and modding the flipped GPU.
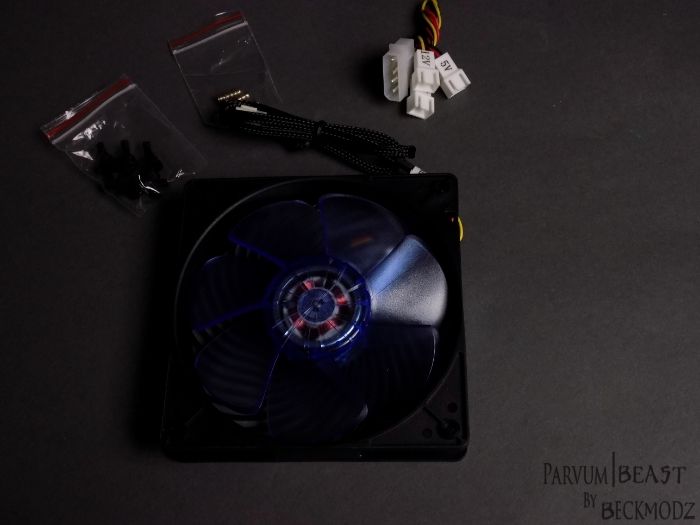
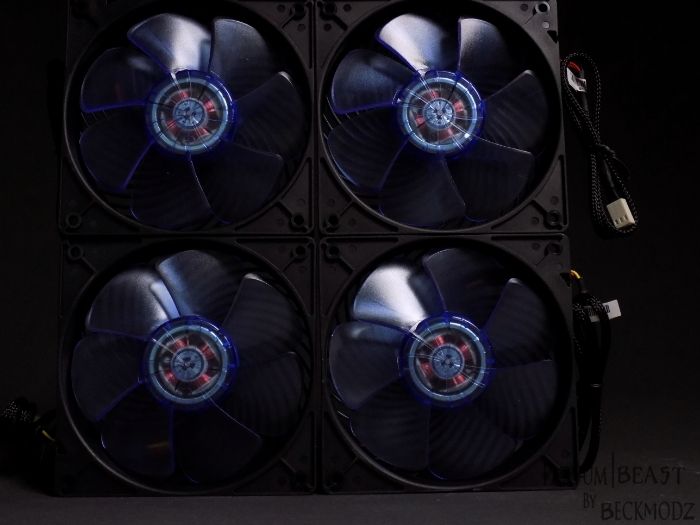
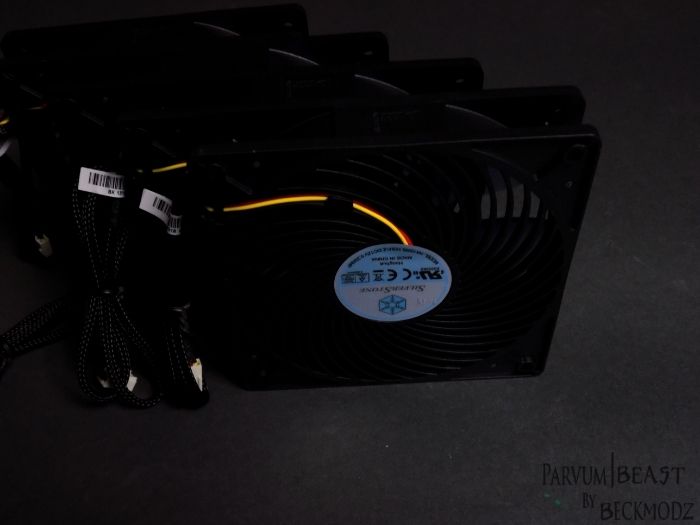
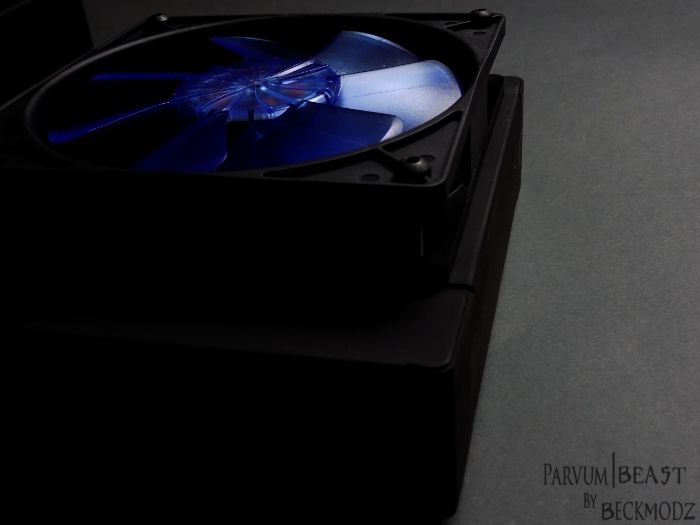
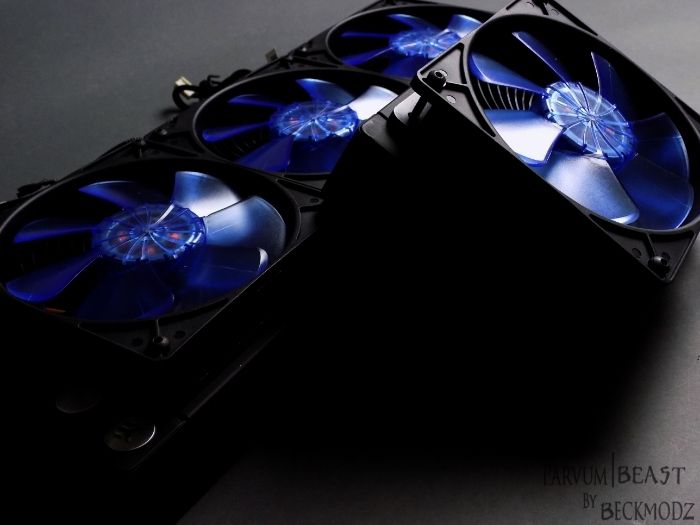
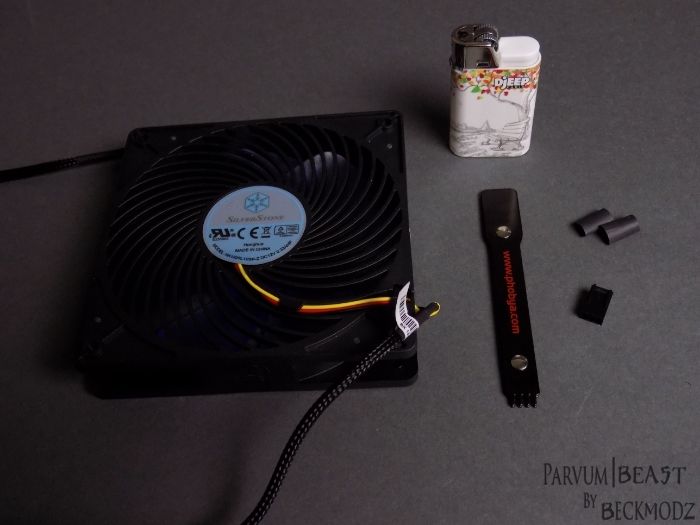
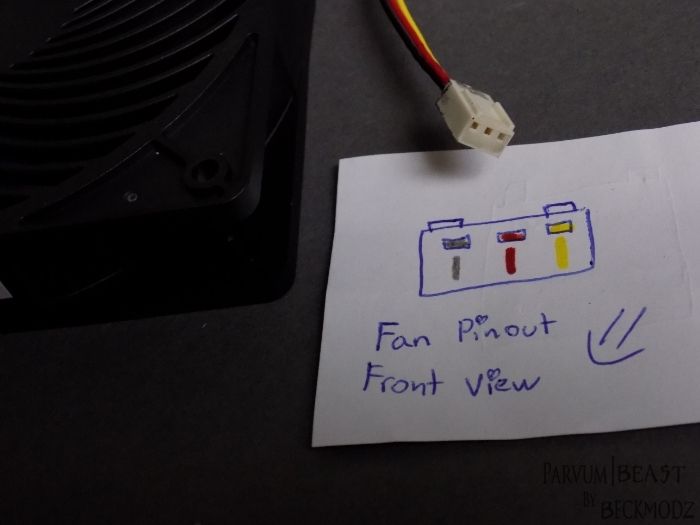
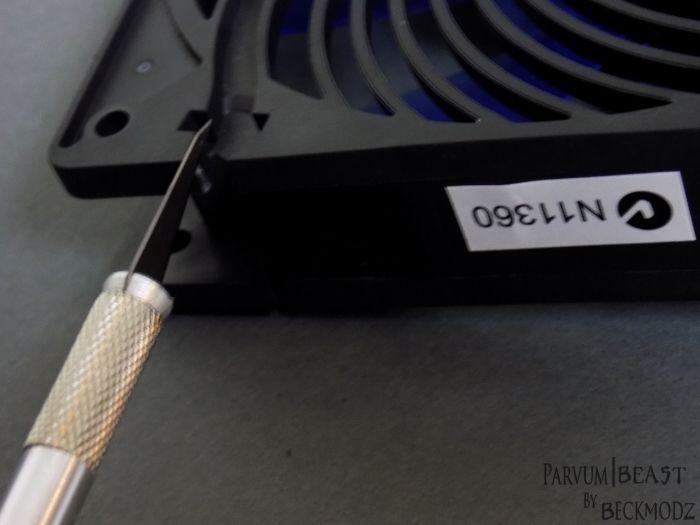
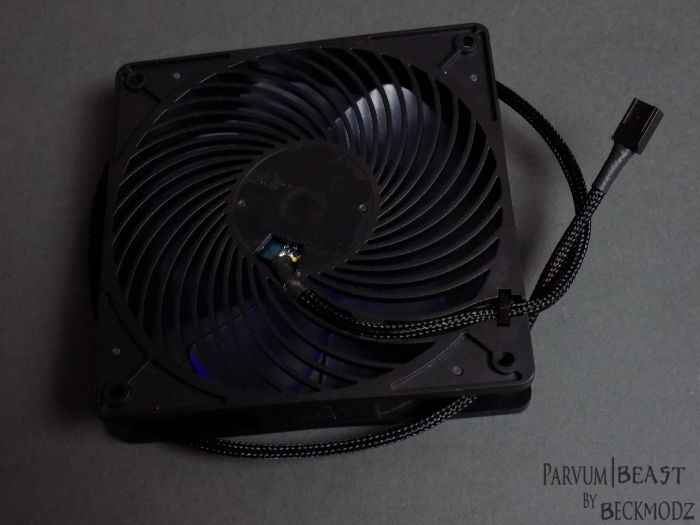
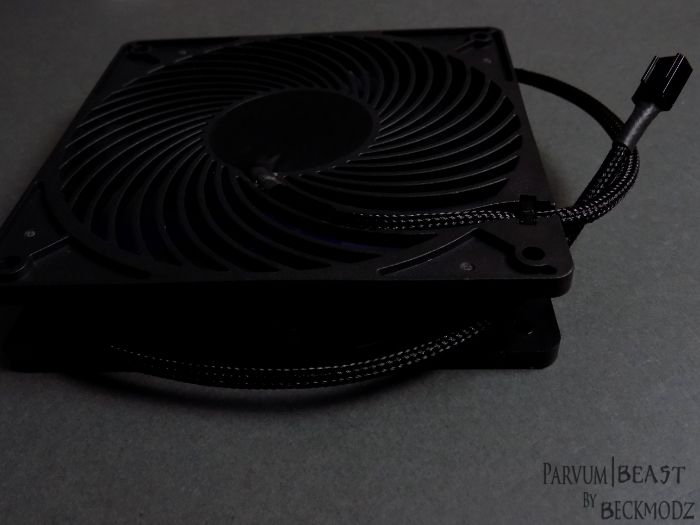
Silverstone AP121 Fans Are Here!
Figuring out the Loop
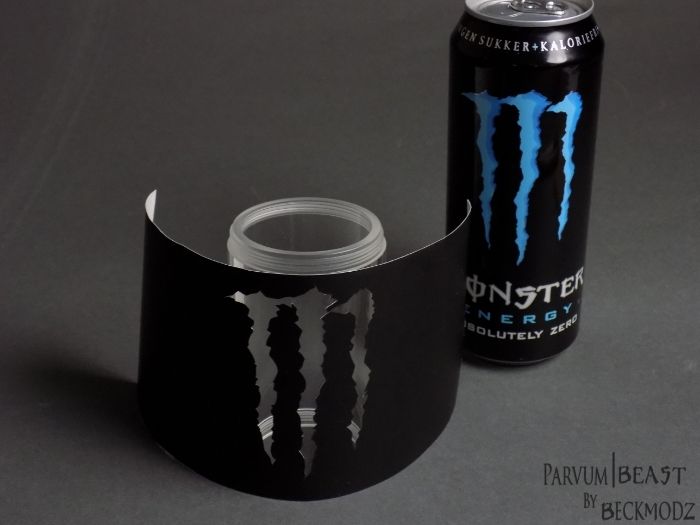
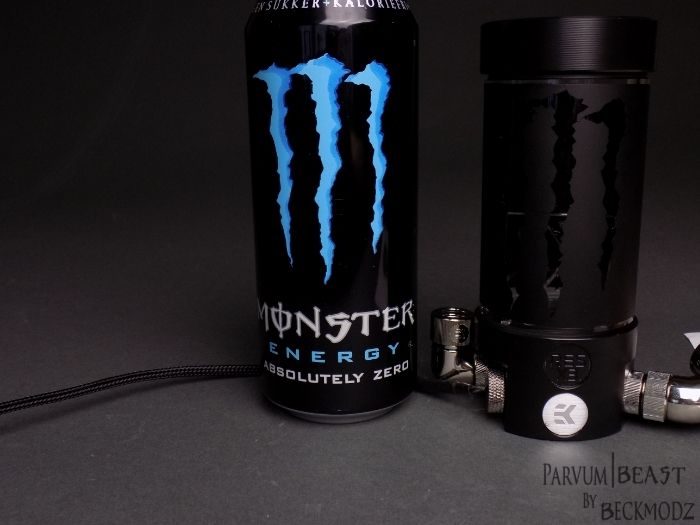
Reservoir Vinyl Sleeve
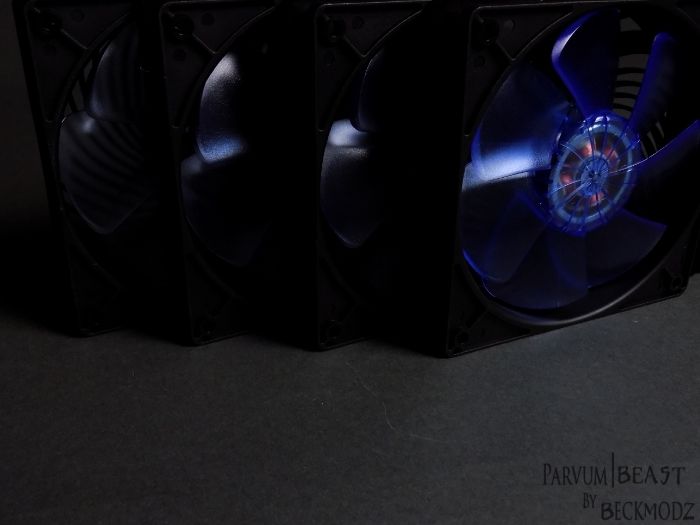
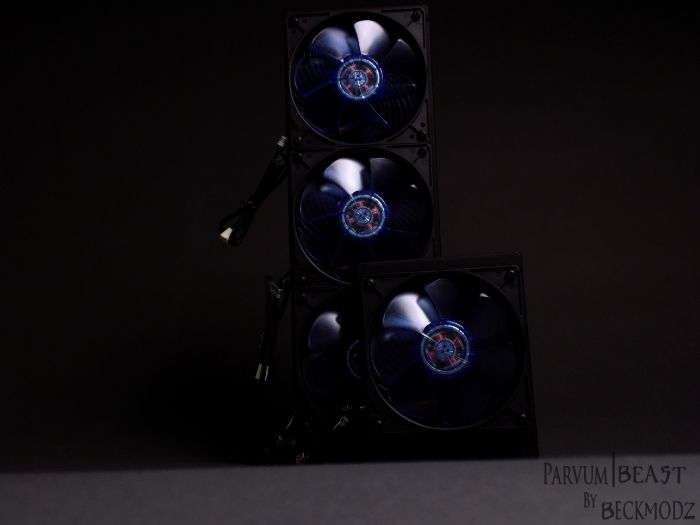
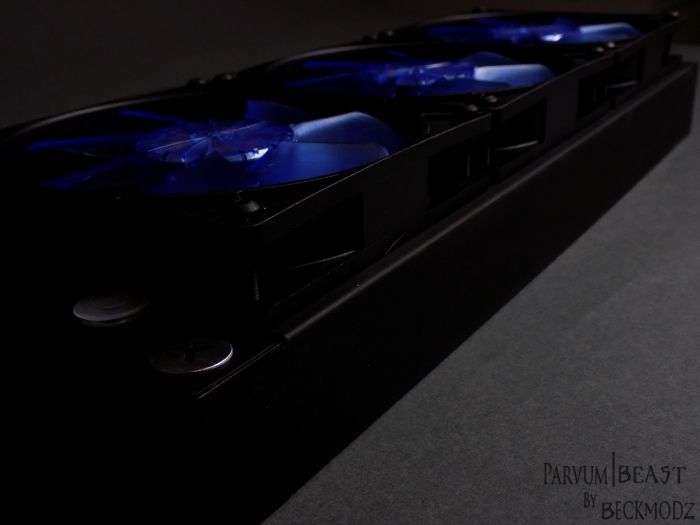
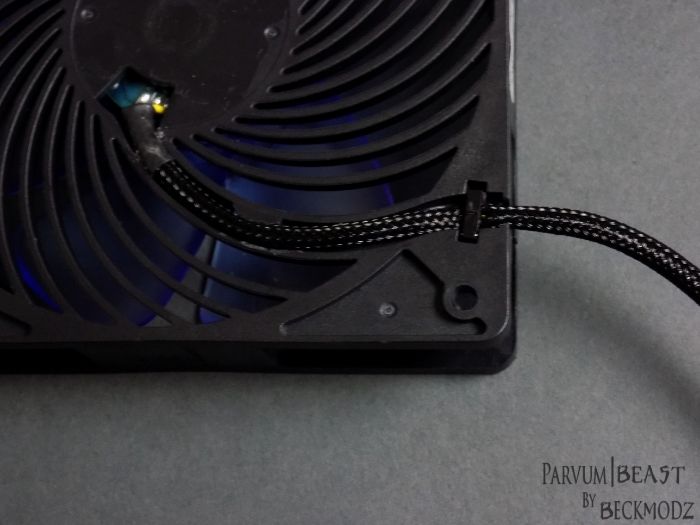
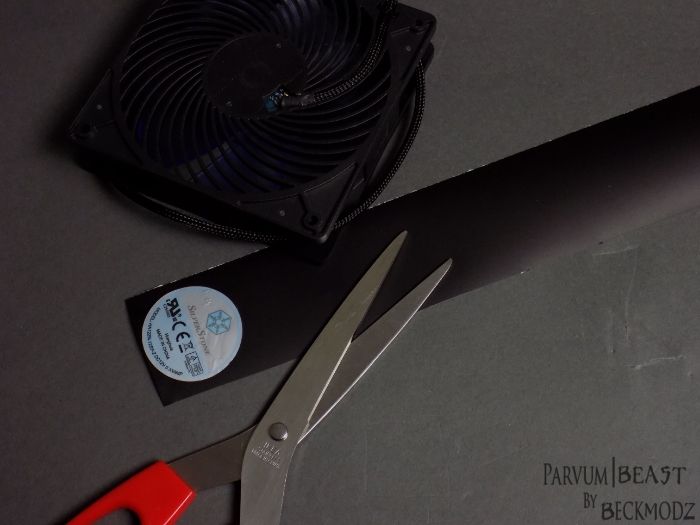
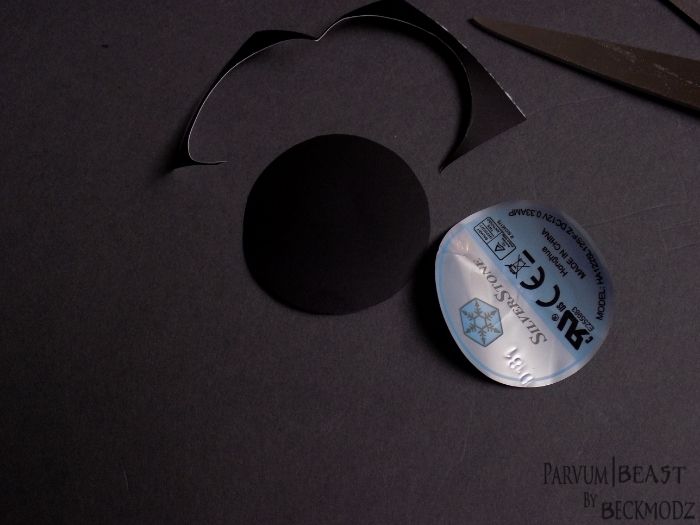
Re-Sleeving the fans, and extra sleeving arrived
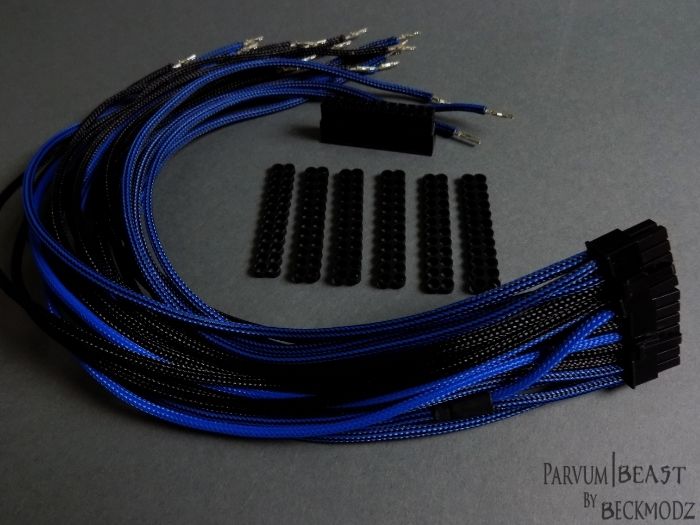
Some More Sleeving, 24pin, 2 x 8pin and more
Finished Filling The Loop!!!
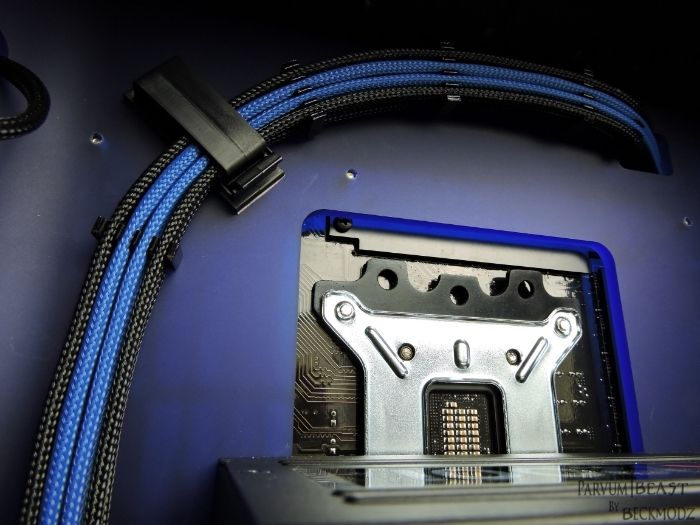
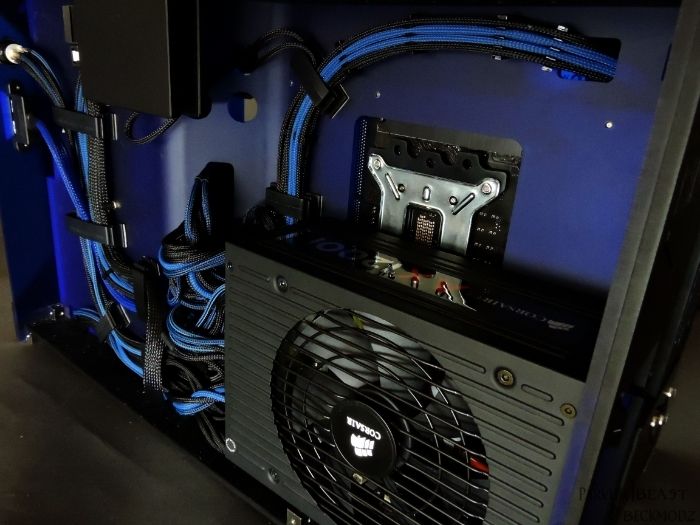
Cable routing, res change and M logo on GPU
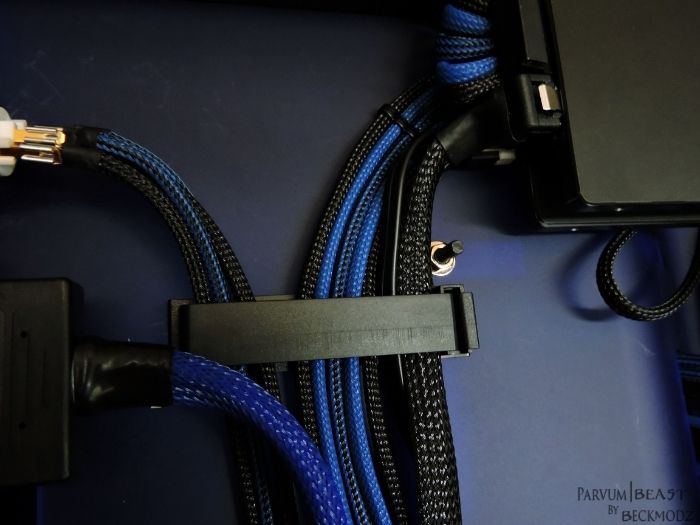
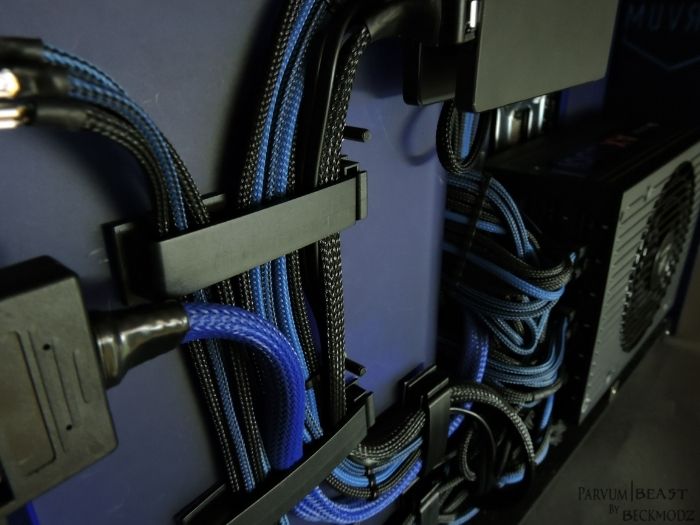
Done Routing cables, Trying out blue Mesh
[COLOR="#DeepSkyBlue"]Parvum|Beast Part 2 of the Watercooling parts[/COLOR]
[COLOR="#DeepSkyBlue"]Parvum|Beast The Fittings[/COLOR]
Parvum|Beast The Sleeving Has Arrived
Parvum|Beast The Polishing Of EKWB Waterblocks
Parvum|Beast The Liquid & Light Test
Parvum|Beast Installing the waterblocks
Test Mounting of the Waterblocks, and modding the flipped GPU.
Silverstone AP121 Fans Are Here!
Figuring out the Loop
Reservoir Vinyl Sleeve
Re-Sleeving the fans, and extra sleeving arrived
Some More Sleeving, 24pin, 2 x 8pin and more
Finished Filling The Loop!!!
Cable routing, res change and M logo on GPU
Done Routing cables, Trying out blue Mesh
-------------------------------------------------------------------------------------------------
Status Updates :
The Beast is DONE.. Final images are up
The Beast is DONE.. Final images are up
-------------------------------------------------------------------------------------------------
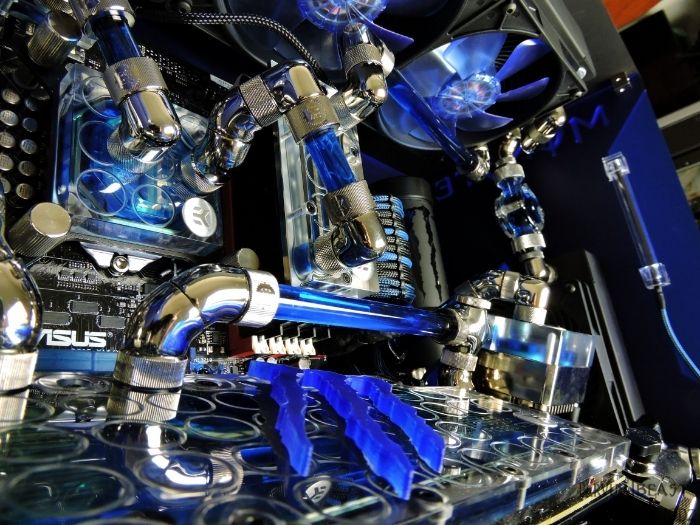
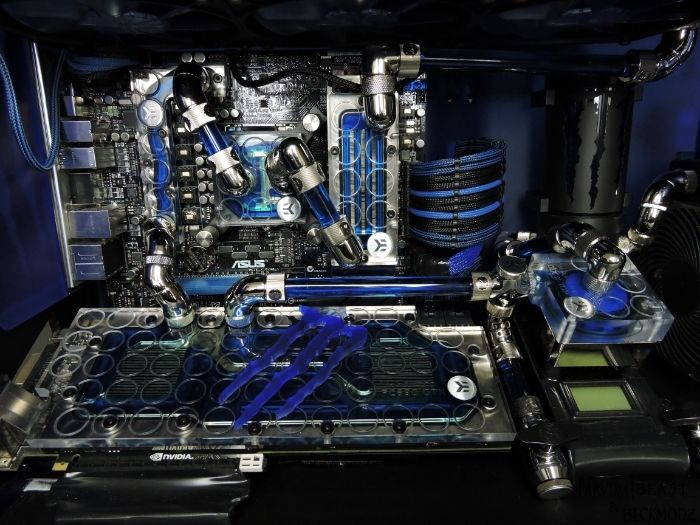
Specs for the Parvum|Beast :
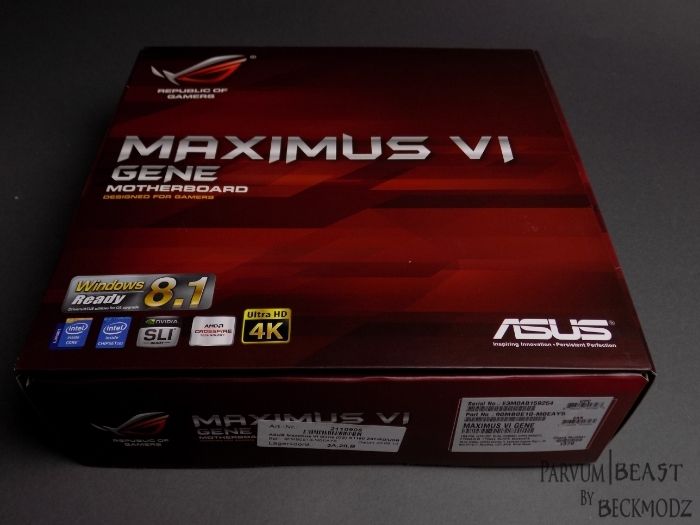
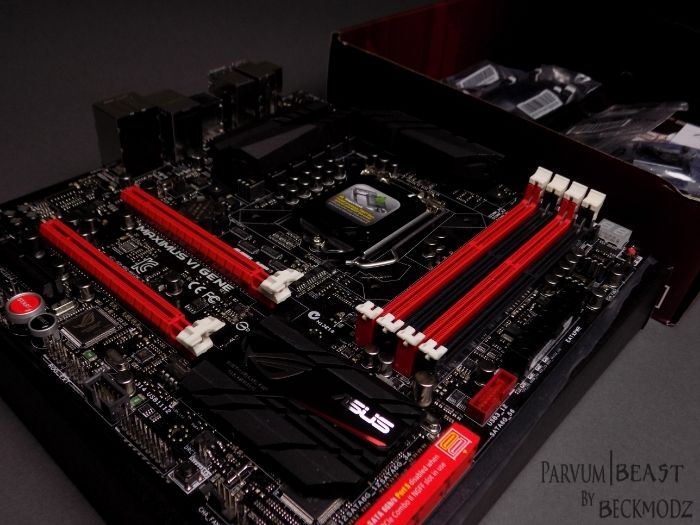
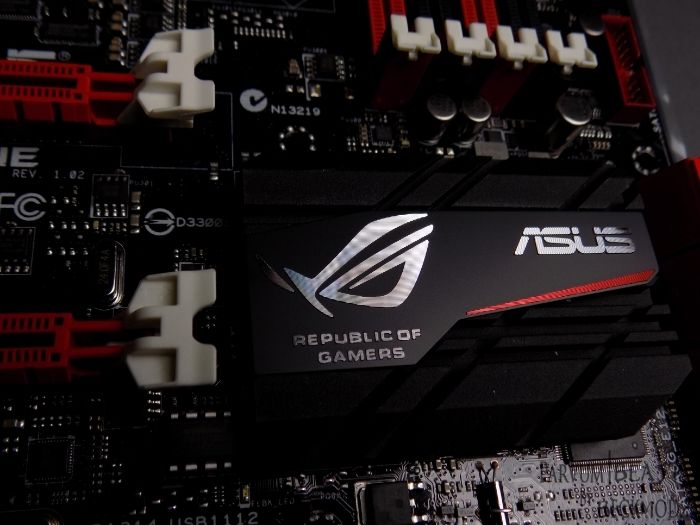
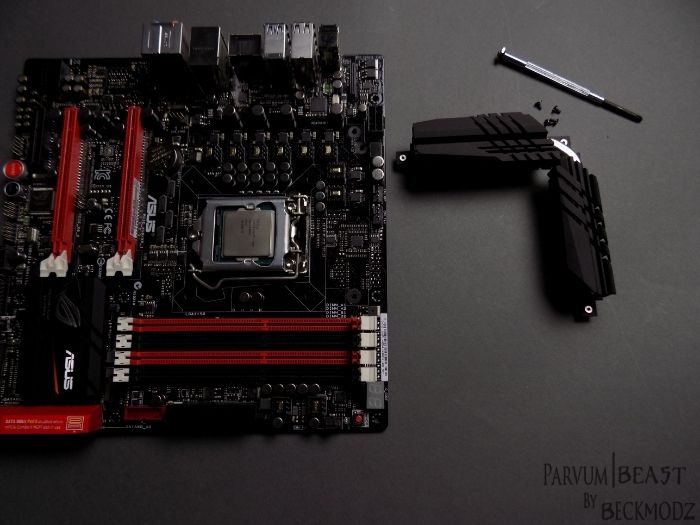
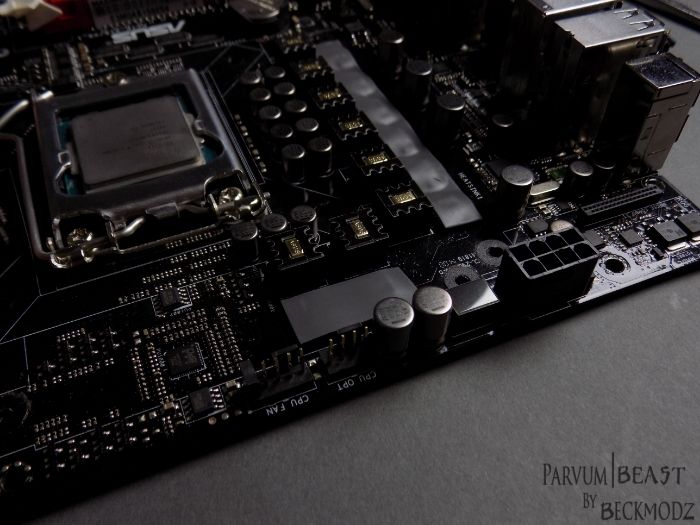
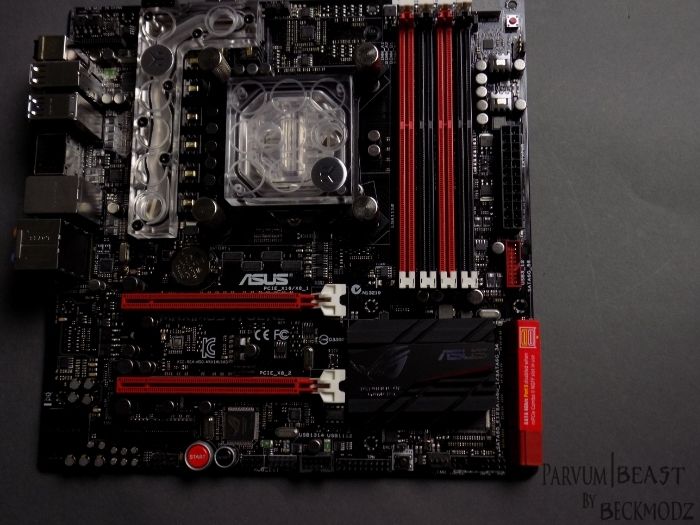
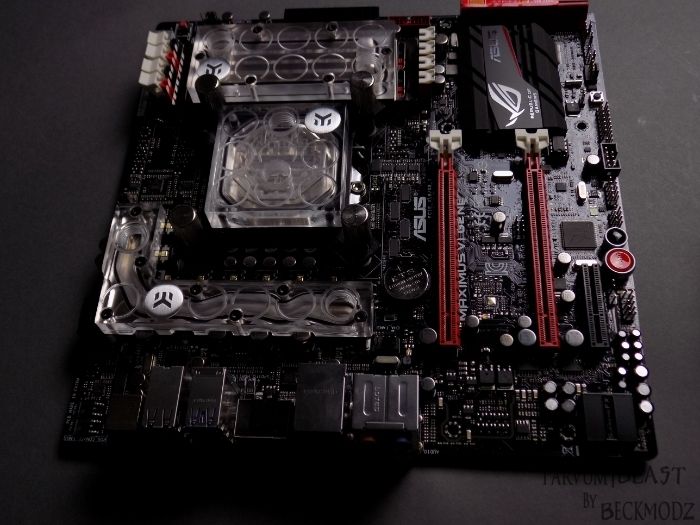
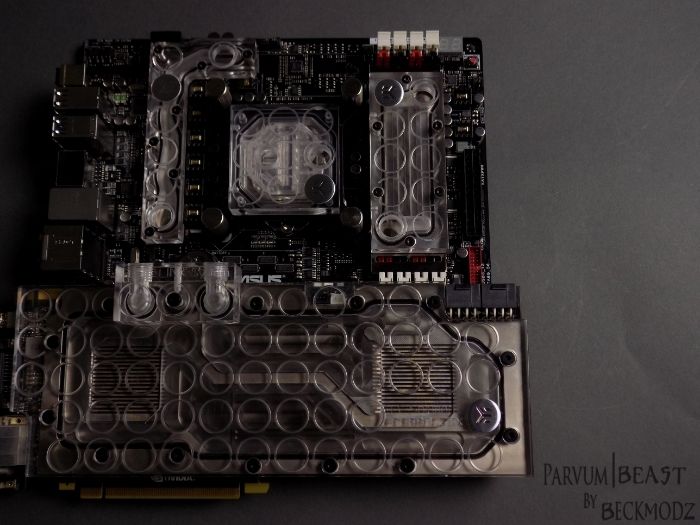
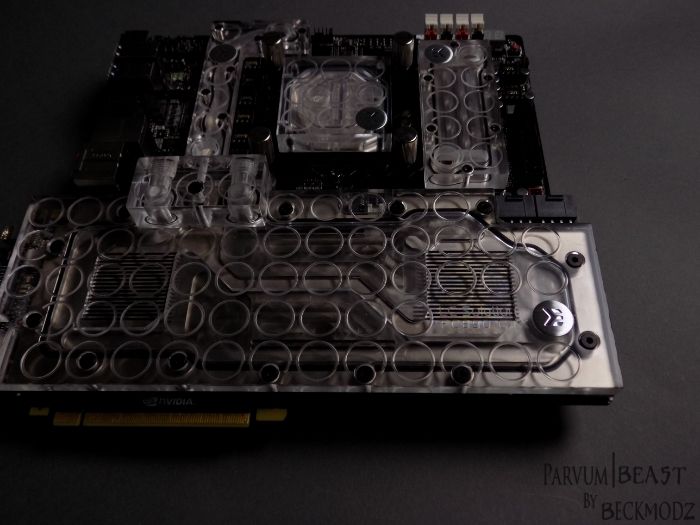
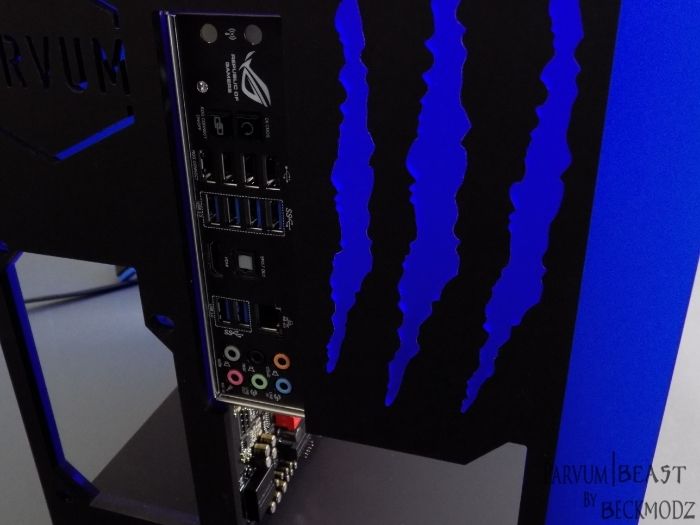
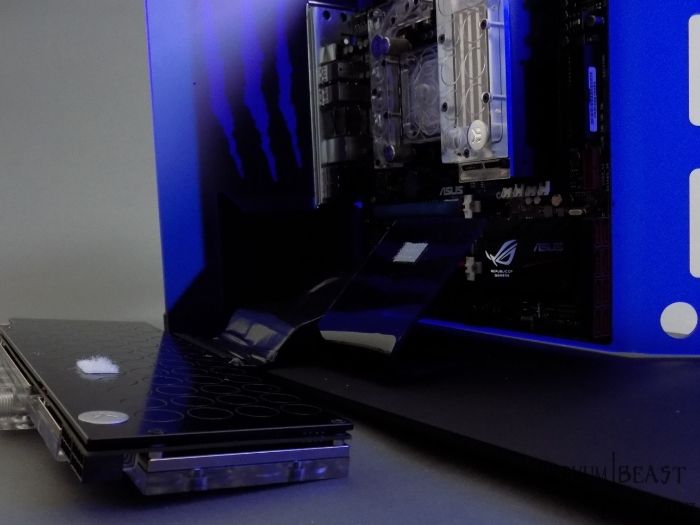
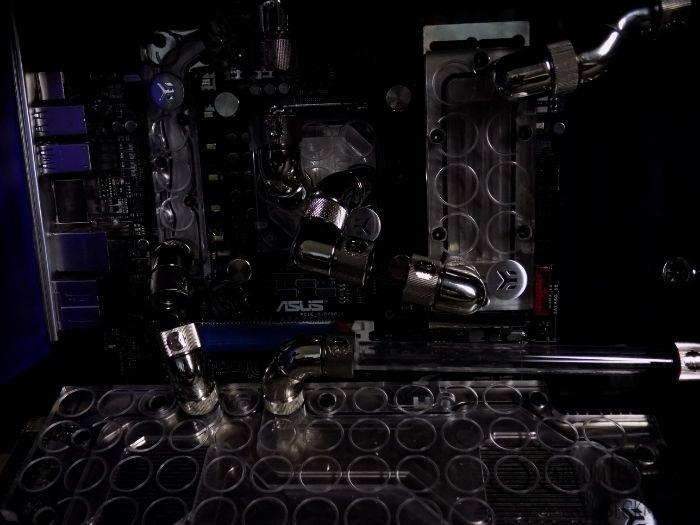
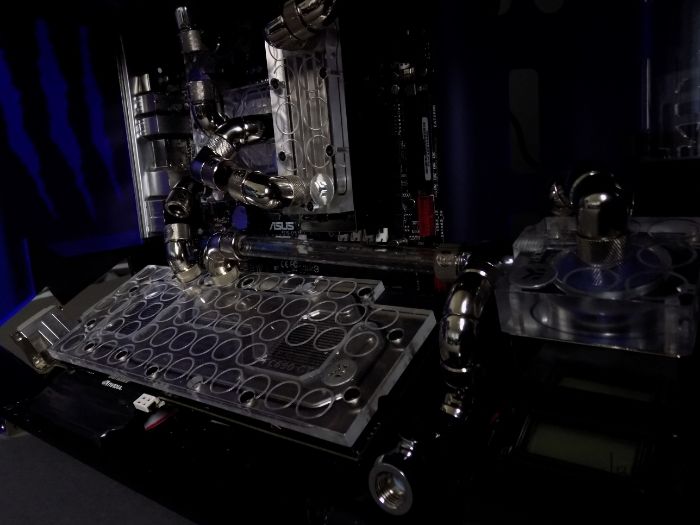
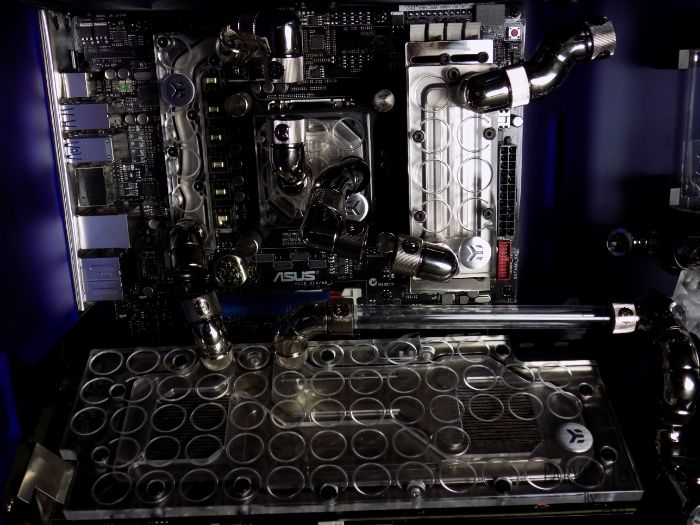
Mobo: Asus Maximus VI Gene z87
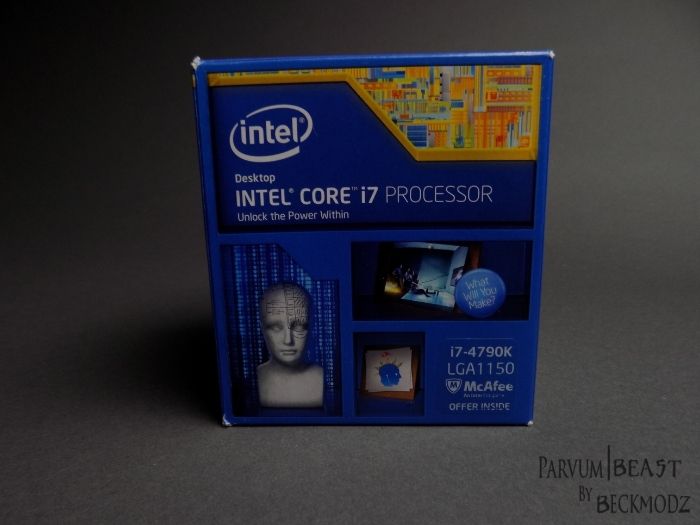
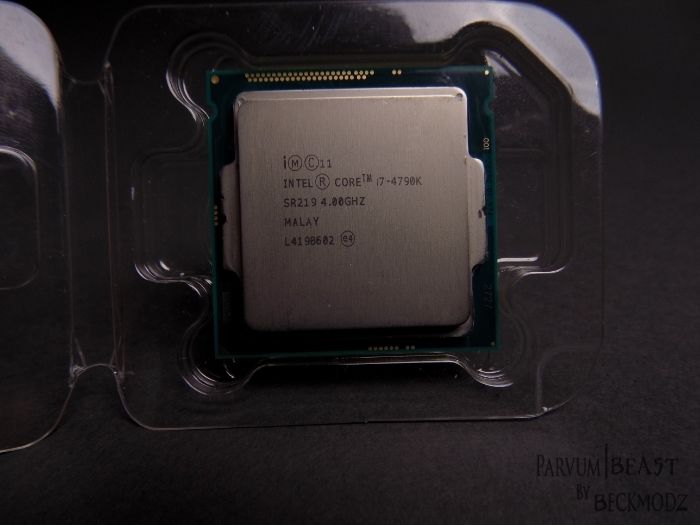
CPU: Intel Core i7-4790k
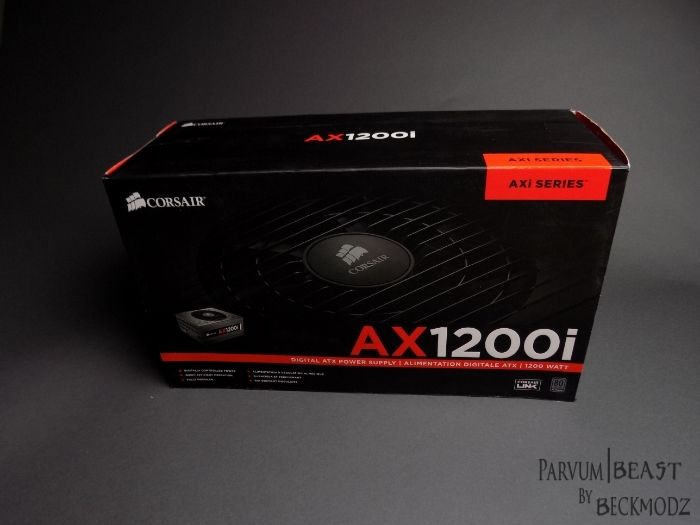
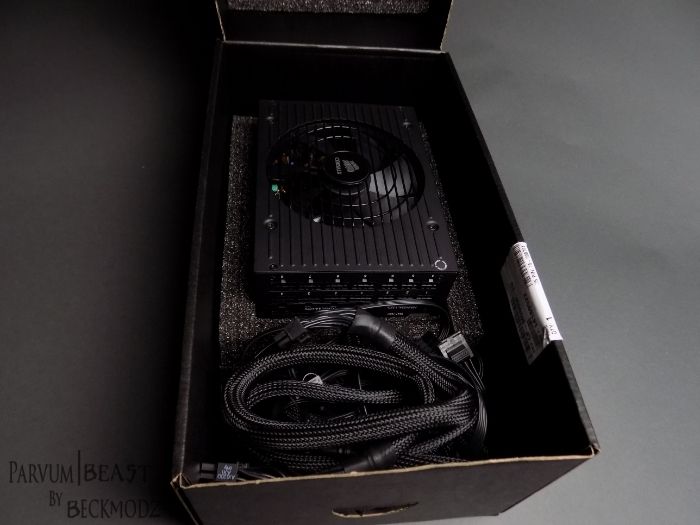
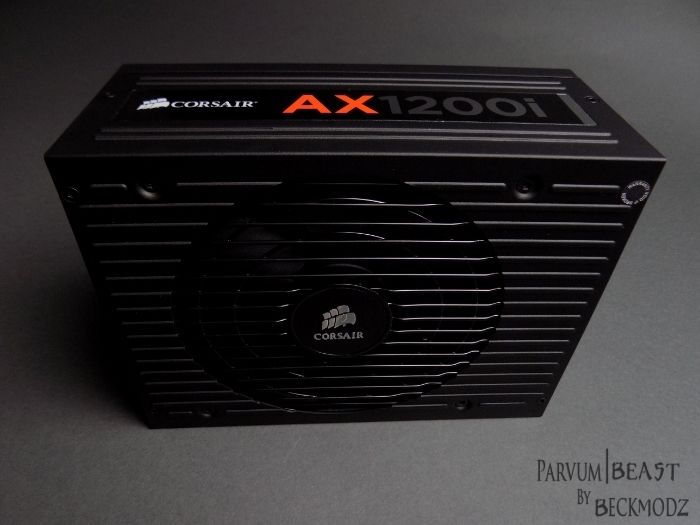
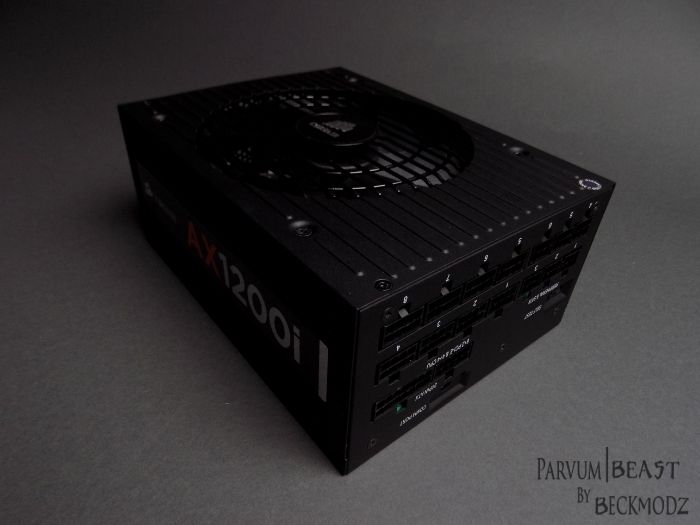
PSU: Corsair AX1200i
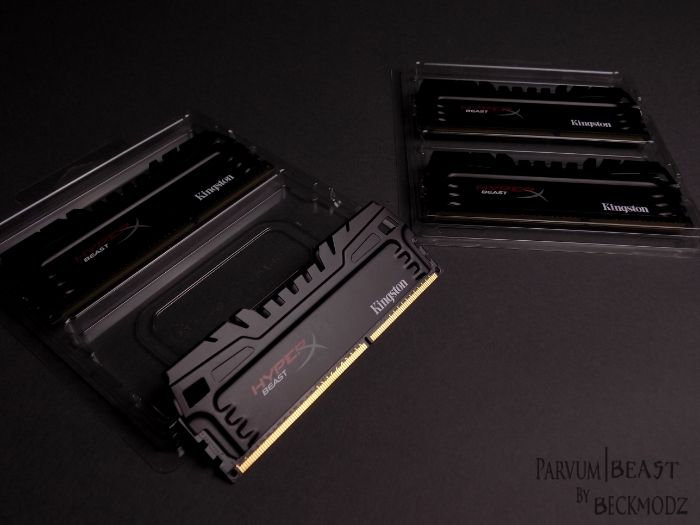
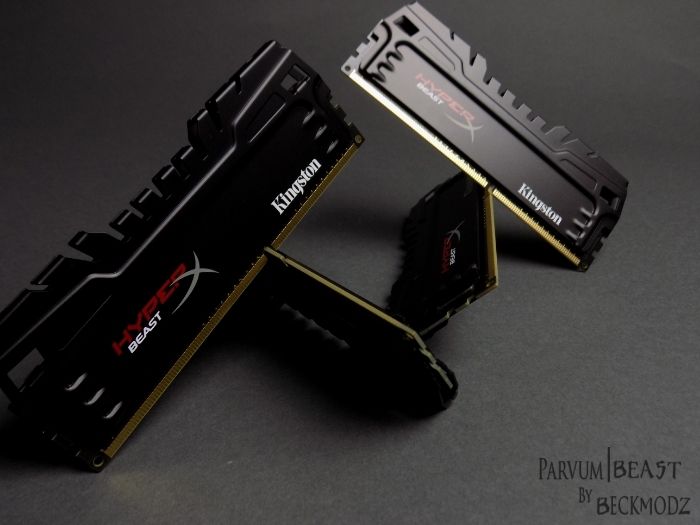
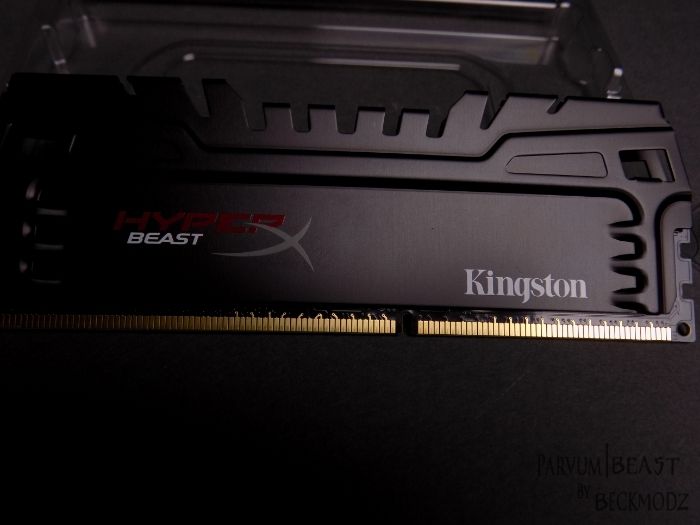
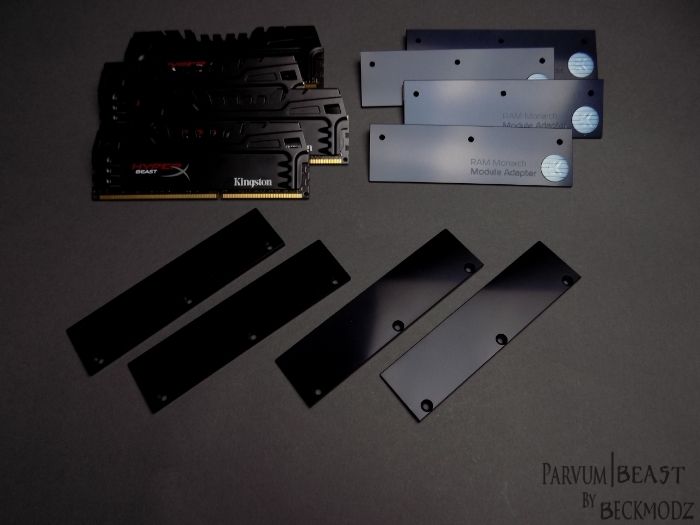
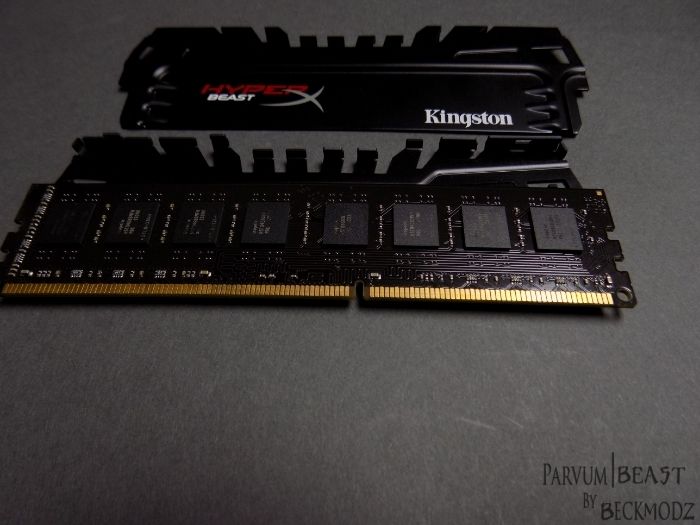
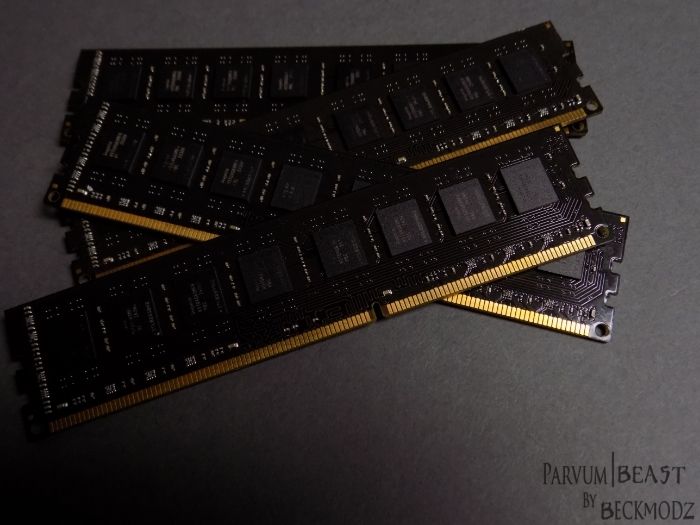
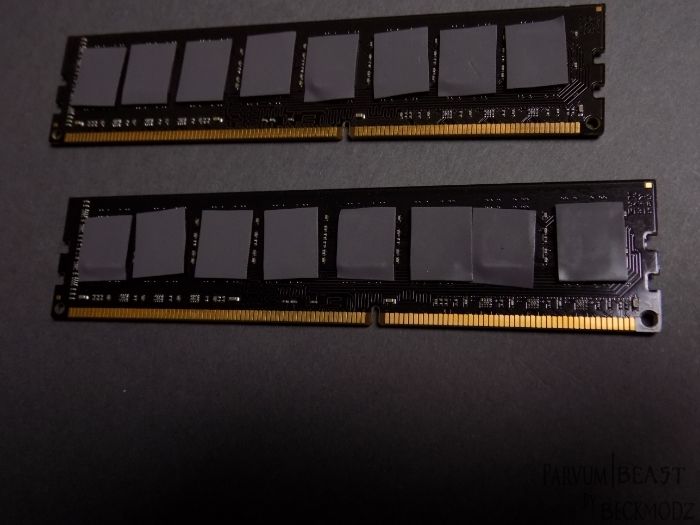
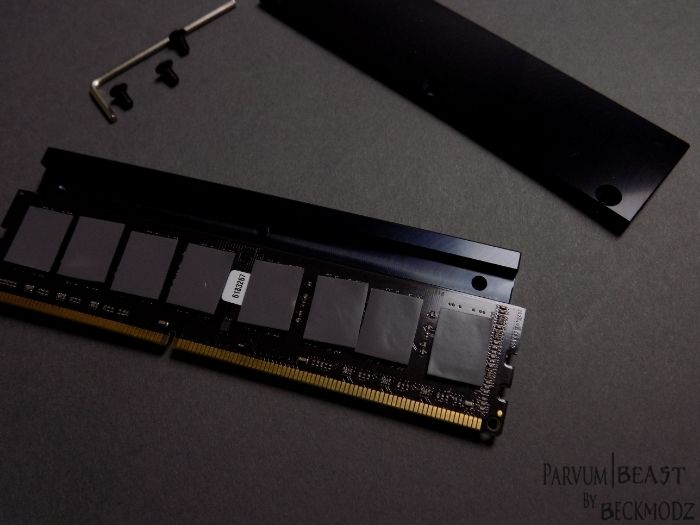
Memory: 32 GB of HyperX "Beast" 2133MHz (Obviously )
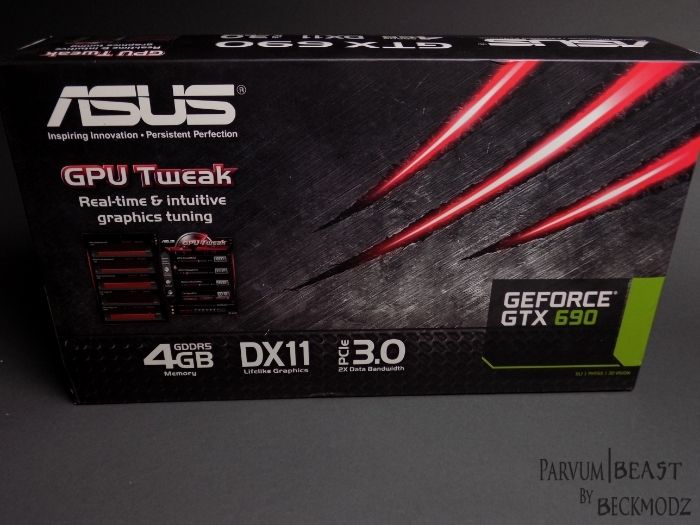
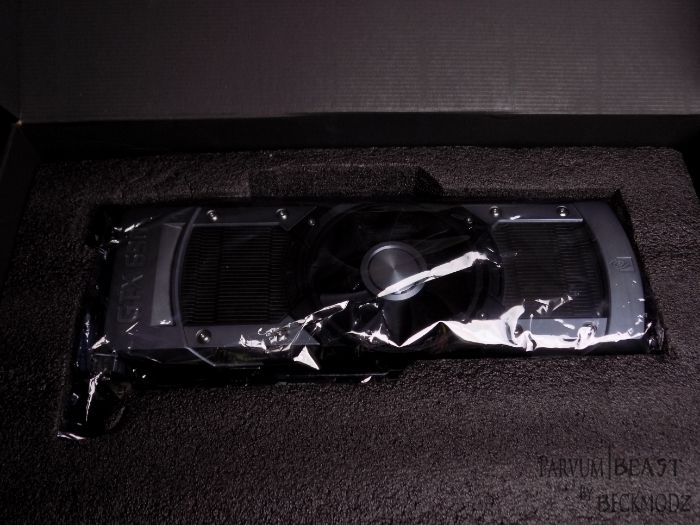
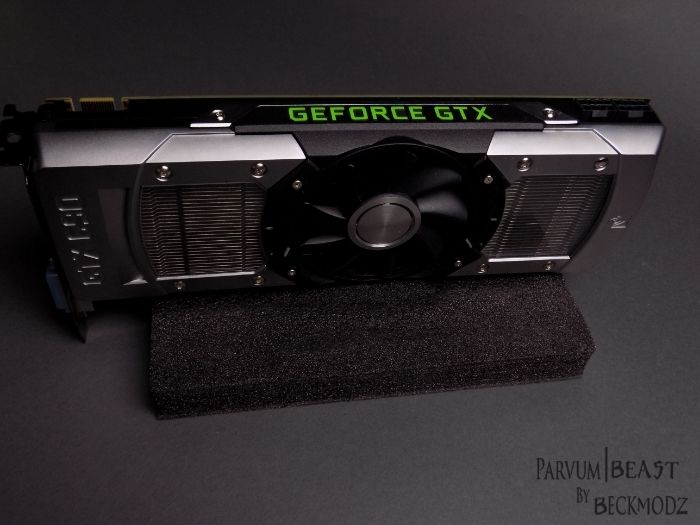
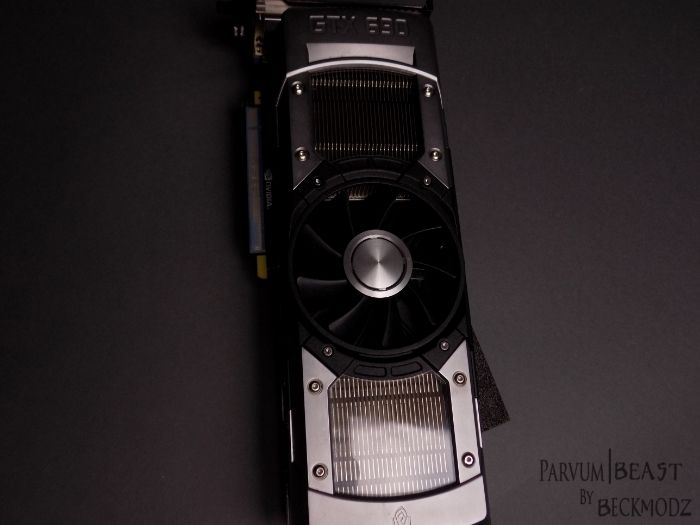
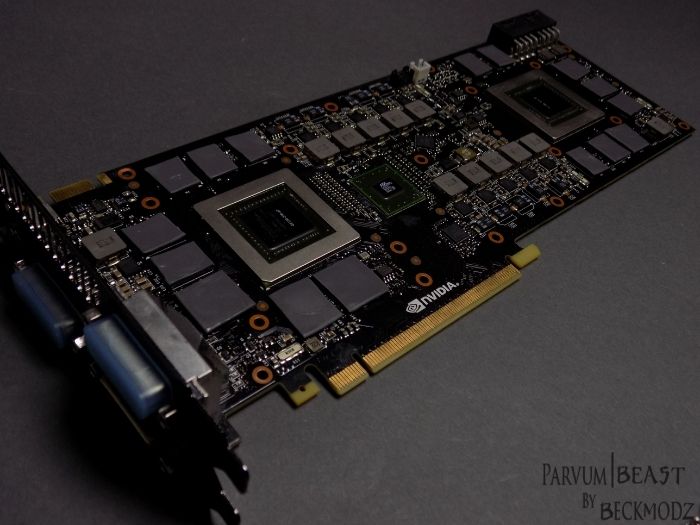
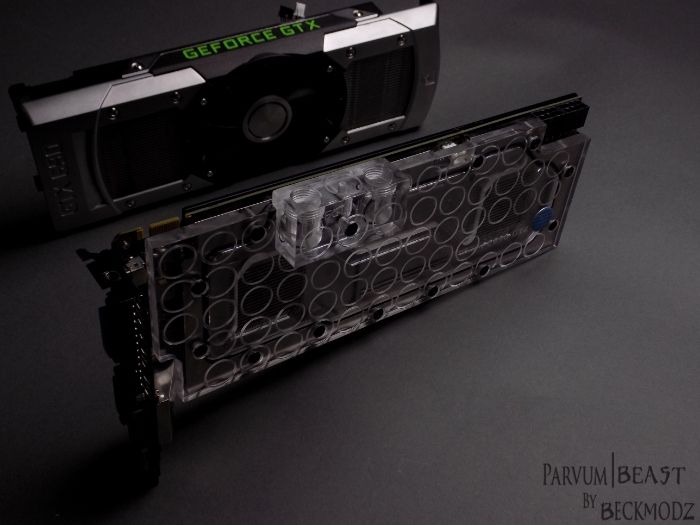
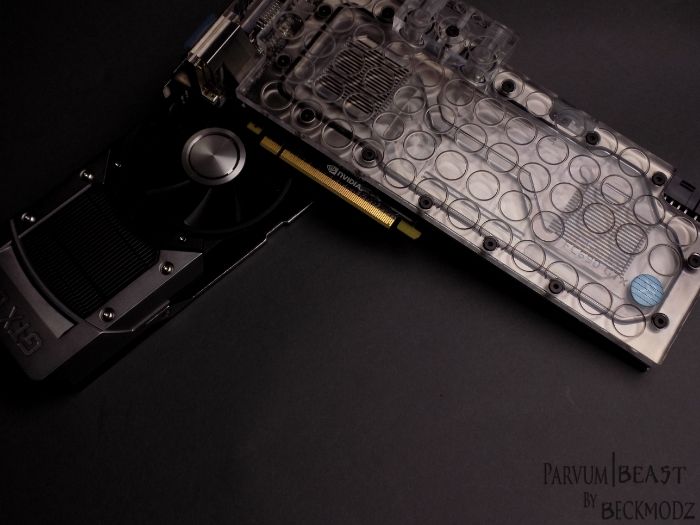
GPU: Asus GTX 690 4GB
SSD's: 120GB Samsung Evo 840, 2 x 250GB Samsung Evo 840
Extra's
Monitor: Asus Swift PG278Q 27" 2560x1440 144hz
Keyboard: Roccat ISKU FX
Mouse: Razer Deathadder Chroma
Headset: Logitech G430 7.1 Surround
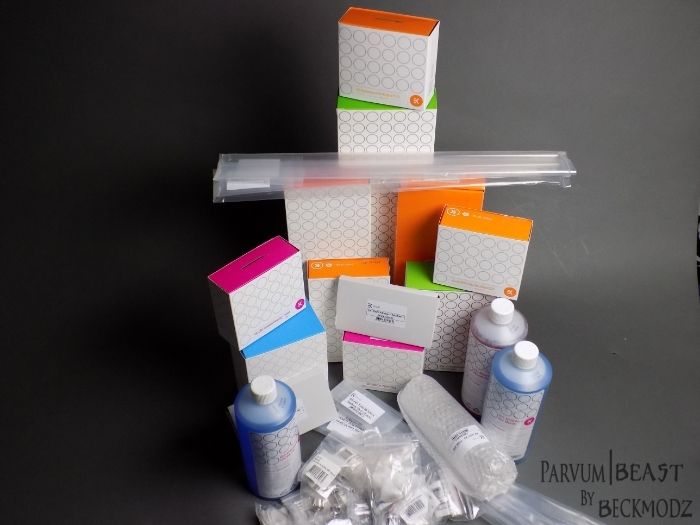
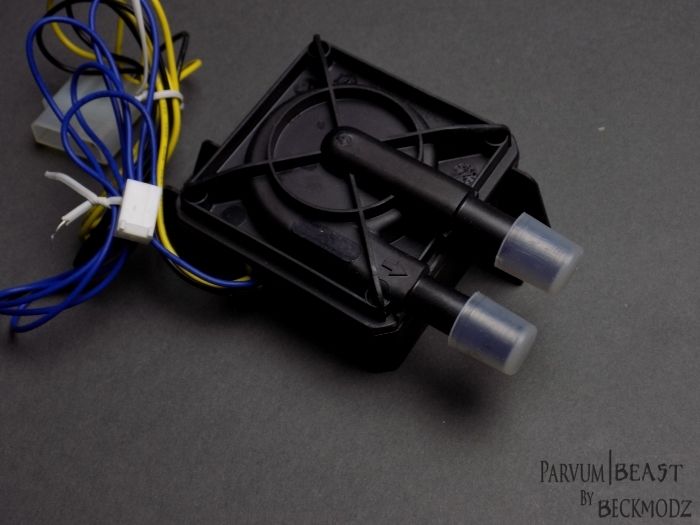
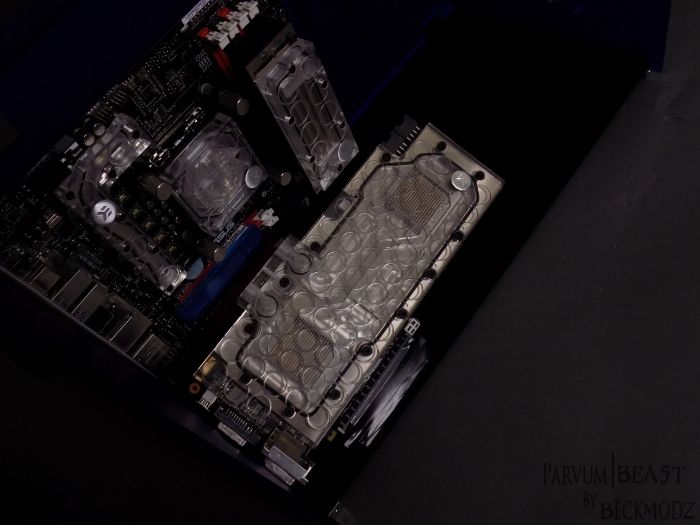
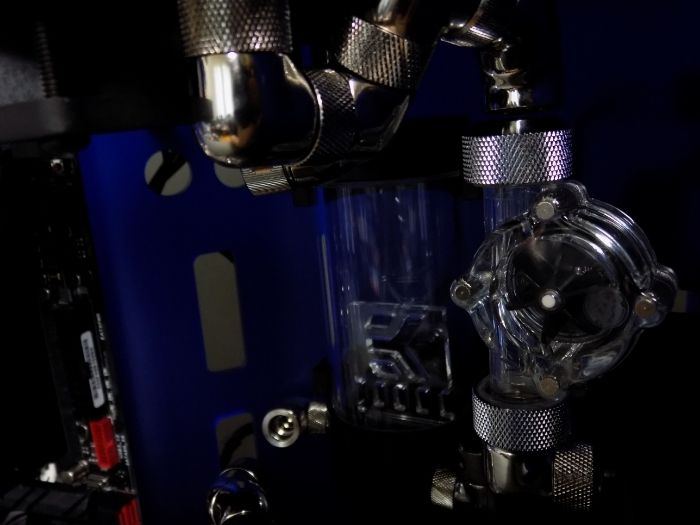
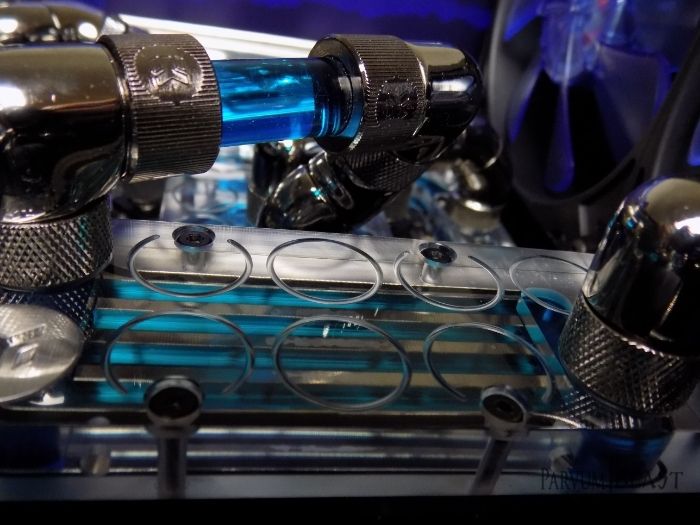
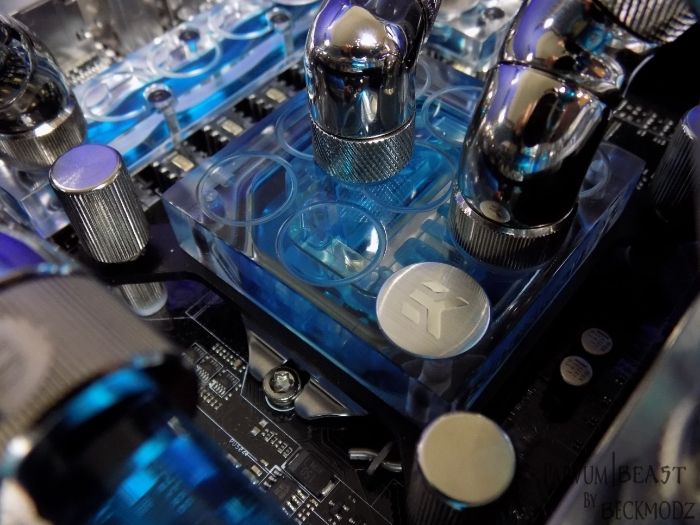
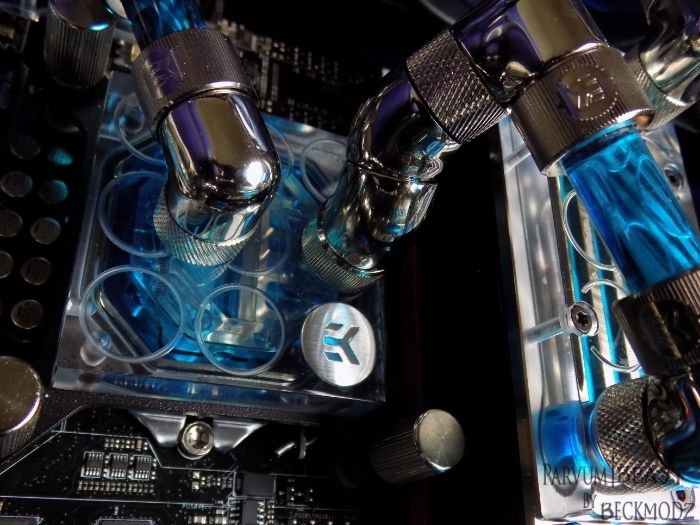
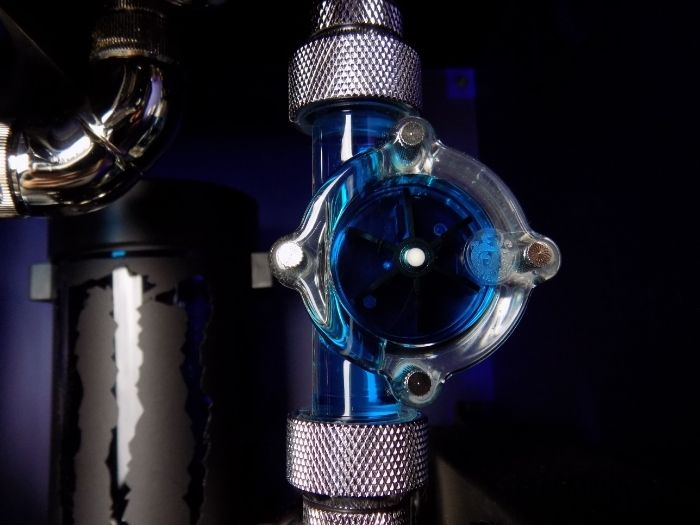
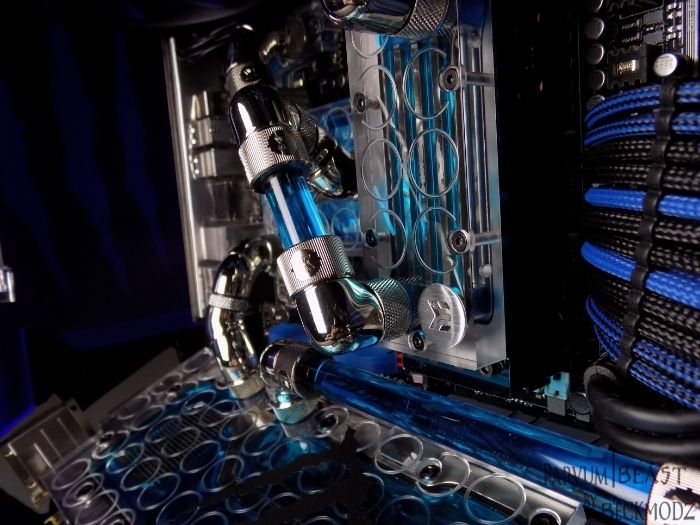
Watercooling Parts :
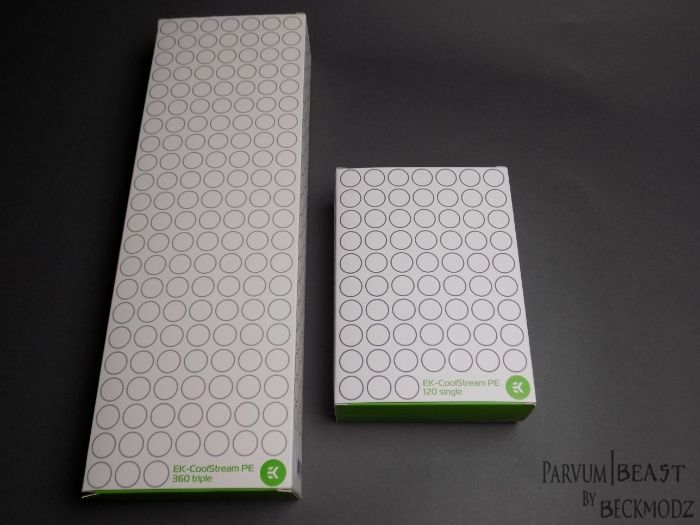
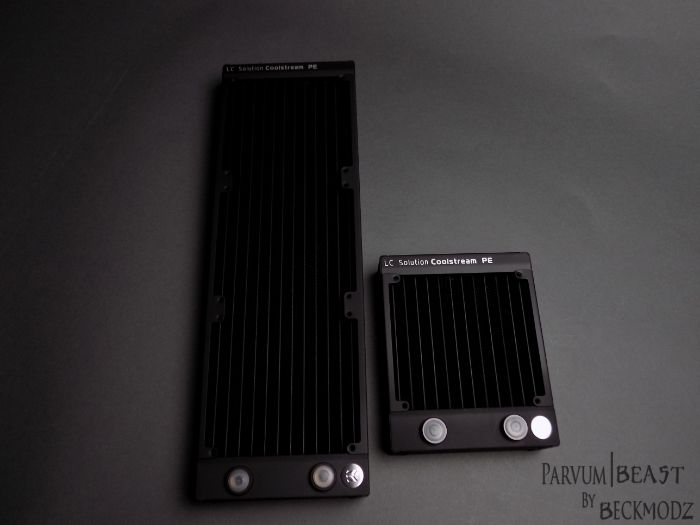
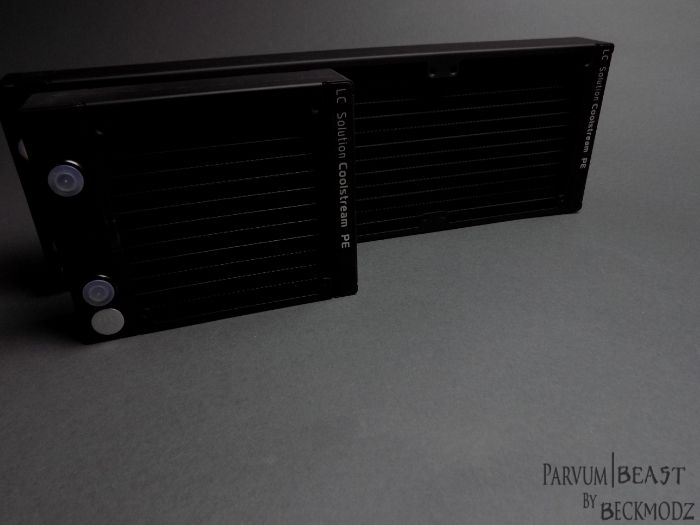
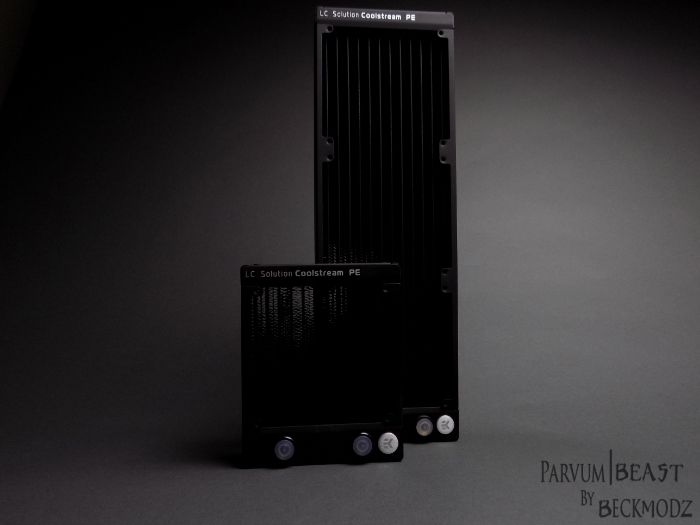
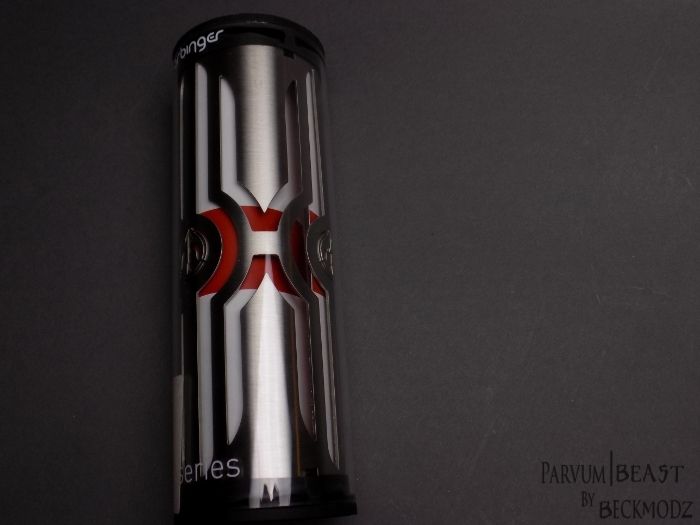
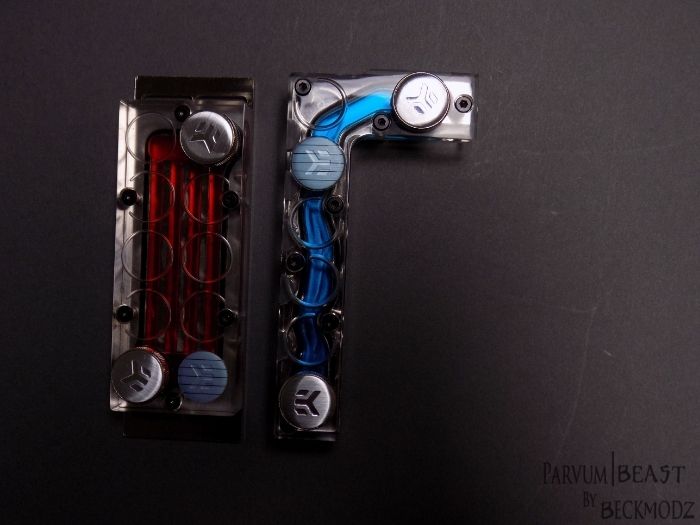
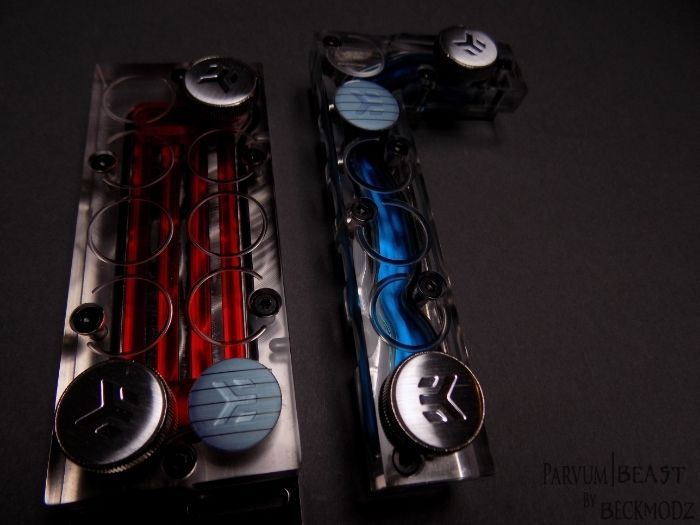
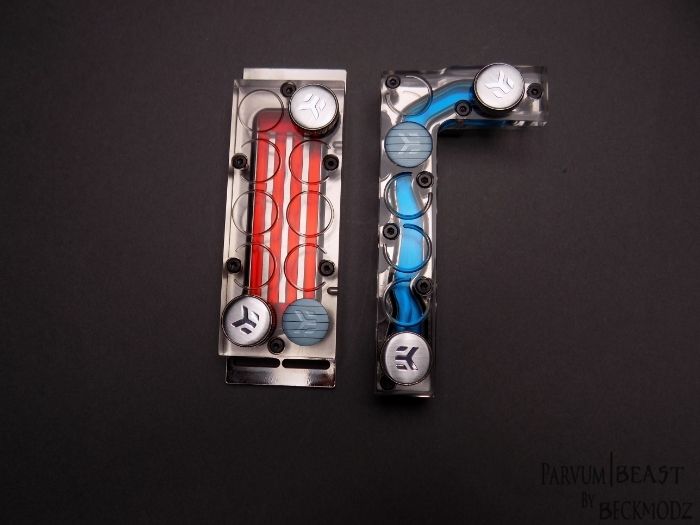
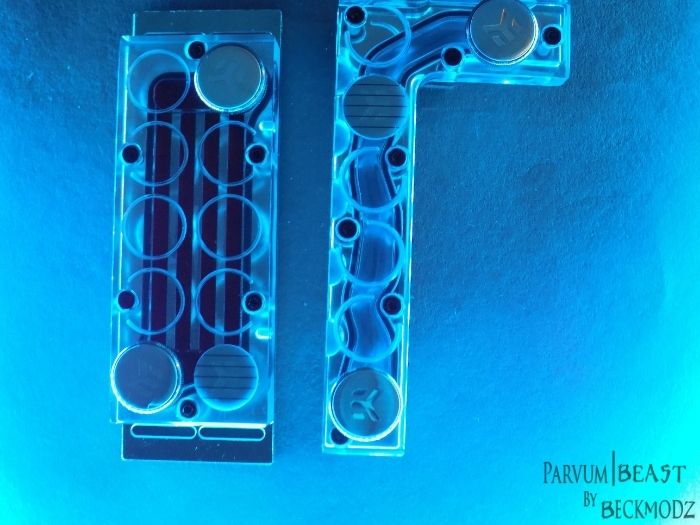
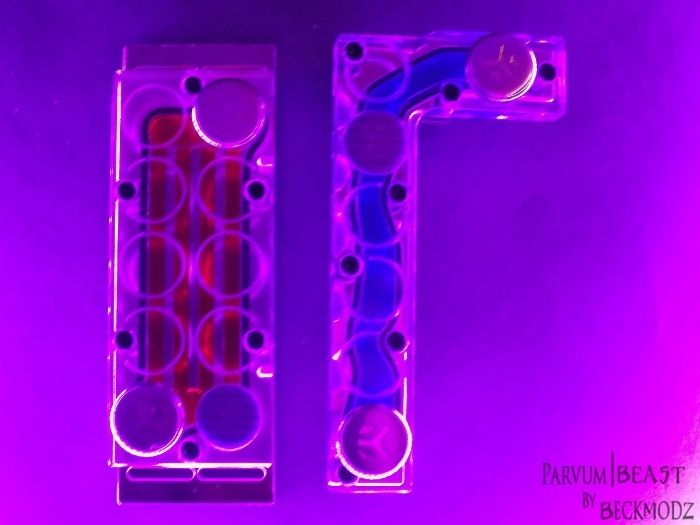
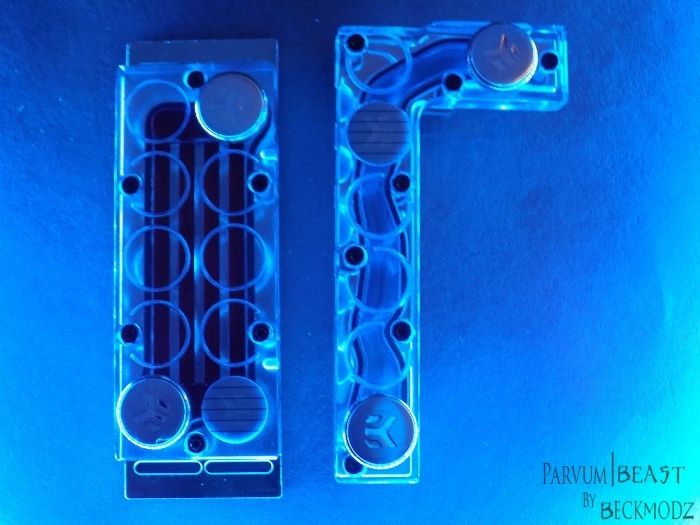
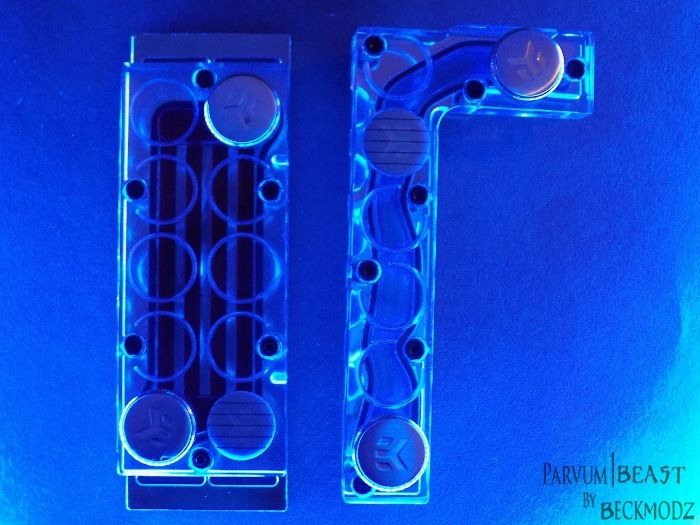
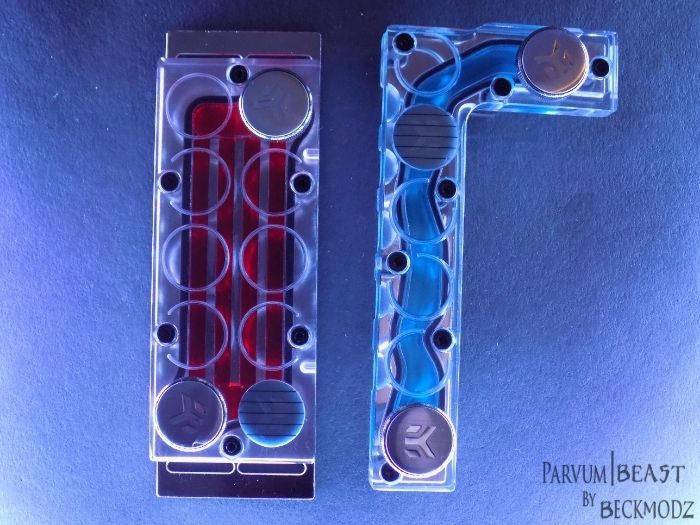
Radiators: EK-CoolStream PE 360, and EK-CoolStream PE 120
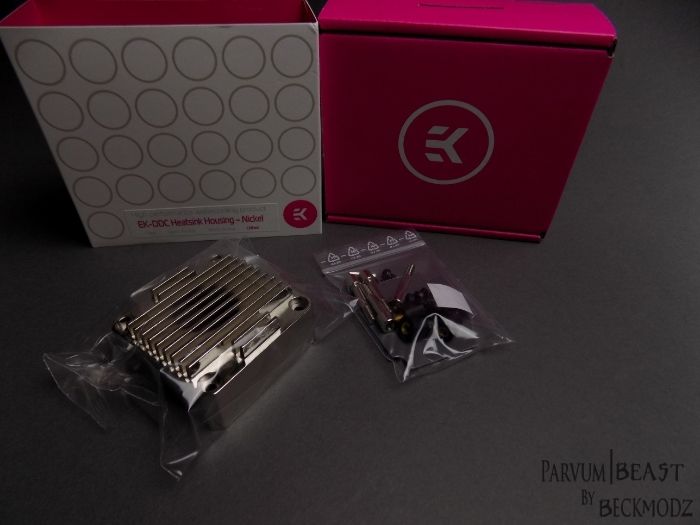
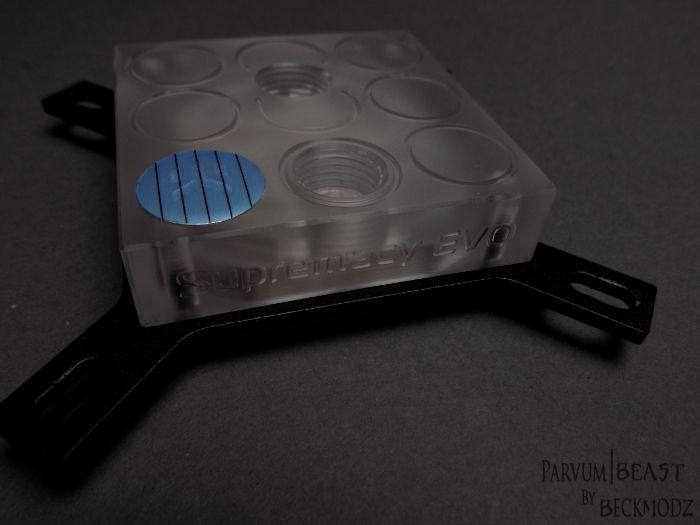
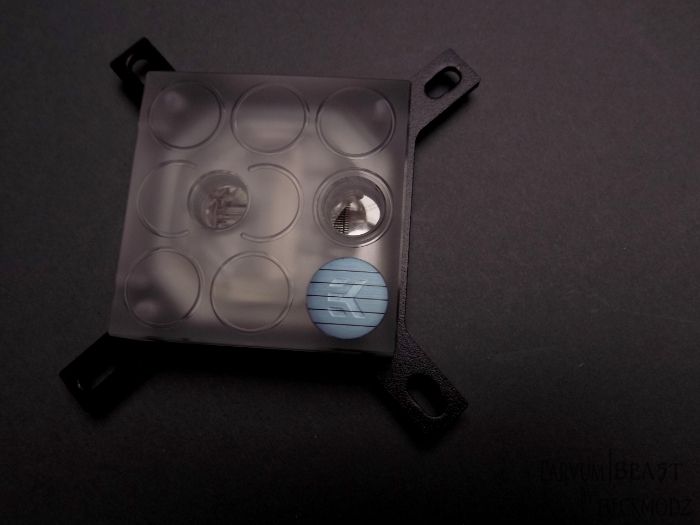
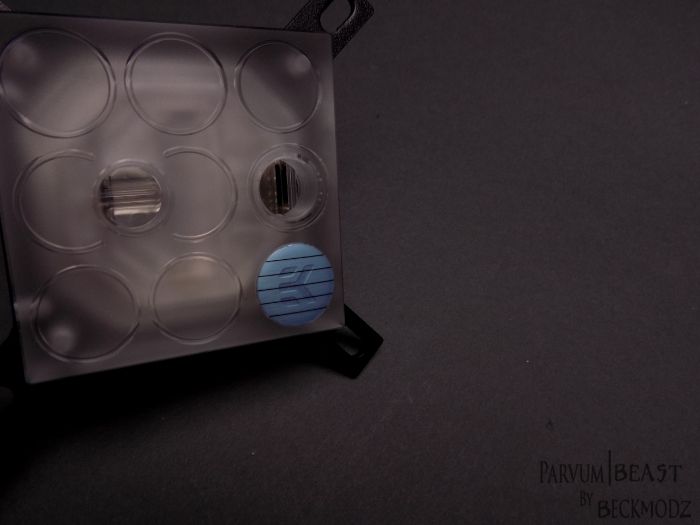
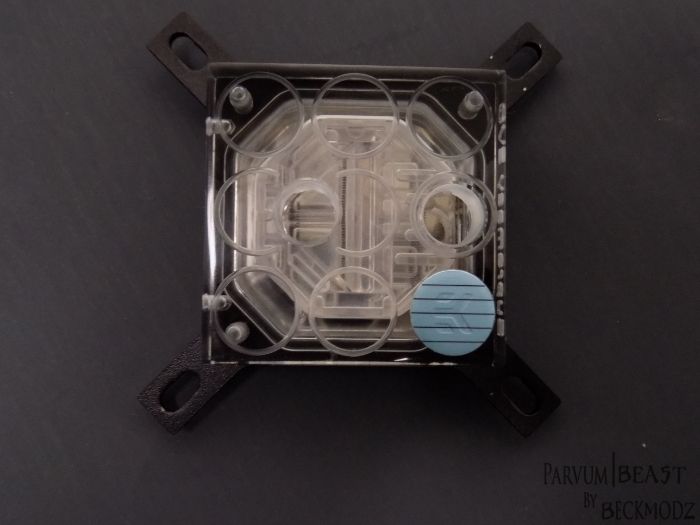
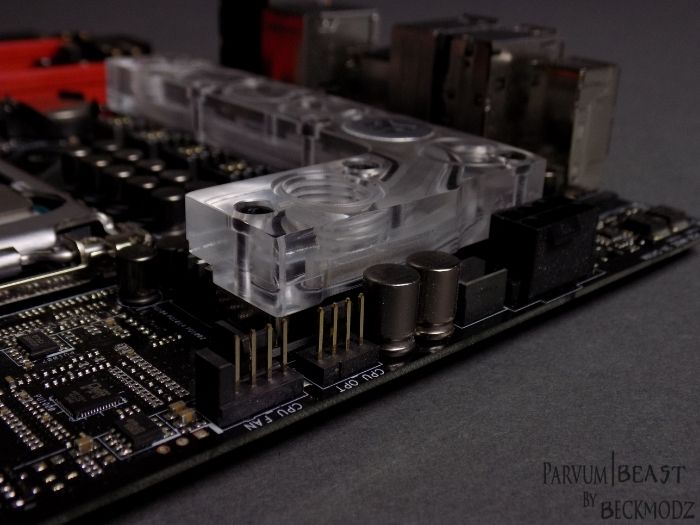
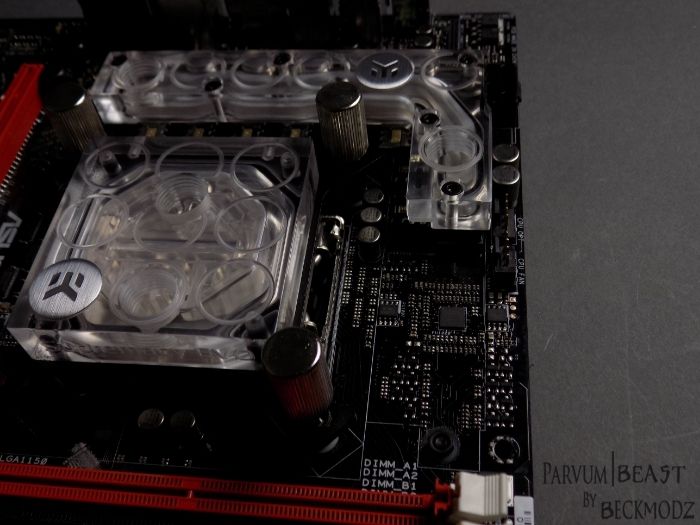
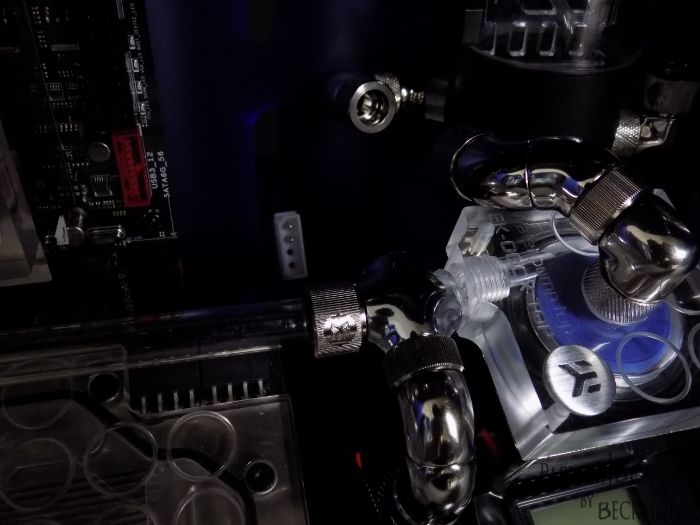
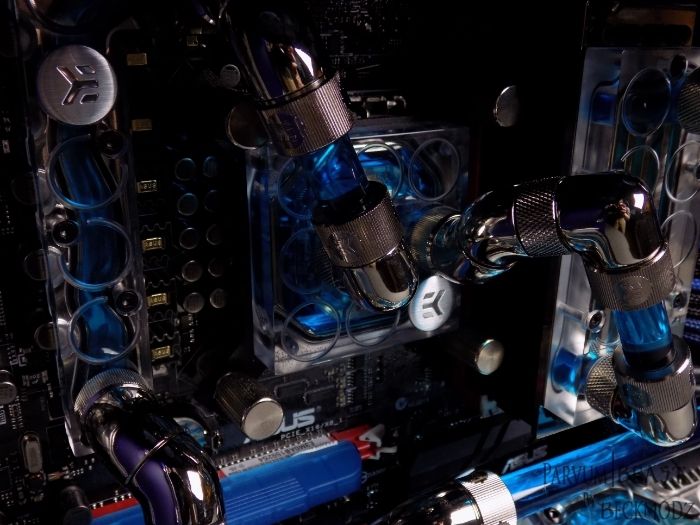
Cpu Block: EK-Supremacy EVO - Nickel (Original CSQ)
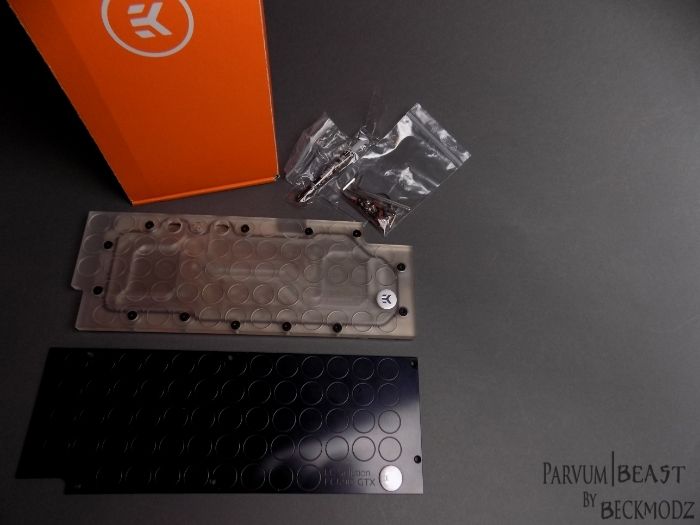
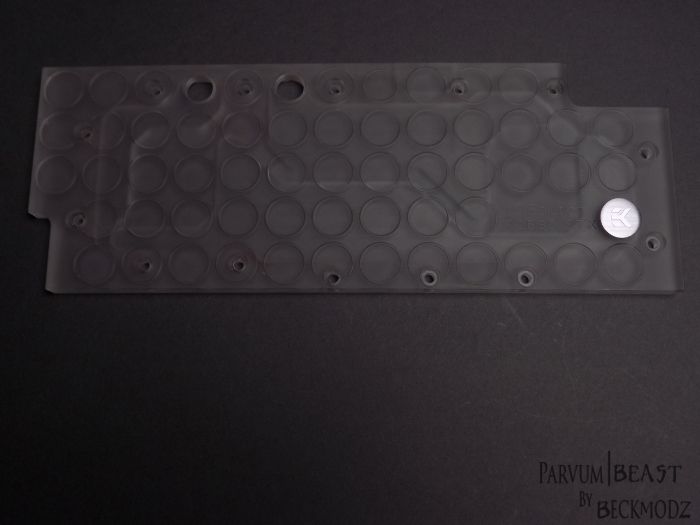
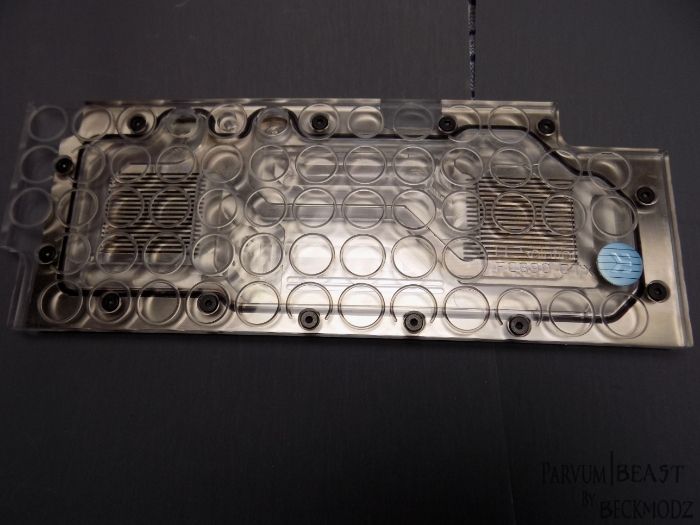
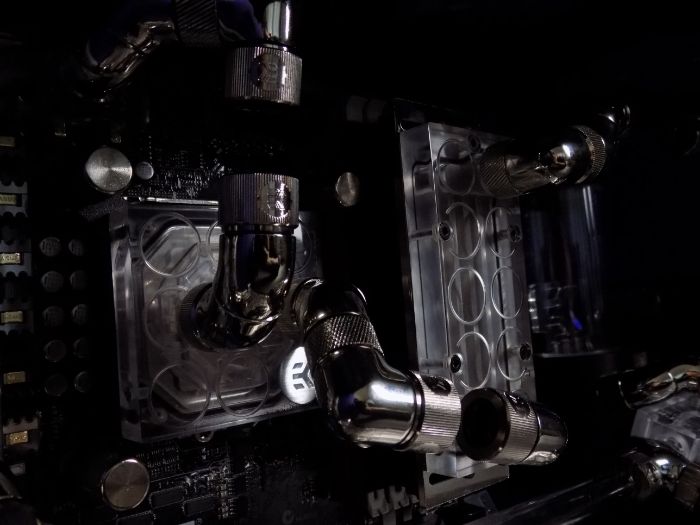
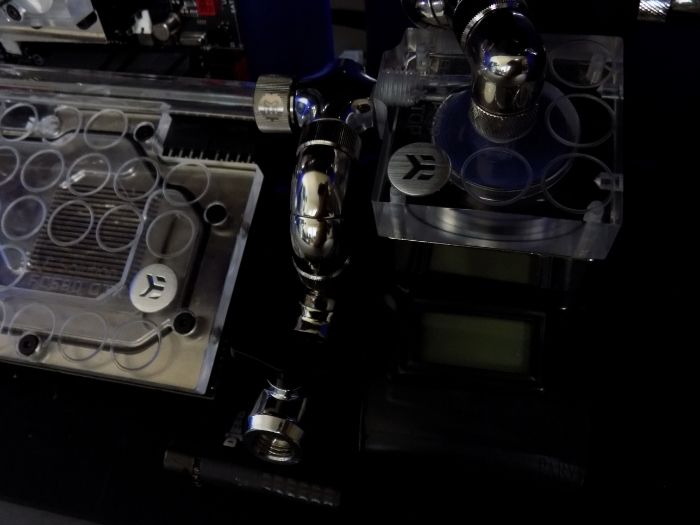
Gpu Block: EK-FC690 GTX - Nickel (Original CSQ)
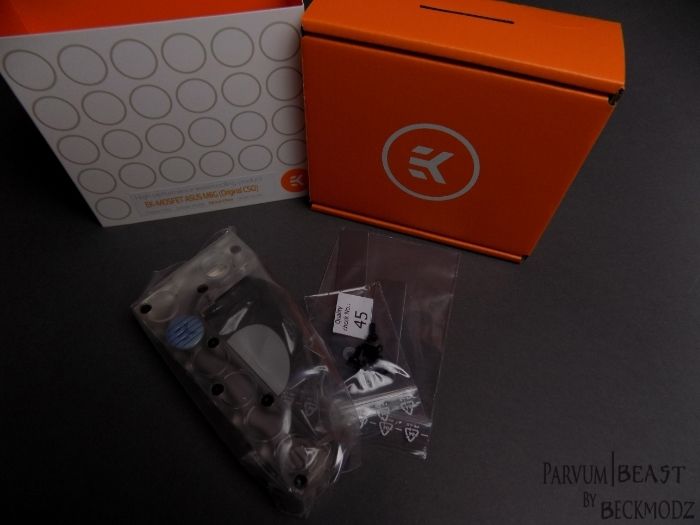
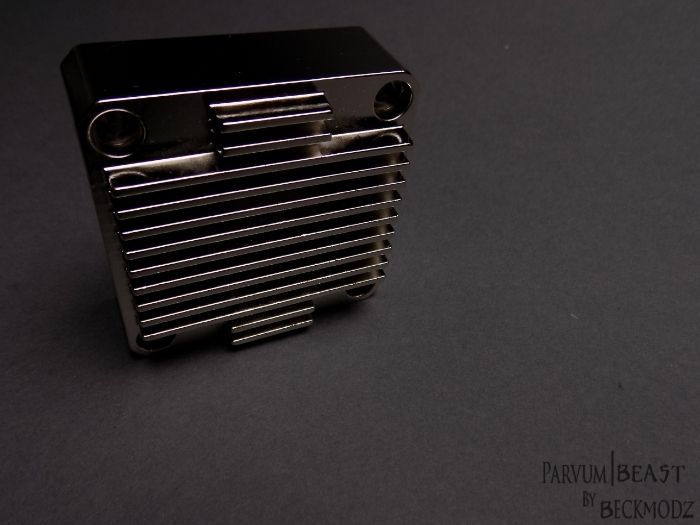
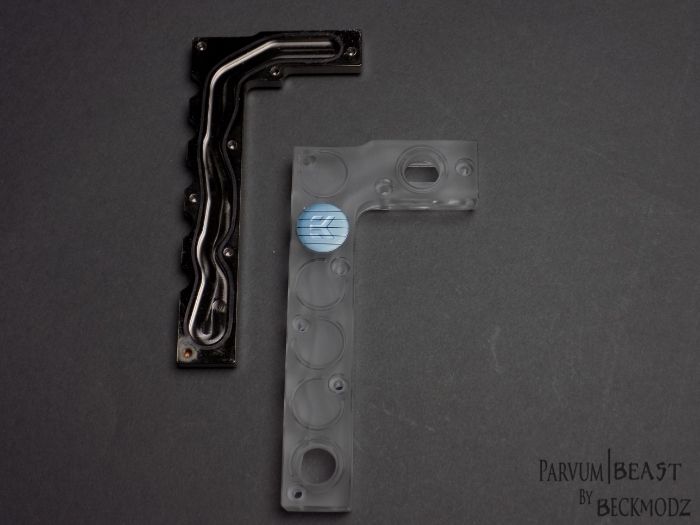
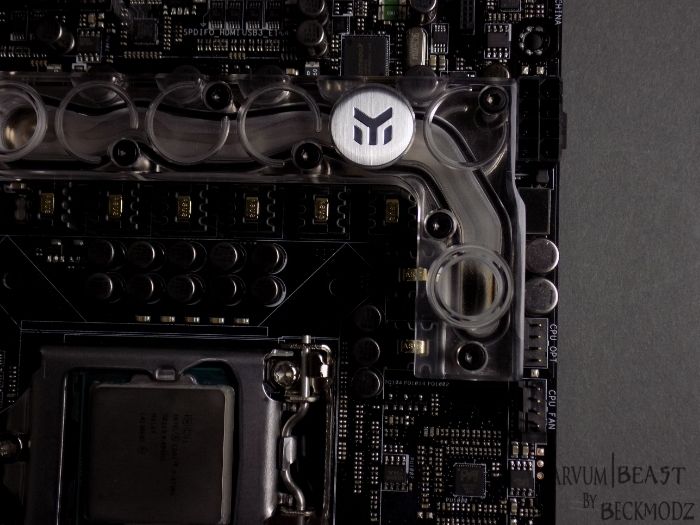
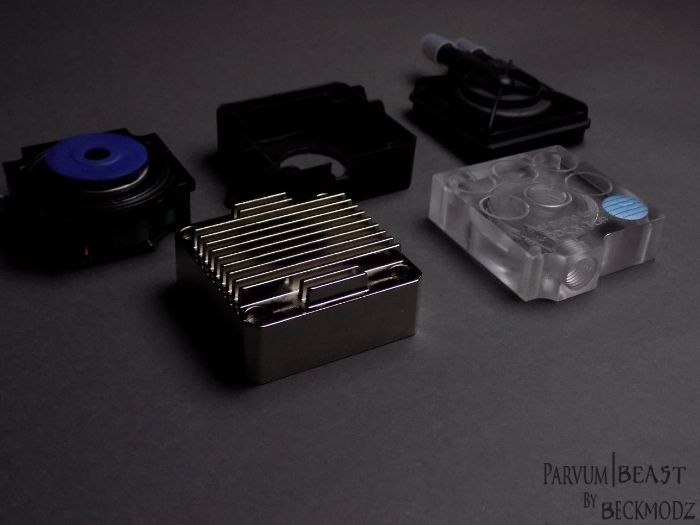
Mobo Block: EK-MOSFET ASUS M6G - Nickel (Original CSQ)
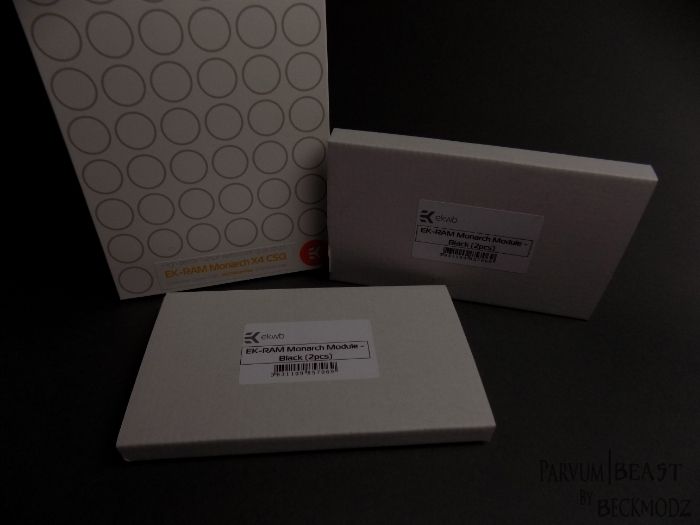
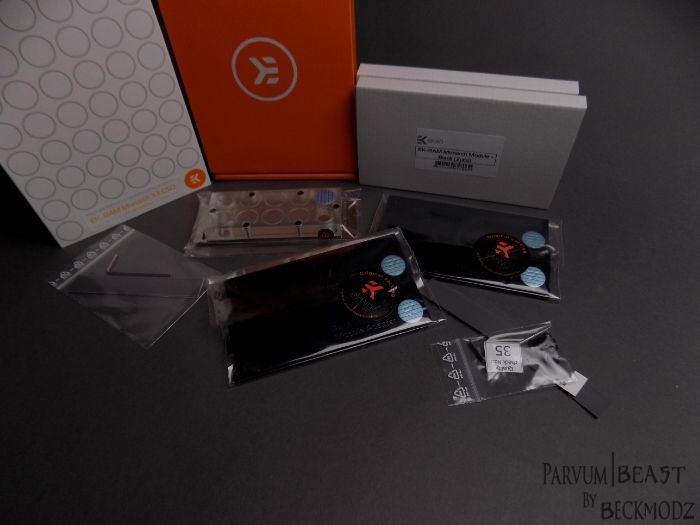
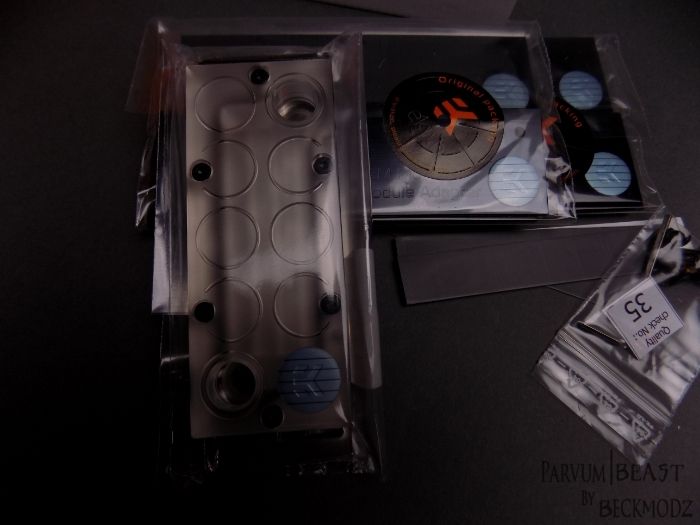
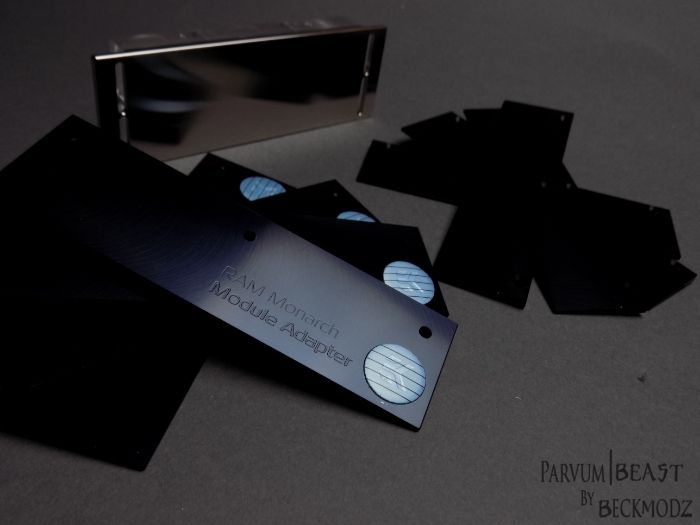
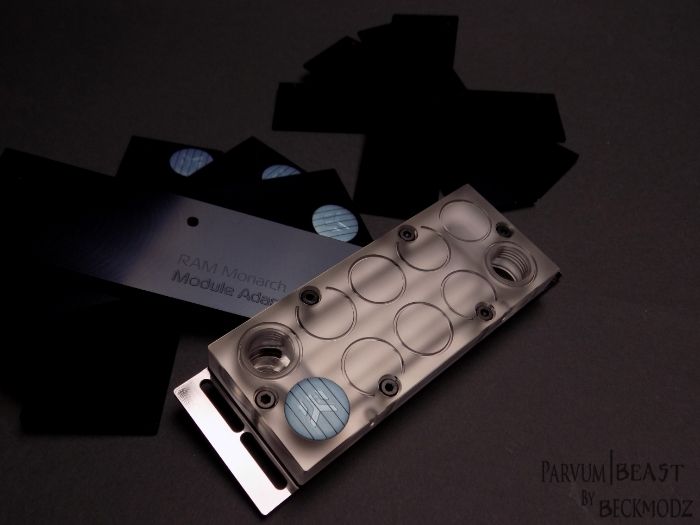
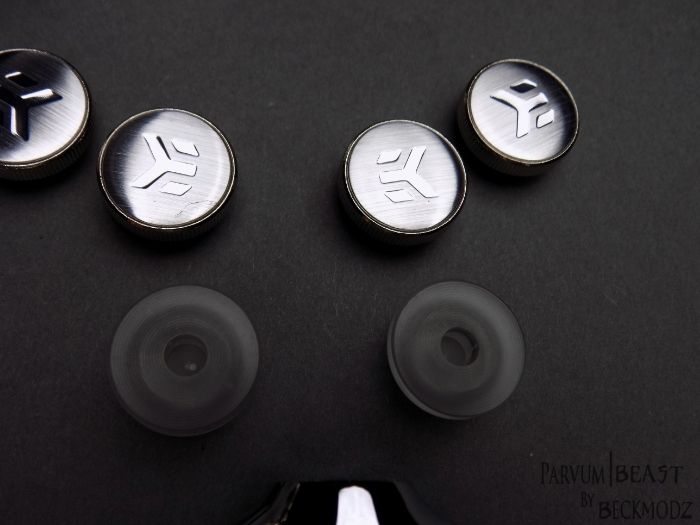
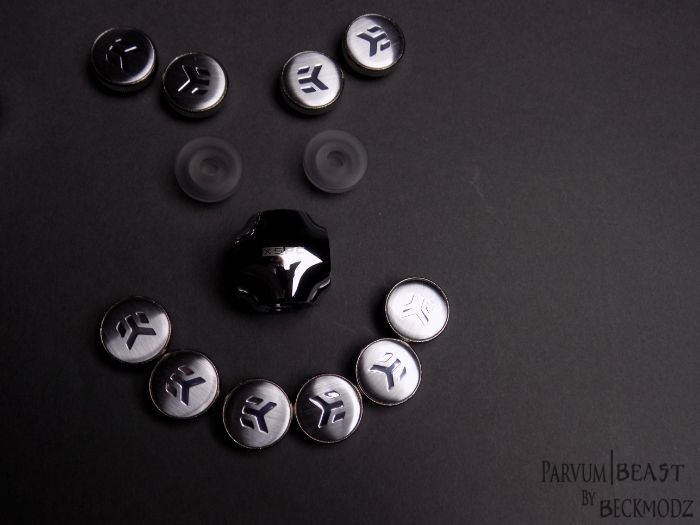
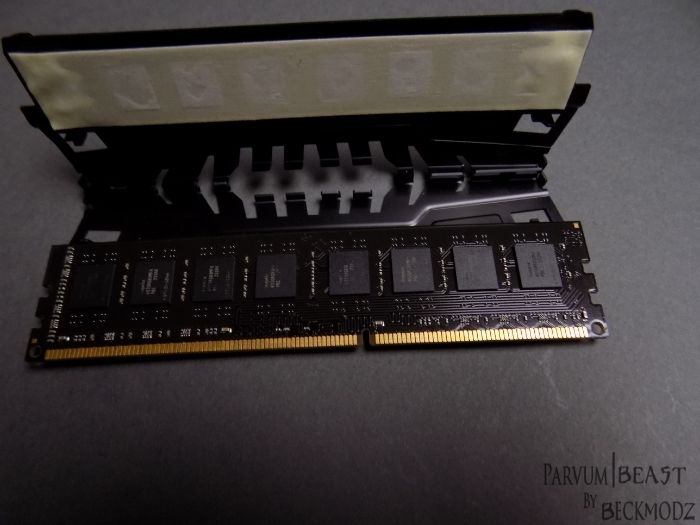
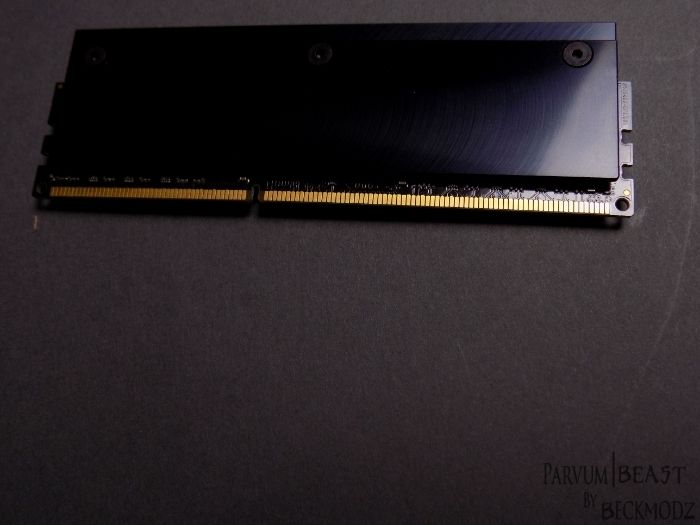
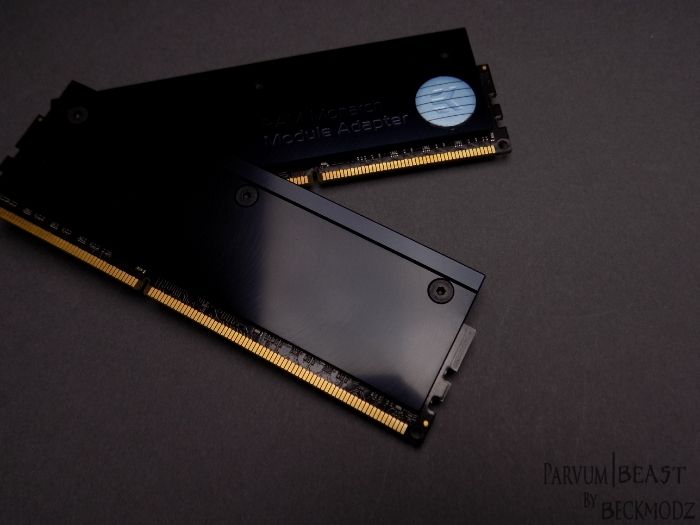
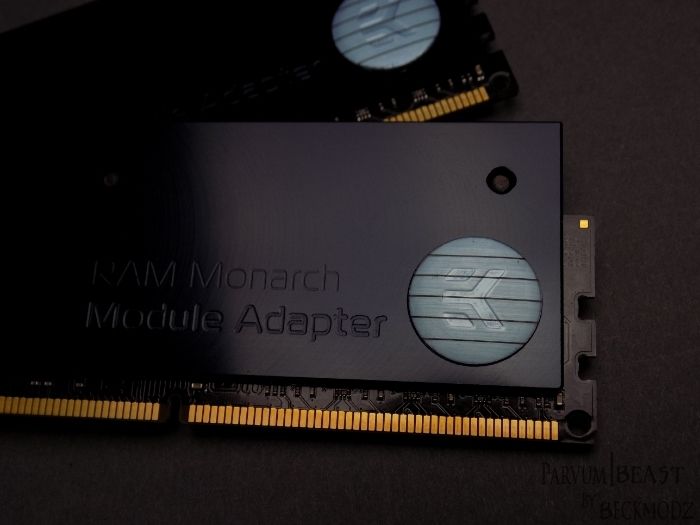
Memory Blocks: EK-RAM Monarch X4 - Nickel CSQ and 2 x EK-RAM Monarch Module - Black (2pcs)
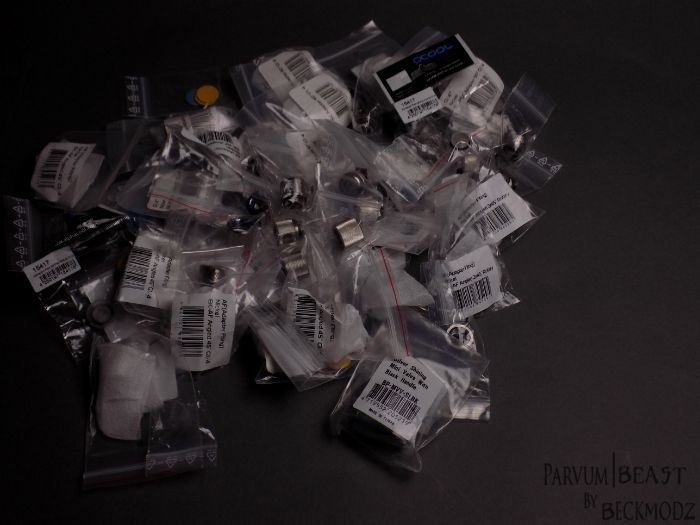
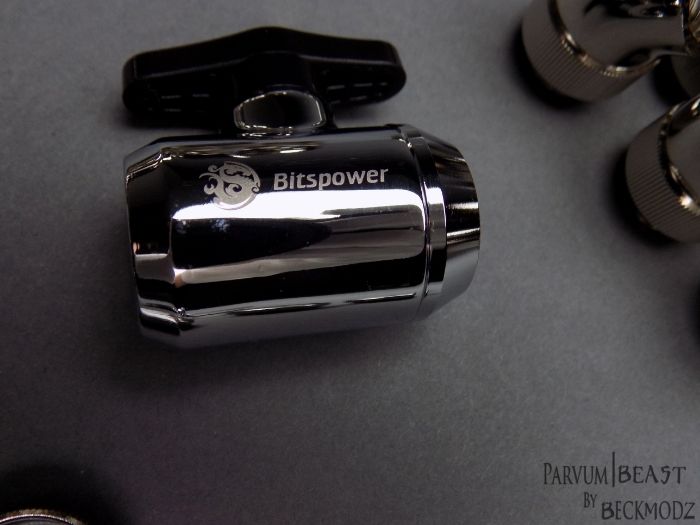
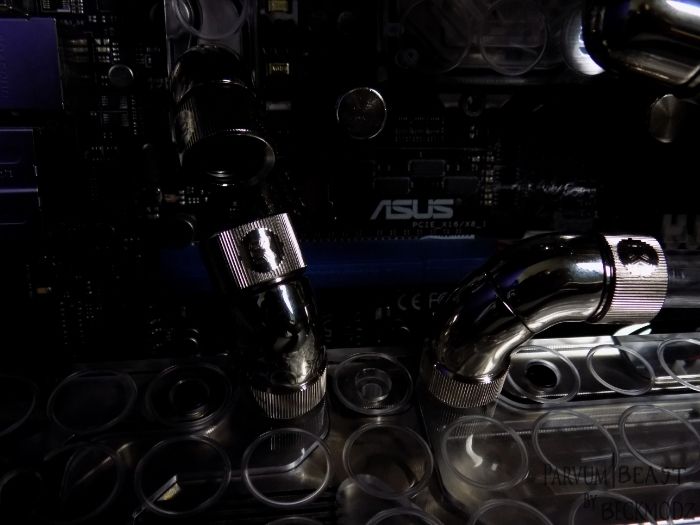
Fittings: Some EK-HDC Fitting 12mm G1/4 - Nickel, EK-AF Angled 2×45° G1/4 Nickel, EK-AF Angled 45° G1/4 Nickel and some EK-AF Angled 90° G1/4 Nickel
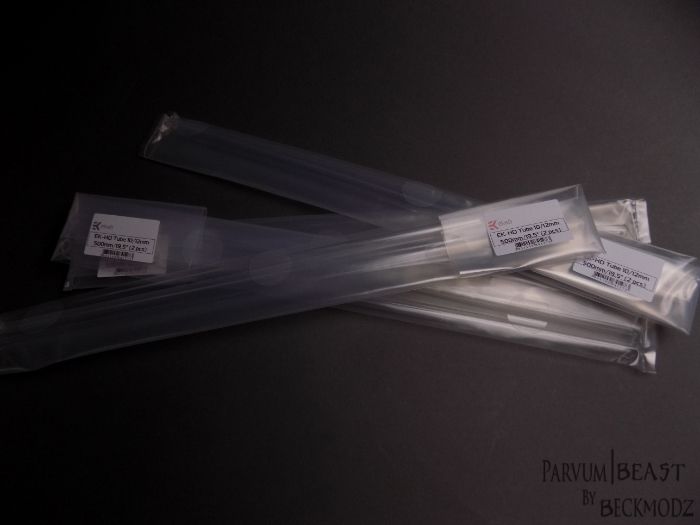
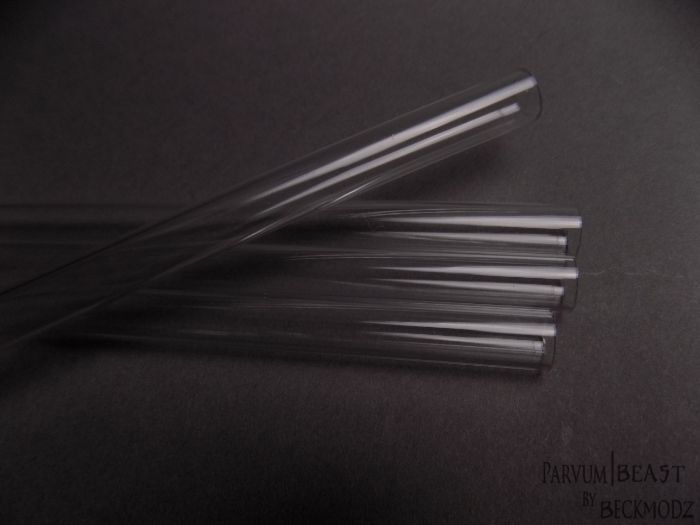
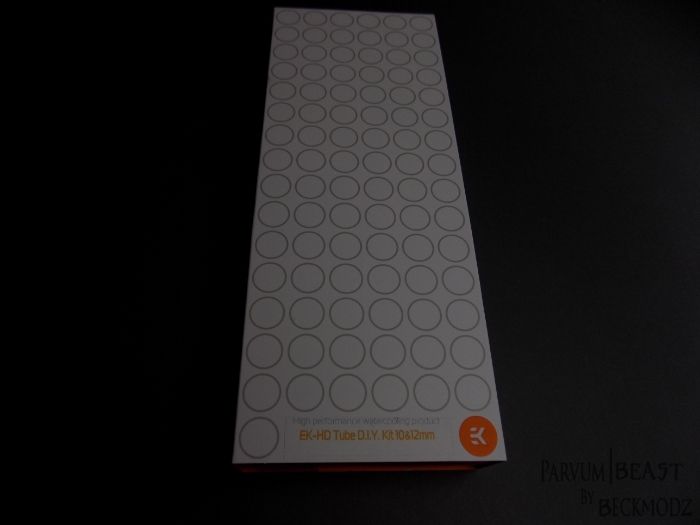
Tubing: Some EK-HD Tube 10/12mm 500mm (2 pcs)
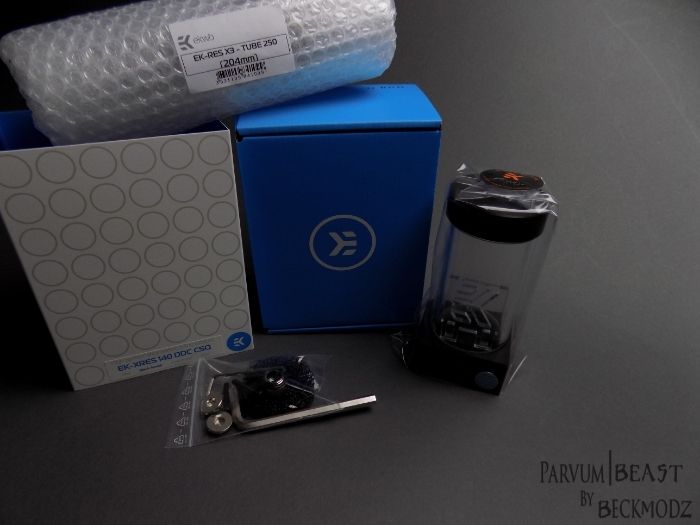
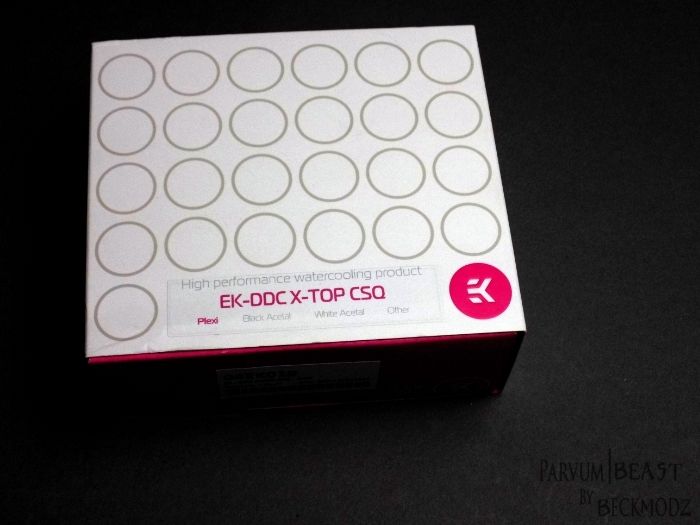
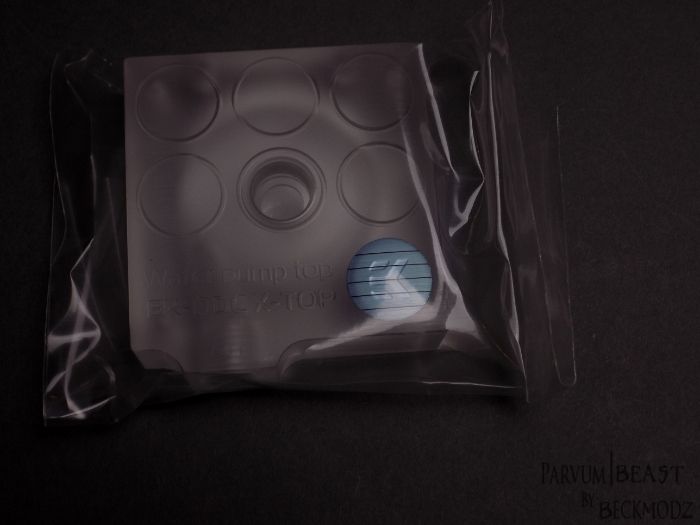
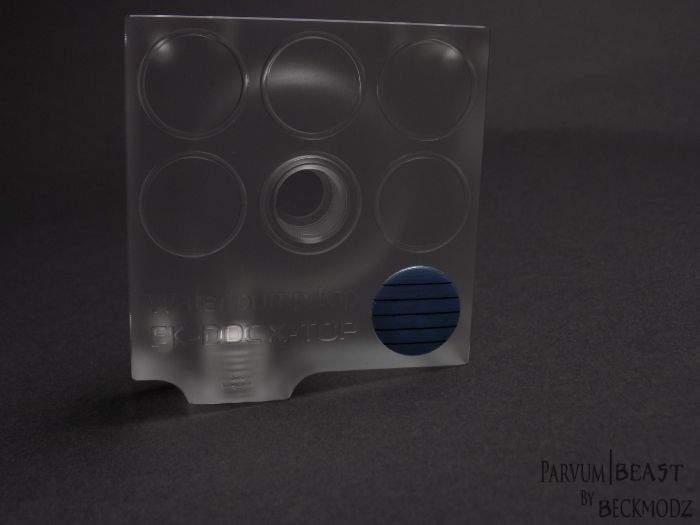
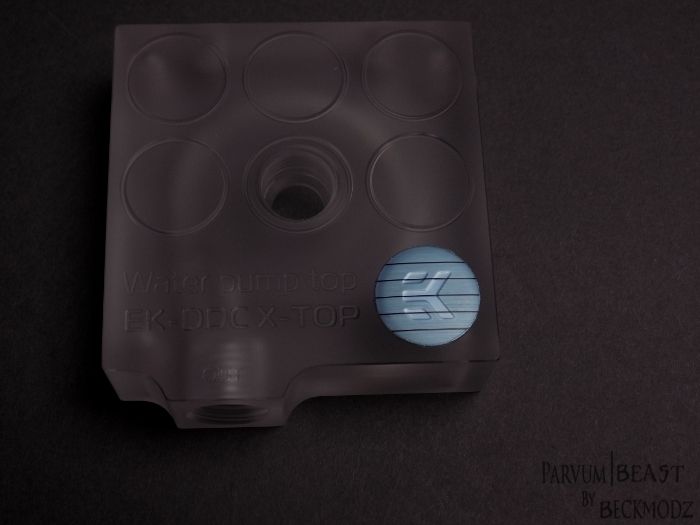
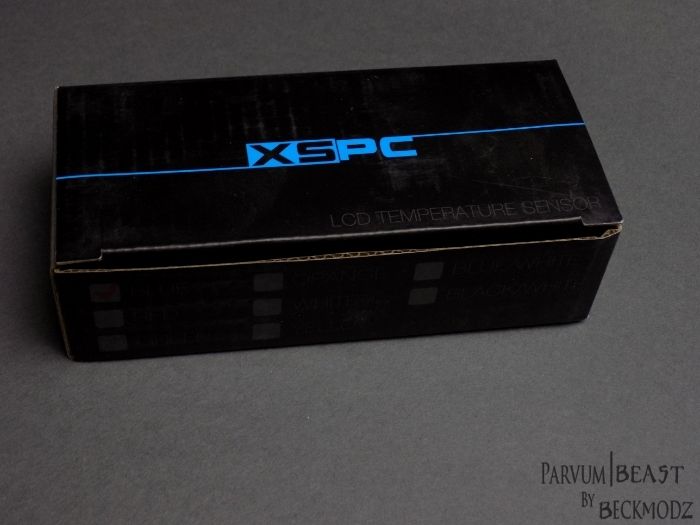
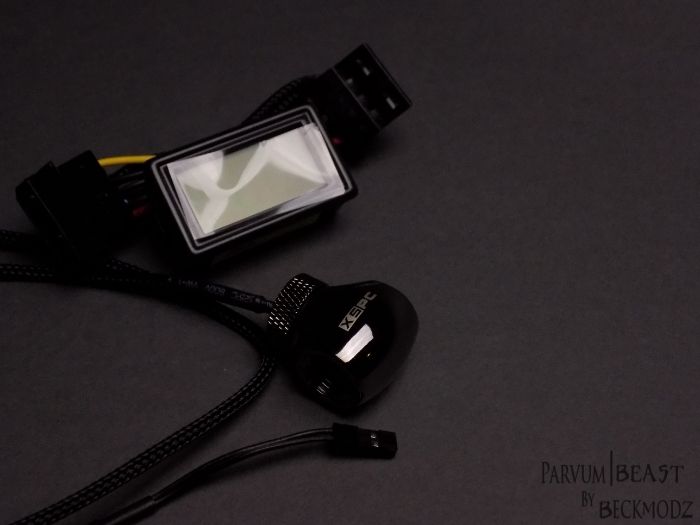
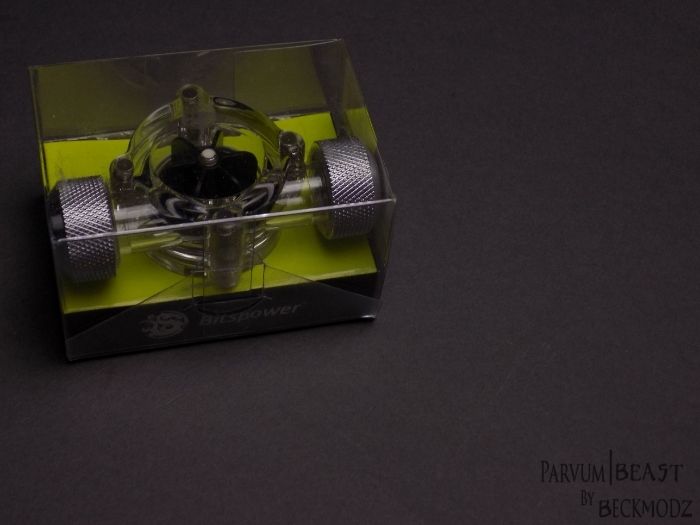
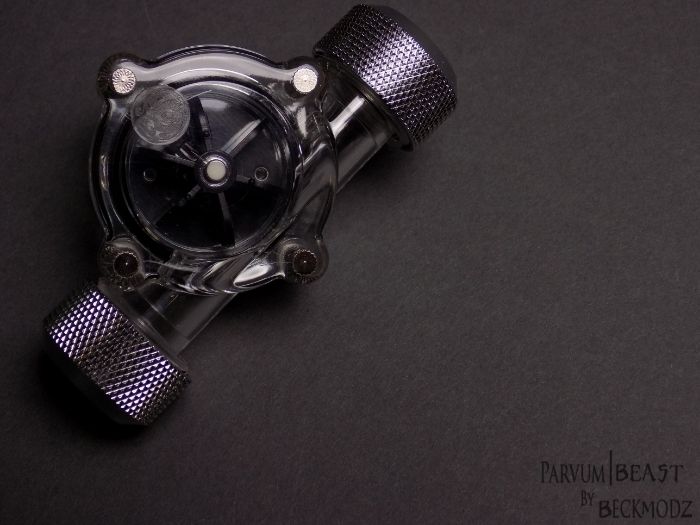
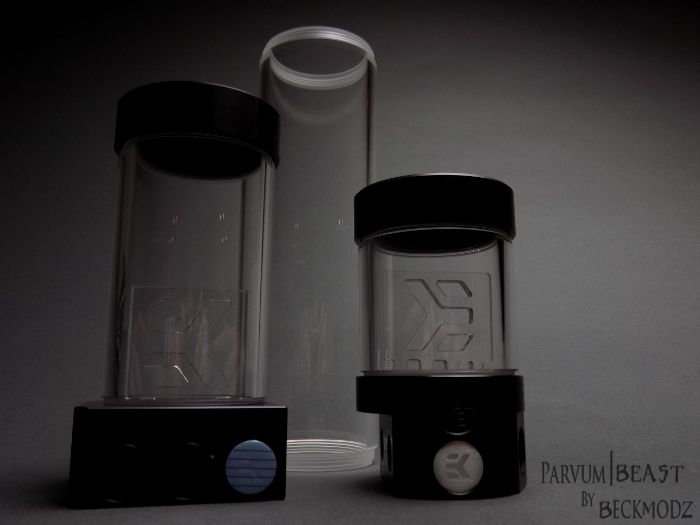
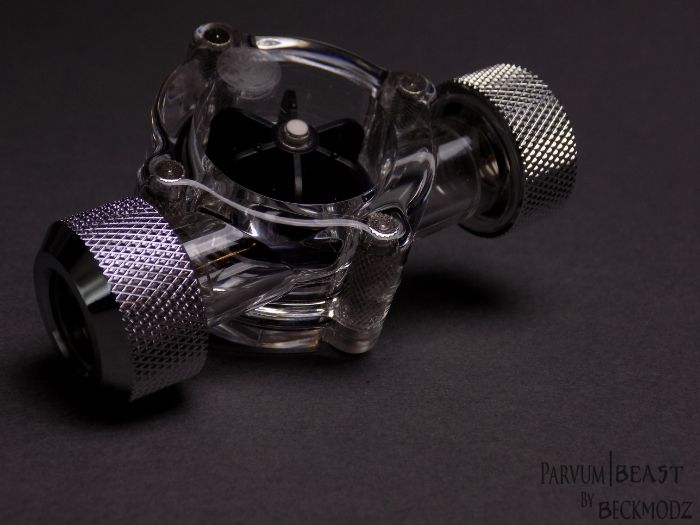
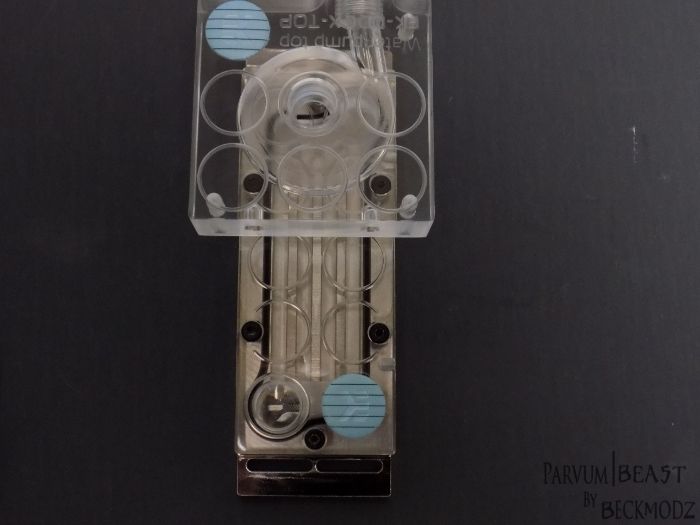
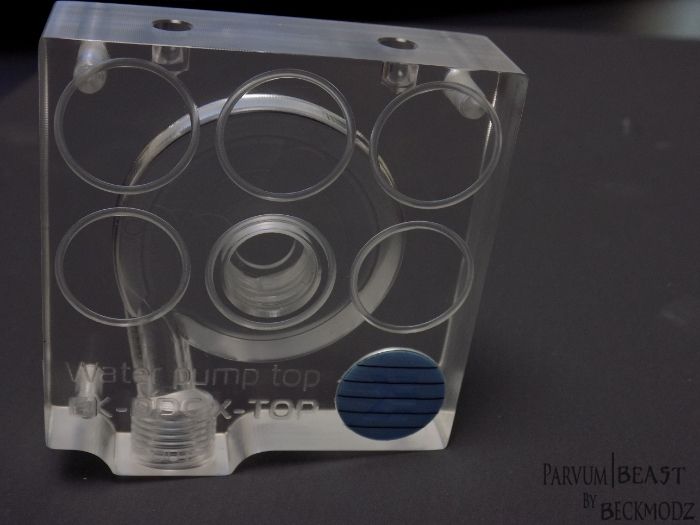
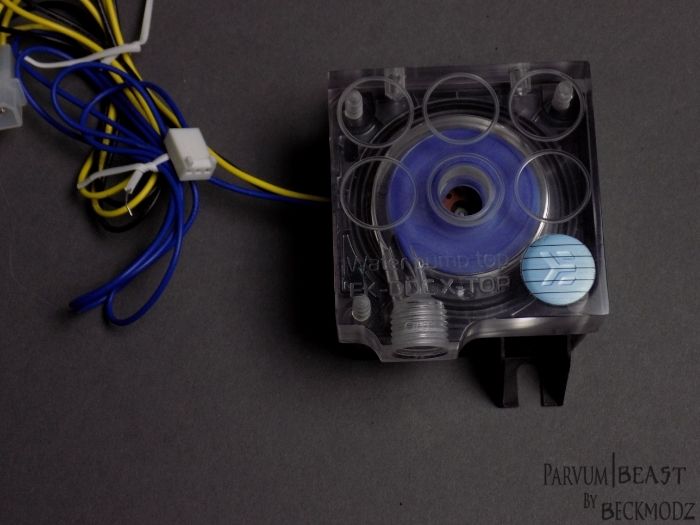
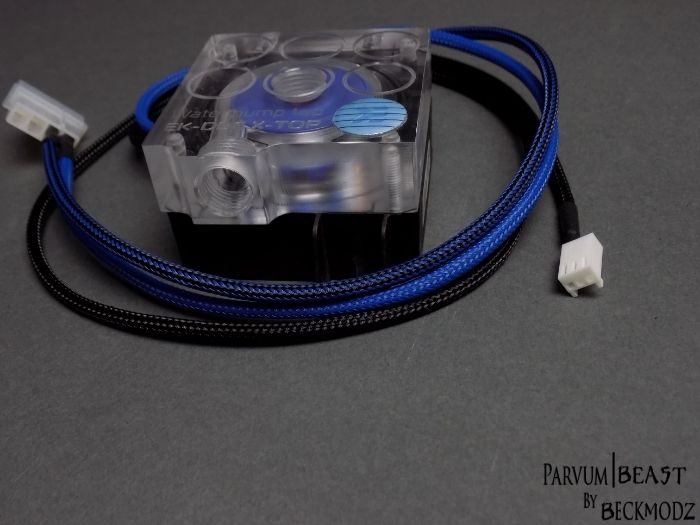
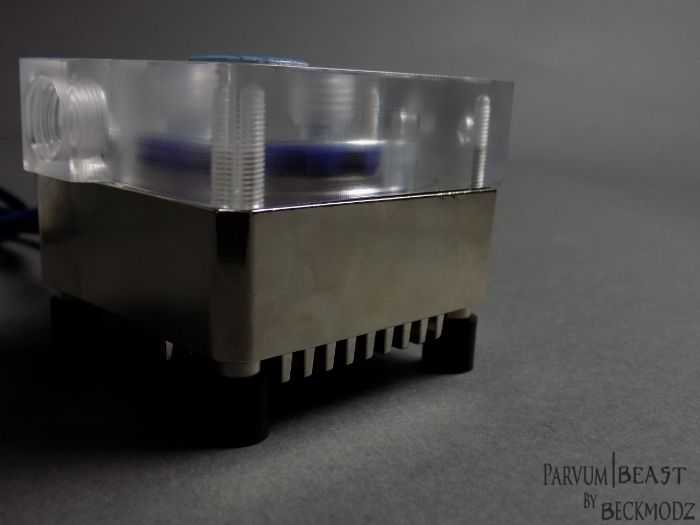
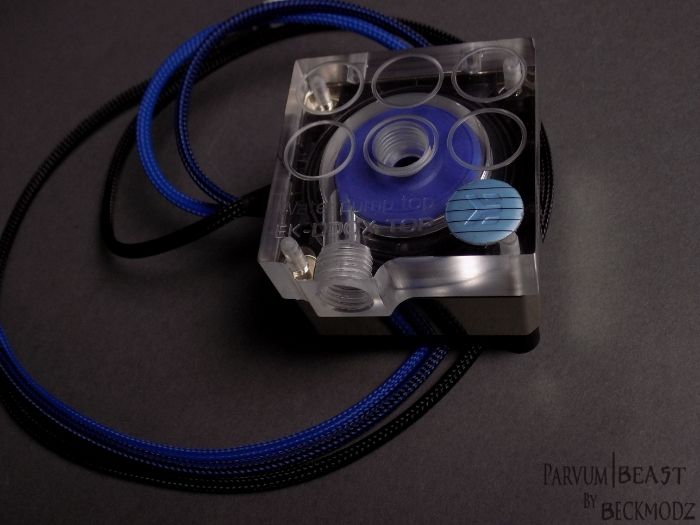
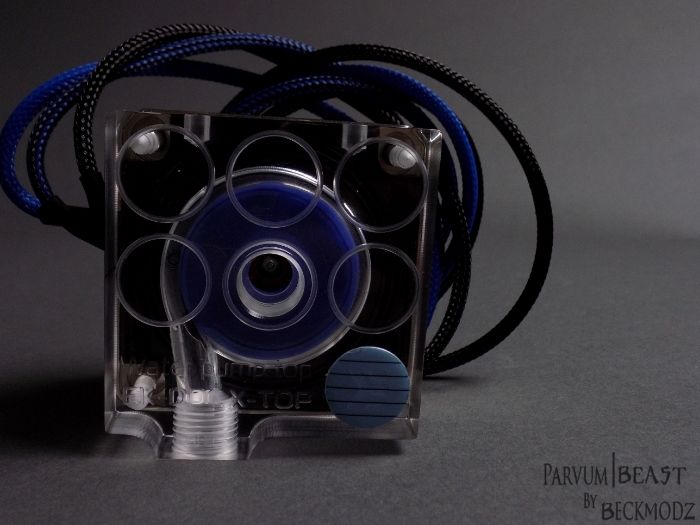
Pump: XSPC Laing DDC-1T Pro 3.1 (10W) and EK-DDC X-TOP CSQ - Plexi or a Xres Top depends on what looks best
Reservoir: EK-RES X3 250, or EK-RES X3 150 or EK-RES X3 110, depends on what looks best
PSU Sleeving :
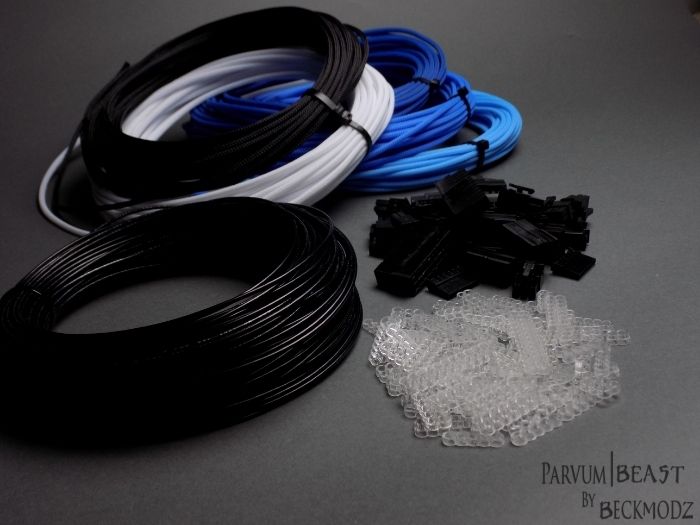
Sleeving: LC TELEIOS 4MM SLEEVE and LC TELEIOS 8MM/SATA SLEEVE
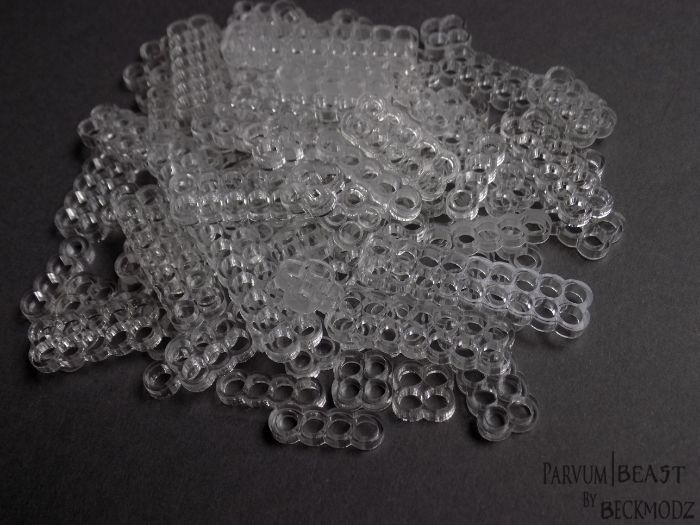
Cable Combs: Alot of clear LC STEALTH CABLE COMBS
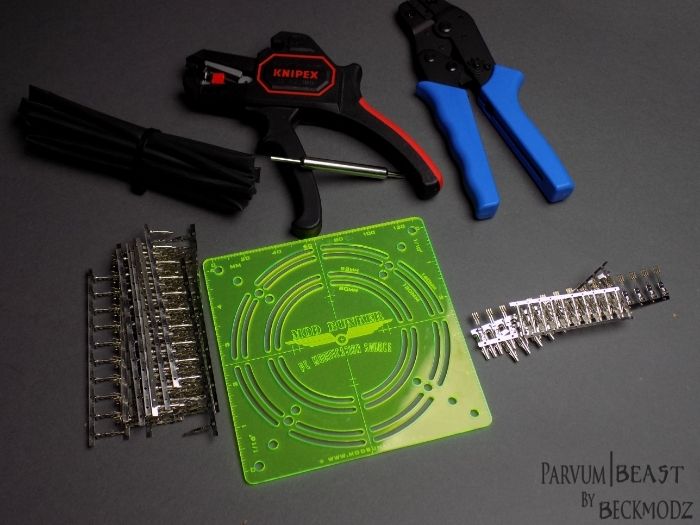
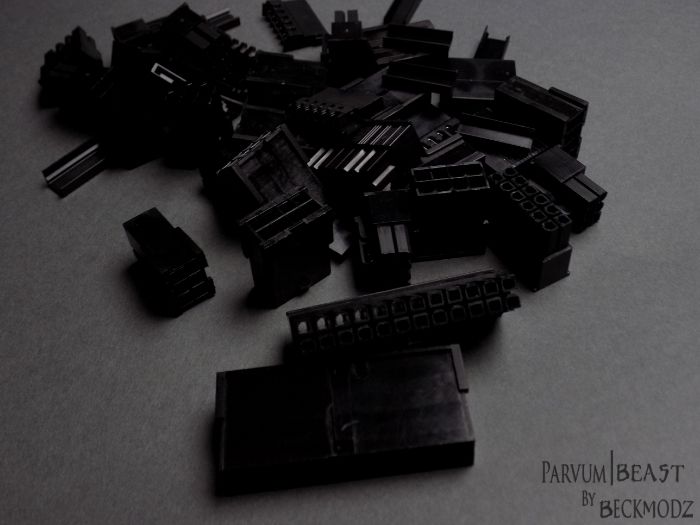
And off cause a connectors, terminals and LC CUSTOM 18AWG WIRE BLACK
And Alot of other cool stuff, Pics will follow
-------------------------------------------------------------------------------------------------
Hope you guys like the renders and the design Idea
Will be making step by step pics of polishing, sleeving and everything,
so that people can see how its all done, and maybe if they dont allready know it, they can learn it
-------------------------------------------------------------------------------------------------
This Build is made possible By:


-------------------------------------------------------------------------------------------------
Stay Awesome Bro's,
BeckModz - Liquid Designs[
Last edited: