Last edited by a moderator:
Navigation
Install the app
How to install the app on iOS
Follow along with the video below to see how to install our site as a web app on your home screen.
Note: This feature may not be available in some browsers.
More options
You are using an out of date browser. It may not display this or other websites correctly.
You should upgrade or use an alternative browser.
You should upgrade or use an alternative browser.
ST.o.CH FACTOR_I
- Thread starter ST.o.CH
- Start date
Thanks broWow, looks great
Robertmarcus
Gawd
- Joined
- Jun 4, 2012
- Messages
- 671
cant wait to see where this goes. Look great
Thanks matecant wait to see where this goes. Look great


News for today,
Presenting my first sponsor, EKWB with great stuff
My many thanks for Peter and his team for sending me the following cool products:
1 - EK-RAM Monarch X4 - Acetal + Nickel CSQ
2 - EK-RAM Monarch module black
1 - EK-Coolstream XTX 360 radiator
1 - EK-Supremacy CSQ- Acetal+ Nickel
1 - EK-DCP 4.0 ( 12 V DC pump)


I´ll use that wisely
Thanks mate, I think your sandy bridge is good enoughI wish i had a system that is bad ass enough to be worthy of such a case.
Tengis
Supreme [H]ardness
- Joined
- Jun 11, 2003
- Messages
- 6,090
I wish I could hook up my TIG welder here in Japan... I would try to do some neat stuff like this =/.
DamnI wish I could hook up my TIG welder here in Japan... I would try to do some neat stuff like this =/.
Tengis
Supreme [H]ardness
- Joined
- Jun 11, 2003
- Messages
- 6,090
Blow torch and rods? To bond the aluminum together? Seems you would have a lot of finishing work with a dremel and/or files and/or sand paper lol.
Not necessarily, what took longer was welding because the rest was already planned and studied in cadBlow torch and rods? To bond the aluminum together? Seems you would have a lot of finishing work with a dremel and/or files and/or sand paper lol.
Hi there, before the 14 year
 arrives here is an update, with the lateral fronts with acrylic and also the slim drive for playing the first diablo
 ( later, much much later).
The rear part is to be replaced.
For now on it will be rush time, there are to many things to do until deadline.
By the way,I´m building this case for Cooler Master Casemod 2013 Competition.


The rear part is to be replaced.
For now on it will be rush time, there are to many things to do until deadline.
By the way,I´m building this case for Cooler Master Casemod 2013 Competition.


That is seriously awesome. I love this. Never have I seen such a wicked case build from scratch. I like you designed it AND are fabricating it. I'm not usually into mid/full tower builds, but this one really sparks my interest.
Nicely done. Keep up the fine work!
Nicely done. Keep up the fine work!
Thanks mate, my work is not perfect, I´m still learning.That is seriously awesome. I love this. Never have I seen such a wicked case build from scratch. I like you designed it AND are fabricating it. I'm not usually into mid/full tower builds, but this one really sparks my interest.
Nicely done. Keep up the fine work!
Not perfect?! Pfffft... There is no substitute for the hand crafted touch. Those little imperfections are what make it truly unique.Thanks mate, my work is not perfect, I´m still learning.
More than just the craftsmanship, I really like the process you're going through. From the prototype to fabrication. Pretty cool.
These compliments coming from someone in the itx world are really good, especially when I have to manufacture the same piece twice because the first failures in something.Not perfect?! Pfffft... There is no substitute for the hand crafted touch. Those little imperfections are what make it truly unique.
More than just the craftsmanship, I really like the process you're going through. From the prototype to fabrication. Pretty cool.
Having said that I'm giving two slaps in my face because the ego it is start to growing
Thanks CMadki4, I hope start to put hardware inside before next weekend, waiting for the rest of piecesIt's coming along nicely. Can't wait to see more, especially as you start to fit hardware in there! :drool:
Hello everyone, an update for today, the side doors.
After losing a week in idleness, also because I was waiting of the glass to be able to continue the work.
Another issue is the fact that I have delayed ordering the connectors,
as that only arrived in March I've dropped out of order, and so my work grows more than expected.
The two doors already with glasses on.

Small detail of labor with drill, jigsaw and a bit of sanding,

Fixing with brass,


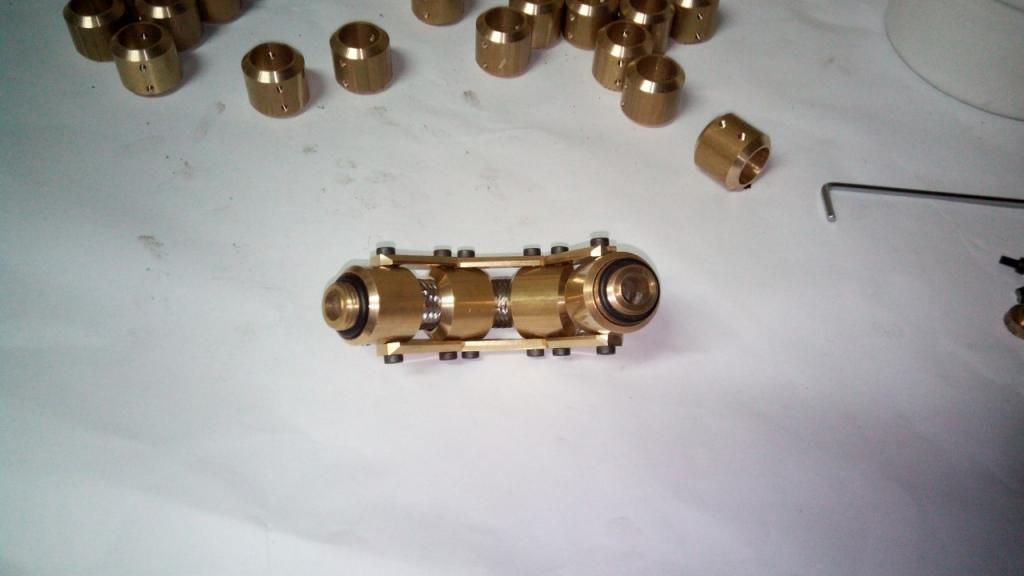
Small adventure making fittings, true will come at leak test,

After spending more than 40 hours on the doors since the last post,
in order to reduce working hours I'm going to need a machine for cutting/drilling/router type linear machining,
apart from the fact that I am satisfied with the work and labor, I also need idle time to muster weird stuff.
That's all for now.
After losing a week in idleness, also because I was waiting of the glass to be able to continue the work.
Another issue is the fact that I have delayed ordering the connectors,
as that only arrived in March I've dropped out of order, and so my work grows more than expected.
The two doors already with glasses on.

Small detail of labor with drill, jigsaw and a bit of sanding,

Fixing with brass,


Small adventure making fittings, true will come at leak test,

After spending more than 40 hours on the doors since the last post,
in order to reduce working hours I'm going to need a machine for cutting/drilling/router type linear machining,
apart from the fact that I am satisfied with the work and labor, I also need idle time to muster weird stuff.
That's all for now.
Hello modders, it's been a while.
For today I bring the underside that will accommodate deposits and the hinge system.
The painting has given me a lot of work because I haven't been able to get the right color and it's one of the things that I do not understand almost nothing.
Despite the problems that have arisen the good news are the dimensions of the case, which will replace the 331, fits under the desk.


Hello everyone, today I bring to you another update,
this time the doors are already in the right place and functioning properly,
the solution was to pull the shaft to the top, and to complicate, the situation got better.
The lower area of the box looked like a ferry boat was crafted in front for the moment,
and getting the box mounted until it gets well, also some accidents of course the ink level.


The two versions of the same question.


Until next update.
this time the doors are already in the right place and functioning properly,
the solution was to pull the shaft to the top, and to complicate, the situation got better.
The lower area of the box looked like a ferry boat was crafted in front for the moment,
and getting the box mounted until it gets well, also some accidents of course the ink level.


The two versions of the same question.


Until next update.
Ryleh
Limp Gawd
- Joined
- Feb 16, 2013
- Messages
- 305
Left case makes me think of Gundams. Curious to see what it looks like filled.
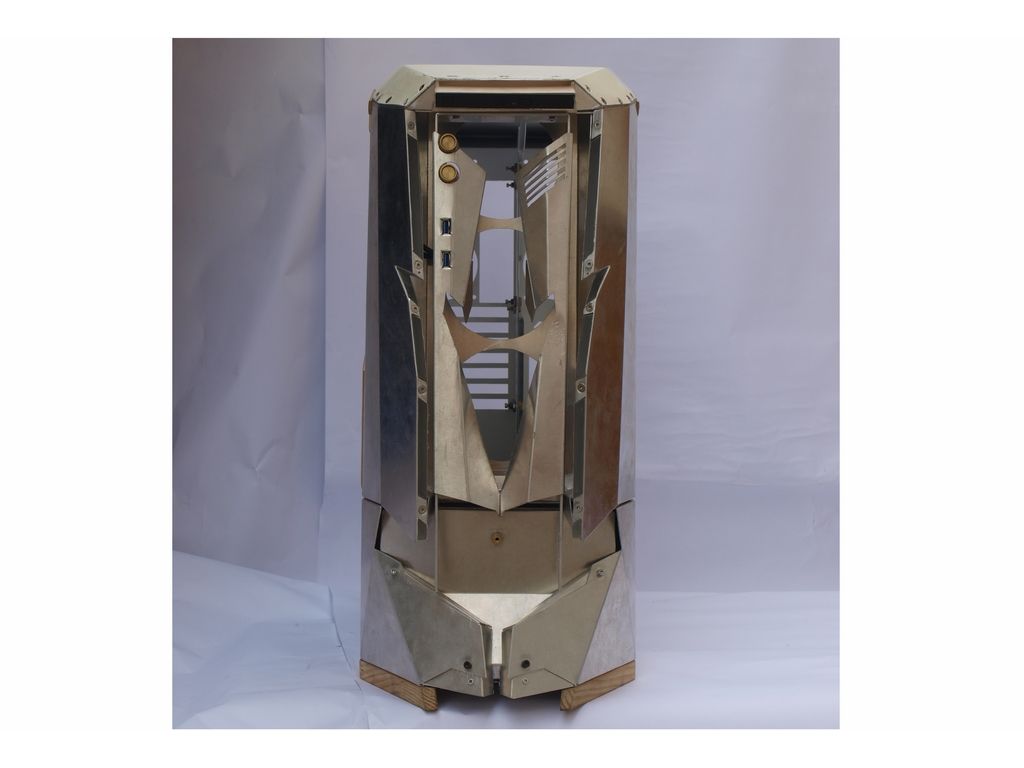
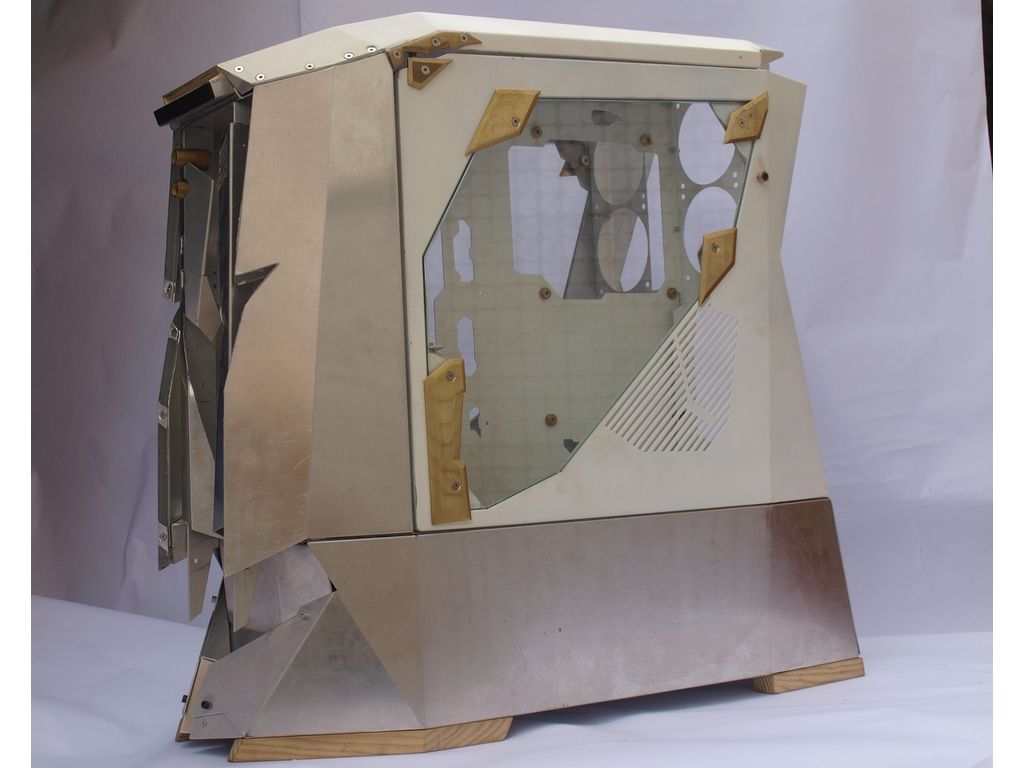
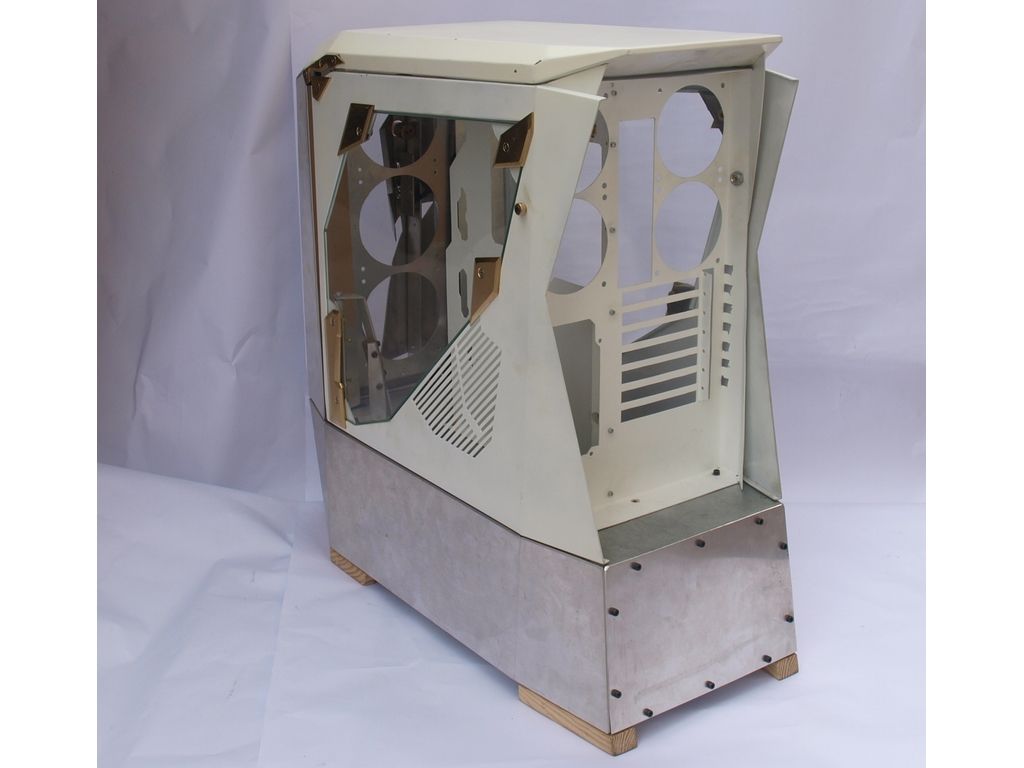
Hello modders, for today I bring another update, the front renewed with the DVD drive in the top position in order to avoid conflicts with the door. The last outside part was the easiest to carry out and the next step will be to dismantle everything, sanding and painting. Inside the box left to do the power supply and access to deposits caps.
By now are these photos, I'm sorry to have taken so long to get here.
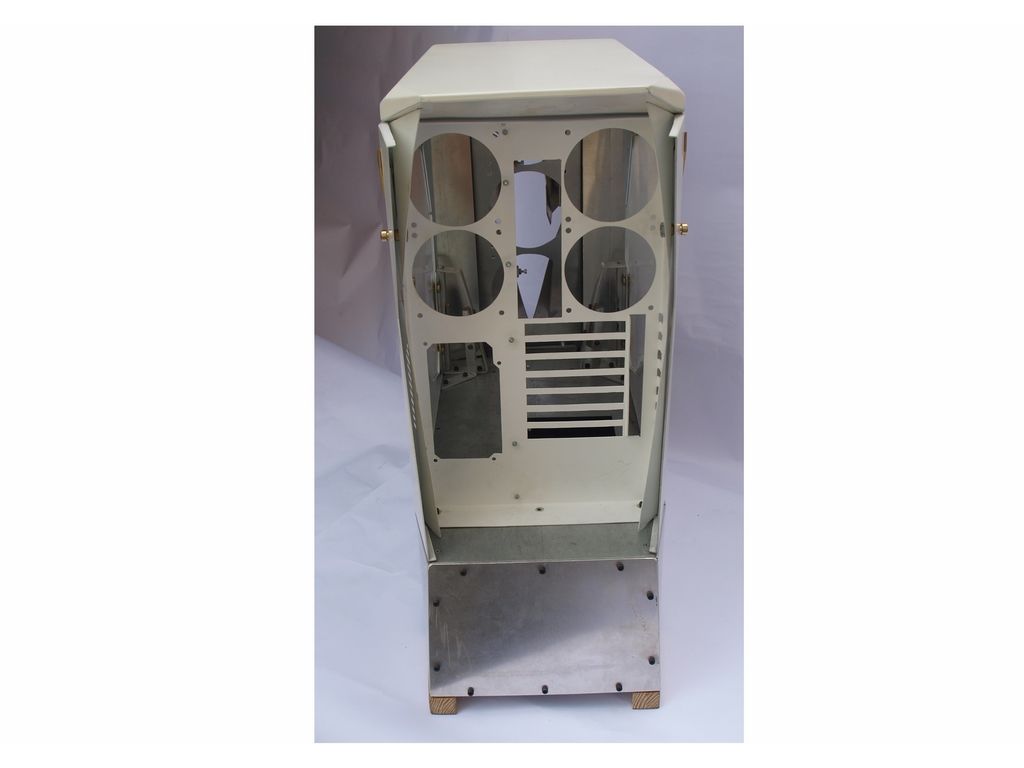
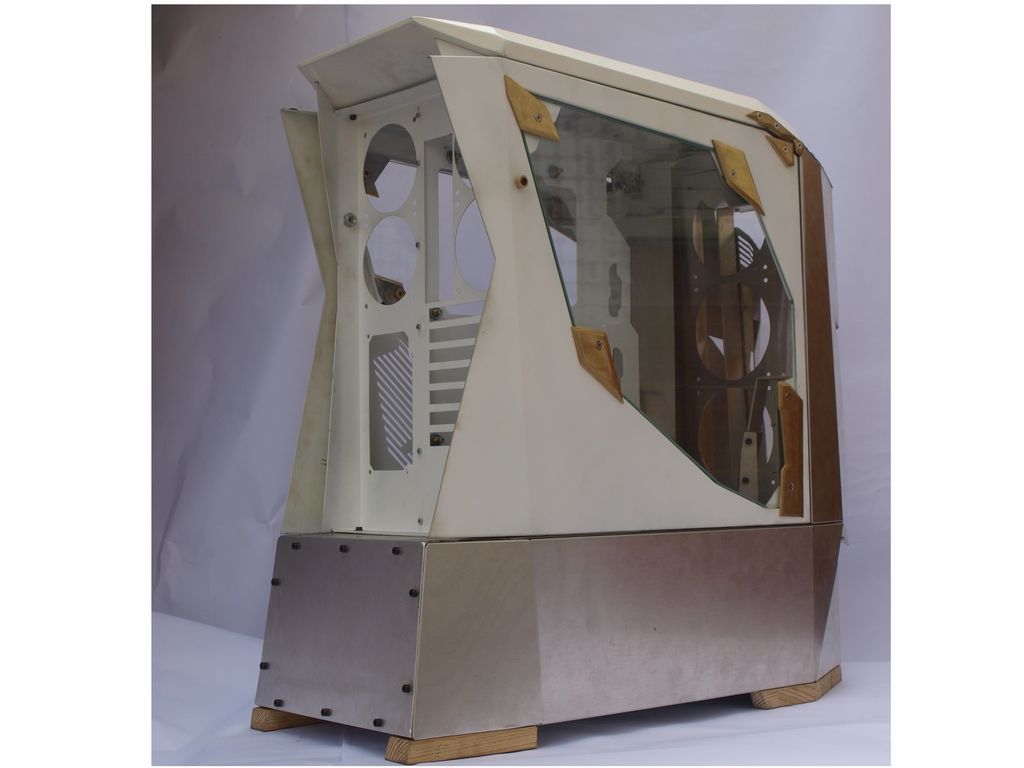
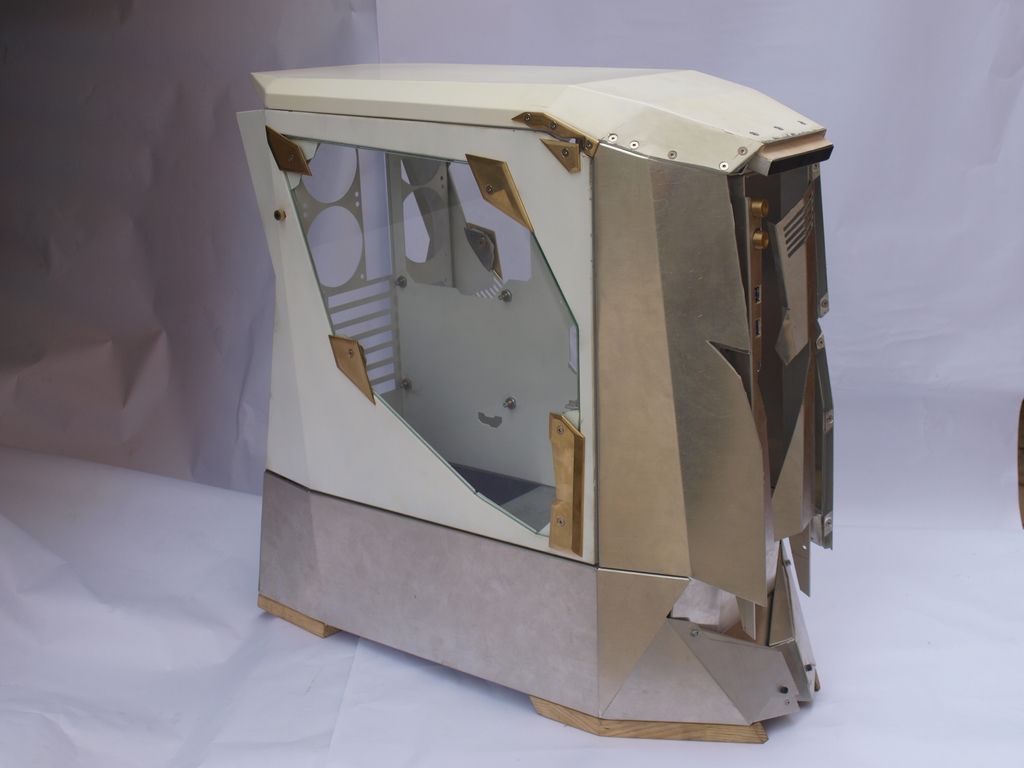
See you later.
By now are these photos, I'm sorry to have taken so long to get here.


See you later.
jackofalltrades
2[H]4U
- Joined
- Feb 7, 2006
- Messages
- 3,740
wow awesome!
Thanks bro.wow awesome!
Hello modders, for today I bring a month update of hobby.
The pieces finally met the White right (this glossy white),
The feet are covered in gold leaf, as they have the responsibility to stand
with everything on top. Deposits are actually two fire extinguishers, one of two kg of CO2 and one of six pounds of powder, both lost contents and received internal treatment anti oxygen
(anti-corrosion zinc spray), the visible tubes are for filling of liquid refrigerant.
The blocks and radiator EKWB are well inside the box, because this is being done by measure.
In front, the acrylic jars filled with light and, with the right touch until they are able to change color.
Jokes apart of that I got rid of, just missing the sleeving, covers for the source and disks with
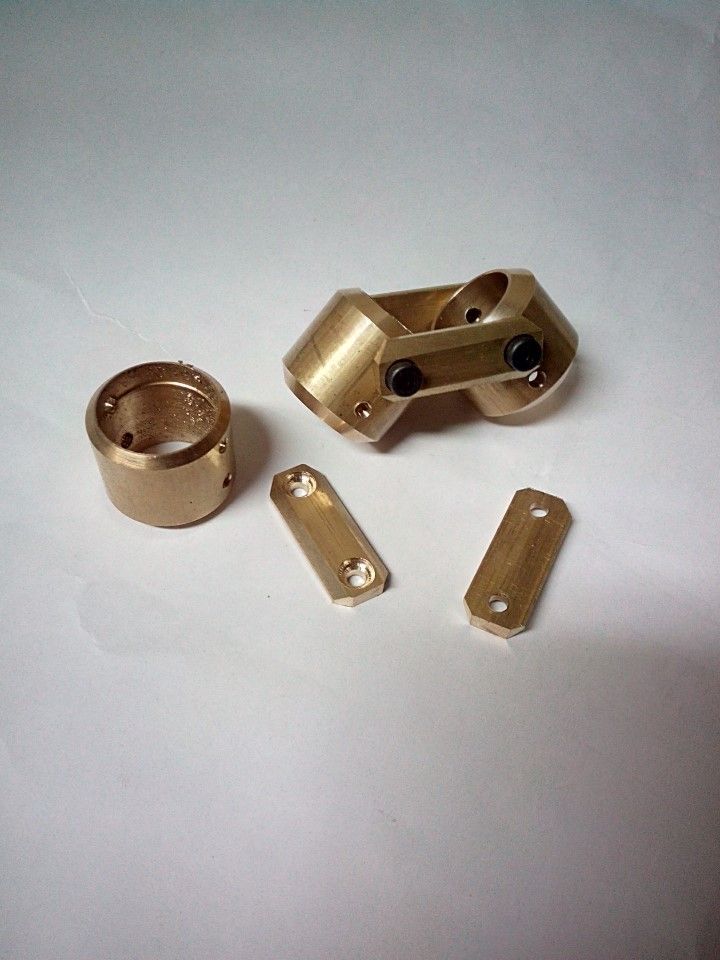
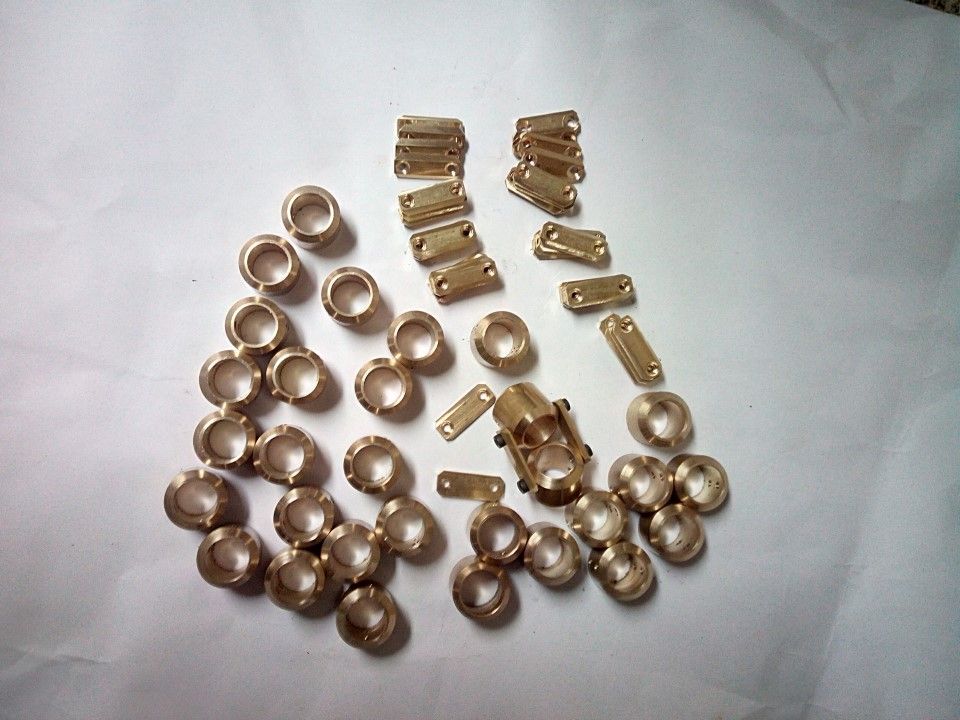
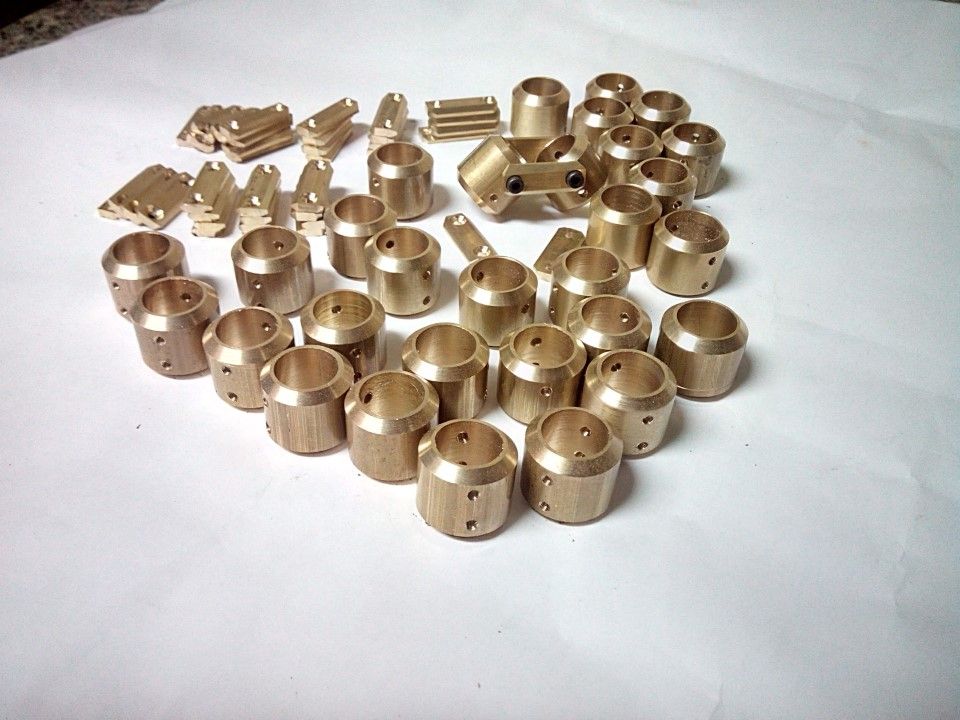
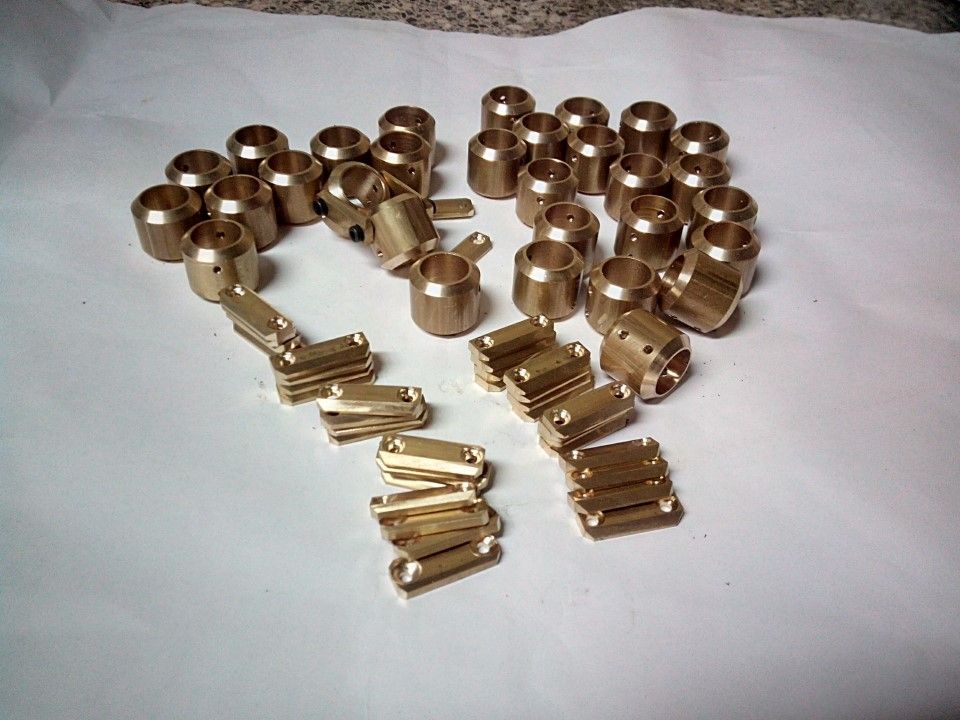
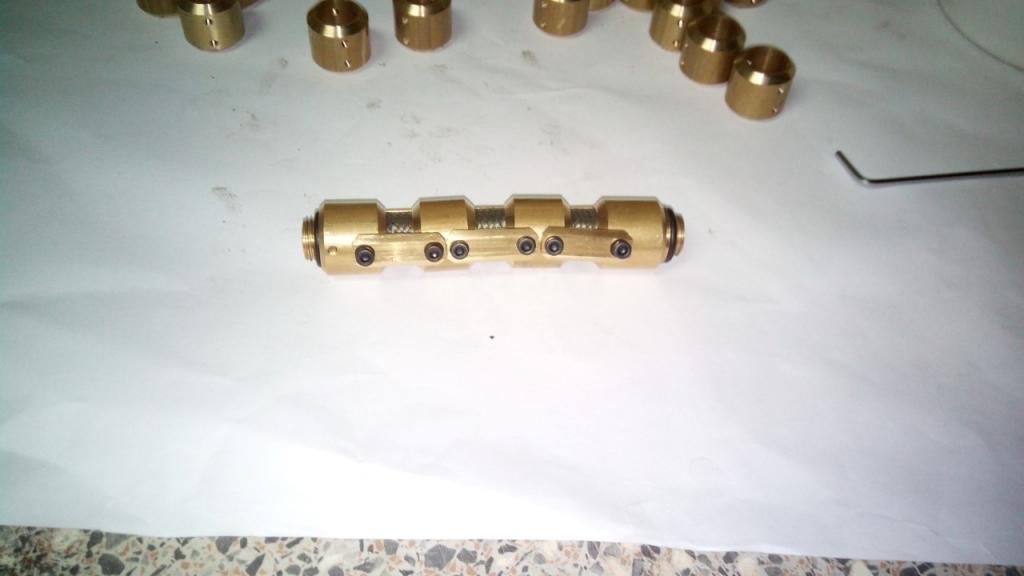
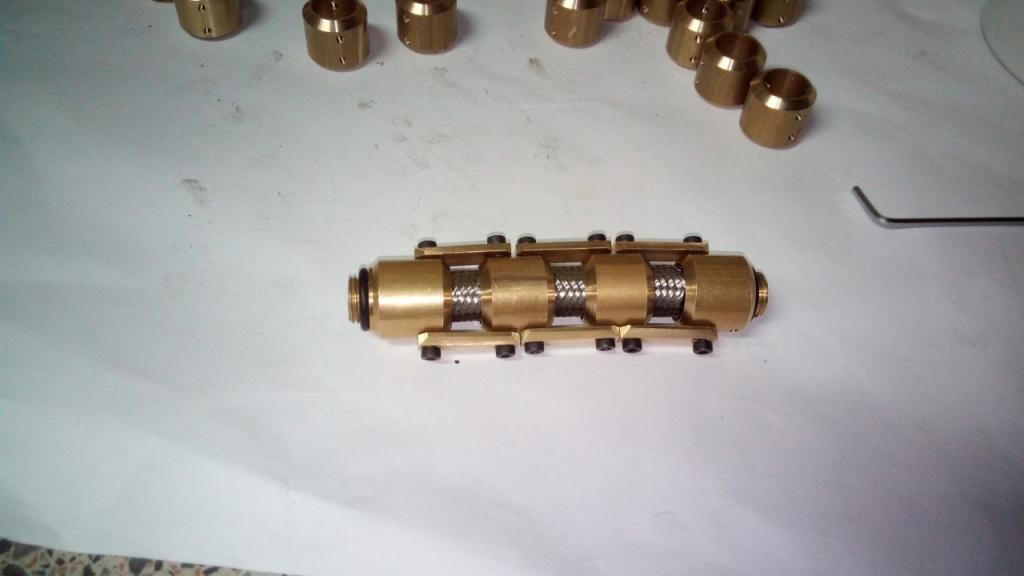
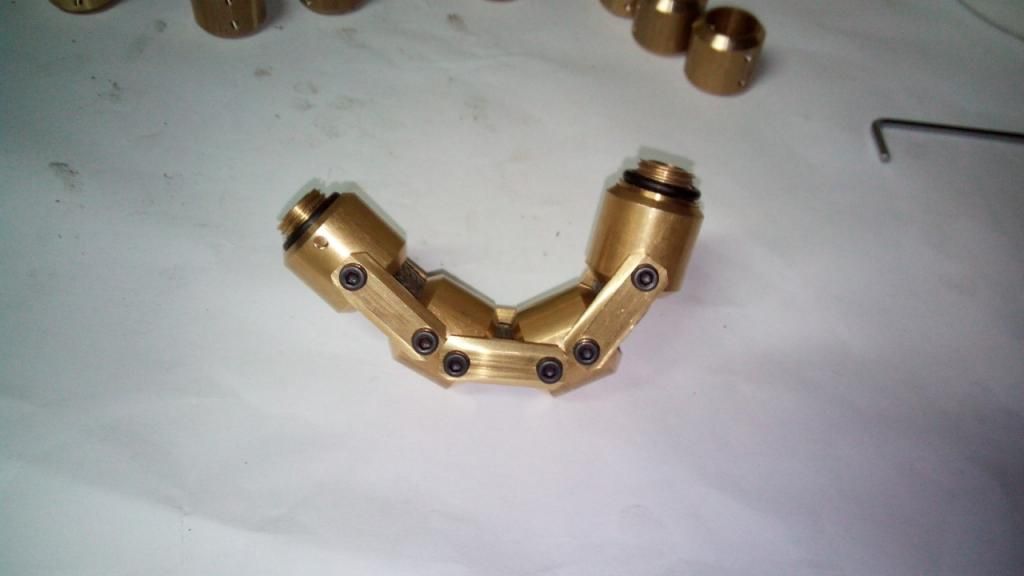
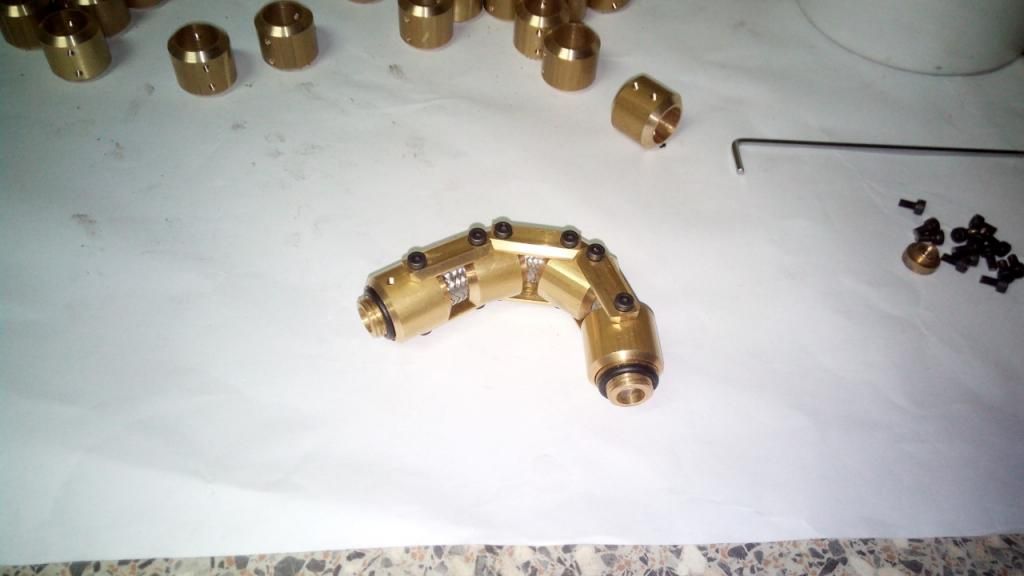
the brand name and, more important, my version of the connectors.
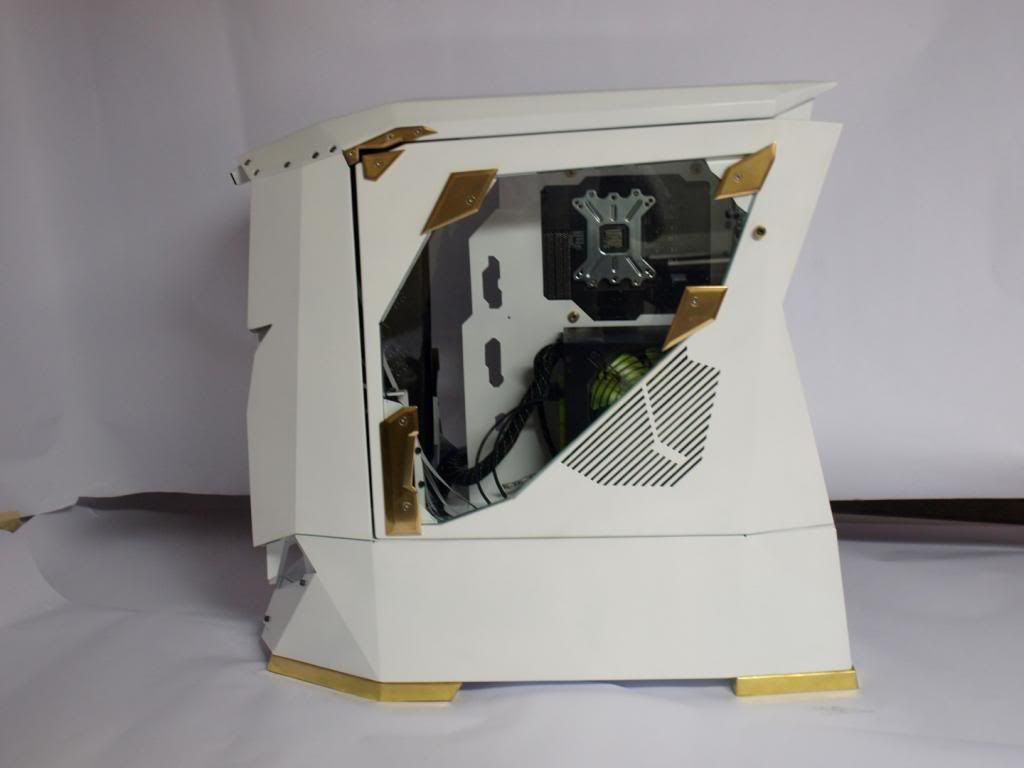
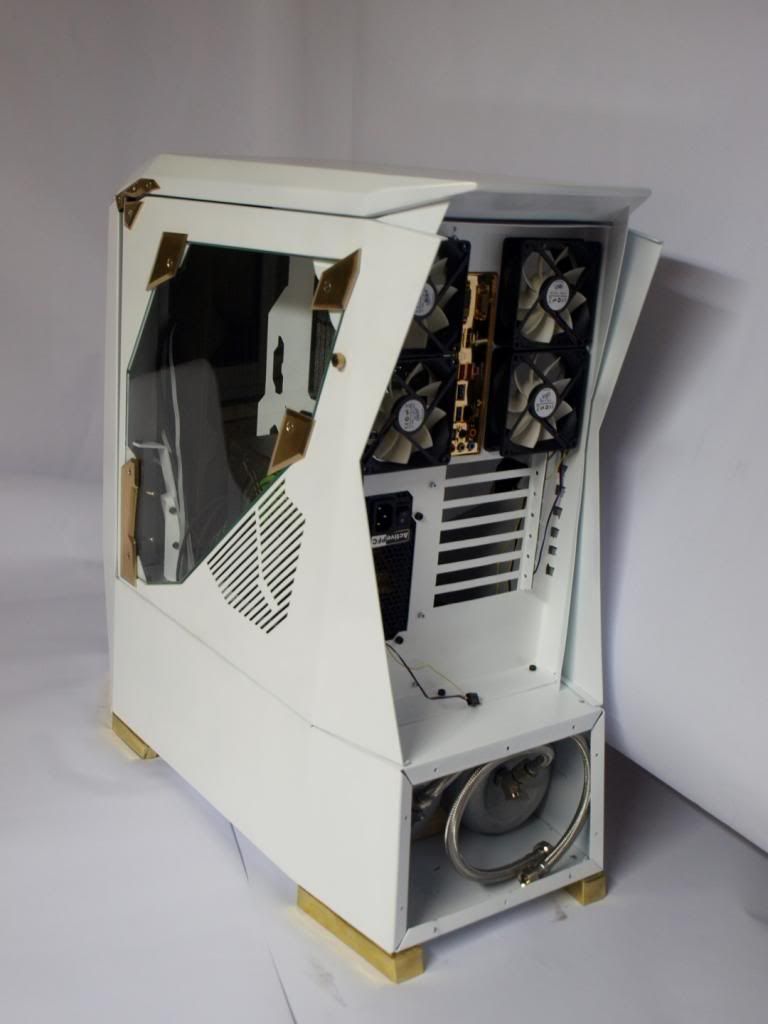
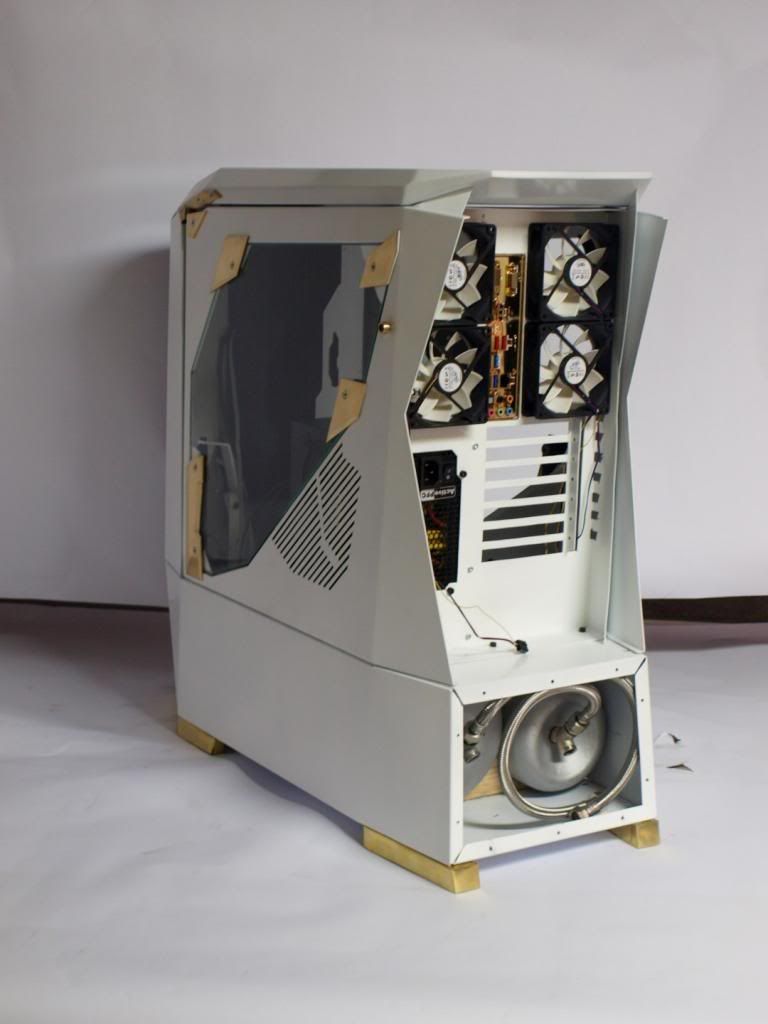
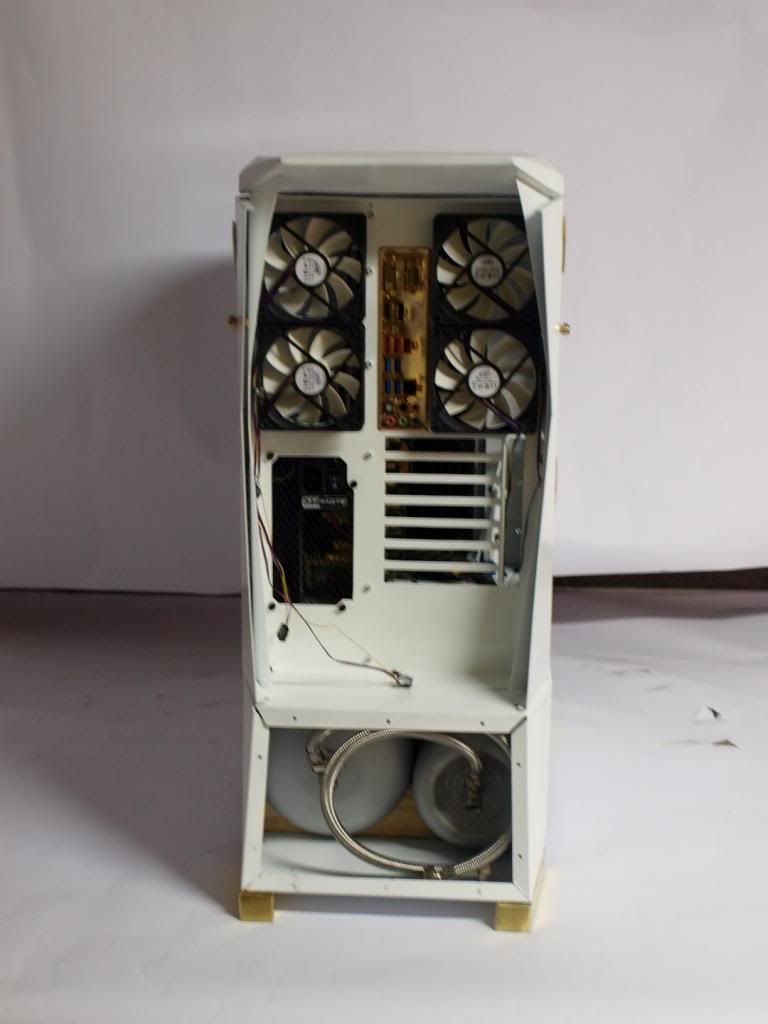
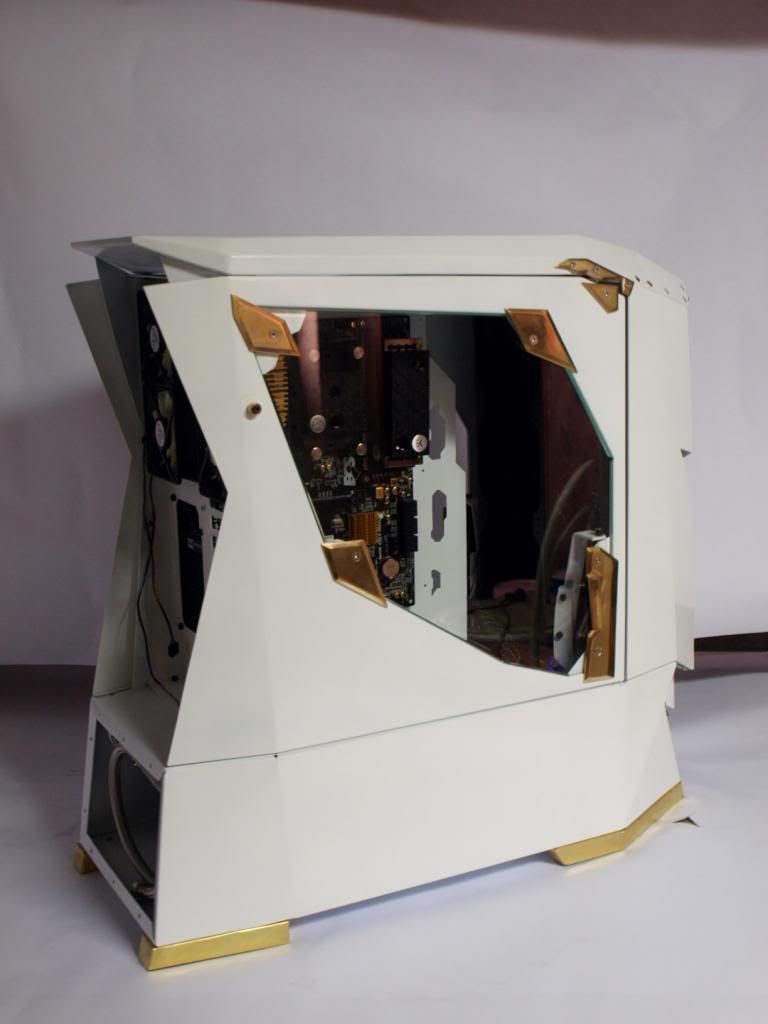
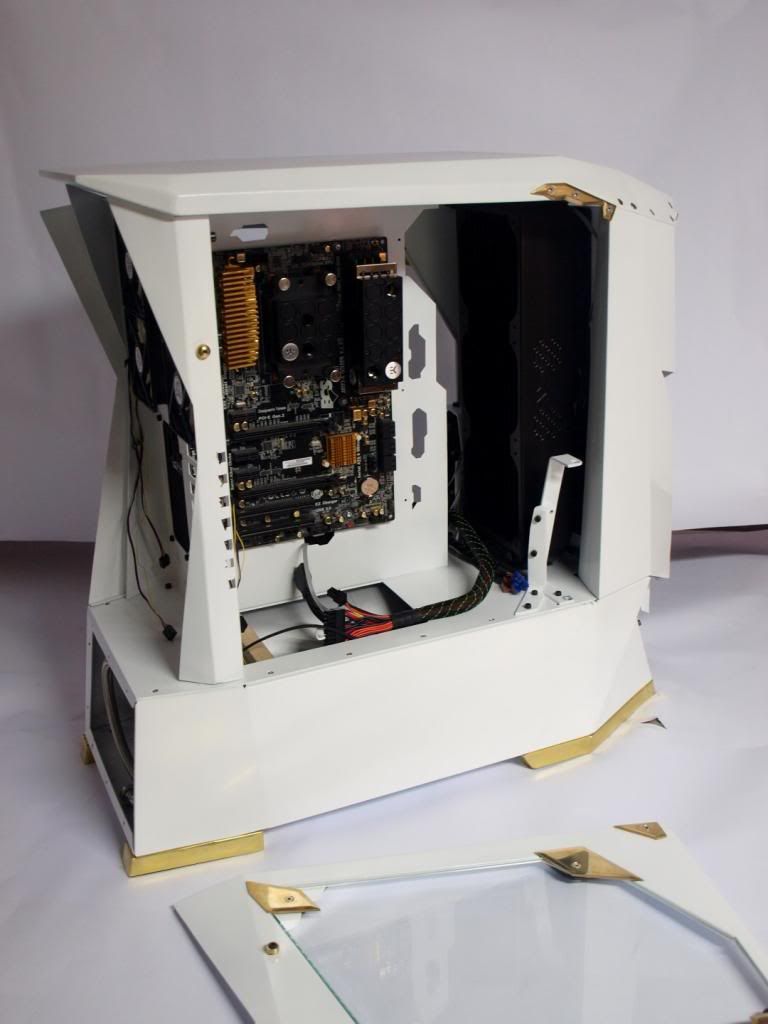
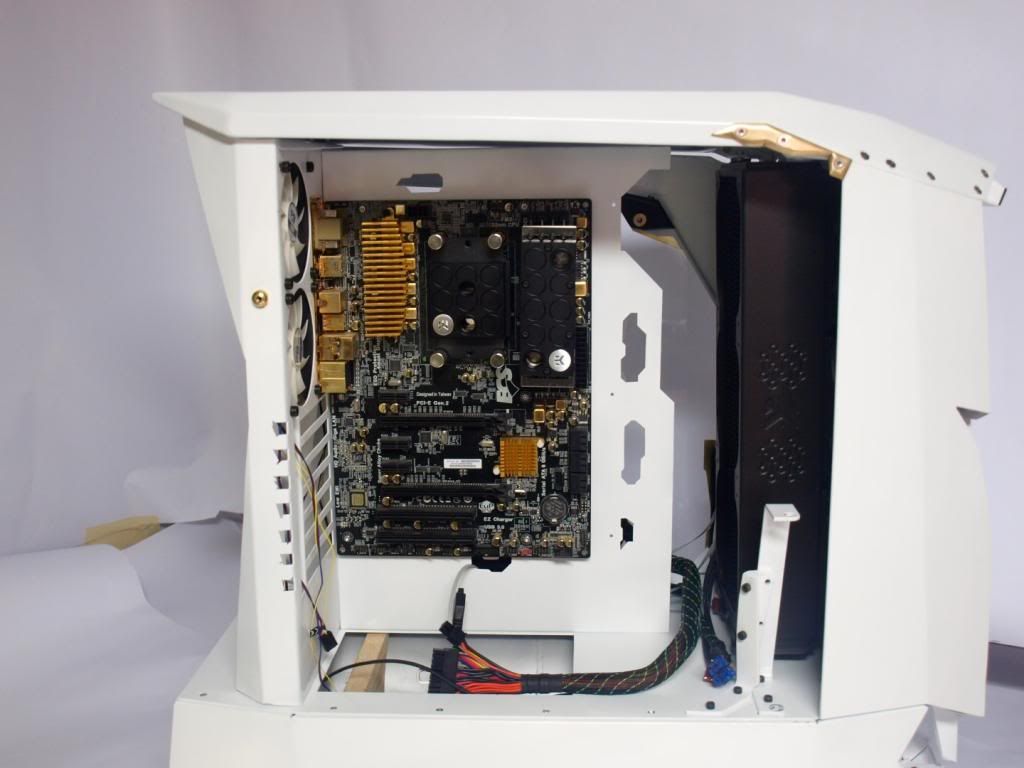
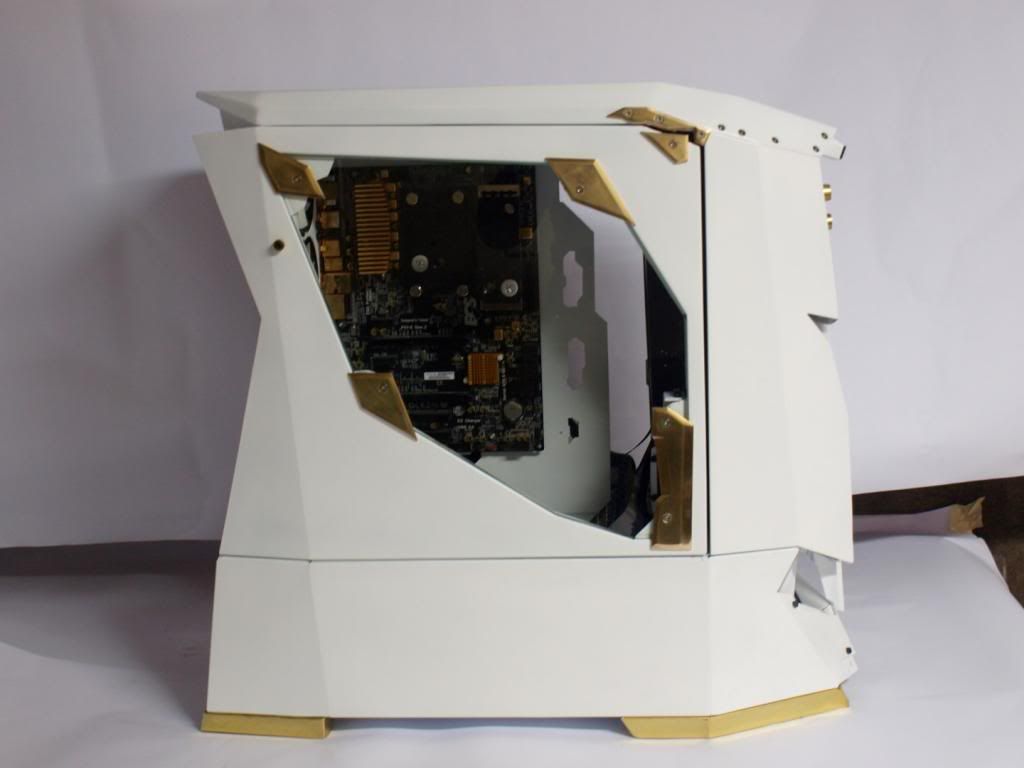
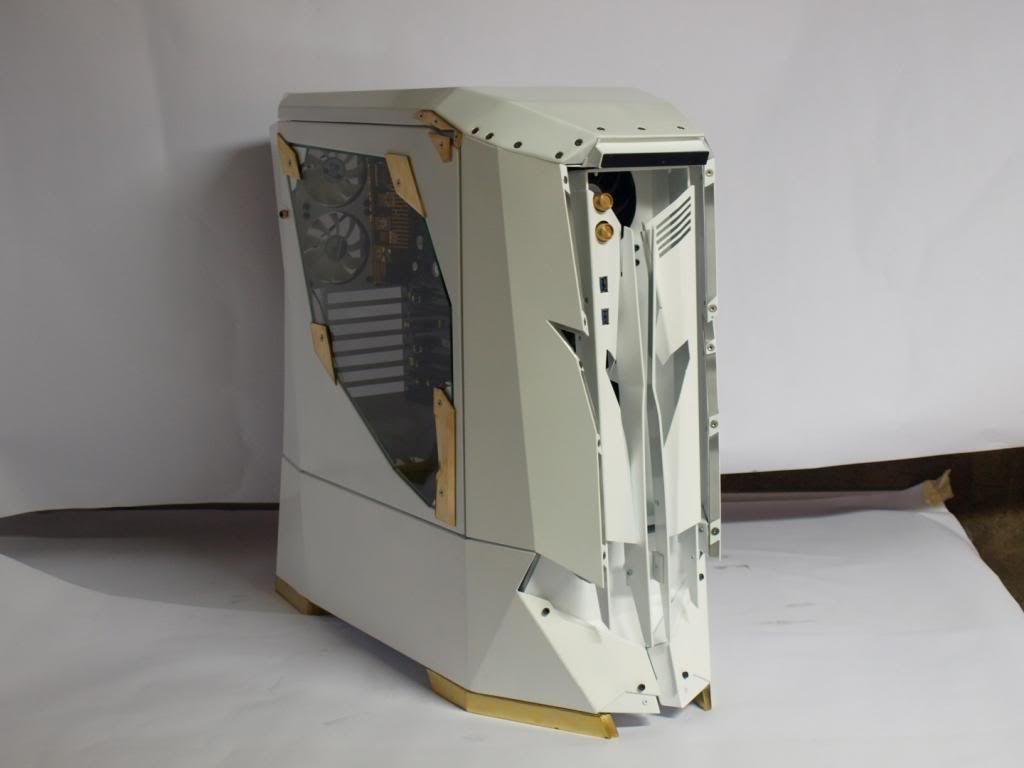
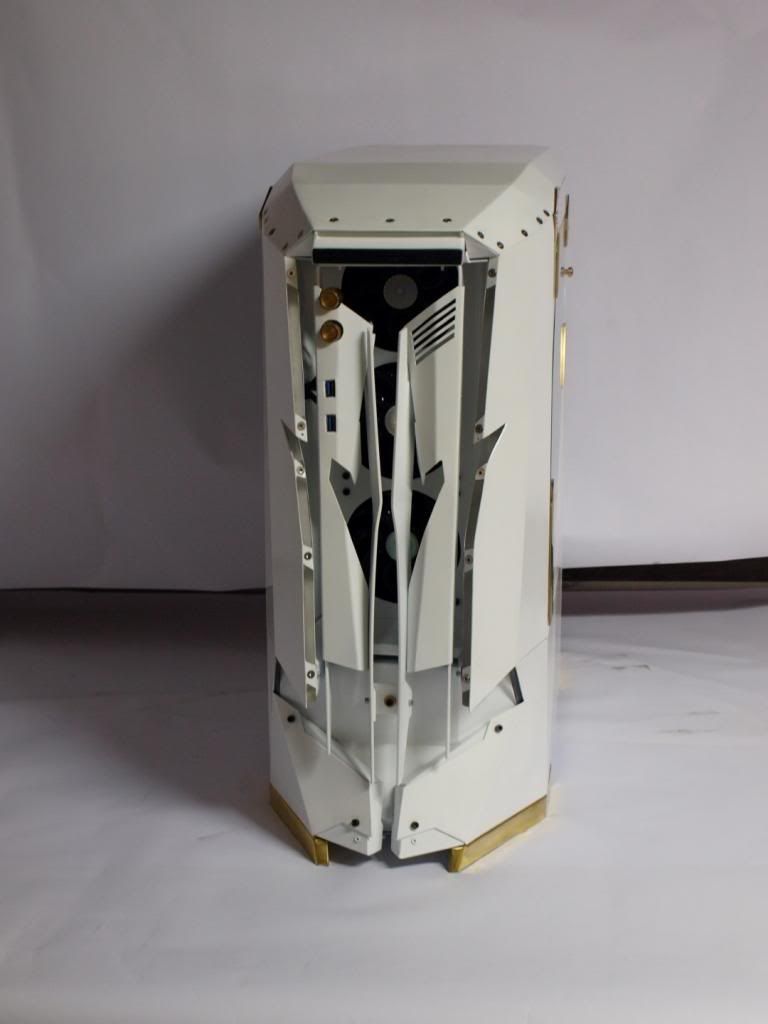
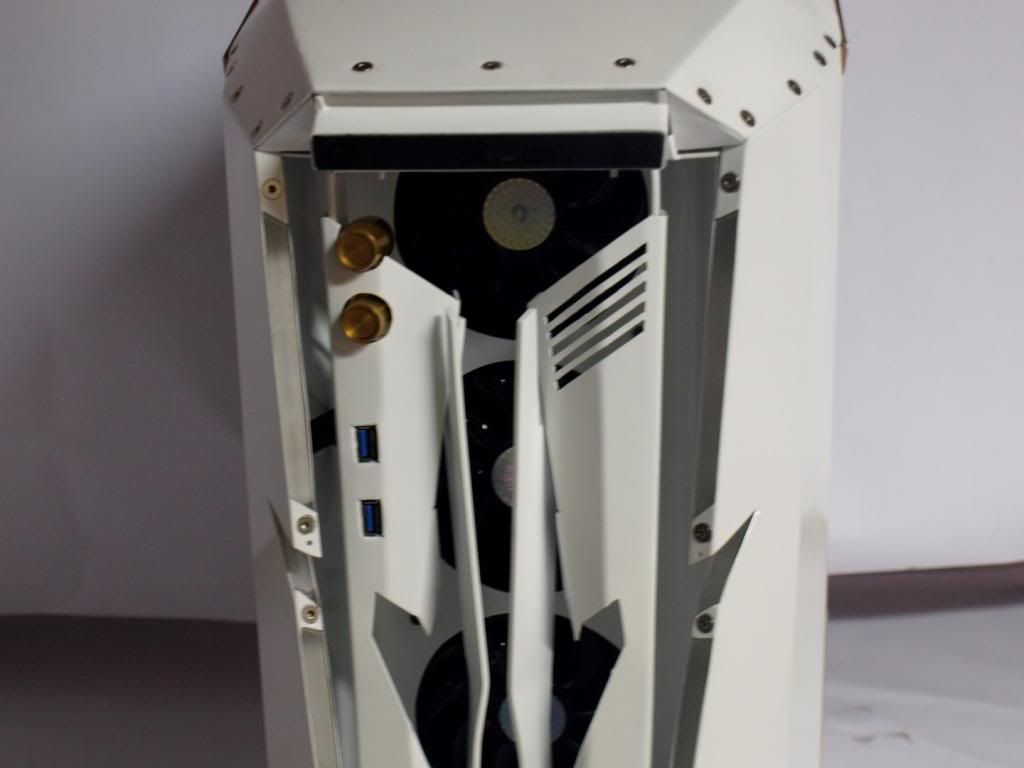
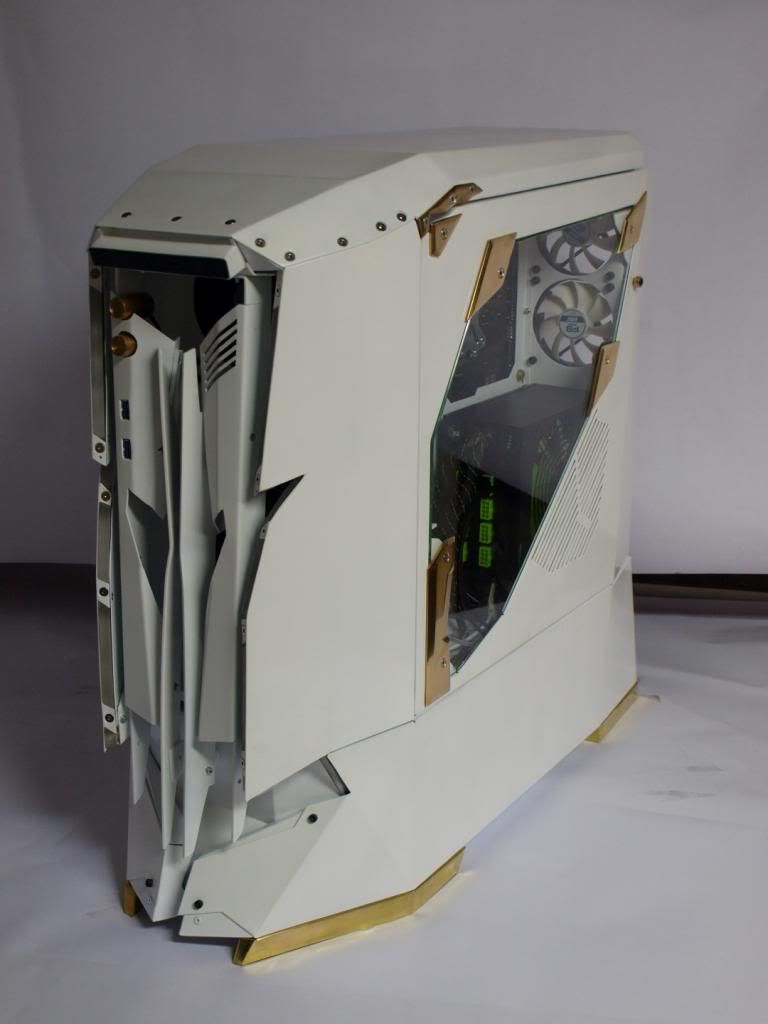
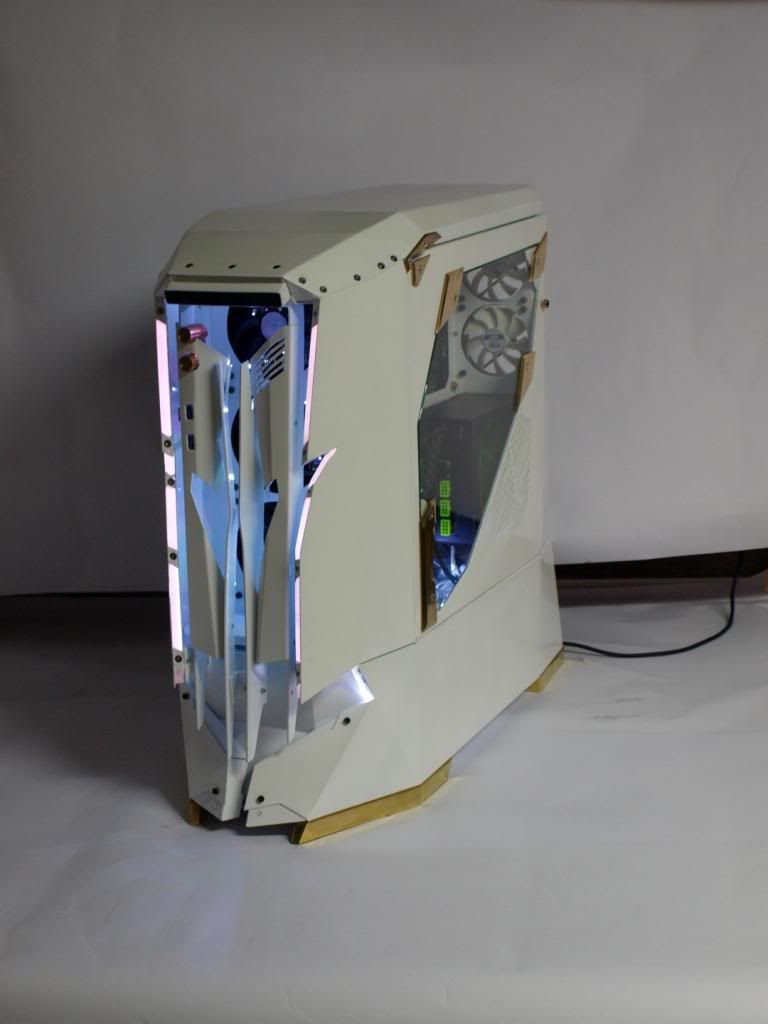
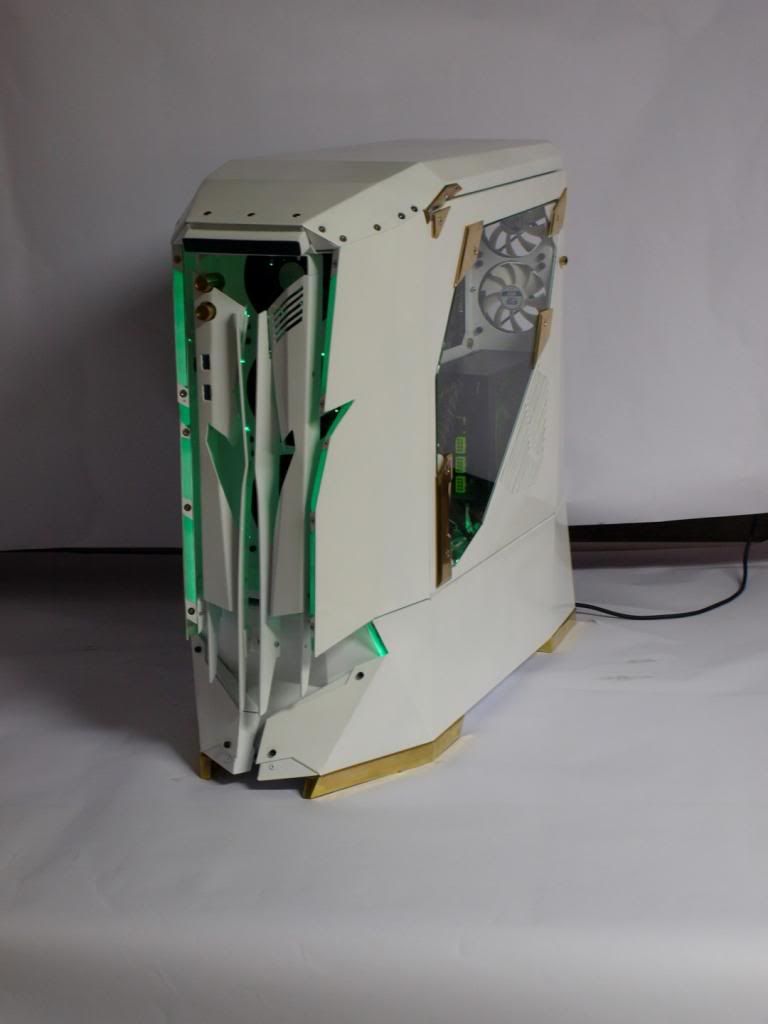
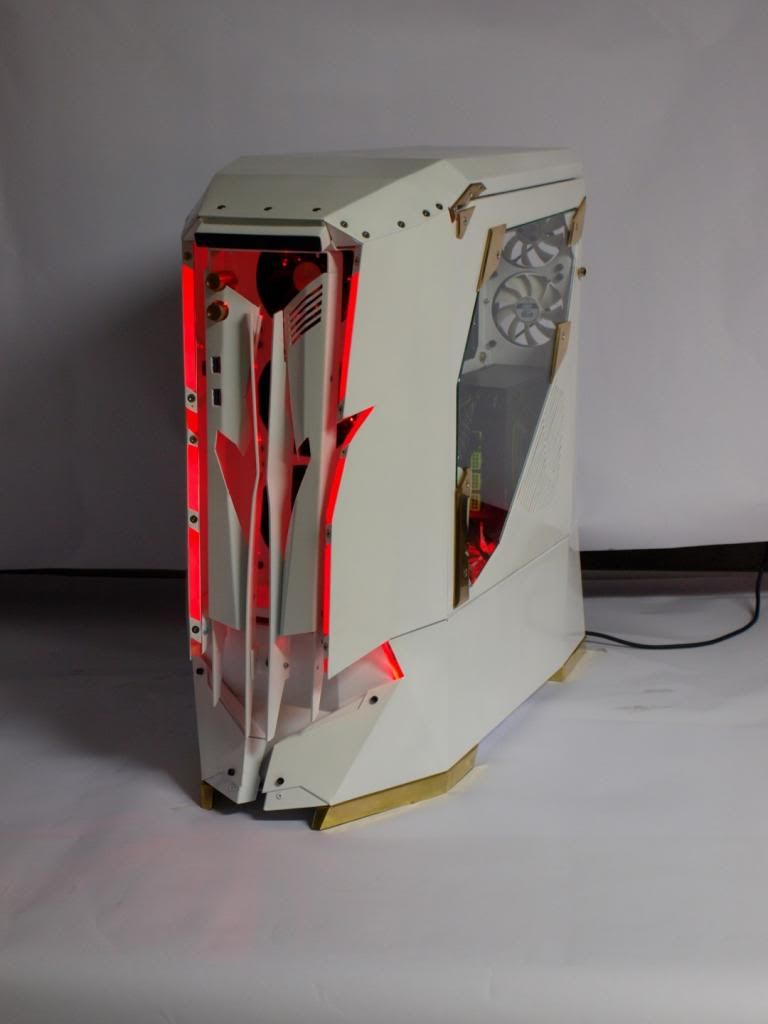
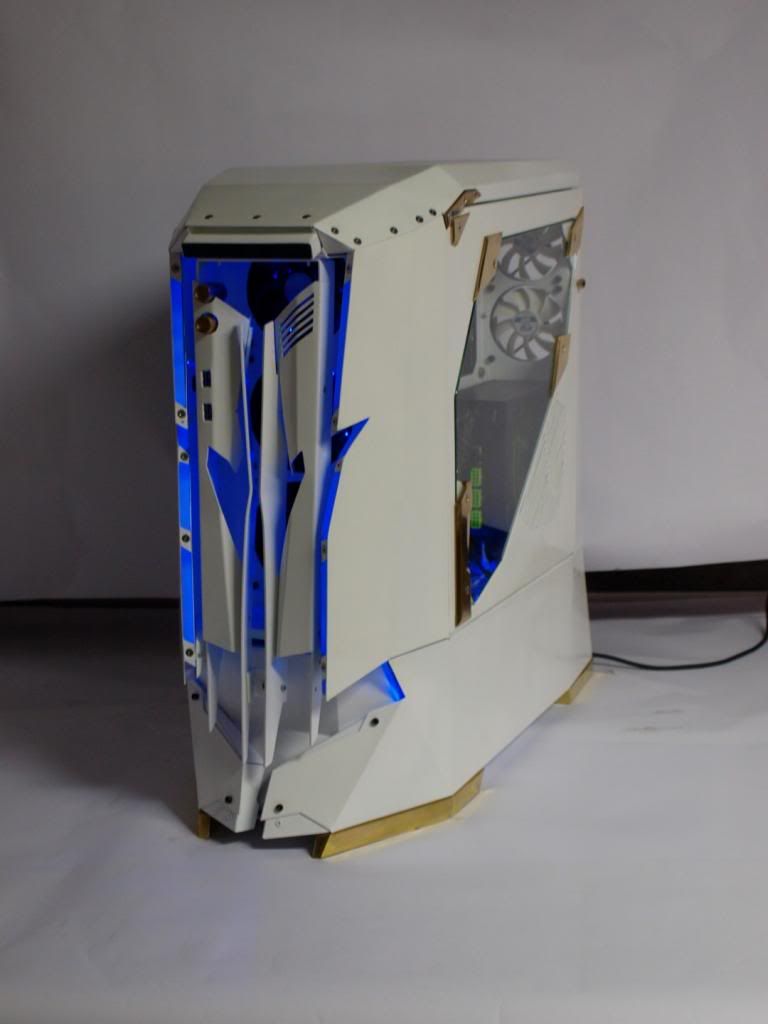
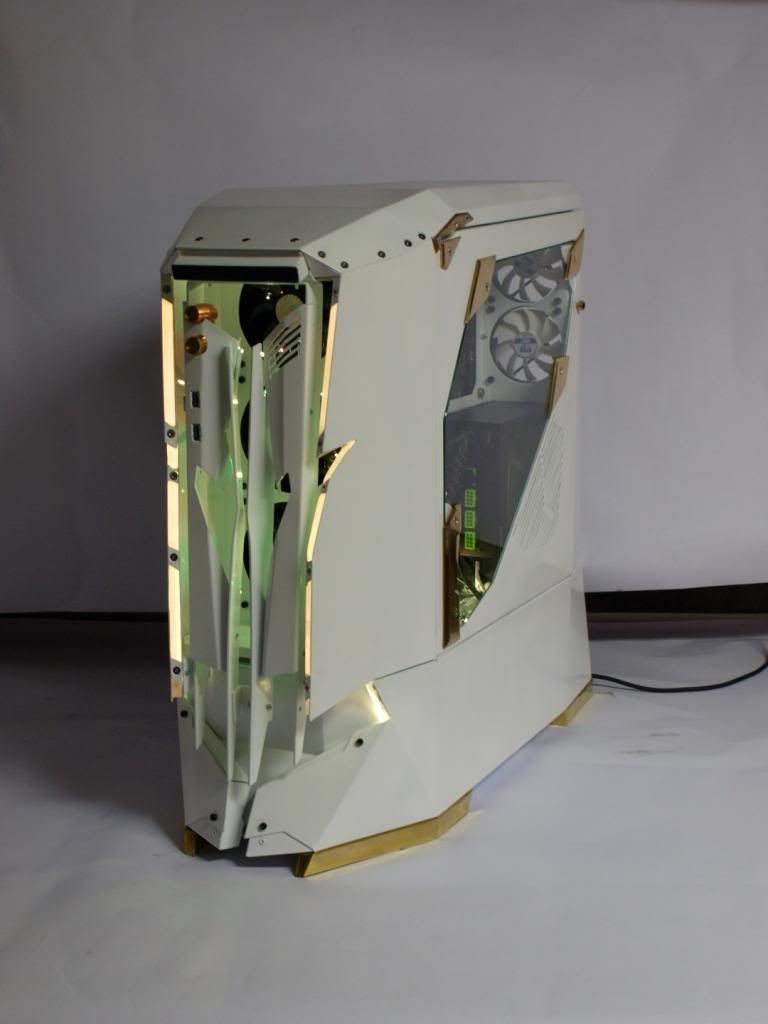
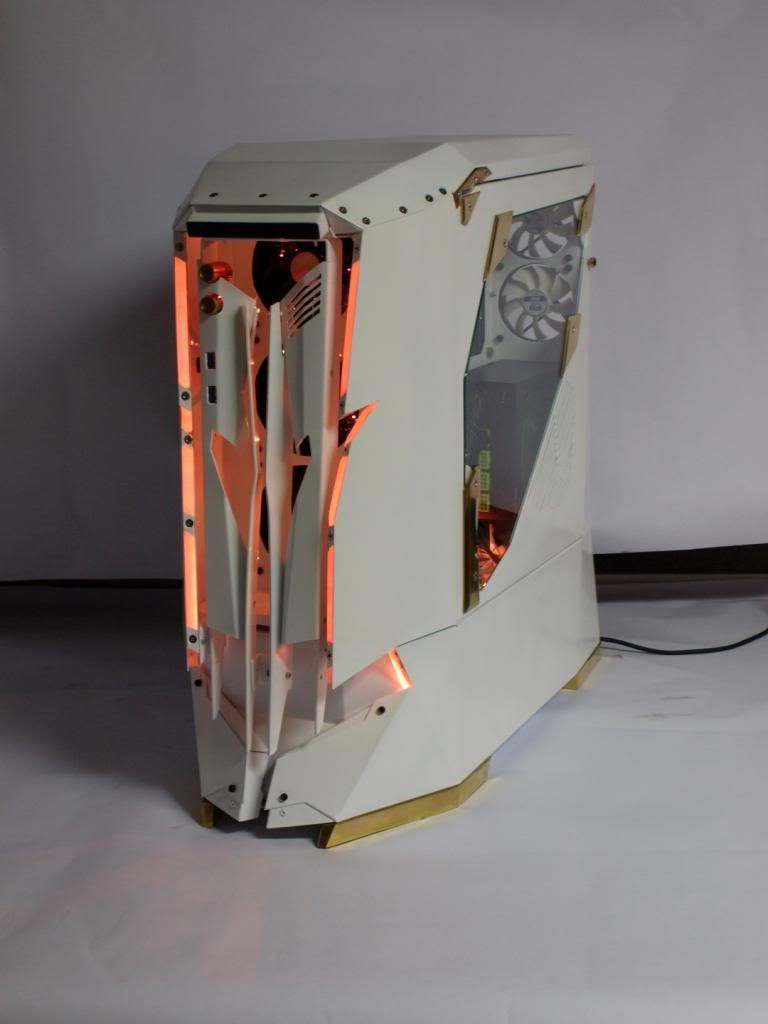
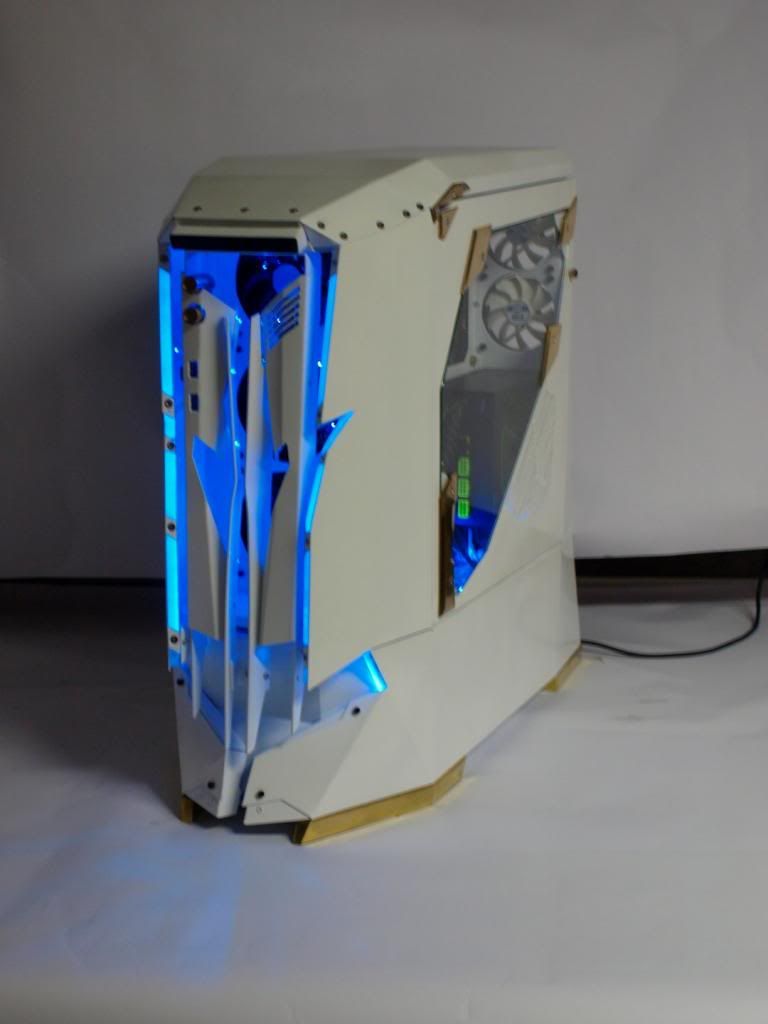
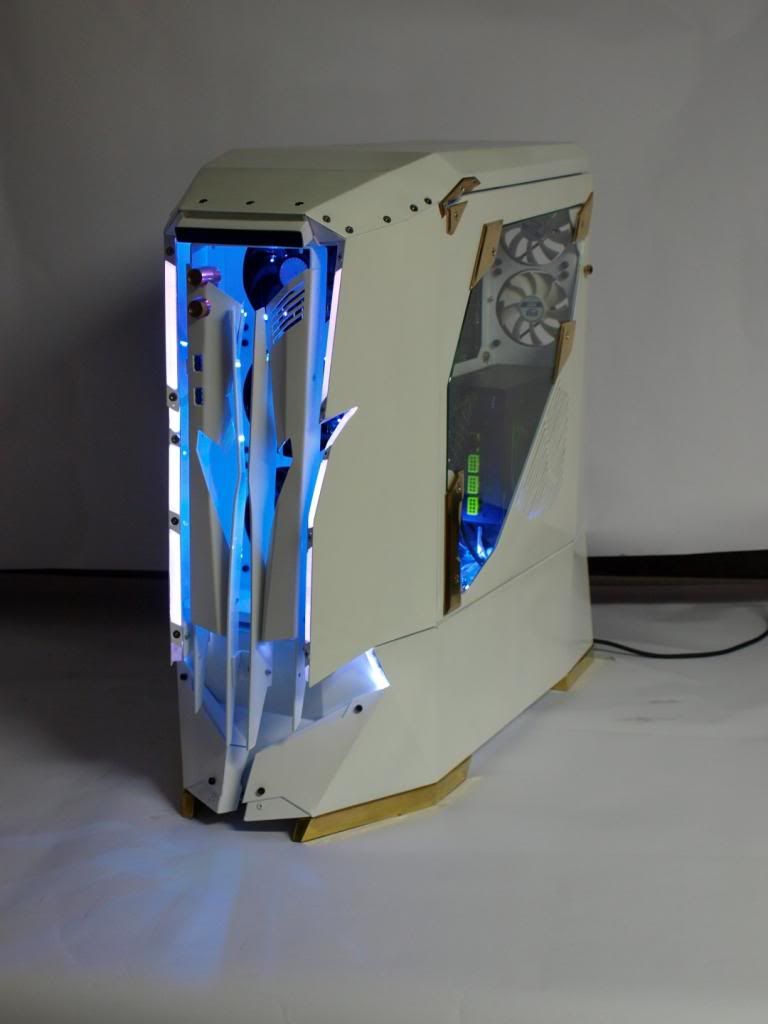
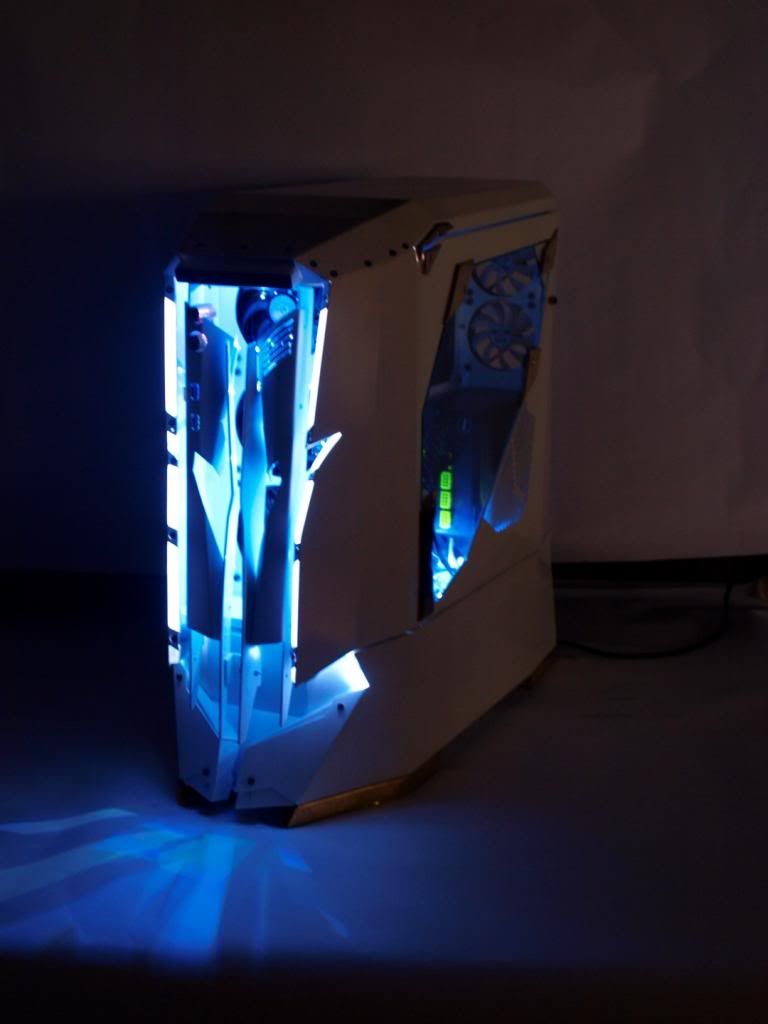
Take care.
The pieces finally met the White right (this glossy white),
The feet are covered in gold leaf, as they have the responsibility to stand
with everything on top. Deposits are actually two fire extinguishers, one of two kg of CO2 and one of six pounds of powder, both lost contents and received internal treatment anti oxygen
(anti-corrosion zinc spray), the visible tubes are for filling of liquid refrigerant.
The blocks and radiator EKWB are well inside the box, because this is being done by measure.
In front, the acrylic jars filled with light and, with the right touch until they are able to change color.
Jokes apart of that I got rid of, just missing the sleeving, covers for the source and disks with
the brand name and, more important, my version of the connectors.


Take care.
Rahh
[H]ard|Gawd
- Joined
- Jan 14, 2005
- Messages
- 1,607
I'm curious to how the wiring went? Love the look and style! Name it Shredder! ;8)
Thanks man.SICKNESS.
Thanks man. The cables pass through the air box inside the box, where are the acrylic and leds.I'm curious to how the wiring went? Love the look and style! Name it Shredder! ;8)
Very impressive case, I gotta say some mean fabrication skills to make that things from the ground up. Did it get inspired by CM Stacker 830 and In-Win H-Frame by any chance? I'm also feeling a good bit of Half Life 2 in this case. Love the old-school AMD board too! 
Very impressive case, I gotta say some mean fabrication skills to make that things from the ground up. Did it get inspired by CM Stacker 830 and In-Win H-Frame by any chance? I'm also feeling a good bit of Half Life 2 in this case. Love the old-school AMD board too!
Thanks bro, the first front was a derivation of Corsair Carbide 540 Air, the main box style is an evolution of my first project.
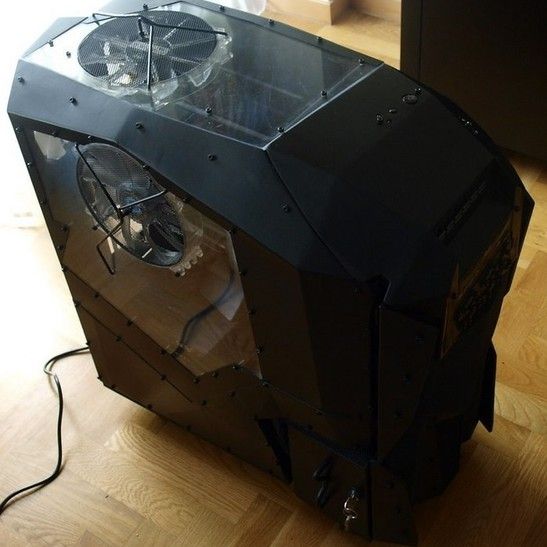
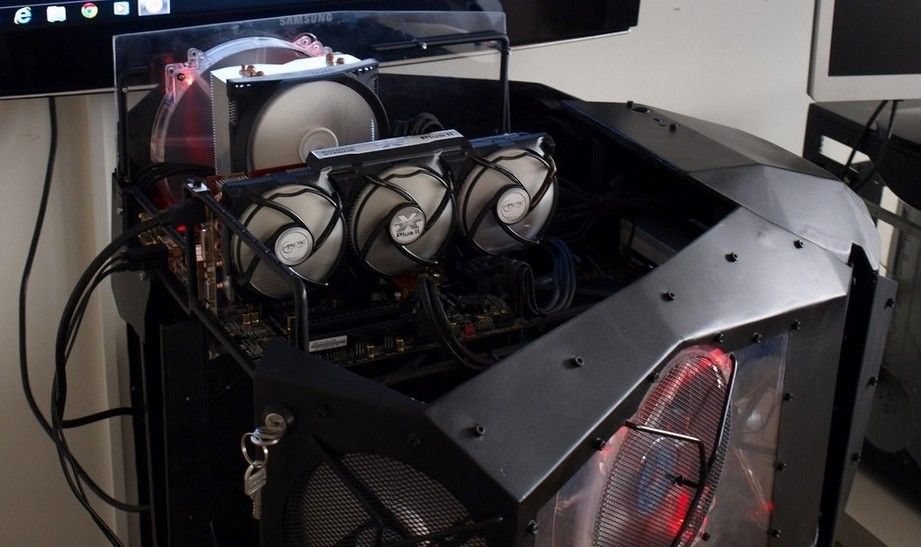
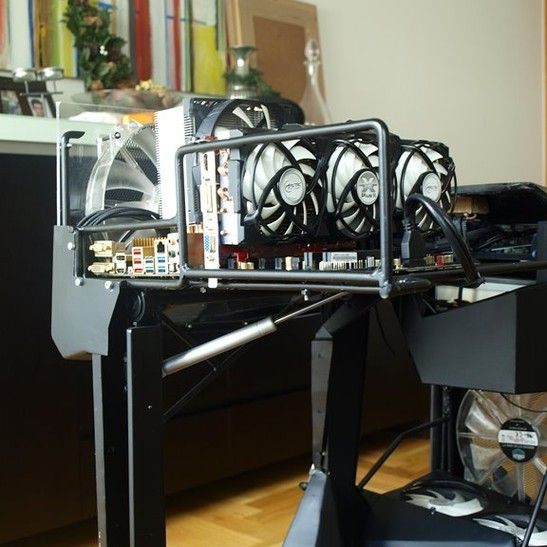
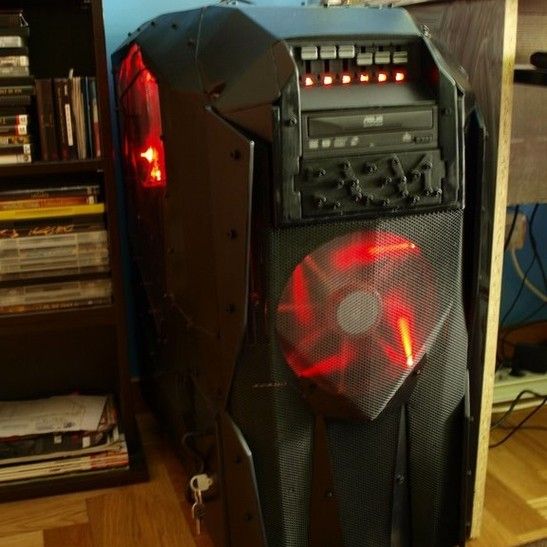
Thanks mate.such a cool and awesome case mod. the case design reminds me of a Neill Blomkamp film. Specifically Elysium and District 9. love it
![[H]ard|Forum](/styles/hardforum/xenforo/logo_dark.png)


