Hello!
This build started as a side project when I was building my other scratch build, Cold Winter. But somewhere on the way I stopped, but now Im going to finish it.
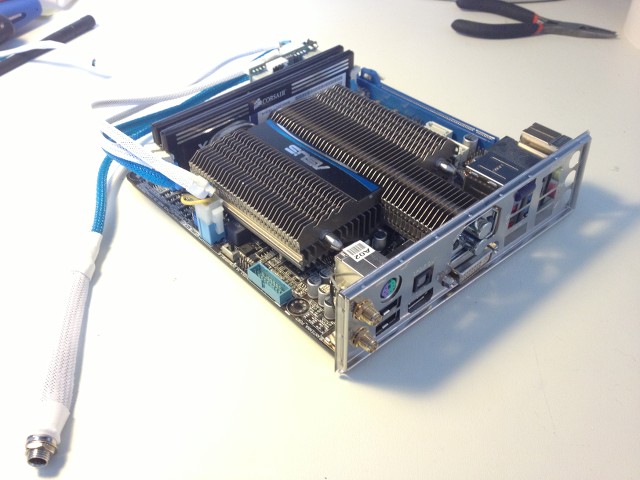
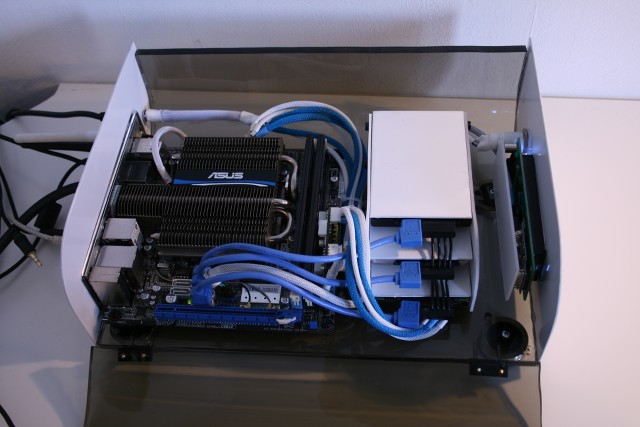
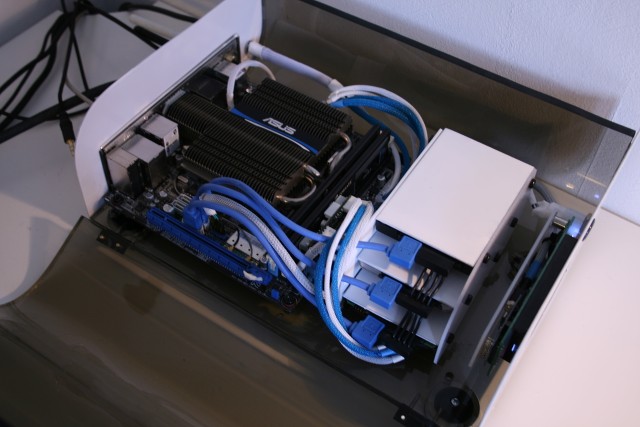
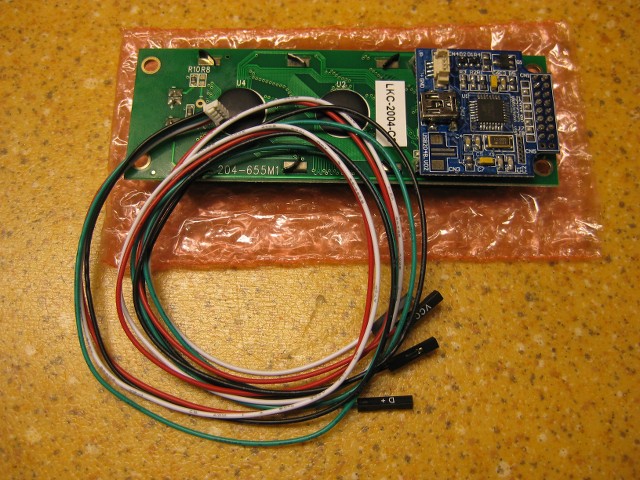
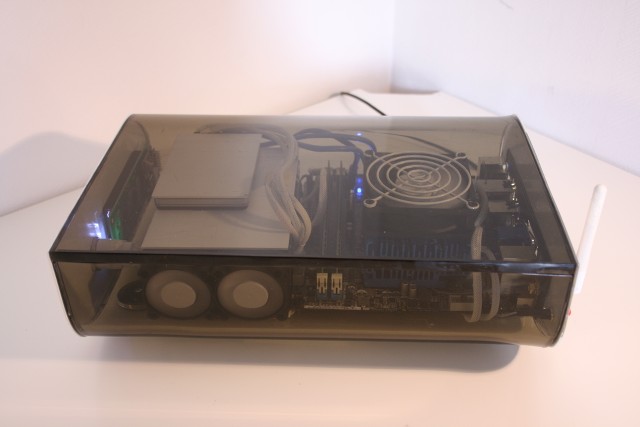
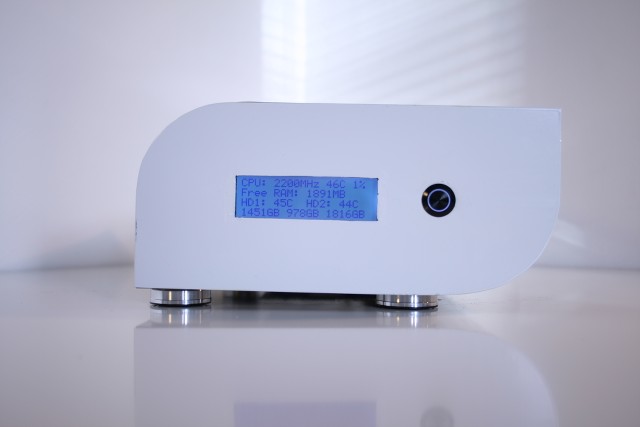
This is a HTPC/NAS build. The specs of the hardware is:
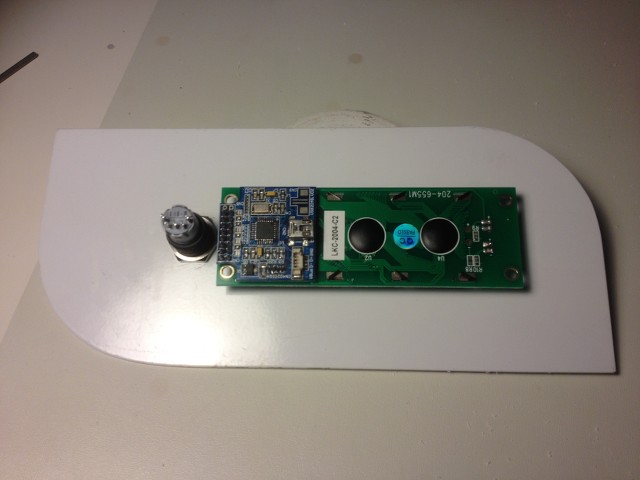
Asus AT3IonT-I Deluxe
Intel X-25-V G2 40gb
4gb Corsair DDR3
Western Digital Green 2TB & 3TB
Sponsors:


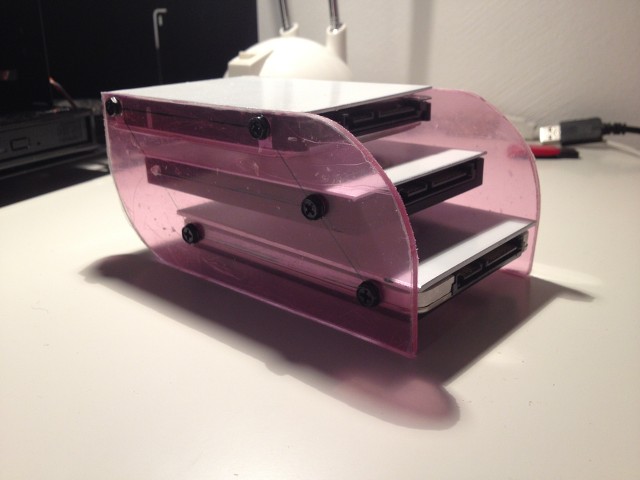
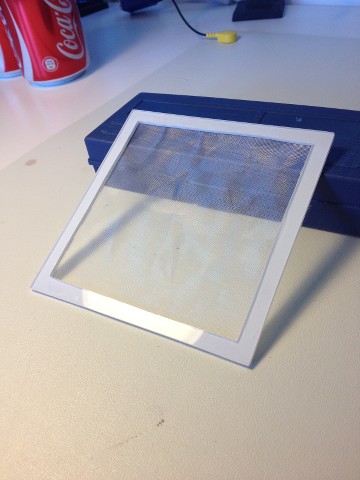
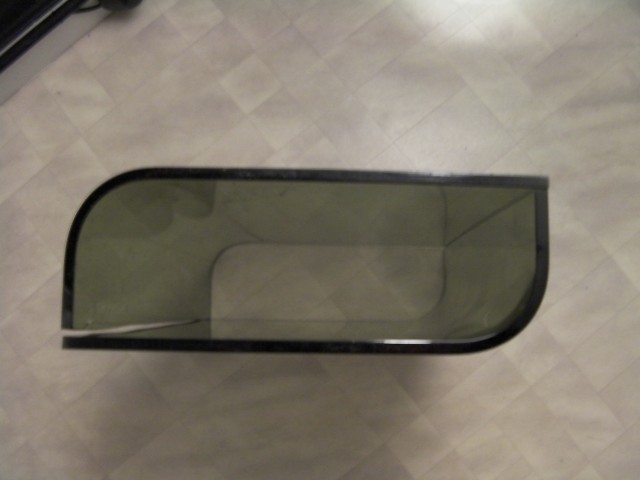
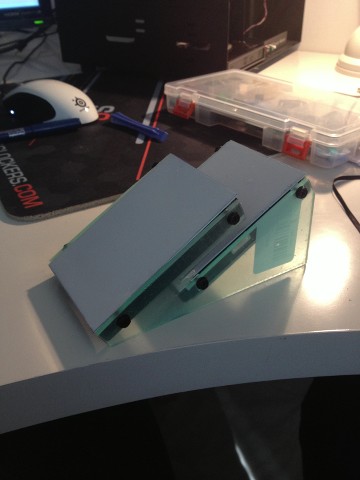
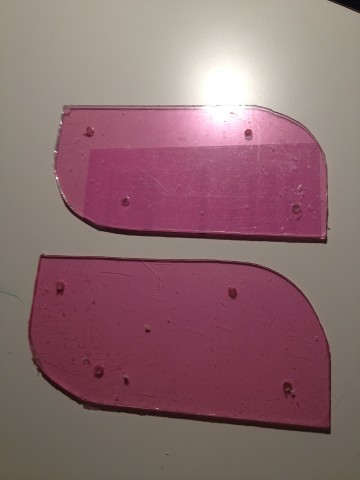
I got the idea for this build when I was looking at some of the acrylic I had left from Cold Winter. Saw some nice shape coming. So I started cutting, and got these two acrylic pieces:


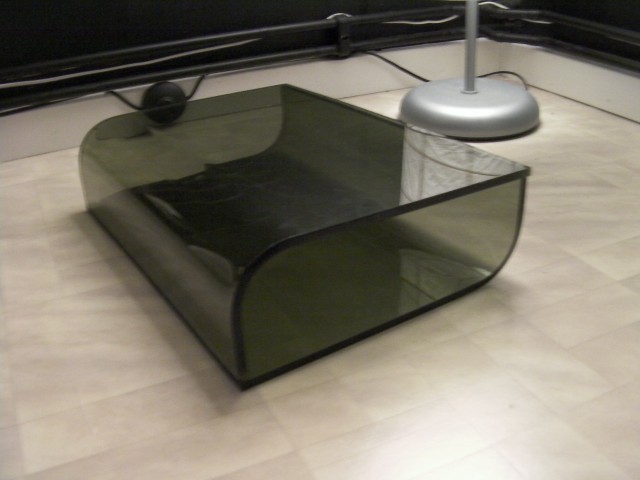
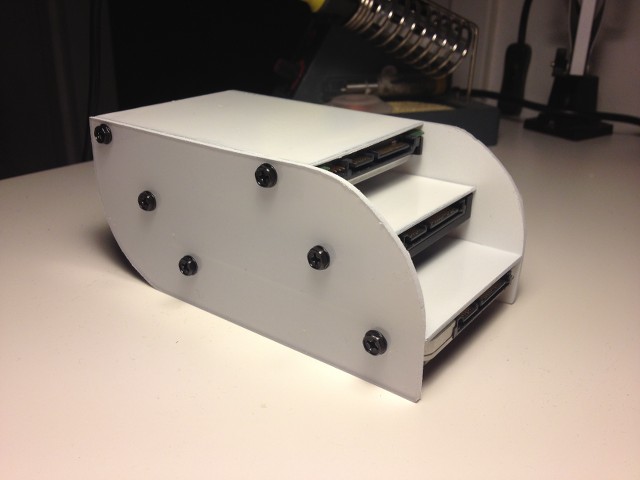
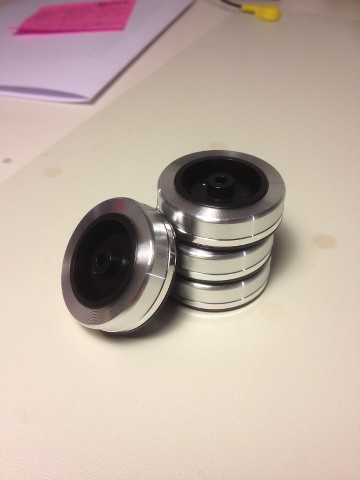
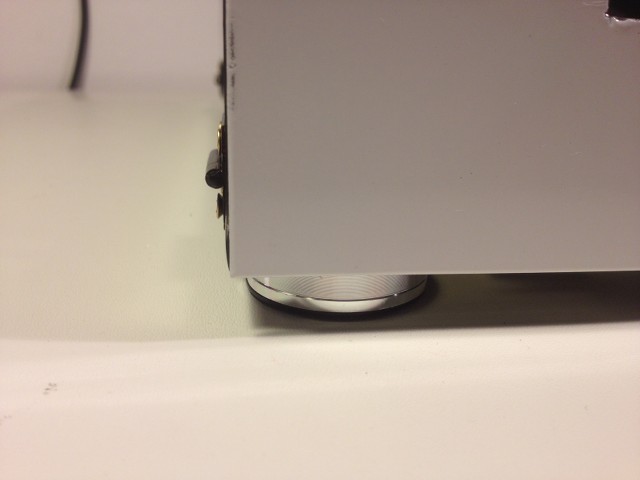
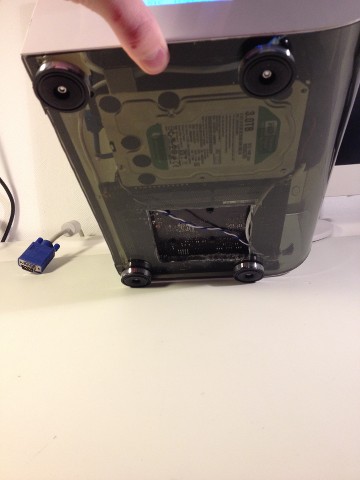
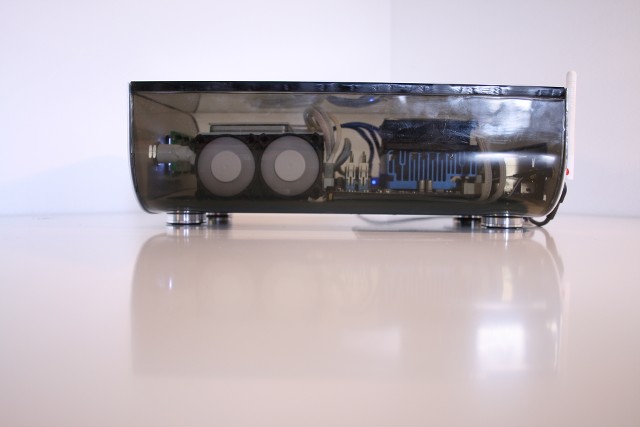
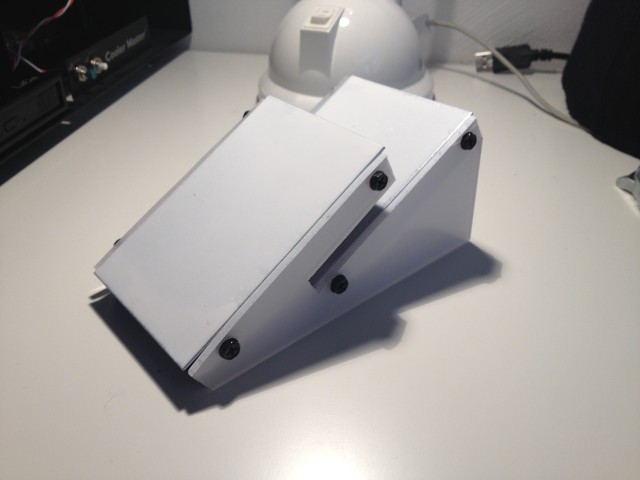
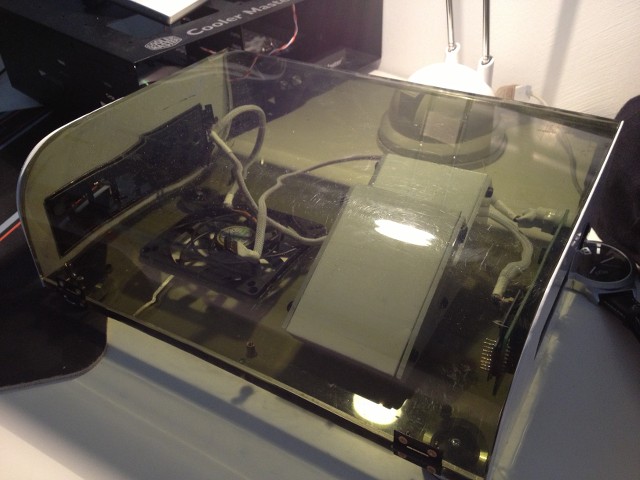
The next thing I did was to put some feet on it, havent decided yet if I should get some smaller ones. Then I put the two pieces together with two small hinges.
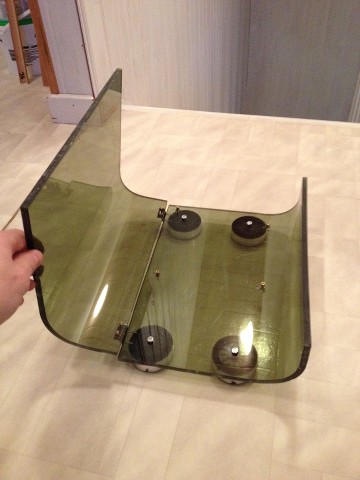
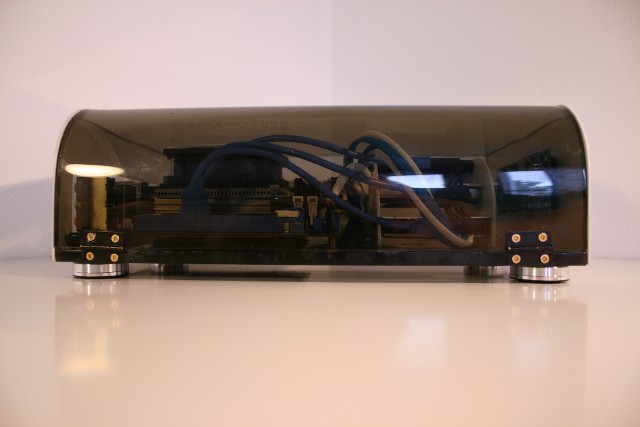
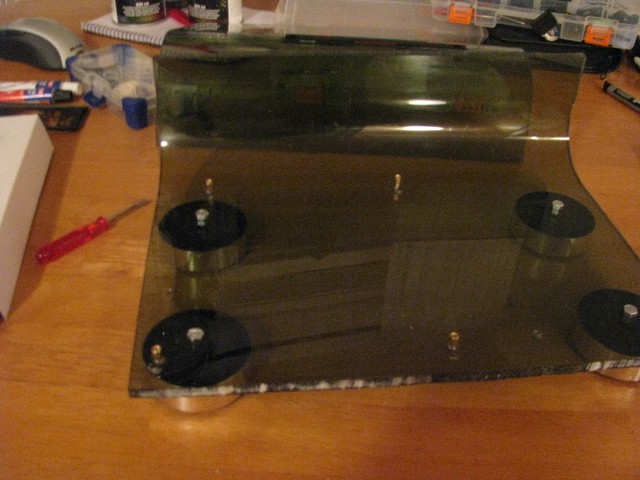
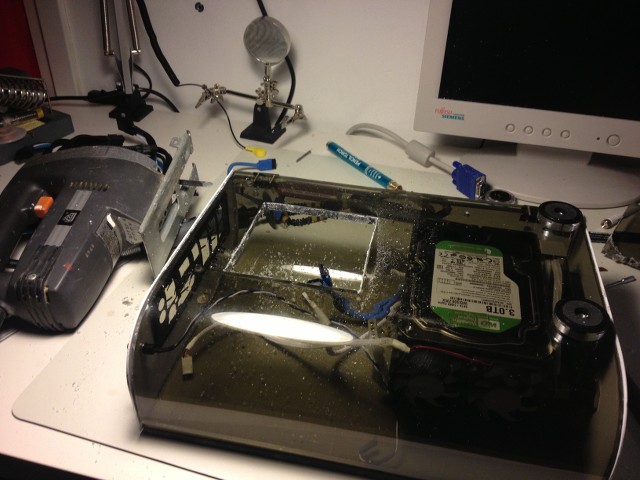
Glued the motherboard stand off screws into the acrylic.
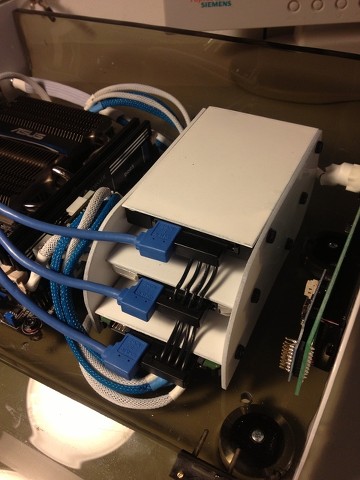
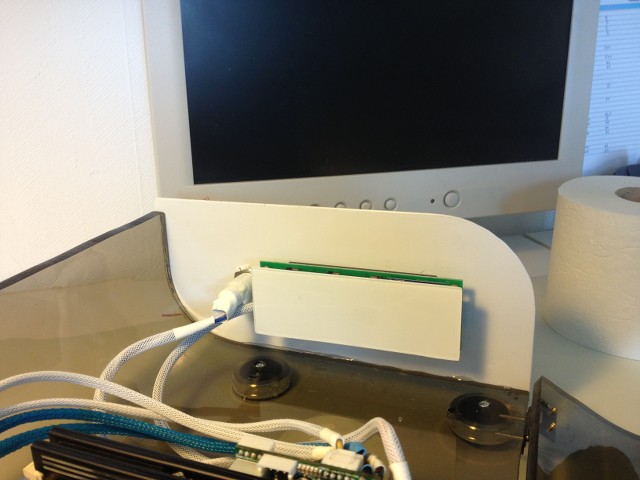
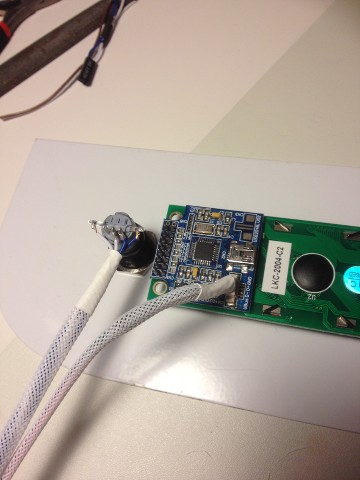
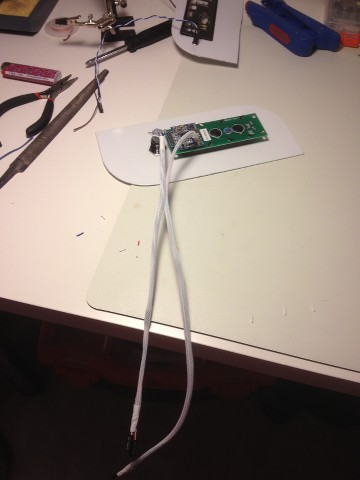
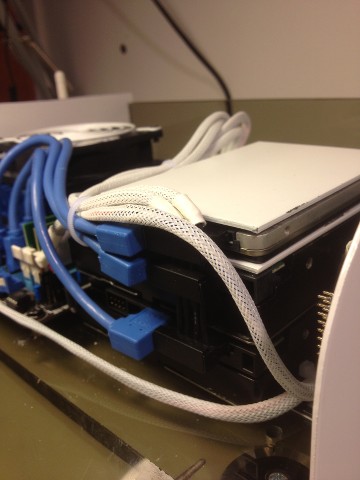
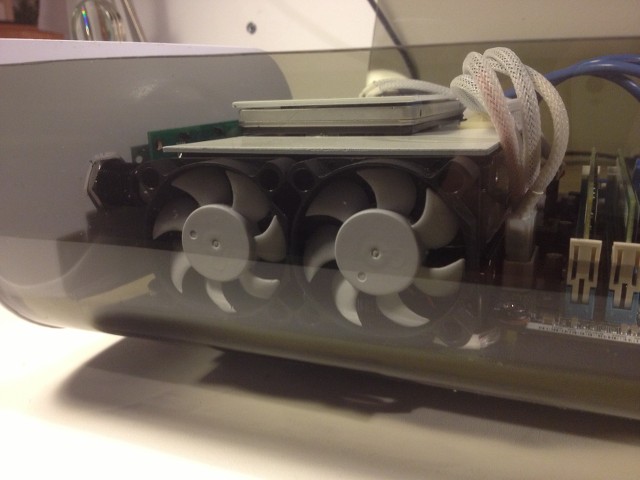
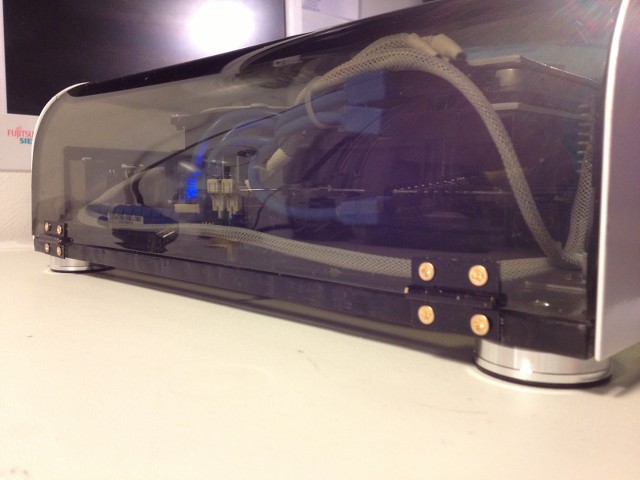
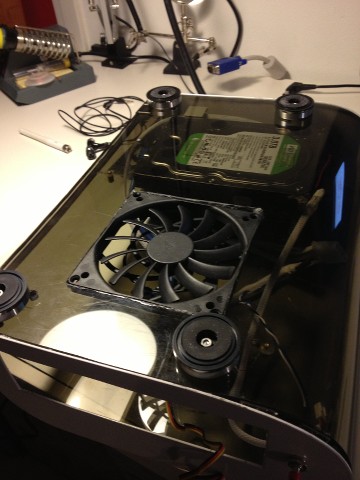
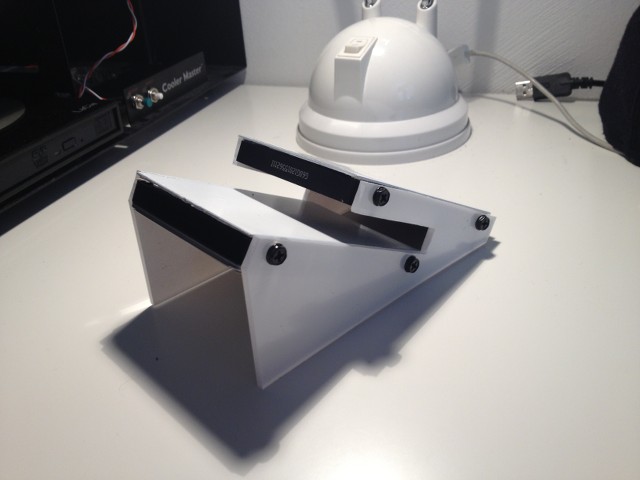
And sleeve the power cables for the drives.

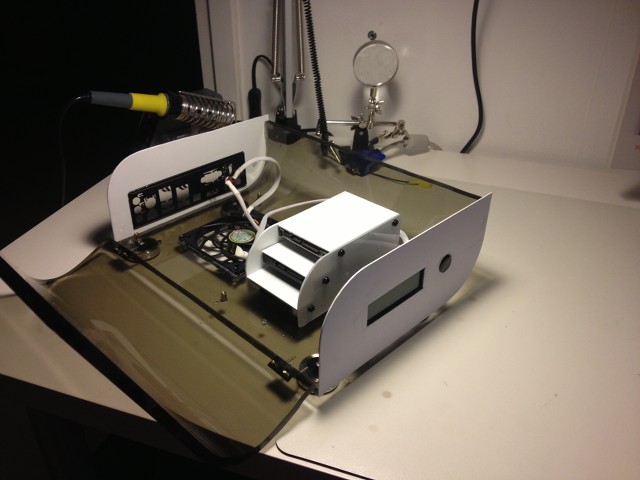
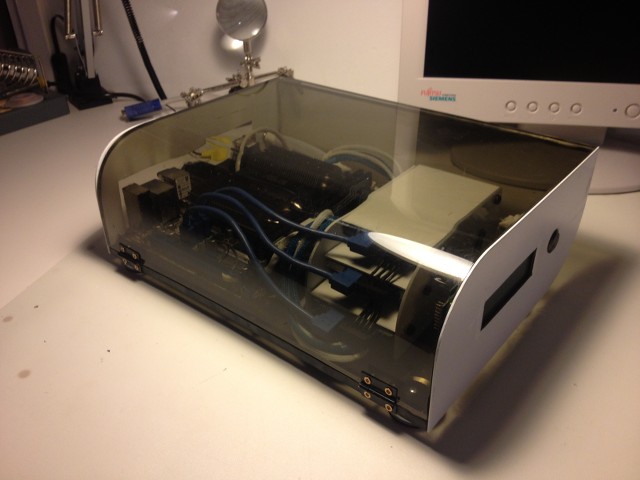
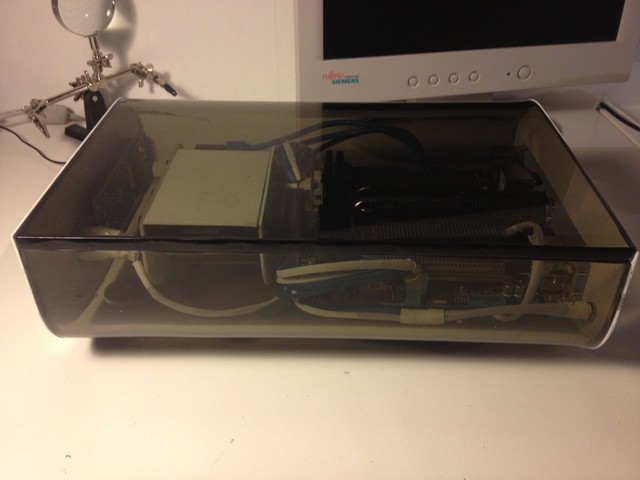
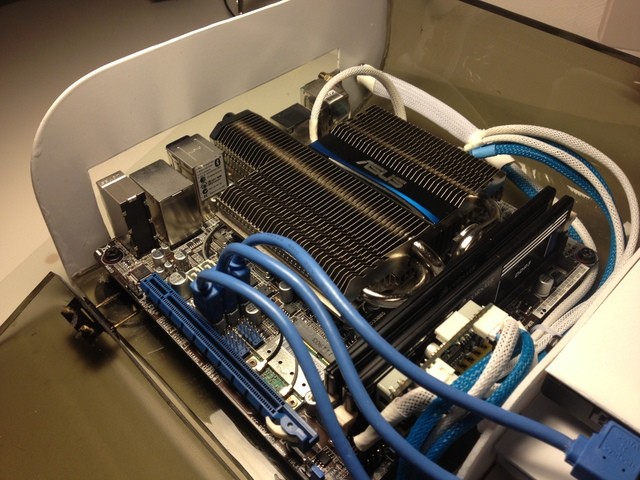
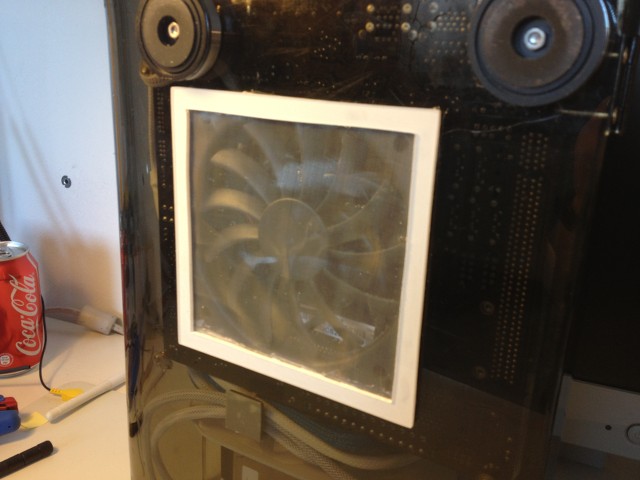
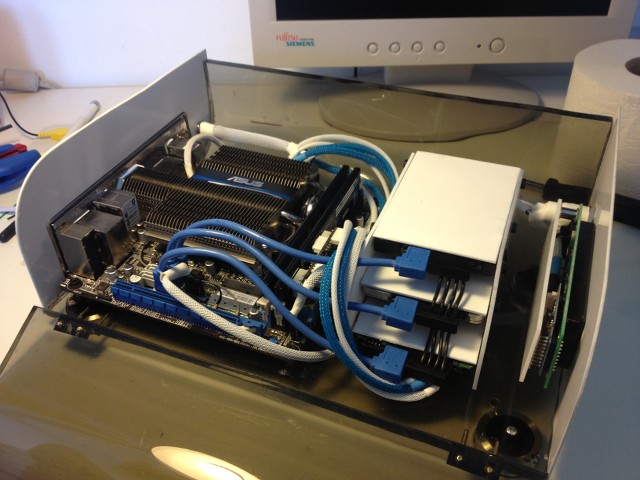
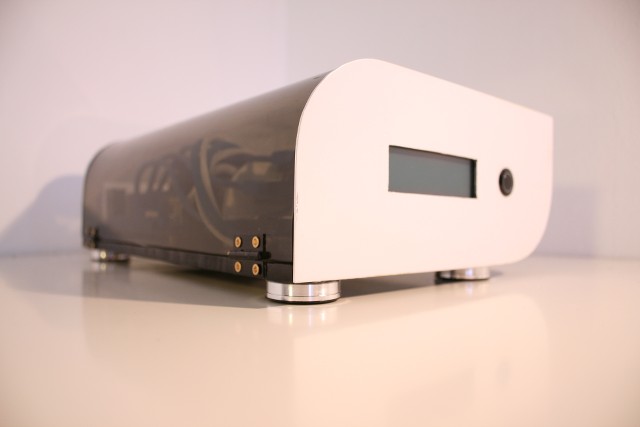
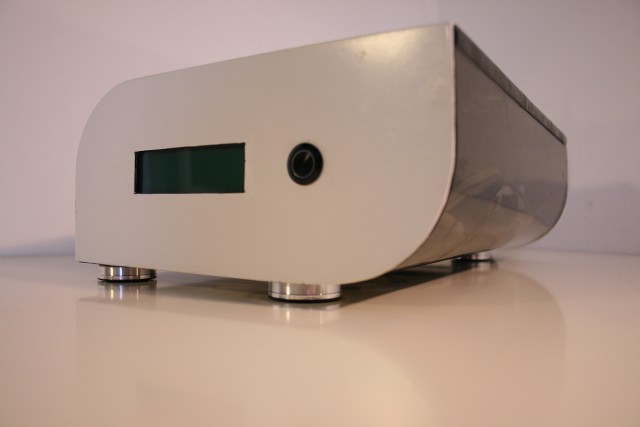
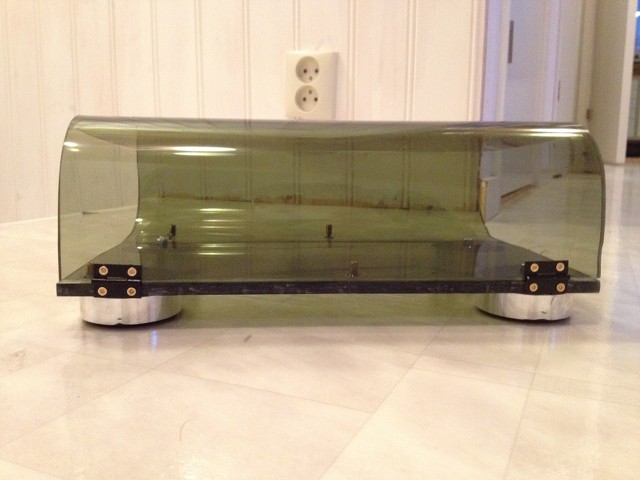
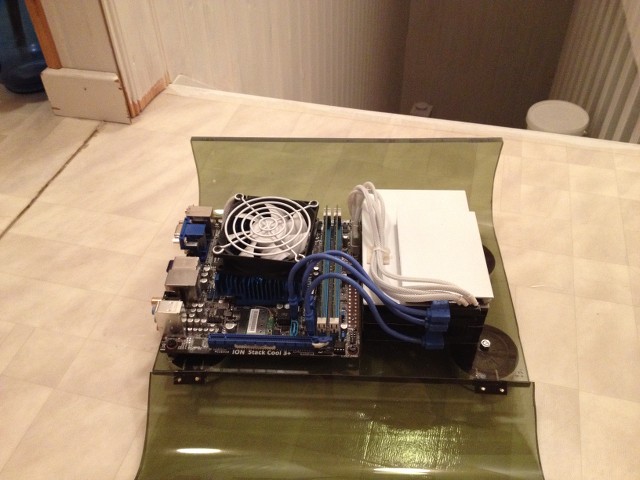
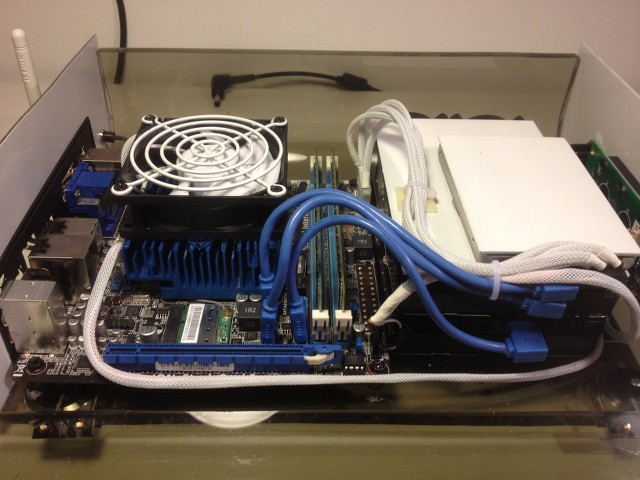
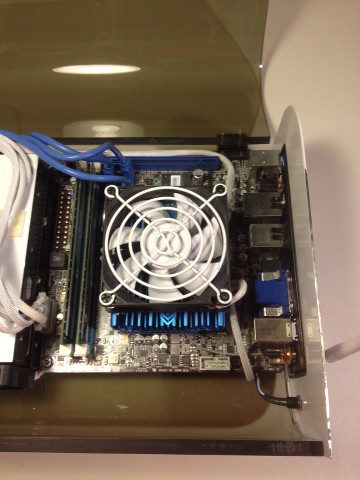
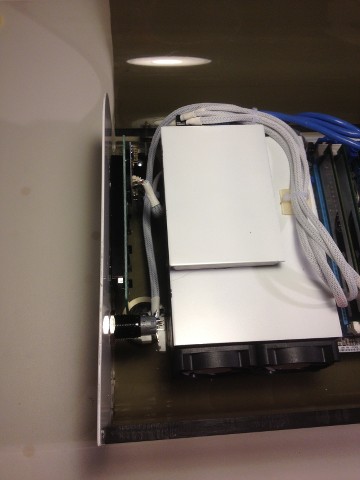
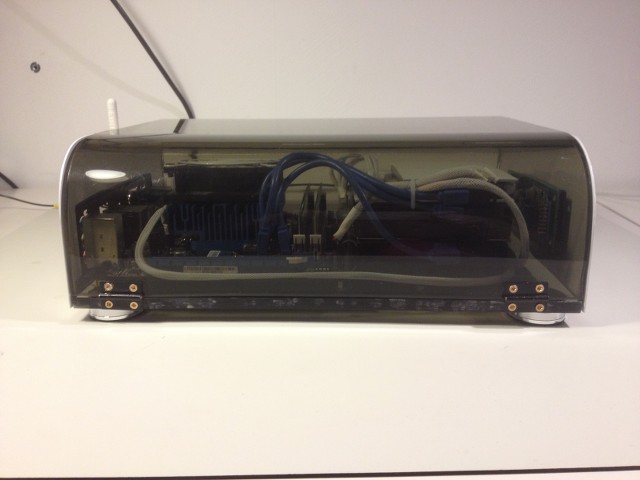
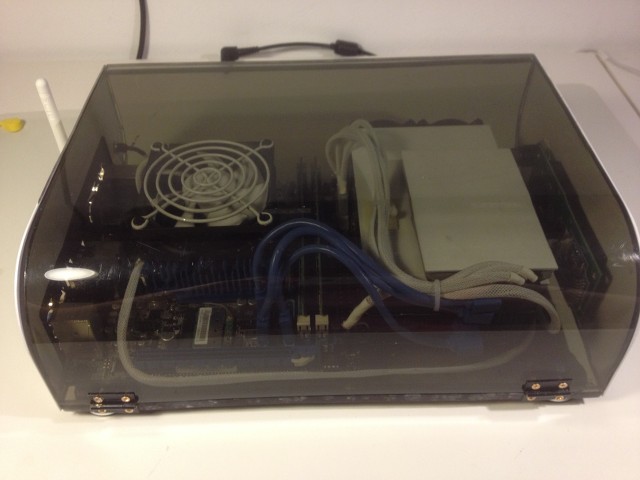
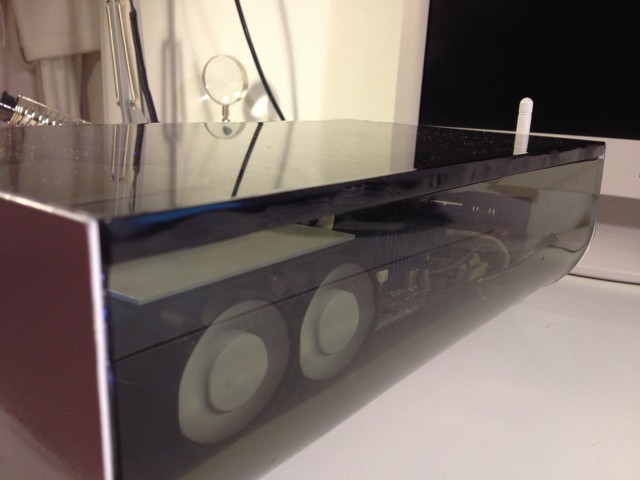
Some overview pictures.

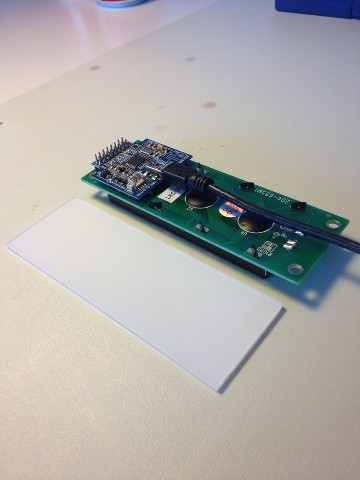
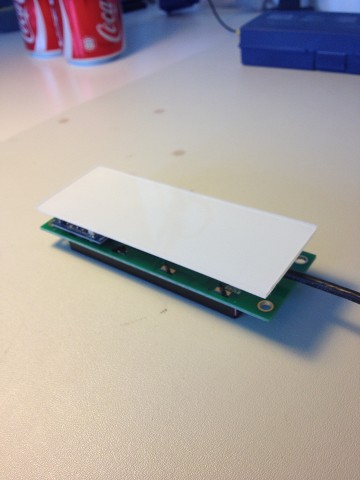
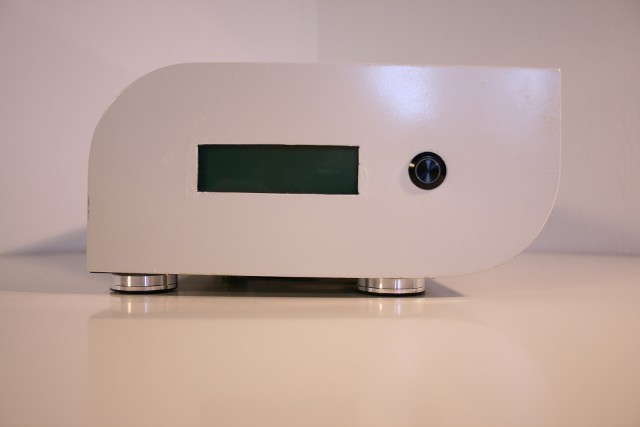
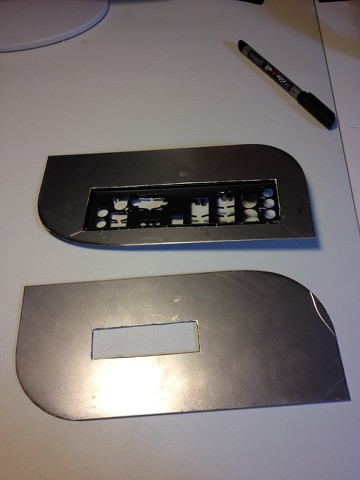
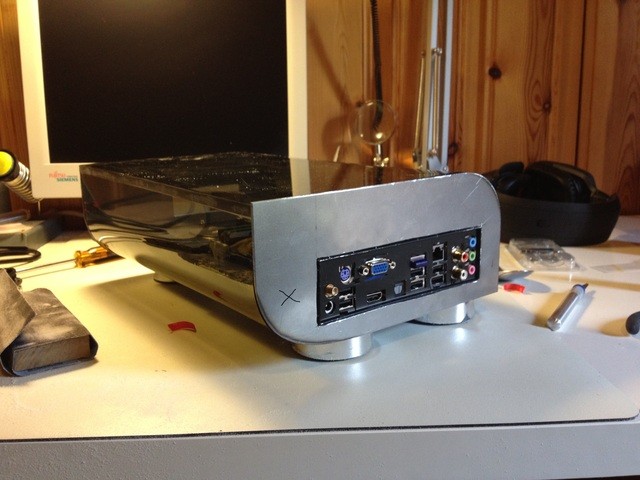
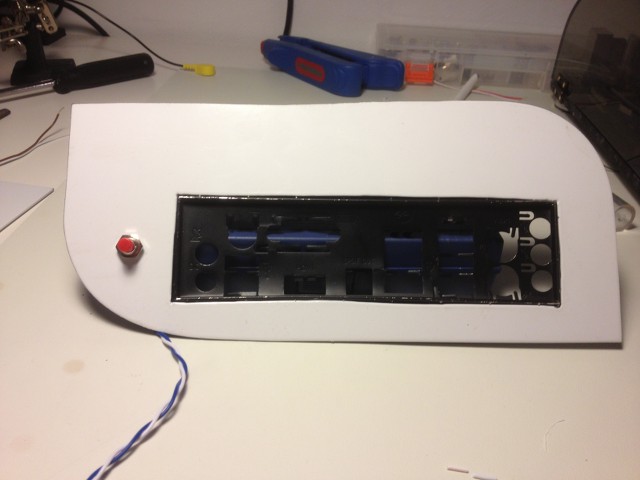
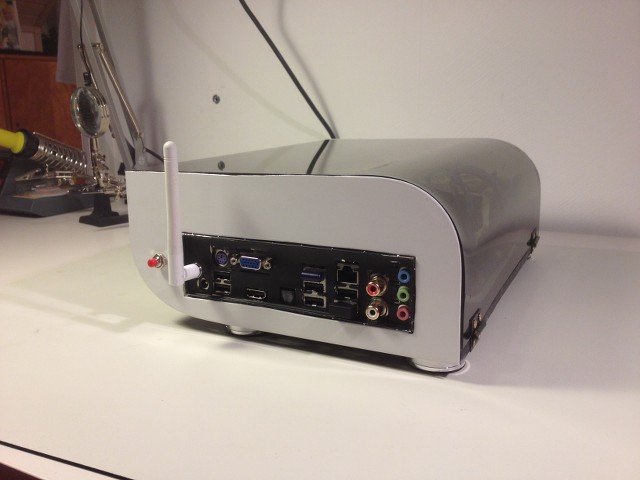
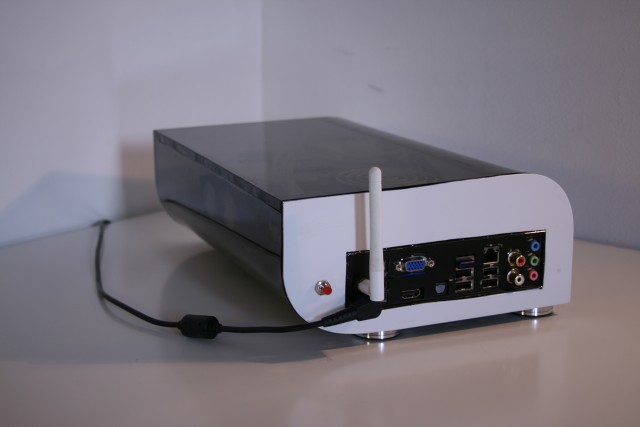
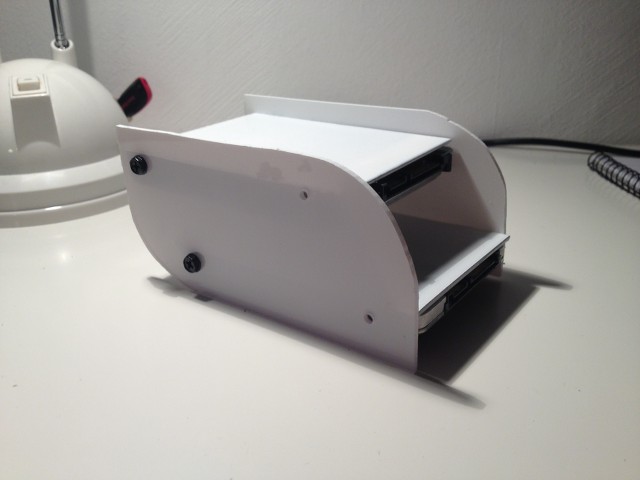
Next up is the front and backplate:
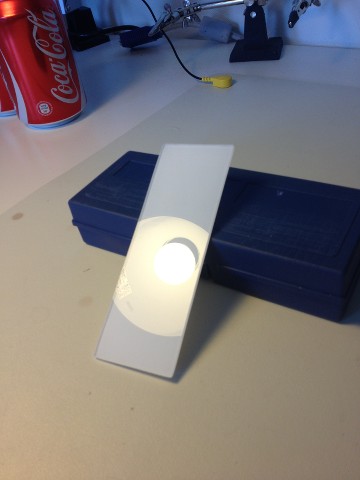
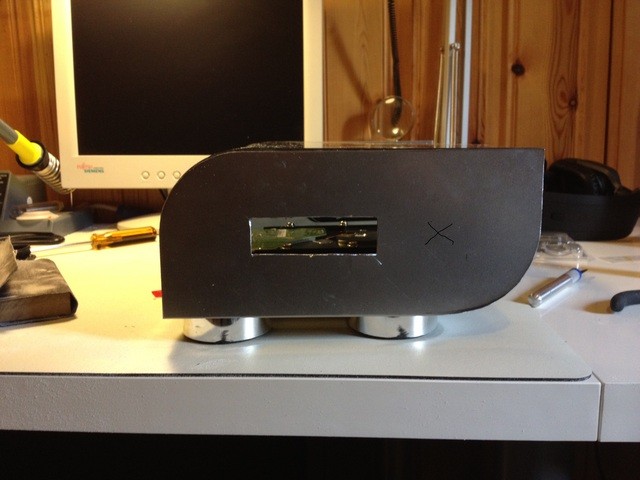
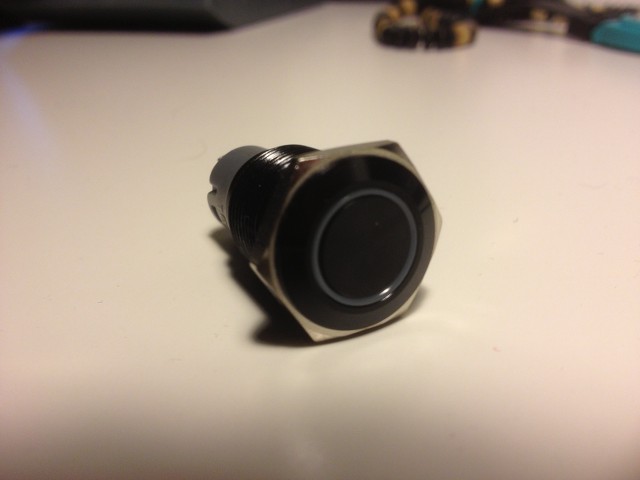
Should I go for a powerswitch on the frontplate or hide it in the back? The cross is where Im thinking of putting it.
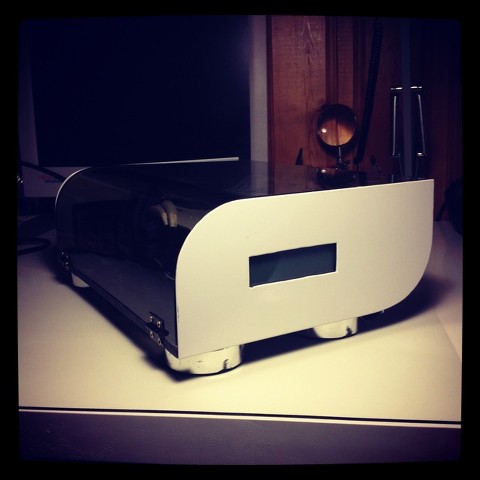
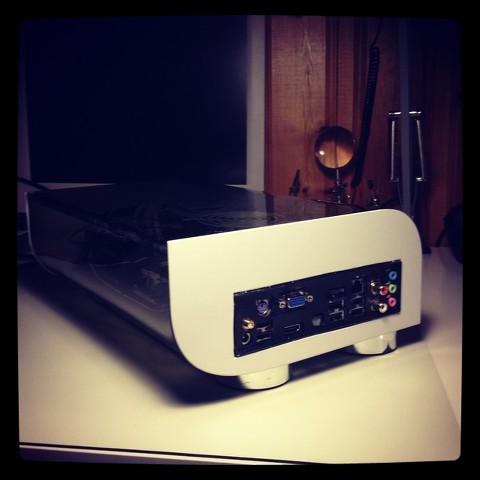
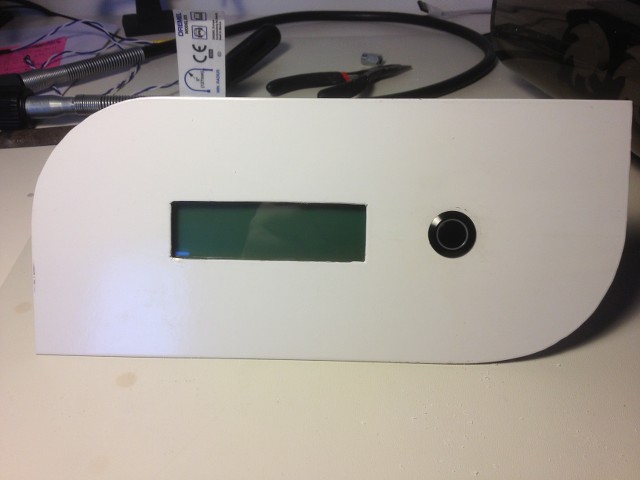
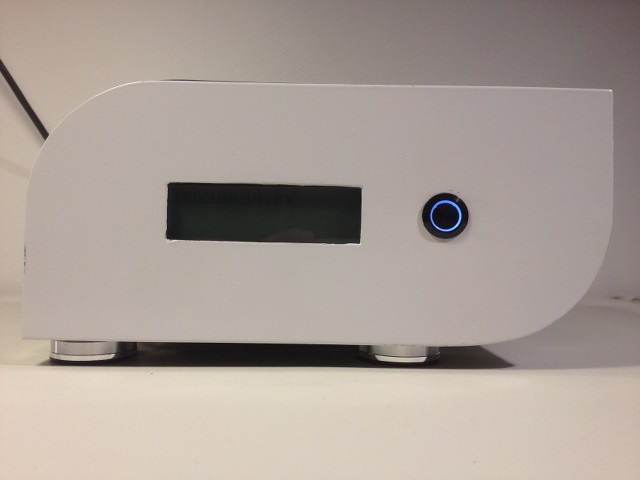
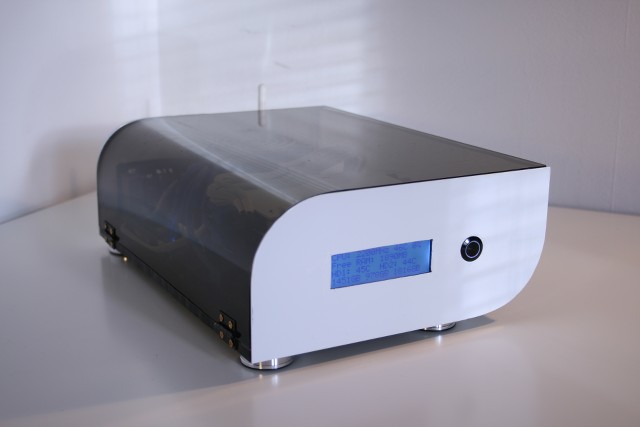
Put some paint on those! (Sorry for Instagram picture)
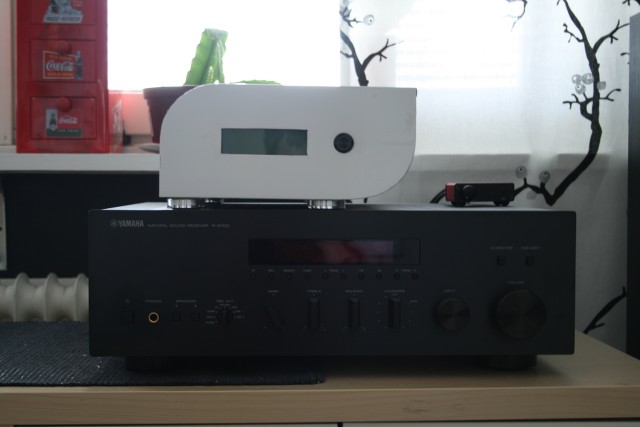
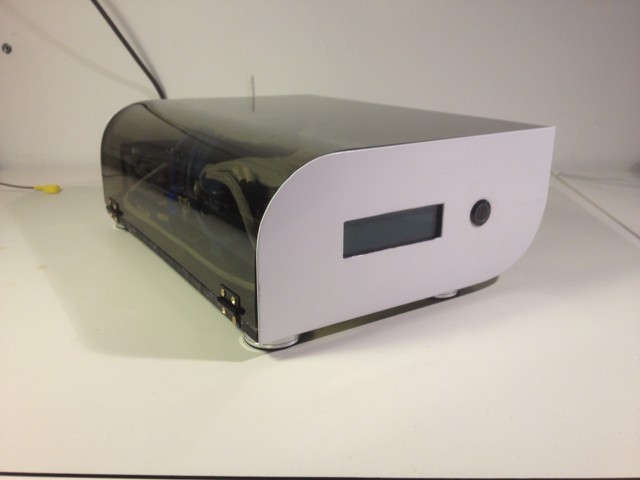
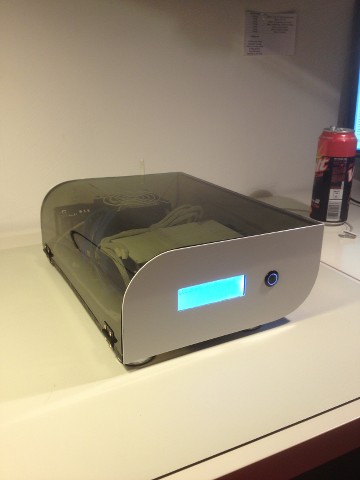
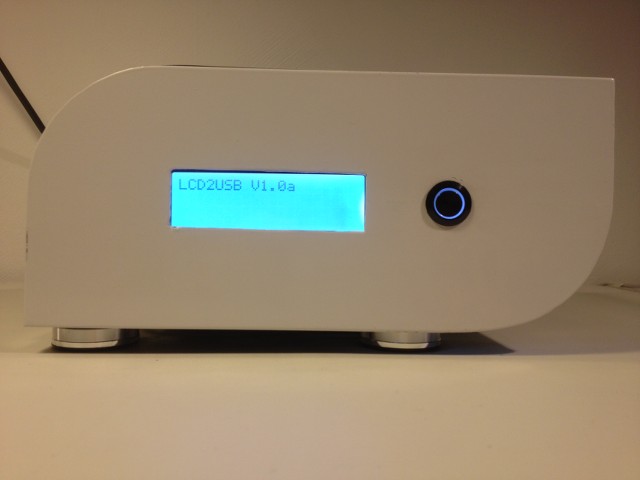
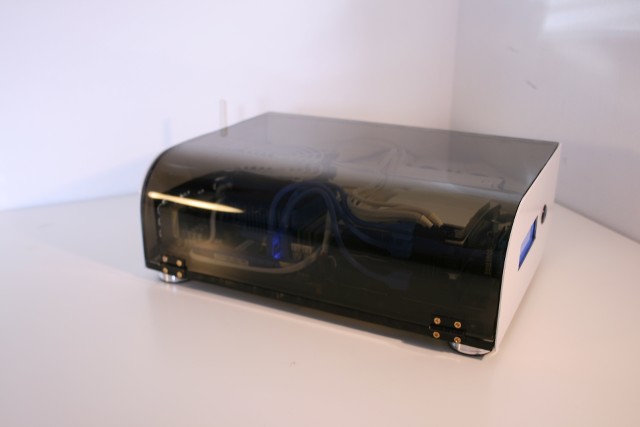
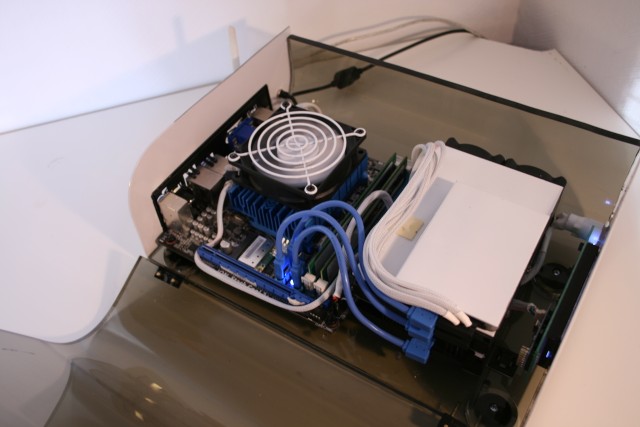
So this is how far Ive come. Dont have that much left to do.
With kind regards
Johan Nyman
Minimalistic PC
This build started as a side project when I was building my other scratch build, Cold Winter. But somewhere on the way I stopped, but now Im going to finish it.
This is a HTPC/NAS build. The specs of the hardware is:
Asus AT3IonT-I Deluxe
Intel X-25-V G2 40gb
4gb Corsair DDR3
Western Digital Green 2TB & 3TB
Sponsors:
I got the idea for this build when I was looking at some of the acrylic I had left from Cold Winter. Saw some nice shape coming. So I started cutting, and got these two acrylic pieces:
The next thing I did was to put some feet on it, havent decided yet if I should get some smaller ones. Then I put the two pieces together with two small hinges.
Glued the motherboard stand off screws into the acrylic.
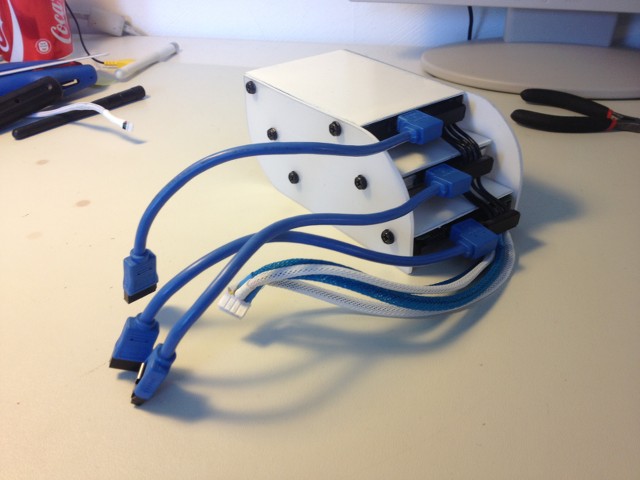
And sleeve the power cables for the drives.
Some overview pictures.
Next up is the front and backplate:
Should I go for a powerswitch on the frontplate or hide it in the back? The cross is where Im thinking of putting it.
Put some paint on those! (Sorry for Instagram picture)
So this is how far Ive come. Dont have that much left to do.
- Install some small fans for the HDD's
- Sleeve everything possible to sleeve
- Drill holes and install a power and reset switch
- Grind down all the edges so everything fits
- Clean everything up and polish the acrylic
With kind regards
Johan Nyman
Minimalistic PC
Last edited:


")