Project:Laocoön - First NCase Build

The_Cheese

Weaksauce
Joined
Oct 9, 2013
Messages
81
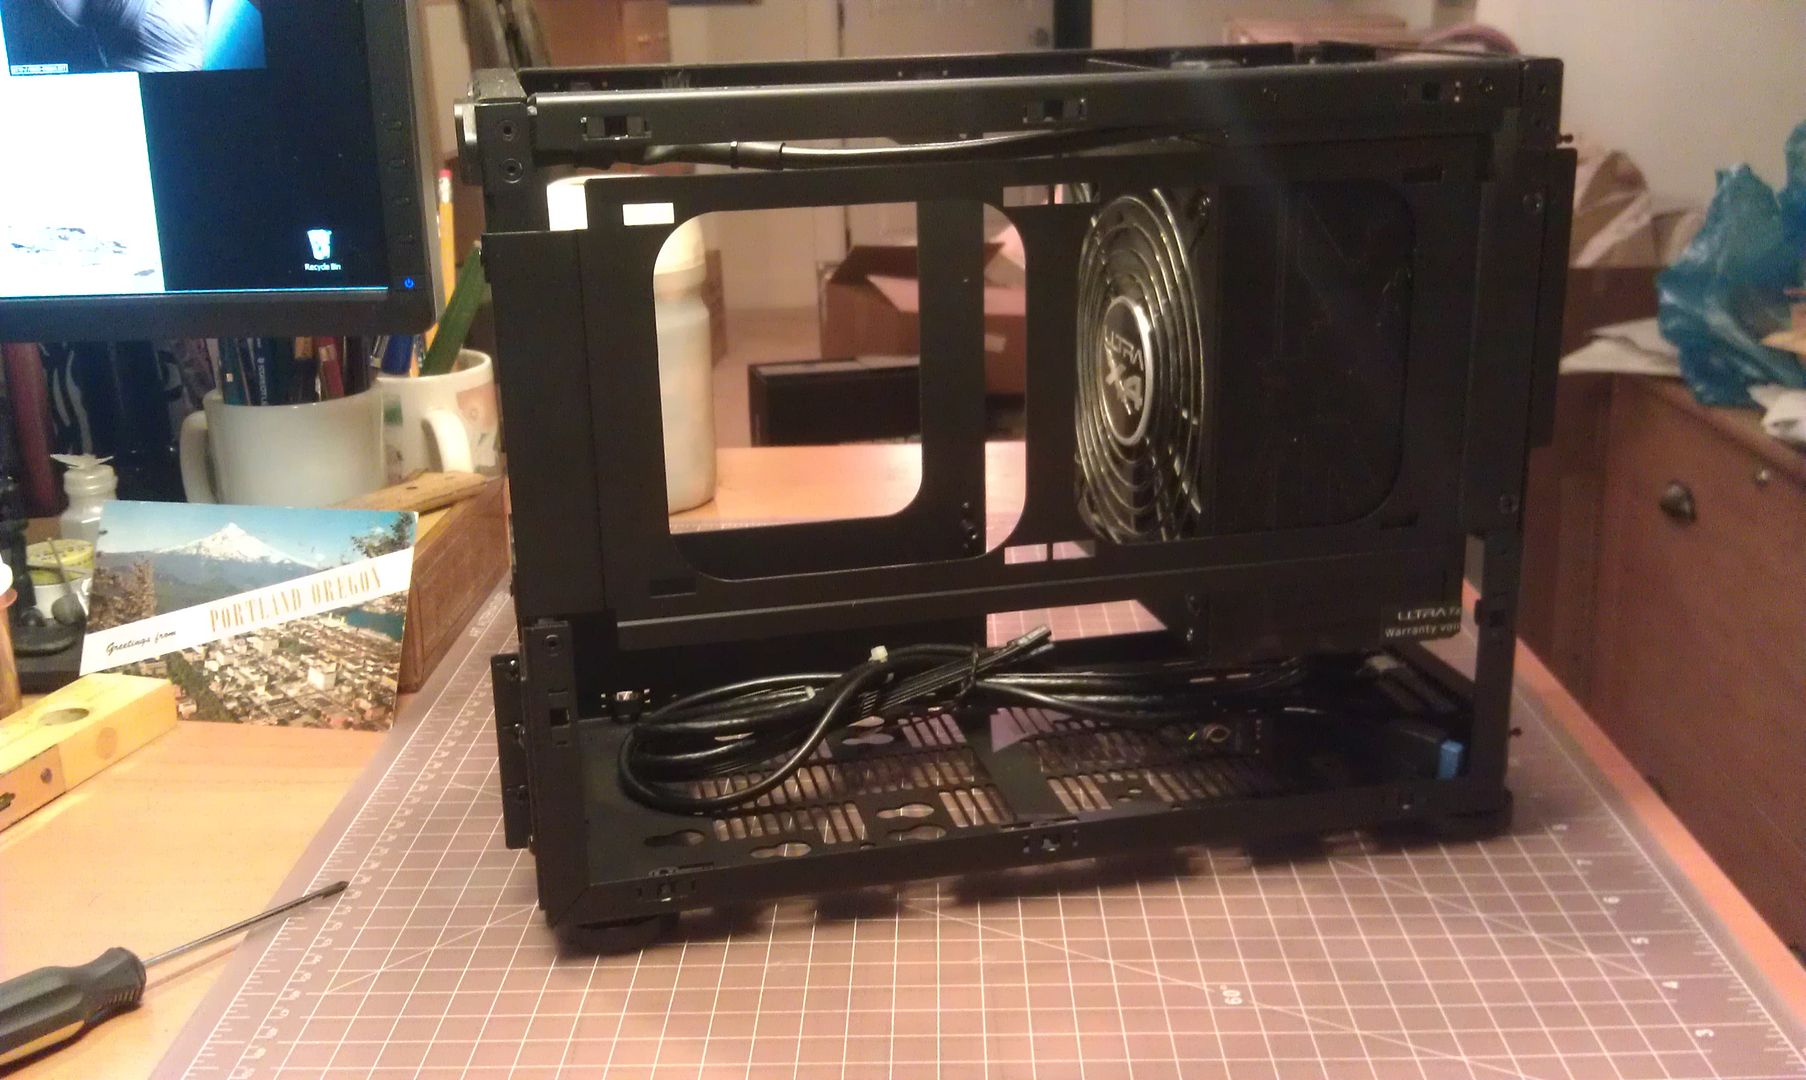
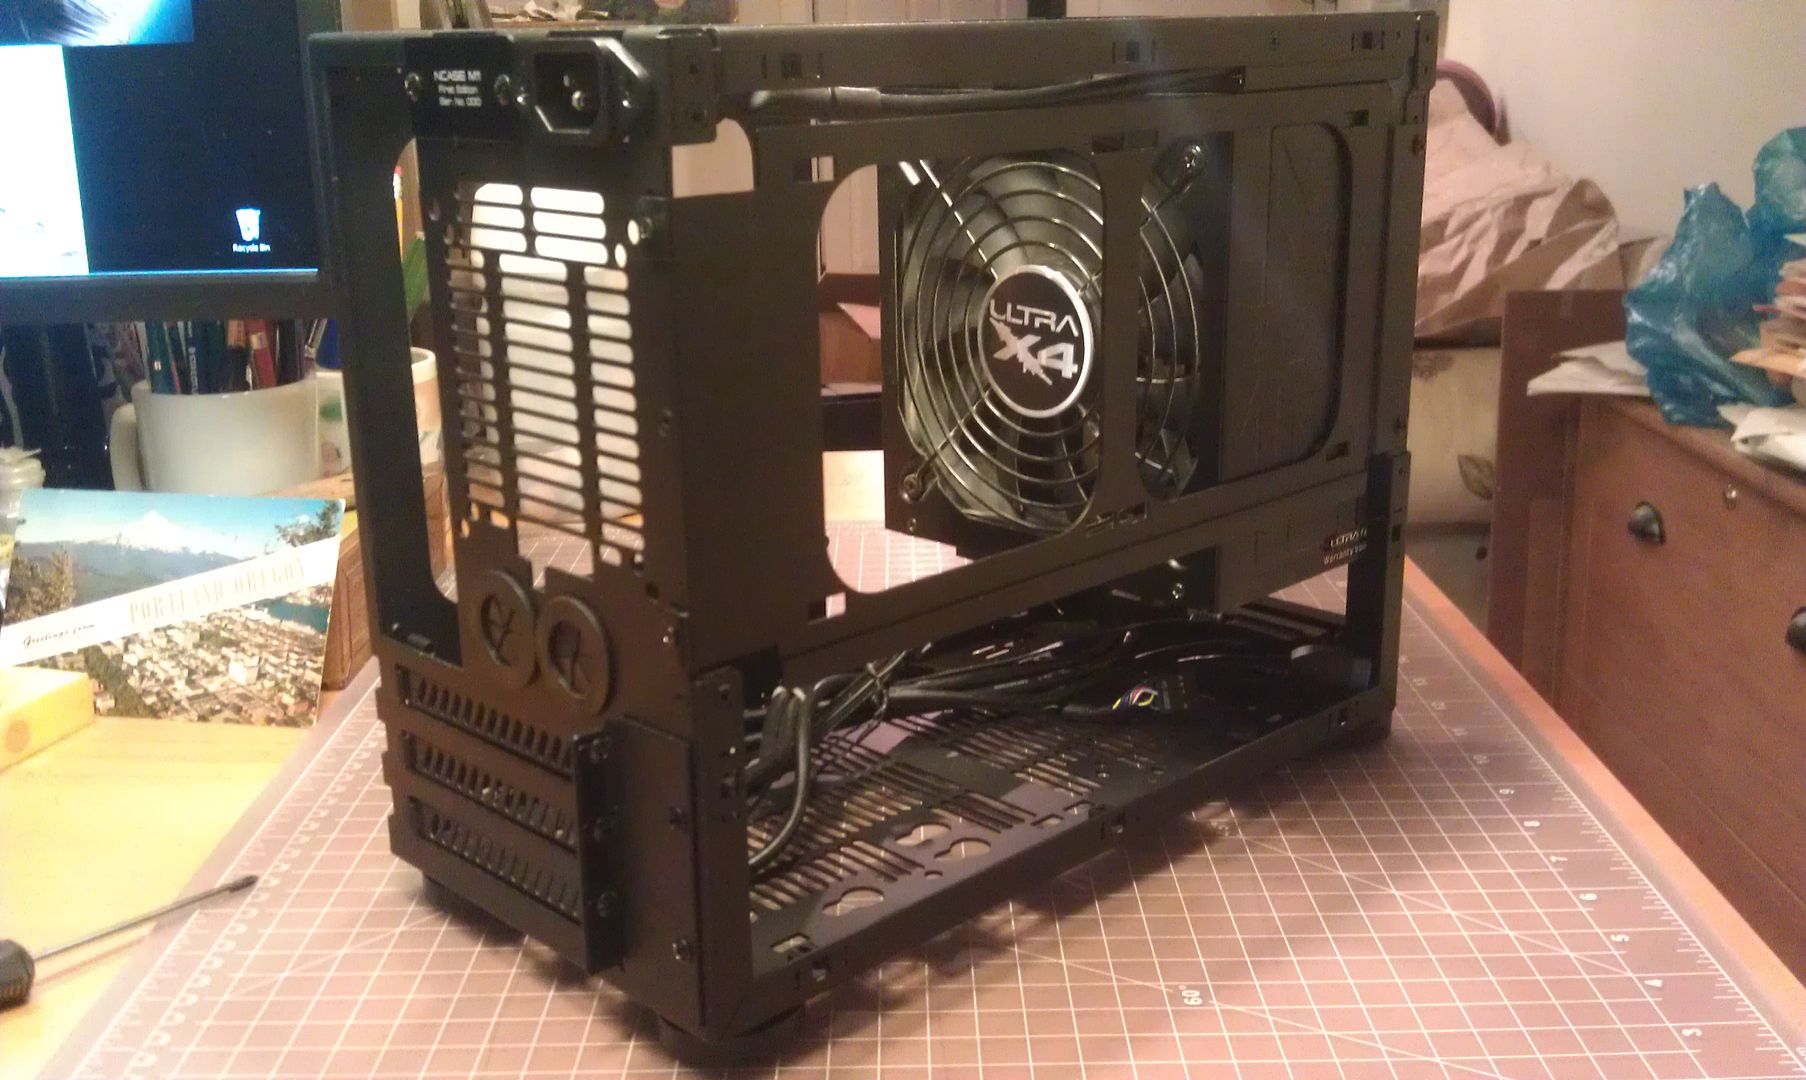
So, recently this was delivered to my house:
m1_front_beauty.jpg


"Hm," thought I. "An enclosure for containing microcomputer components. What an interesting curiosity." And I went back to watching Corner Gas reruns and basking in the glow of sheer laziness.

Yesterday I got an email from NCase World Headquarters asking me if I was happy with it, and if I was, to post some pictures here. "The what now..?" I mumbled to myself, my head dizzy with Canadian humour. "Oh, right... I suppose I'd best do just that."

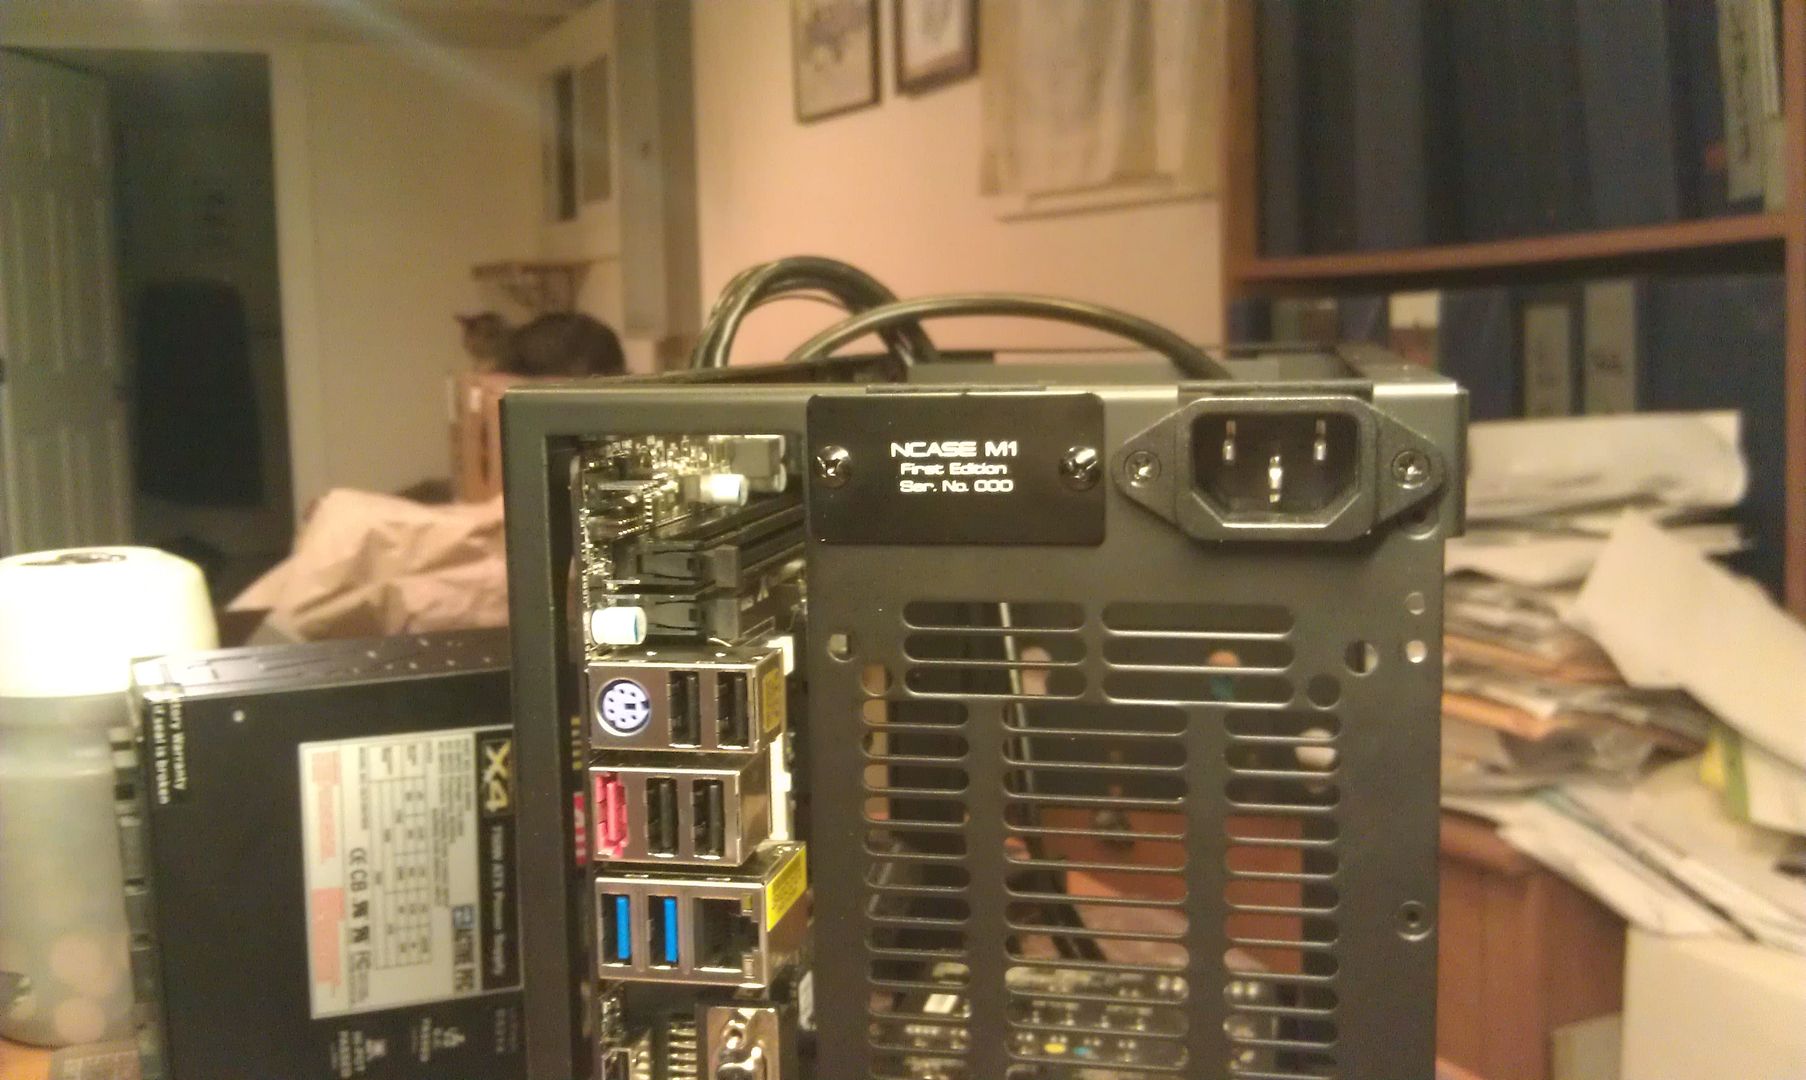
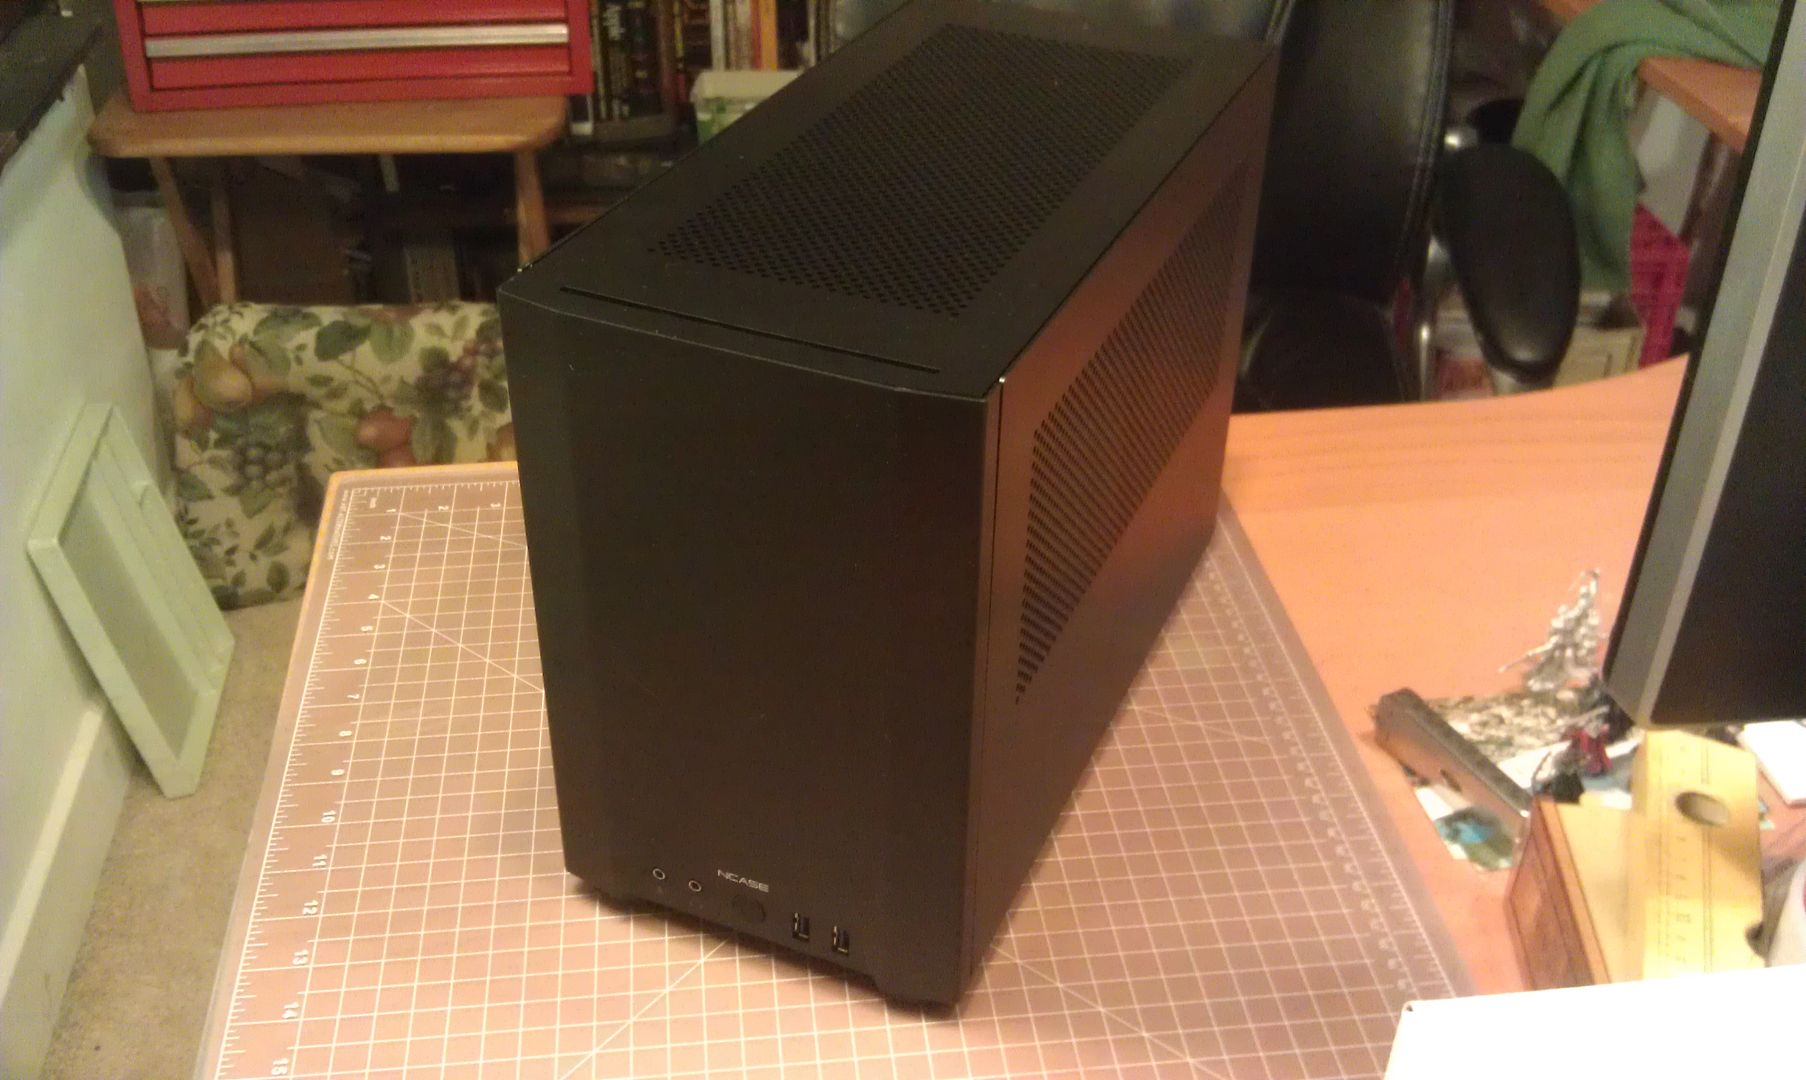
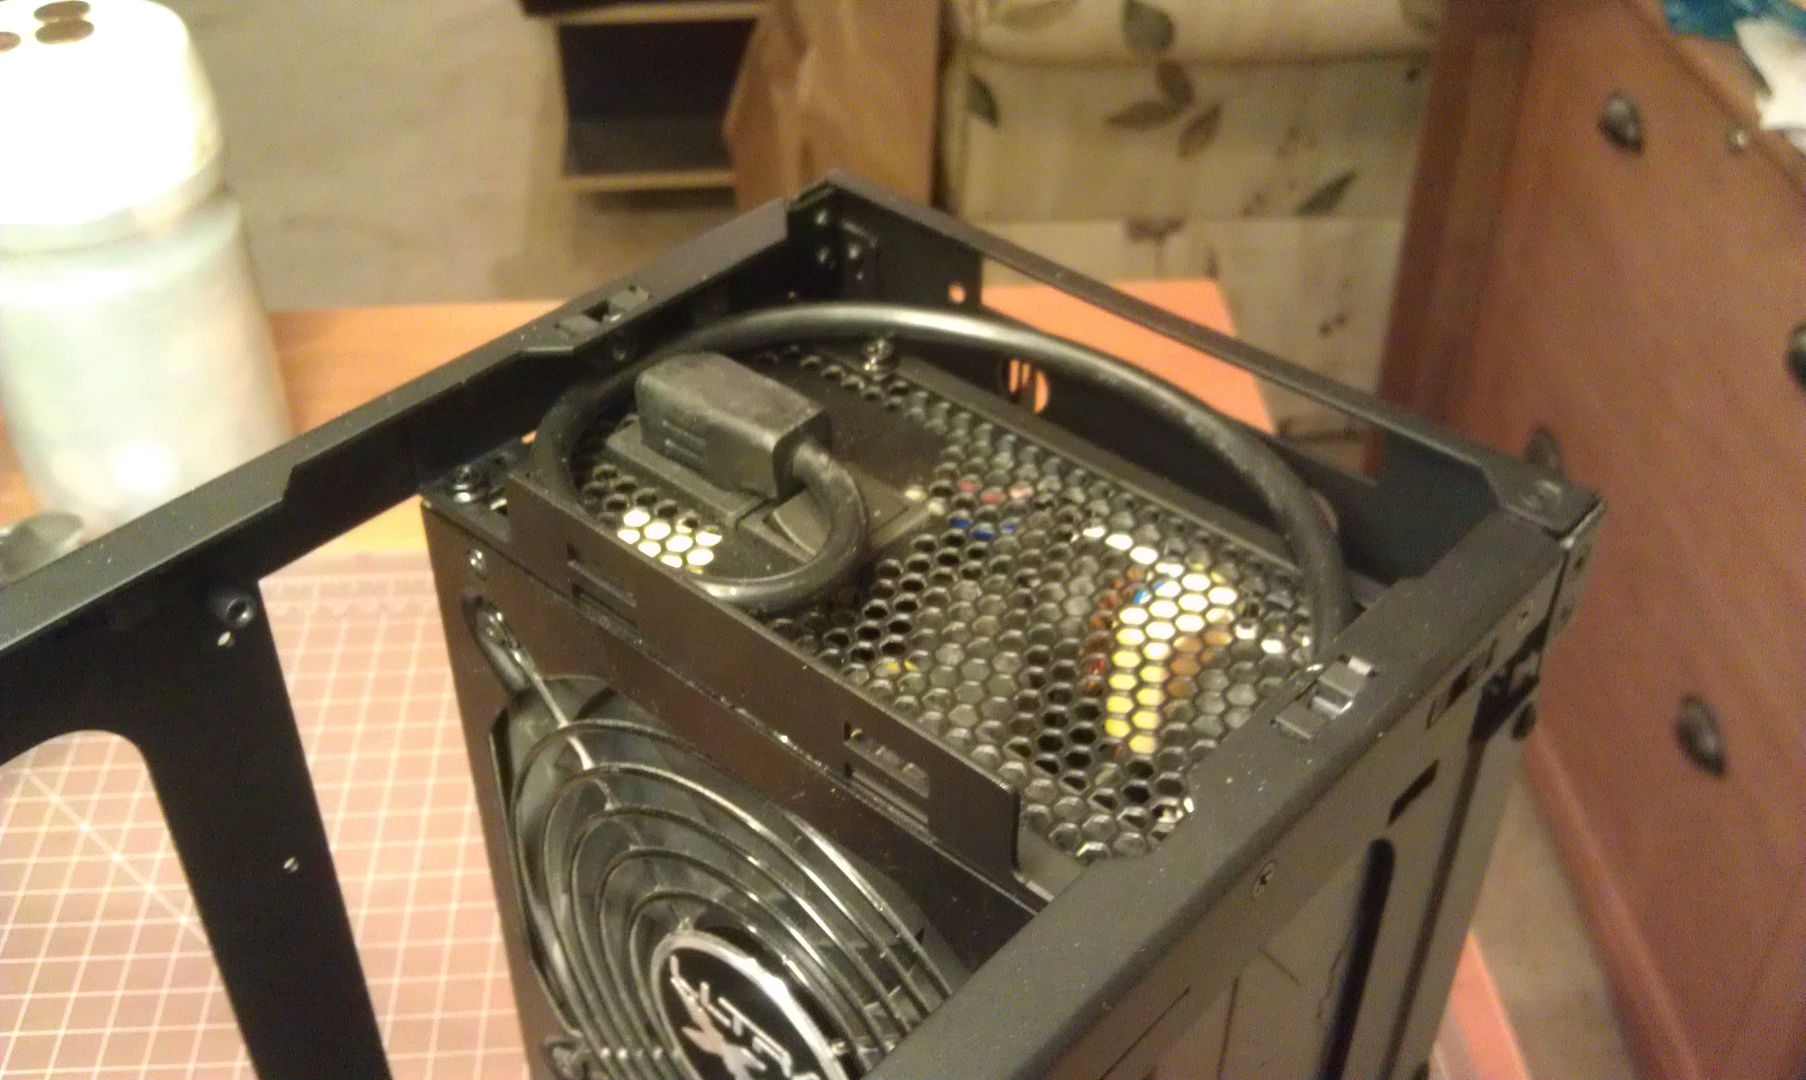
So, to drag out an already not-very-interesting story, I did just that. I unboxed the NCase, dutifully taking pictures of it while doing so. And then, in a surprise to no one, I uploaded the pictures to the [H]ardforum, where they (and I) were very warmly received. You can see those pictures in the NCase thread (http://hardforum.com/showthread.php?t=1717132) either at the beginning, or starting on page 294.

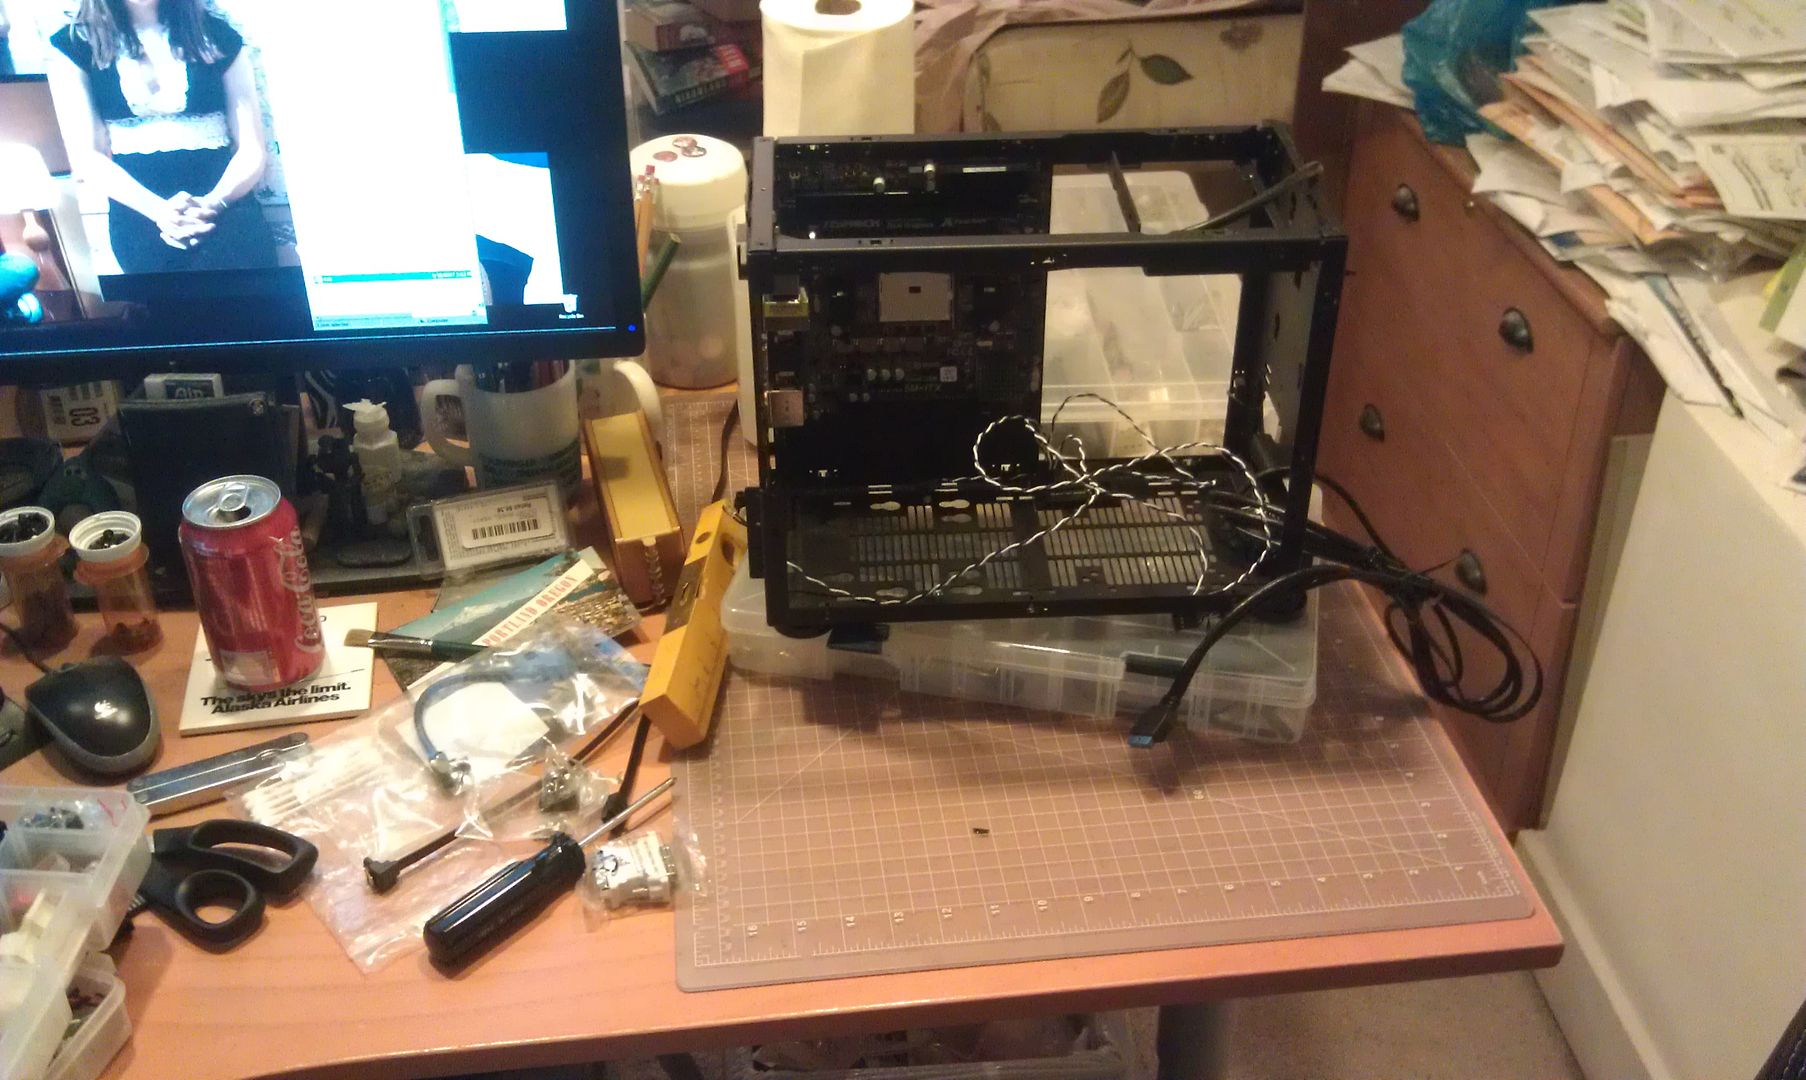
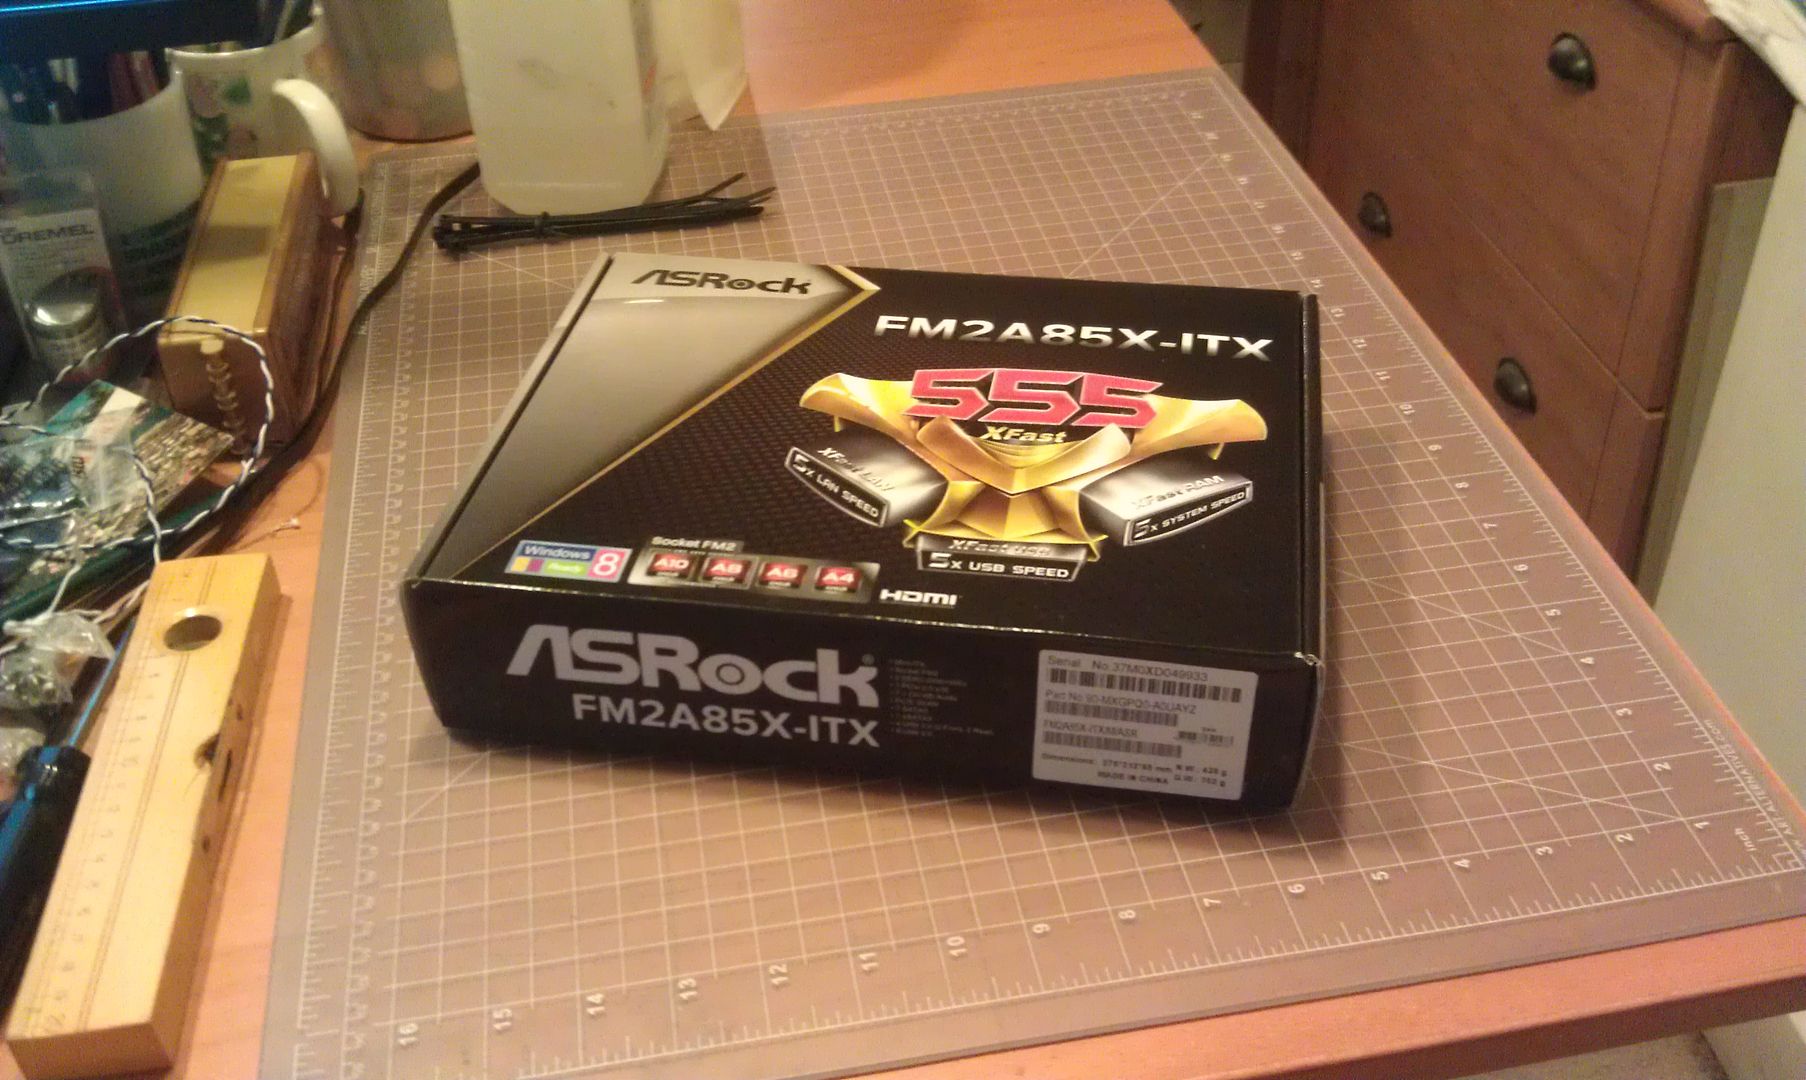
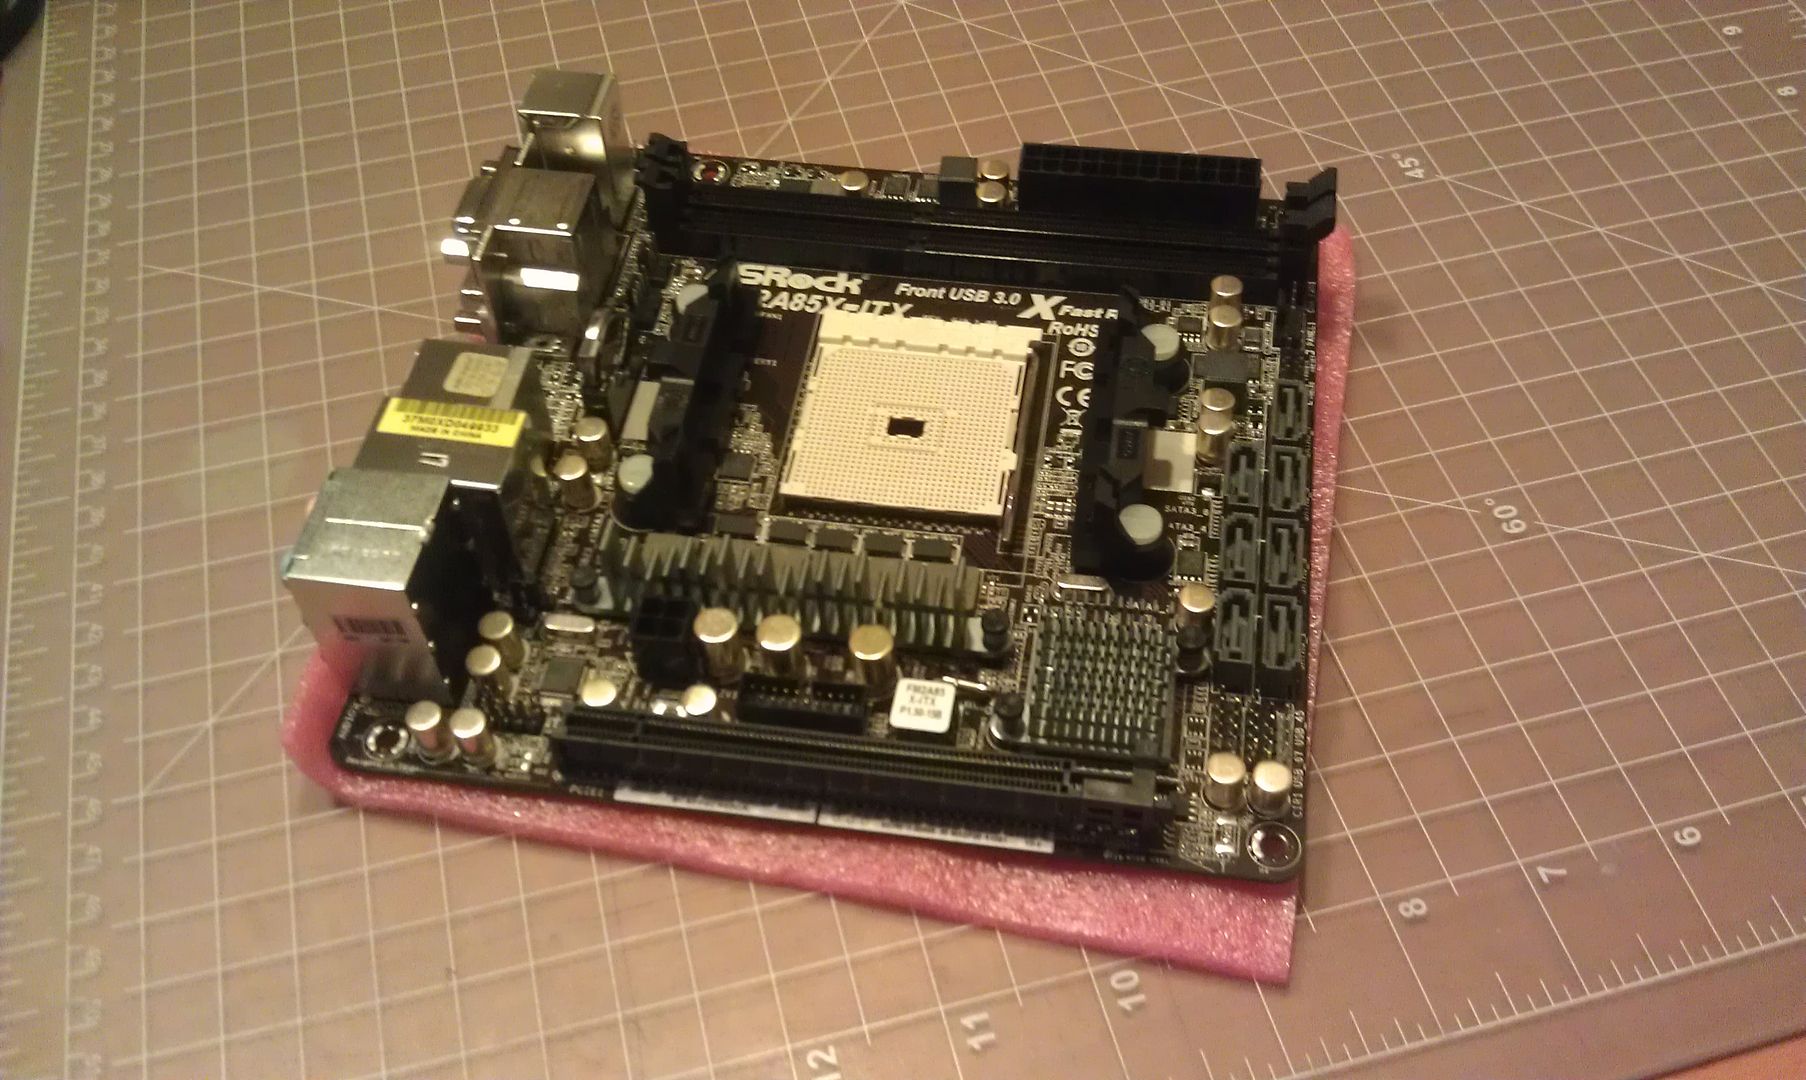
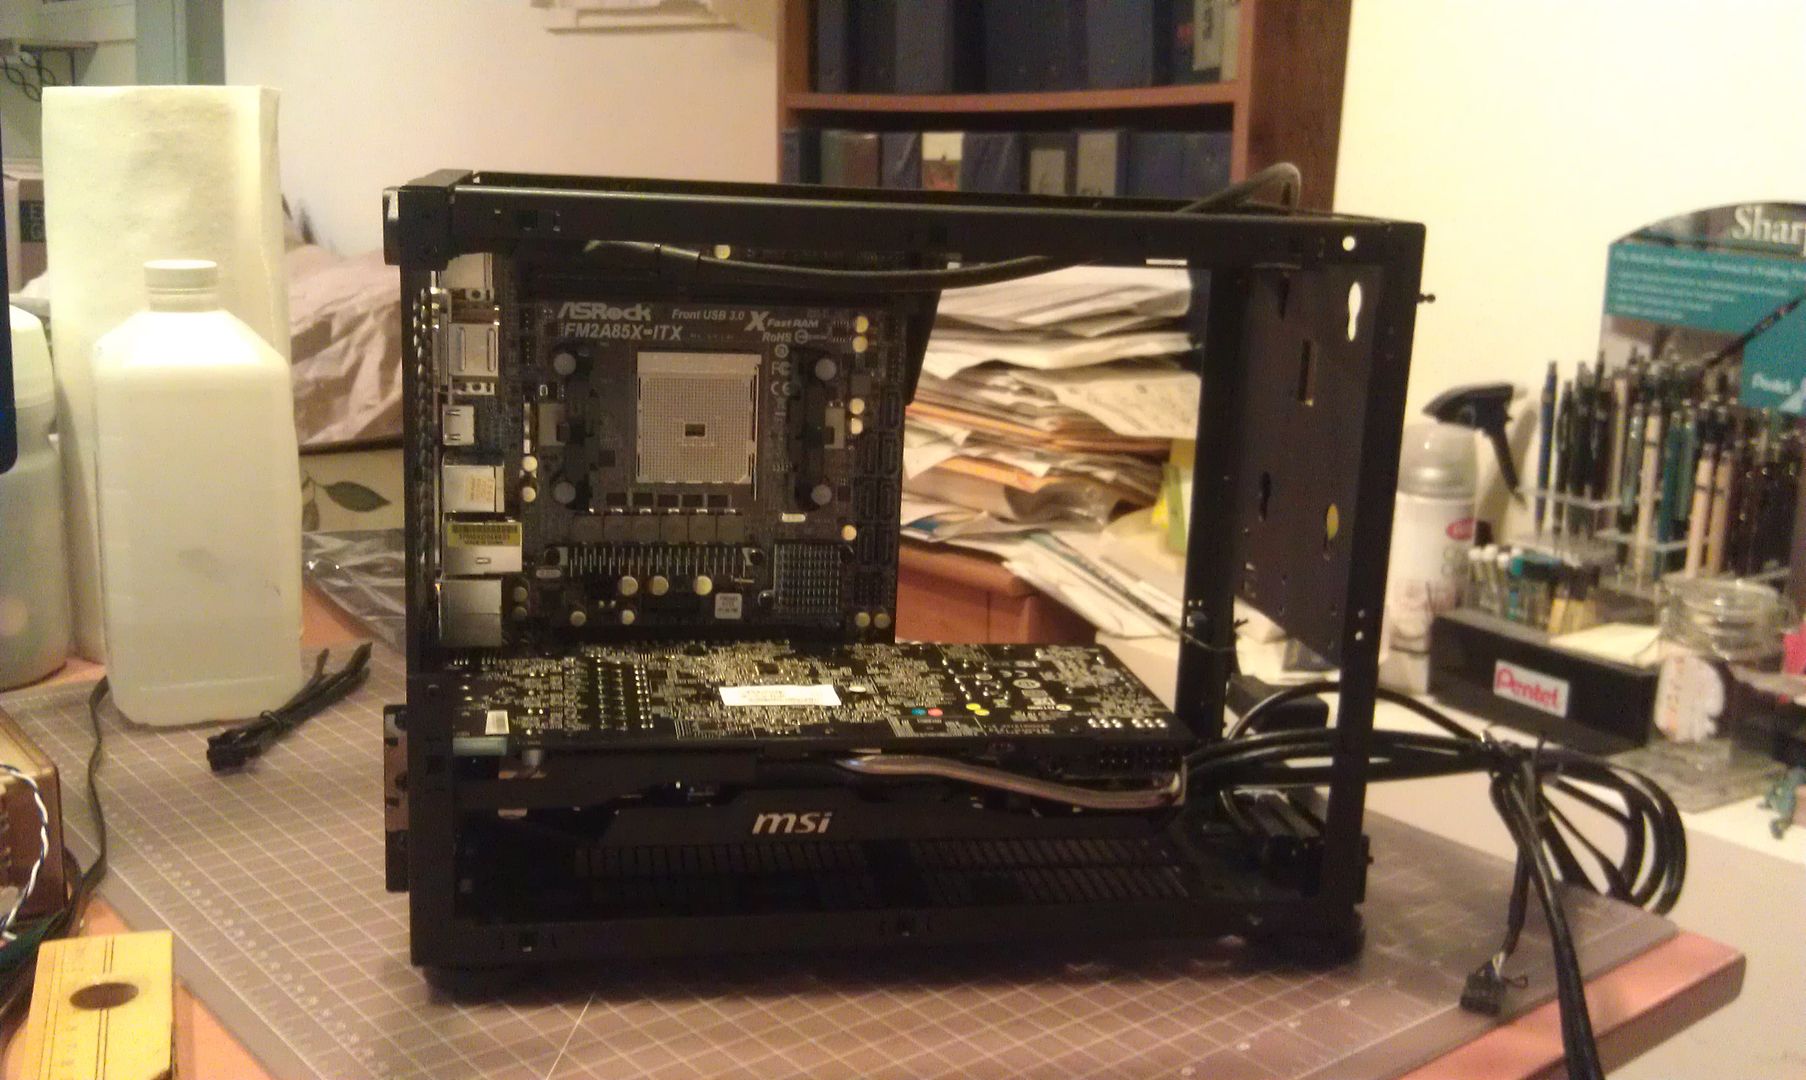
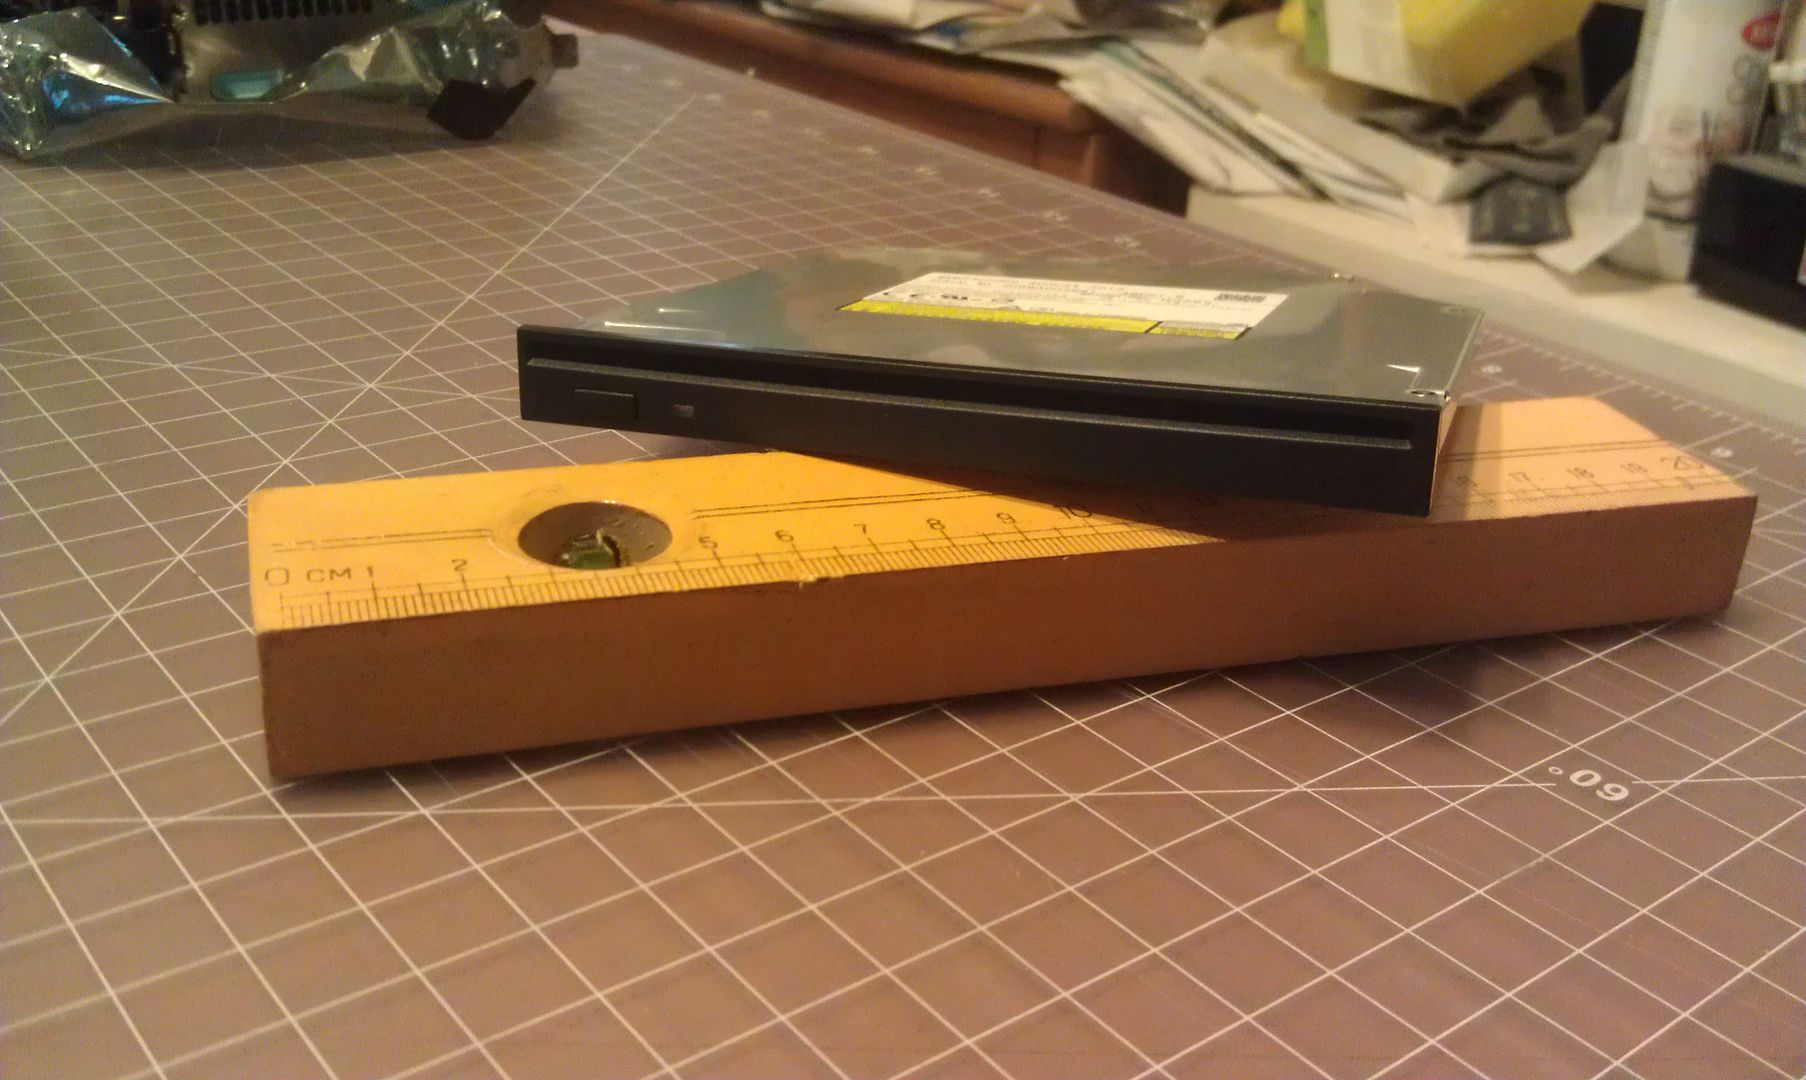
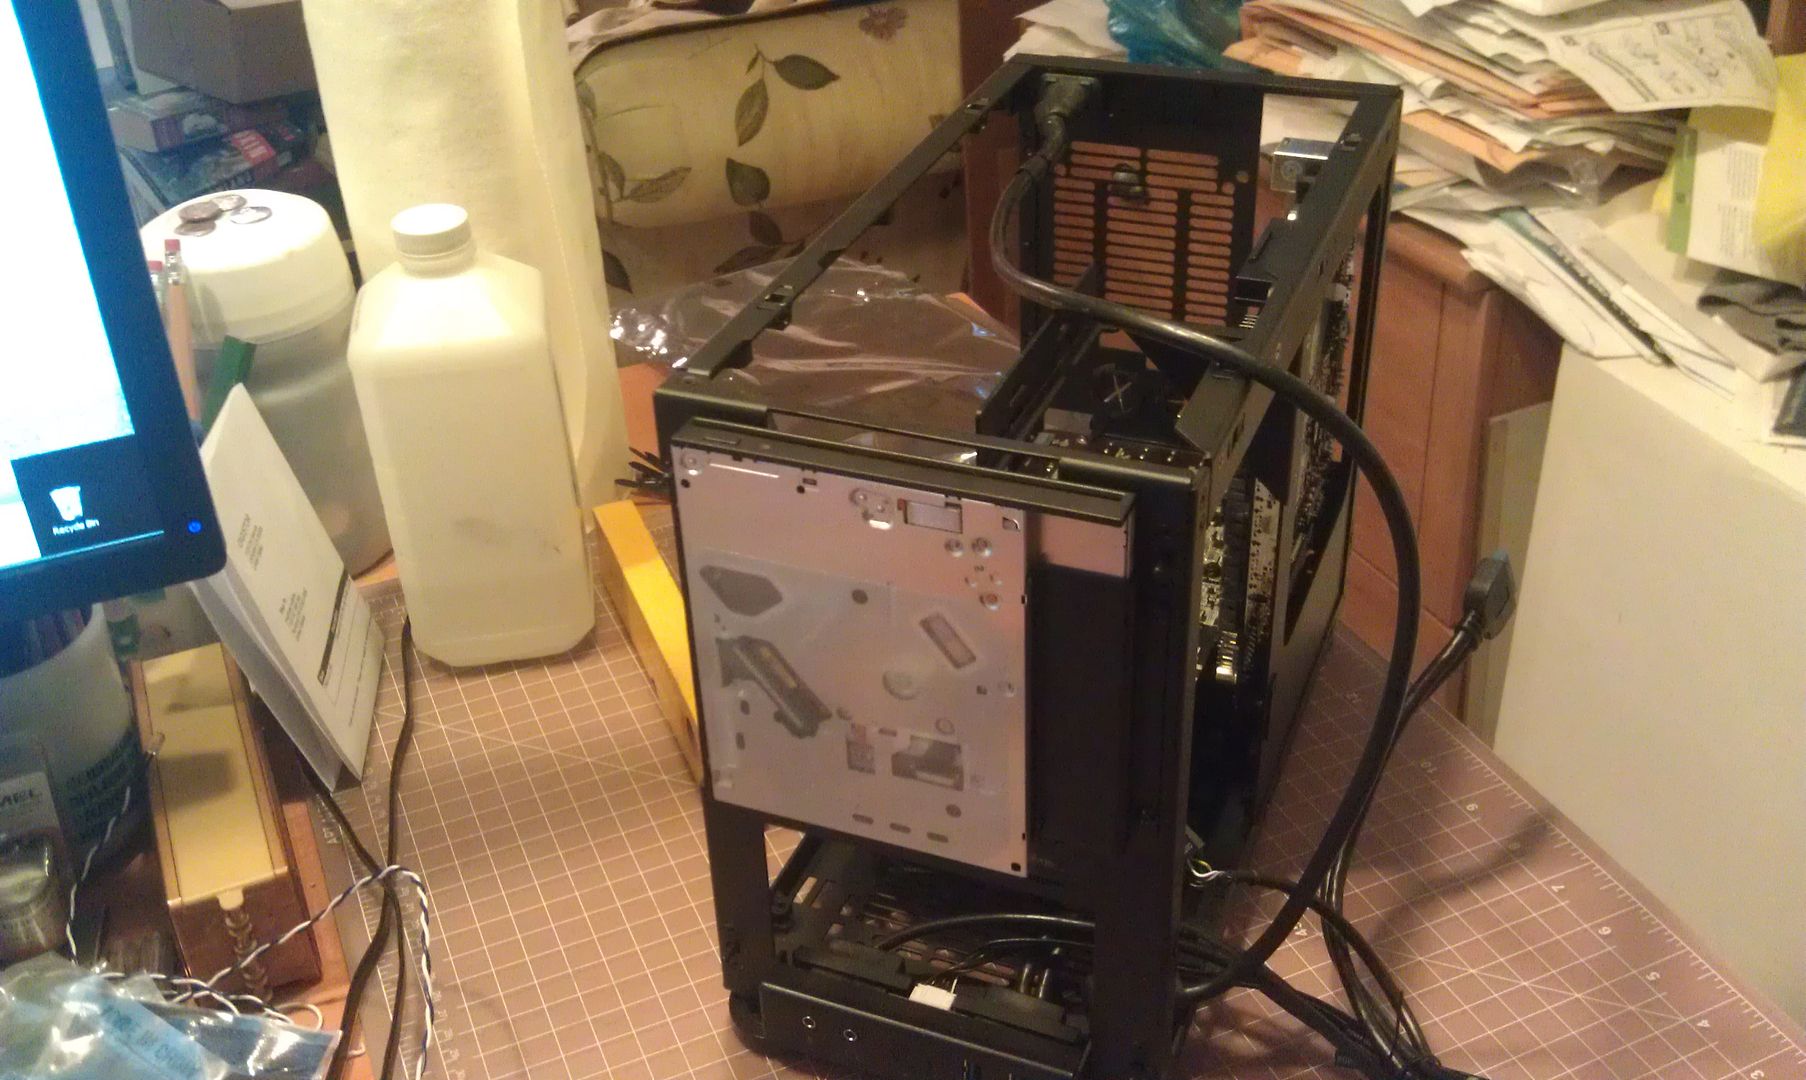
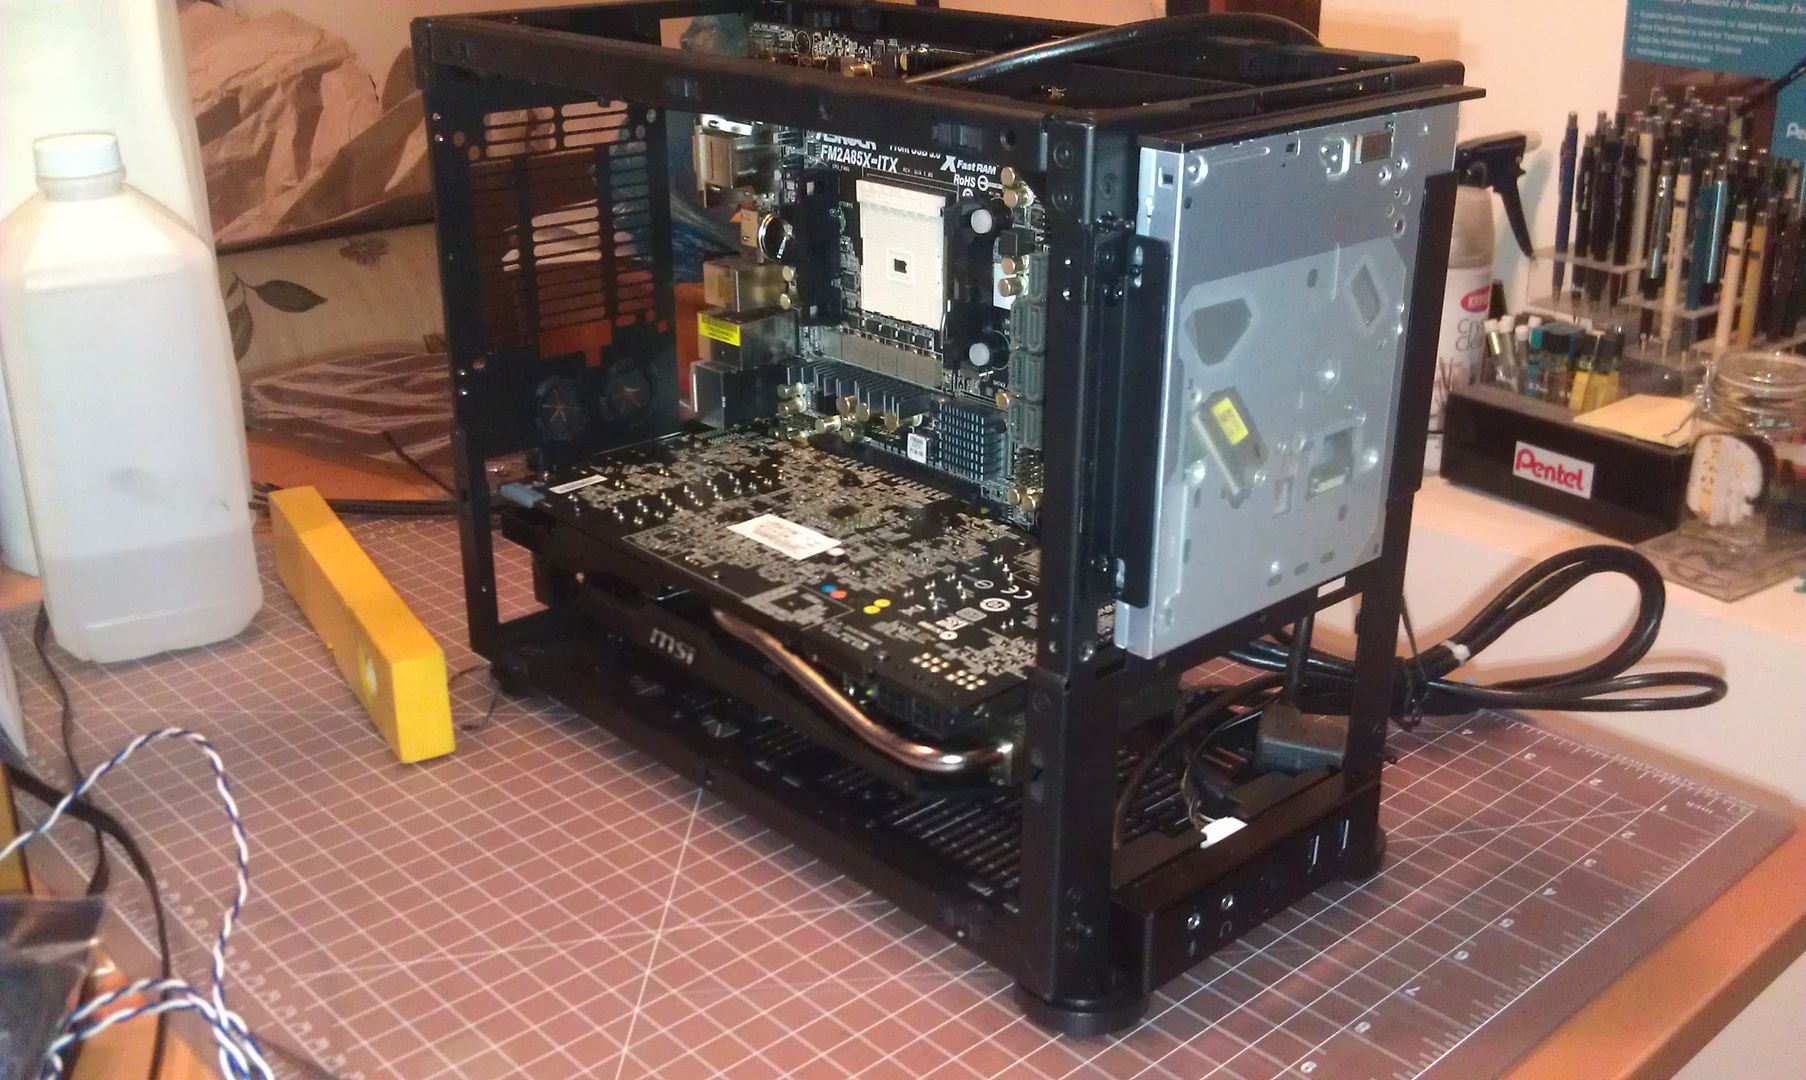
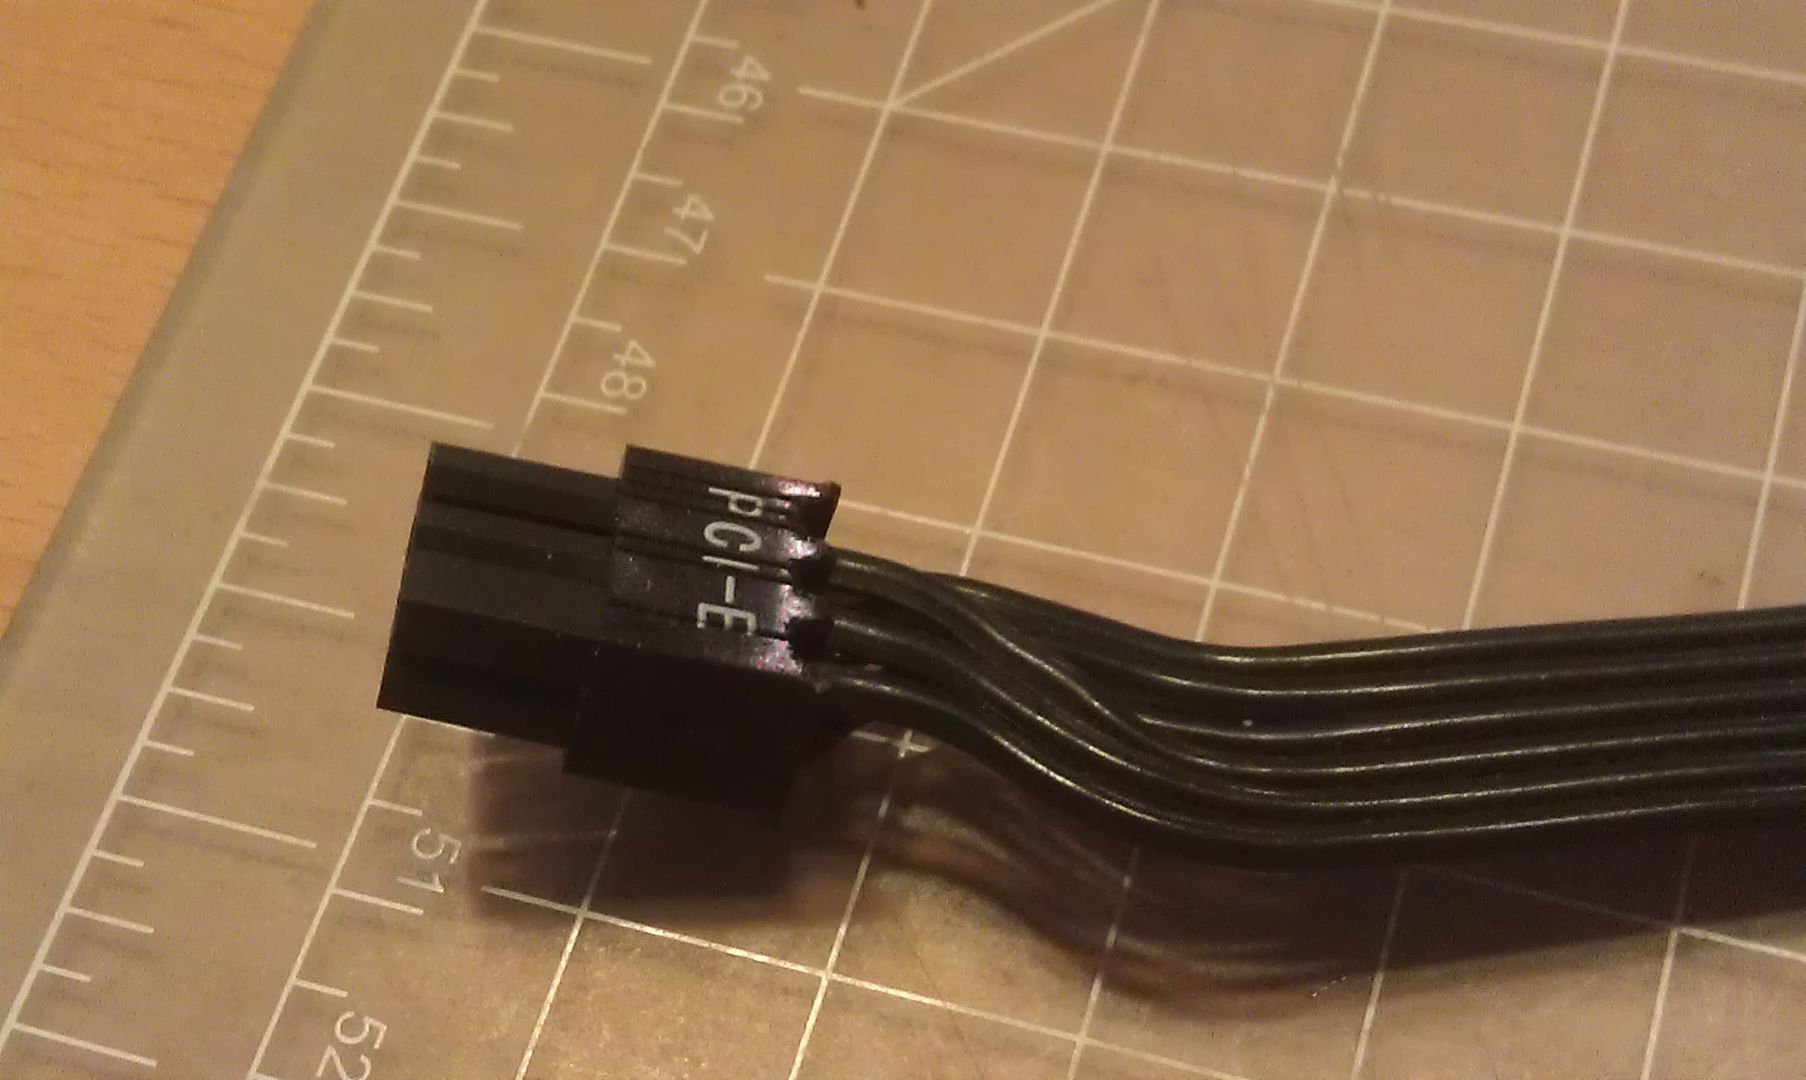
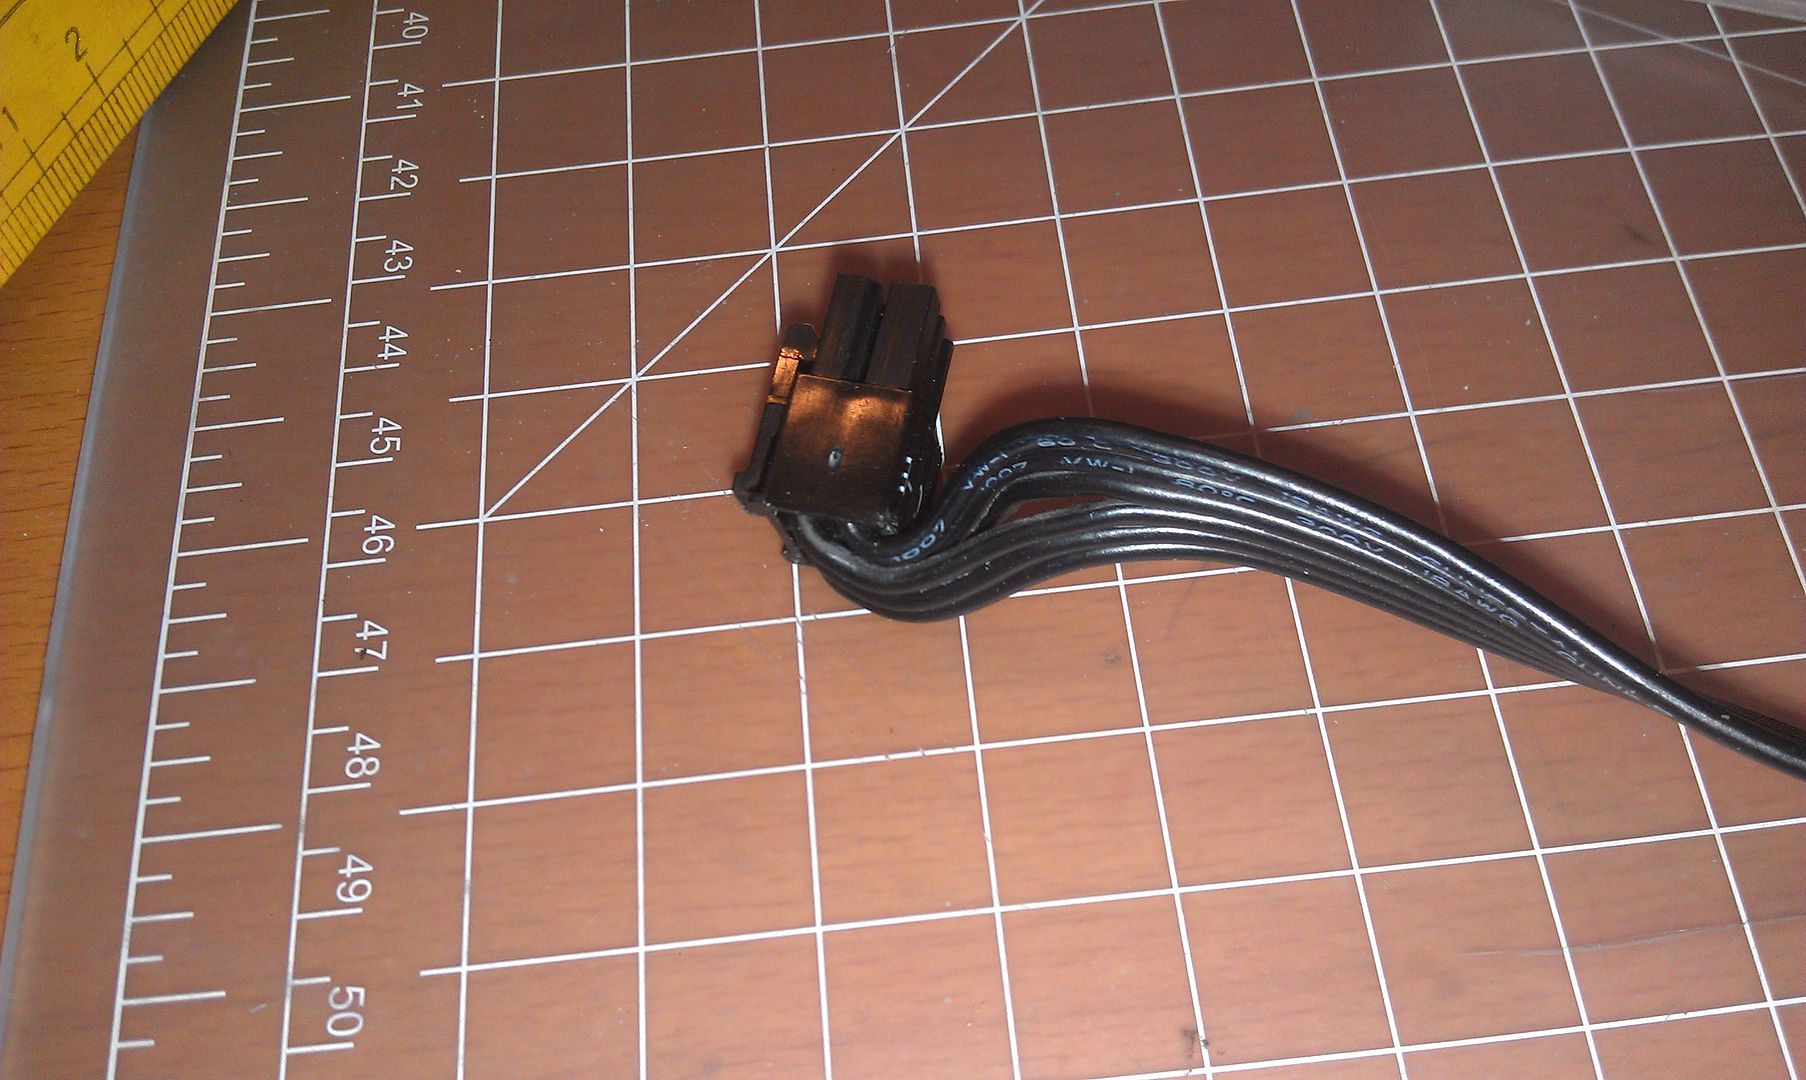
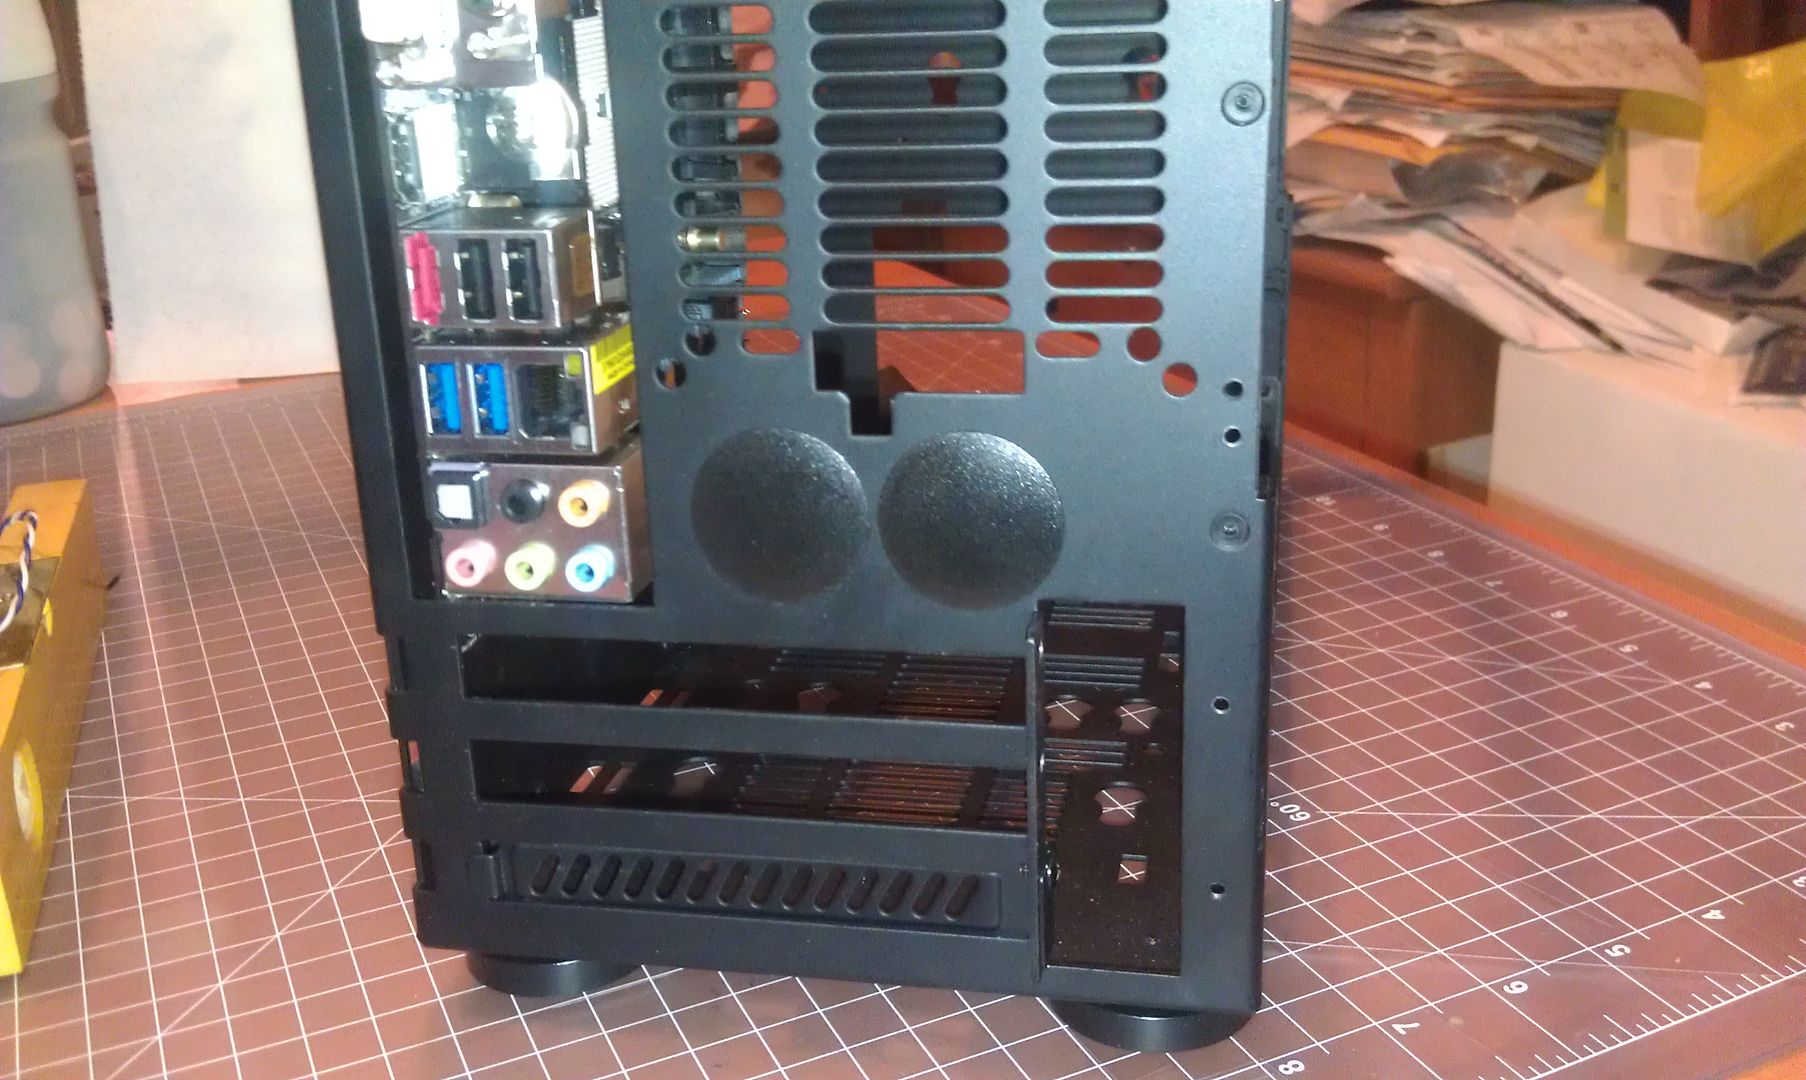
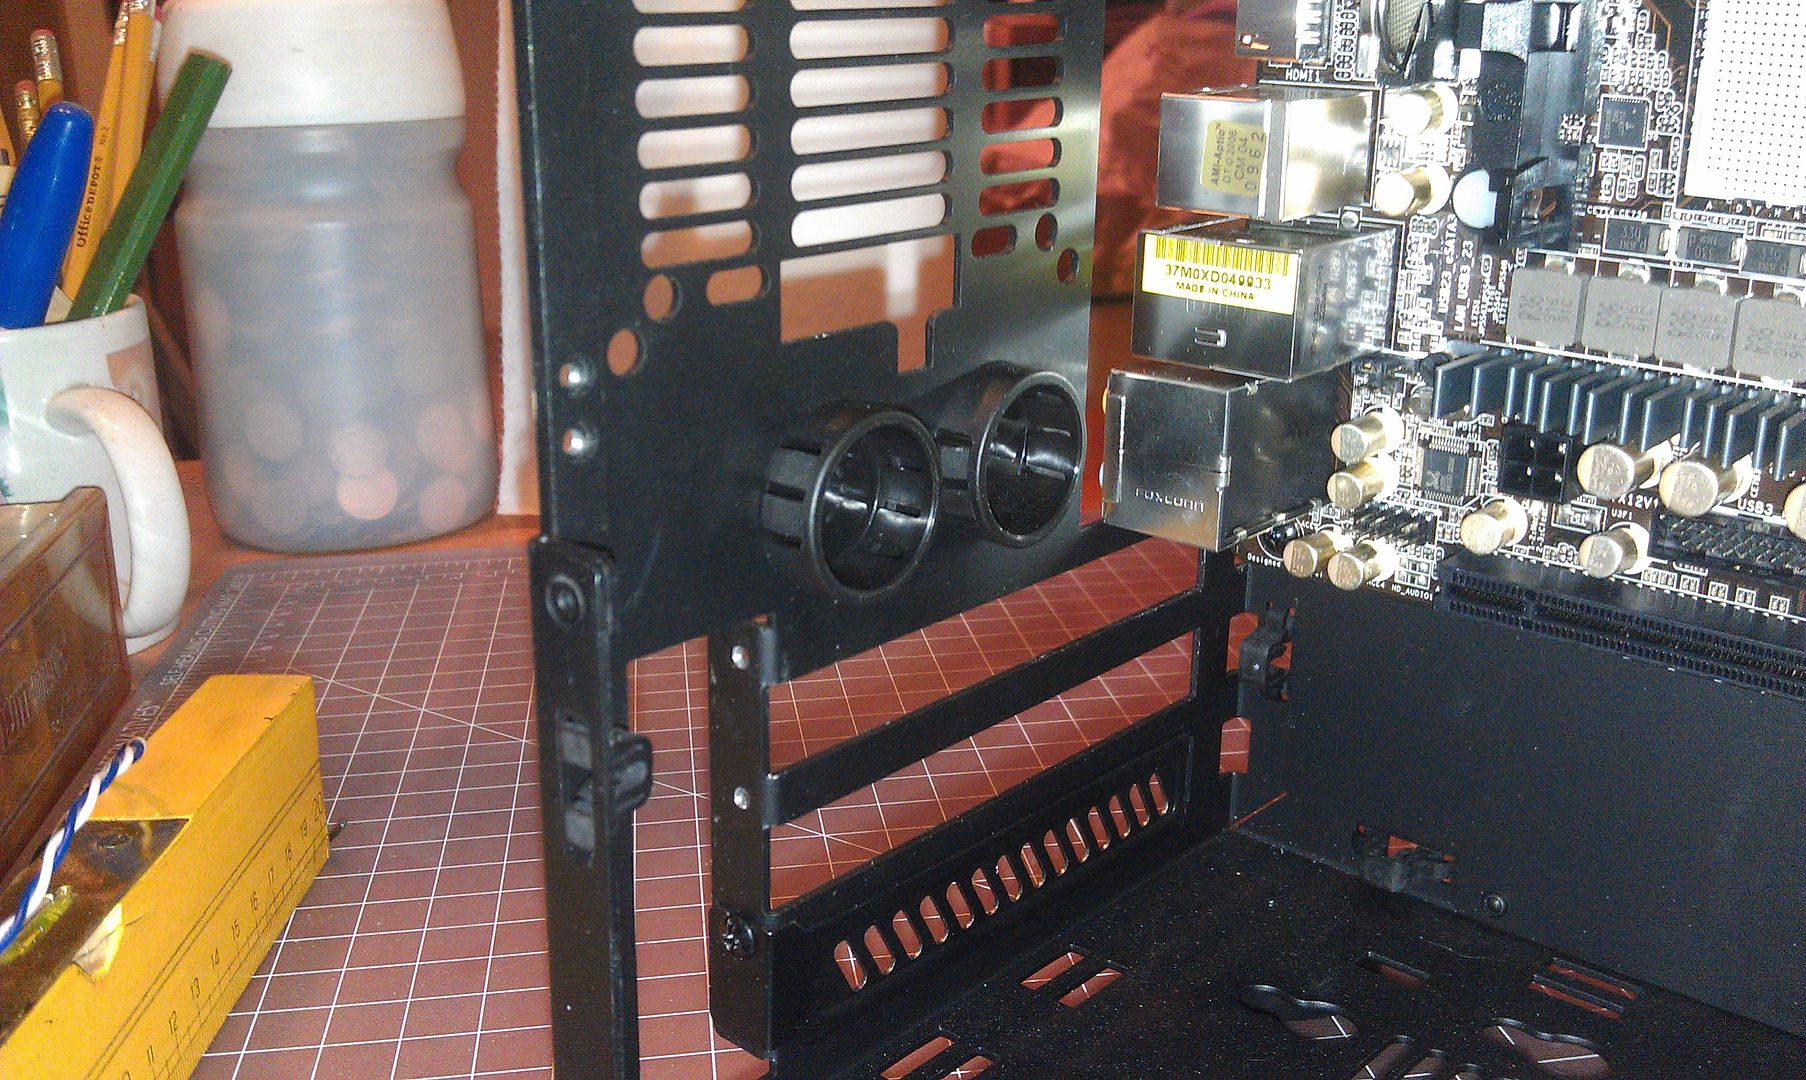
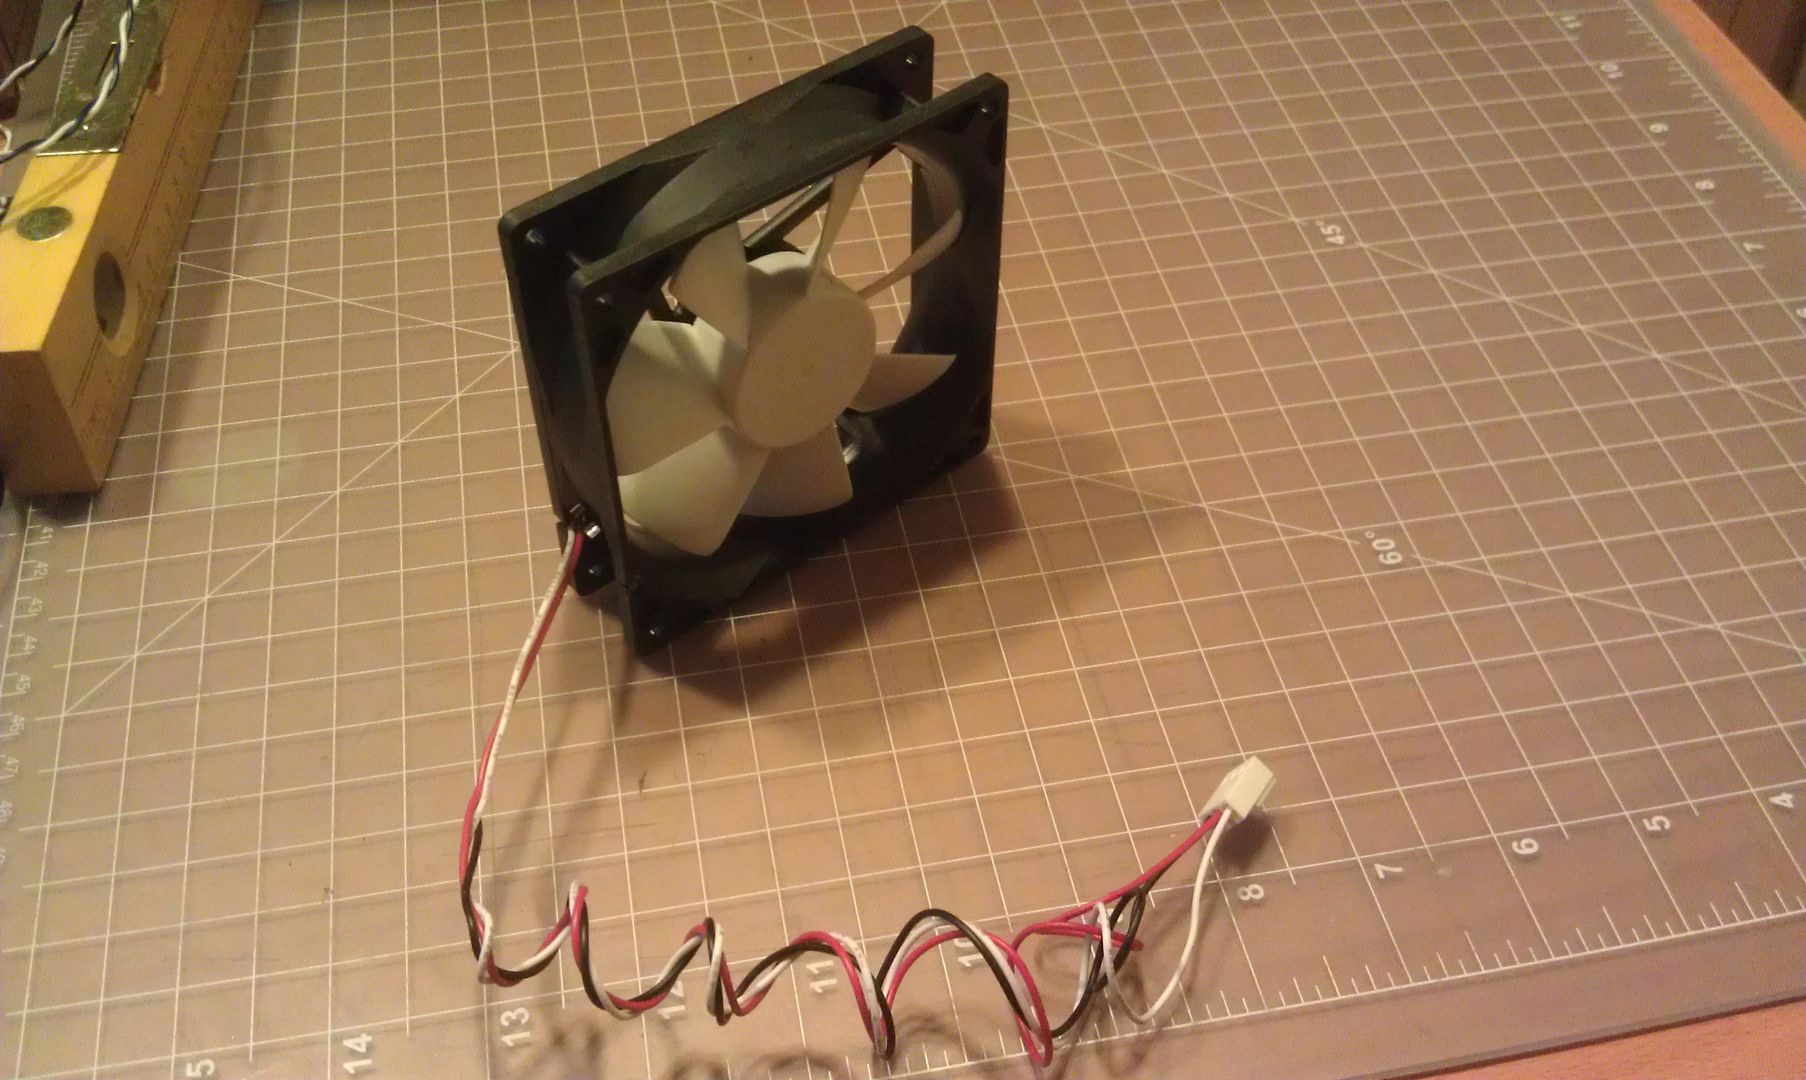
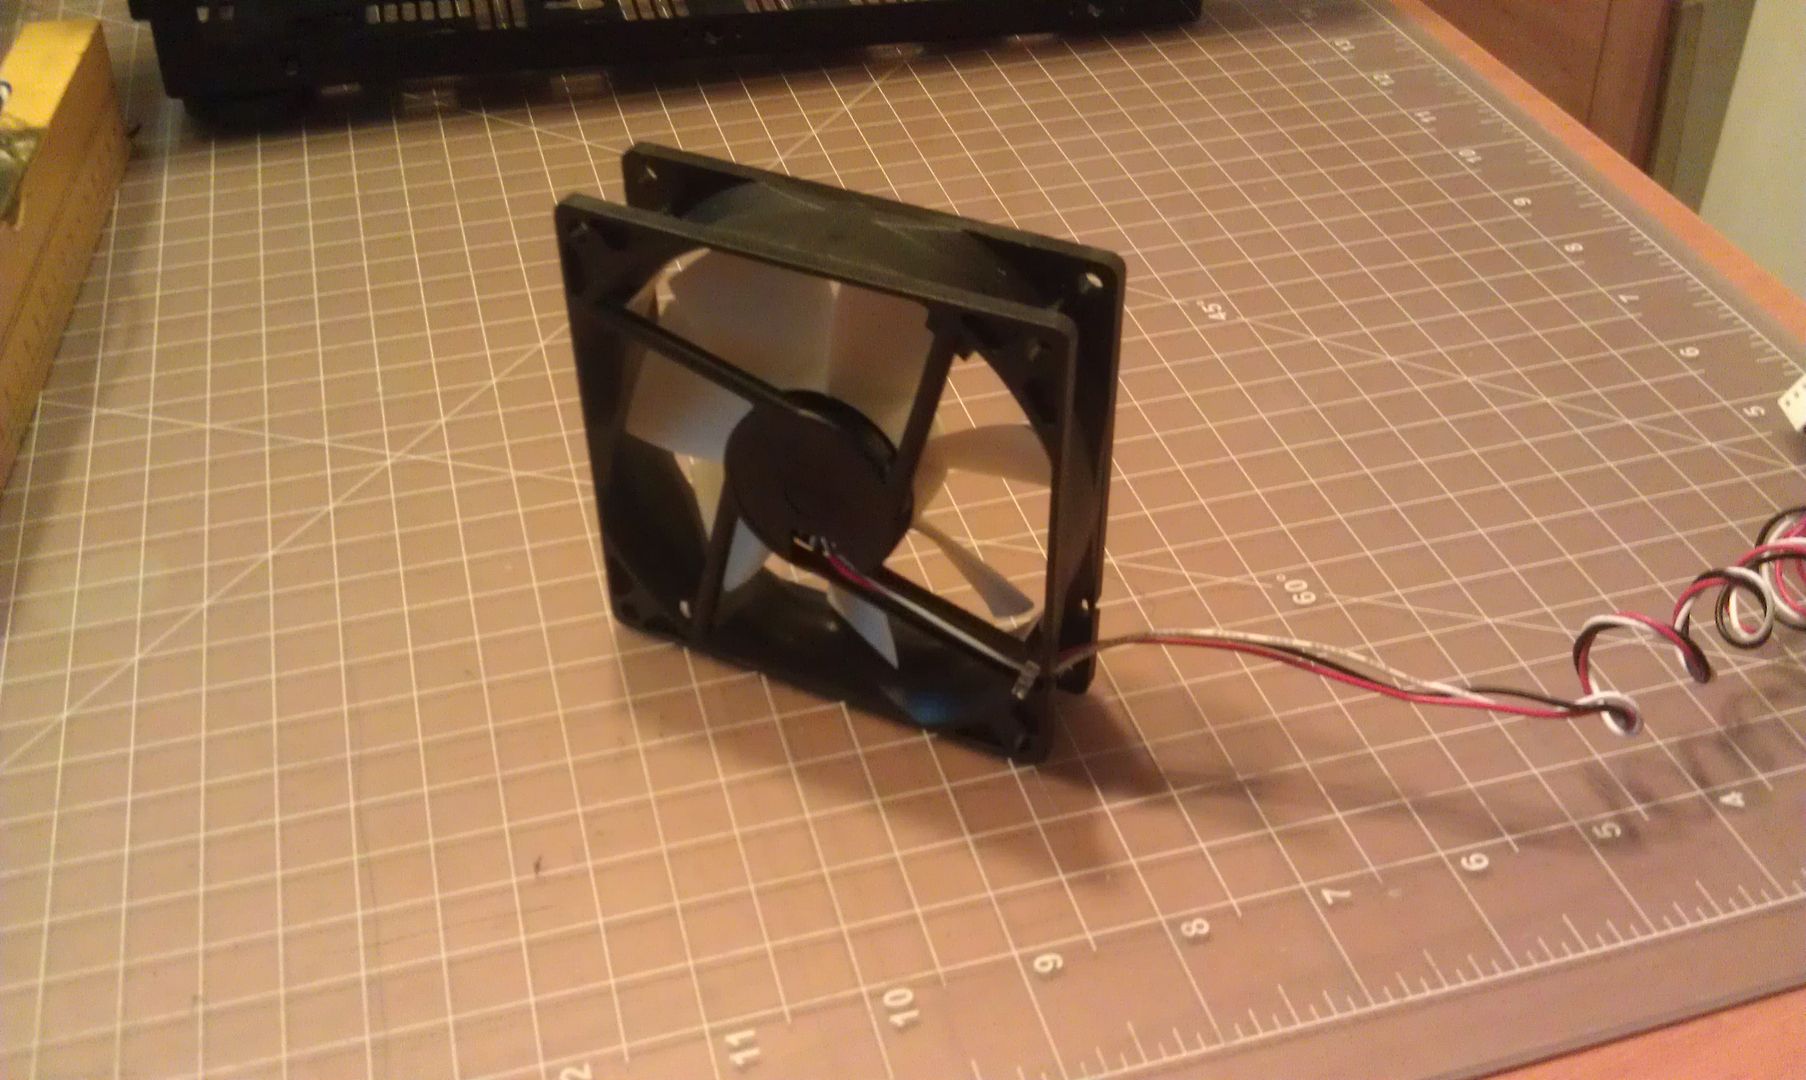
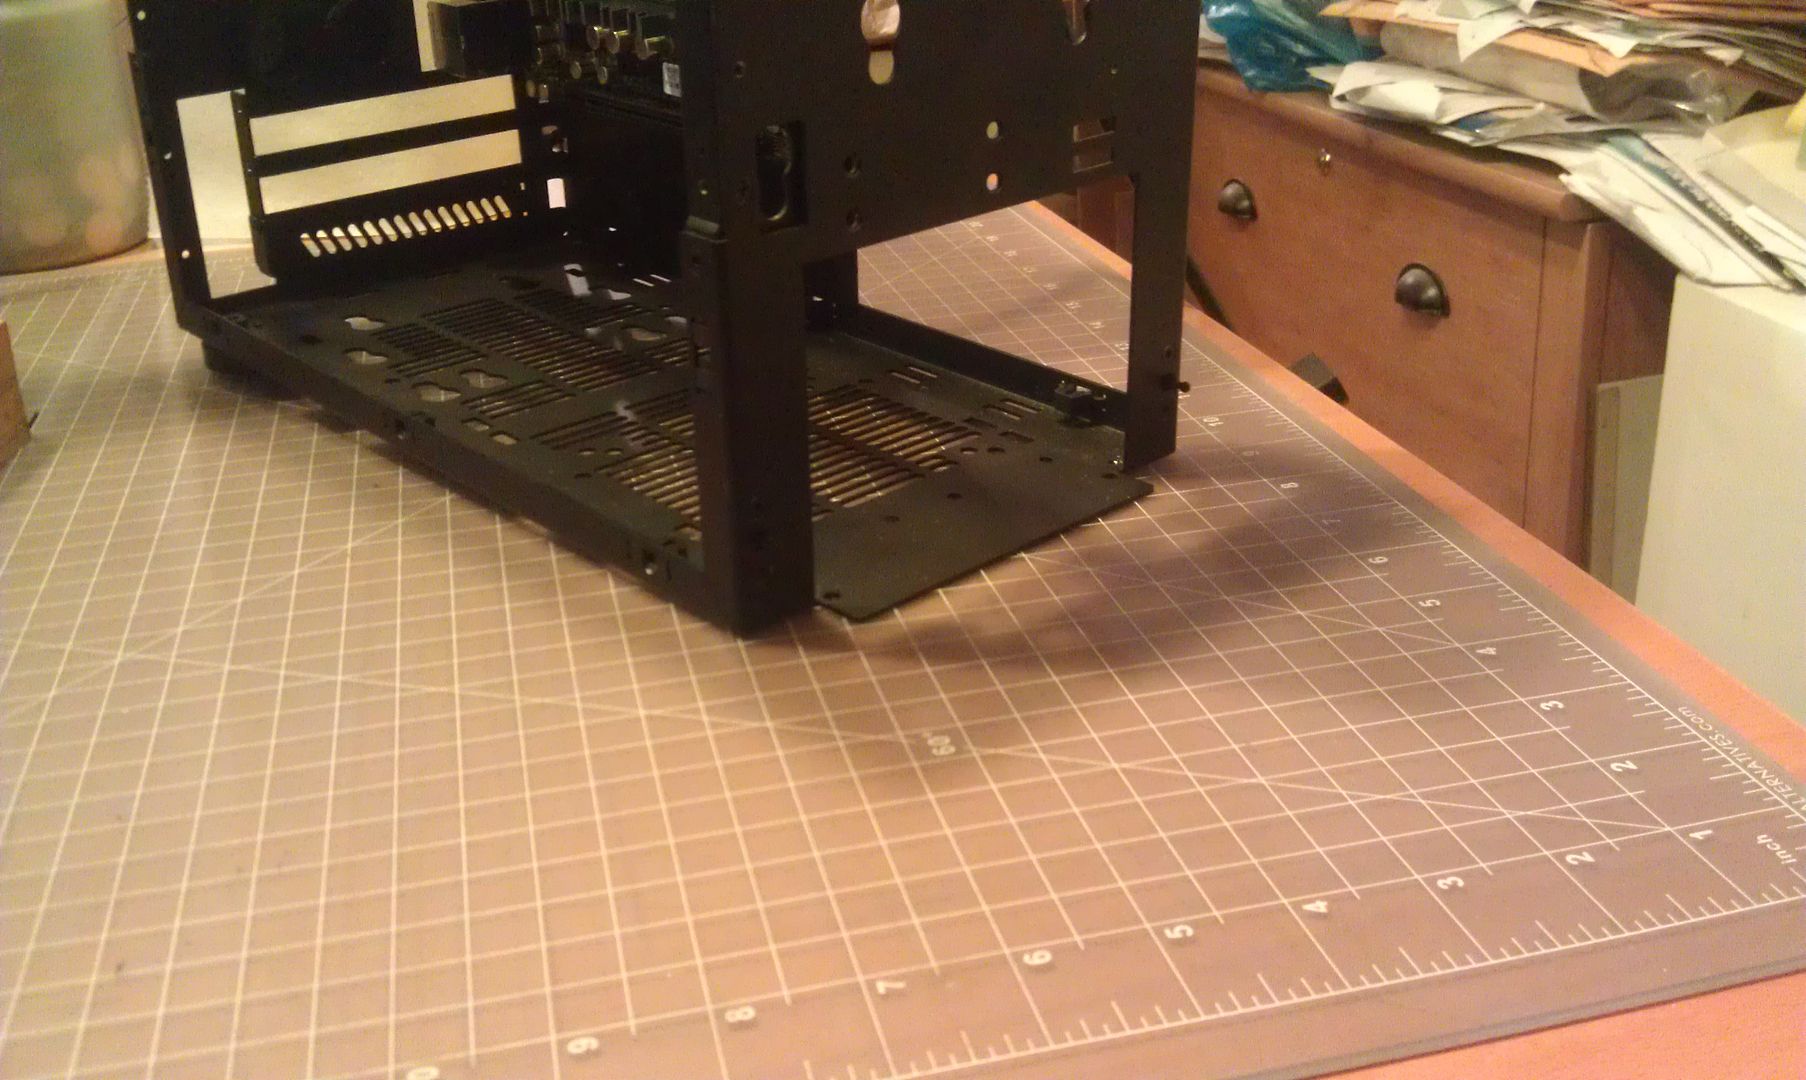
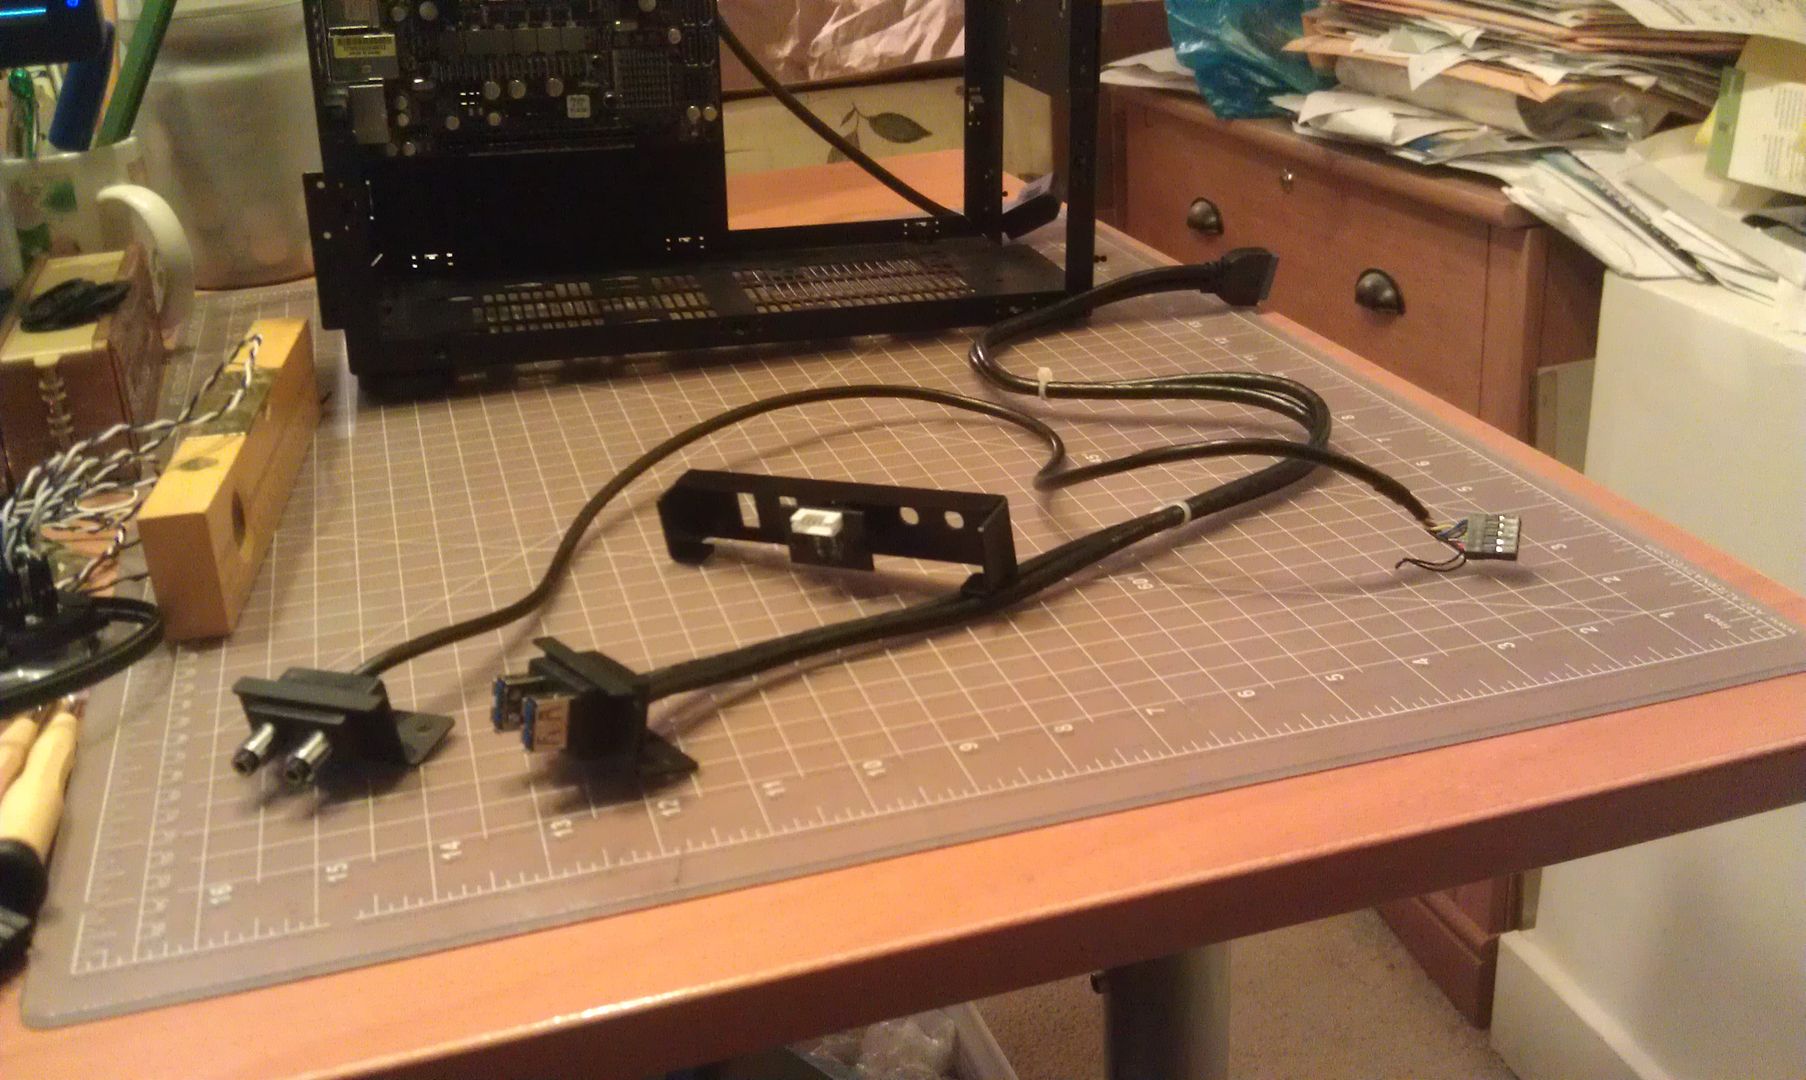
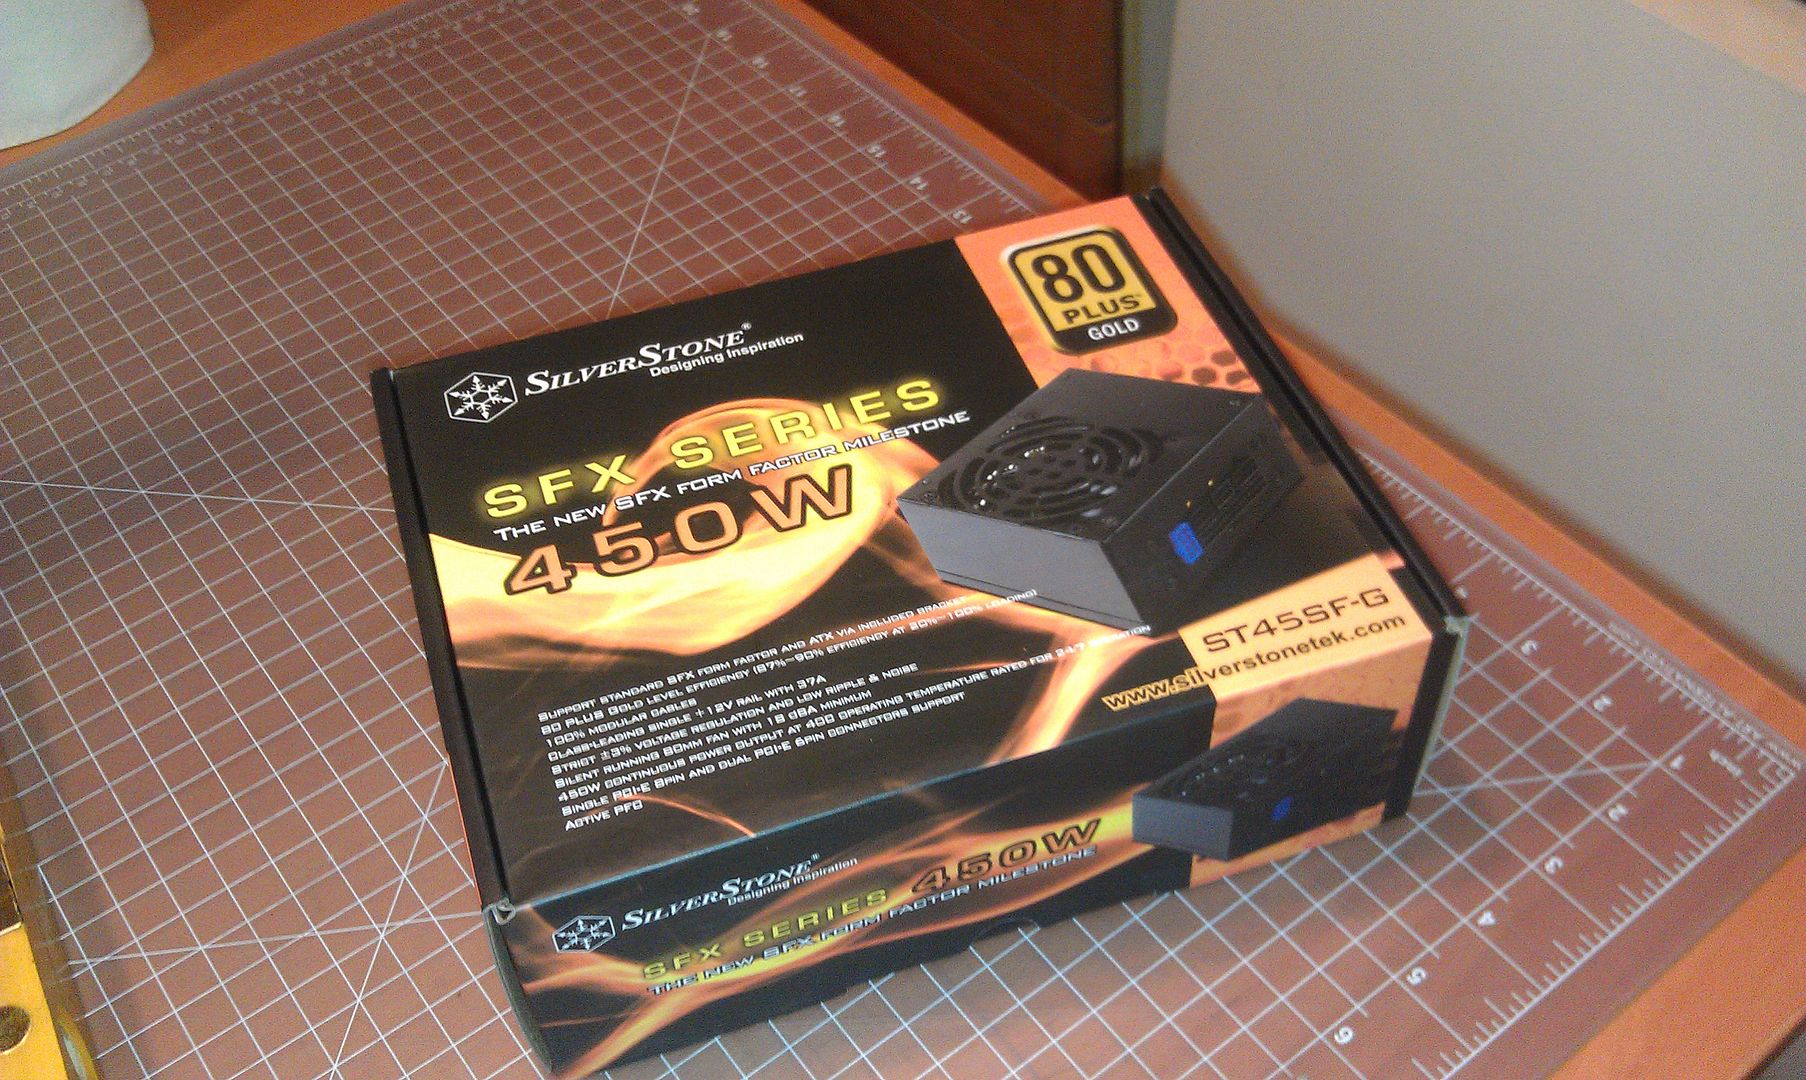
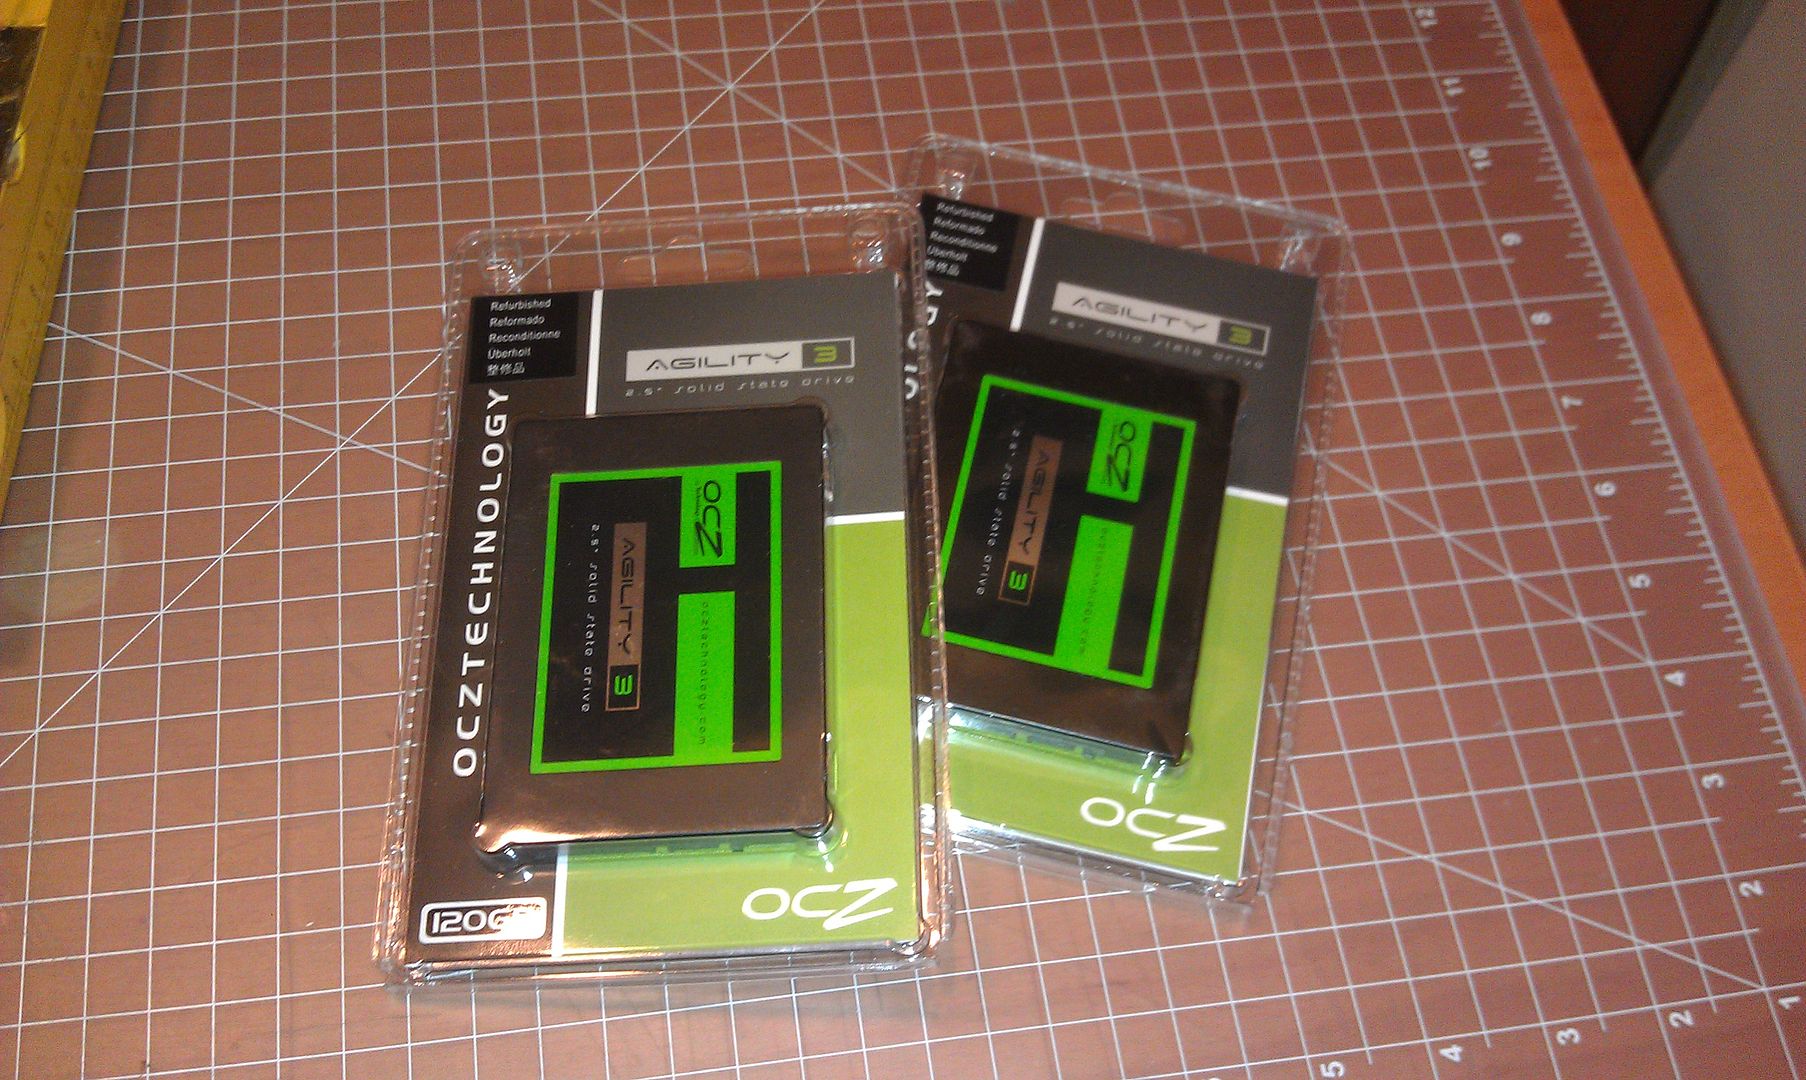
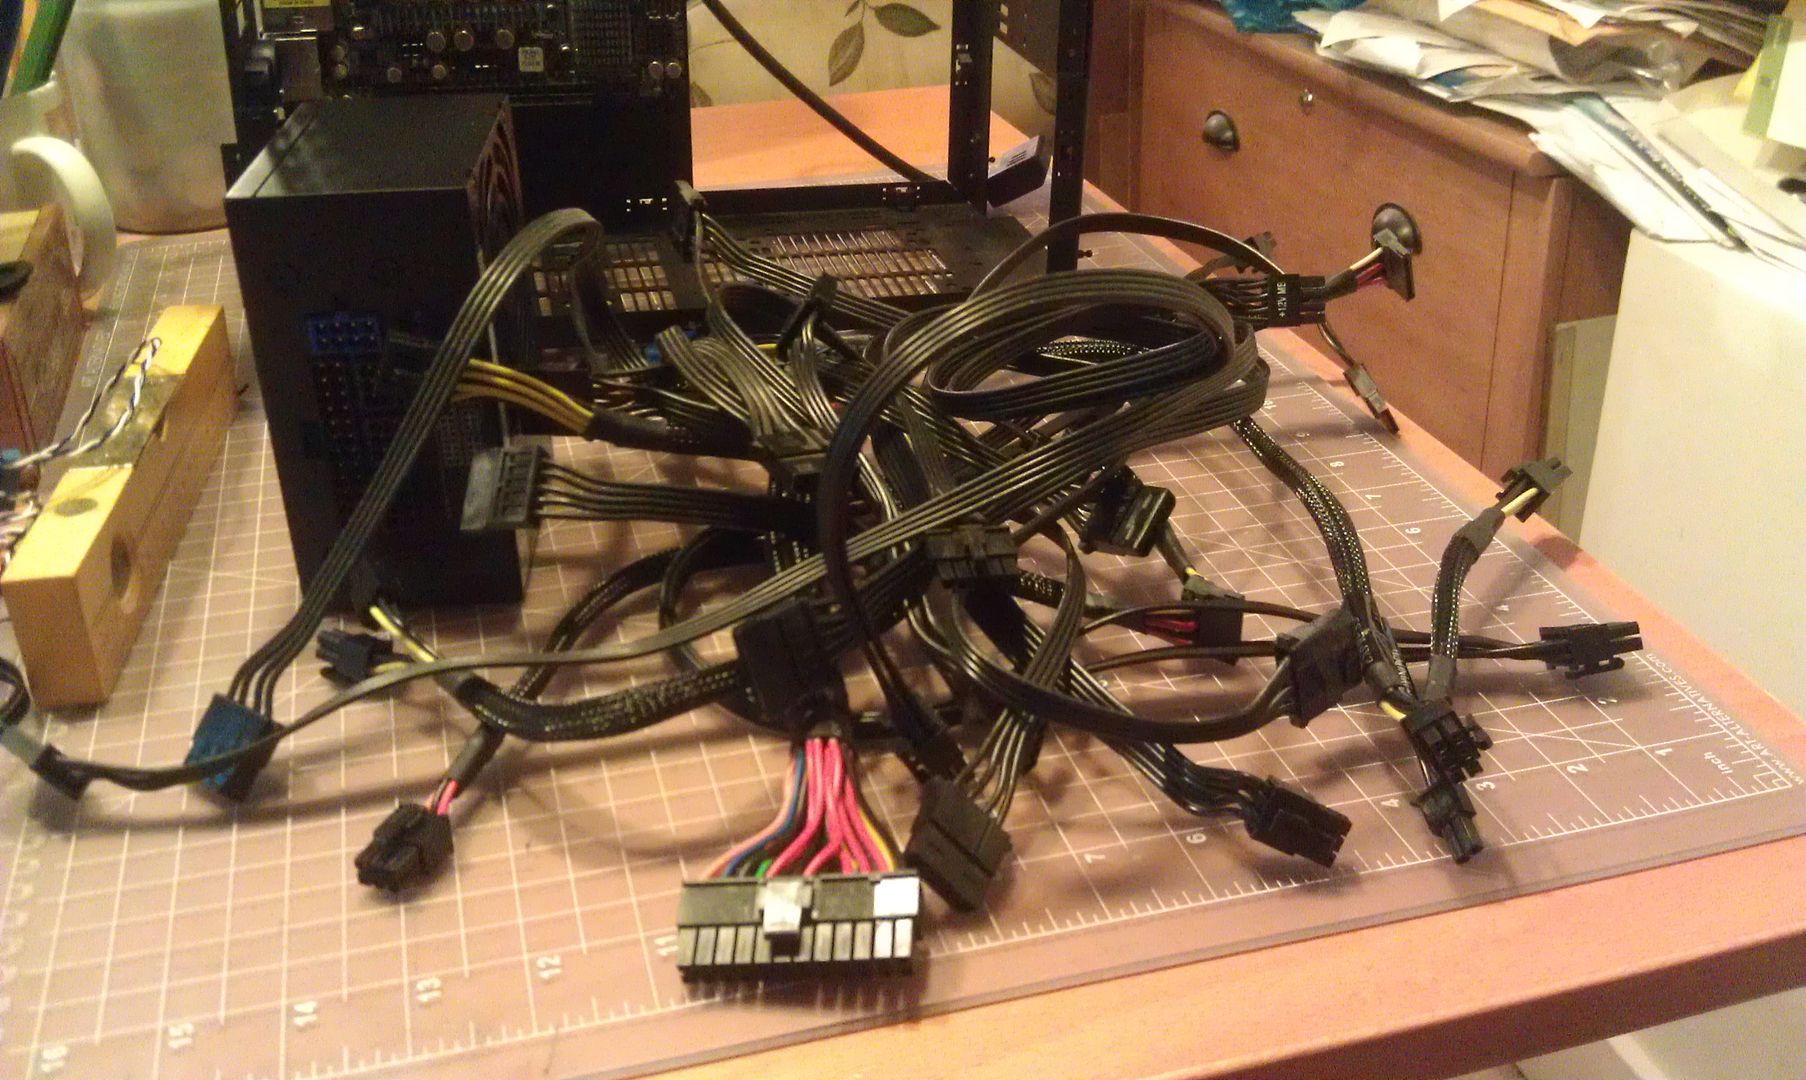
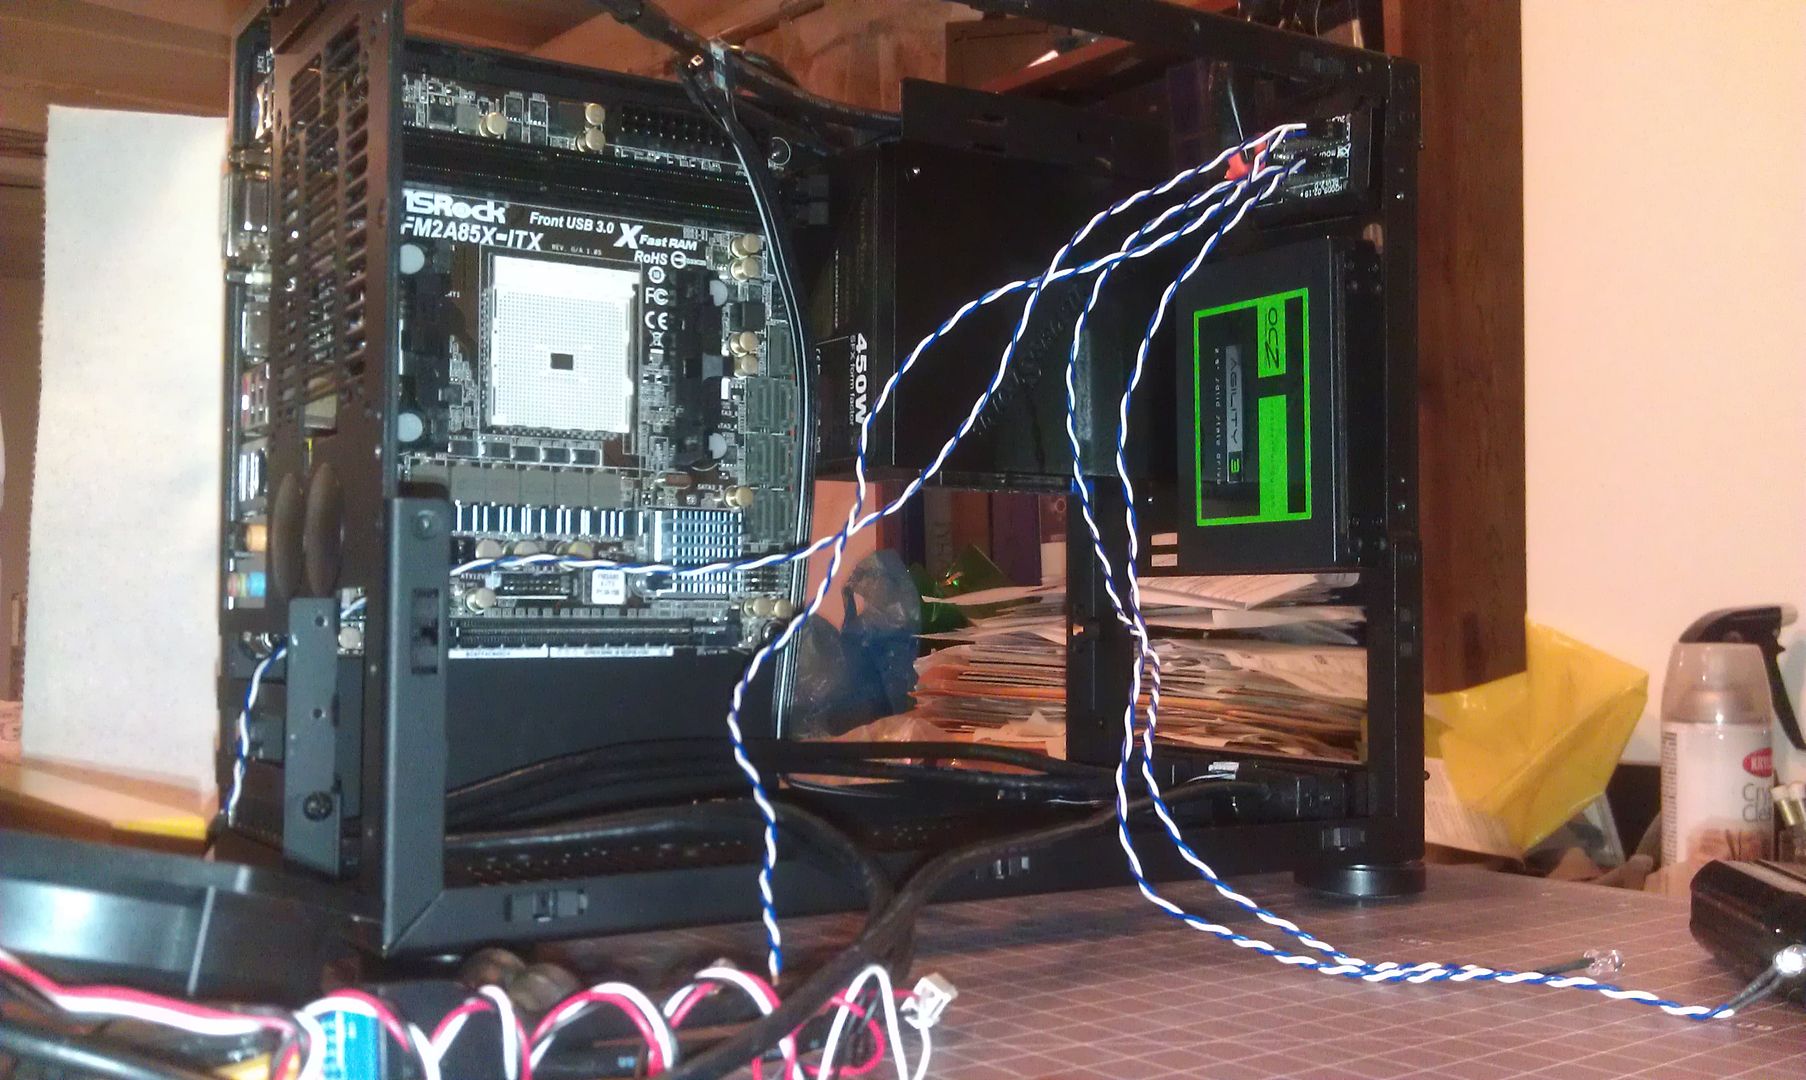
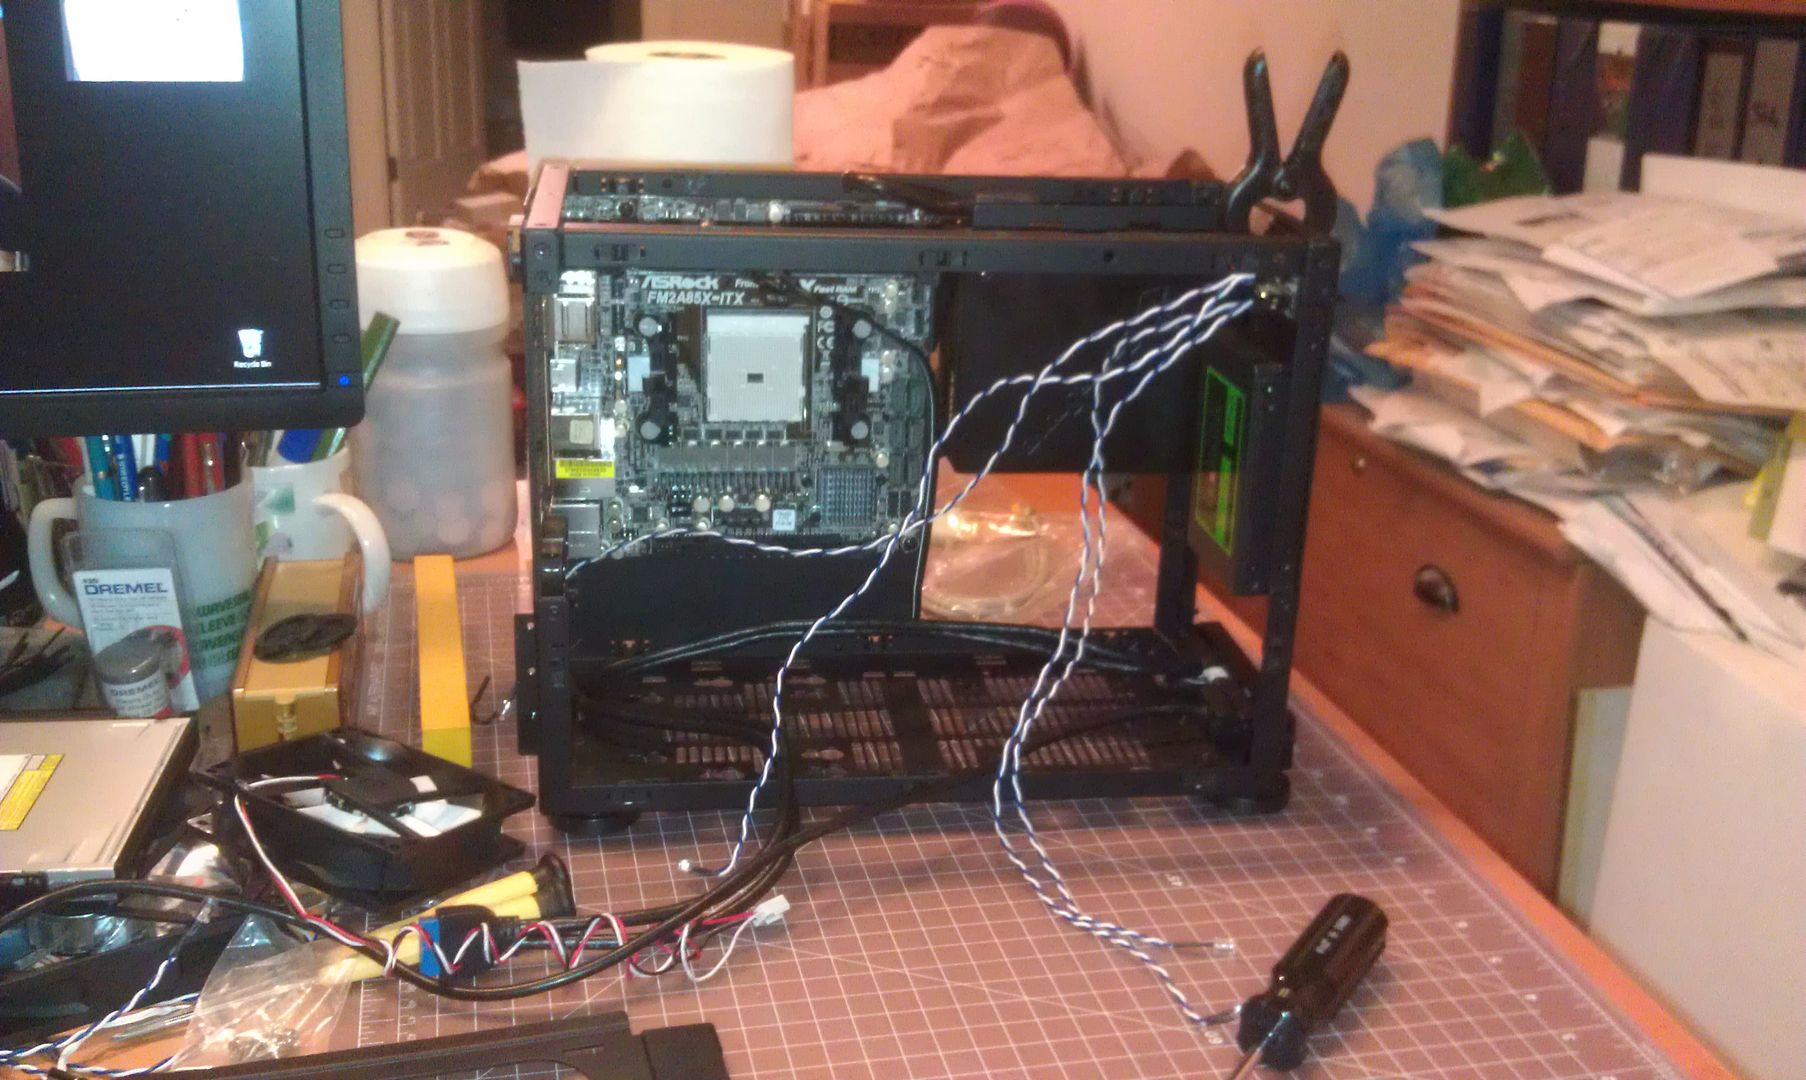
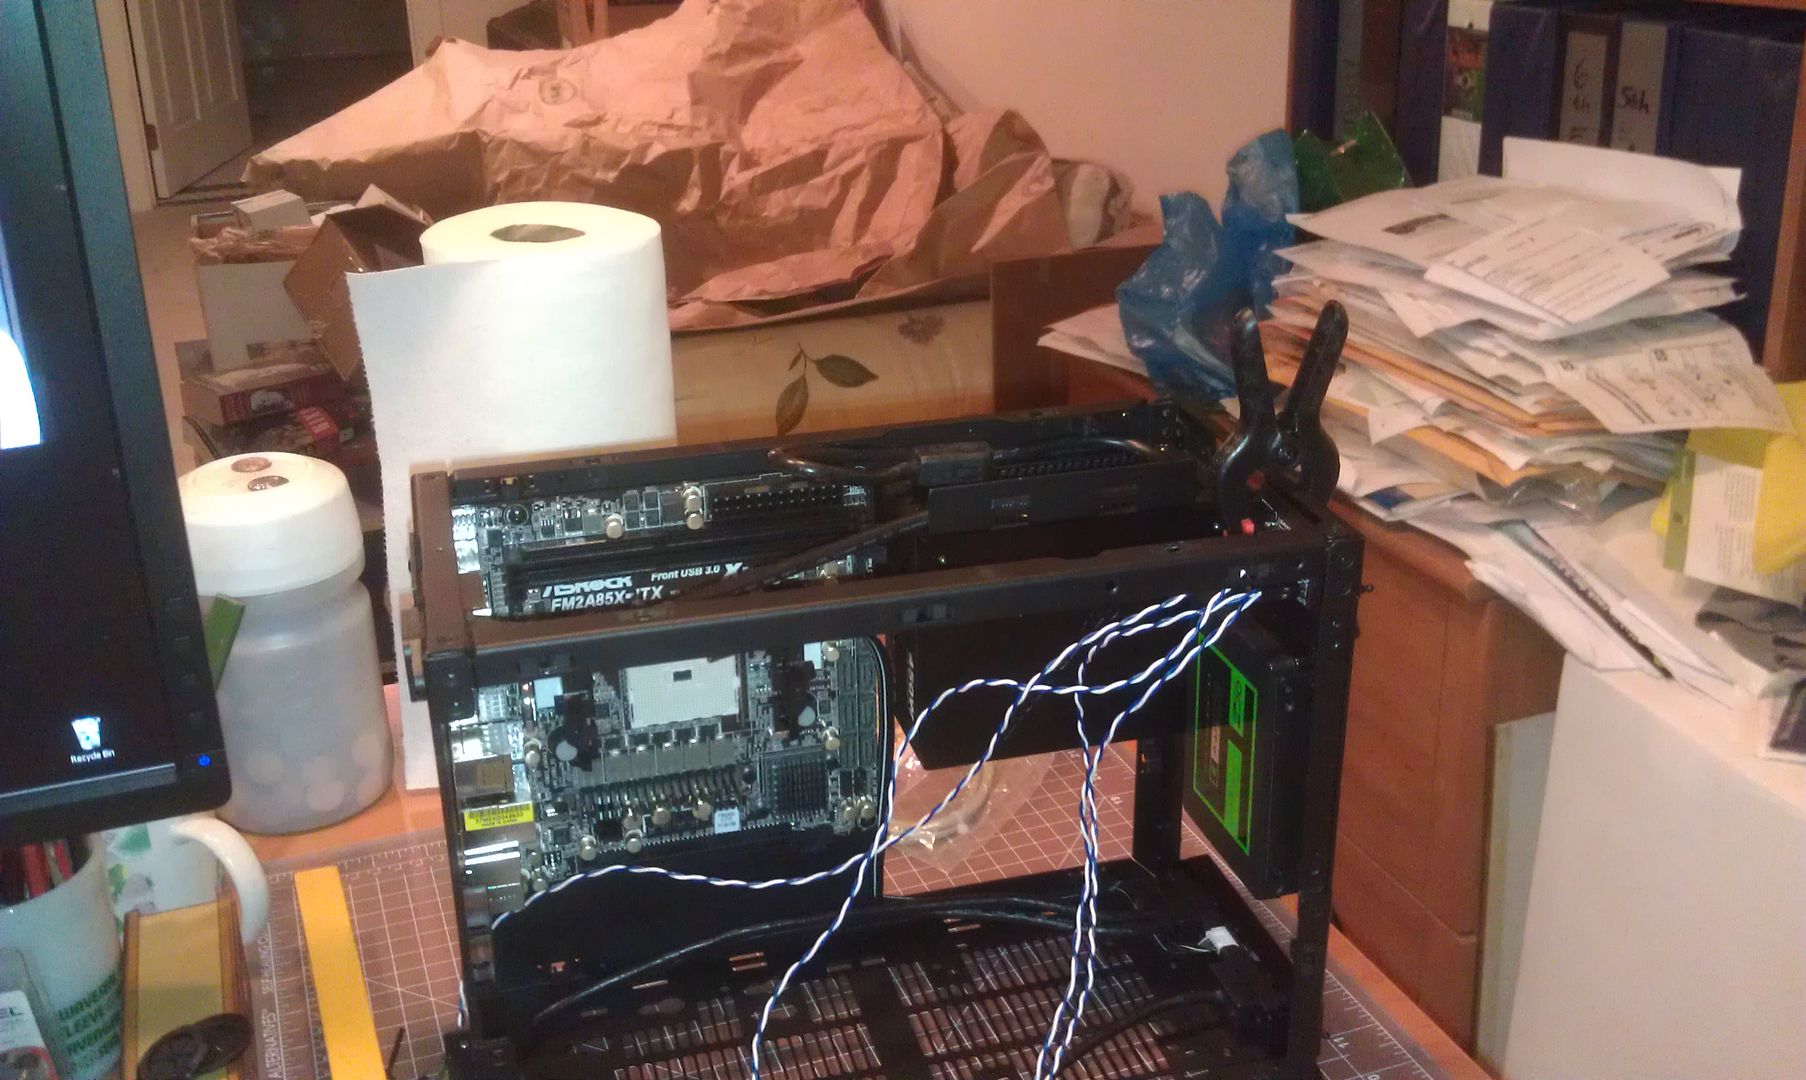
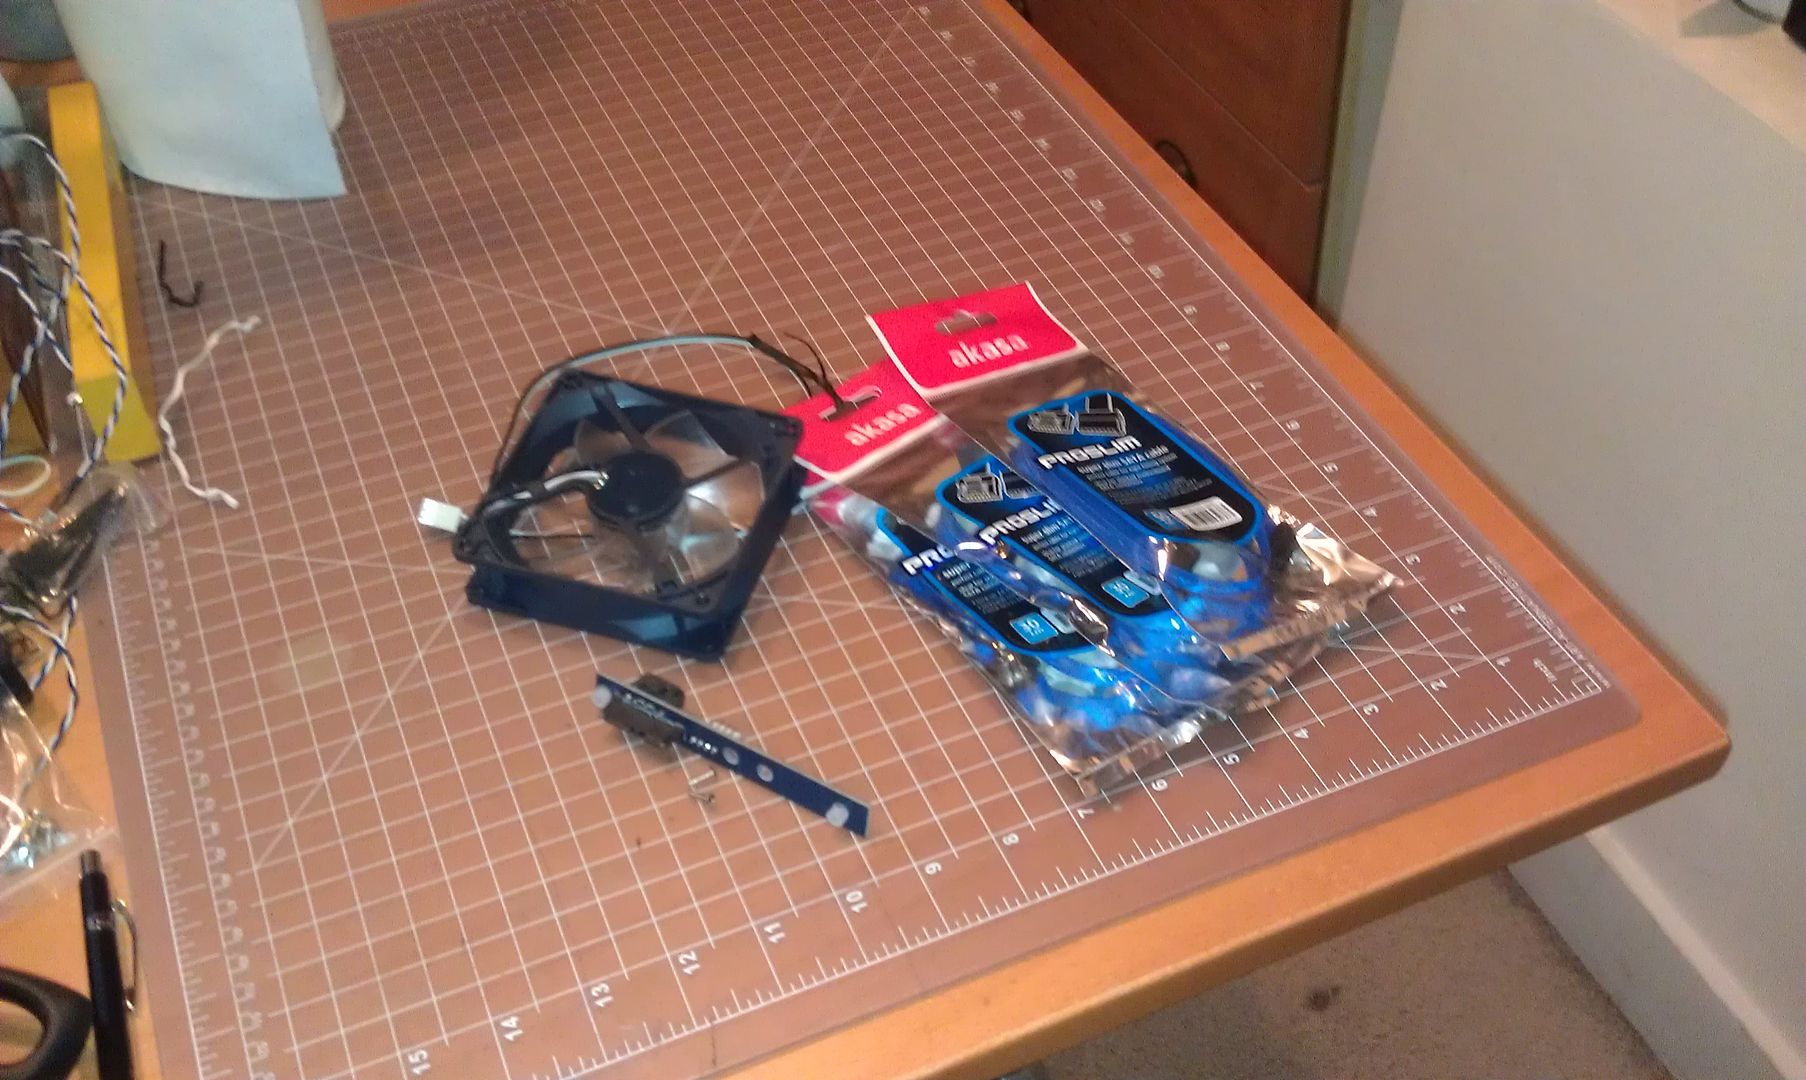
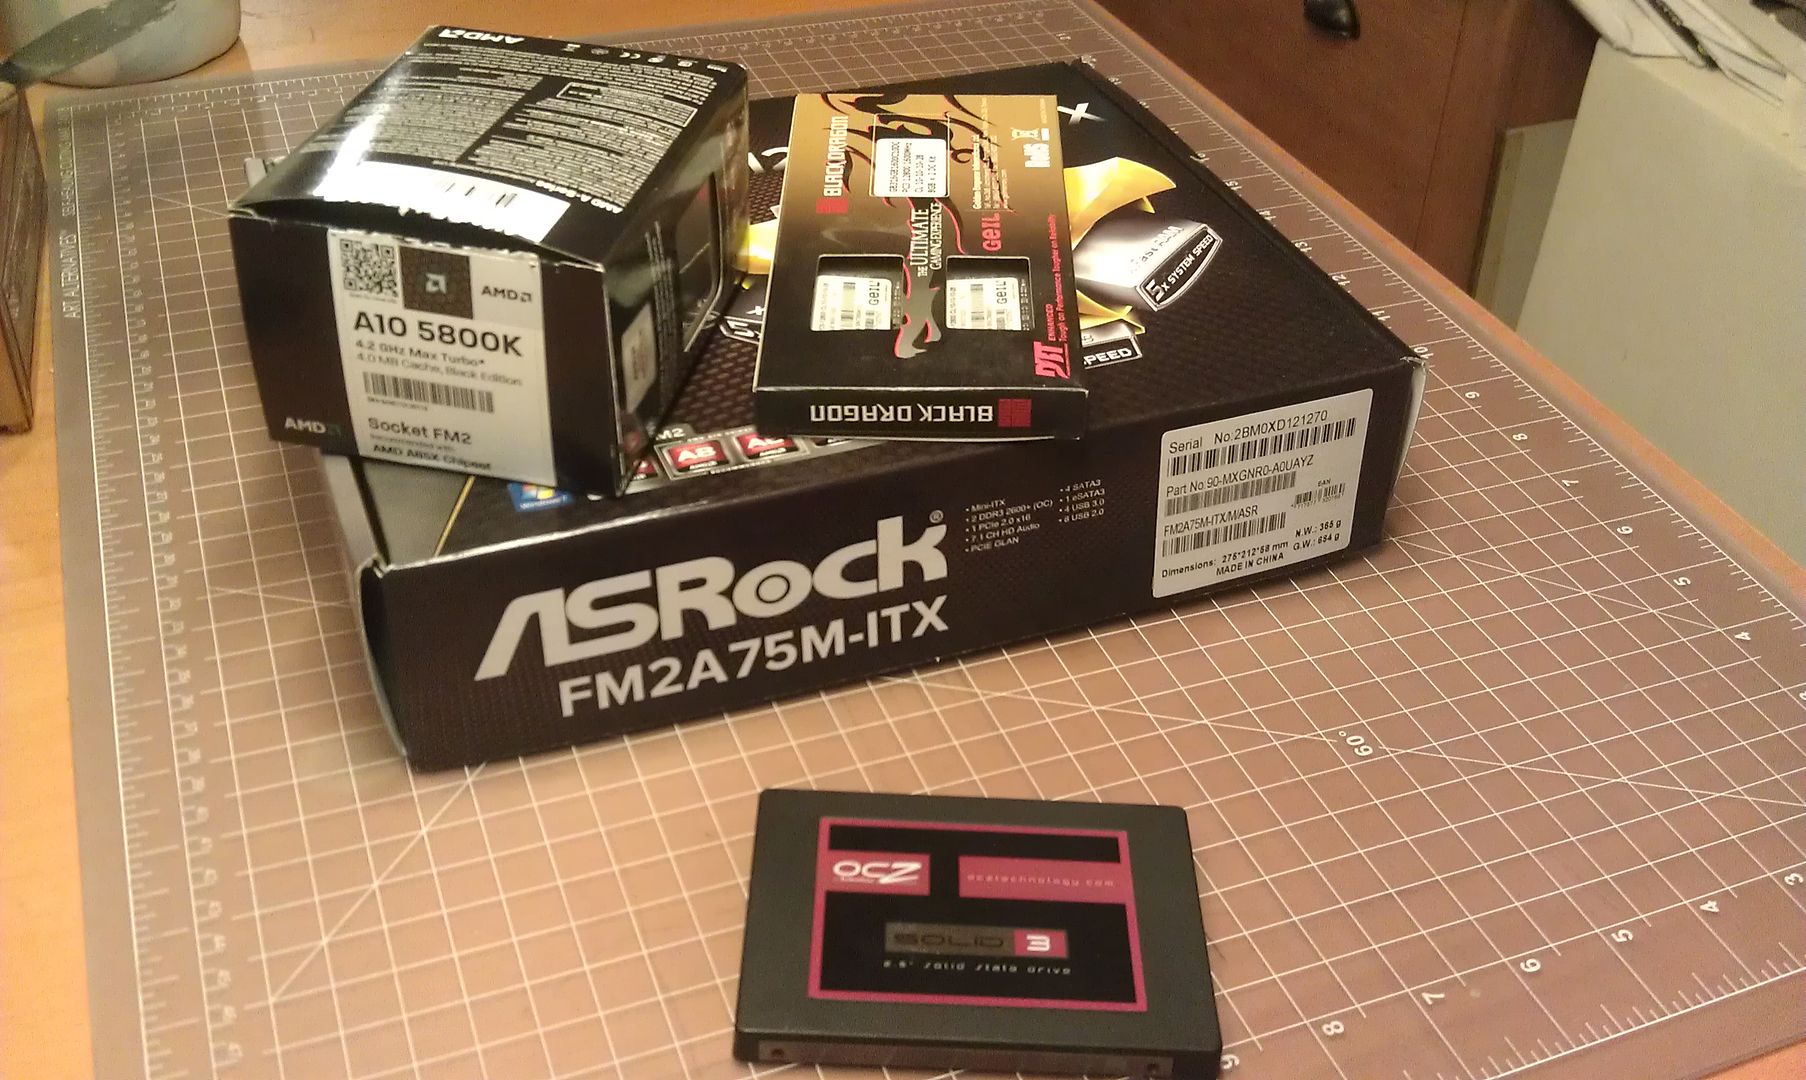
Then what? Well... of course I'm going to have to build a computer in that case. I went to the spares cabinet and found some parts. Okay... I had another mITX project that I was dragging my feet on (it was a rehab of an HP case that will likely go to the Goodwill, now) that I basically grabbed all the goodies from. This stuff:
LaoParts.jpg


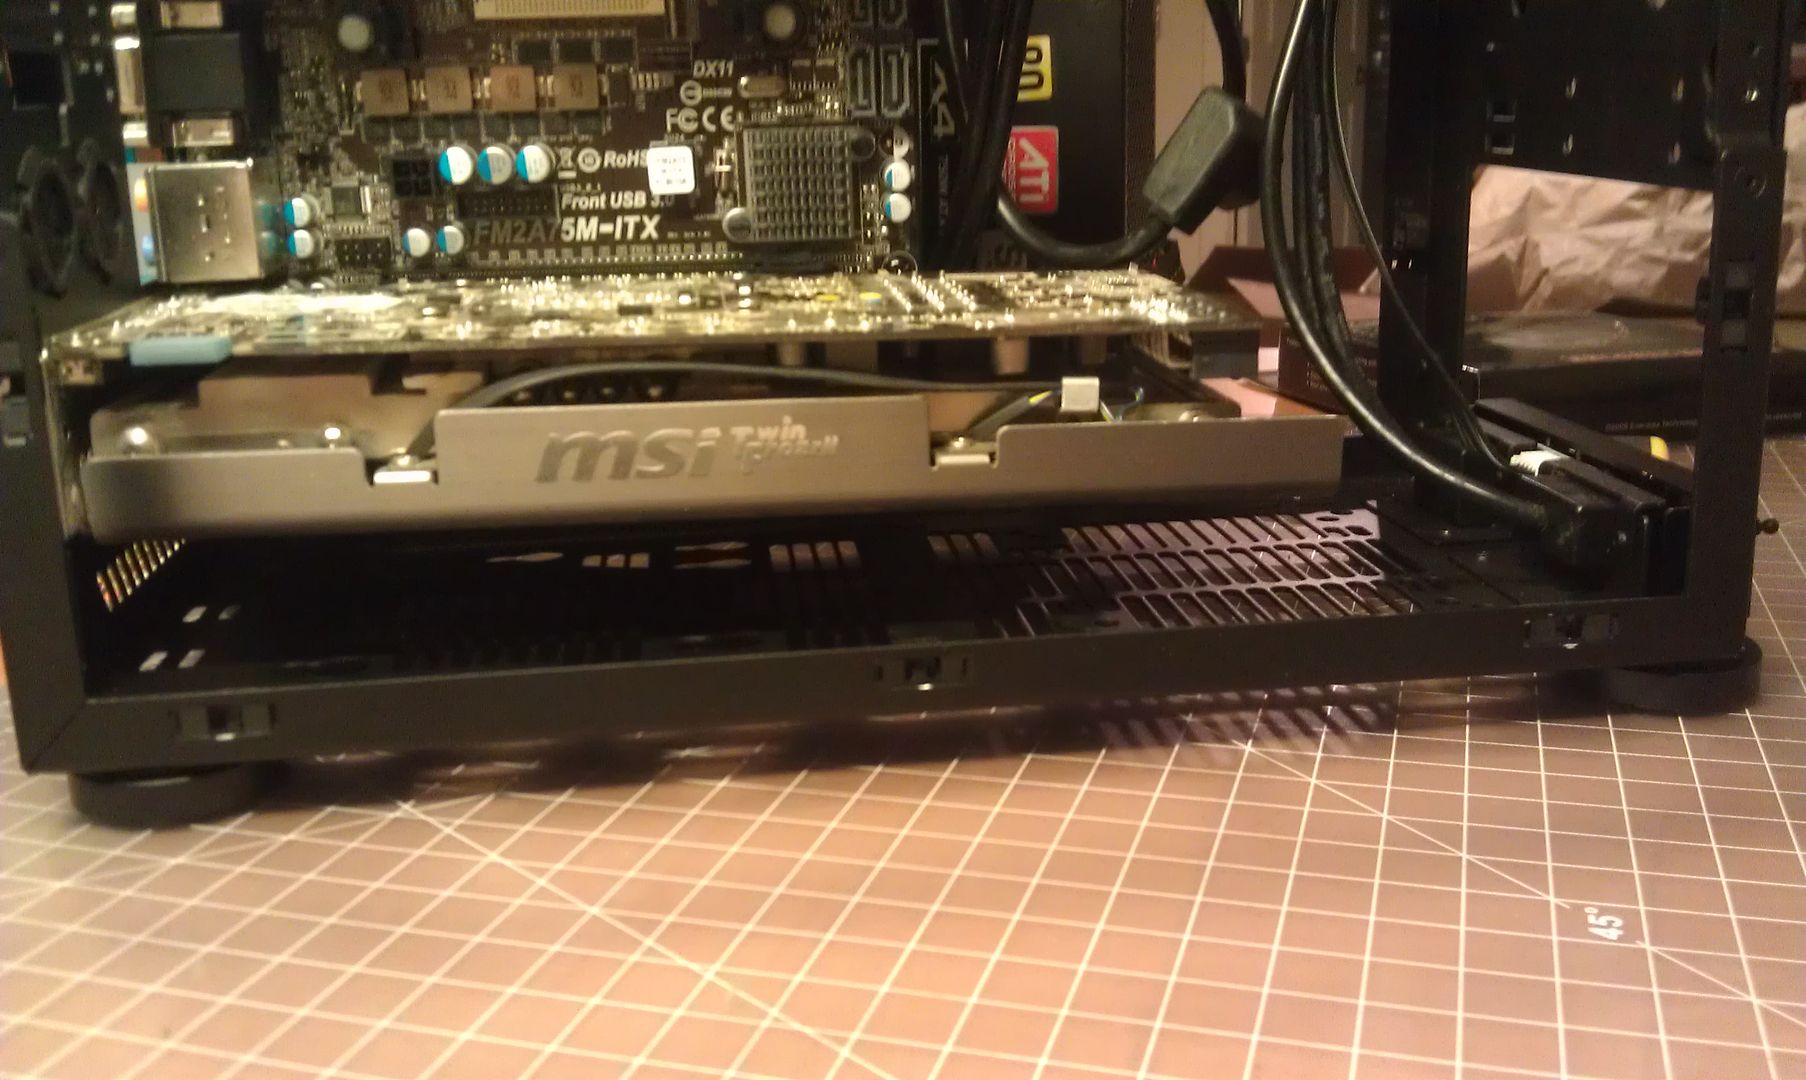
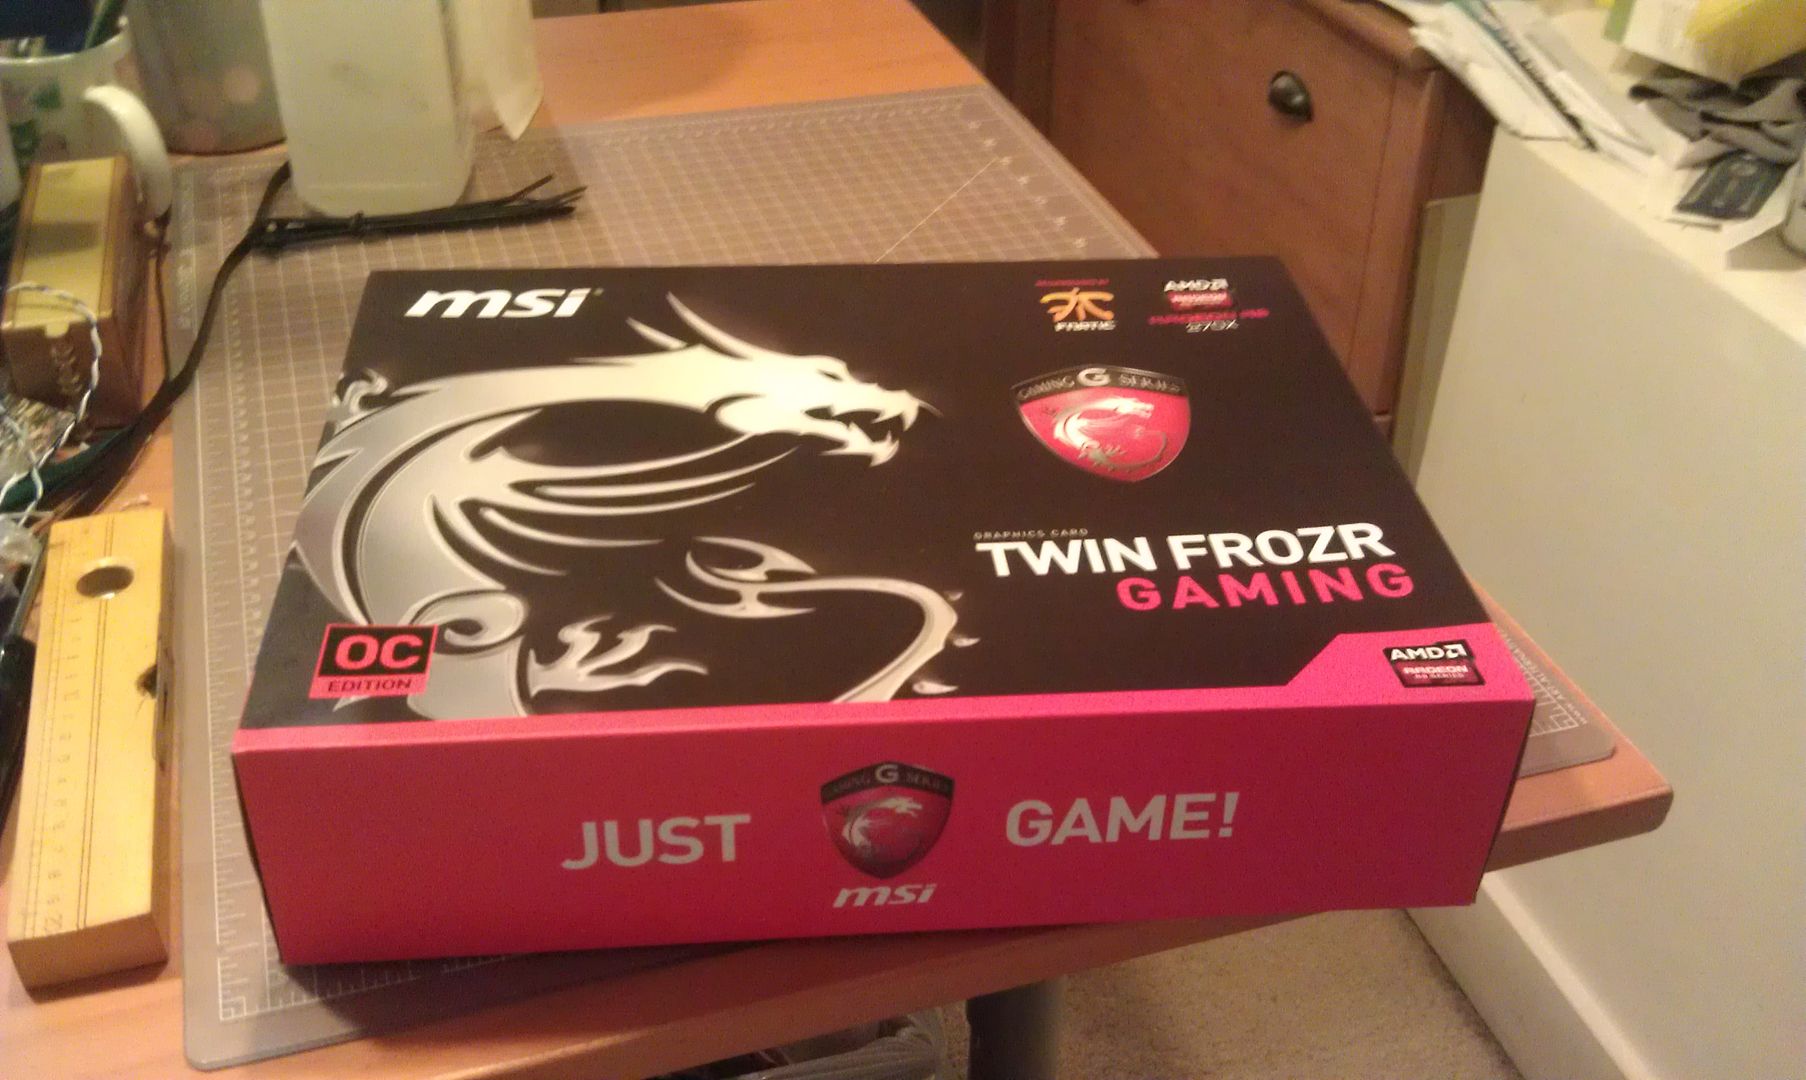
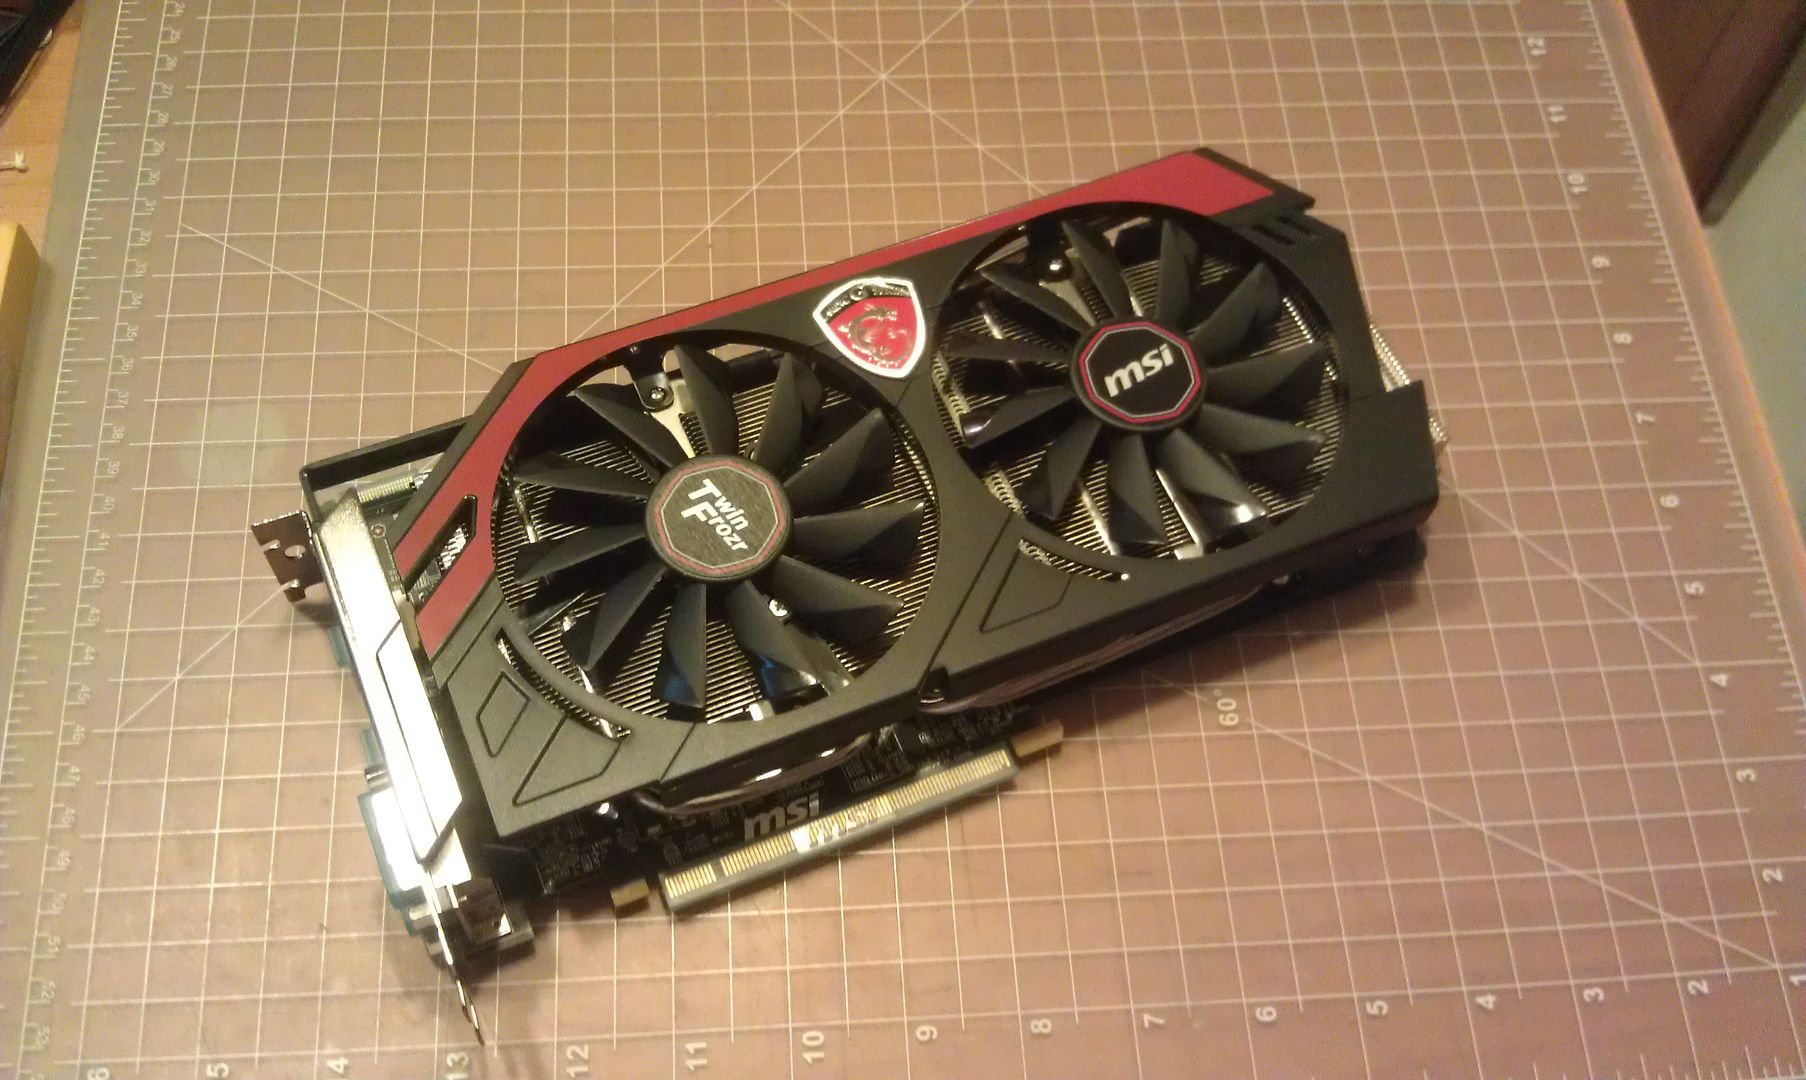
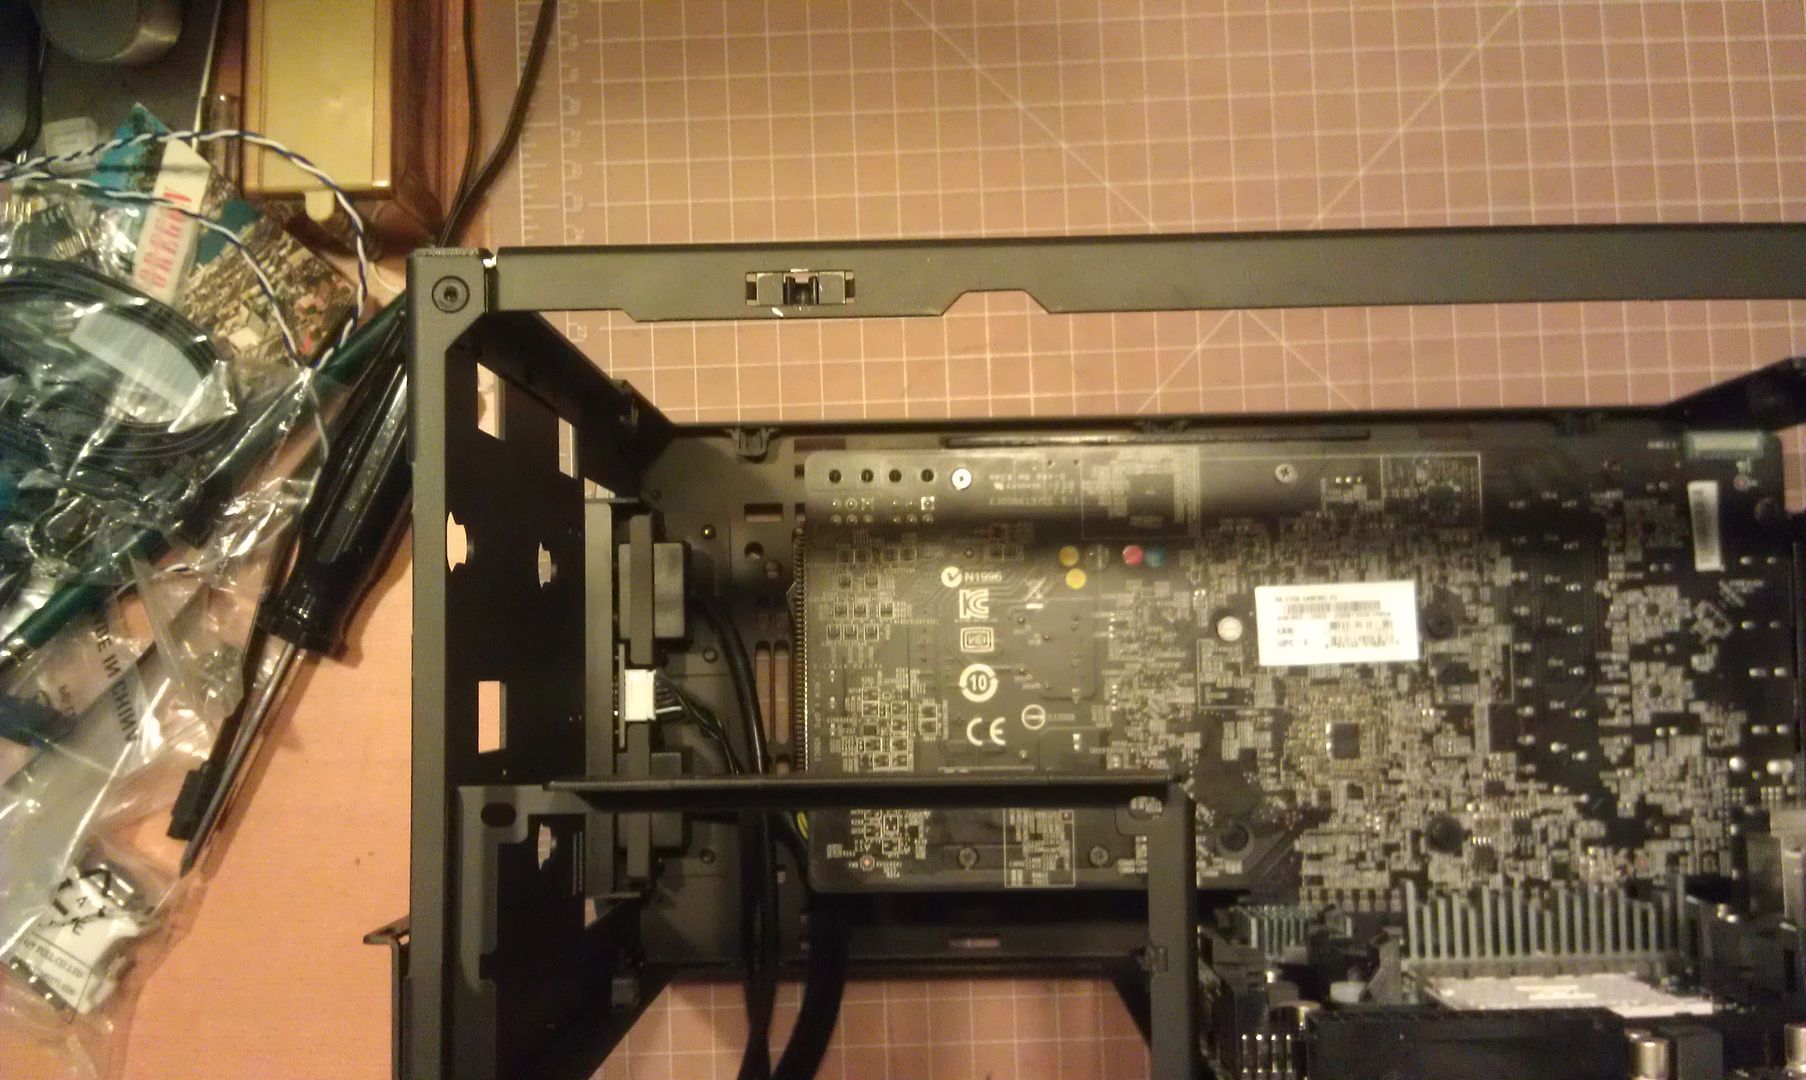
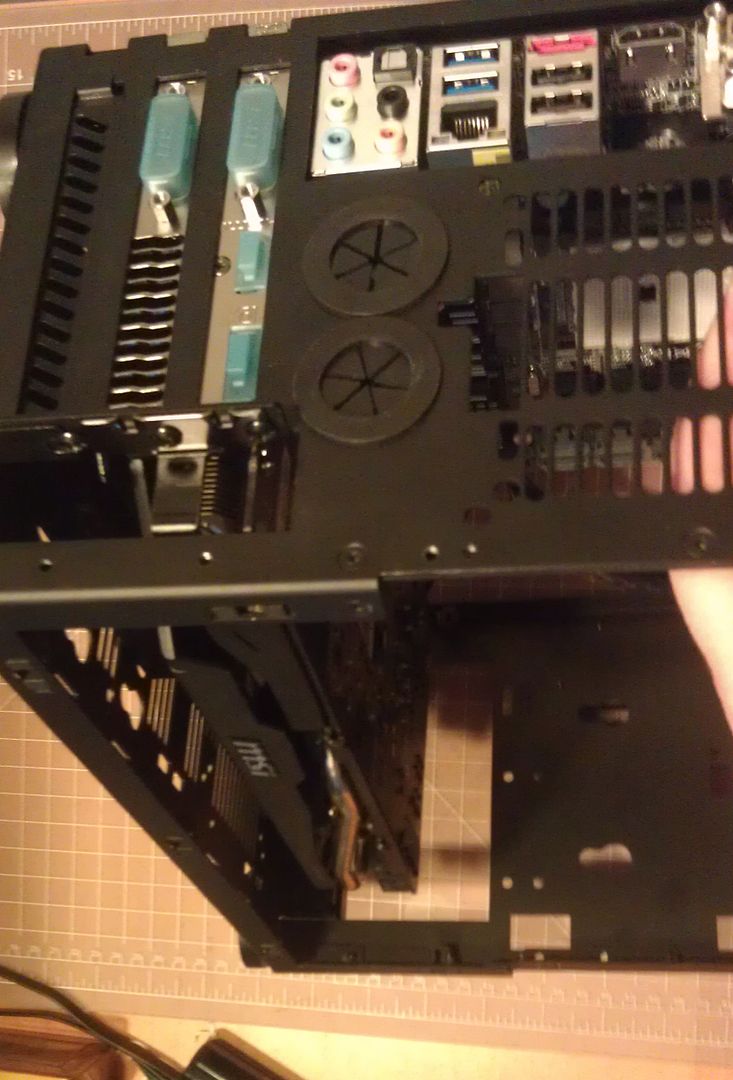
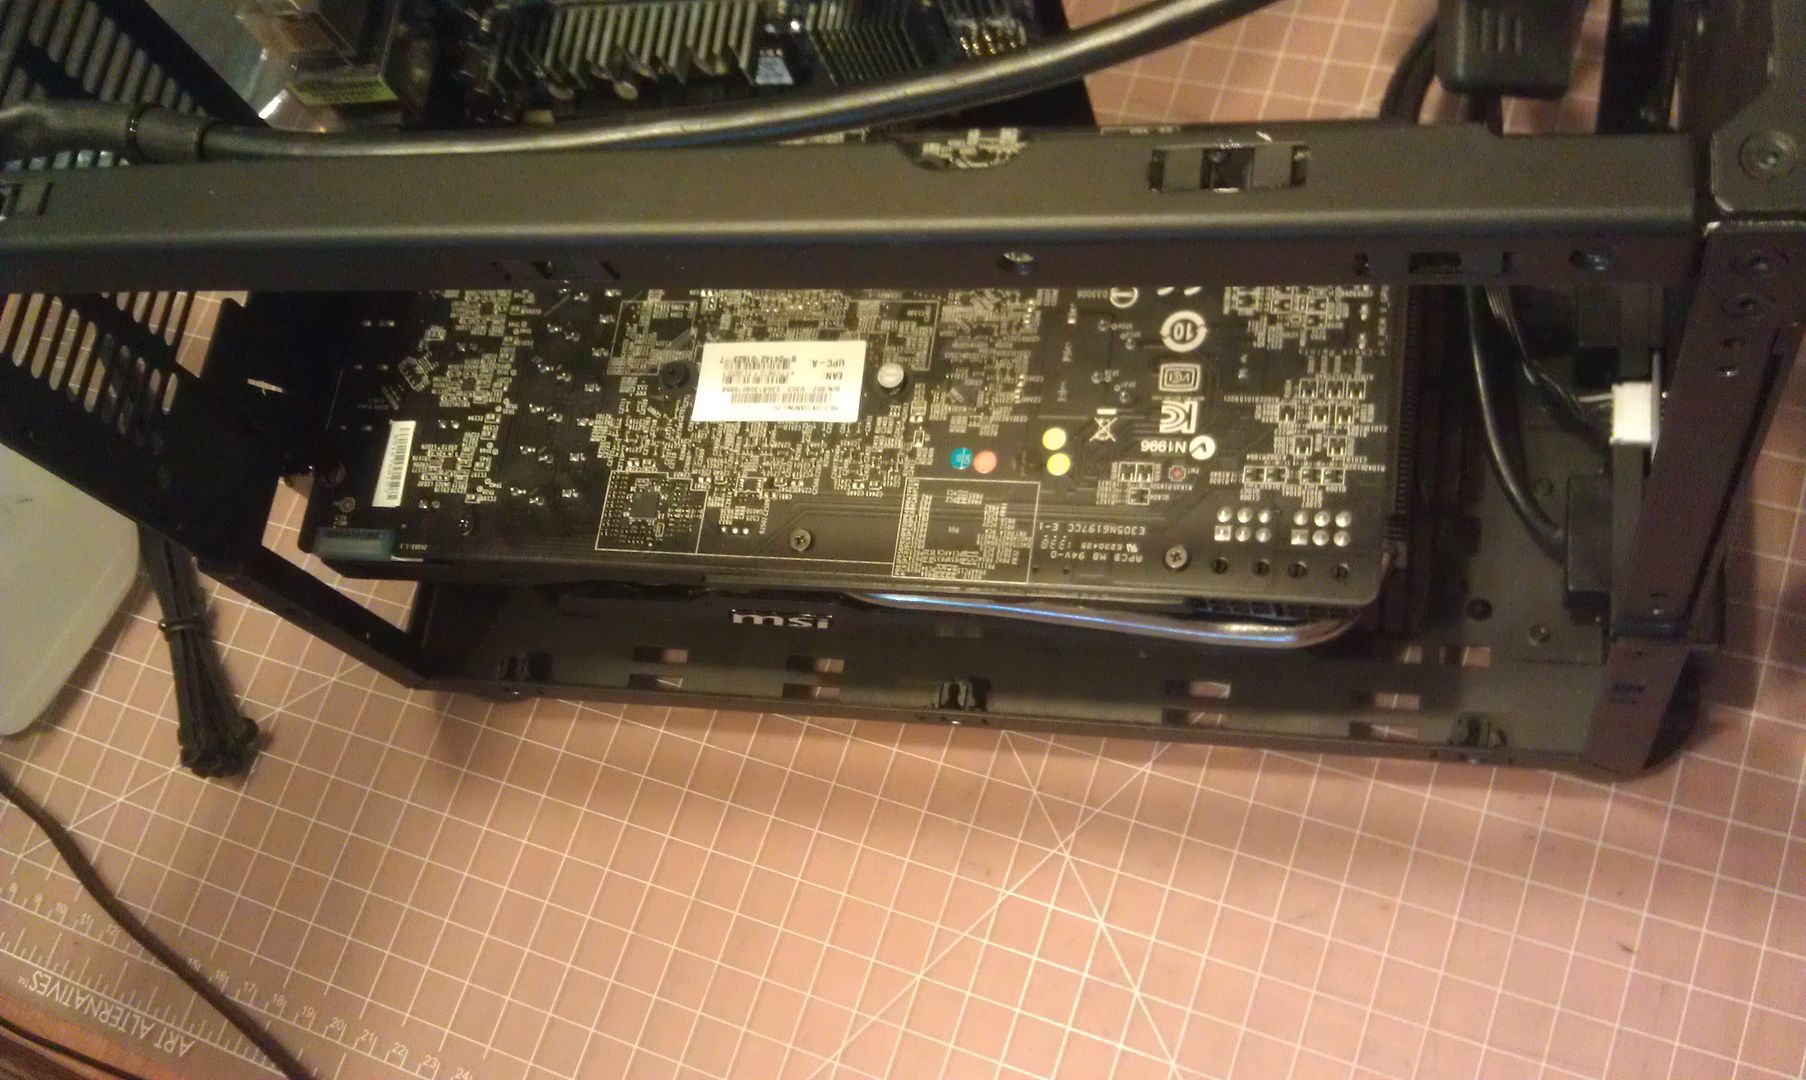
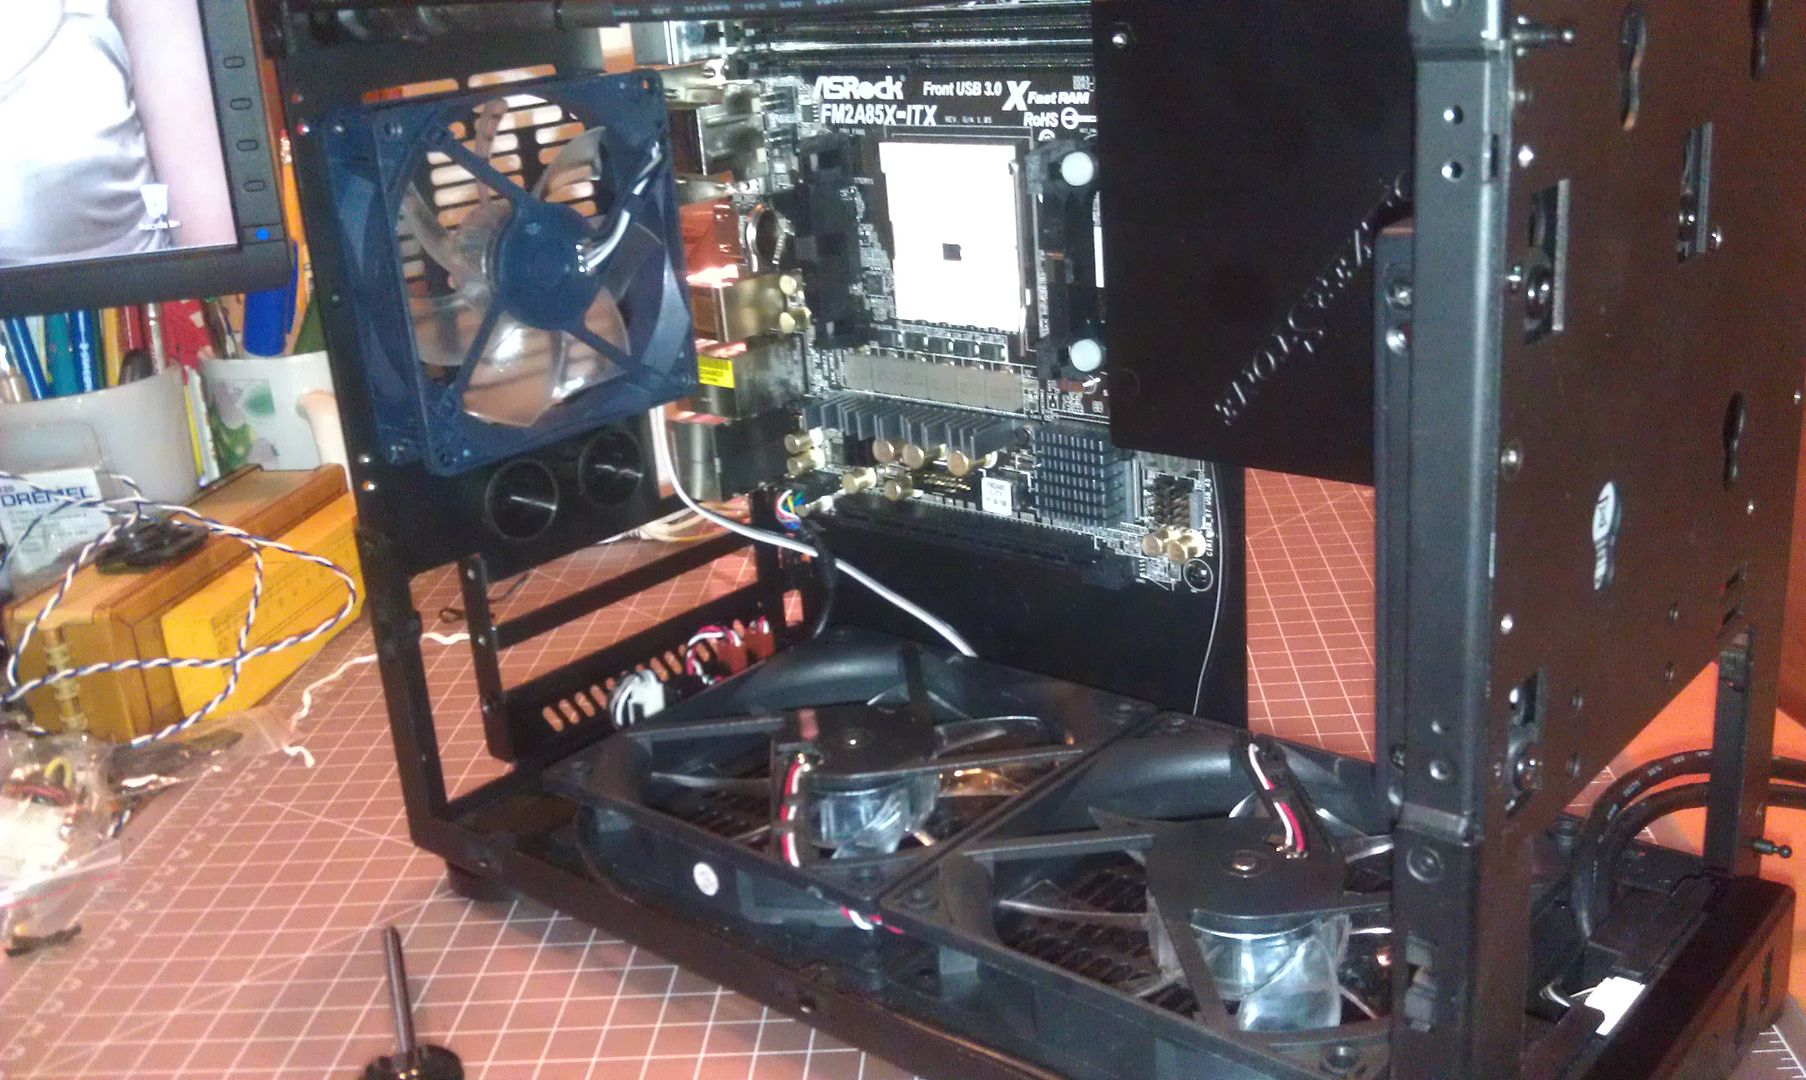
...video card? Why would I put a video card on it? Oh, right; because the NCase was designed around having a honkin' big vidcard on your mITX board!! Gotcha. How 'bout this one:
MSI560TiTwinFrozrII.jpg

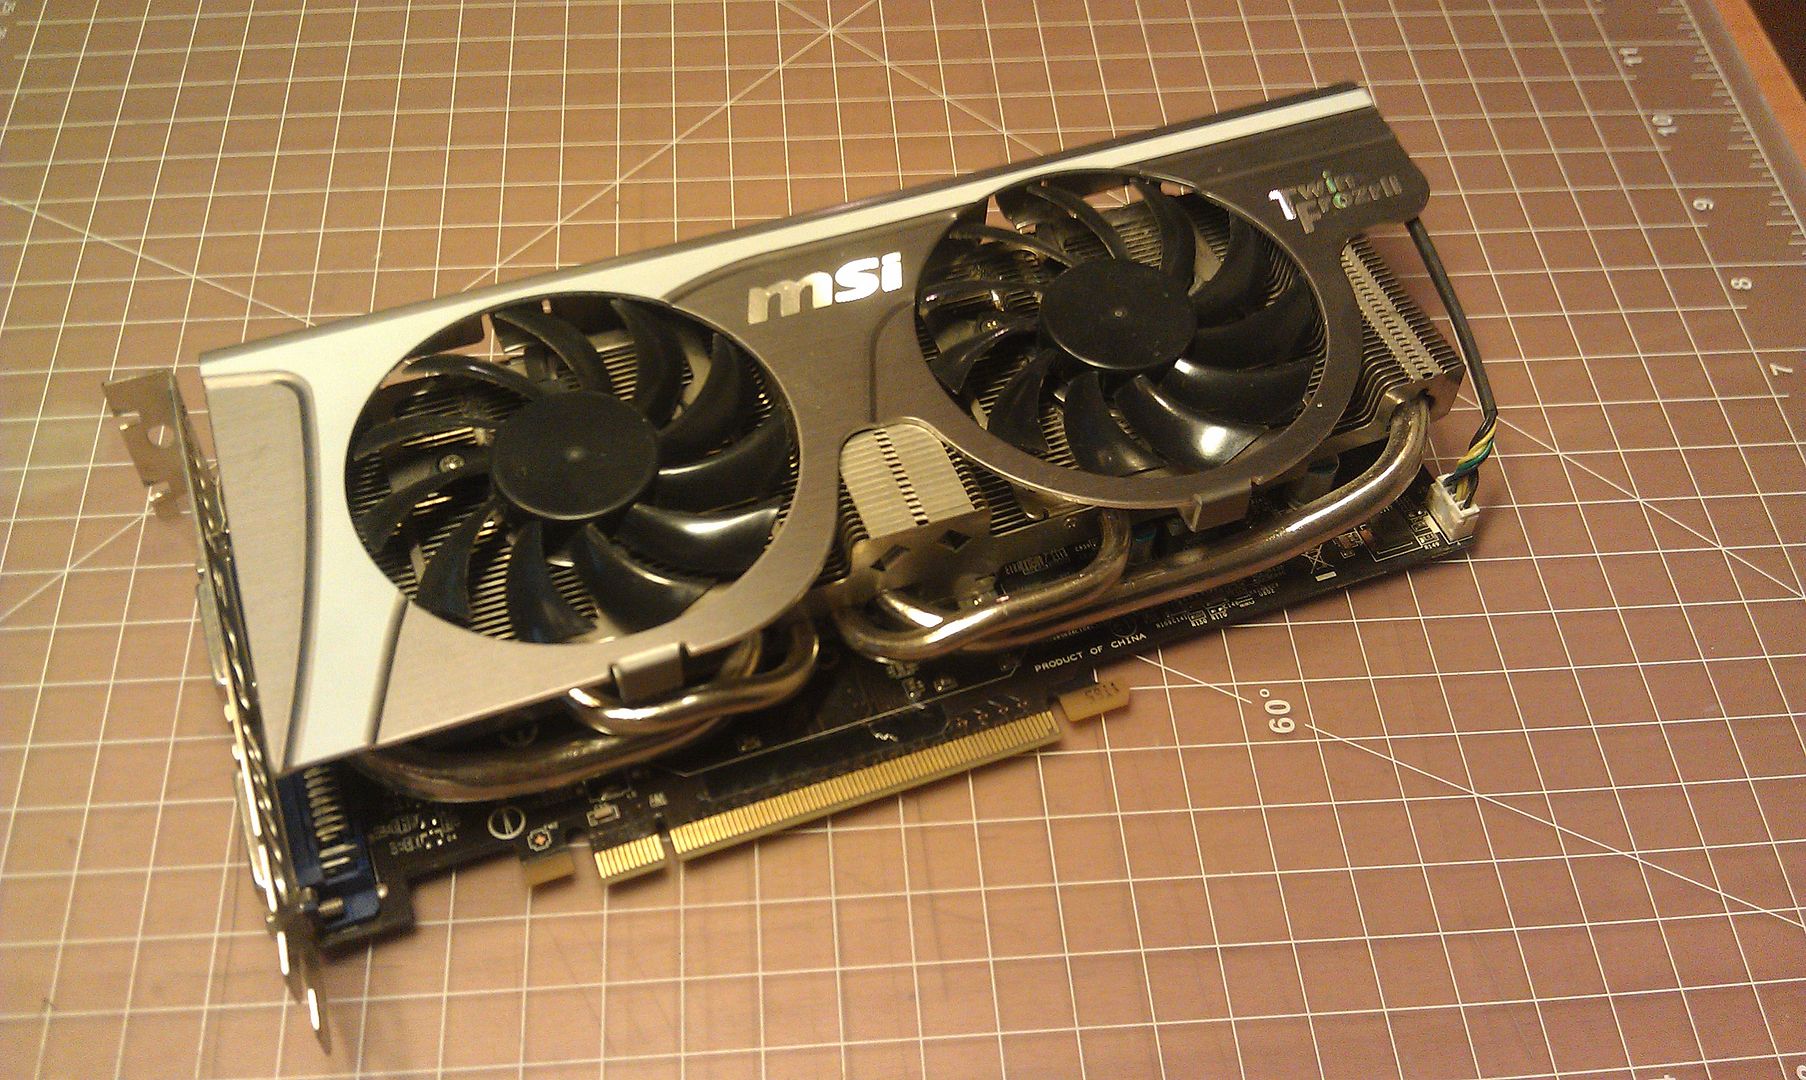
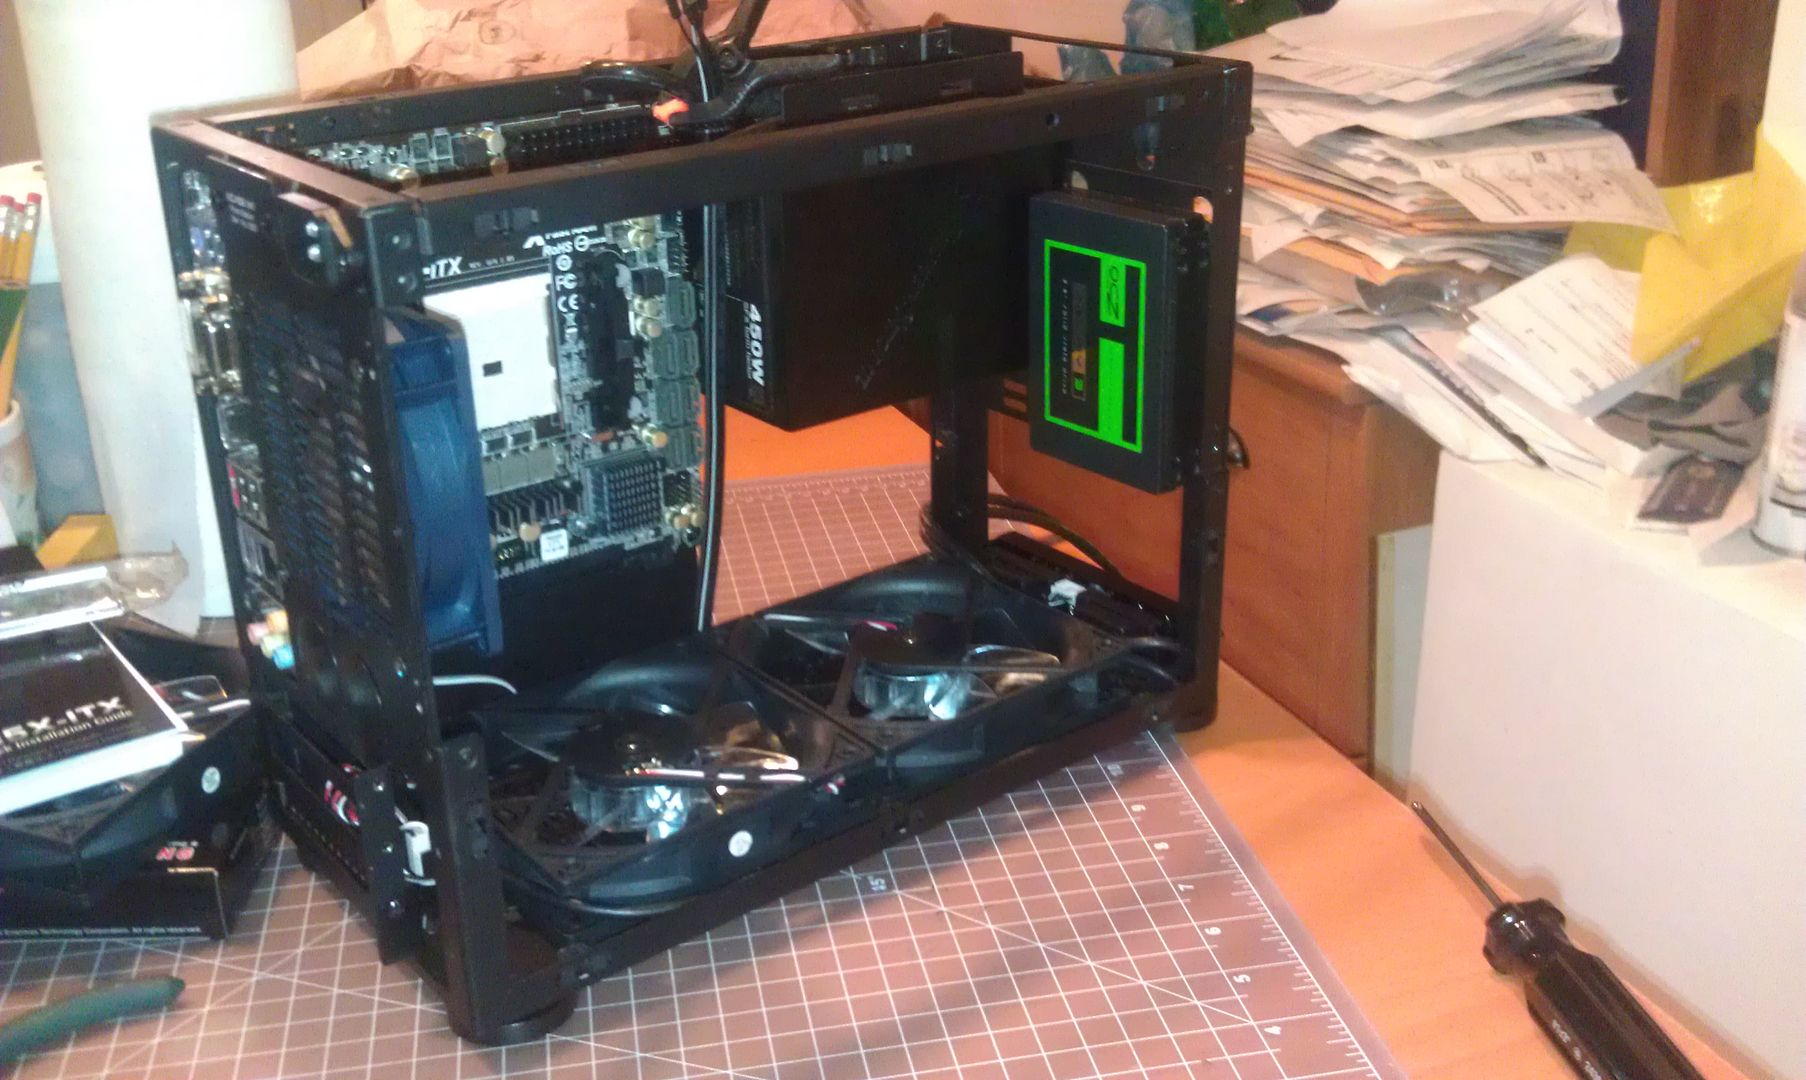
An MSI GeForce 560 Ti Twin Frozr II that didn't agree with my other computer.

More to come, as the story develops!
 
Okay, motherboard, processor, memory, storage, video card... What was I missing? Man, it's been a while since I did a build. Heh, that Brent Butt sure is hilarious... No! Stay focused! Don't let those Canadians distract you!!

All right, all right; power supply, that's what I need. A power supply, and an optical drive. One of these was easy to locate, one was not.

For the power supply, I went to the actual spares cabinet and looked at my options: a slim 400w number from the original project I stole the parts from, an Ultra 500w number, or an Ultra X4 750w jobbie. Of -course- I took the 750w power supply!
Installed it in the case, too! First part-on-part action (bow-chicka-wow-wow):
m1_atx_installed2.jpg

m1_atx_installed.jpg

m1_atx_plugged.jpg


As for the optical drive, well... That I had to order.

More to come!
 
This is an awesome and special case. As a product designed by a fellow H member. Glad it became a reality. Good luck dude and do this build proud!
 
Last edited:
just wanna say thanks again for supporting this project in such a big way, and also for going through the effort of making a build and sharing pictures with us. this case is awesome, and you are a very lucky guy to be the first to build in it! oh you should post a great big picture of the badge on the back of the case. i wanna see the #1! :)
 
After dinner tonight, I had some free time and thought I'd do some test-fitting on the NCase.
With the soft sounds of Corner Gas (s02e02 Wedding Card) in the background, I put motherboard to case.
testfitting.jpg

Hmmm... something isn't right.
That video card is drooping like a pair of Hammer pants.
droopy.jpg

Oh, right... that was one of the reasons it got 86'ed from its last job. When it sags too far, it tends to stop working properly... so, on to Plan B.

On top of a saggy GeForce, I decided I didn't really want to gamble on a potentially flaming motherboard, either. So, along with a new video board, I ordered a mobo that should be able to take better advantage of that A10 processor.

So... that's where I am right now. Waiting on parts: optical drive, video card and motherboard.

Oh, and this is for ekuest:
serialnumber.jpg


More to come!
 
So I was asked in the NCase thread to post update pictures to the worklog... I haven't exactly been sitting on my thumbs, but I don't have a lot of progress to show. Mostly I've been waiting on parts to make their way to me from the far-flung reaches of the nation.

Anyway, on to the pictures. Here's my toolkit and some parts:
update3.jpg

Here's some more parts:
update2.jpg

And a naked M1:
update1.jpg


I am still waiting on an optical drive, motherboard and video card, so there's more to come!
 
I just peed a little. Thanks for sharing. Can't wait for my serial number 500-something.
 
So, let this be a lesson to you: don't jump into a build with no planning whatsoever.

For those of you that have been following the story so far, I started out by deciding to put together a system, based on the spare parts I had lying around from a previous project.
First, I decided to ditch the video card I had (GF560Ti with a sagging problem.)
Then I decided I wanted a motherboard that took better advantage of the processor I have, and has less chance of spontaneously bursting into flames.

And now, I realized that I can't use the power supply I have, because it and the video card would have to co-exist in space and time to fit properly.

So, with yet more parts on their way, I curse myself for a fool for not premeditating this build better.

Now, I want to be absolutely clear on this: none of this should reflect poorly on the NCase... this is 100% my fault. I should've known better than to think I could just stuff some random parts from several other projects into the case and get a supercomputer out of the deal.

For all the junk I started this build with, the only parts that persist in the build are the AMD A10 proc, the GeIL Black Dragon memory and the OCZ Solid3 SSD. Well, and the NCase, of course...

More to come!
 
Today being Columbus Day (we celebrate the co-founding of Columbus, Ohio and Columbus, Georgia by Benjamin Franklin in 1776) here in the USA, I figured that I wouldn't be seeing any new parts arriving.
As I opened the door to step outside for my afternoon walk, I found that the Parts Fairy had left me two beautiful parcels. After my walk, I sprang my newly-arrived goodies from their shipping cocoons, and brought them to my workbench.
Here's what arrived today:
newmobobox.jpg

newmobo1.jpg

And this:
newvidbox.jpg

newvid1.jpg


More to come!
 
Finally... some forward progress:
progress.jpg

Hopefully the power supply gets here pretty fast, so I don't have to fake it for long.
 
What PSU did you order? I hope it's SFX, because ATX support has always been sort of a bonus feature for those who are willing to go to the trouble (i.e., modding cables). The case was designed for SFX first and foremost. I've tried to make that pretty clear on the forum and on the IGG page.

Btw, glad you're happy with the case so far. It is a prototype, so it's got a few rough edges (e.g. cables are longer than they'll be in the production version).

I spent some time yesterday going back through the NCase thread and reading the posts concerning the fitment testing, and I see again and again that you warned about planning ahead for an NCase build, and (especially) that ATX power supplies would likely be too big to fit with a full-sized video card. And you weren't lying!

I indeed went with an SFX power supply, as I could see that using pretty much any but the tiniest of ATX power supplies was going to leave me with a problem of having two things occupying the same location at the same time.

This build will start to pick up some speed once more of my parts are here... I am still waiting on an optical drive and that power supply, and I will need to order some fans, a CPU cooler, and maybe a 2.5" 1Tb hard drive before all is said and done.

Time for me to go get dinner ready, so I'll catch you guys later!

More to come!
 
Nice to see the first build happening !

I'm curious about the GPU you used, as it's a little wider than PCIe specs "allow". Could you make a picture taken from the front or the back to see how far it extends towards the side of the case ? Maybe also a top picture to see how much air it is blocking ?

Thanks for taking the time to document this. I'll be doing that too but it will be months before that's happening.

I am using the MSI Radeon R9 270x Twin Frozr Gaming. According to the MSI website, the card is 260x129x38mm or 10.24" x 5.08" x 1.50" in American (thanks to Newegg for the dimensions in SAE.)

I will agree that it does block most of the air from the bottom of the case; by my measurements there's about 1 to 1.5cm unblocked flow from the bottom at the front of the card, however this is where the cables to the front ports are so that flow is not unrestricted. Again by my measurement, there is clearance of 41mm to the heat exchanger from the front case frame.

Here are some pictures to illustrate. From the top down:
fromabove.jpg

Note that the heat exchanger sticks out another 5mm beyond the PCB.

From above, at an angle:
downtheside.jpg

It doesn't look like it, but there's an easy centimeter of space between the card and the edge of the frame.

From above, right over the side:
sideabove.jpg

Here you can see that 1cm space between the edge of the GPU and the frame. It will be a tight fit, but I am planning on using ribbon-style cables with my modular SFX PSU.
 
So did you go with the Silverstone 450w bronze/gold psu?

Cool you went with a new R9 series GPU. Curious why you didn't go with a 7870 instead (essentially the same card) but it would have come with free games. Did you not know, or maybe you dont care about the games? In any case the build is looking great so far!
 
Mmm... more parts arrived today!

Blu-Ray and slot-loading:
slotloading.jpg

Let's fit that on there, eh?
opticalfit2.jpg

opticalfit3.jpg


I haven't snugged the opdrive's adjustment screws down yet, as I will probably have to take it off at least once before the build is finished. This configuration is leading me towards putting my SSD in the inside-front location, rather than below that honkin' big video card, especially because there will be a second 120mm fan down there.
 
So did you go with the Silverstone 450w bronze/gold psu?

Cool you went with a new R9 series GPU. Curious why you didn't go with a 7870 instead (essentially the same card) but it would have come with free games. Did you not know, or maybe you dont care about the games? In any case the build is looking great so far!

Yes, I got the 80+ Gold rated version. Once I gave up my pipe-dream of having a 750w full-ATX modular PSU in there, the Silverstone 450w SFX modular seemed to be the obvious choice. I don't have to use any cables I don't need, and I don't have to stuff a big, ungainly pig-tail into a space it really isn't going to fit without a lot of pushing and a considerable torrent of swear words.

I did know that I could get free games from the 7870, but I was more interested in the R9 nameplate than the freebies. Funny how the "Gaming" version of the 270x card does not come with any free games! ;)
 
Ordered the last of the parts I am going to need, I hope. Fans, CPU cooler and some refurbished SSDs for the boot volume. So more waiting on parts to arrive.

In the meantime I am planning how to run my wiring and where to fit things in that small space. I need to go over town tomorrow, so I will hit the hardware store and see if they have any plastic plugs to fit the 1" or 2.5cm holes in the back of the case.

More to come!
 
Last edited:
So... what have I been doing?
Besides getting through most of Season 2 of Corner Gas?

This:
pciecable1.jpg

pciecable2.jpg

pciecable3.jpg

A good, old-fashioned cable mod.
Two, actually; one for each PCIe power cable. This ought to relieve some of the strain on the cable from being bent 90 degrees, and it gives me a whole cable's diameter more clearance over the connector.
If I need a bit more clearance, I might go to Phase 2 on these which entails cutting the connector back even further (which isn't going to be more than 2mm, I'm pretty sure) and notching the walls between the two sets of wires so that the outer three wires will lay flat(ter) against the inner three wires.
If I get super-desperate for clearance, I know I can cut the top 2mm of insulation off of the inside half of the wires at the connector to get a sharp 90 degree angle, but I don't think that is going to be necessary for this build.

More to come!
 
Slowly getting through Season 3 of Corner Gas, I am also making progress on the build.
My life has been obnoxiously getting in the way of my working on the case over the last few days, but I hope that I can make a bit of progress over the weekend.

Also, and I really can't stress this enough, when you are getting your NCase build together for yourself, it is important to think your plan out carefully. There are a ton of things that can really bite you in the soft parts if you haven't planned your whole build out properly... and I'm not even putting a watercooling loop in this particular specimen.

If you were to employ watercooling in your NCase, I would strongly suggest putting your whole loop together outside the case first. If using soft tubing, leave your tubes long outside the case, then cut them to fit once you've put your other pieces in place... or better yet, cut to the precise measurements you have, once you've put your other pieces in place.

Oh, and another thing... if you are using a slim optical drive, remember that they have slim SATA connectors, too. You, just like me, will have to obtain an adapter to mate your optical drive to the plug on your power supply, and you will find yourself wailing and gnashing your teeth that you didn't think to include that in one of the parts orders you've placed in the last two weeks.

Since I last checked in, a walk over town to the hardware store on Wednesday netted these:
plugone.jpg

plugtwo.jpg

I try to avoid using the flash, but without it, this was black blobs on a bigger black blob.
From the outside the plugs really look sharp; the plastic is the same texture as the finish on the back of the case. I am going to take advantage of the real estate granted by their presence on the inside for parts yet to arrive.

Getting a workout in my neighborhood, the Parts Fairy left this on Thursday:
92mmfan2.jpg

92mmfan1.jpg

I am not too sure about the white blades. That's what happens when you order parts after Midnight... Sometimes you get a little surprised at what comes out of that box.

So, after the fans got here I was sitting at my desk and thought that I'd have a go at the front I/O on the NCase:
toothless2.jpg

detailed.jpg

Necere said earlier that the cables on the production versions should be shorter than these; as a prototype it got off-the-shelf stock cables, whereas the production versions will get ones made to spec, or so I understand having worked with prototypes before.
I think that, before it gets put back together, I am definitely going to have to grit my teeth and shorten the cables. Unless I find a Miracle Parts outlet... Not a big deal, but it takes time and that is something that I unfortunately don't have enough of for this build.

The Parts Fairy came again on Friday, and left these:
powerbox.jpg

agility3x2.jpg

...which I had been waiting for.
The SSDs will go together and be attached to the frame and may actually stay there for a while! Then I have to wait until the slim optical SATA adapter arrives, and then the Great Cable Fitting and Cramming will begin.
About ten minutes after I opened the box to the power supply I found myself facing this:
cablemess.jpg


More to come!
 
Saturday I got a few hours free and sat down with the collected leavings from the Parts Fairy (who didn't bring anything cool on Saturday) to see if I could make some progress on the build.

I fit the power supply, and started a list of things I would need to complete the build from this point. Then I built the two SSDs into their sub-assembly (the brackets work really well, a very simple, elegant design) and slotted that into place inside the front of the case, and added some more things to the list of parts I still need. Then I shopped for parts for several hours, put in some orders and got totally sidetracked by Skyrim.

Some action shots:
wiresmobops.jpg

mobopswires.jpg

psraidmobo.jpg


Hopefully, the 120mm fans and the CPU cooler will arrive tomorrow, and I can get into some final assembly.

More to come!
 
Last edited:
I am using the MSI Radeon R9 270x Twin Frozr Gaming. According to the MSI website, the card is 260x129x38mm or 10.24" x 5.08" x 1.50" in American (thanks to Newegg for the dimensions in SAE.)

I will agree that it does block most of the air from the bottom of the case; by my measurements there's about 1 to 1.5cm unblocked flow from the bottom at the front of the card, however this is where the cables to the front ports are so that flow is not unrestricted. Again by my measurement, there is clearance of 41mm to the heat exchanger from the front case frame.

Here are some pictures to illustrate.

...

It will be a tight fit, but I am planning on using ribbon-style cables with my modular SFX PSU.
Thanks for the pictures, it does help to realise the width. Nice and easy mod you did for the GPU, I myself might go one step beyond and make my own cables but I probably won't need to since I'm going for a reference R9 290X.
 
What is the board you have above your SSDs?

That is a Mod/Smart 20 LED station board, allowing one to wire up to 20 LED lamps to this one small PCB, which draws power from a standard 4-pin MOLEX-style connector. Here is it close up:
modsmart1.jpg

modsmart2.jpg


It has been kicking around my parts pile for a couple years now... it was originally for a build I did for a buddy of mine who chickened out on having 16 LEDs in his case because he said it was "too bright" -whatever.
 
Thanks for the pictures, it does help to realise the width. Nice and easy mod you did for the GPU, I myself might go one step beyond and make my own cables but I probably won't need to since I'm going for a reference R9 290X.

I am going to end up with semi-custom cables, whereby I start with 2 stock 8-pin PCIe-to-6-pin PCIe ribbon-style cables and come out the other side with but one 8-pin PCIe to-2-6-pin PCIe cable.
 
Oh man, this is all over the place. Looking forward to seeing how this ends. Haha.
 
Oh man, this is all over the place. Looking forward to seeing how this ends. Haha.

If I had put even an hour's planning into this project, I would be at least a week ahead of where I am now. I think my first ideas to put my random junk into the case probably set back the state of desktop computing by two weeks alone.

Other stuff like forgetting the slim-SATA connection and required adapter for using a slim optical drive with standard SATA cables slowed me way down, too. If I seem to be struggling with the case, its certainly not the case's fault that I went at this build like a pants-around-my-ankles newb.
 
-Two- separate visits from the Parts Fairy today!

First the CPU cooler, 120mm fans and, fan-power dingus :
yetmoreparts.jpg


Second (late this afternoon) my SATA cables, slim-SATA adapter and the 92mm fan I really wanted:
yetmoreparts2.jpg


Now that the things are here, hopefully I can find some time to put some things together... at last.

More to come!
 
Hey Cheese, wanted to let you know I have the exact same MSI 560 Ti card and it's never worked perfectly for me either. So unstable, it crashes all the time and none of the drivers I've tried for basically two years now have made any difference at all. It's a cruddy card, it seems.

Also I would recommend using a factory reference GPU cooler design, not an aftermarket one. Reference coolers will exhaust hot air out the back of the case. Twin Frozr and other similar design exhaust hot air straight into the case.

That 560 Ti was a clunker. It never worked right in months of fiddling with it, and I thought I might have to turn to a whole new system to try to exorcise the demons from my #1 computer. Since I swapped it out for a pair of R6870 Twin Frozrs, this machine has been completely stable, and able to do anything I want without a driver crash.

I was thinking about taking the fan section of the cooler right off of the 270x, and run it with the 120mm fans at the bottom of the case blowing cool air up into the heat exchanger.
 
Hope you're enjoying your build, despite the setbacks :)

Even though this build is coming off rougher than an old band-aid on a hairy arm, I am having a good time with it. The case is such a dream to work with; all the parts fit together sensibly and logically, the fit and finish are top notch, and it just seems like a high-quality piece.

Its my research skills that aren't up to par. I keep getting parts that don't or won't go together, and if I'd gone more slowly and done my research ahead of time I would've figured that out without dropping a pile of cash on a CPU cooler on whose manufacturer's website it clearly states that said CPU cooler will not work with the motherboard I have chosen.

To pick a random example, which may or may not be true.

More to come!

The buildlog for this is definitely wacky but I think that your approach has done a great job demoing the flexibility of this case.
 
The buildlog for this is definitely wacky but I think that your approach has done a great job demoing the flexibility of this case.

Once I got enough of the parts on hand to start actually fitting it together, the case almost takes on a quality like one of those really intricate wooden puzzle boxes.
The pieces fit together in such a well-designed manner that it almost gives one a frisson in one's bathing suit area.

I especially like touches such as the elongated holes for the 120mm fans and what I presume are radiator mounts, countersunk machine screws holding the brackets together, the rubber isolation mounts for the storage locations...
Honestly, I could keep going all day. I love this case! :D
 
Ahh... Season 4 of Corner Gas was when the show really hit its stride, 19 solid episodes.

And I've started to fit things together... Here's a peek at the magic in action:
progress2.jpg

progress1.jpg


More to come!
 
It's so weird to see 120mm fans in this case, they look like 200mm ones. I will probably wish I had 12 year old's fingers just to install everything as my manly sausage fingers will most likely get in the way even more than any other SFF build.

I especially like touches such as the elongated holes for the 120mm fans and what I presume are radiator mounts, countersunk machine screws holding the brackets together, the rubber isolation mounts for the storage locations...
Honestly, I could keep going all day. I love this case! :D
If you like this kind of stuff, I recommend you try to get a hold of a PowerMac G5 or Mac Pro case for some modding project. I did one and I was amazed how a 10 year old case like the PowerMac G5 has such an incredible amount of engineering genius put into it. The newest Mac Pro (the polished black aluminium tube SFF piece of art) is even more amazing:
http://www.youtube.com/watch?v=IbWOQWw1wkM

Even if you don't like Apple, it's hard to argue their computers aren't inspiringly well engineered.
 
Back
Top