Hello again!
After months of wedding planning, moving to a new apartment, new job and everything else Im back, and this time with a casemod, usually Im working from scratch. I will hopefully learn a lot by this small project and get more modding experience.
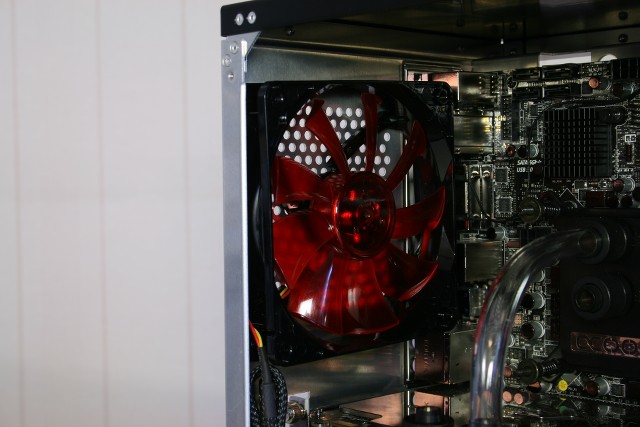
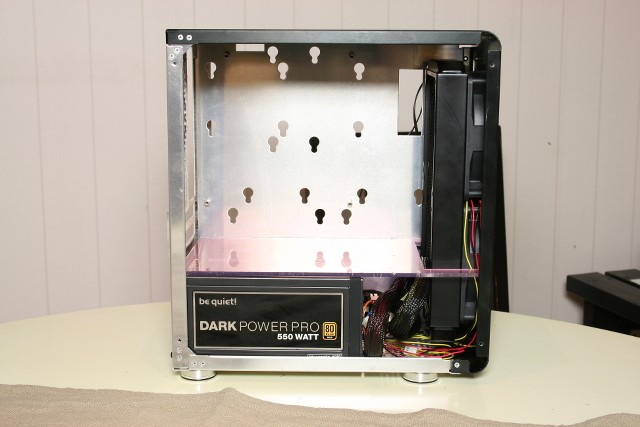
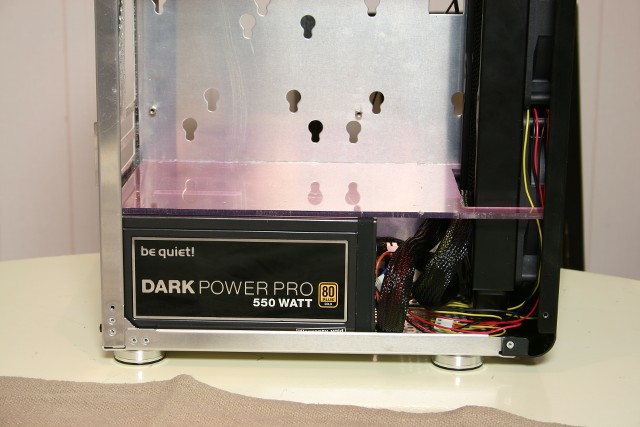
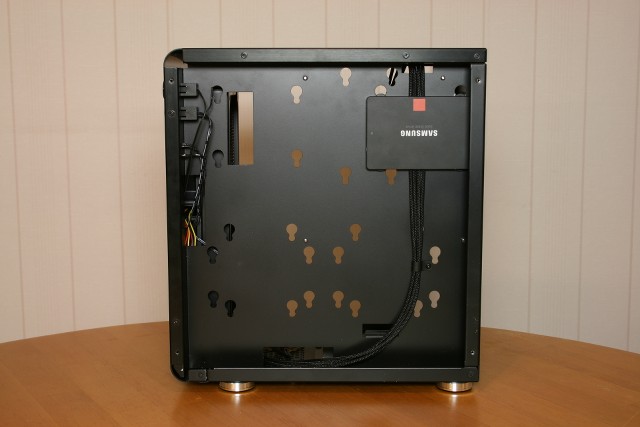
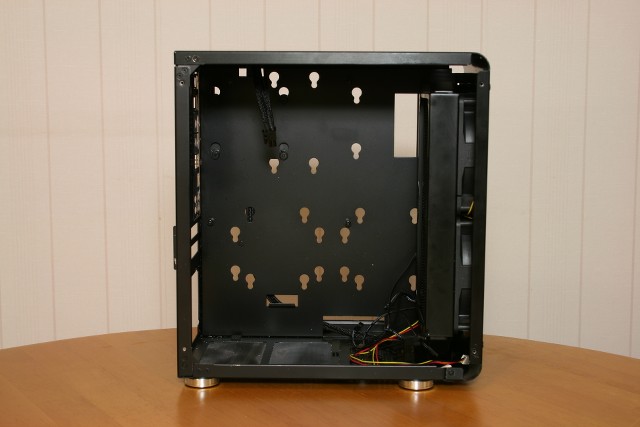
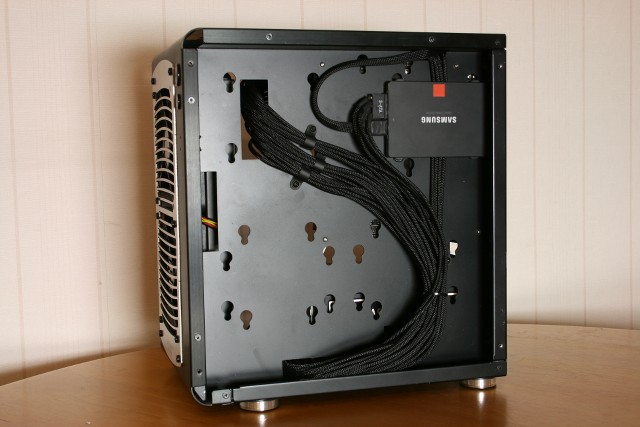
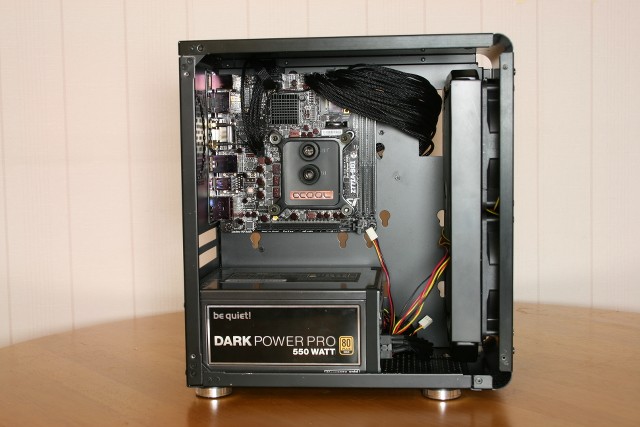
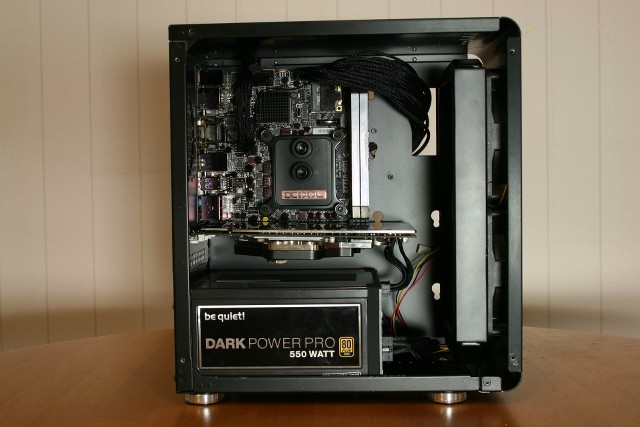
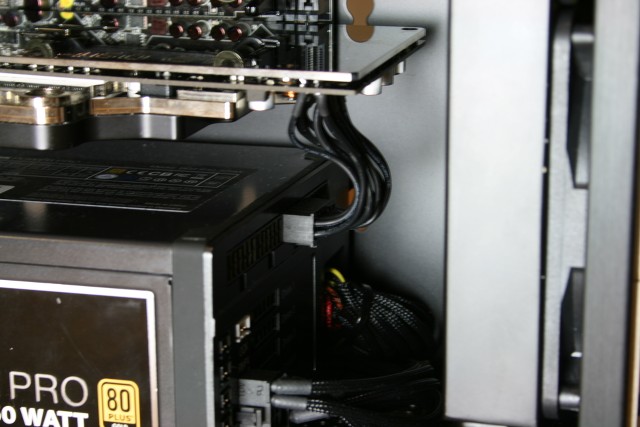
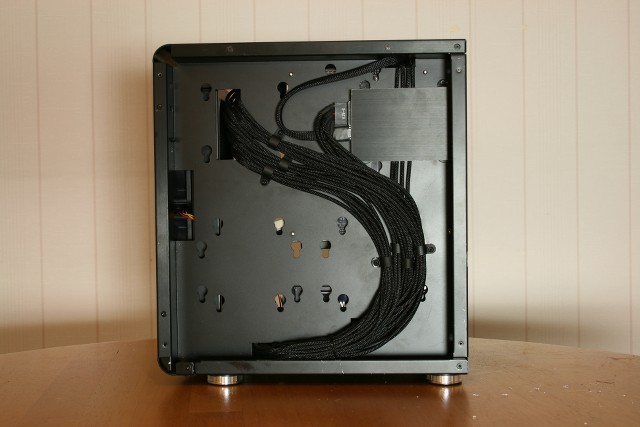
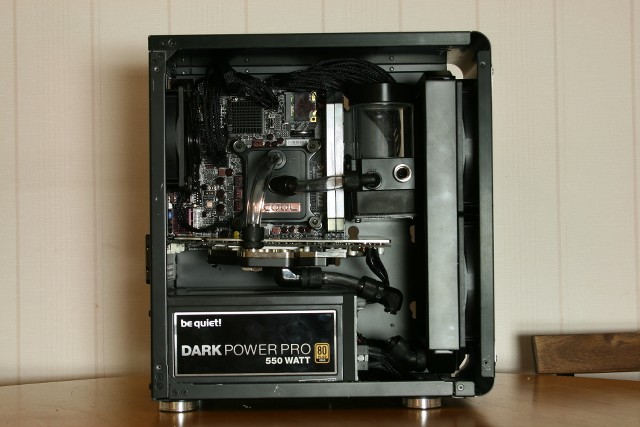
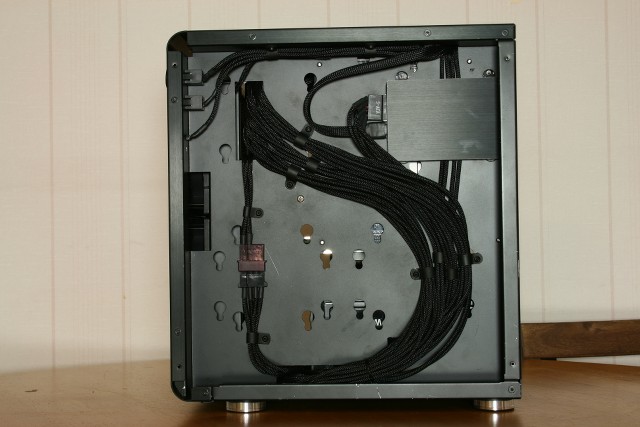
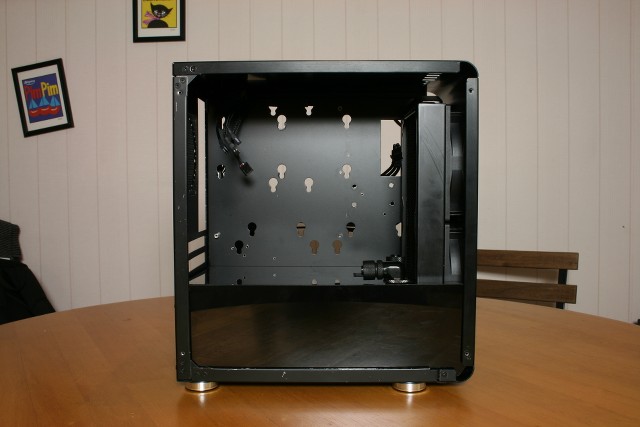
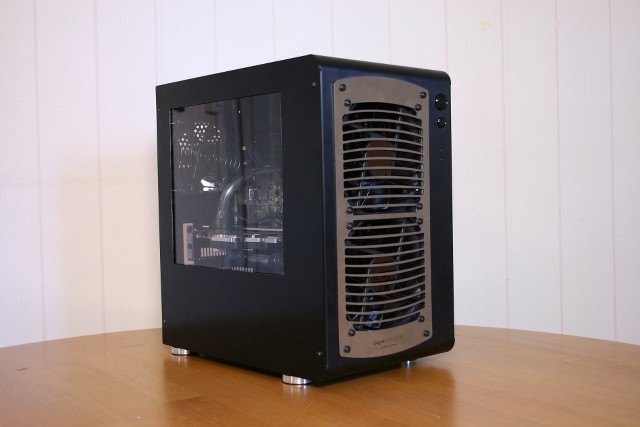
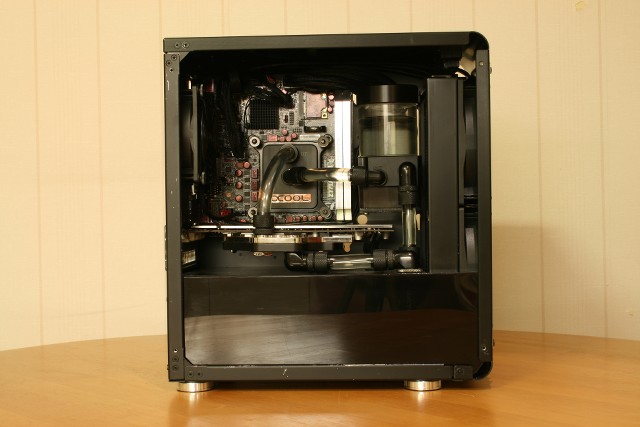
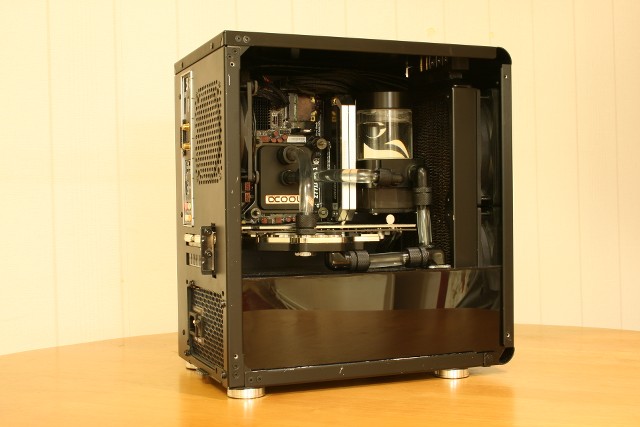
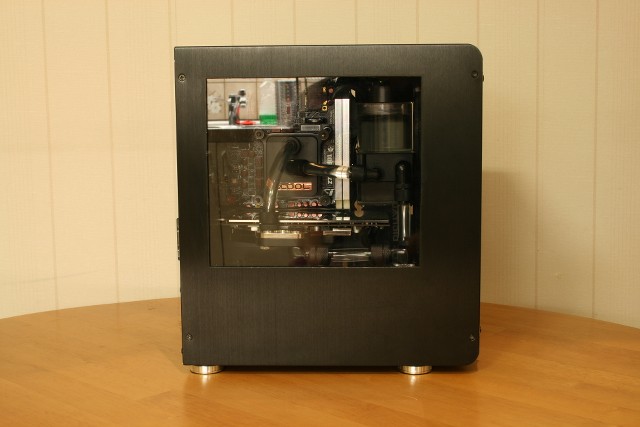
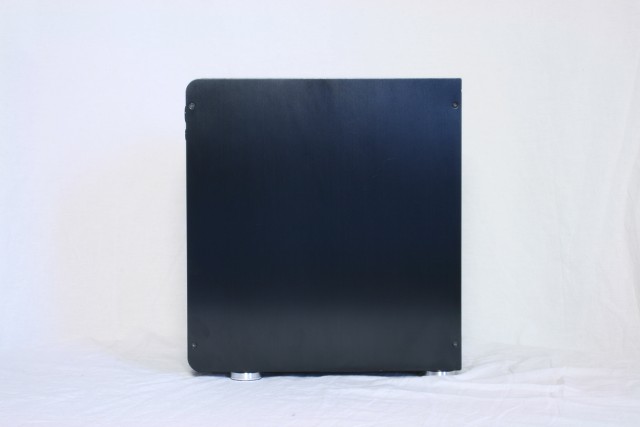
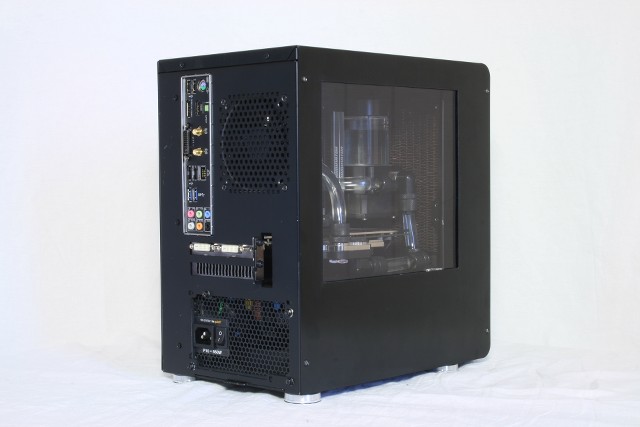
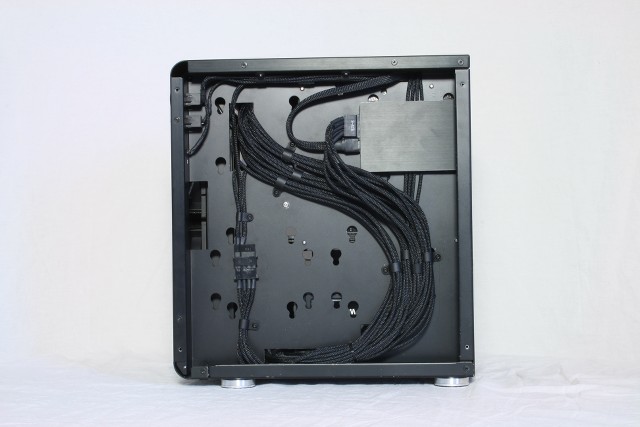
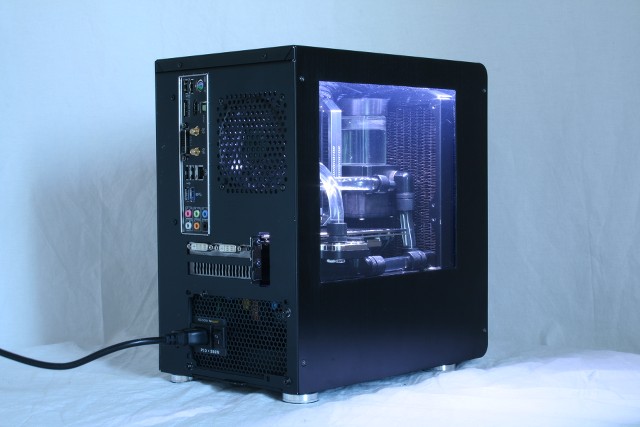
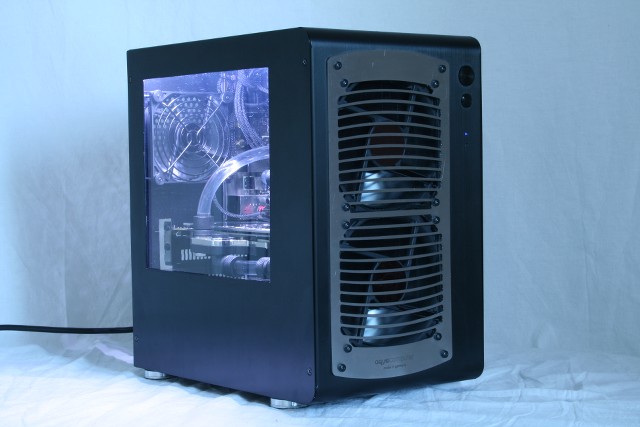
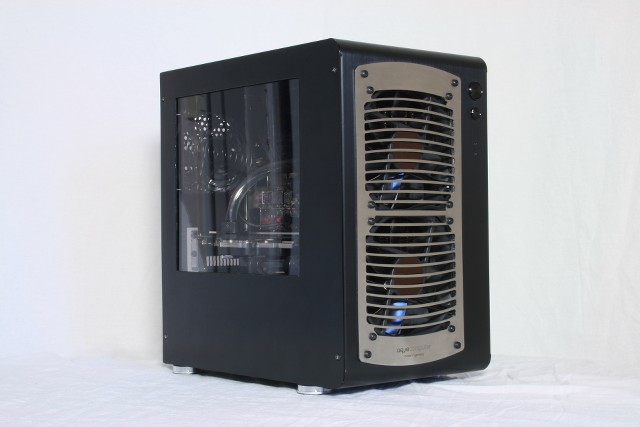
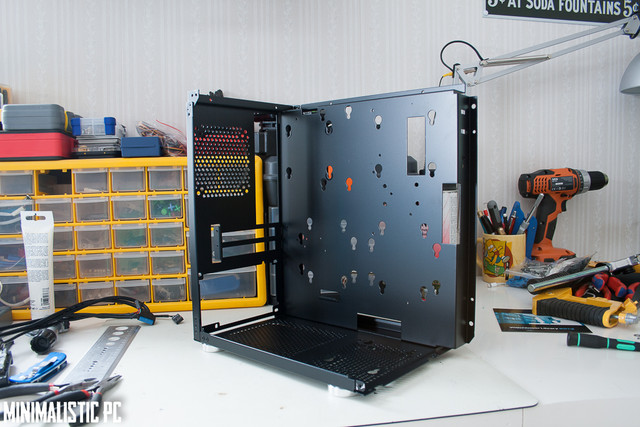
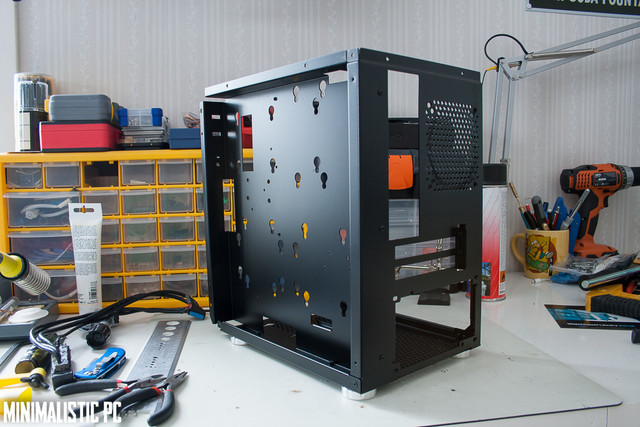
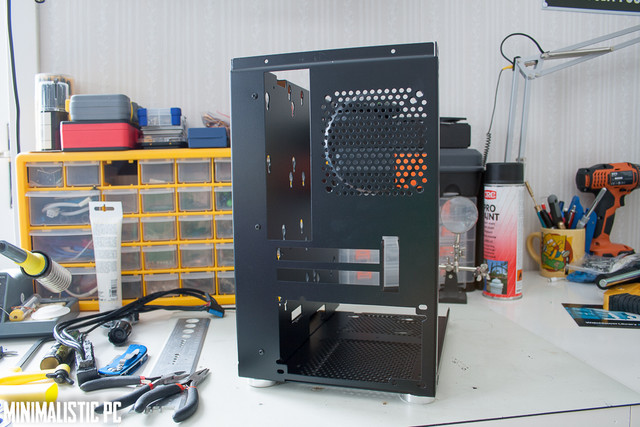
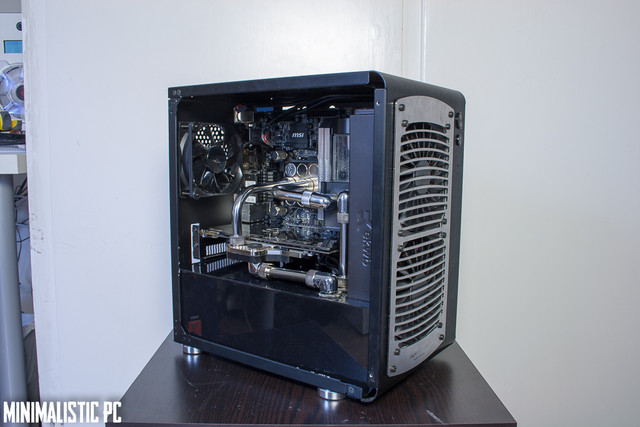
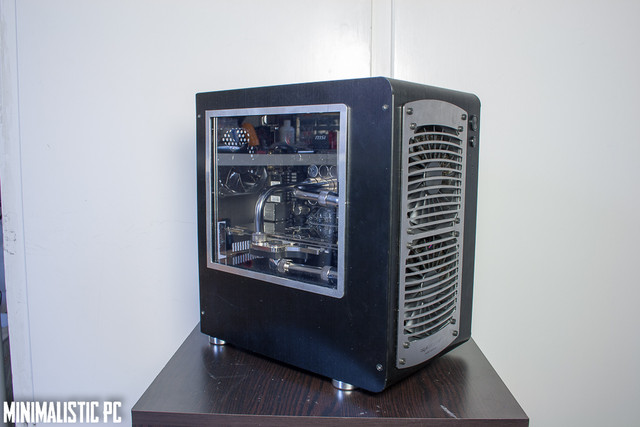
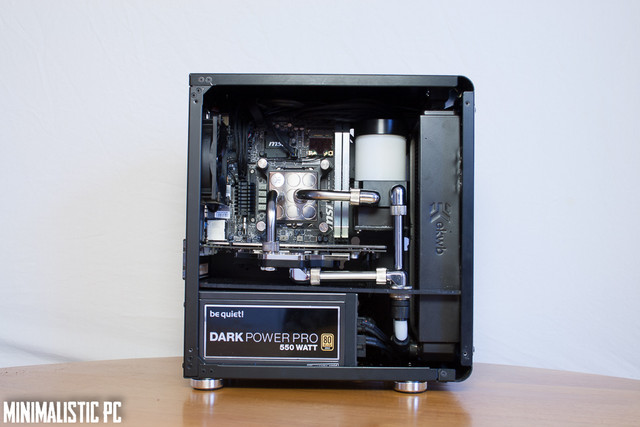
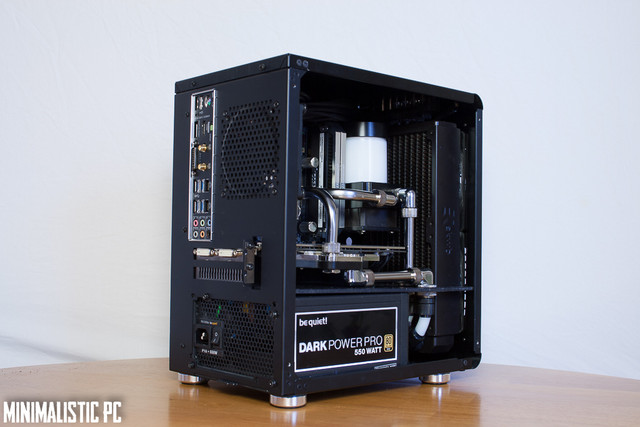
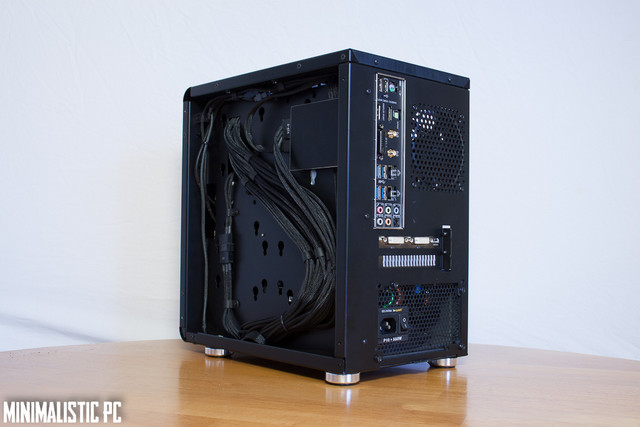
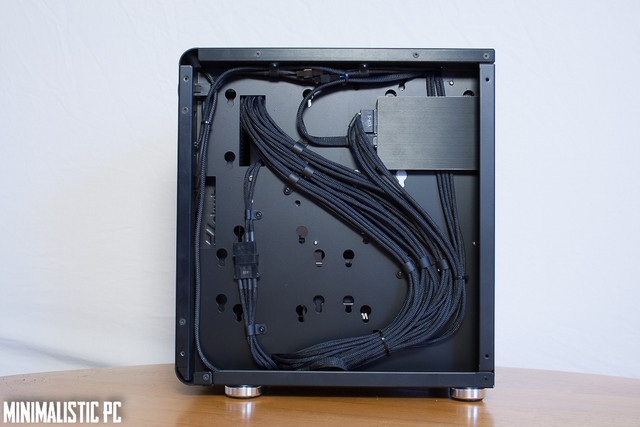
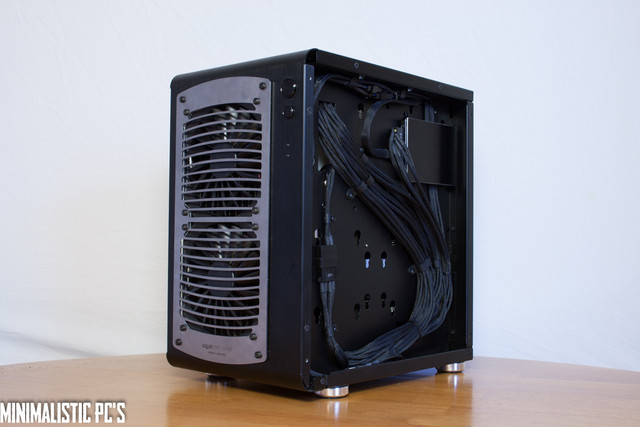
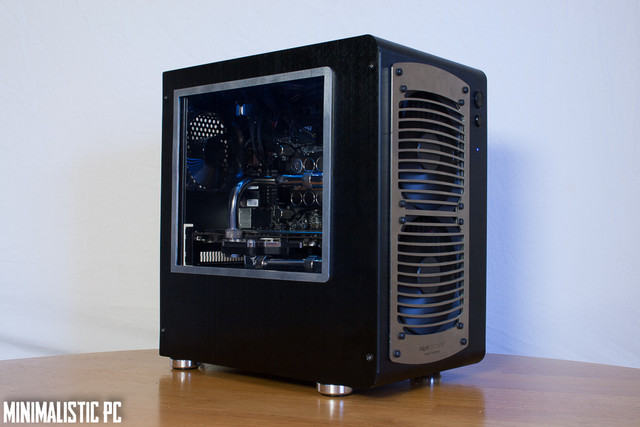
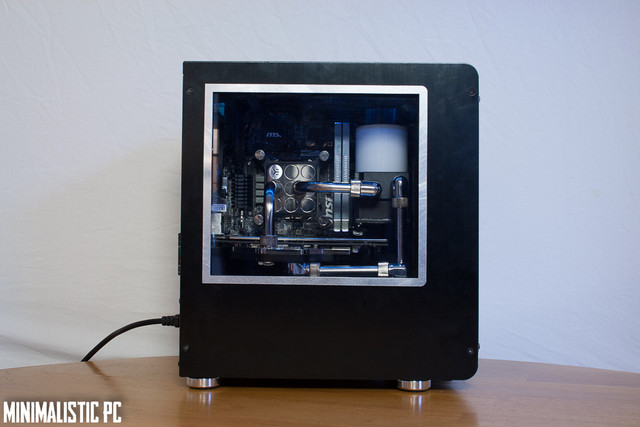
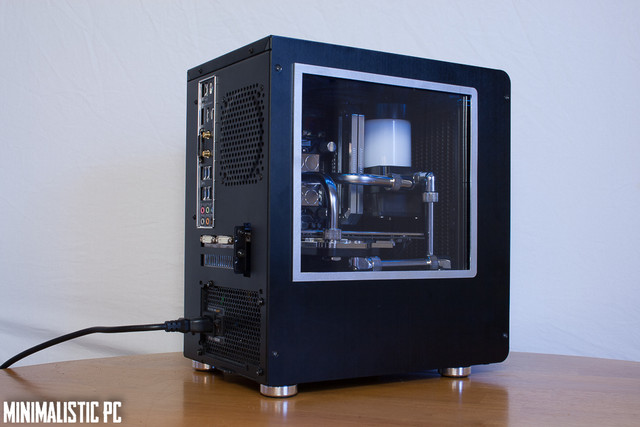
In my opinion I've found the ultimate mini-itx case, the Cubitek Mini Cube. Ever since I installed a computer for a friend in this case I have been in love. It is clean-looking, has A LOT of space behind the motherboard for both cablemanagement and harddrives.
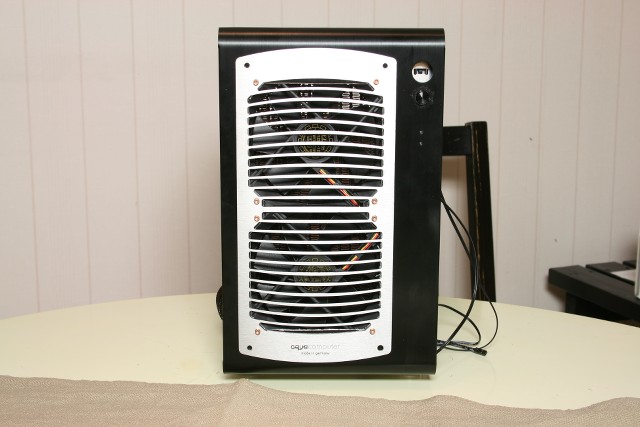
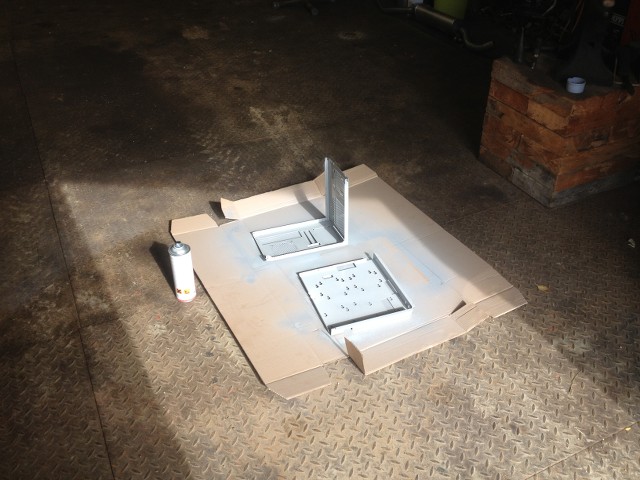
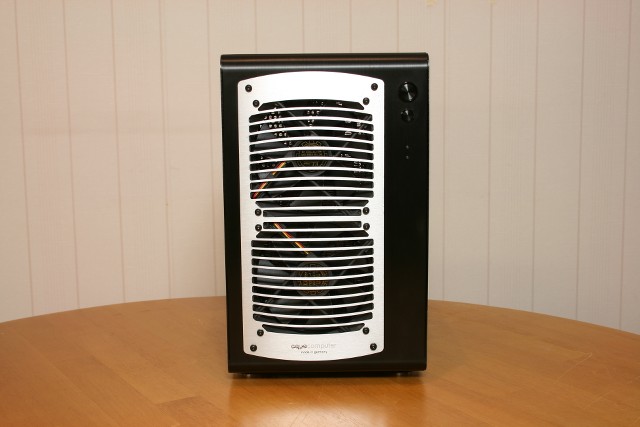
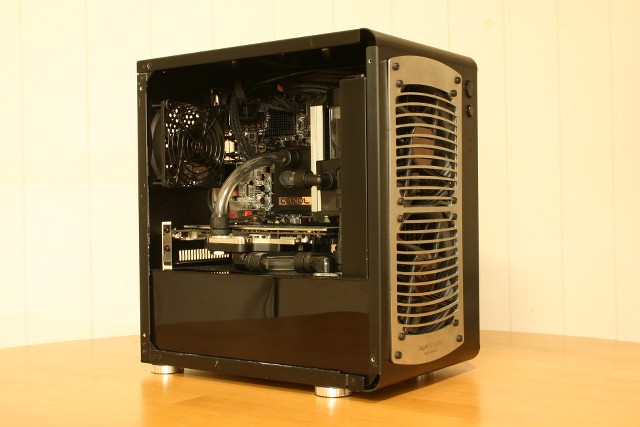
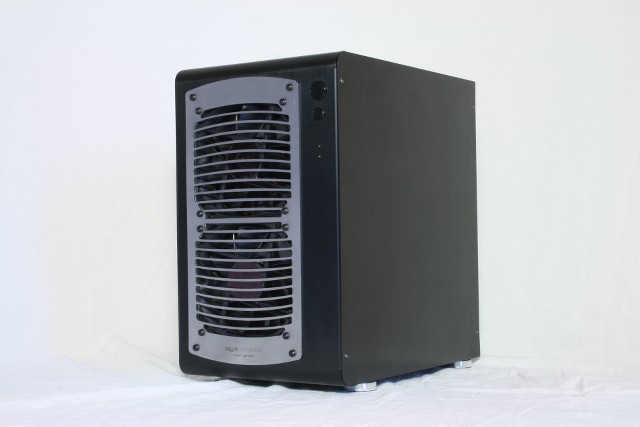
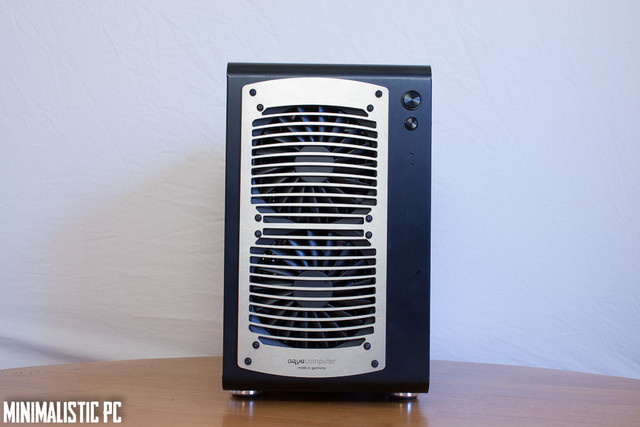
My idea of this casemod is to make a "stealth" mod. Everything will be black except for some small details that will be the small contrast to all the black. So I will start by taking the case in two parts and paint everything that isnt black. Then I will be installing a 240mm radiator in the front, yes you heard me, I will be making a big hole in that nice-looking frontpanel. But dont worry, I will be covering it up with one of the most awesome-looking radiator grills from Aquacomputer.
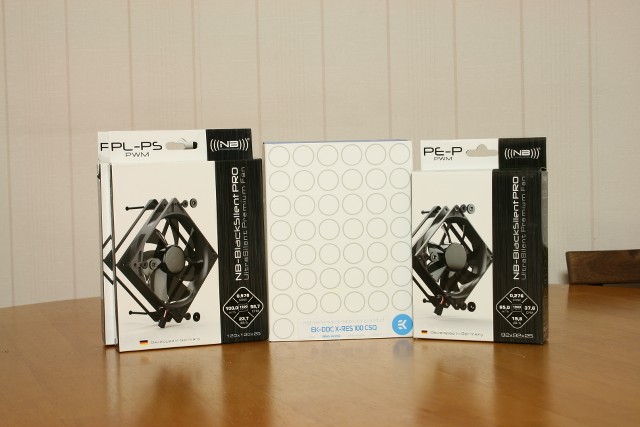
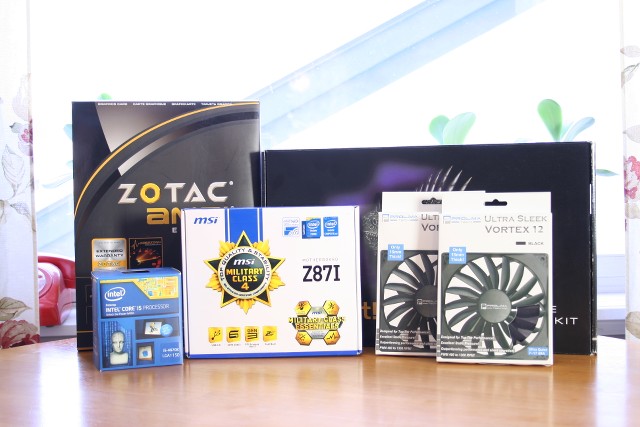
This is the hardware Im aiming for, most of it I already have.
MB: MSI Z87I
CPU: Intel I5 4670K
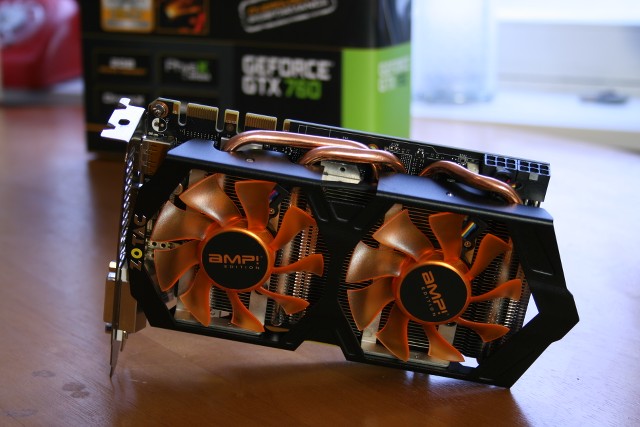
GPU: Zotac GTX 760
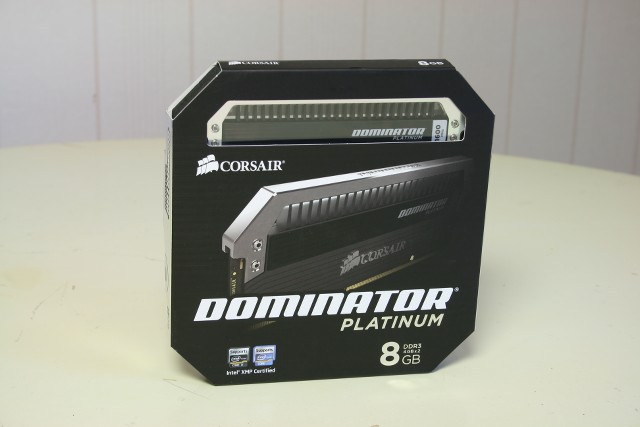
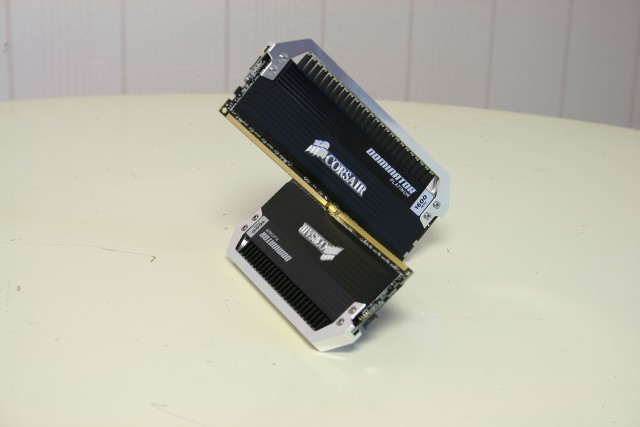
RAM: 2x4gb Corsair Dominator Platinum
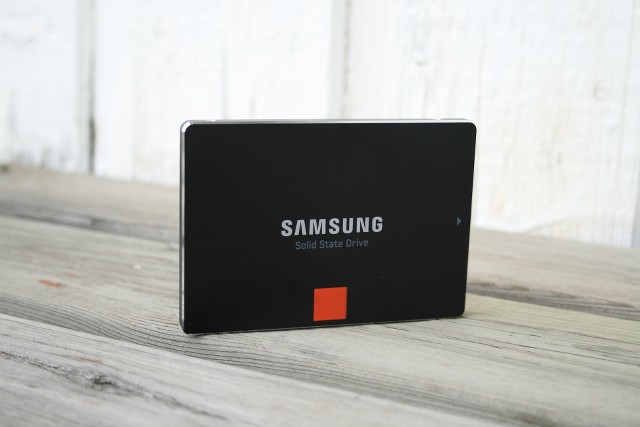
SSD: Samsung 840 120gb
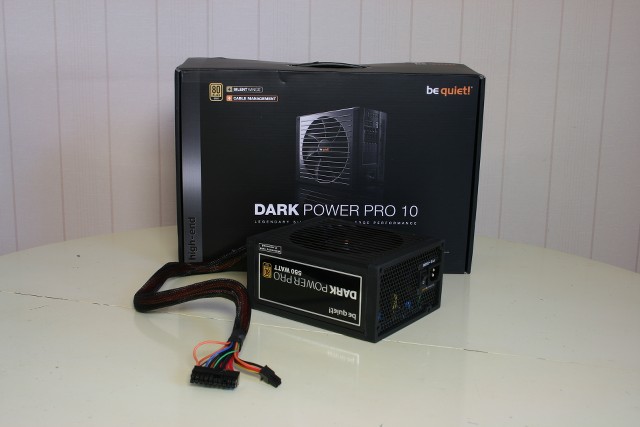
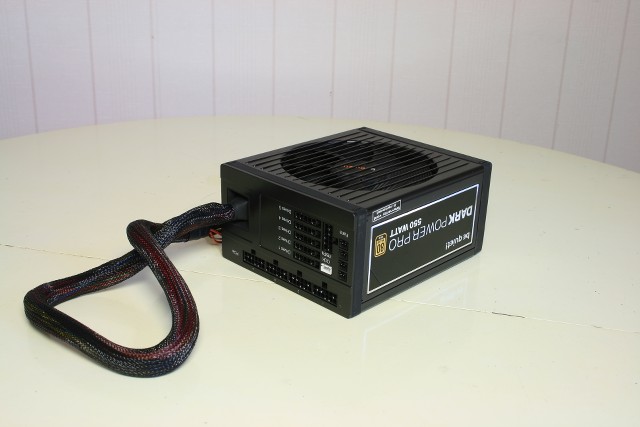
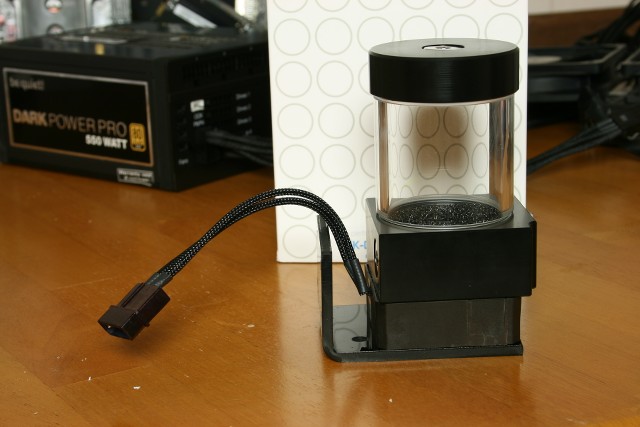
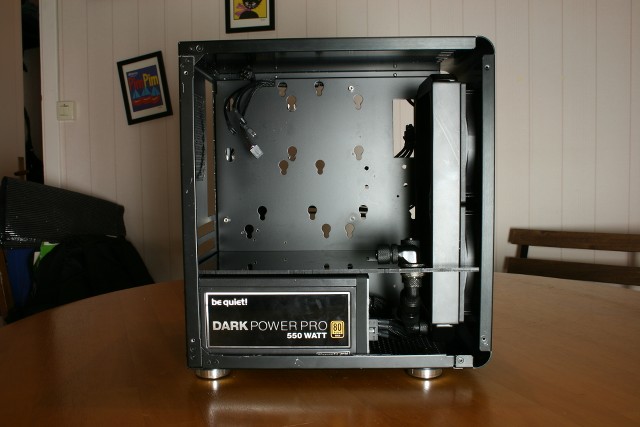
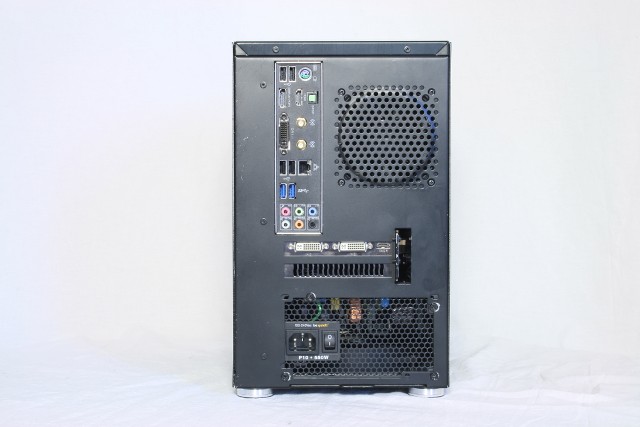
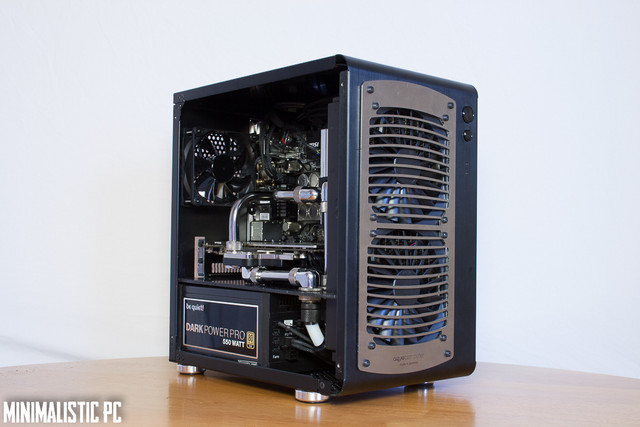
PSU: Be-Quiet! Dark Power Pro P10 550W
CASE: Cubitek Mini Cube

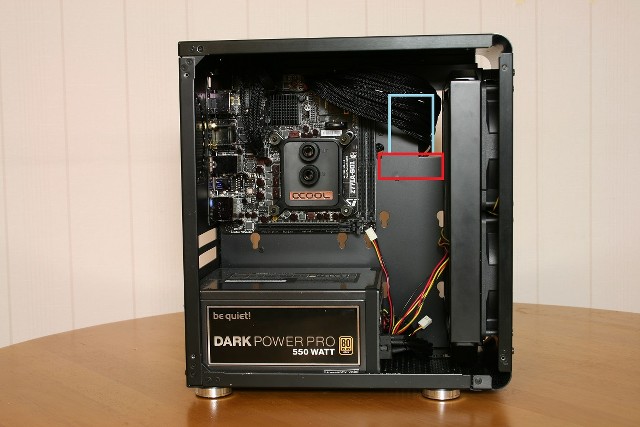
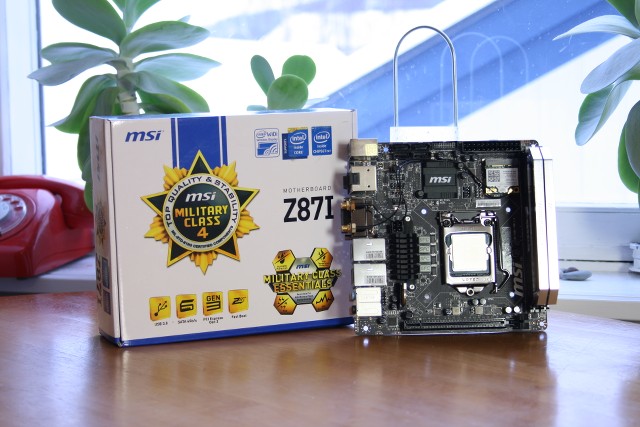
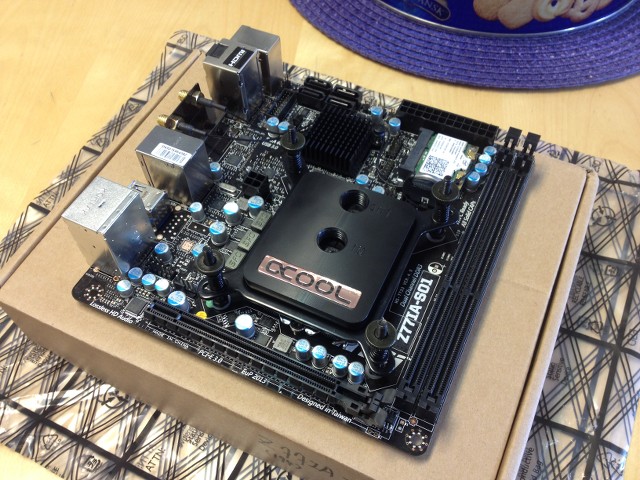
Here is a overview of the motherboard.
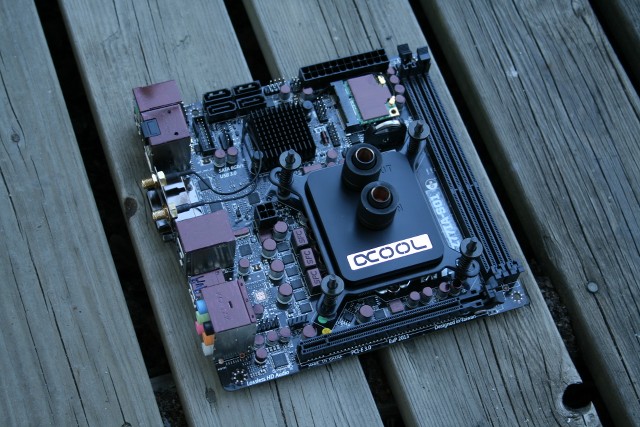
I didnt like the blue/alu caps so I made them and some other stuff black, F4DE in to black! :rock:

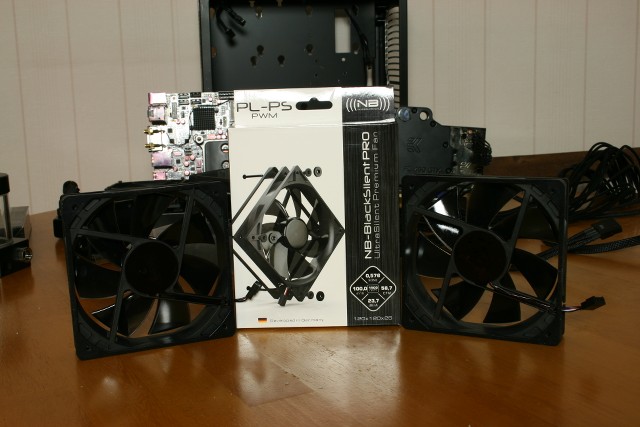
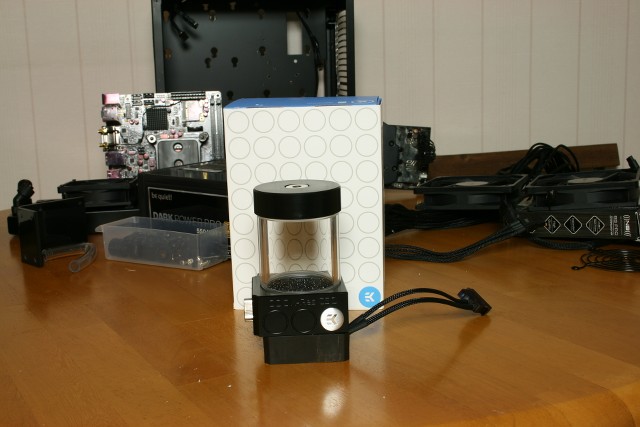
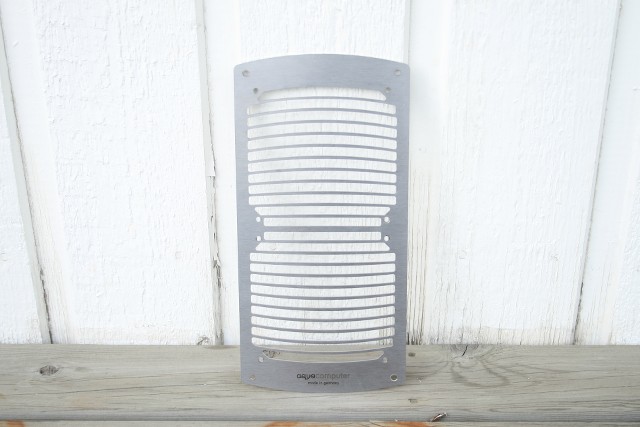
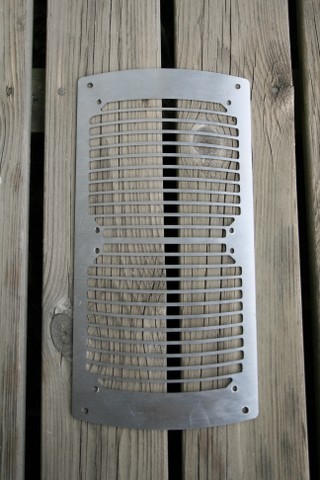
Well here is some more hardware pictures. The radiator grill I talked about from Aquacomputer, one of the most cleanlooking I seen. Also love the kind of darker shade on it.
Also got the Samsung SSD yesterday, nice design on it I think. Dont have to make a cover for this one I think.
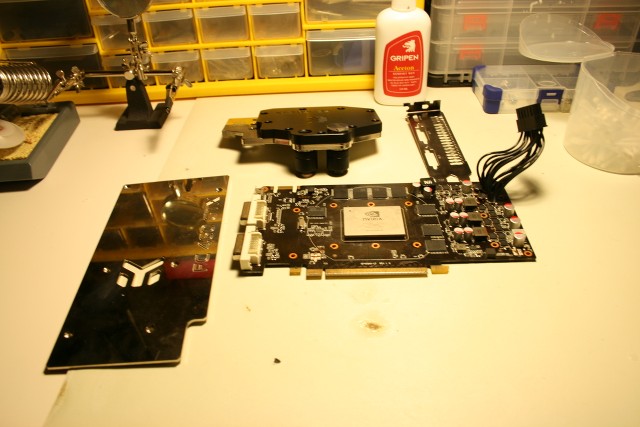
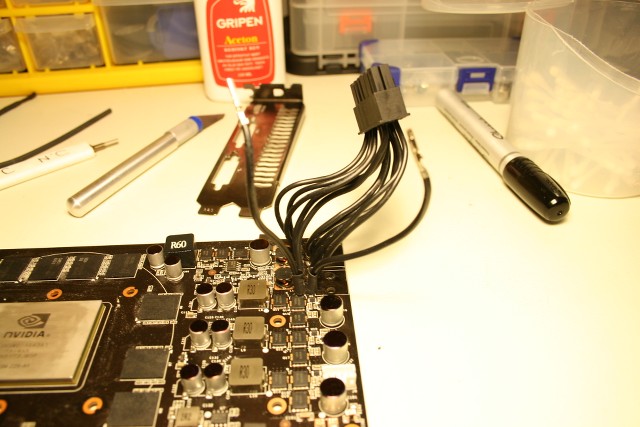
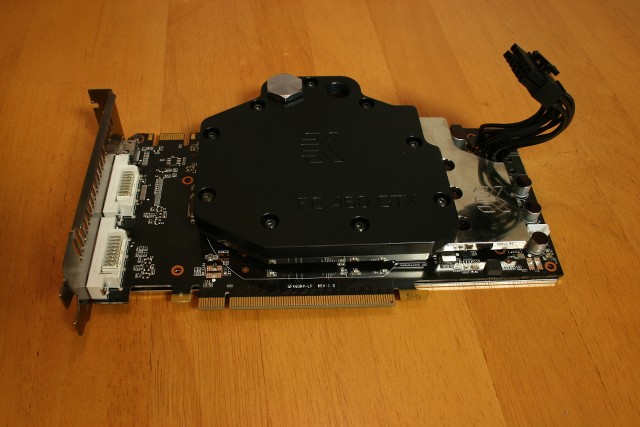
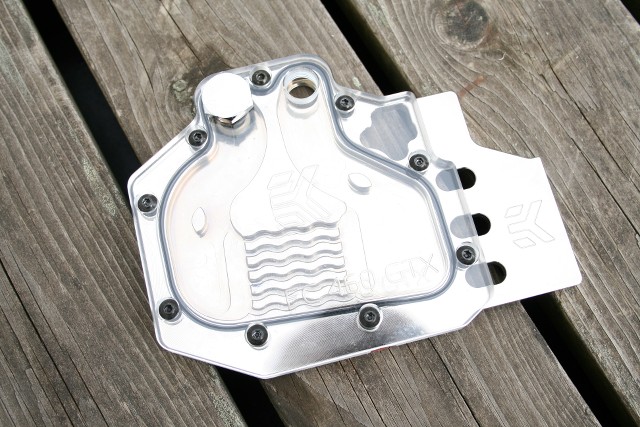
Last of all, the waterblock for the GTX 460, I think I will go with this card. I already have it and it still got a lot of power so why not. Easy to upgrade if I get ahold of a 760 later. I will probably paint the acrylic piece black so it fits the theme even more.

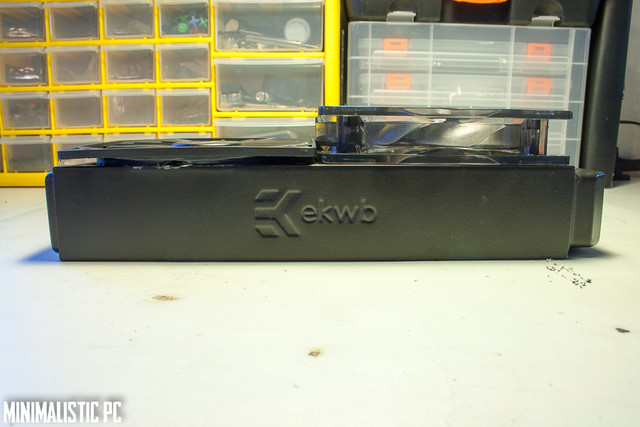
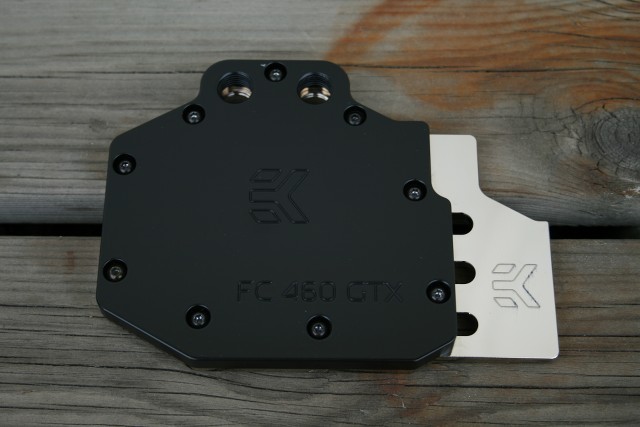
I couldnt wait to do something so I painted the waterblock today. I like it, going to fit better than clear acrylic.
Before
After
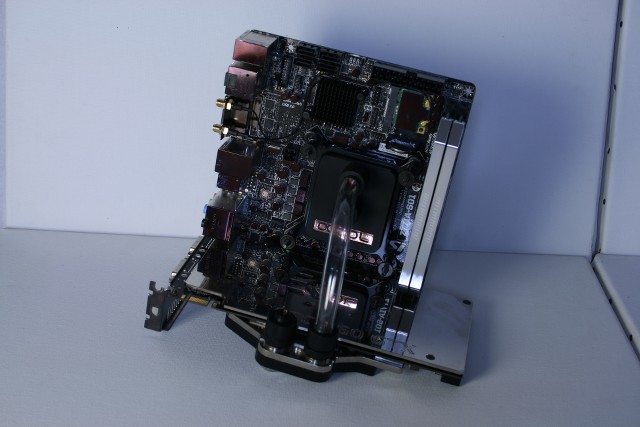
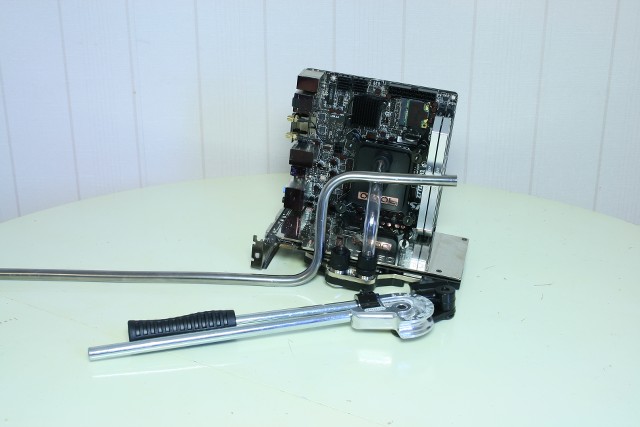
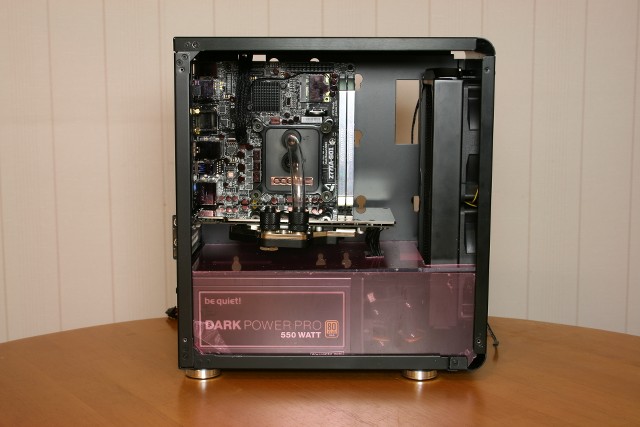
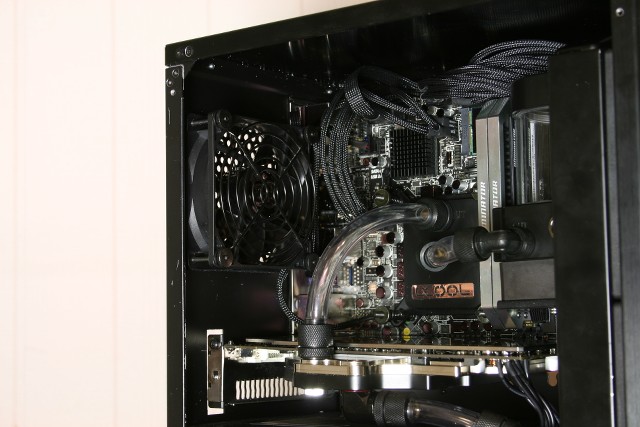
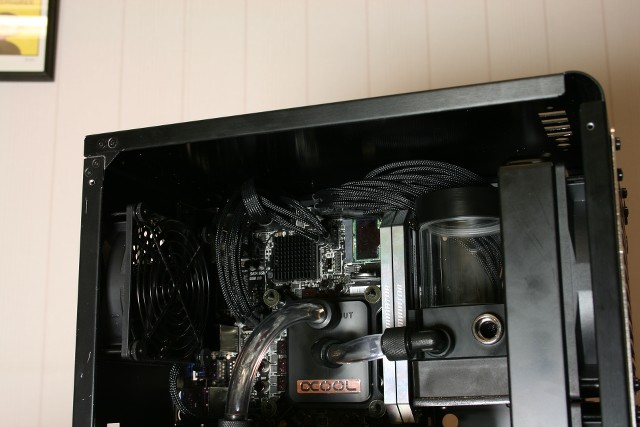
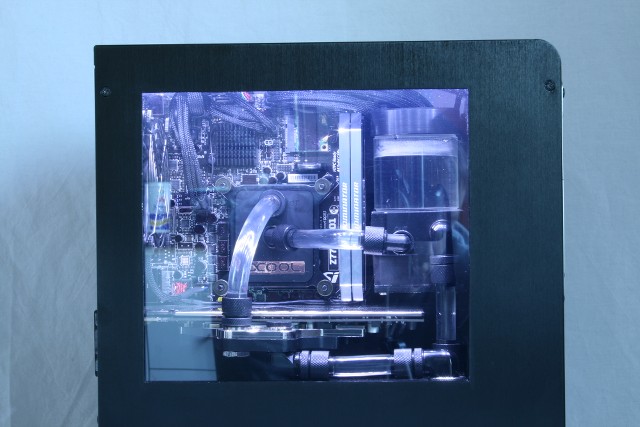
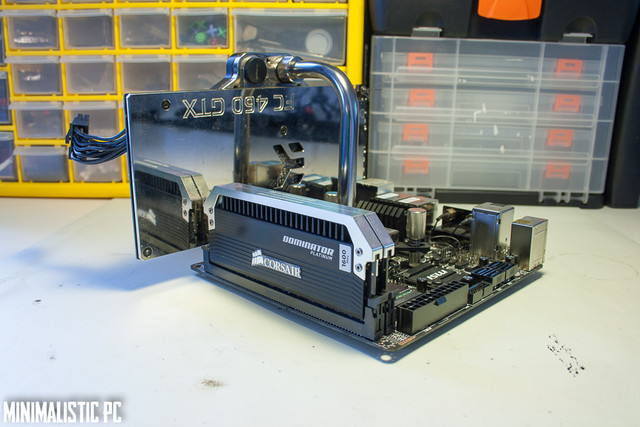
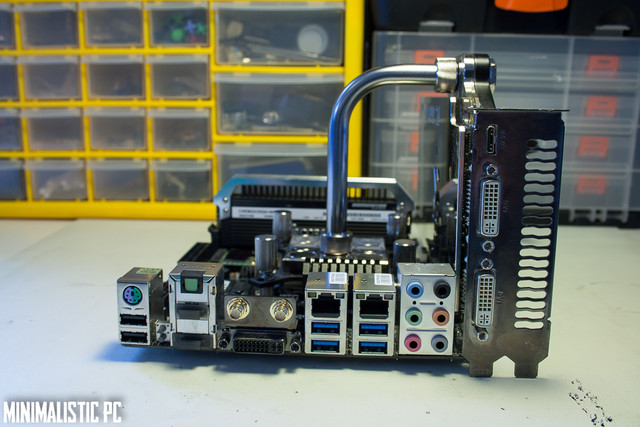
Installed the waterblock and backplate to the GTX 460 and took some pictures of it together with the motherboard. I love the backplate, that and the radiator grill will make a sweet contrast to all the black.
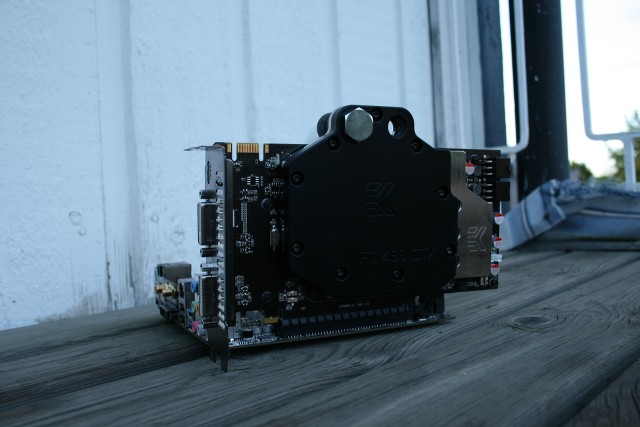
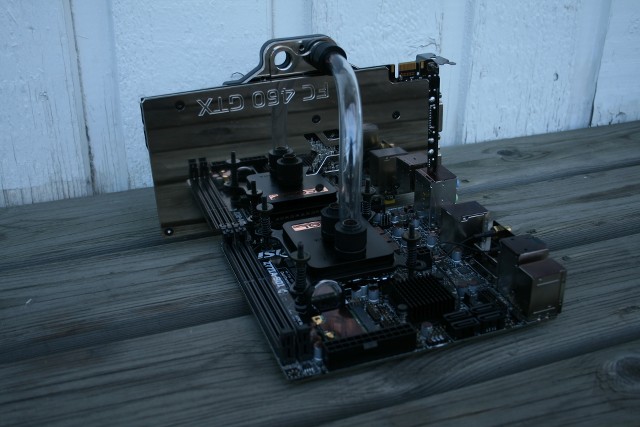

Some Corsair Dominator Platinum would look awesome here!
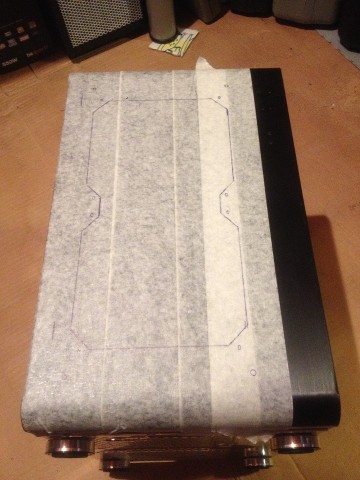
Thats all for now. Im currently planning and measuring out where to put the radiator and window and stuff like that. But I will update as soon as possible. I hope you like it. While you wait I would really appreciate if you liked to check out my facebook-page. There you will find more updates, giveaways and other computer related stuff.
With kind regards
Johan Nyman
Minimalistic PC's
After months of wedding planning, moving to a new apartment, new job and everything else Im back, and this time with a casemod, usually Im working from scratch. I will hopefully learn a lot by this small project and get more modding experience.
In my opinion I've found the ultimate mini-itx case, the Cubitek Mini Cube. Ever since I installed a computer for a friend in this case I have been in love. It is clean-looking, has A LOT of space behind the motherboard for both cablemanagement and harddrives.
My idea of this casemod is to make a "stealth" mod. Everything will be black except for some small details that will be the small contrast to all the black. So I will start by taking the case in two parts and paint everything that isnt black. Then I will be installing a 240mm radiator in the front, yes you heard me, I will be making a big hole in that nice-looking frontpanel. But dont worry, I will be covering it up with one of the most awesome-looking radiator grills from Aquacomputer.
This is the hardware Im aiming for, most of it I already have.
MB: MSI Z87I
CPU: Intel I5 4670K
GPU: Zotac GTX 760
RAM: 2x4gb Corsair Dominator Platinum
SSD: Samsung 840 120gb
PSU: Be-Quiet! Dark Power Pro P10 550W
CASE: Cubitek Mini Cube
Here is a overview of the motherboard.
I didnt like the blue/alu caps so I made them and some other stuff black, F4DE in to black! :rock:
Well here is some more hardware pictures. The radiator grill I talked about from Aquacomputer, one of the most cleanlooking I seen. Also love the kind of darker shade on it.
Also got the Samsung SSD yesterday, nice design on it I think. Dont have to make a cover for this one I think.
Last of all, the waterblock for the GTX 460, I think I will go with this card. I already have it and it still got a lot of power so why not. Easy to upgrade if I get ahold of a 760 later. I will probably paint the acrylic piece black so it fits the theme even more.
I couldnt wait to do something so I painted the waterblock today. I like it, going to fit better than clear acrylic.
Before
After
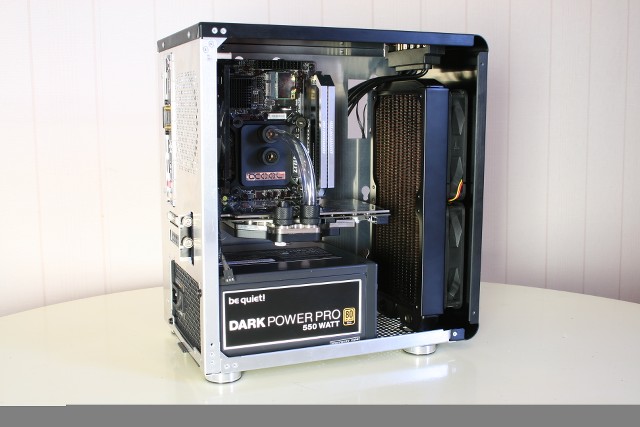
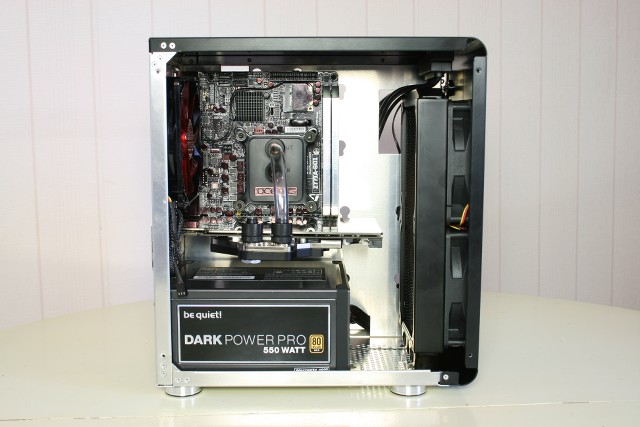
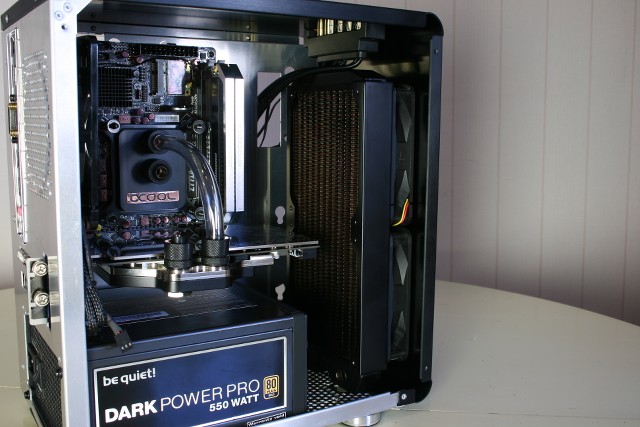
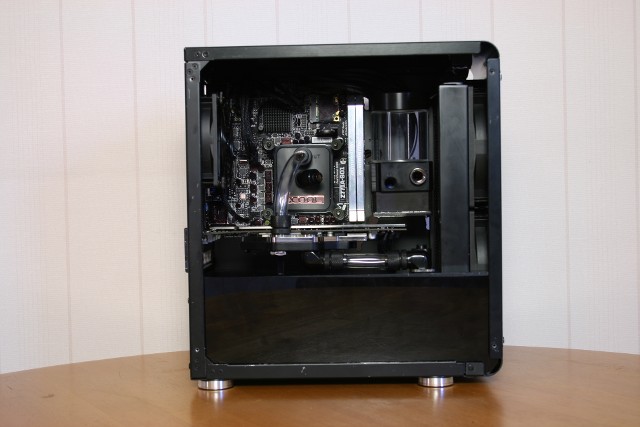
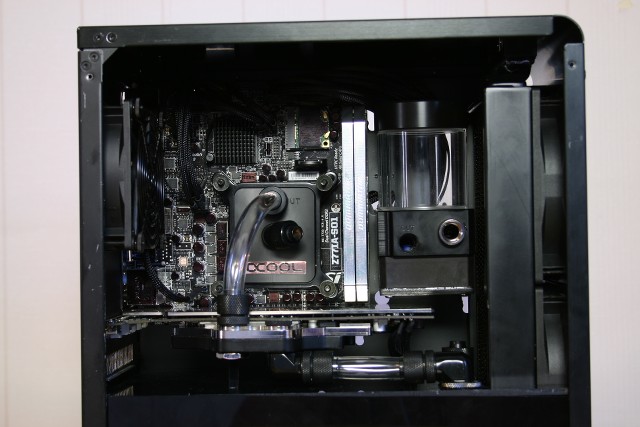
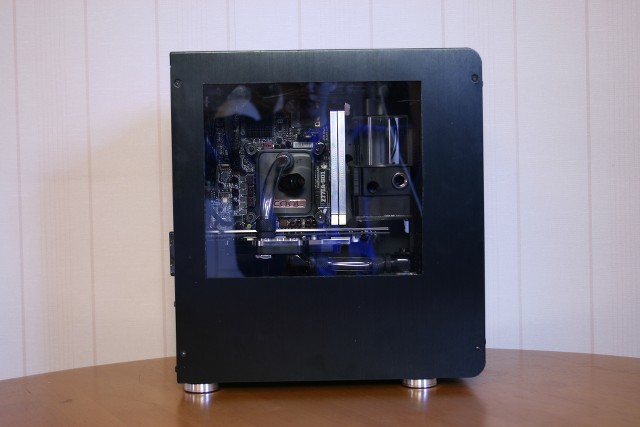
Installed the waterblock and backplate to the GTX 460 and took some pictures of it together with the motherboard. I love the backplate, that and the radiator grill will make a sweet contrast to all the black.
Some Corsair Dominator Platinum would look awesome here!
Thats all for now. Im currently planning and measuring out where to put the radiator and window and stuff like that. But I will update as soon as possible. I hope you like it. While you wait I would really appreciate if you liked to check out my facebook-page. There you will find more updates, giveaways and other computer related stuff.
With kind regards
Johan Nyman
Minimalistic PC's
Last edited:


")