Zarathustra[H]
Extremely [H]
- Joined
- Oct 29, 2000
- Messages
- 38,878
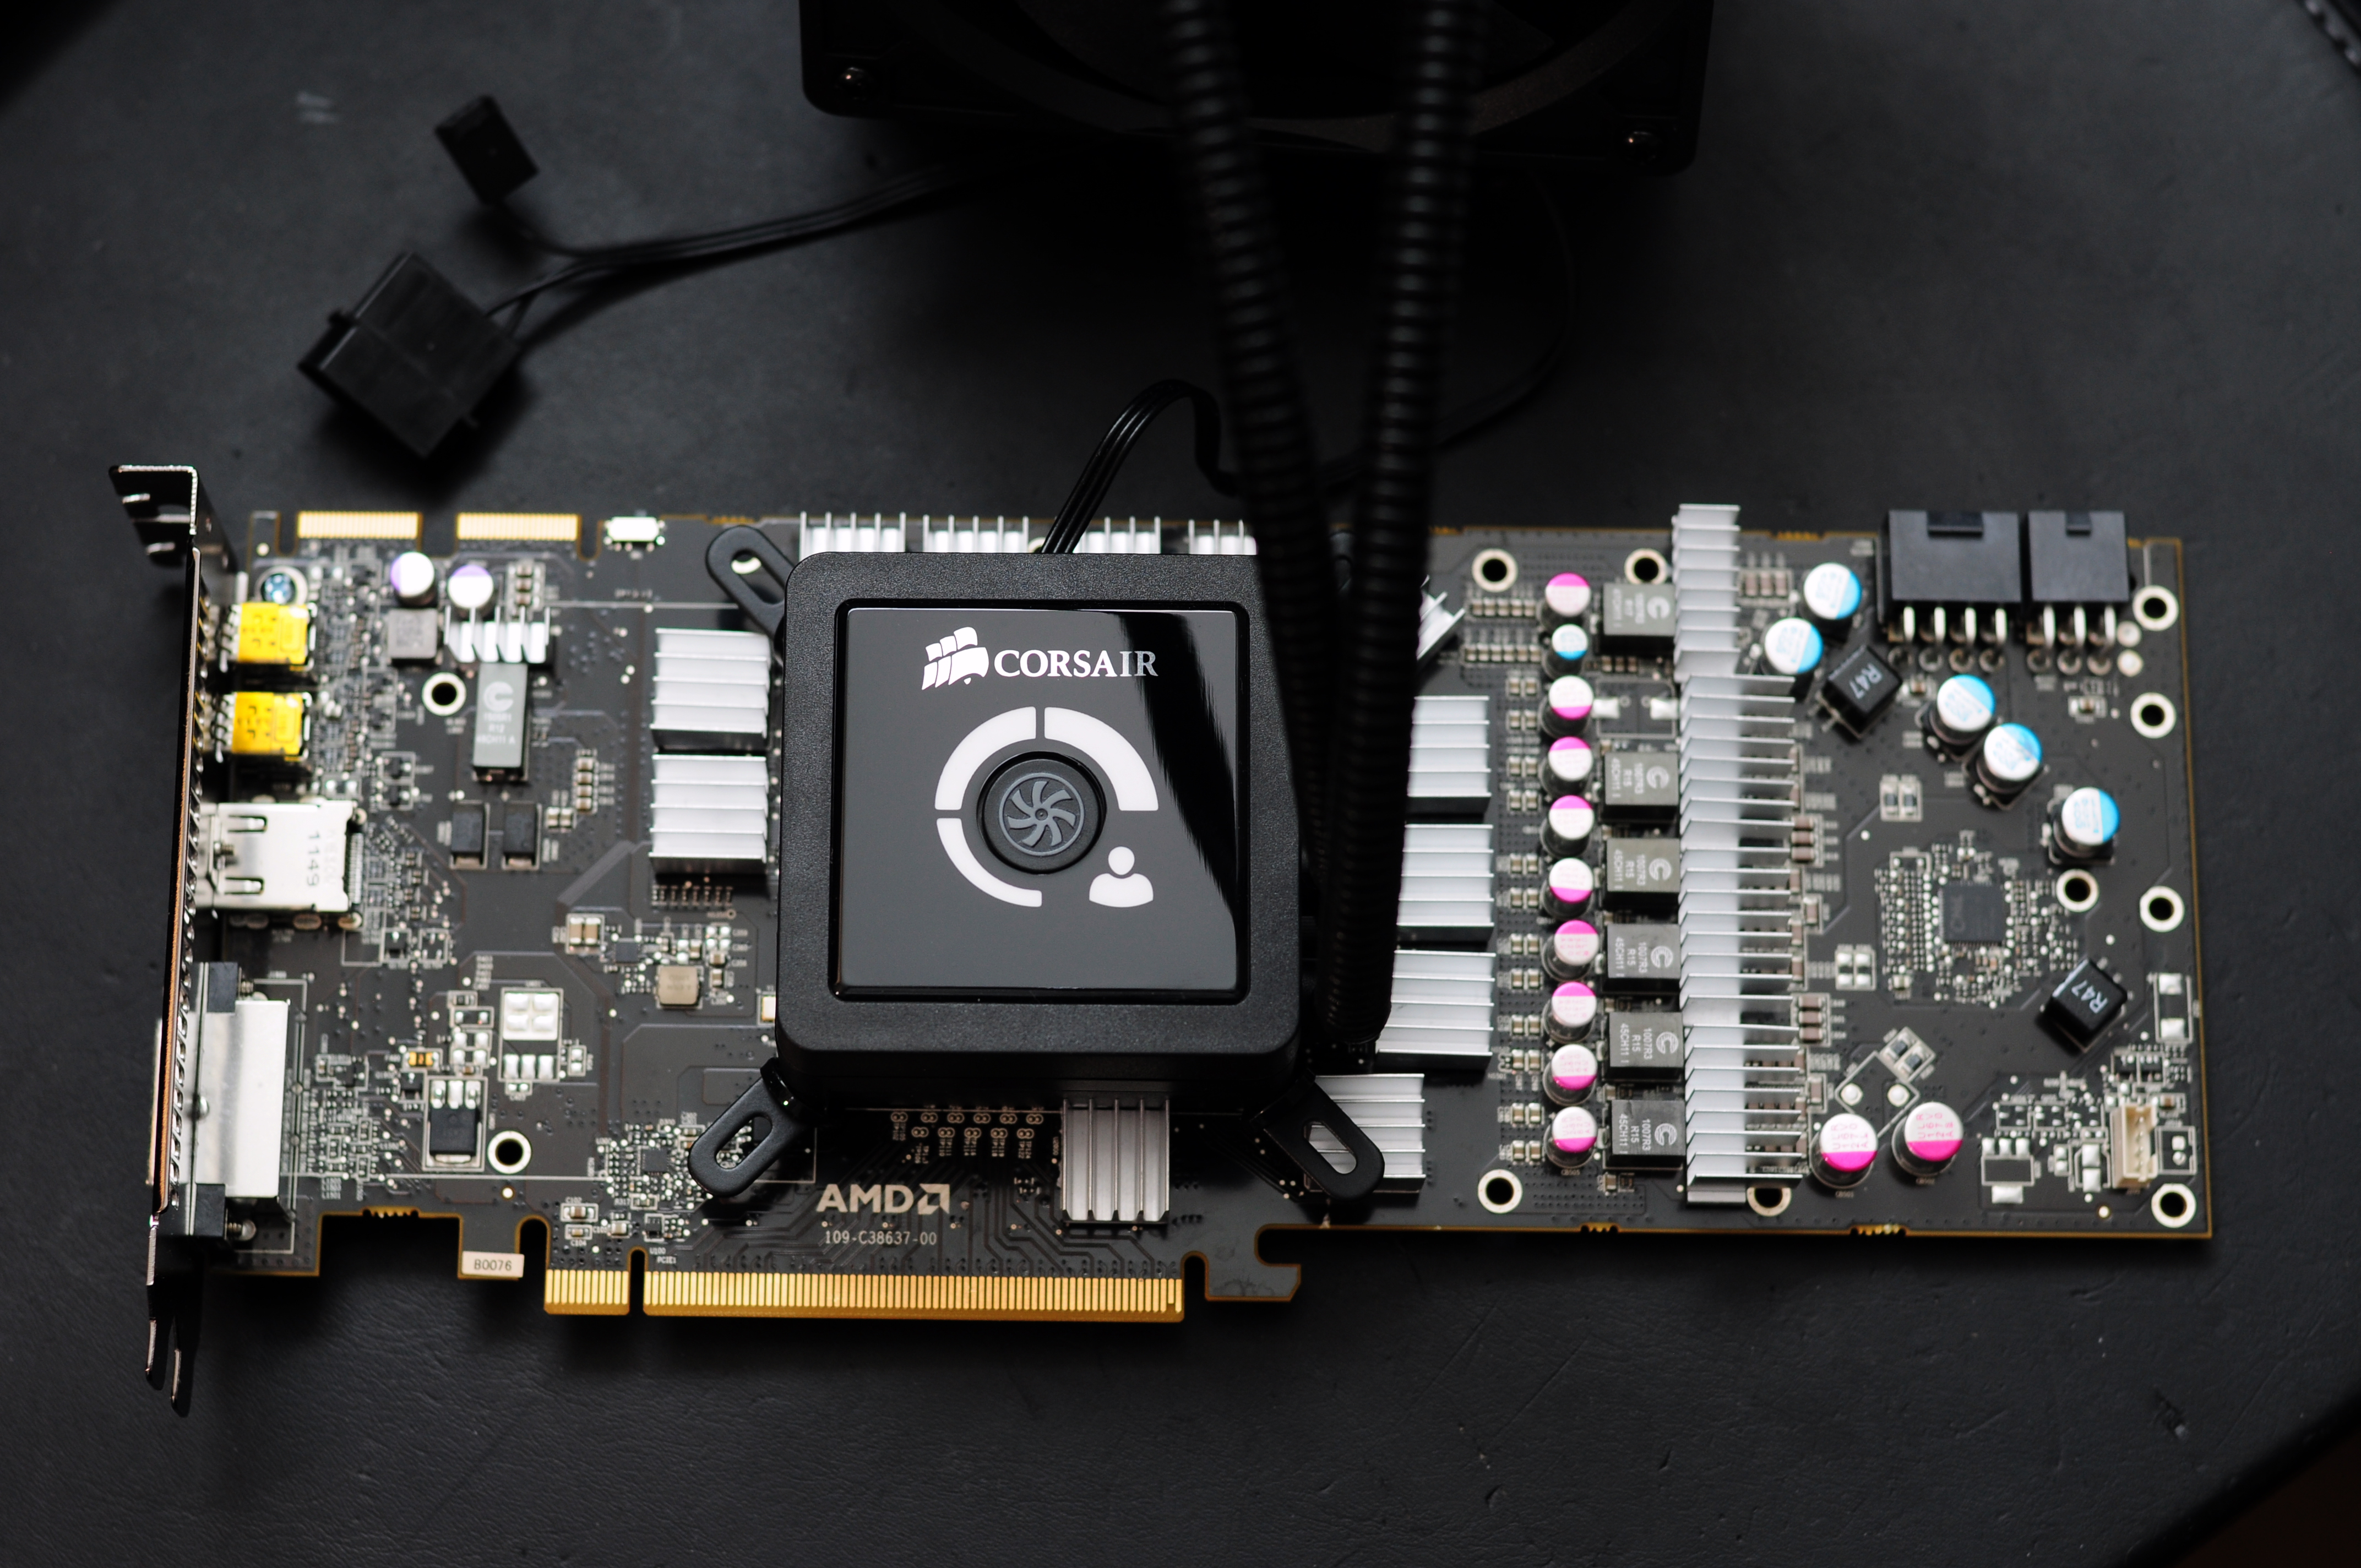
(click for larger)
So I got a WC spacer and attached a Corsair H80 and some Accelero Extreme heatsinks to my RAM and VRM's.
Looks pretty (
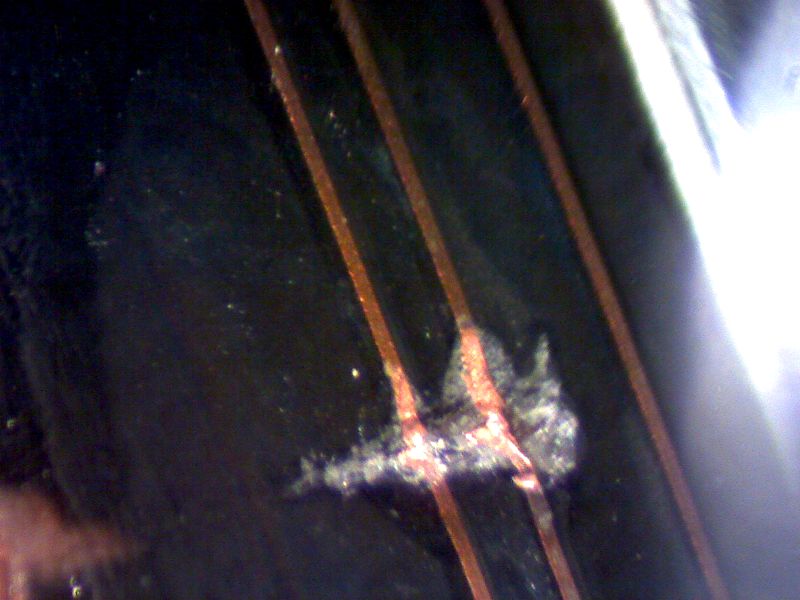
 ), but unfortunately I made a boo-boo when removing the stock heatsink
 I slipped with a screwdriver and damaged two traces leading to the right of the two bottom RAM chips (visible in the large image if you zoom in around the bottom right cooler mount)
The system still occasionally boots to a distorted desktop and I take the distortion as a good sign it may be repairable, so I went to Radio Shack to get a conductive trace pen and also picked up some clear nail polish to seal it all up.
WISH ME LUCK GUYS (I'm going to need it)