dieseldog49
[H]ard|Gawd
- Joined
- Jul 30, 2011
- Messages
- 1,132
Ok so I have been planning on building a new desk ever since me and my brother in law built me a new PC work bench (Pictured below)
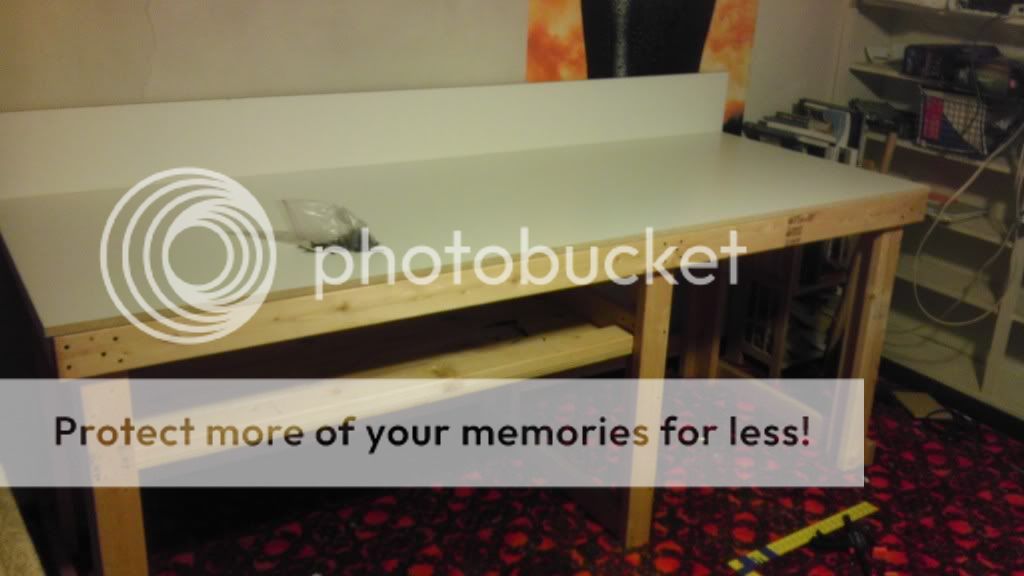
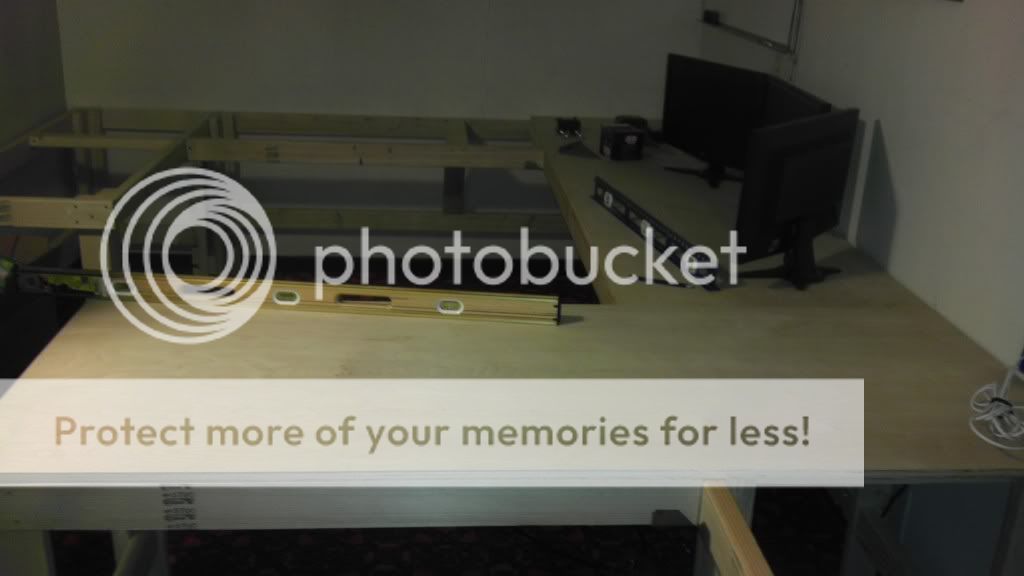
Using Just 2x4's and some melamine we built a super sturdy bench for about $120 and I couldnt be happier with it. Since then I have been looking at my current work/play station with a little bit of disgust, its made up out of 3 seperate desks none of which are exactly the same height. Further more due to my affinity for eyefinity and large PC cases I am finding that my little work nook is getting more and more cramped and cluttered. Heres a pic of the space I am working with please excuse the mess.


So the new plan is to gut the whole thing and create a desk that wraps around the entire area Like so (sorry for the small paint image)

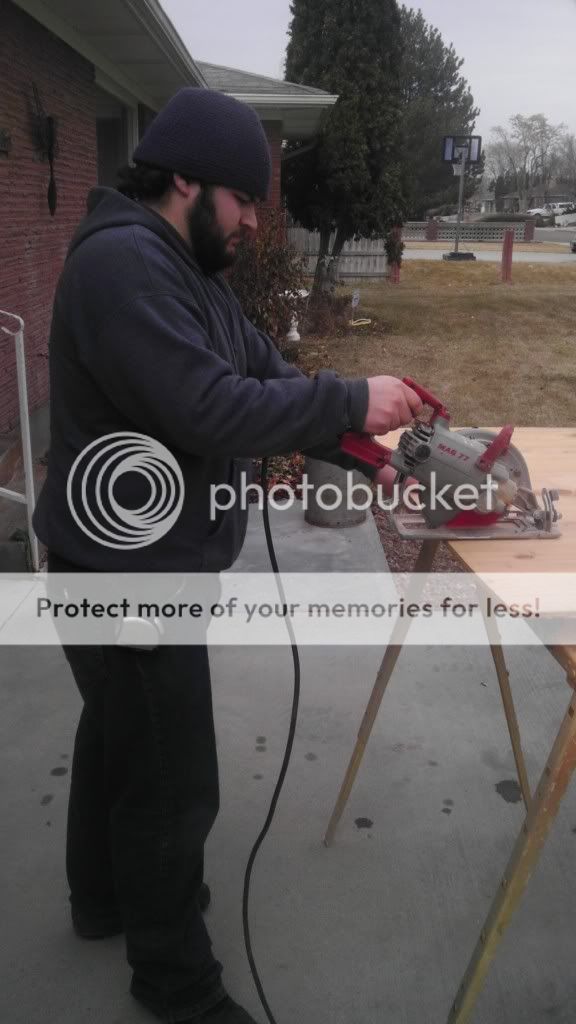
Then I am going to wrap the top of the desk with custom printed Mechwarrior themed vinyl using my wide format digital printer. So on to the construction phase. I have to give a ton of thanks to the two guys working with me (these or their online handles), Talster91 aka my old room mate and Dreyco Valentin who is my brother in law. With out them theres no way I could get these kind of projects done with the quality and speed we do together, We are also building Talster91 a new desk for the gaming rig I helped him build. So here is the start today, we are using birch plywood for the top and kiln dried 2x4's for the frame, using a overlapping design to interlock the tops and frames together. So today we ripped the plywood and tomorrow we will build the frames.
Dreyco
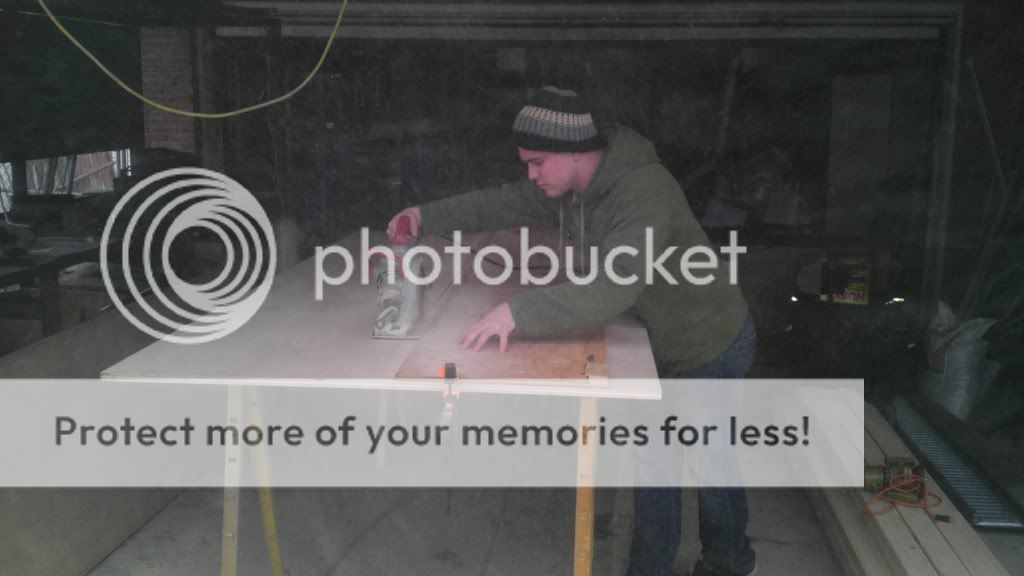
Talster91
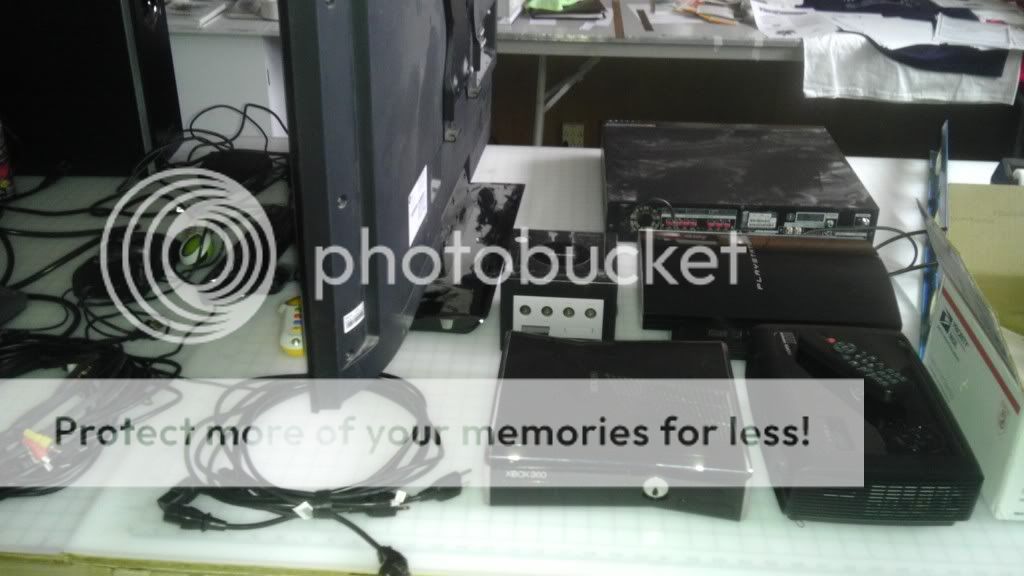
Also this arrived today

Day 2
Ok Most of today is dedicated to Talsters desk build Which is specced to be L60xW30 with a 30 inch height
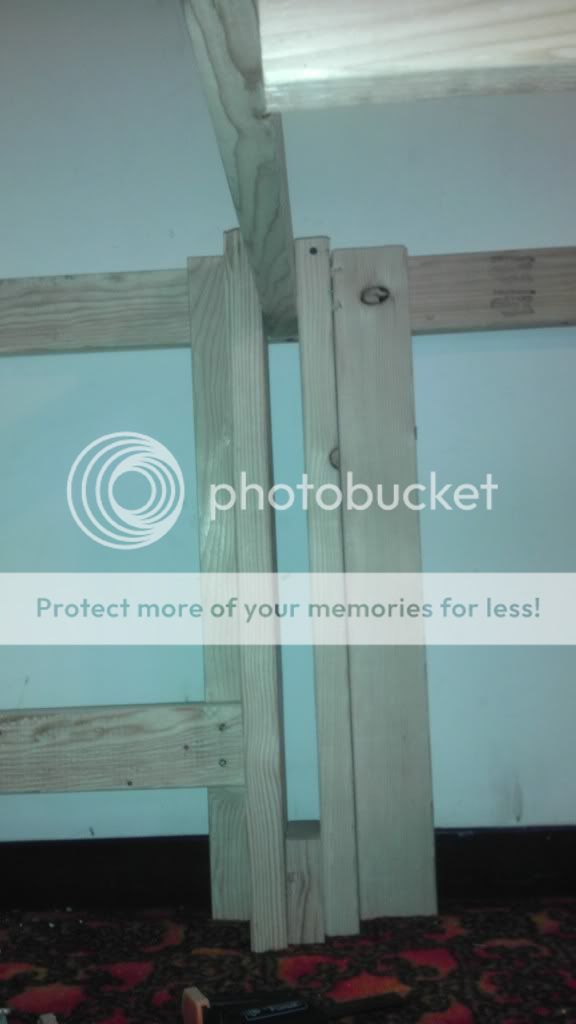
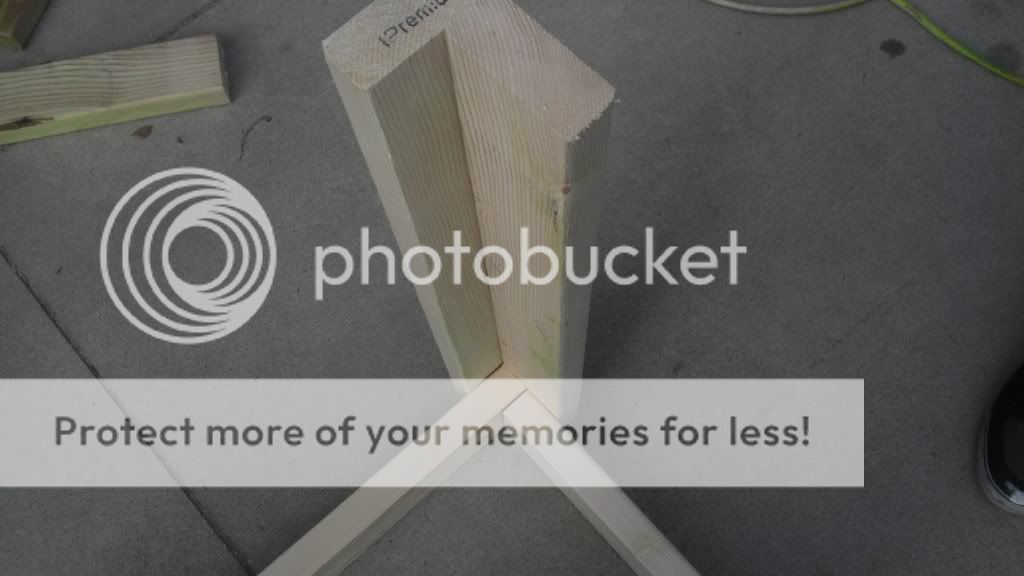
For legs on both desks are a L shape made of two 2x4's screwed together gives great stuctural support.

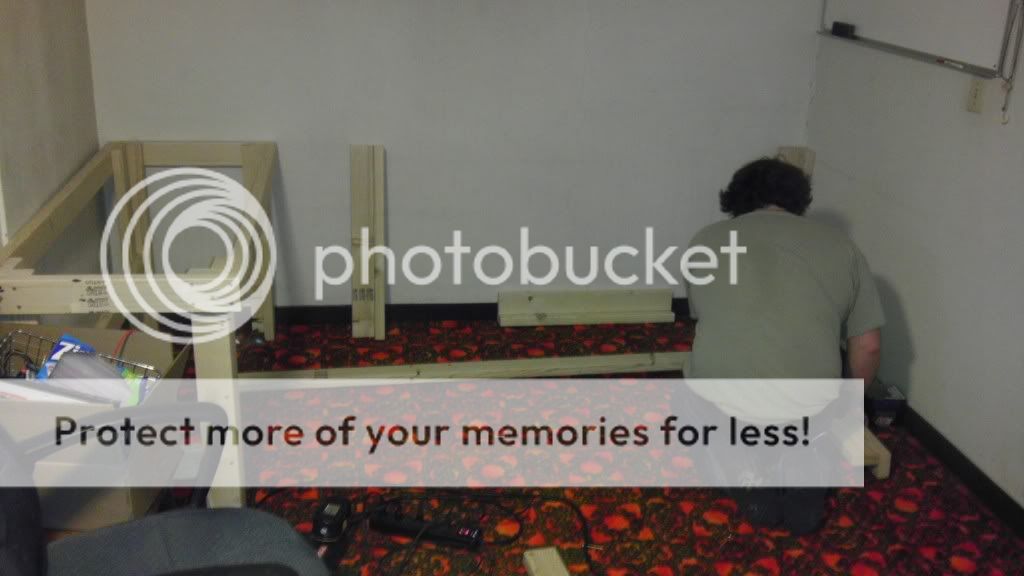
Next up us cutting and laying out the lower braces and the leg spacing.

When building your own desk its important to have the imagination and vision to know what you want as Talster demonstrates

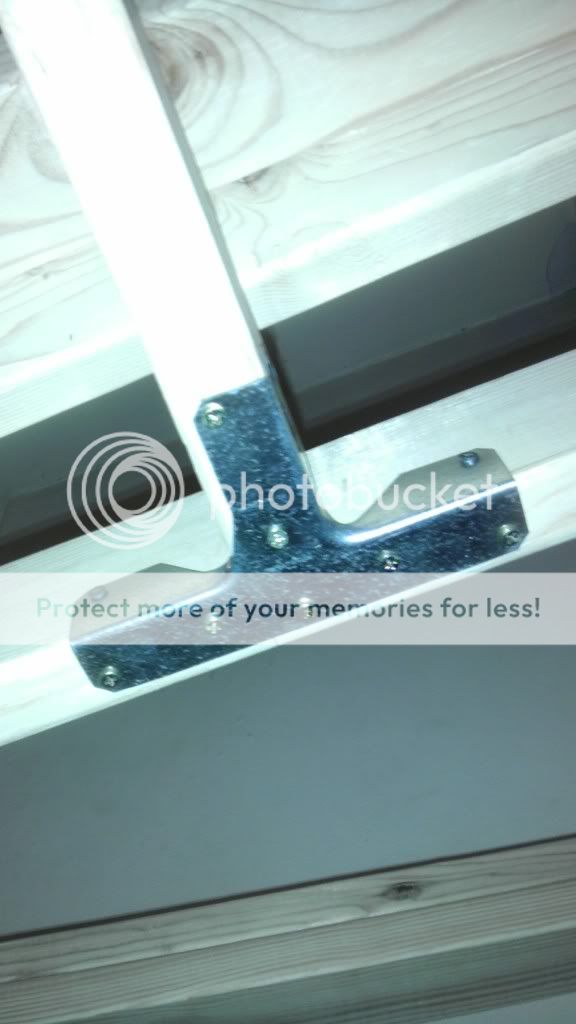
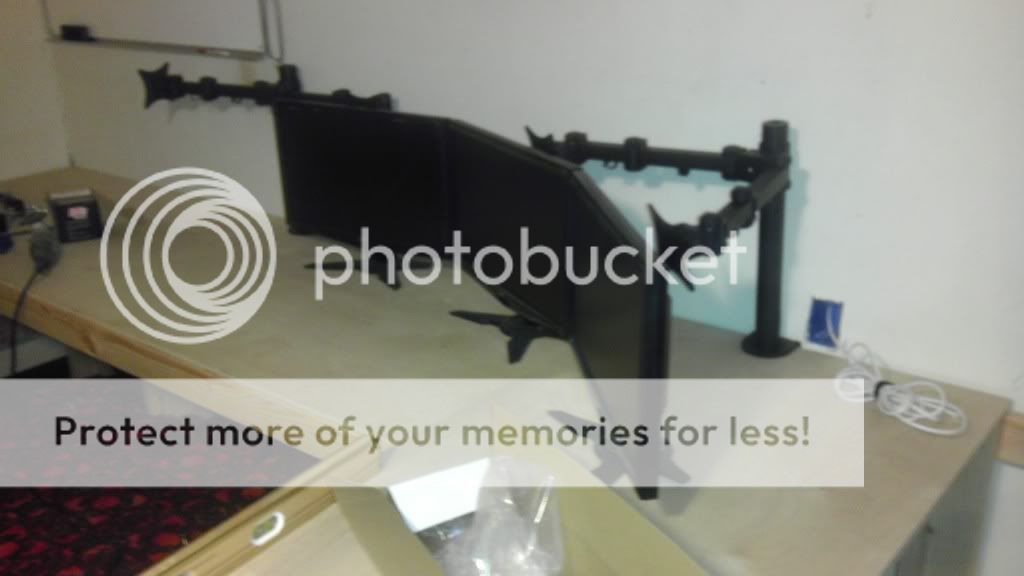
Next up is setting up the top box


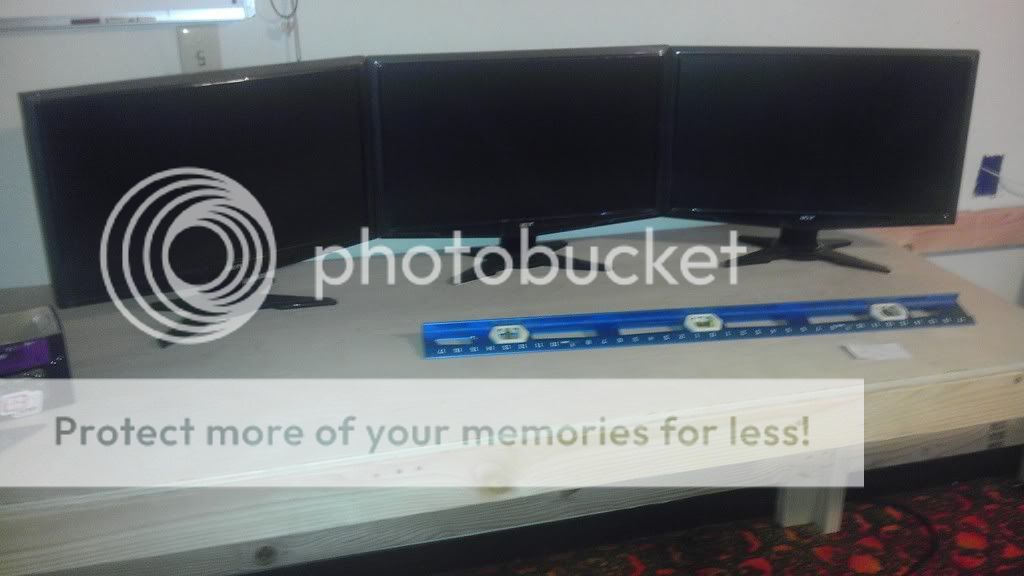
Next up is checking to see if the frame is square.

Using Just 2x4's and some melamine we built a super sturdy bench for about $120 and I couldnt be happier with it. Since then I have been looking at my current work/play station with a little bit of disgust, its made up out of 3 seperate desks none of which are exactly the same height. Further more due to my affinity for eyefinity and large PC cases I am finding that my little work nook is getting more and more cramped and cluttered. Heres a pic of the space I am working with please excuse the mess.
So the new plan is to gut the whole thing and create a desk that wraps around the entire area Like so (sorry for the small paint image)
Then I am going to wrap the top of the desk with custom printed Mechwarrior themed vinyl using my wide format digital printer. So on to the construction phase. I have to give a ton of thanks to the two guys working with me (these or their online handles), Talster91 aka my old room mate and Dreyco Valentin who is my brother in law. With out them theres no way I could get these kind of projects done with the quality and speed we do together, We are also building Talster91 a new desk for the gaming rig I helped him build. So here is the start today, we are using birch plywood for the top and kiln dried 2x4's for the frame, using a overlapping design to interlock the tops and frames together. So today we ripped the plywood and tomorrow we will build the frames.
Dreyco
Talster91
Also this arrived today
Day 2
Ok Most of today is dedicated to Talsters desk build Which is specced to be L60xW30 with a 30 inch height
For legs on both desks are a L shape made of two 2x4's screwed together gives great stuctural support.
Next up us cutting and laying out the lower braces and the leg spacing.
When building your own desk its important to have the imagination and vision to know what you want as Talster demonstrates
Next up is setting up the top box
Next up is checking to see if the frame is square.
Last edited: