Project SCORPIO!

Joined
Oct 13, 2011
Messages
21
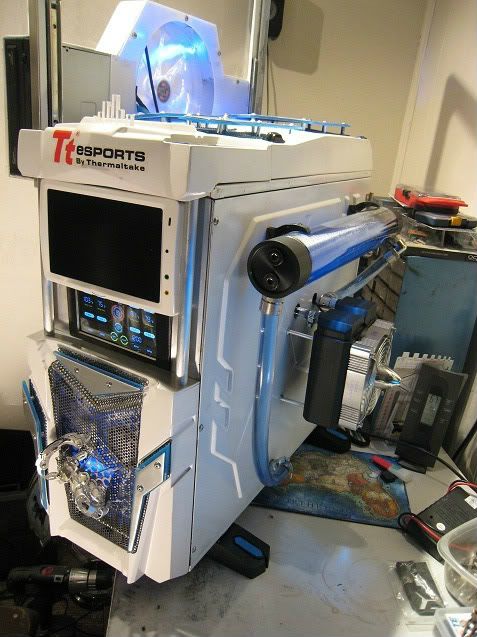
Hey Guys, here we are with our best mod yet. Code named "Scorpio" (based off our company naming convention, not related to the sigil)

This mod is brought to you by
ttLogo.jpg

ktc_logo_hm.gif

OCZLogo.gif


Much love and thanks to my sponsors, without them, this mod wouldn't exist.

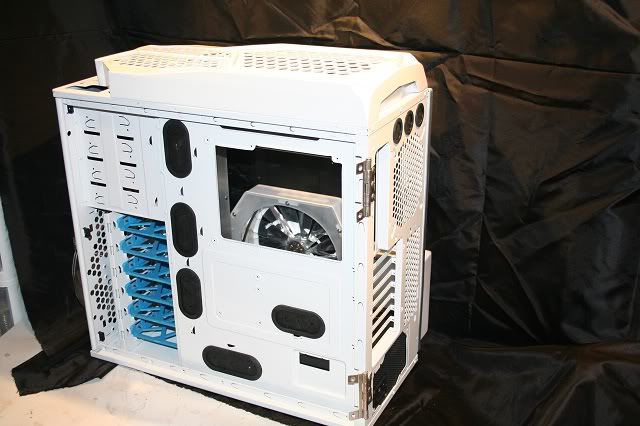
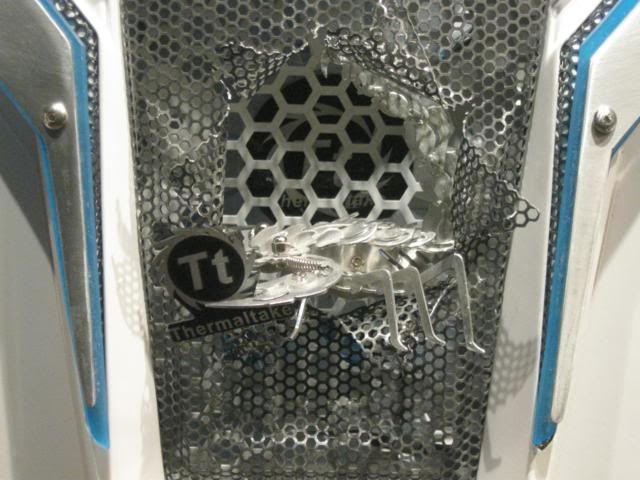
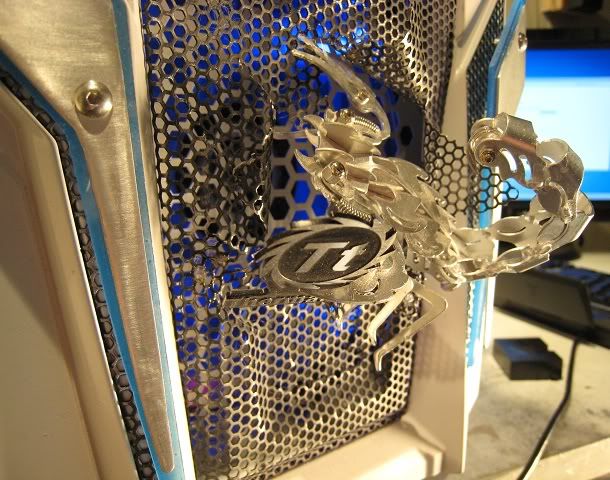
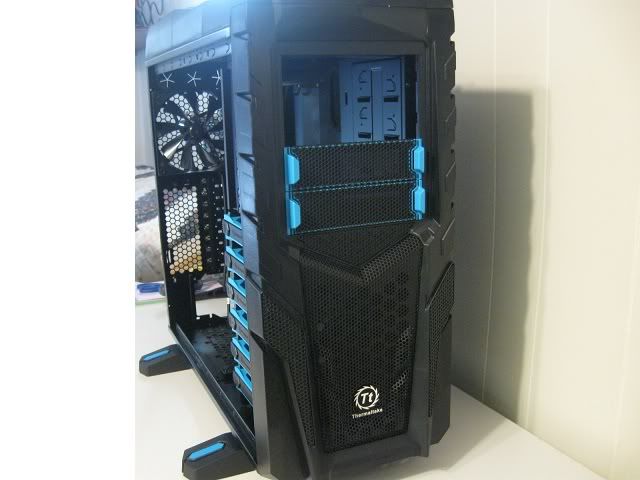
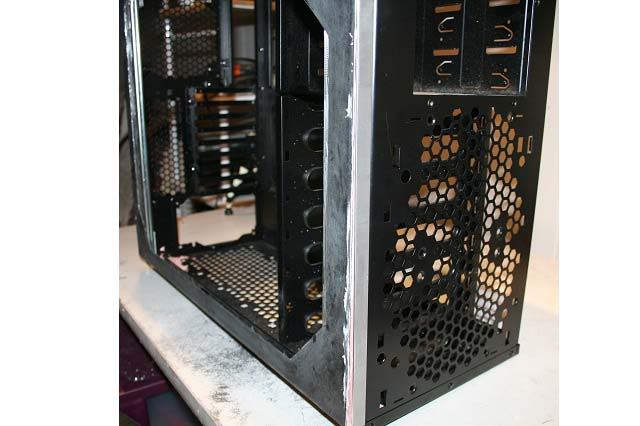
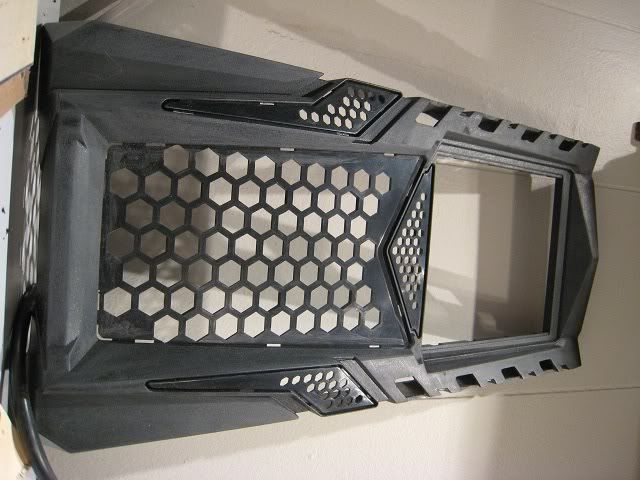
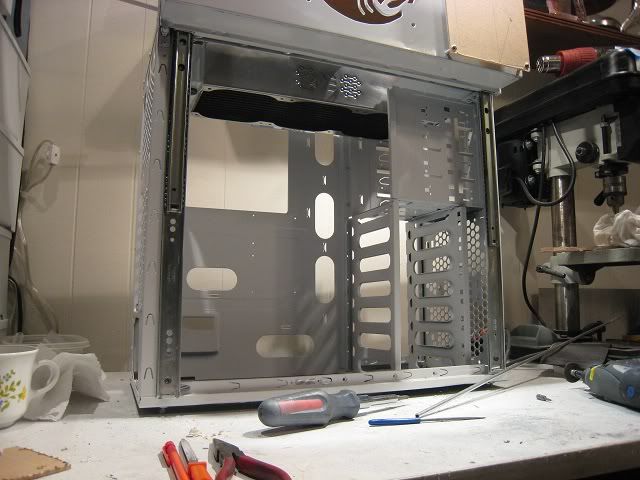
Were starting off with what is already a nice case the Chaser MK-I, really well built with a unique design. I like it. My only complaint is I wish it had a hot-swap backplane, which I think we will be putting in.
IMG_1327640.jpg

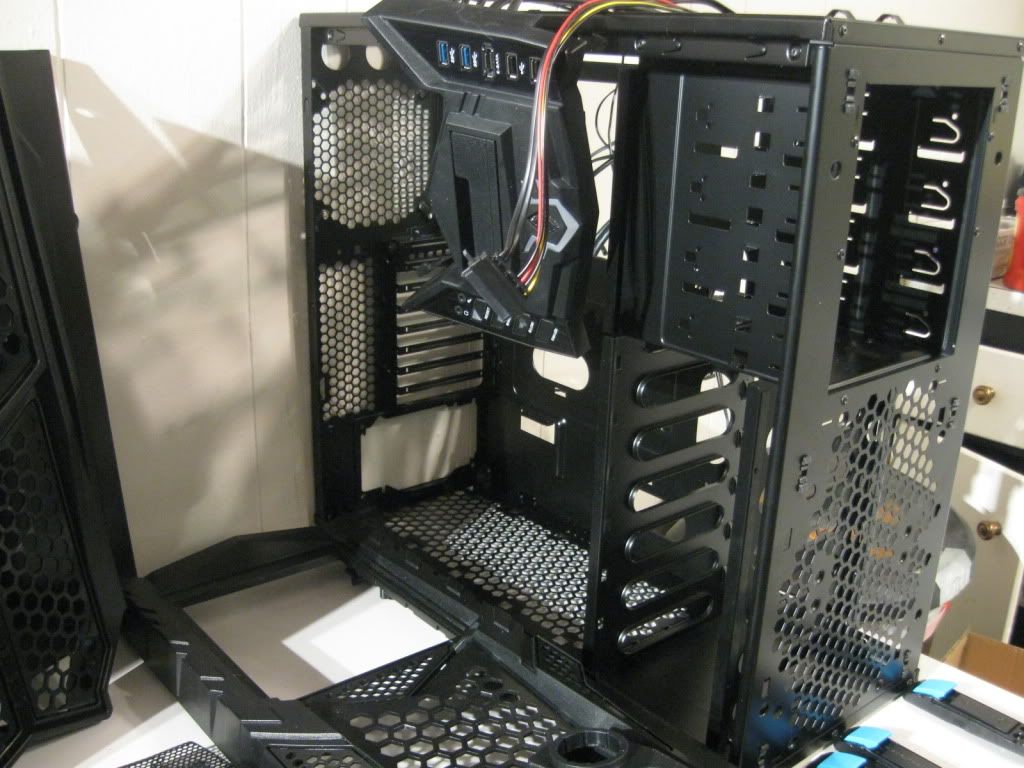
and mildly destroyed...
IMG_1347.jpg

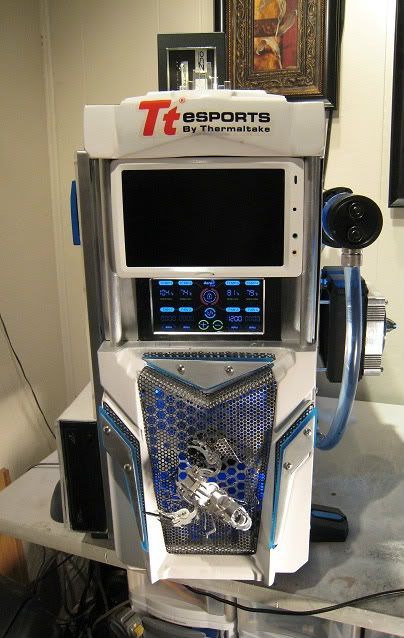
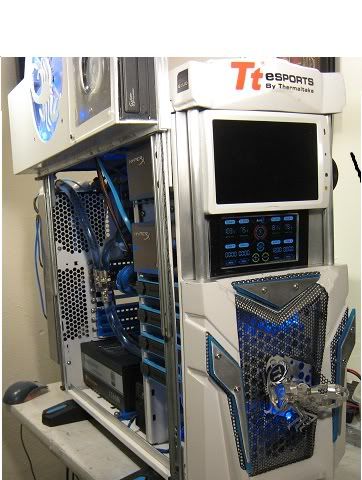
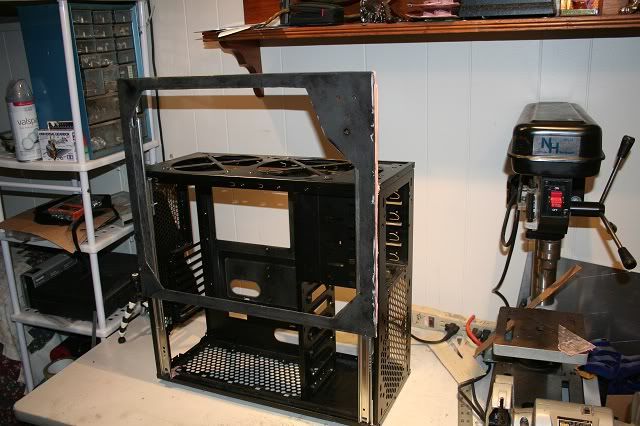
Were going to chop it up and spit out something we hope to be fantastic. Here is a very rough draft just to give you an idea where we are going with this.
FarFlung-Rightside-1.jpg
FarFlung-LeftSide-1.jpg


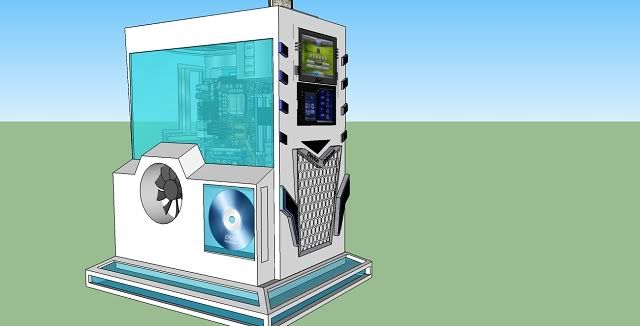
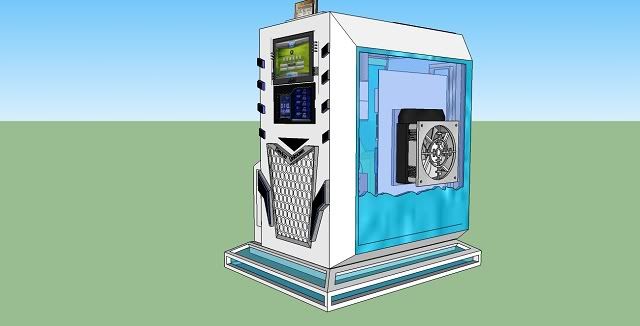
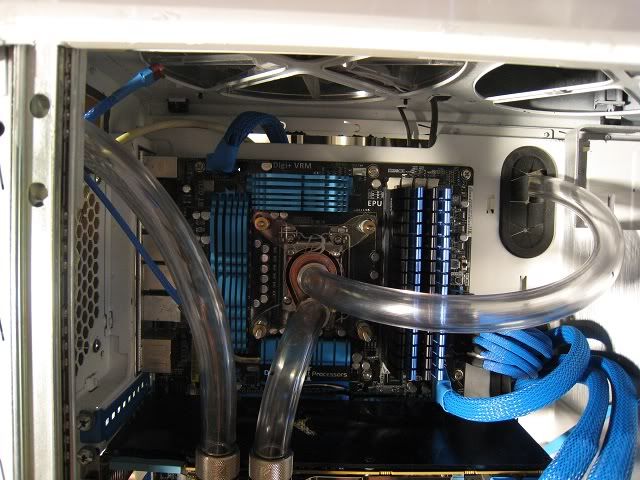
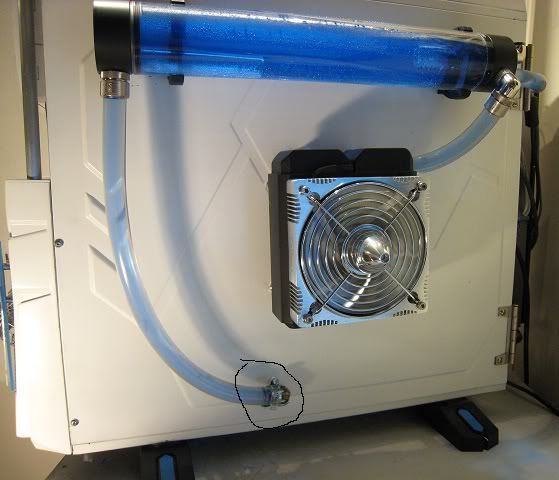
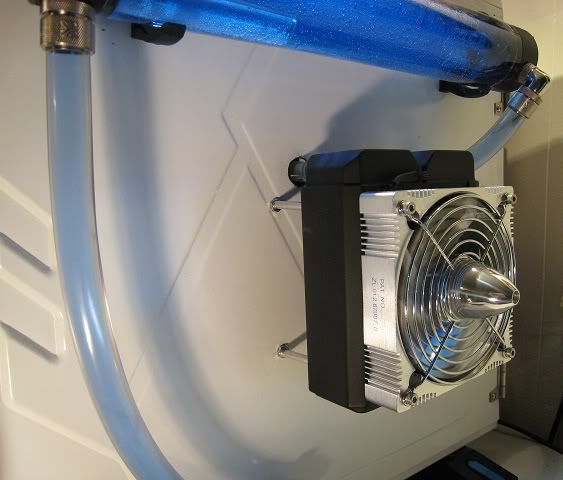
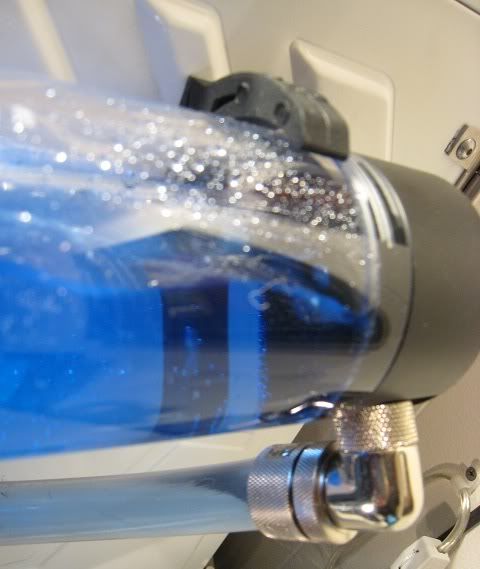
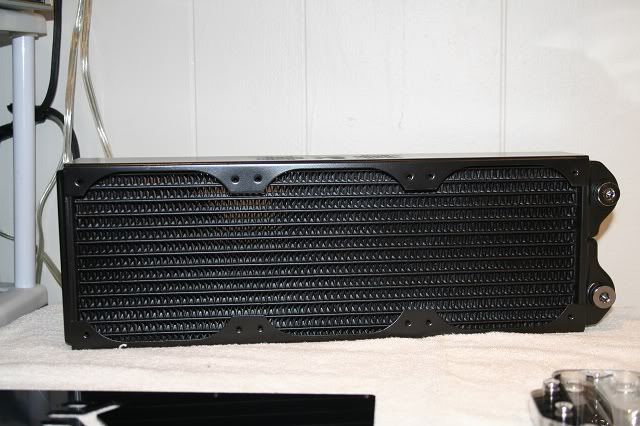
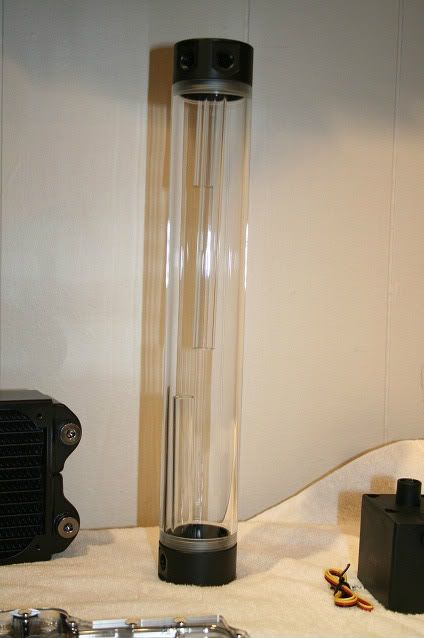
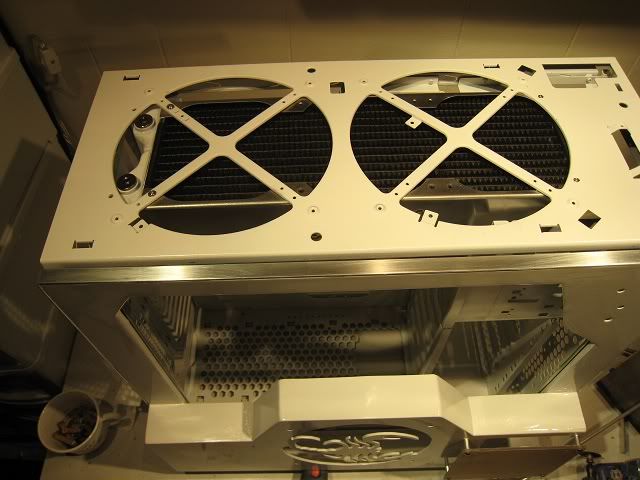
Were making the entire left side a Reservoir for the Liquid Cooling. With a single radiator (to be determined later) extending out of the middle.
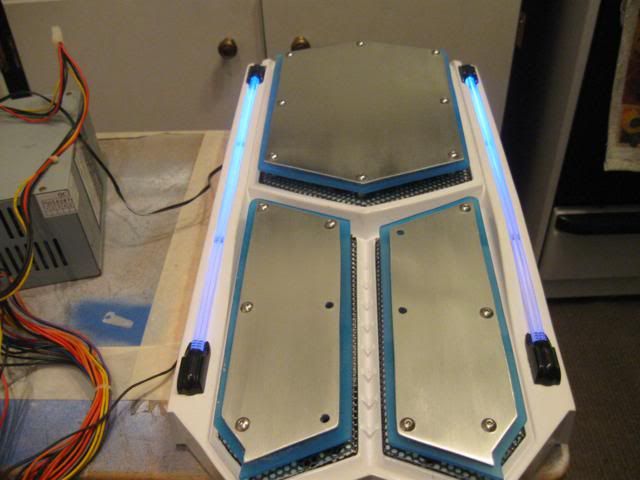
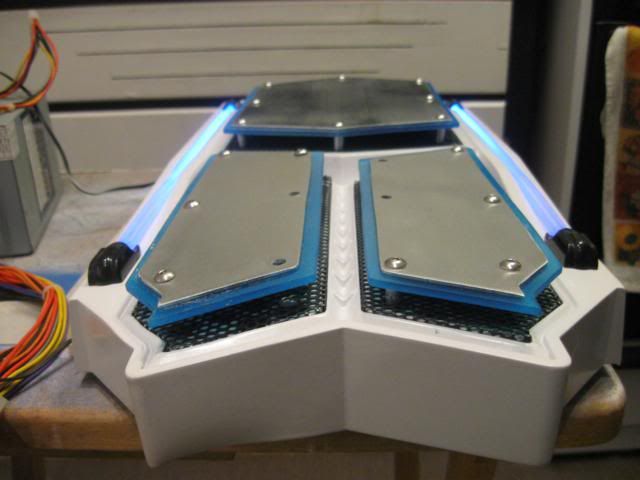
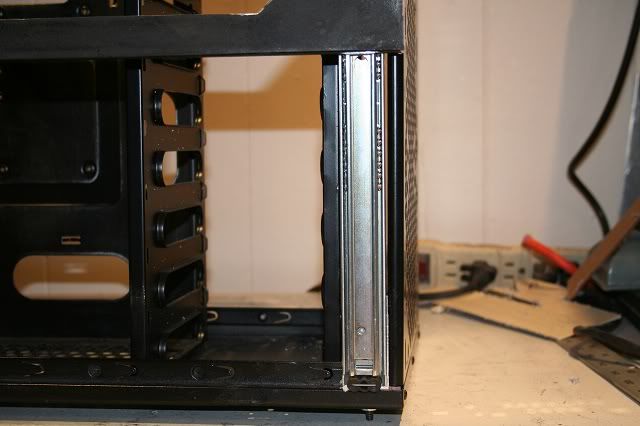
Were adding a large base to the case for stability as the left door will raise straight up vertically. You'll see that later. Waiting for the slides to come in.

You can see our opinions on the hardware we're putting in it to far at our website. www.deviceunknown.com

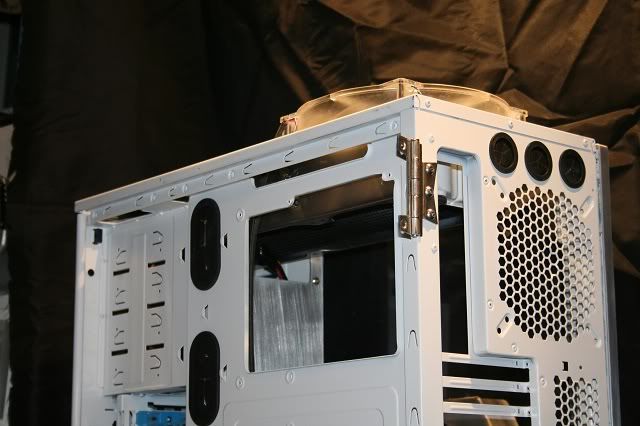
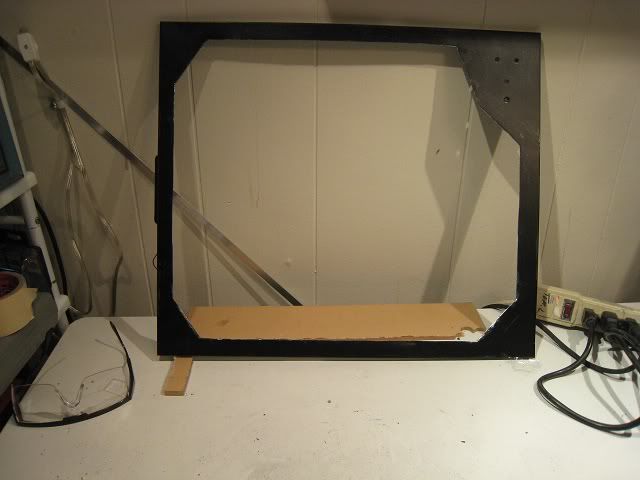
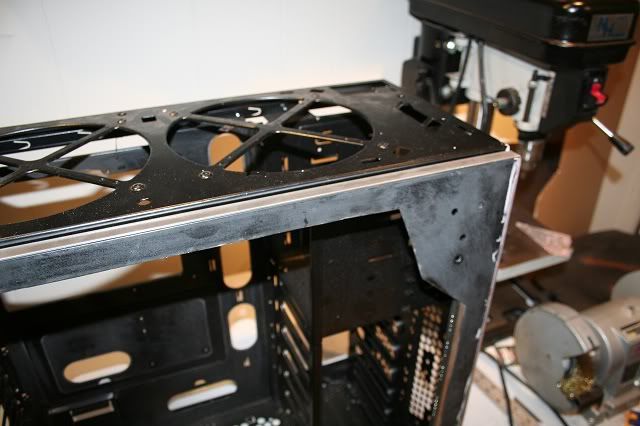
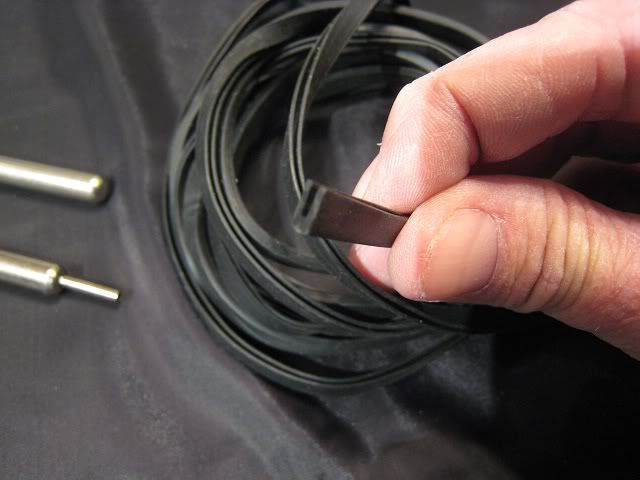
I started by adding hinges to the left door, due to it's weight in the future of the reservoir.
IMG_1064640.jpg

IMG_1065640.jpg


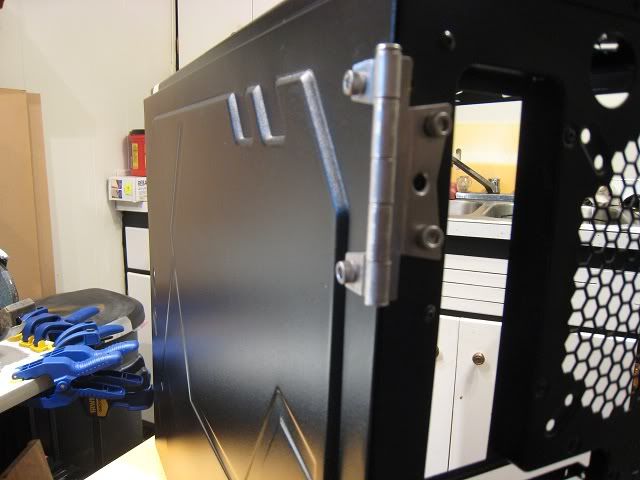
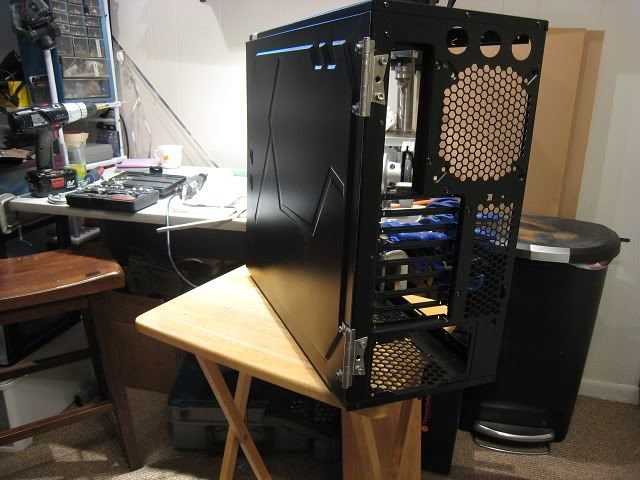
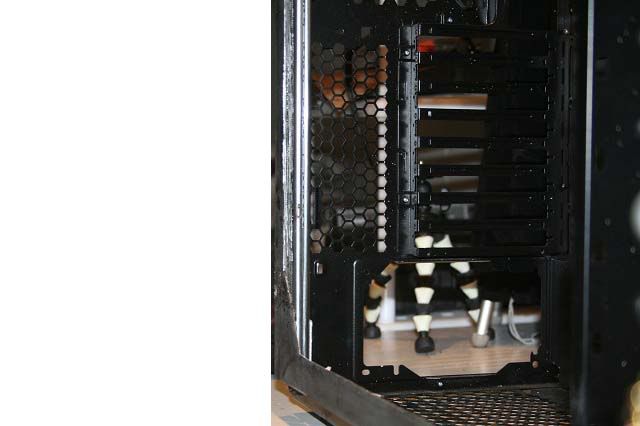
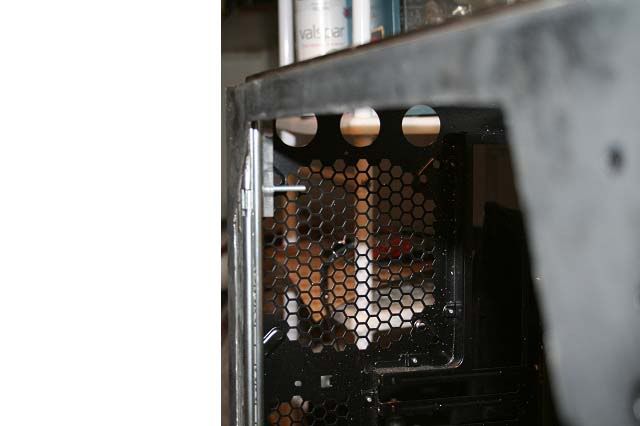
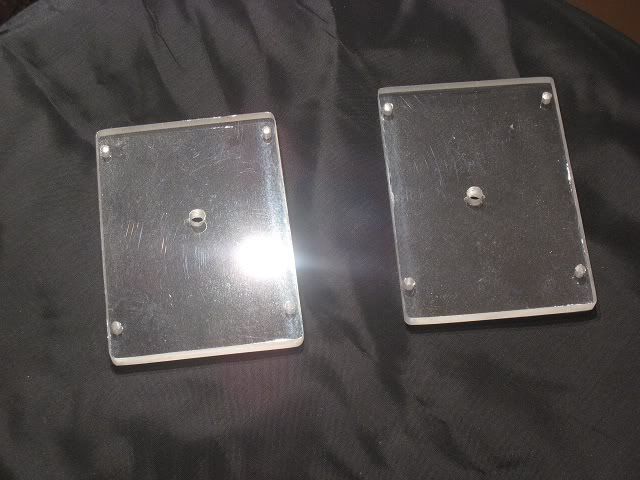
With the hinges on, it's ready to be cut out and a shroud built to extend a few inches to accommodate the home built reservoir and radiator/fans. That will come later.
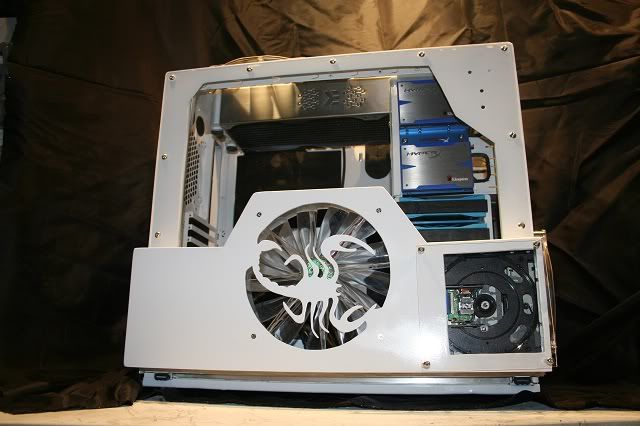
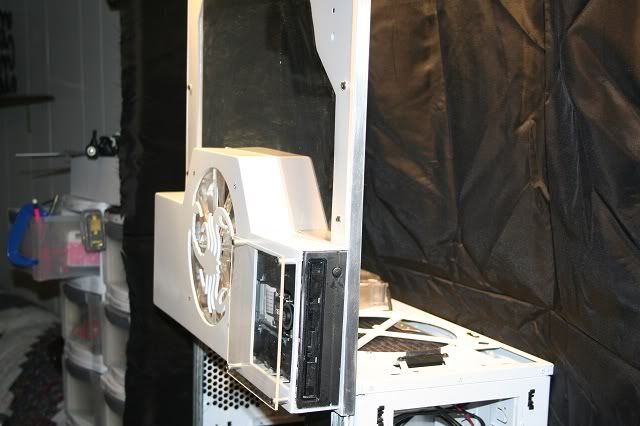
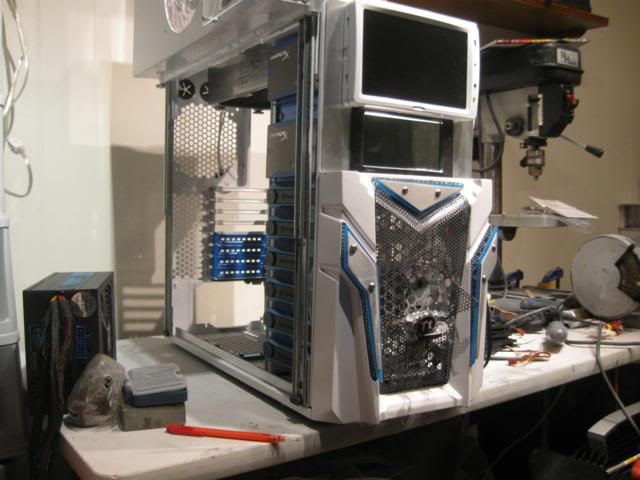
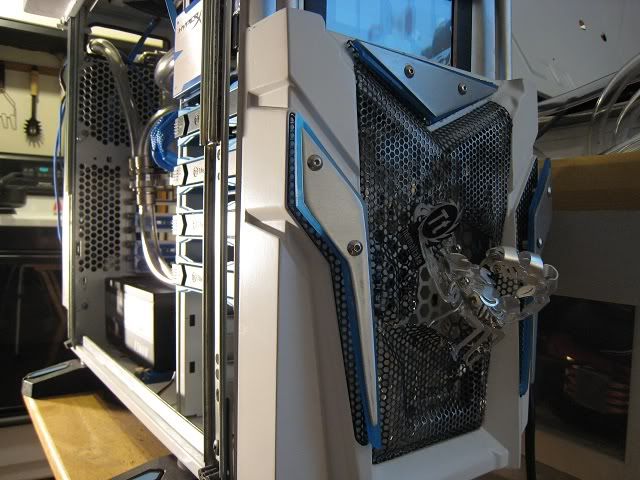
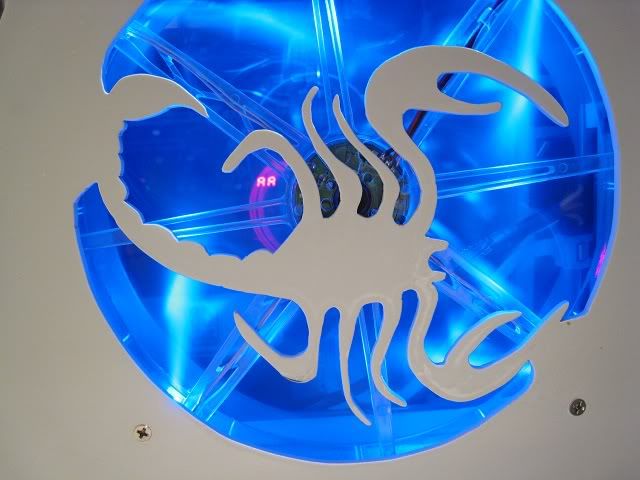
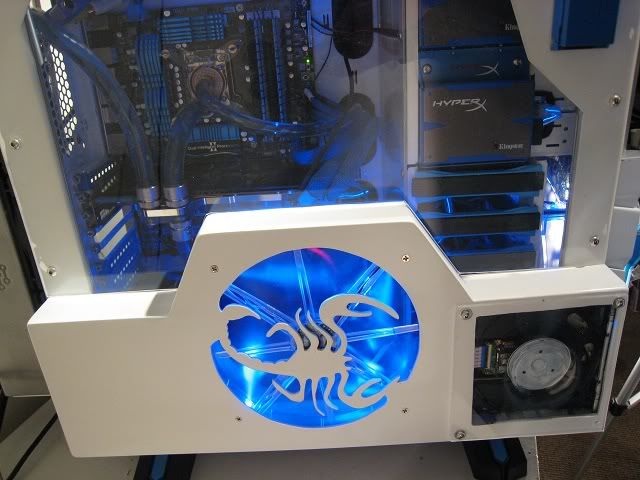
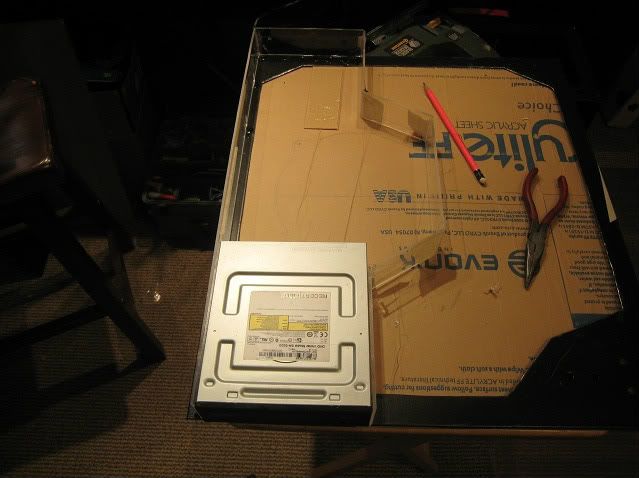
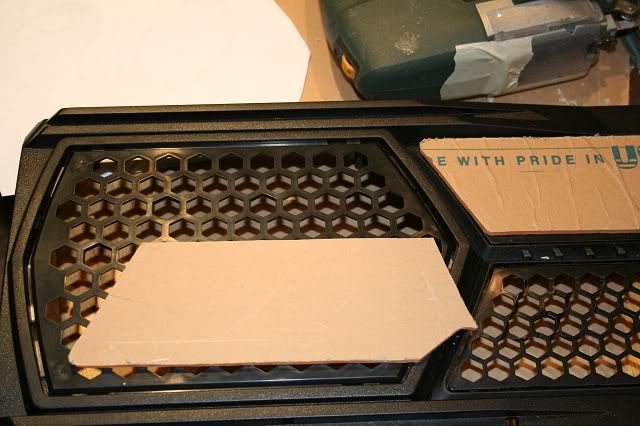
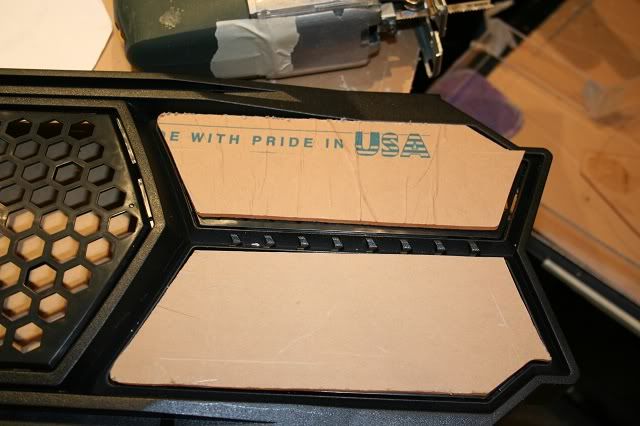
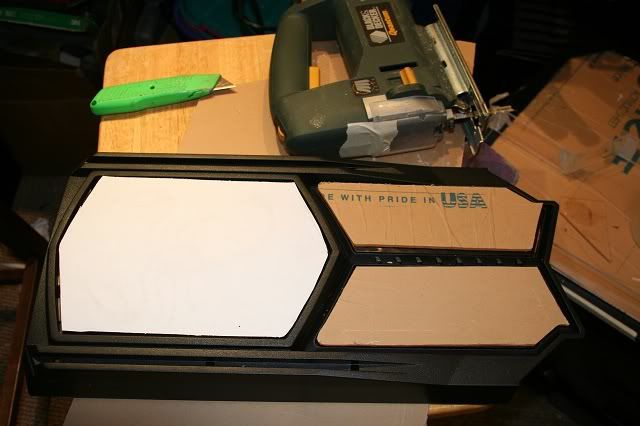
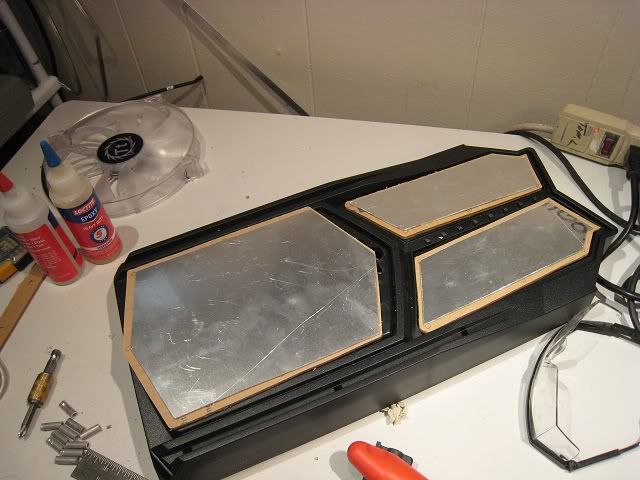
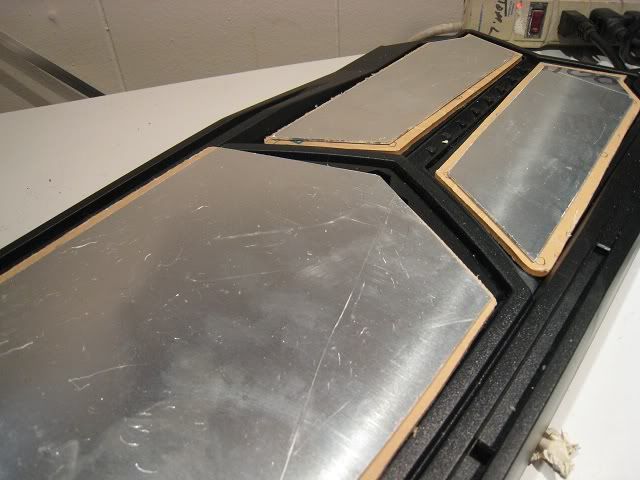
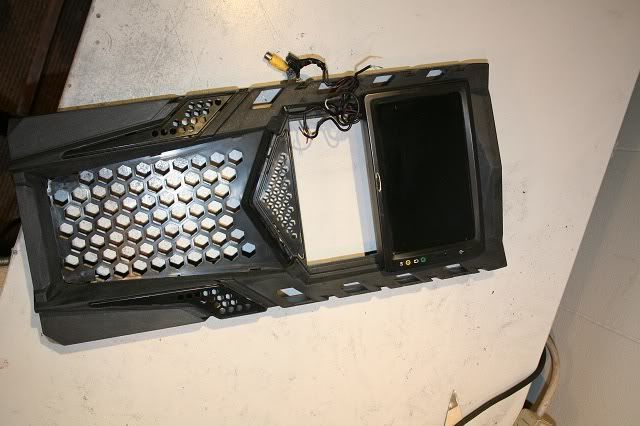
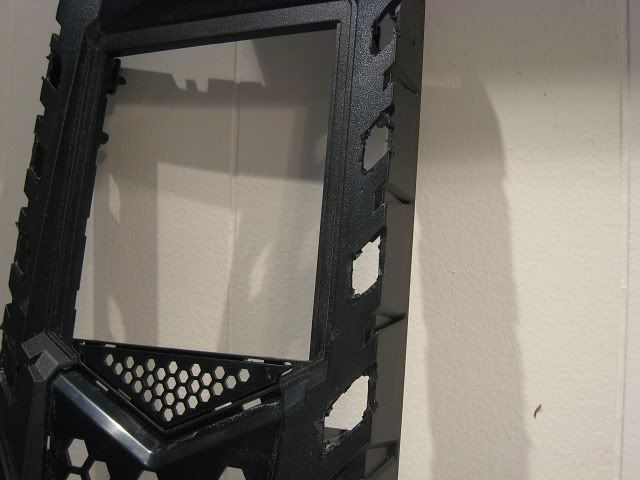
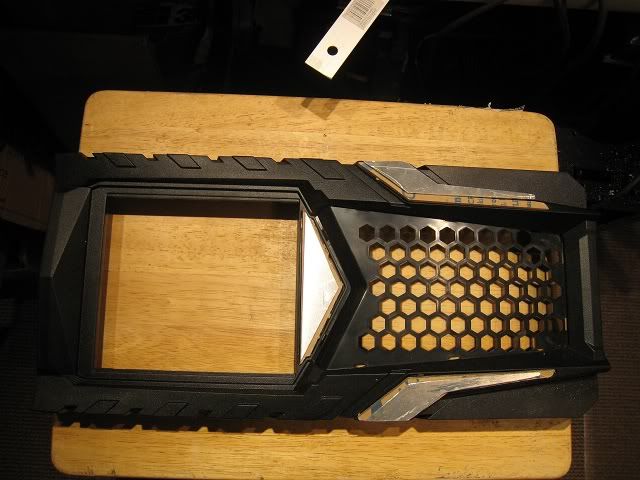
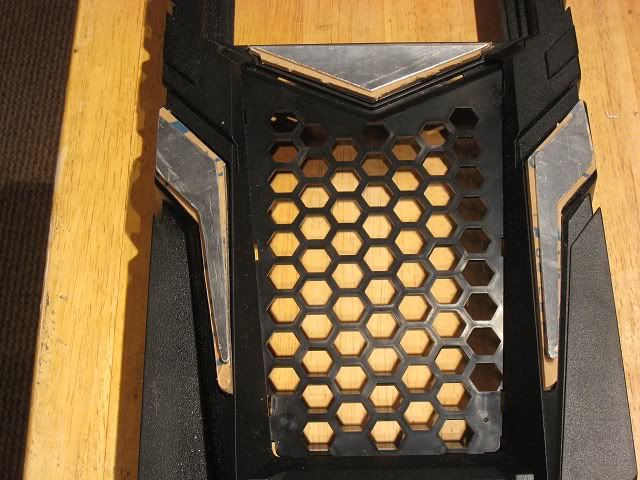
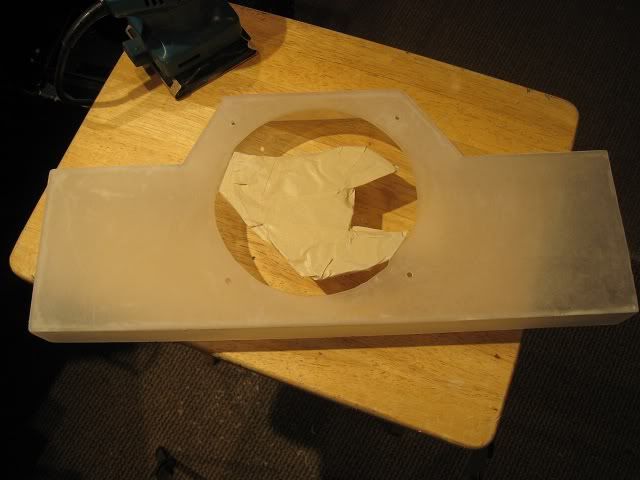
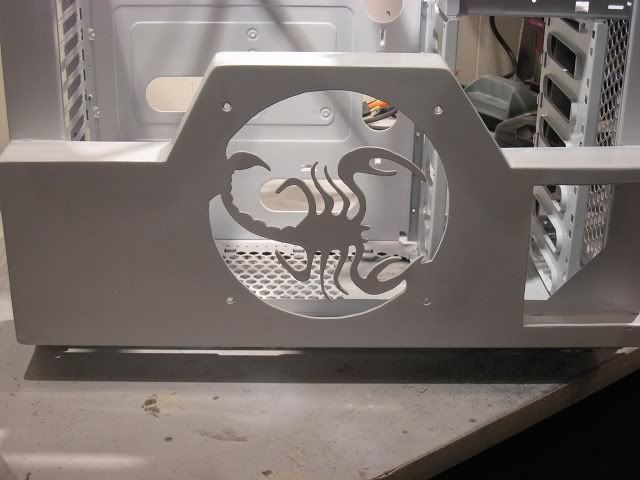
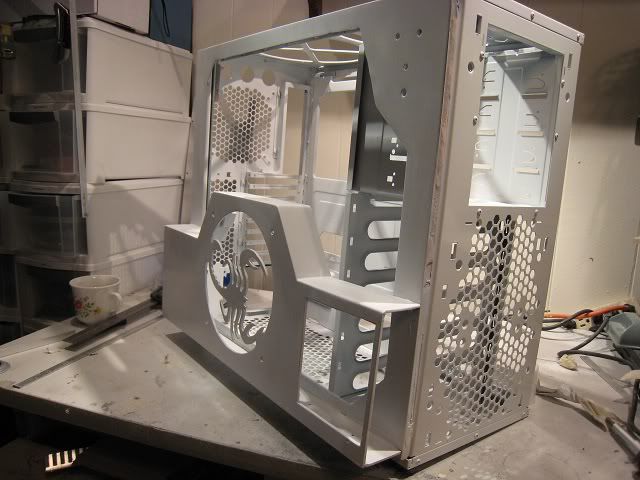
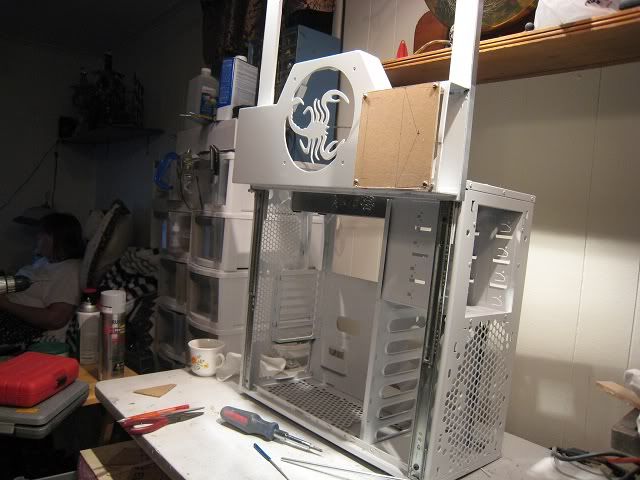
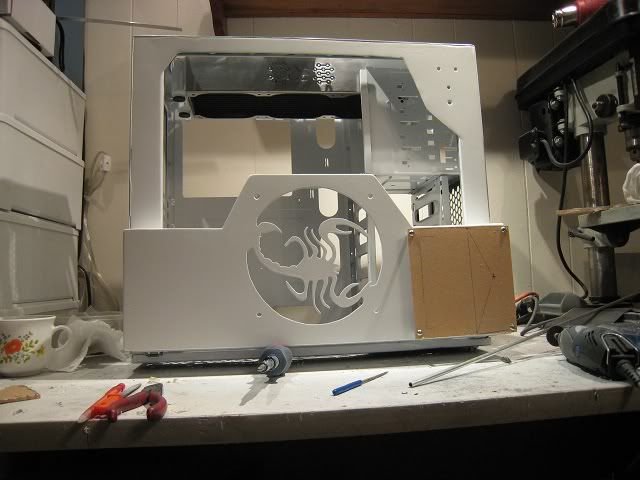
Instead after the hinges i moved on to the right door and cut it out to be replaced by plexi in this shape.
IMG_1066640.jpg

IMG_1067640.jpg

IMG_1068640.jpg


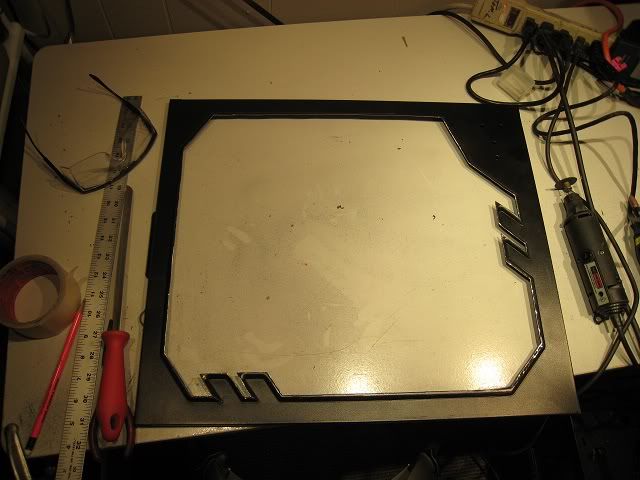
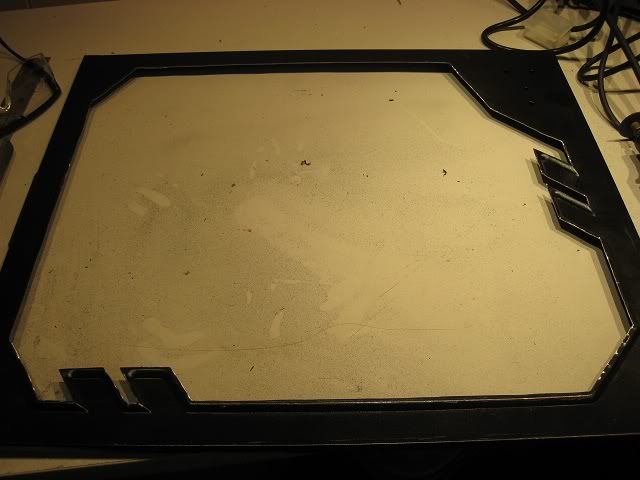
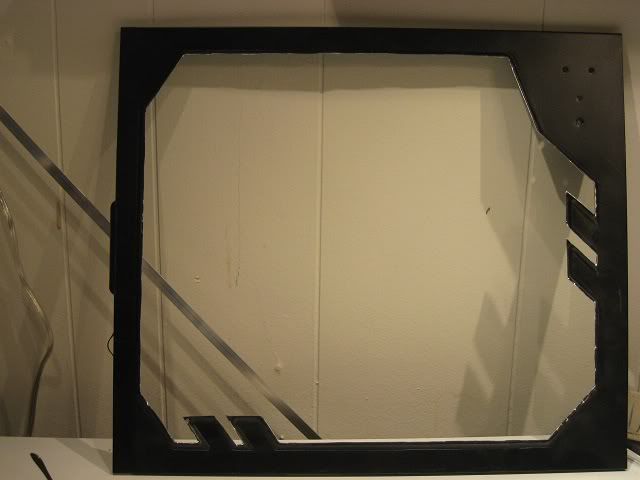
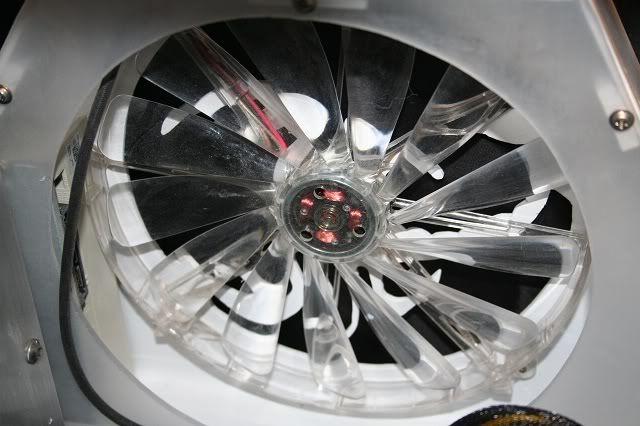
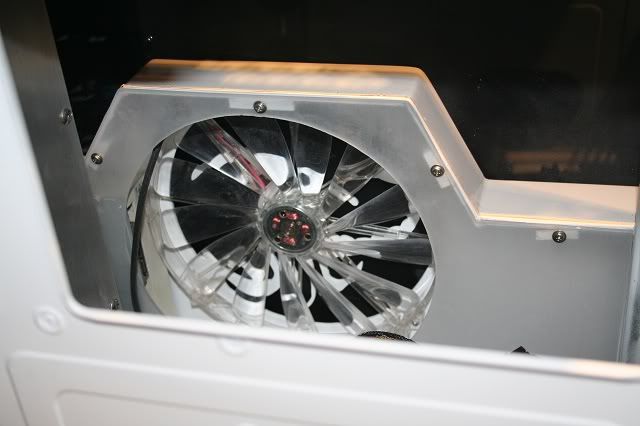
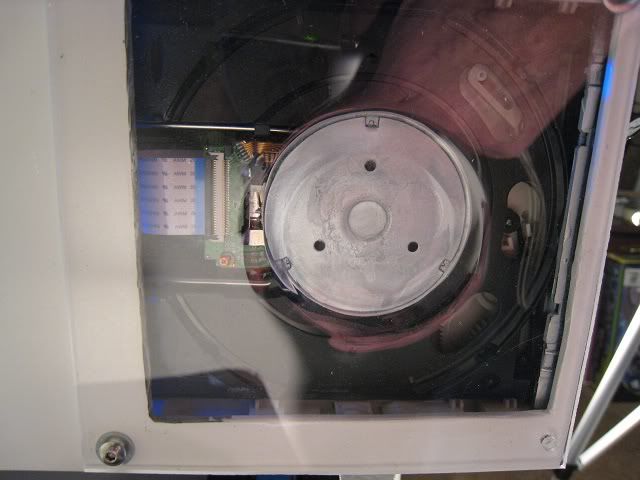
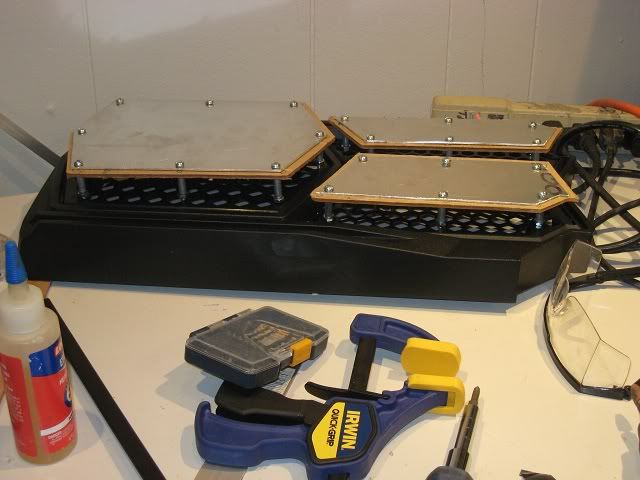
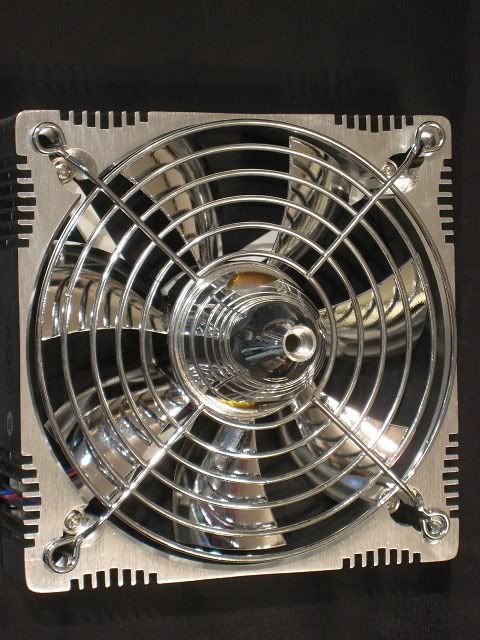
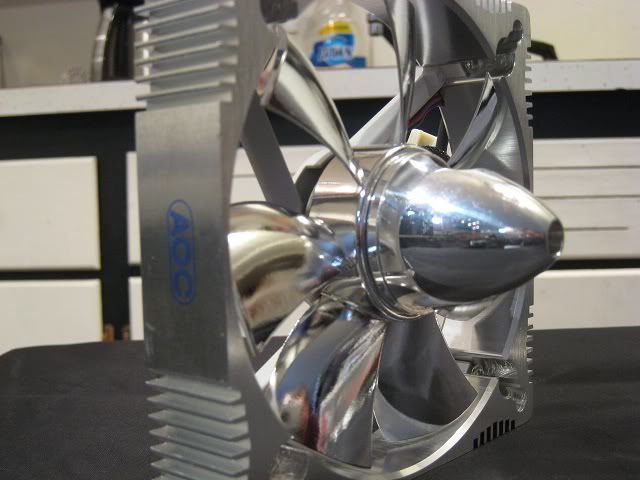
From there I will be making the extension to house a large fan and the CD-Rom mounted vertically, as seen in the draft. Once done the entire case will be painted White, with light blue highlights through out.

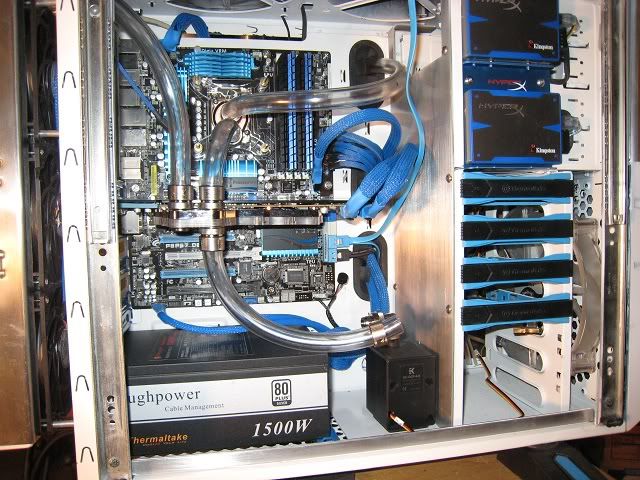
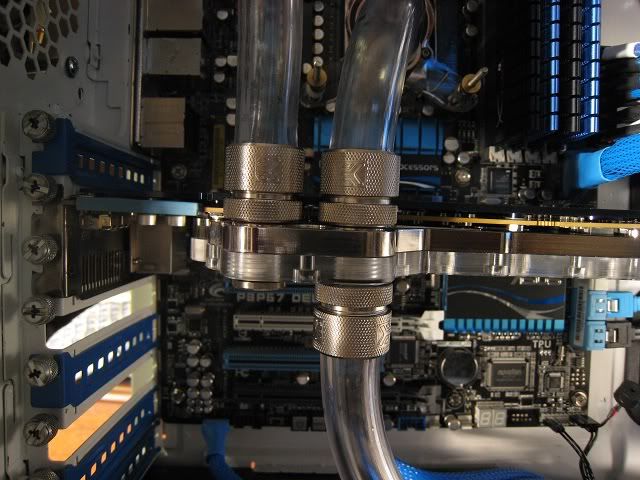
As far as the hardware, were not sure yet. Were working on a tri Crossfire or SLI setup with the best processor to be able to drive it. and obviously, full watercooling. We'll see how it goes.
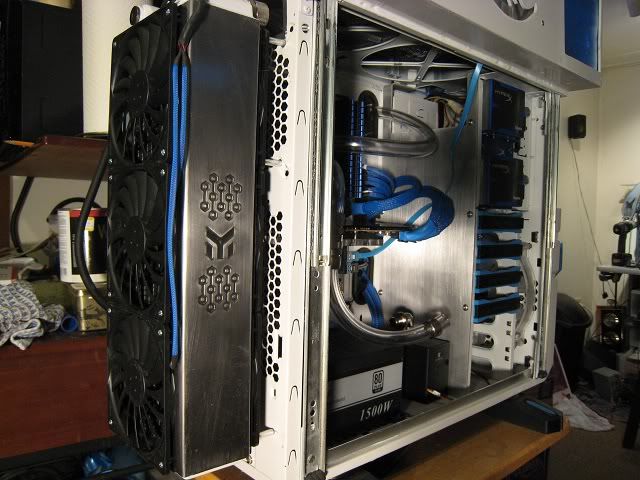
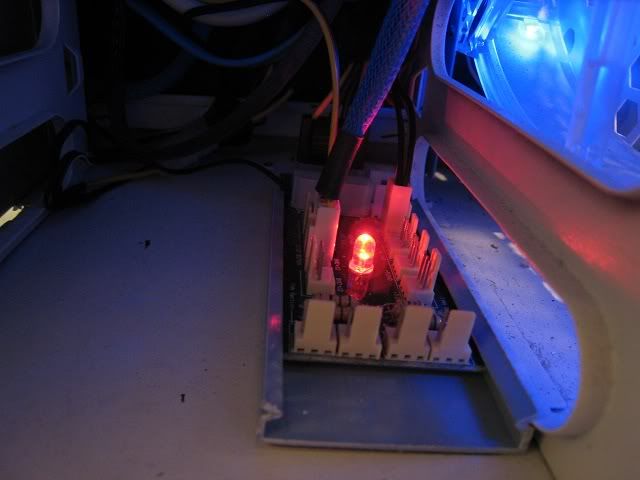
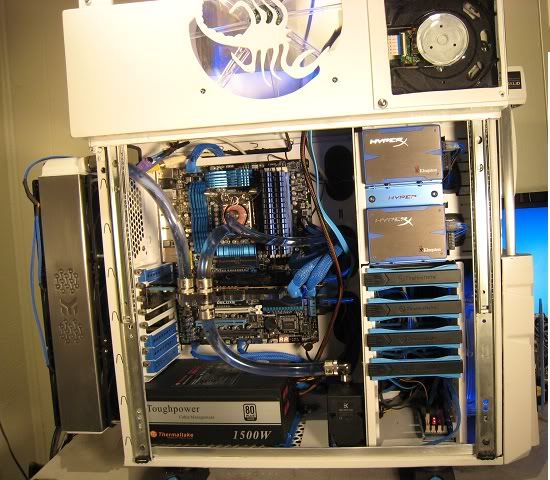
Right now we have Thermaltake's 1500 Watt Beast powering it.
IMG_1352.jpg

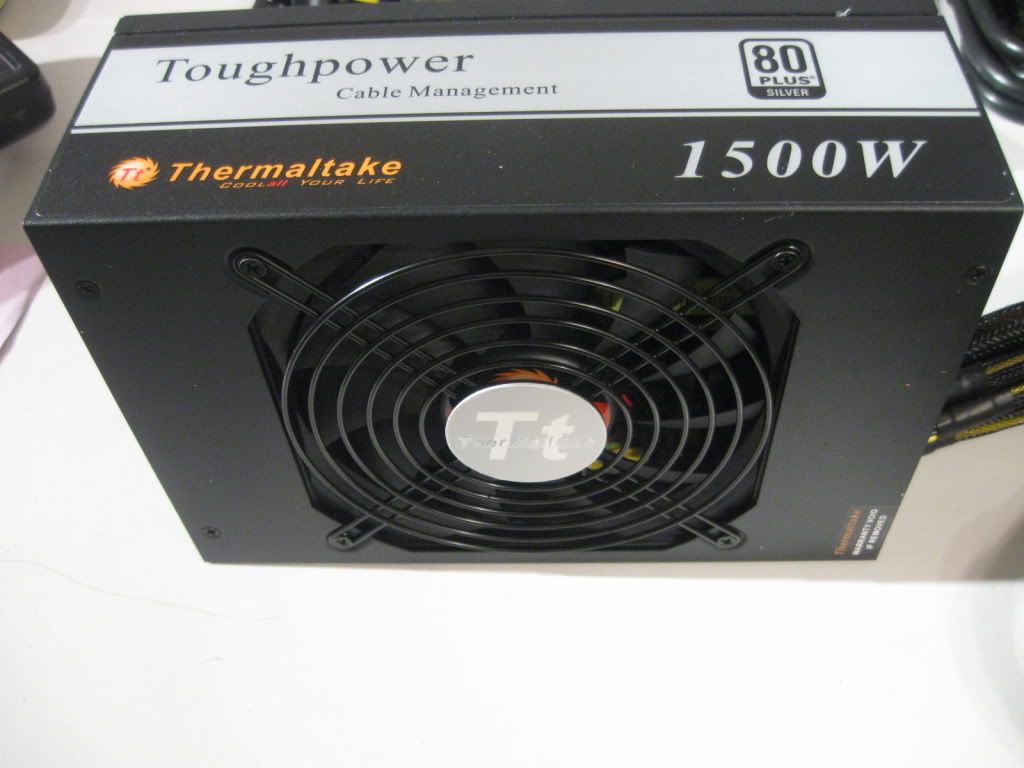
This thing is awesome. Read my impressions at our website.
And check these beauties out.
IMG_1318.jpg
IMG_1315.jpg

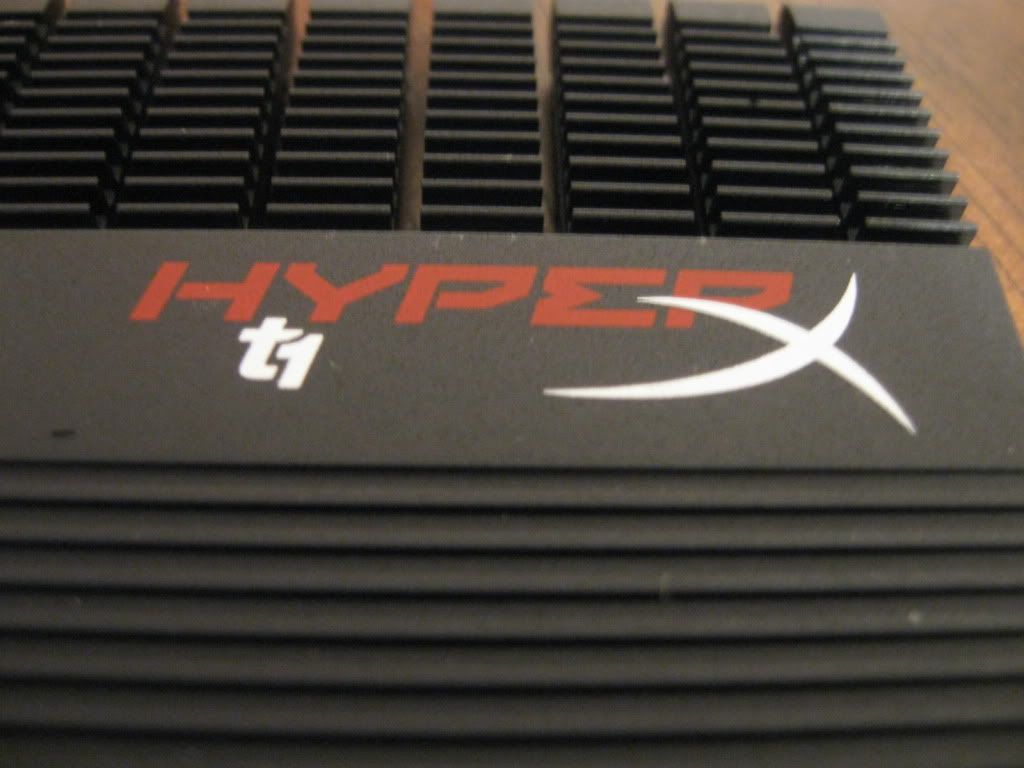
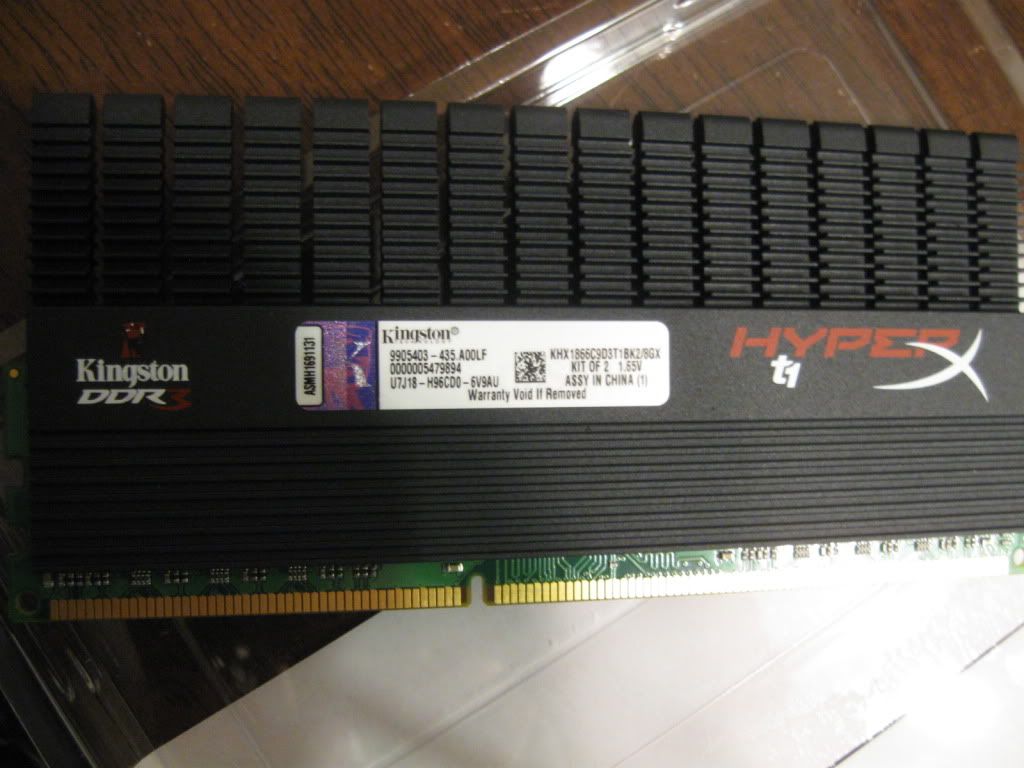
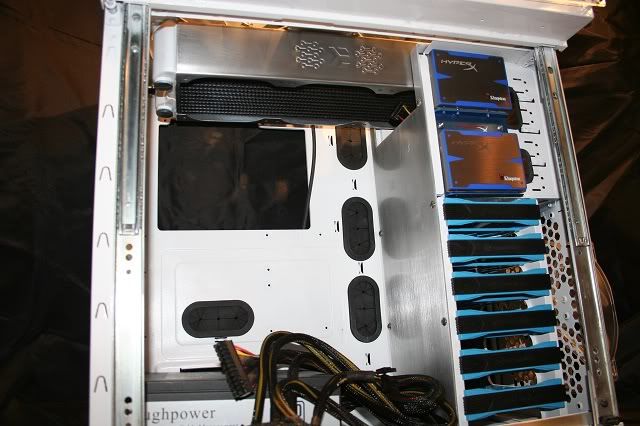
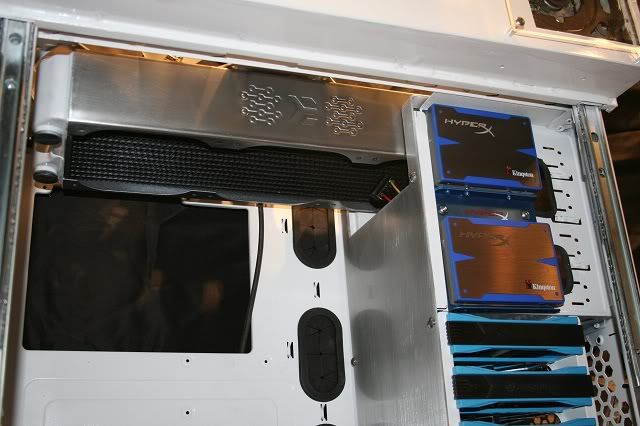
Kingston provided us with 16 Gigs of this extreme HyperX ram.
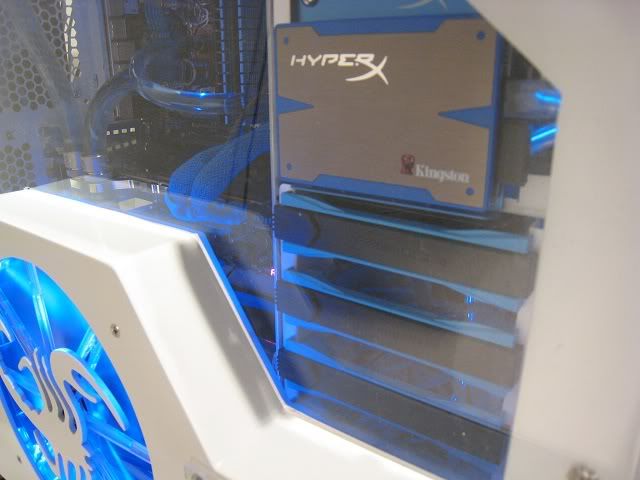
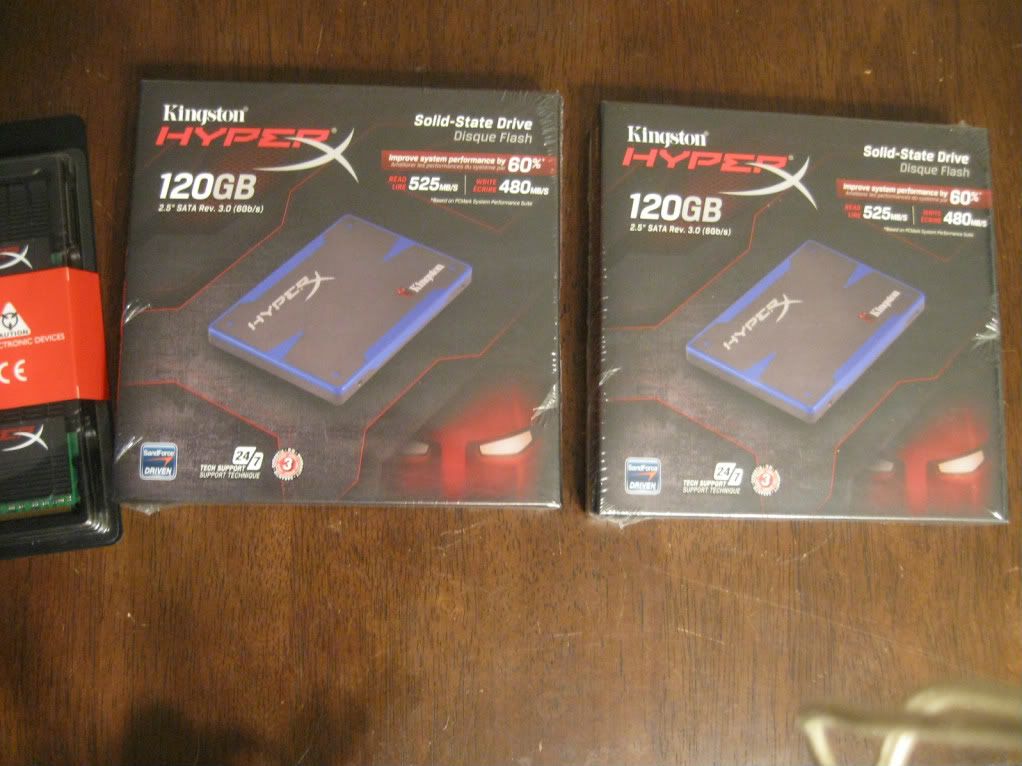
Also Kingston sent us TWO 120 Gig gorgeous SSD's
IMG_1309.jpg
IMG_1306.jpg

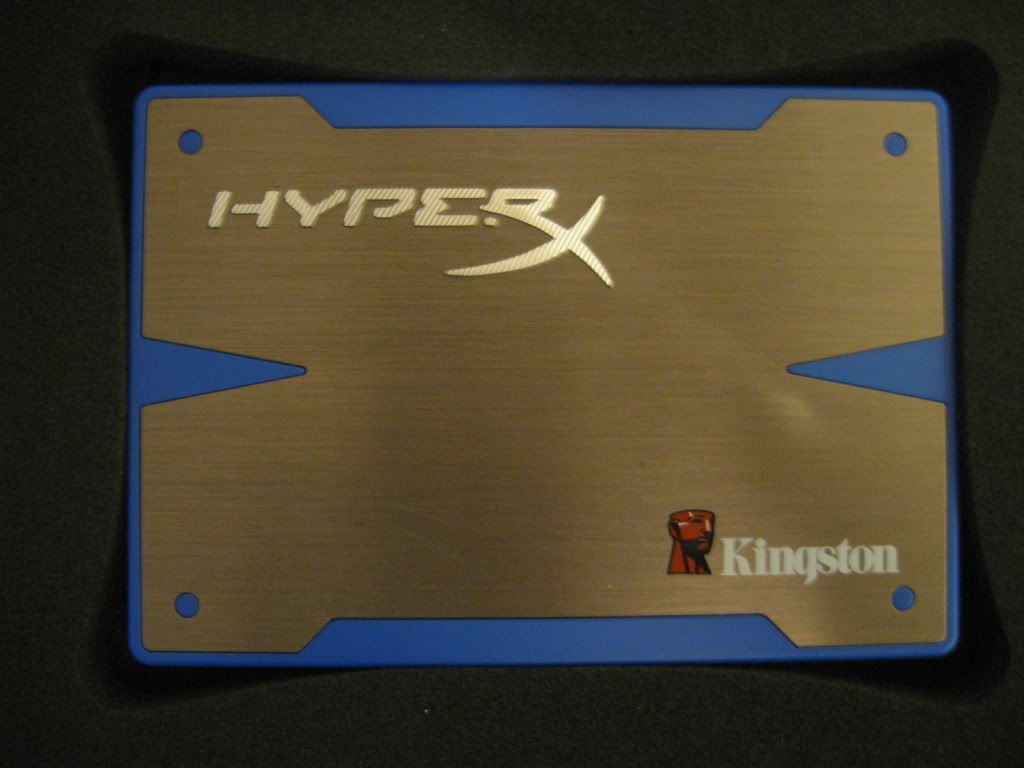
These are the only drives that I have seen that are not just beautiful but FASTER than the listed speed, I could not have asked from any better anywhere.

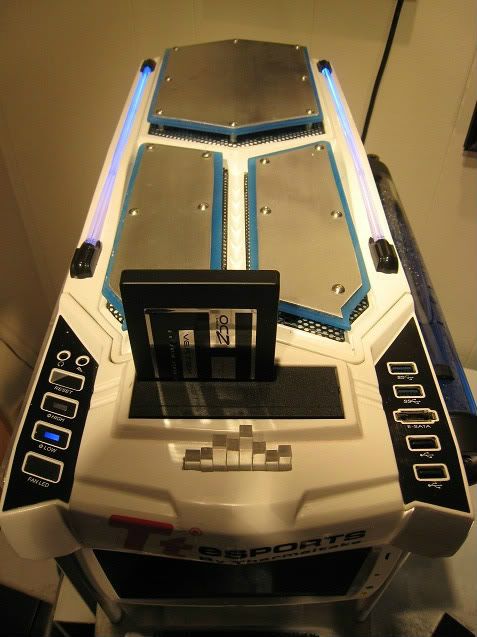
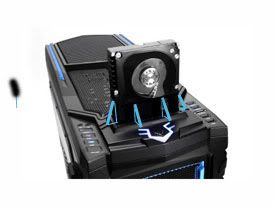
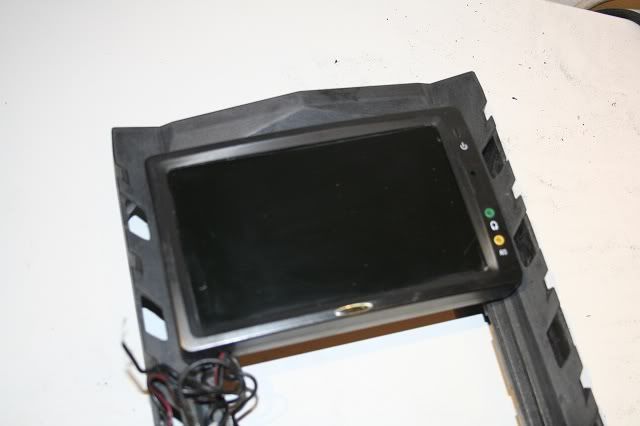
OCZ sent me their Vertex 3 60 Gig SSD which I want to use in the top of the case in The chaser's build in hot swappable Hard drive bay.
IMG_1344.jpg

Something like this, but obviously smaller. The chaser's drive bay will hold all sizes of hard drives!
topdraft1.jpg


That's all for now guys, but were on this full time so be ready for more updates soon.


Again, thank you to Thermaltake, Kingston and OCZ. You guys are so great to work with and you honestly do have great products.
 
My first post didn't seem "meaty" enough for my taste, so I decied to throw more stuff on here. Maybe this will give a better picture.
We revisited our right hand door design, and didn't like it. So we re-cut it.
IMG_1069640.jpg

Then I went on to put Plexi in it, then moved into the making of the 1 3/4 extension on lower half. I put in the CD-Rom so you can see wher eit will be placed, facing the front of the case, vertical.
IMG_1074640.jpg
As you see,, I started on the housing also. I have something VERY cool in mind for that.

Then while the glue was drying I started on the top. Let me know what you think about this. I really like it.
IMG_3505640.jpg

IMG_3506640-1.jpg
YEAH MADE IN USA!
IMG_3507640.jpg

IMG_1072640.jpg

IMG_1073640.jpg


This next one is just a mock up. It's not in place and I have to go get the M8 bolts I want for it in chrome tomorrow. All the bolts will be M8's
IMG_1075640.jpg

IMG_1076640.jpg


So, as I said, small update.
See you guys soon!
 
We really want to thank the "Cadillac" of Liquid Cooling manufacturers out their,
EKWBLogo.png

for sponsoring the entire dual loop water cooling system were putting in this beast. Stay tuned for photos as soon as they arrive.
 
Sorry for the slow updates guys. Part of our shipment got lost in transit. Should be here today so be ready for a nice update this evening.
 
Bill was kind enough to sponsor some great things we will be using on Project SCORPIO!
You have got to check out this fan. Simply beautiful.
Be sure to check out mnpctech's store. If you're a modder, they have essentials needed for that next great mod you're doing.

Click Image To Case Mod Store


Mnpctech 120mm Turbine Cooling Fan


Mnpctech U-channel


ATX Pin Removal Tools

http://www.mnpctech.com/24_pin_PCI_ATX_PSU_power_supply_sleeve_removal_tool_extractor.jpg[/img


Thanks again Bill, I owe you one.
 
Well here we go, I may have to put this into 2 threads. First I wanted to show you just how beautiful EKWB products are. And what makes them even more impressive is how GOOD they are. I am very lucky to have a sponsor like EKWB. So without further a due.
Keep in mind that everything I am listing today is only for the video cards. The CPU loop will come at a later date.
IMG_3543640.jpg

This is everything in a nut shell.
IMG_3548640.jpg

3x 6950/70 Water blocks... now I have to find video cards for them lol. These are going to look absolutely beautiful with Mahems Dye in it.

IMG_3550640.jpg

VERY thick 360 radiator. This is just for the 3 video cards.

Check out this giant Reservoir.
IMG_3549640.jpg

This thing just barely fits inside the case. Just how I wanted it.

EK-DCP 4.0 is the pump in the picture. This thing is plenty to push the liquid all through those cards. I'm not sure there is one more powerful. And then we have a ton of fittings to hook it all up. This should be good.


Ok, now back to the mod. We have gotten a lot done, were pretty happy.
Look at our little friend-
IMG_3527640.jpg

IMG_3526640.jpg

He's just at home with Thermaltake. He is just a teaser, you'll see soon what we do with him.

We finally got the 7 inch LCD in, this shouls where we're putting it, but it's not in yet.
IMG_3524640.jpg

IMG_3525640.jpg


We managed to get the sliders on the right door today. I'm totally stoked about this. Looks great.
IMG_3523640.jpg

IMG_3522640.jpg

IMG_3521640.jpg

IMG_3518640.jpg


It opens 100% to the top.
IMG_3516640.jpg

IMG_3515640.jpg

IMG_3513640.jpg

IMG_3512640.jpg


With the body putty drying, I moved on to the front, cut out the little squares. I'll be putting blue plexy in.
IMG_1102640.jpg

IMG_1104640.jpg


I managed to squeeze in cutting the rest of the aluminum to be put on the front of the case also.
IMG_1092640.jpg

IMG_1091640.jpg


I also got the right door panel made, this is the housing that will hold the DVD recorder and the 200MM fan
IMG_1084640.jpg

IMG_1083640.jpg


Welp, this should be enough for today guys. I hope the forums will accept so many pictures.

I'll have substantially more in a couple days, so stay tuned.
 
@ xDezor Thanks man, the best is yet to come...

Big thanks to mnpctech for their sponsorship. They sent us some fantastic stuff I want to show you.

First off, check out this fan. I just HAD to have one!
IMG_1120640.jpg

IMG_1122640.jpg

IMG_1125640.jpg


it's just awesome, and completely matches our mod. Wait till you see where we put it.

Nest, I always wanted a professional tool for sleeving cables. It was just one of those small purchases that I never remembered to make. Thanks to Bill I now have a set! They are smaller than they look, but very solid quality. I am not afraid at all of breaking these.
IMG_1126640.jpg


And lastly, I asked for some U-Molding. I have a lot of cuts in this case I would feel better covering for safety. This stuff is very small, perfect. It does not stand out like a sore thumb.
IMG_1128640.jpg


Thanks again Bill, we owe you one.

Now, as far as the mod. Believe it or not we have a LOT done. This mod is insane amount of work. Were working on packing all the stuff into this beast. The case is a bit smaller than I had hoped.
When I managed to get done today was the plexi mount for the 2 Kingston SSD's.
IMG_1130640.jpg

The center hole is for the light blue LED were putting in it. The SSD's will mount on top of the plexy, which in turn mounts on a piece of aluminum. And THAT then mounts on the side of the 5.25 bays, inside the case. You'll see soon. We can't start assembling until it's painted and we can't paint it until all the cuts are done. You know how it goes.

We also have the front ready for paint. That took some work. I hate to keep saying "wait and see" as I know the mod does not look very good so far. I really have not given you guys much to look at. But when it starts to come together, it will be done fast. It's the manufacturing of parts, mounts etc that's taking so long. So please, bear with me a bit.
Till next time...
 
Well, this update took longer than I anticipated. Using a new kind of paint, that requires a long drying time, but it's SUPER durable, almost as strong as powder coat.
Also, we have a new sponsor. Big thanks to Glenn and Quiet PC
qpclogo-gb.gif

They came to my rescue and provided me with the Aerocool Touch 2000 Controller, 7 Fans, and the Blu-Ray player we're putting in the mod. Should see these in soon.

So, as I said, the case is painted. Well, just the metal. Still modding the plastic parts at the moment.
IMG_1135640.jpg

IMG_1136640.jpg


I got the EKWB radiator finished and mounted in the case. I love this radiator. Huge and very well built. Should cool 3 video cards just fine.
IMG_1141640.jpg

IMG_1137640.jpg

IMG_1138640.jpg

IMG_1139640.jpg

I polished the sides of the radiator so it would match the aluminum throughout the mod. Seems to match perfectly.

Now you can see the square hole on the right side. That will be housing the Blu-Ray player. I am exposing the inside of the player, showing the disc. Should add a nice color show when spinning.
Starting to get exciting, things coming together now. Hopefully soon we'll have a motherboard, processor and video cards to show you. We're still not set on which ones to get yet.

I can not end a update without some sort of teaser! Who shot JR?
ok well gander at this..
IMG_1134640.jpg

Any guesses on what that's for? :)

Well see you guys soon. Alot is happening now!
 
Here we go again! We have started assembling this monster. Still a lot of work to do but we're getting their. Were still trying to find mobo/processor/graphics cards but I imagine we'll find them eventually.

On with the pictures!!!

IMG_3573640.jpg

This is the left side. I have not even started on the left door yet. I still need to source the CPU to decide which way I need to do it. But it's a pretty look anyway.

IMG_3570640.jpg

That's the hinges I put in to hold the left door. It will be a giant reservoir so it needed support.

IMG_3565640.jpg

The right side as it stands now. Look at them gorgeous SSD's!
IMG_3567640.jpg


IMG_3561640.jpg

The power supply isn't mounted in their yet, I just put it in their so you could get an idea of the massive size of Thermaltakes 1500W PSU!
The CD-Rom is in their, with a window so you can watch it spin :)
IMG_3556640.jpg


IMG_3560640.jpg

I polished the sides of EK's big ass radiator. If this thing does not cool 3 video cards, nothing will!

Here are some misc shots, hope you enjoy it.
IMG_3557640.jpg

IMG_3579640.jpg

IMG_3577640.jpg

IMG_3576640.jpg

IMG_3575640.jpg

IMG_3573640.jpg


Well that's it for now. Let me know what you guys think. I'll be sure to let yall know when we source the other parts.
 
Looks good. I really like the look of the brushed EK Radiator. It looks like the plexi over the CD-ROM drive is on standoffs? Why not mount it flush? If you're worried about heat, I can assure you there should not be any issues. My DVD-ROM has a window and it doesn't get very hot.
 
Things have been going slow guys, for that I am sorry. But the company has been slave driving me!
So here we go with a small update.
IMG_1464_640x480.jpg
The top with the lights. really cool effect. Yes I know some bolts are missing, I ran out lol
Closer shot
IMG_1463_640x480.jpg


I love this part, it's my favorite. Since the mod is for Thermaltake, I figured I would.. well.. hook'em up!
IMG_1461_640x480.jpg


Now here is the front.
IMG_1460_640x480.jpg


I hacked the heck out of it, but i wanted it to look different. I still have a couple things to add to it, plus the top isn't on. So obviously that's not the finished product, but a good idea.

So umm yeah, small update. Hopefully soon we'll start adding hardware. And don't forget. Check out http;//www.deviceunknown.com for new modding reviews. We have a contest coming up for a free SSD anytime now. so get signed up today.
 
Well, small update but it's HUGE.
We have managed to get a lot done, but still more to do. A large mistake I made was designing the system BEFORE i had the case in hand. So now we have to rearrange some things to get it all to fit. Lesson learned.
I managed to get some of the water cooling ran, but keep in mind this is not the final setup. We are still needing to source some video cards.
IMG_1236.jpg

I still have some sleeving to do, but that's the general setup.
IMG_1244.jpg


Through enough feedback, we moved our scorpion on the front of the case so it stood out more.
IMG_1245.jpg


I went with Danger Den CPU Block and a Black Ice 120MM radiator for the left side.
IMG_1241.jpg


I don't have a picture of it yet but the reservoir will be mounted horizontally on the top of the left door. I should have those pics up this week.

Here are some extra shots.
IMG_1244.jpg

IMG_1242.jpg

IMG_1241.jpg


Well, that's all for now. Still a ton of sleeving, and wiring to do to hook everything up.
The sleeving used for this project was provided by Techflex for us to review, that review should be on our website soon. Needless to say.. I do NOT like that sleeving.
By the way, just a few weeks left before we give away the OCZ SSD. Be sure to register at http://deviceunknown.com
 
HEEEEERE WE GO!

It's running. But not complete yet. Still trying to find some Video cards to put in it, but for the most part, it's complete.
IMG_1268-1.jpg


Front View. Still working on the LCD. For some reason, it comes on but I can not get Video to it. It has a RCA input, so I got a VGA to RCA adapter and plugged it into my Video card. No luck. Any ideas?

I put this gadget under the drive bays (removed some of them, I mean really, who is going to have like 6 drives?)
IMG_1276.jpg

It's VERY handy. Has plugs for 12, 7 and 5 volts.

Incoming gratuitous Scorpio shots!
IMG_1273.jpg

IMG_1267.jpg


Here is the Top. I love those lights.
IMG_1264-1.jpg


Here is the Blu-Ray player.
IMG_1274.jpg

I formed the plexi door to push the center towards the spinner so it would hold the media in place. Almost looks professional ;)

Now on to the left door...
IMG_1262.jpg

I circled the part I don't like and in the process of fixing. I used a 90 degree elbow and had to use clamps. Working with 1/2 inch tubing is HORRIBLE. I don't recommend it. Stick with 3/8. EKWB really came to the rescue here.
IMG_1263.jpg

IMG_1269.jpg

IMG_1260-1.jpg

IMG_1280.jpg

IMG_1277.jpg

That Fan from MNPCTECH is flat out awesome. It really makes that left side shine. Thanks again Bill.

Little more complete right side shot.
IMG_1265.jpg


Another huge hanks to Kingston. These SSD's are so amazingly fast. I have them in Raid 0.
IMG_1266.jpg

IMG_1270-1.jpg


Here is some interior shots. Danger Den provided the CPU block, Chipset Block (which might not make it on it, no room) and the Black Ice 120 Radiator (you guys will see reviews of these soon.)
IMG_1275.jpg

IMG_1256.jpg

IMG_1258.jpg


So there you have it, in running condition. Here is my To Do list.
Fix the fitting on left door aka HIDE THEM.
Add the infrared lighting.
erm.. umm install a Power and reset switch :)
Replace that video card with 2 or 3 others. Maybe replace the motherboard for a z68.
Replace the fluid with Mahems Aurora Blue
Fix or replace the LCD.

On a side note, The TechFlex sleeving I put on isn't the best. It's very stiff and VERY thick. If you sleeve your cables with PET make sure you accommodate for the extra thicknesses. It's ridiculous. Also don't skimp on the quality like I did. It made my job so much harder trying to bend that stuff that it came out crappy.
We're currently working with some manufacturers on providing you guys with some reviews of better and alternative sleeving products.
Thanks a ton guys, I appreciate any feedback you can offer. Talk to you again soon when I have some of the list done.

Robert
http://www.deviceunknown.com
 
Where did you get those strip lights? I am refering to what you show in IMG_1270-1.jpg.
 
awesome work, one of the best I have seen on here.

Out of curiosity, how does one get into modding professionally? there are a few of you guys on here and I always wonder how you fall into that business.

Anyways great work.
 
Absolute OH MY (enter deity of choice here)! Whole lot of Eyepoping Wow!

Looking forward to seeing the finished project.
 
Thanks guys. Still a lot to do but getting there. Was nice to see I made "Mod of the Day" it made my day for sure ;)
 
Takes modding to a new level of crazy :eek:. Where did you get the scorpion? ( the 3d one tearing a hole into the case ).
 
Back
Top