Well after a long break I am back at doing some modding projects, I have 4 total that I wanted to have completed by the end of the year.
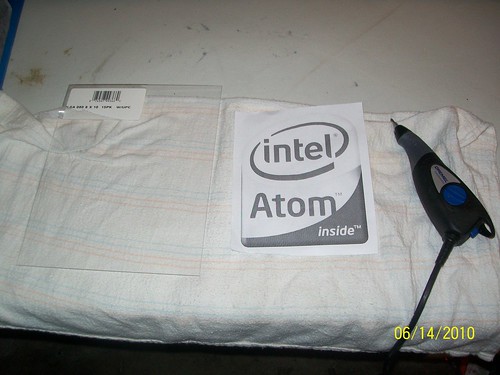
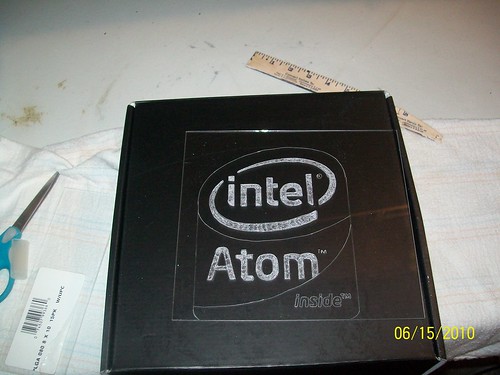
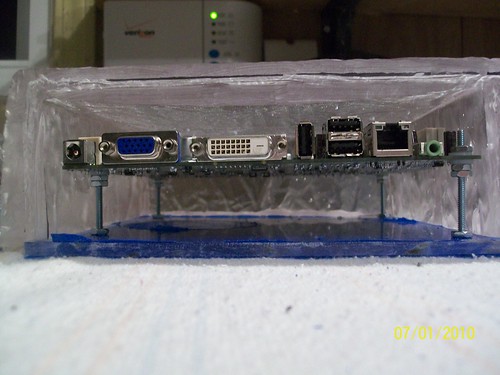
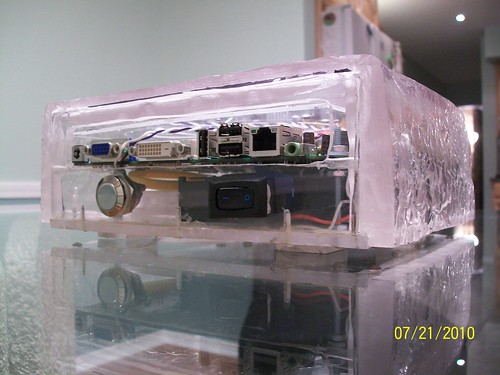
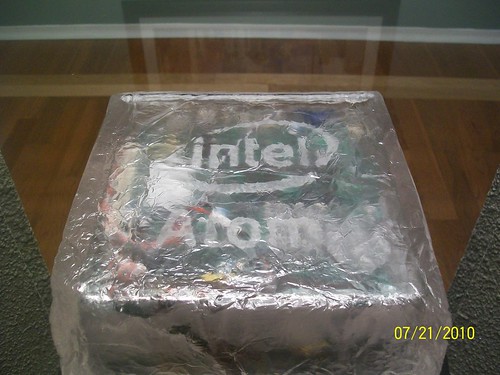
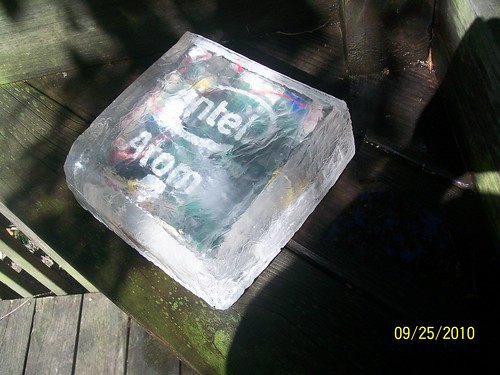
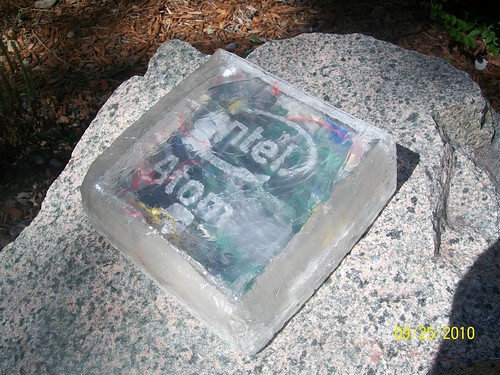
The first Mod is called Intel Ice, Featuring a Intel® Desktop Board D945GSEJT Atom CPU mini itx Board Sponsored by Intel, Looking to make it my Home Media Server. I t will set in a a Custom fake arclyic ice case. Let Begin
Parts List
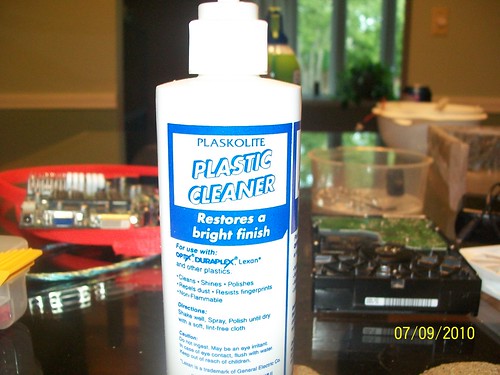
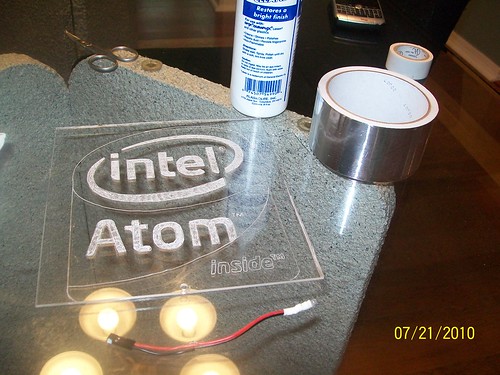
Plexi Glass
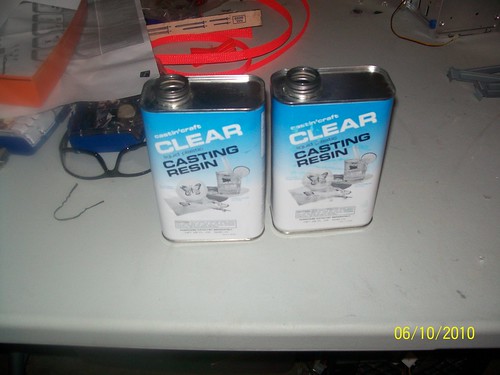
Plastic Resin
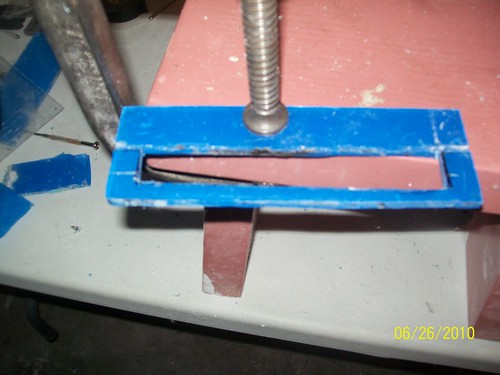
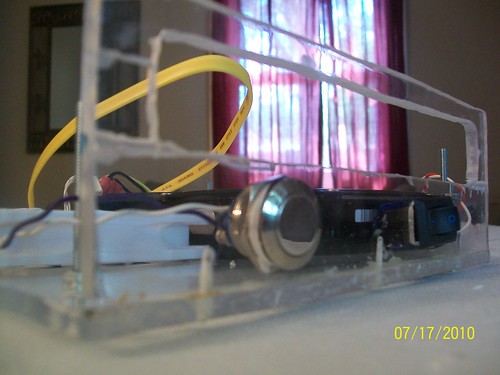
Vandal Switch
DC power adapter ( on order)
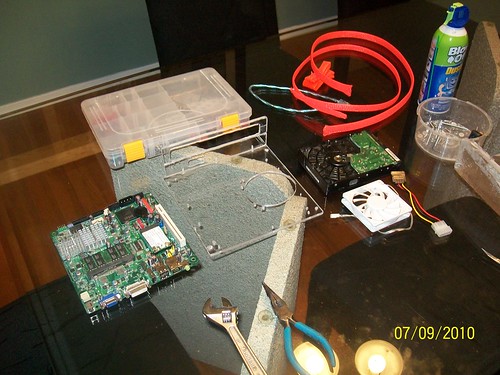
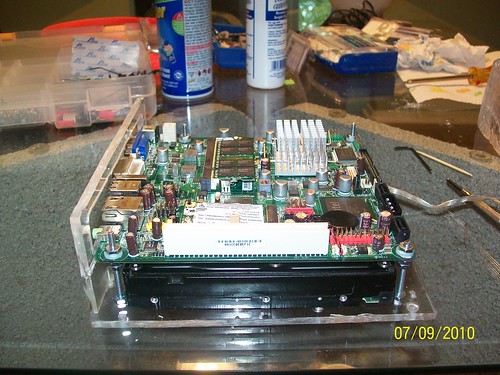
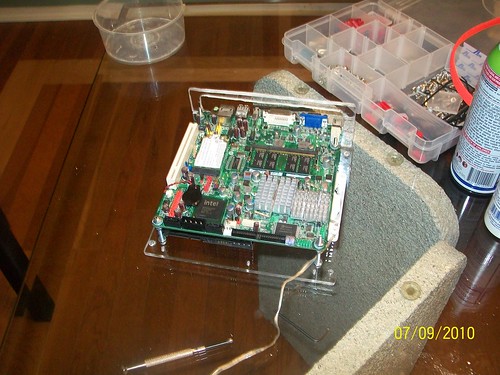
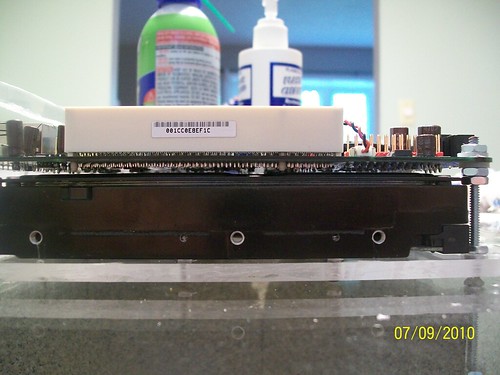
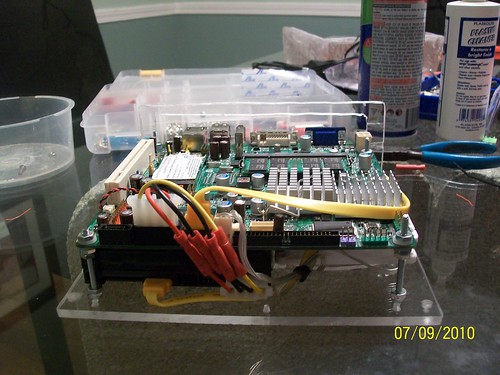
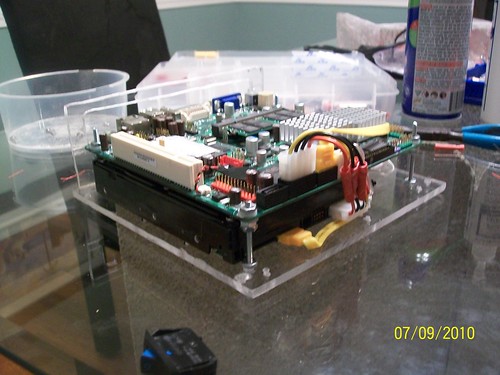
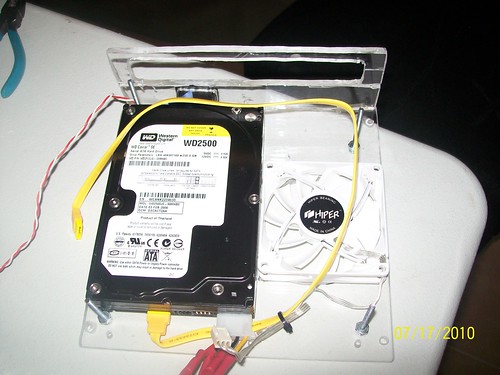
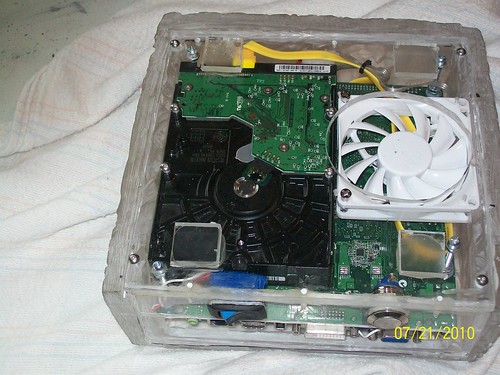
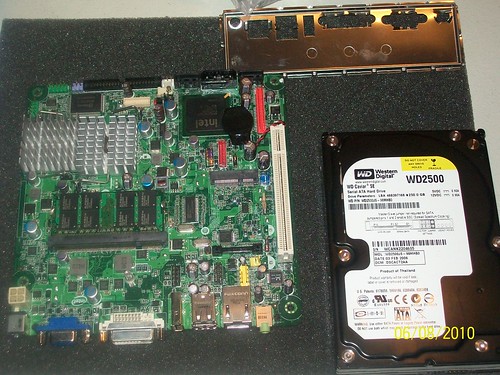
Intel® Desktop Board D945GSEJT Mother Board Sponsored by Intel!!!!
PCi min express wireless Card ( on order)
Wireless Logitech Keyboard and mouse
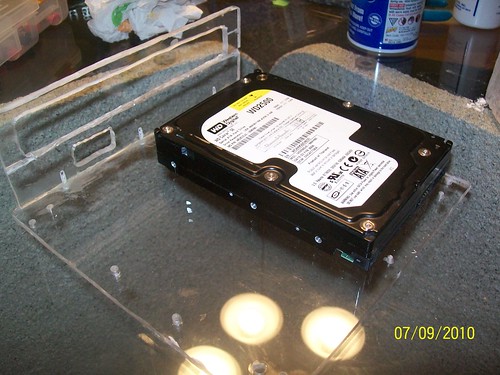
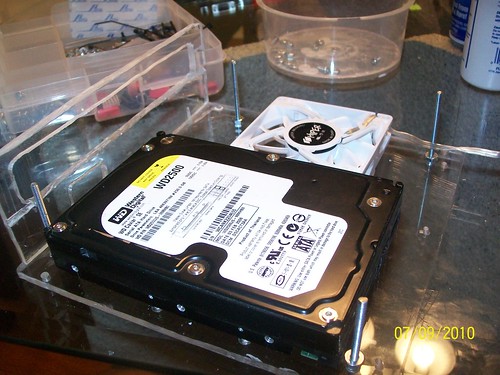
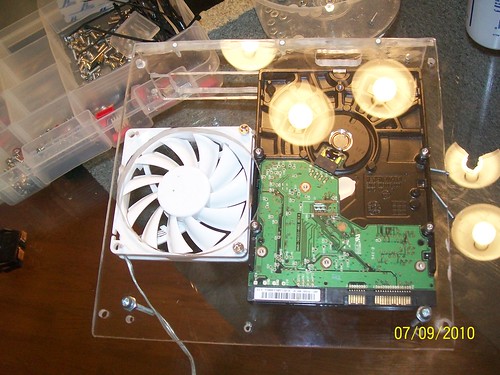
Western Digital hard drive
Win 7
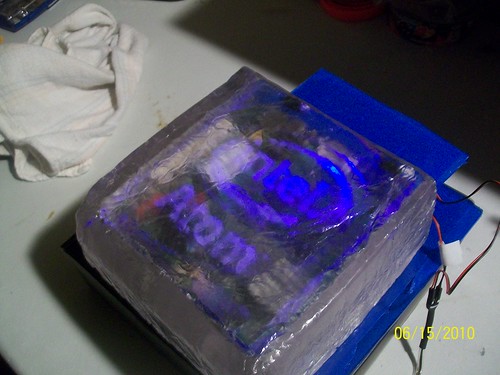
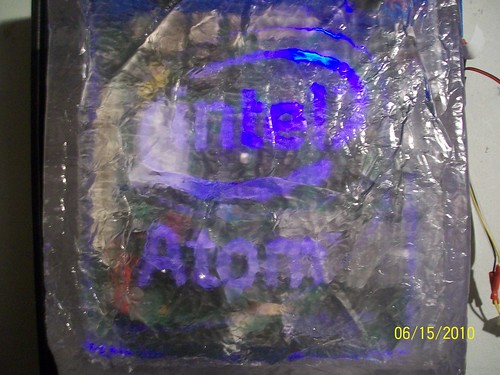
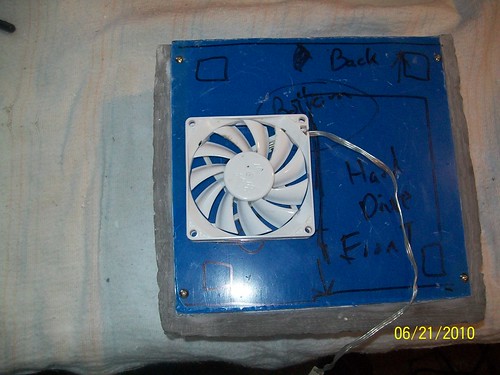
2 80 mm Blue led fans
mixing bowl /wood spoon
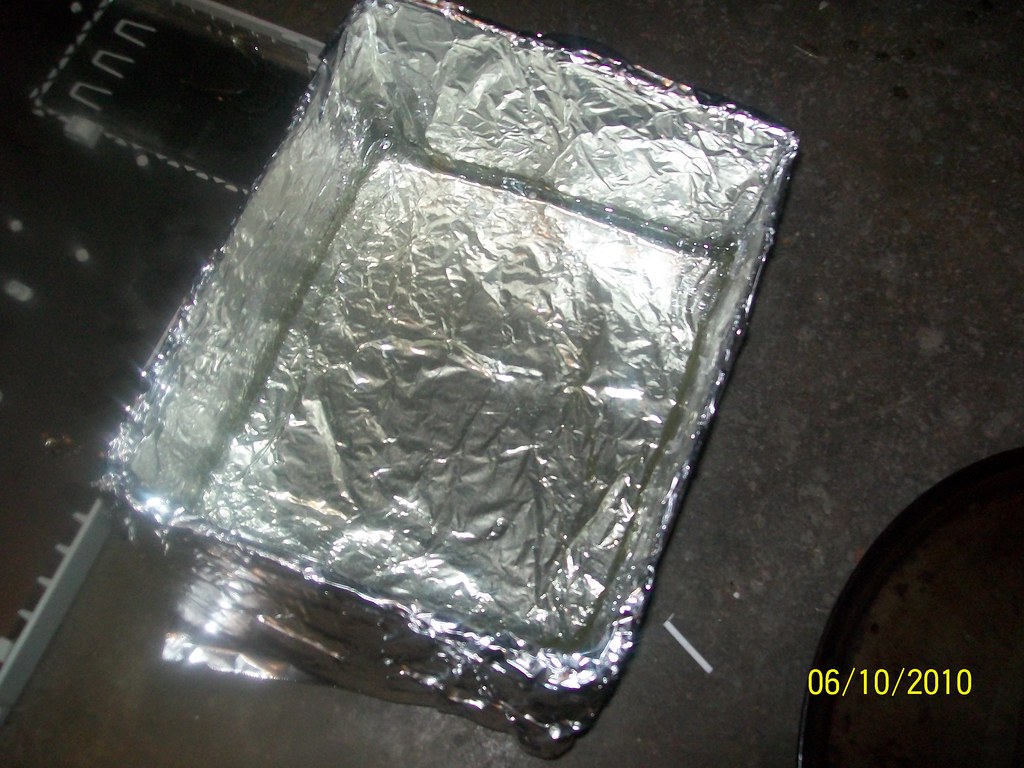
alumin foil
2 boxs one slightly bigger than the other!!!
Not sure what happen to the pictures ????


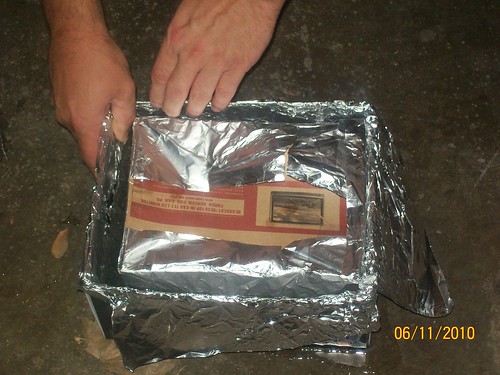
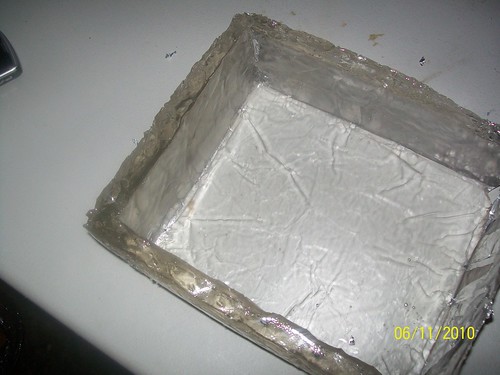
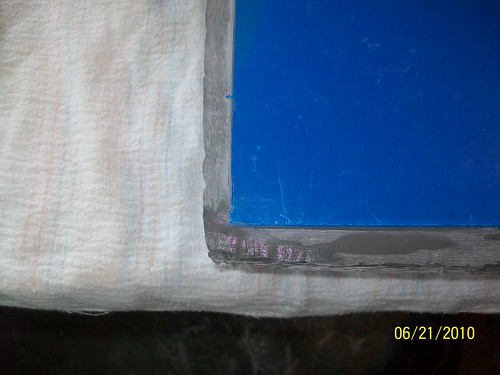
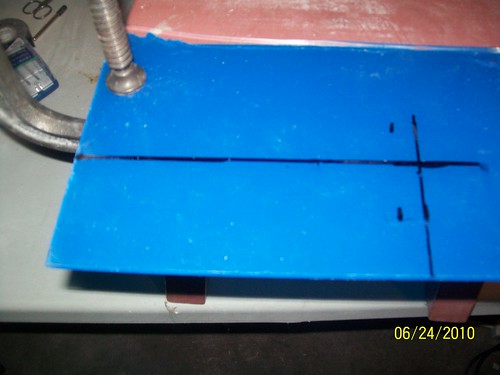
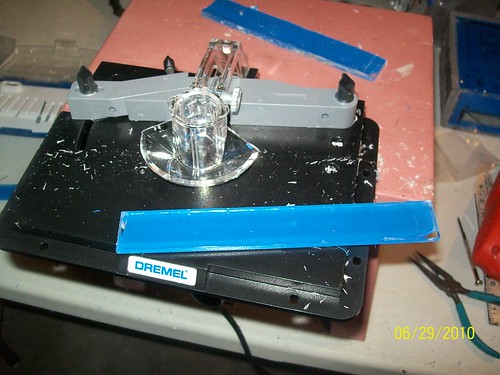
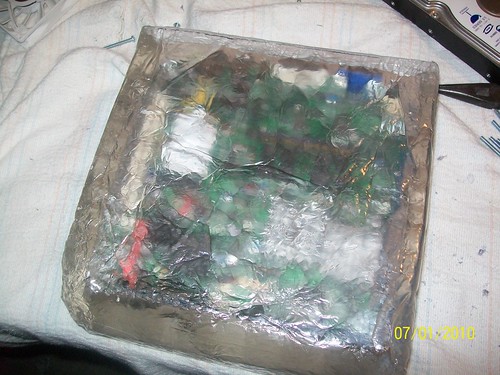
The mold Not much Card Board and aluminum foil
Lets Begin
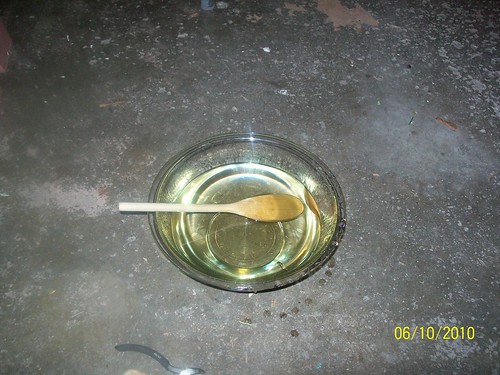
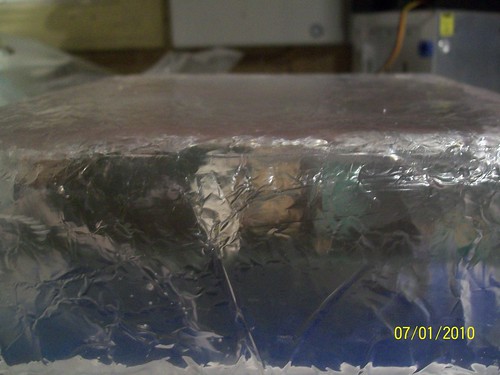
64 fl oz of Plastic resin 1/2 oz of catalyst hardner
Mixed it it for 60 sec
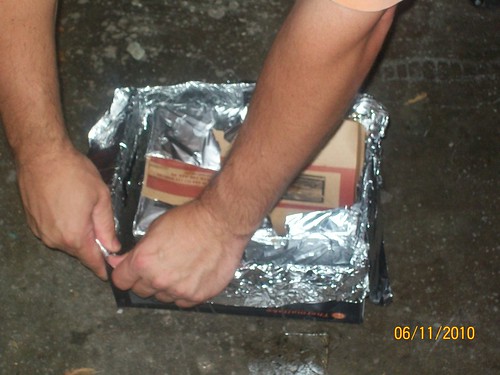
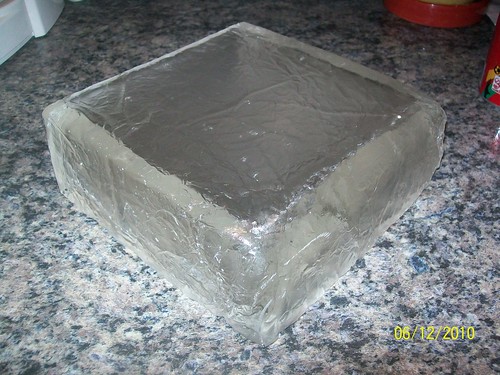
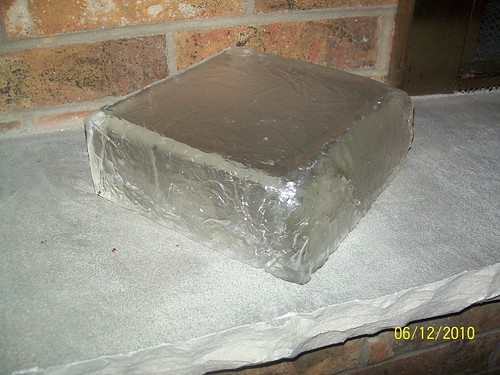
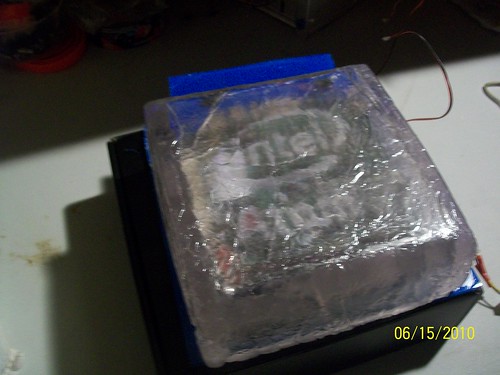
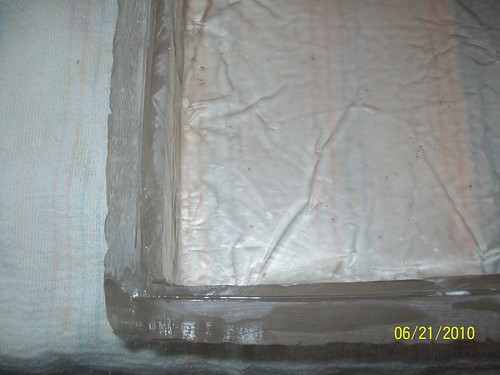
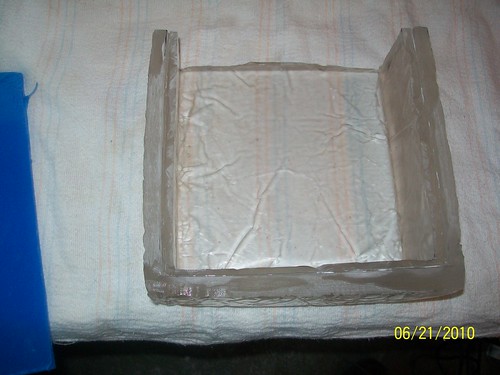
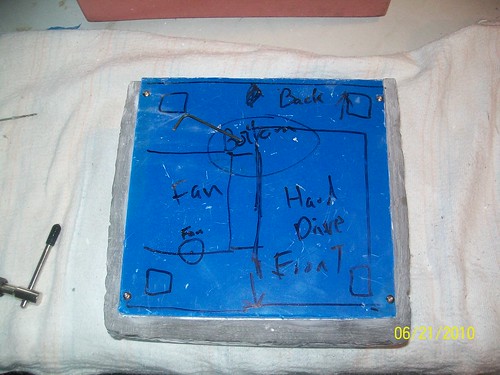
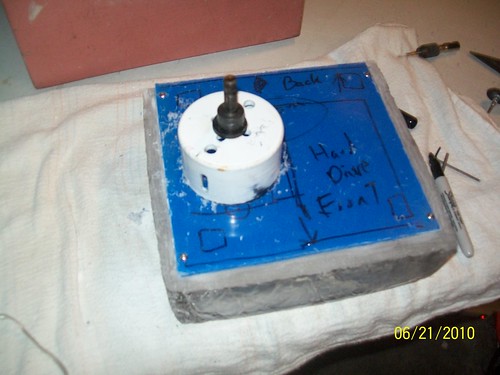
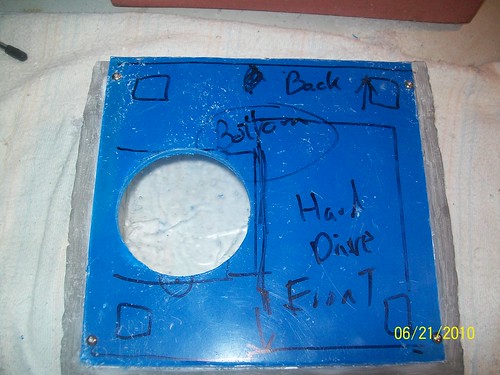
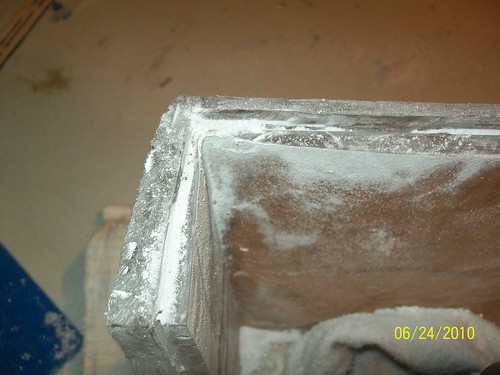
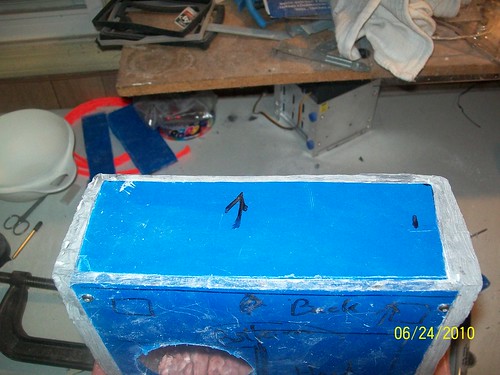
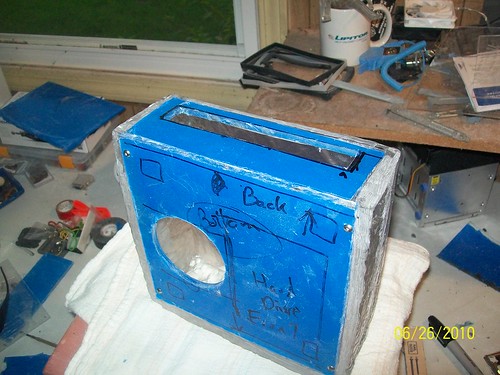
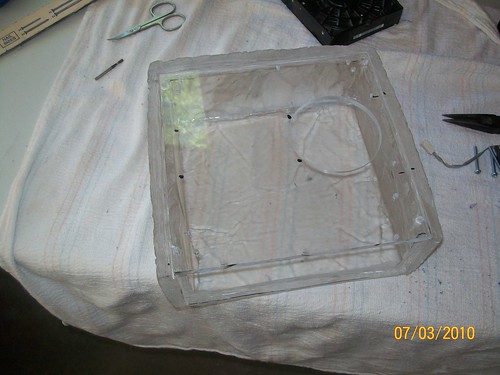
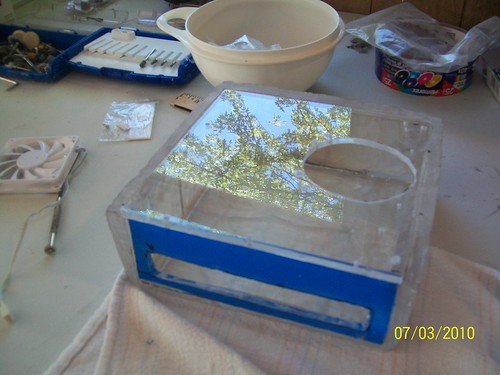
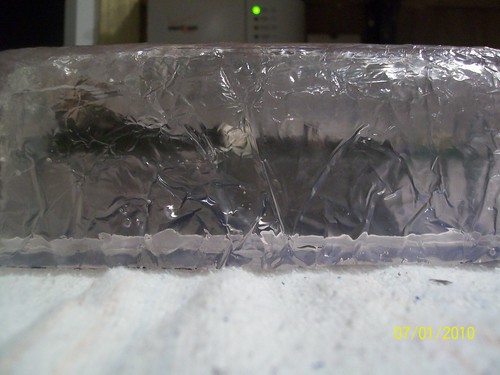
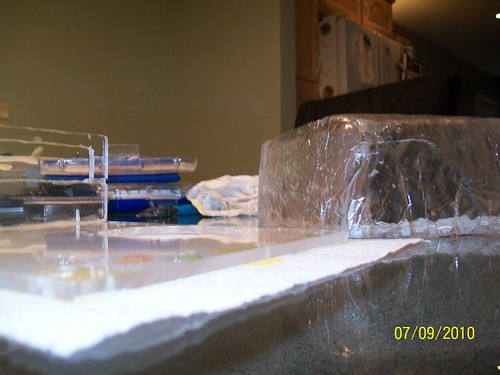
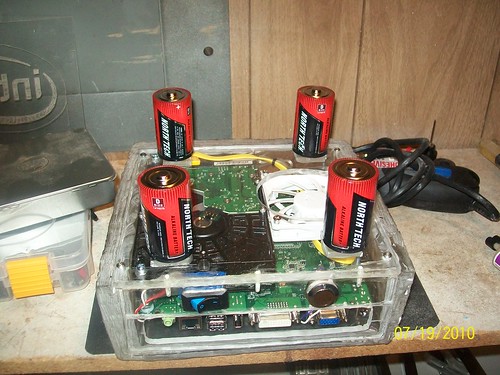
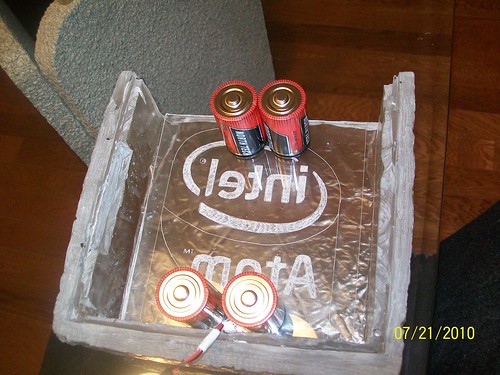
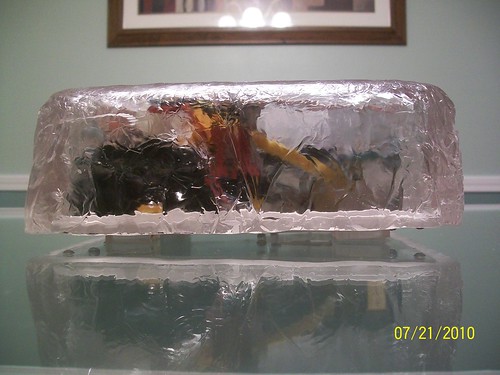
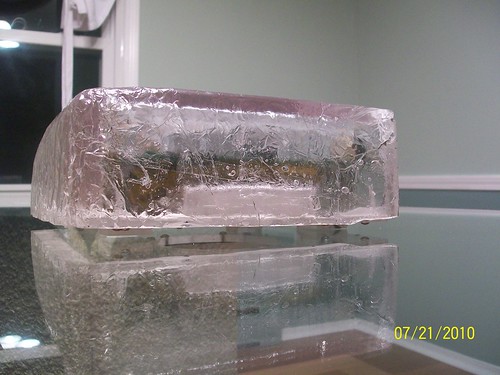
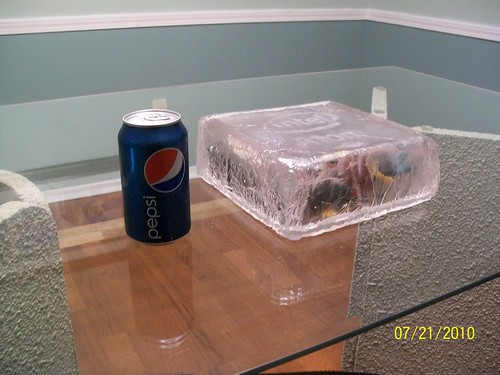
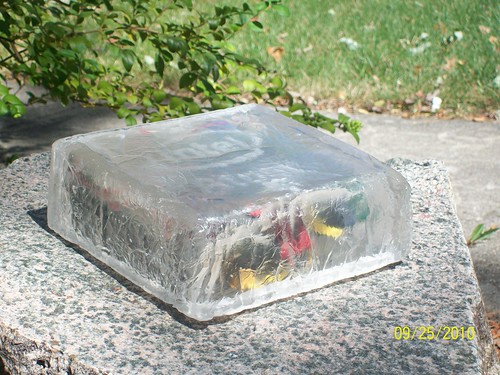
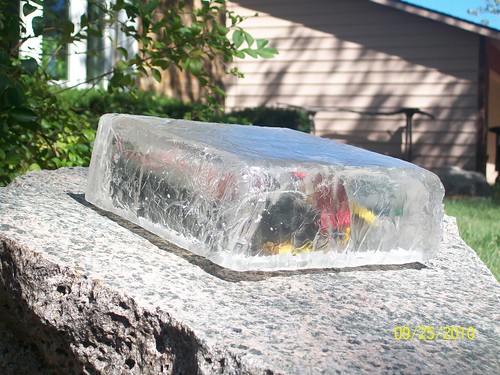
Poured the top of the case in the moldto about 1/2 inch deep. Then waited 30 min till it start to gel then I put a second box on top to make inside walls. pour the remaining resin in to make the walls.
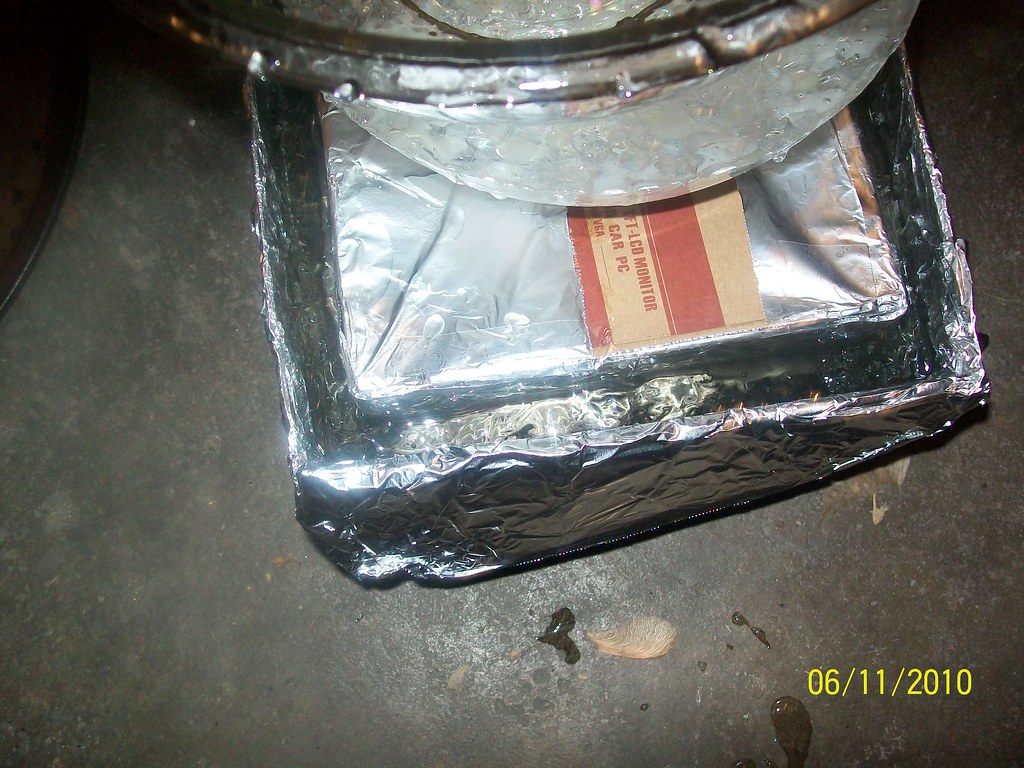
I had to apply a little weight on top of the inside box to keep from floating up.
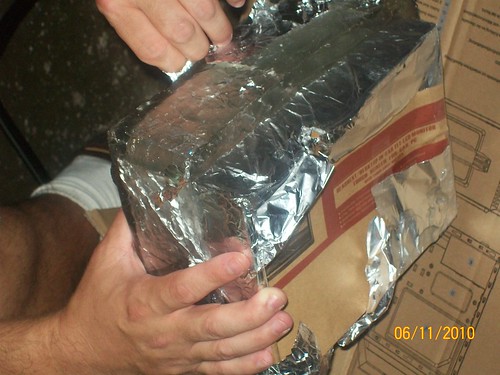
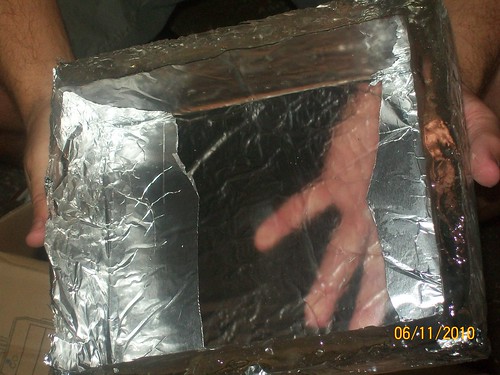
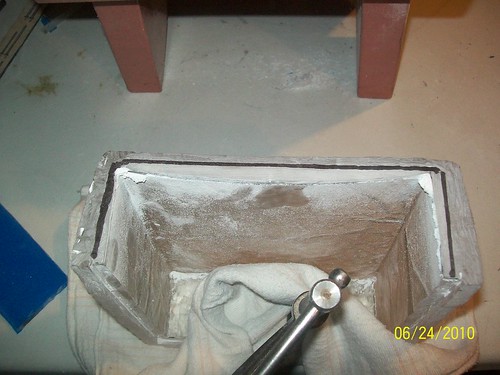
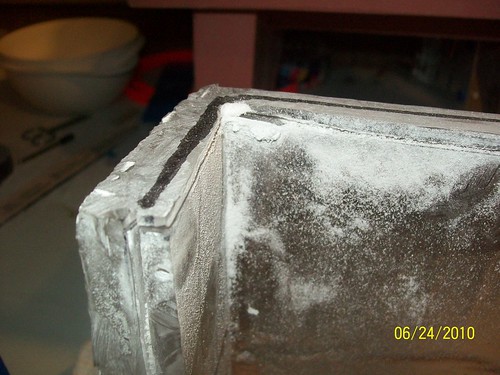
This will set overnite to cure and make sure you are in a well ventilated area.
The first Mod is called Intel Ice, Featuring a Intel® Desktop Board D945GSEJT Atom CPU mini itx Board Sponsored by Intel, Looking to make it my Home Media Server. I t will set in a a Custom fake arclyic ice case. Let Begin
Parts List
Plexi Glass
Plastic Resin
Vandal Switch
DC power adapter ( on order)
Intel® Desktop Board D945GSEJT Mother Board Sponsored by Intel!!!!
PCi min express wireless Card ( on order)
Wireless Logitech Keyboard and mouse
Western Digital hard drive
Win 7
2 80 mm Blue led fans
mixing bowl /wood spoon
alumin foil
2 boxs one slightly bigger than the other!!!
Not sure what happen to the pictures ????
The mold Not much Card Board and aluminum foil
Lets Begin
64 fl oz of Plastic resin 1/2 oz of catalyst hardner
Mixed it it for 60 sec
Poured the top of the case in the moldto about 1/2 inch deep. Then waited 30 min till it start to gel then I put a second box on top to make inside walls. pour the remaining resin in to make the walls.
I had to apply a little weight on top of the inside box to keep from floating up.
This will set overnite to cure and make sure you are in a well ventilated area.
Last edited:
") I will be keeping an eye on this build
I will be keeping an eye on this build