Project 'TroyBoX' - Scratch Build Mini-ITX HTPC/MAME Mod

ARTbyTROY

Limp Gawd
Joined
Feb 23, 2005
Messages
176
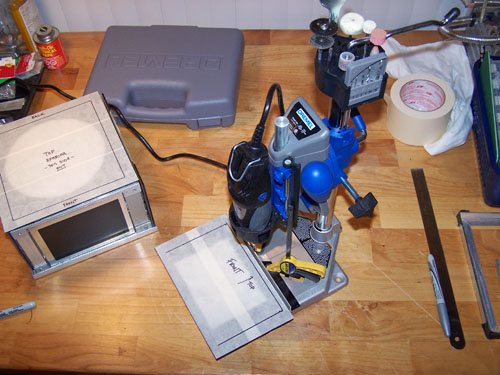
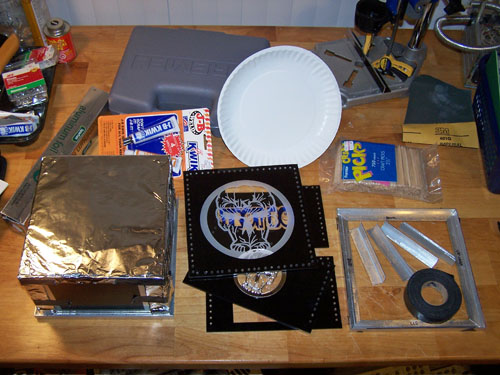
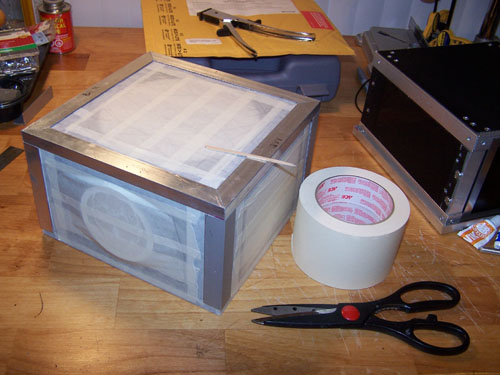
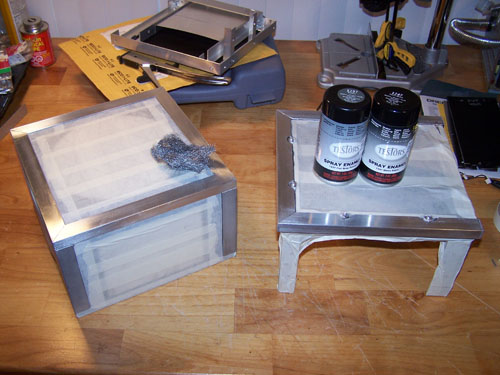
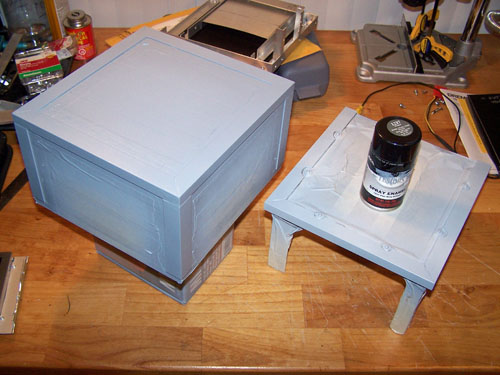
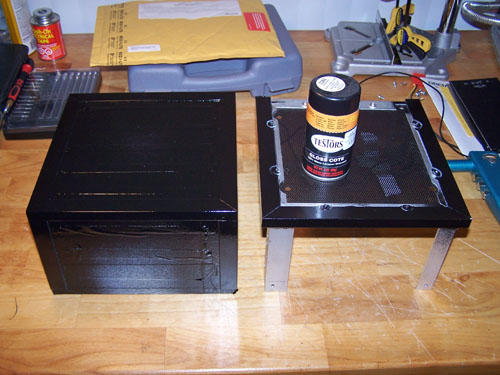
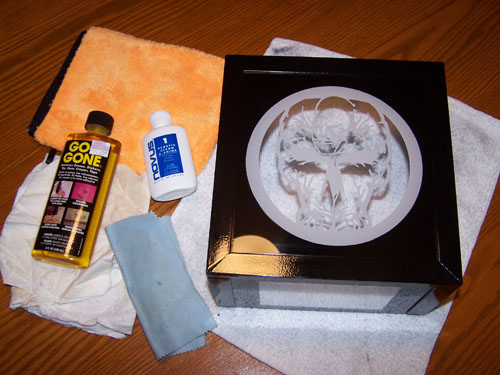
This project is already underway, so instead of cut and pasting it all from my site I'm posting a short version, for anyone interested the full worklog can be read in its entirety here: http://www.casemodgod.com/MAME PC.htm I'll skip posting pictures of the hardware since you'll see the parts as they are installed and begin with the initial design sketch...

1sketchmame.jpg


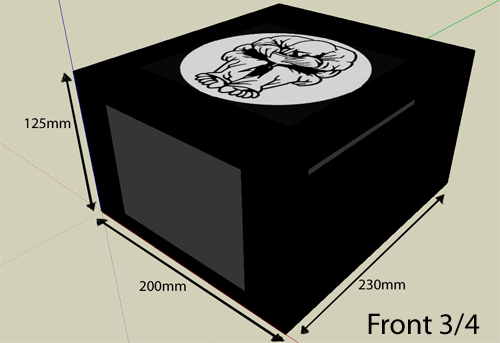
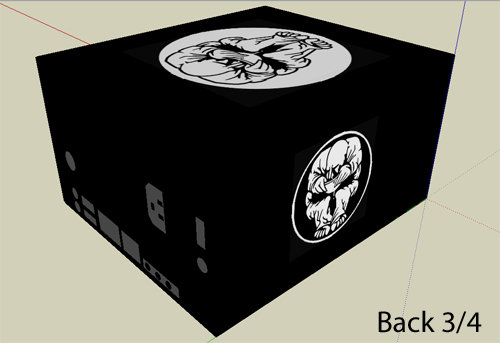
And a couple quick Google Sketchups, the 230mm sides have since been shortened by 20mm.

sketchupmame1x.jpg


sketchupmame23x.jpg


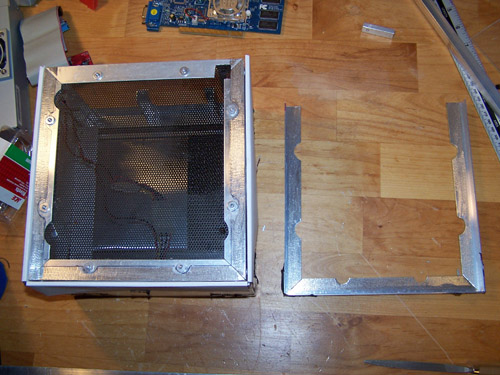
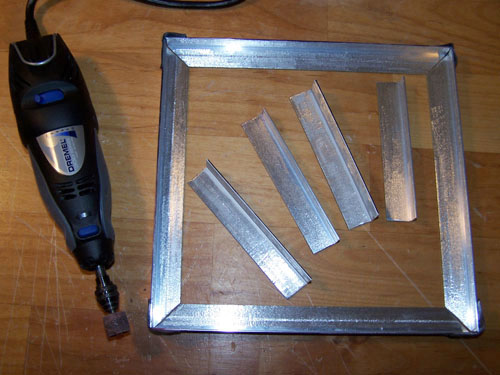
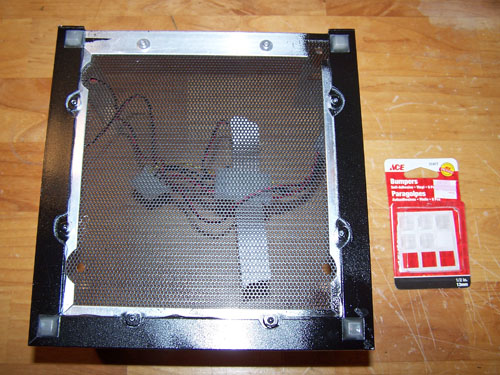
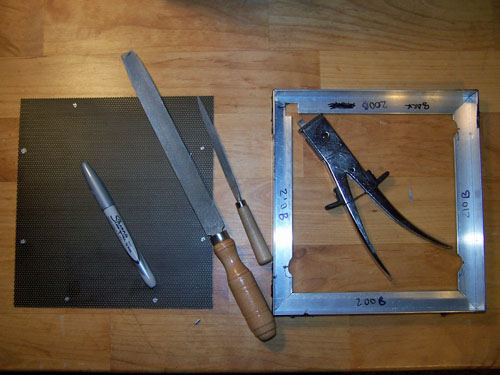
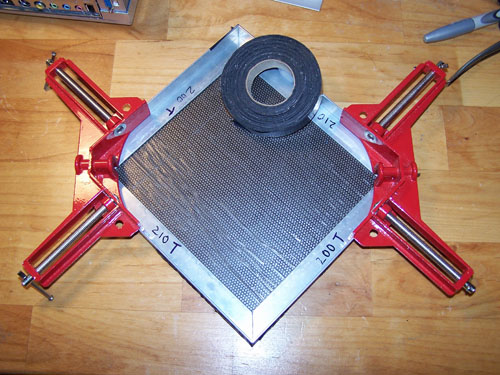
Some Alum Angle and ACRyan MeshX cut and filed, these pieces will make up the bottom of the case.

21mame.jpg


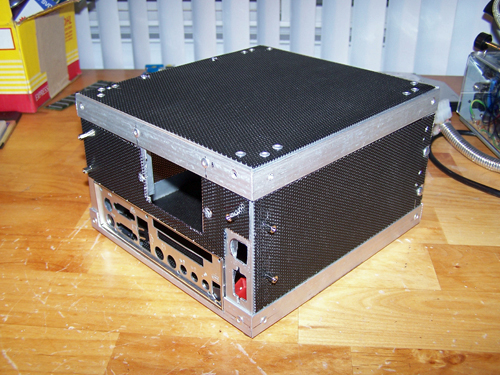
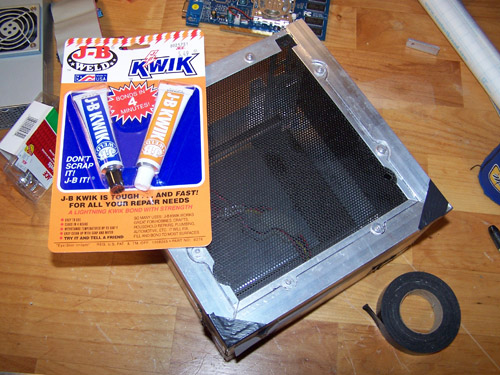
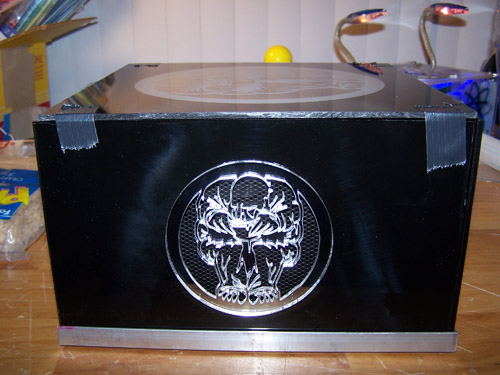
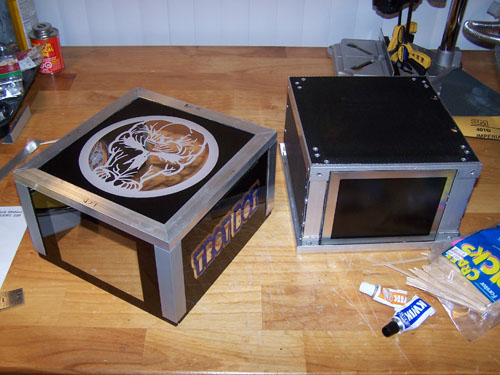
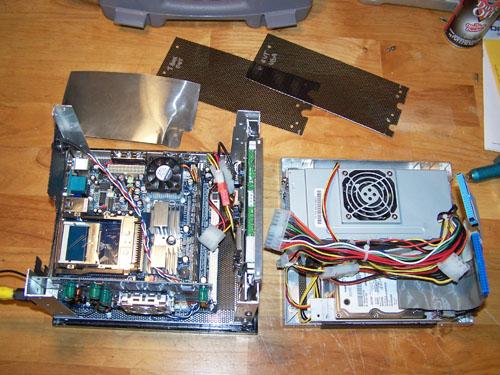
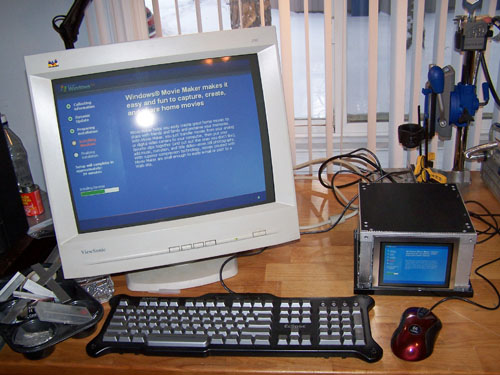
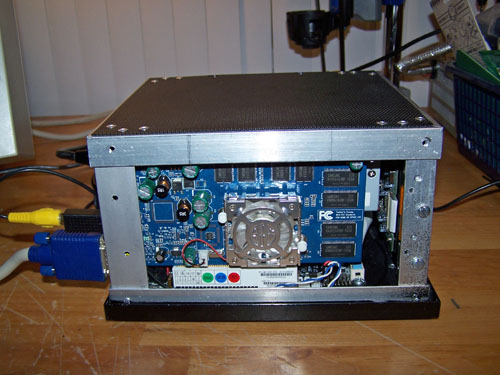
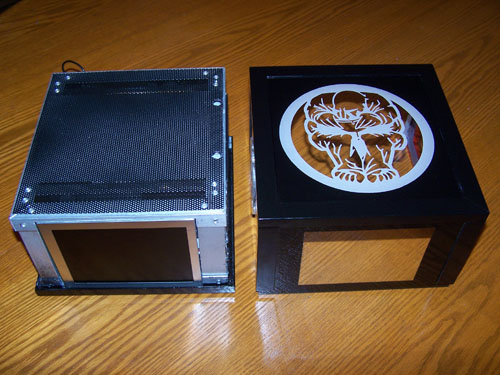
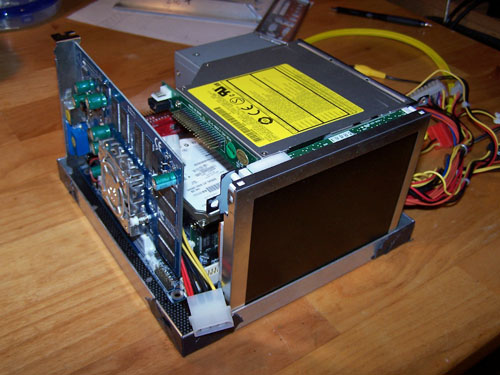
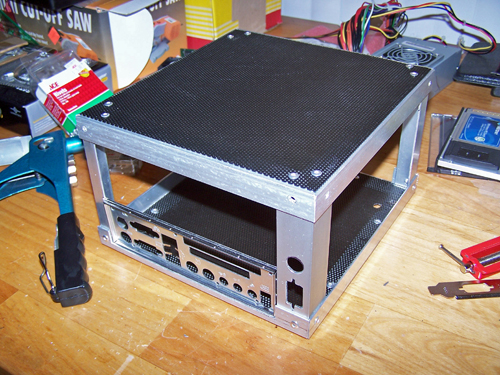
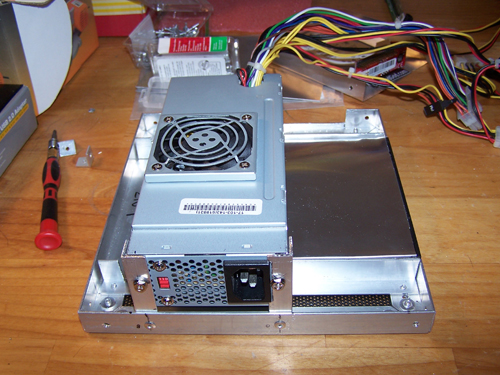
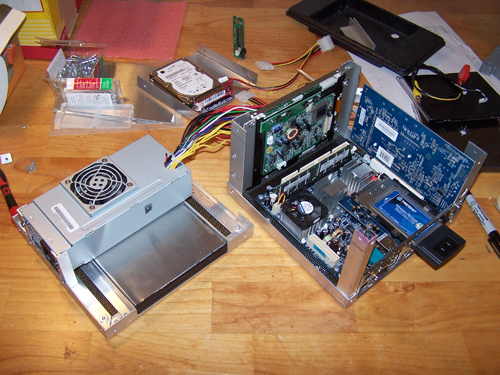
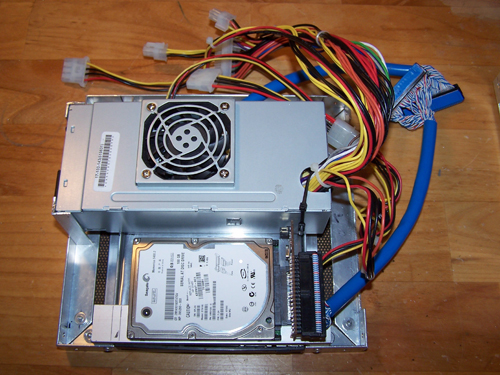
I started out by stacking all the components up inside the bottom framework just to see if everything was going to fit... it's really tight but it all does.

22mame.jpg


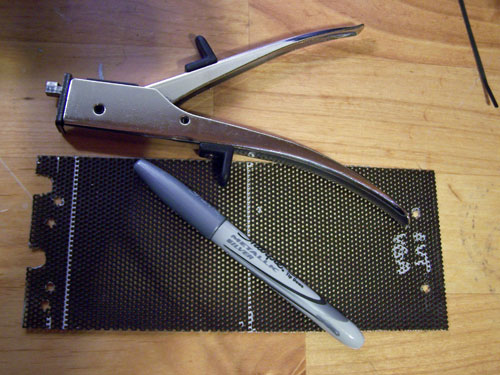
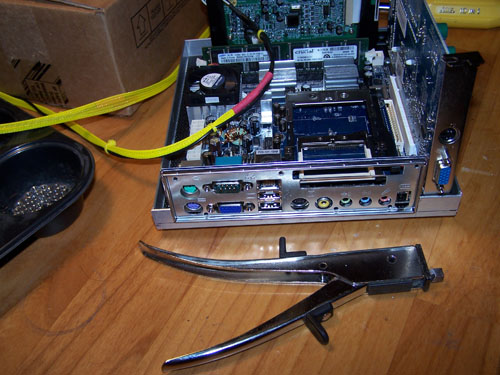
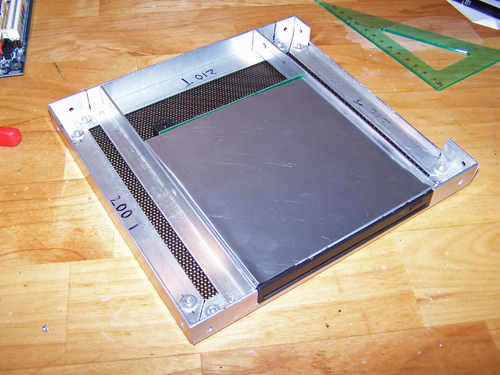
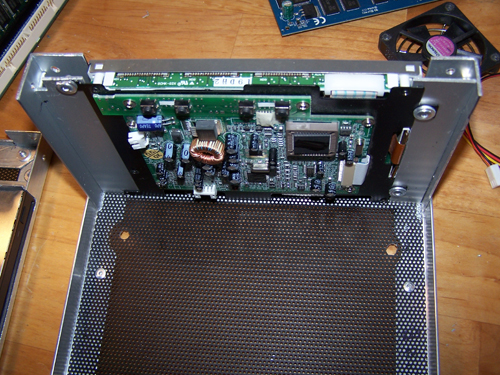
I cut the Alum Angle for the main board back plate first, I used a nibbler so that the lines would be straight.

24mame.jpg


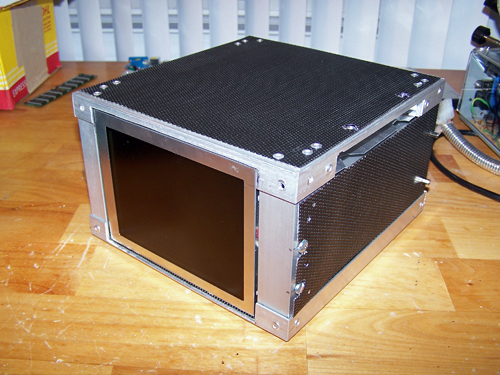
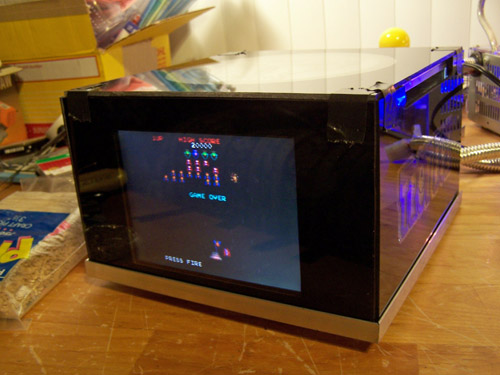
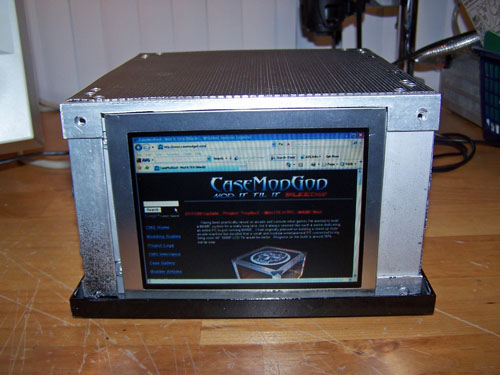
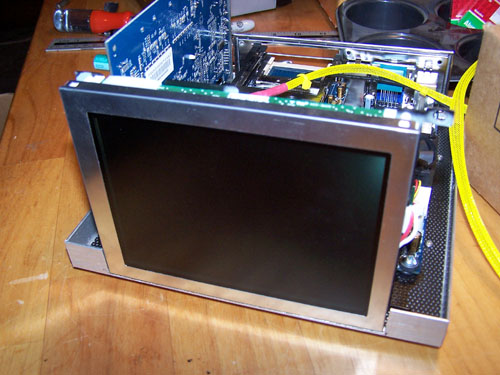
I also nibbled out the bottom Alum Angle for the 6" LCD and then set it in to test fit

25mame.jpg


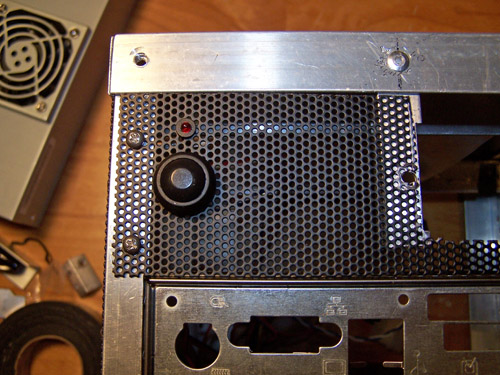
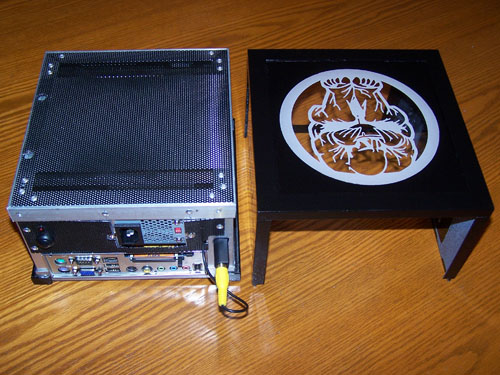
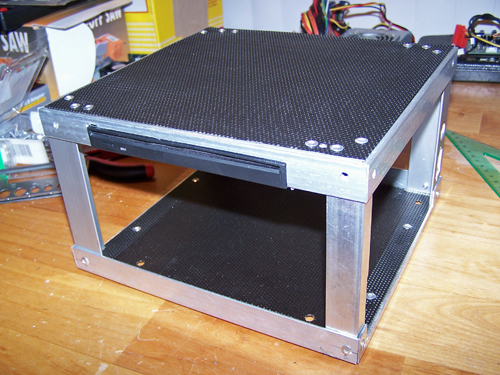
I removed the two screw mounts and took the video card entirely off its metal retainer.

27mame.jpg


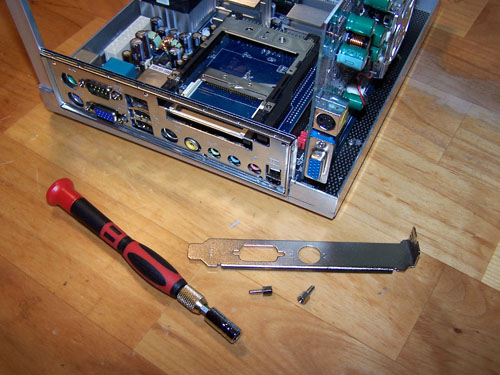
I cut a piece of one inch corner Alum Angle to height and then measured and marked the spots that needed to be removed to fit the video card.

30mame.jpg
 
I cut another piece of MeshX for the top and used some duct tape to hold it all together.

31mame.jpg


I started throwing down rivets, the bottom section is entirely set to go while the rivet together top is merely set on.

35mame.jpg


I cut a couple lengths of Alum Angle to support a drive tray I made from aluminum flashing, drilled my holes and then rivet the whole thing together.

38mame.jpg


Below shows the top mocked up with the slot load drive installed

39mame.jpg


This next picture shows the back of the 6" LCD monitor rivet into place.

43mame.jpg


Back to the top section, the power supply needed to be mounted so I cut and drilled some Alum Angle pieces and rivet them in.

45mame.jpg


Below shows the top section with the CDRW/DVD ROM and PSU installed next to the bottom section with the main board, video card and 6" LCD monitor installed.

46mamex.jpg


I puzzled over how best to install the hard drive before coming up with a simple solution, below shows the top half of the mod wired up and mostly ready. it's going to need some pretty serious cable management before it will fit.

47mame.jpg


The entire mod up to this point could be accomplished with a nine dollar nibbler, hand files and a drill - proof that you don't really need a shop full of tools to do this kind of thing.
 
I like that last line :)

Good work man, scratch builds have max respect from me!

Are you going to paint the frame black?
 
IAmHard said:
Are you going to paint the frame black?

I hadn't thought much about it before you asked. Normally I would paint it, but likely not this time... the reason I probably won't is because when I'm done it'll never be seen.
 
I hadn't thought much about it before you asked. Normally I would paint it, but likely not this time... the reason I probably won't is because when I'm done it'll never be seen.

Ah I see that makes sense! I asked as I thought it was going to be visible. Look forward to seeing more updates :D
 
Stealth teck is built in. The LCD in the front is for the camera in the back. It shows what behind the computer so you dont really think its there.
 
what things this lcd will be show?
this is regular lcd or touch screen?
I cant wait for looking this case finished :D
update quickly pls :D
 
I cut up some more MeshX for the sides and back of the case, the mesh is just mock fit for now and will be among the very last things to be installed. I am using the mesh for cooling (30%) and also for effect (70%), so when I'm done it should be (100%) cool

50mame.jpg


Below shows the CD and LCD sides of the mod, the mesh panel on the CD side is there purely for looks and will be a big part of the only lighting feature within the mod... more on that later. Time to remove the LCD and do some more touch up drilling, nibbling and filing to the case, not long now and I'll be able to start on the outside section

51mame.jpg
 
OK, I drilled the hole for the power button and HDD activity LED, you can't see it in the picture below but I also nibbled out some mesh on the other side to fit the cable from the LCD.

52mame.jpg


The following image is an edited render of how I hope the final cut vinyl for the CD side will look, the areas inside the letters will be masked off so the illuminated mesh can shine through. Time to contact my vinyl guy and see if he can help me out.

00mametroybox22_edited-1.jpg


Below shows my lighting idea, it looks way better live. I made the call and I should be able to pick up my blue mirror chrome sticker by tomorrow and then I will begin creating the acrylic outer sections... not far now.

53mame.jpg
 
I had a half used sheet of AC Ryan Acryl panel kicking around that I covered on both sides with clear contact paper, I then measured my side markings onto it, scored it a few times with plasti-cutter knife and snapped it off.

55mame.jpg


The plasti-cutter knife works great for straight line cuts, but won't work for cutting the edge of the piece of acrylic that's shown below. Enter the Dremel with a ripsaw blade, I clamped a piece of Alum Angle to the acrylic as a guide for a nice clean cut edge.

56mame.jpg


The following picture shows all of the side acrylic pieces cut to size. I drilled an 80mm vent hole in the video card side acrylic panel, the 'gluttony' mirror fan grills are shown on top and my two freshly cut blue mirror chrome vinyl decals can be seen to the left... not far now.

57mame.jpg
 
I masked off, measured and cut the laser etched top acrylic panel and then duct taped the whole thing together, mainly just to get a better look at where I'm at. I wanted to do more today with it, but lost motivation to Guitar Hero and watching TV instead... maybe I'll get more done on it tomorrow.

58mame.jpg
 
Very inspiring, hard to believe that something made from Al angle can end up looking this pretty :)
 
Elledan said:
Very inspiring, hard to believe that something made from Al angle can end up looking this pretty

Thanks, this mod is based on my last mod - which was also made out of Alum Angle and acrylic.

Illusion27xmx01.jpg


Come to think of it I've used Alum Angle in one way or another in every modded computer I've ever done... it's an affordable and easy to work with building material, awesome stuff.
 
Aluminum angle FTW!!

being able to work with aluminum angle is probably the best modding advice I can think of. It can be used for so much including outright building of cases. It is cheap and easy to work.

Keep up the good work man.
 
I've been toying with making a case myself from scratch... I think I'll look at using Al angle now :D I've used it in the past, but as I said, I've never seen it used in such a nice way :)
 
Below shows the case bottom, next to it is the taped together bottom edging that will hold the three acrylic side panels in place. I used a Dremel with a coarse sanding drum to rough up the bottom edges of the case and also inside the bottom edging, I then cleaned all the parts with some alcohol and a paper towel.

59mame.jpg


Once everything was clean and dry I whipped up some J-B Kwik and attached the bottom Alum Angle edging. The J-B Kwik will need a few hours to fully cure so it's on to some acrylic work.

60mame.jpg


The first thing I did was cut the slot for the CD, I used my Dremel and ripsaw blade with a piece of clamped alum angle for a guide, then finished tooling the slot with a Zona saw and a pair of files. I also cut the mounting tabs off of the gluttony fan grill, installed the TroyBoX vinyl and cut masks for my lettering, the 6" LCD and the top glutton etch.

61mame.jpg


It's cold outside, definitely not optimal spraying conditions but I know a work around - I call it the in and out speed spraying technique and it only works when the wife isn't home. Notice that all the pieces to be back painted are setting inside a box...

62mame.jpg


The box is taken outside for a quick spraying of Vinyl color and then comes back inside for some speed drying, this is repeated as needed. It stinks to high hell and my wife and kids hate it, to try and keep the stink down I use the inside of the box for painting and the outside of the box for drying.

63mame.jpg
 
^Thanks, it's getting there.

I removed the masking from the panels and found that I had only hit for 50%, the top and blowhole side panels came out great, but I'm calling mulligan and scrapping the LCD and 'TroyBoX' side panels. I was almost going to show them here because they are still useable, but I'll wait until all four sides are perfect instead.
 
Ok, all four panels are finished and even though I still have to clean and polish them they are now fit to be shown. Below is the video card side opening with the mirrored Glutton grill over mesh accent.

64mame.jpg


Here is one of the finished re-do panels, I hooked up a handheld video game to the 6" LCD to check how well it lines up and it's spot on, I guess second times the charm.

68mame.jpg


The next picture shows the other reworked side panel, it came out way nicer than the one it replaced and even better than I expected.

66mame.jpg


Last but not least, the back painted Glutton etched top panel... not far now.

67mame.jpg
 
What video card is that? Also, what PSU are you using? I am wanting to build a tiny HTPC as well, but I dont need the video screen and this looks like a very good size.
 
I'm uncertain as to how much cat I can let out of the bag, but a well known magazine wants to feature my work - the "TroyBoX" project now has a January 12 deadline... time to put the pedal to the metal.

I cut all the external Alum-Angle pieces using a hand saw and miter box (mainly just to see how it would go), as expected the adjoining edges are rough and ill fitting... even after filing they still need some serious help. Since they are still salvageable I'll get my table sander out of the tool shed and set about making things right.

69mame.jpg


Below is a shot of the disc sander and one of the Alum Angle top edges, the sander made short work of truing up the edges and everything fits great now.

70mame.jpg


The TroyBoX side panel had a problem with the light bleeding through where it was brightest - mostly down low near the LED's. I busted out some red mirror chrome vinyl and fixed it, no light will be seeping through now.

71mame.jpg


I masked off all of my panels and loose fit all of the Alum Angle pieces together, I then traced the edges onto the masking tape in marker.

72mame.jpg


I used a coarse sanding drum on the Dremel and hit the inside edges of the Alum Angle, they got roughed up pretty good.

74mame.jpg


I hope every good modder got a Dremel Workstation for X-mas... below shows an acrylic panel that's fixing to get a bunch of holes drilled in it using my 2nd favorite gift this year (1st fave: wii GHWT), all of the panels will be drilled along their connecting edges in preparation for JB Weld.

75mame.jpg
 
Its a really nice build, from what I have seen and read so far. Question for you is this, with all of the riveting you have done, how hard are future upgrades to the system going to be? Or is this a one time, no real upgrades planned, kinda build?
 
^Good question.

Any upgrading will require the removal of a few rivets... pain in the ass - yes, but as infrequent as upgrades happen it's not a big deal to me.
 
Below shows the case covered with a taped down layer of aluminum foil, all of the side panels with their edges drilled and the outer Aluminum framing waiting for final assembly.

76mame.jpg


Here's the assembled outer casing... J-B Kwik is awesome. A little masking, filing, sanding and painting left to go and I'll be ready to install the hardware, not far now.

77mame.jpg


The following picture shows the top acrylic casing all masked off, the craft pick sitting on top of it was used to tamp the edges of the masking tape.

78mame.jpg


Here's the masked off outer acrylic and bottom case section, both were scuffed up using some steel wool in prep for primer and paint... I'm using gloss black model paint.

79mame.jpg
 
^ Thanks.

The bottom of the inner section and the outer edges of the acrylic casing are primed and then lightly sanded.

80mame.jpg


Four coats of gloss black enamel plus hours of drying to get to the final step, the gloss coat. It isn't my best paint job ever, but it will do... 29 degrees is not an optimal outdoor temperature for painting.

81mame.jpg


The reason the paint job below doesn't look so pretty is that it's the case bottom. I put a small square clear vinyl bumper in each corner to help elevate it a bit.

82mame.jpg


Here is the outer casing with the masking tape removed, I have a little bit of touch up and a whole lot of clean up before it's perfect, it still isn't totally dry so I'll have to wait until tomorrow before trying to fix anything.

83mame.jpg


Waiting for paint to dry is boring, so I ripped into one of the small USB game pads, just to see what I'll be up against... thankfully it looks fairly simple.

84mame.jpg


The bottom section wasn't totally dry either, but I got antsy and started installing hardware anyway... I'll also be touching up a few of the bottom edges tomorrow.

85mame.jpg
 
I'm really good at changing stuff right at the end of things and the picture below is a good example, I marked out a square in silver sharpie to cut from the VGA side mesh. I will attach the cut piece to the inside of the outer acrylic casing instead of riveting it to the case itself.

86mame.jpg


I also changed my mind about riveting down the top section of the inner case, gravity is awesome and is doing a terrific job of holding things tightly together without any rivets, very cool.

87mame.jpg


Did I mention that Windows was loading? No. My bad. Ok, it's officially a computer. I still have some cleaning up, final attachments and a couple of joysticks to make, but it's not far now.

88mame.jpg
 
The picture below shows the paint that chipped because I was in a hurry to get the hardware installed, I bought a bottle of touch up paint and a paint brush to fix it.

89mame.jpg


While the paint is drying I took a few pictures of the case without the acrylic cover on, below shows the video card side.

90mame.jpg


A "topless' shot of the case front and 6" TFT LCD monitor...

91mame.jpg


Below is the slot load DVD/CD burner and the exposed lighting effect...

92mame.jpg


Next up is a look at the back side...

93mame.jpg


Goo gone to remove all the masking tape residue and some Novus "plastic clean and shine" to polish it, I'll use some Novus scratch remover on a couple bad spots later.

94mame.jpg


Here are a few shots of the inner sides and their respective outer sides, video card...

95mame.jpg


6" TFT LCD monitor...

96mame.jpg


CDRW/DVD and TroyBoX decal side...

97mame.jpg


Last up, the back...

98mame.jpg
 
I put it all together, so lets spin it around for a quick look, below is the VGA card side and mirror glutton grill.

99mame.jpg


The front of the mod shows the 6" LCD monitor and the top with a laser etched glutton image.

100mame.jpg


This next shot shows the DVD/CDRW slot and the mirrored blue cut vinyl TroyBoX decal right below it.

101mame.jpg


Lastly, the back of the mod. I tried to make this side as clean looking as the rest even though it isn't really seen.

102mame.jpg


Next up a rotating side by side comparison to my last mod 'Hellusion', both cases are constructed and configured quite similarly. First up, the right sides...

003mamexx.jpg


Their fronts...

000mamexx.jpg


Lastly, the left sides.

001mamexx.jpg
 
I just got everything hooked up and turned on. First impression... Wow, just wow.

108mame.jpg


Here's a shot of the wireless keyboard/mouse, the TroyBoX and my TV remote.

105mame.jpg


In the next picture the TroyBoX cut vinyl is reflecting onto the table.

106mame.jpg


Here's a better look at the small wireless keyboard/mouse that controls the machine in front of the side mirror chrome glutton grill.

107mame.jpg


I haven't had a whole lot of time to really mess with it, but so far having a PC hooked up to my 46" 1080p LCD TV is pretty friggin' sweet, the image is every bit as clean and clear as on a normal desktop LCD monitor... did I mention it's huge?

110mame.jpg


You are freaking out" - Super Troopers running in Media Player up on the big screen...

111mame.jpg


Or move the window over and watch the movie forty inches smaller on the little 6" LCD.

112mame.jpg


I lowered the lights a little for this next shot...

113mame.jpg


Below shows a nice 3/4 view of the TroyBoX with the movie ejecting.

114mame.jpg


Here is a closer look at the TroyBoX lighting feature, the effect looks even better live.

115mame.jpg


Lastly, a parting shot of the TroyBoX set up in its new home - I think my Wii is jealous.

109mame.jpg
 
What Keyboard is that? Do you have any connection problems with it?

Final product looks amazing, great job.
 
The keyboard is a BTC 9116URF.

I don't have any problems with it - it cuts out at about ten feet away from the RF receiver, but my living room isn't huge so for me it's no big deal.
 
Back
Top