Arcygenical
Fully [H]
- Joined
- Jun 10, 2005
- Messages
- 25,066
Whenever I get my system the way I like it, it will, without question, fail. Arcygenical02 has the uncanny ability to commit suicide literally 5-10 days after I get it the way I like it. It really enjoys the theatrical approach to ending its life; preferring sparks, fires and sending tiny MOSFET's flying across the room. When it breaks, I upgrade. This diabolical cycle continues for years on end (as it has since I started working with PCs, too many months ago) fating myself into draining my bank account, over and over again. But... I digress. If you're reading this, it's to see my worklog, not hear my complaints about forever-failing hardware. If you're here to see a worklog, then by damn! You'll get a worklog!
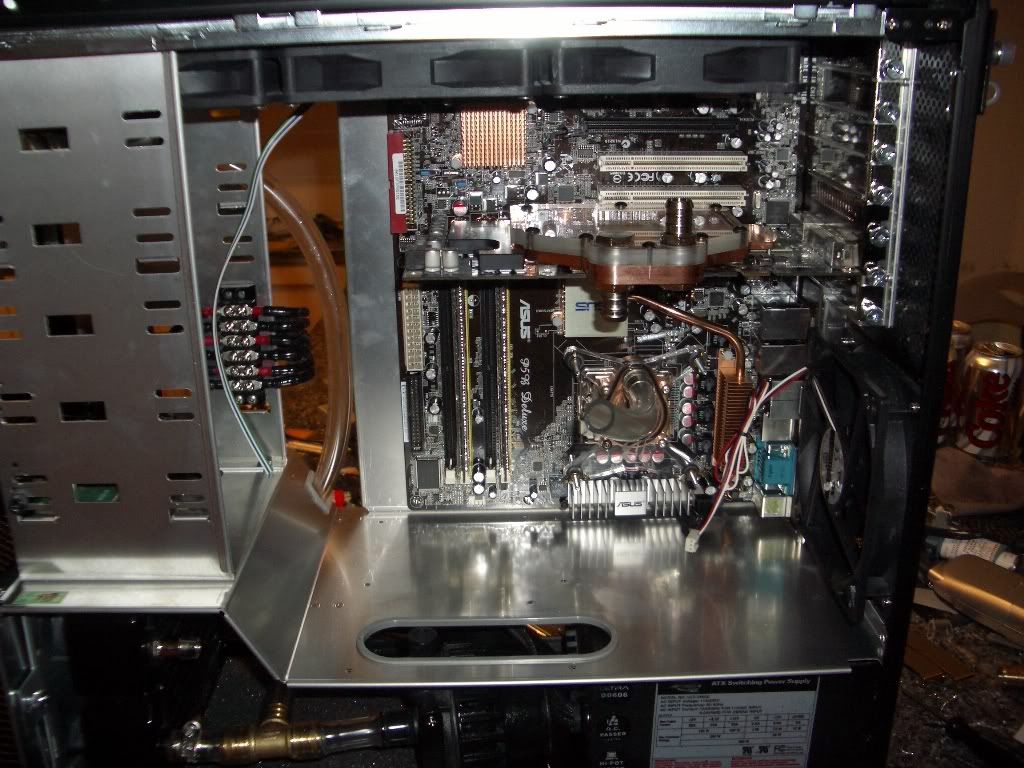
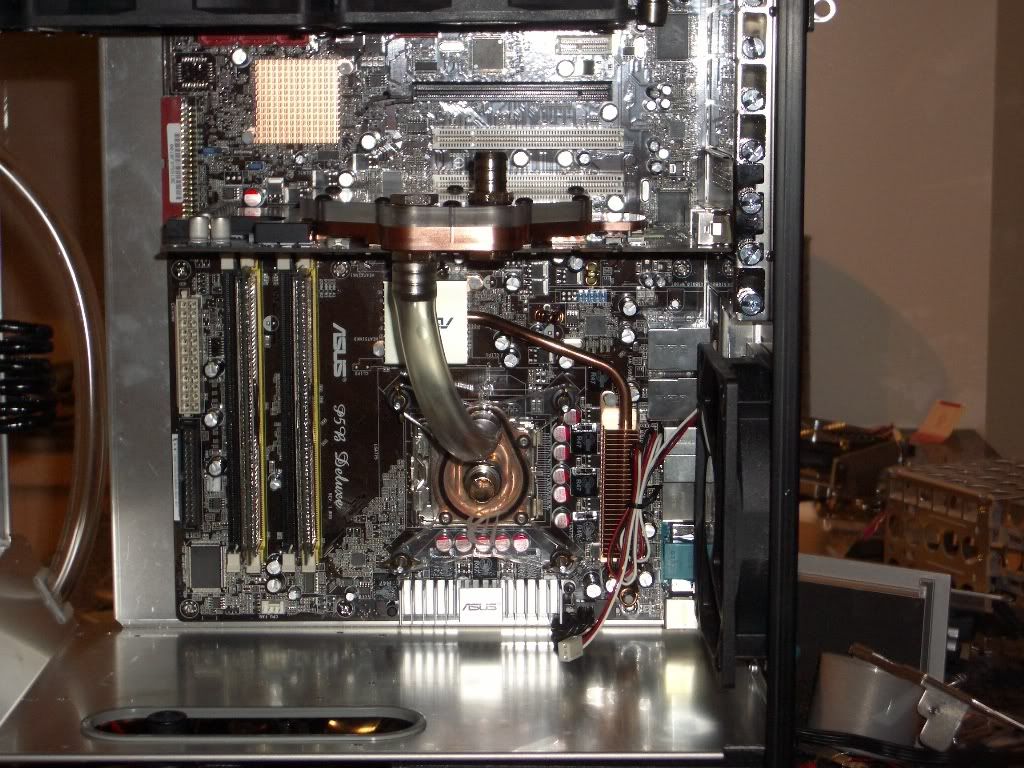
I'm not going to be changing any system components (other than getting a new motherboard from Asus), but I've come into possession of a beautiful Lian-Li PC-V1000B Plus 2 (I think Lian-Li is taking a page out of ATI's naming convention book!) and cleaning out my closet, I found a few assorted radiators, fans and cold cathodes. I decided to order a triple BIP Xflow radiator for the top, along with an AC Ryan Radgrill.
The main goals for this project will be, in this order:
If any of you know me, which you don't, you'd know that a new project can easily consume every last cycle of brain power I possess. What better time to do an upgrade than the day after school ends, and I await the return of my pre-exam marks. As I eat, sleep, and breathe this upgrade process, you can imagine how hard it is to wait for my parts.
I can't.
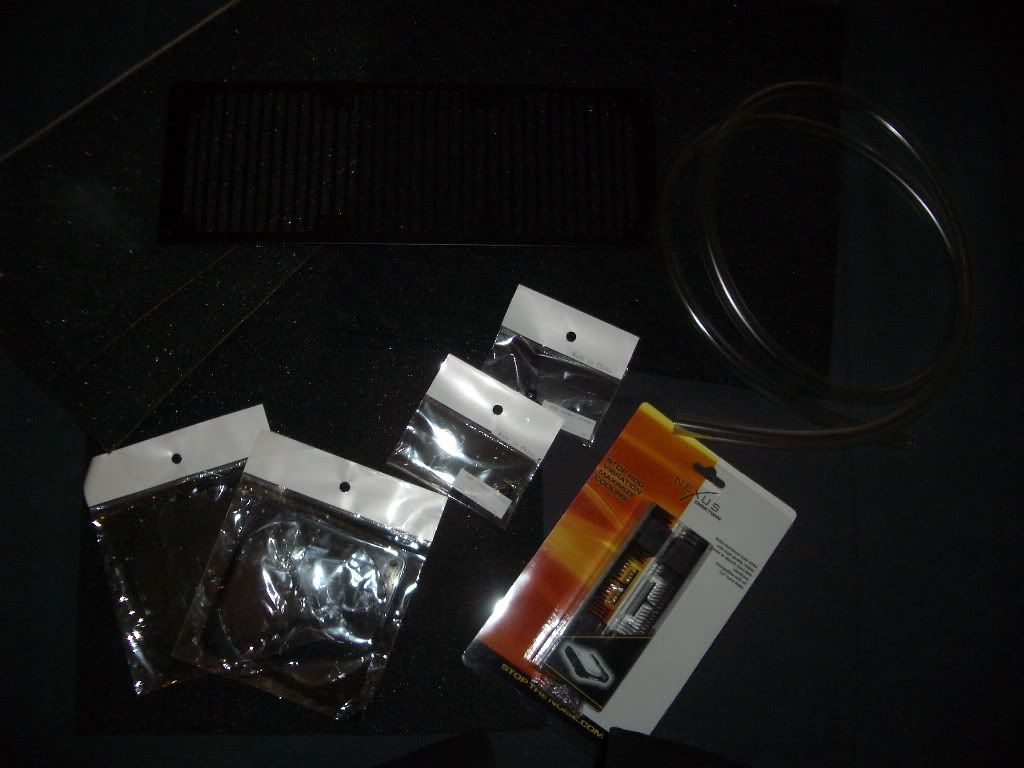
And so, I break the cardinal rule of beginning to cut and solder my cables, before the case even reaches my door. Armed with (the larger versions of) these four images
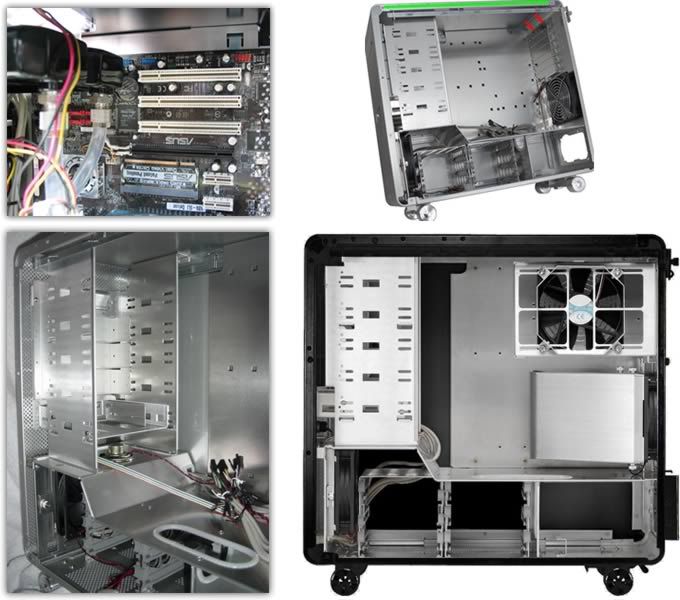
I begin my work.
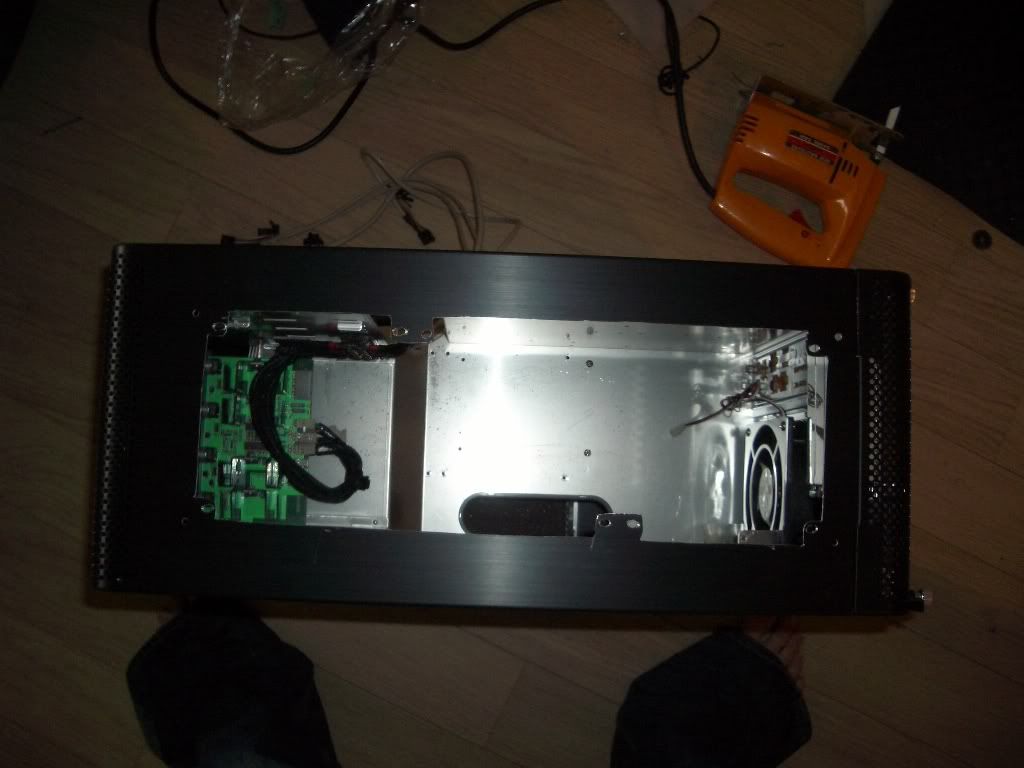
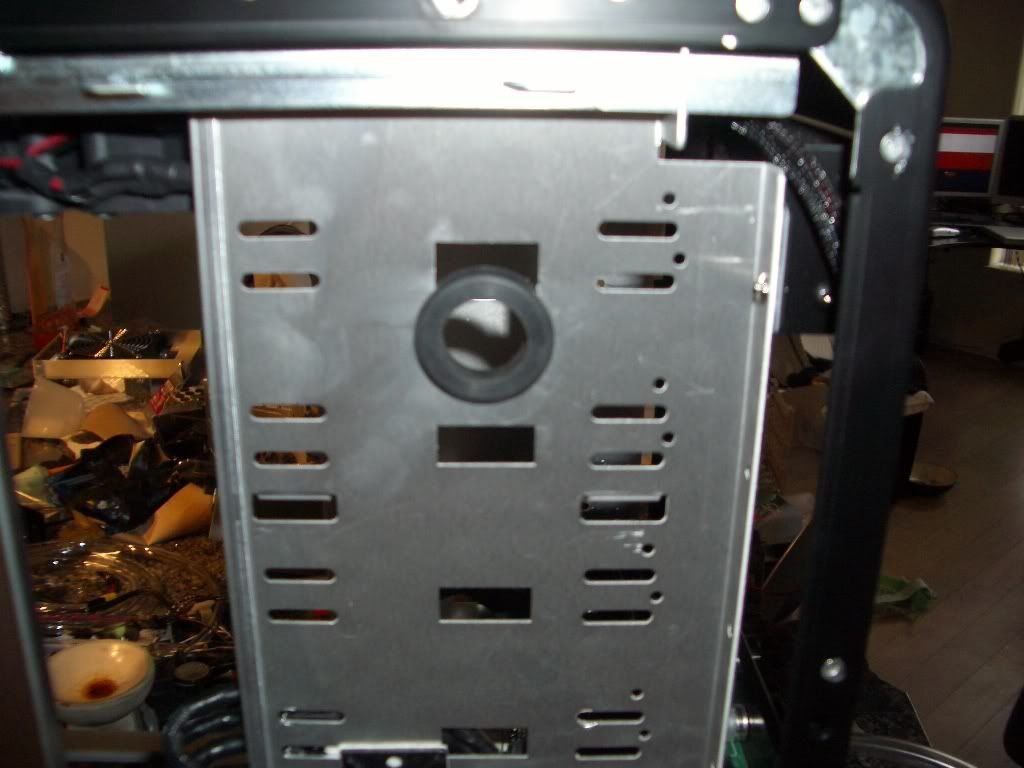
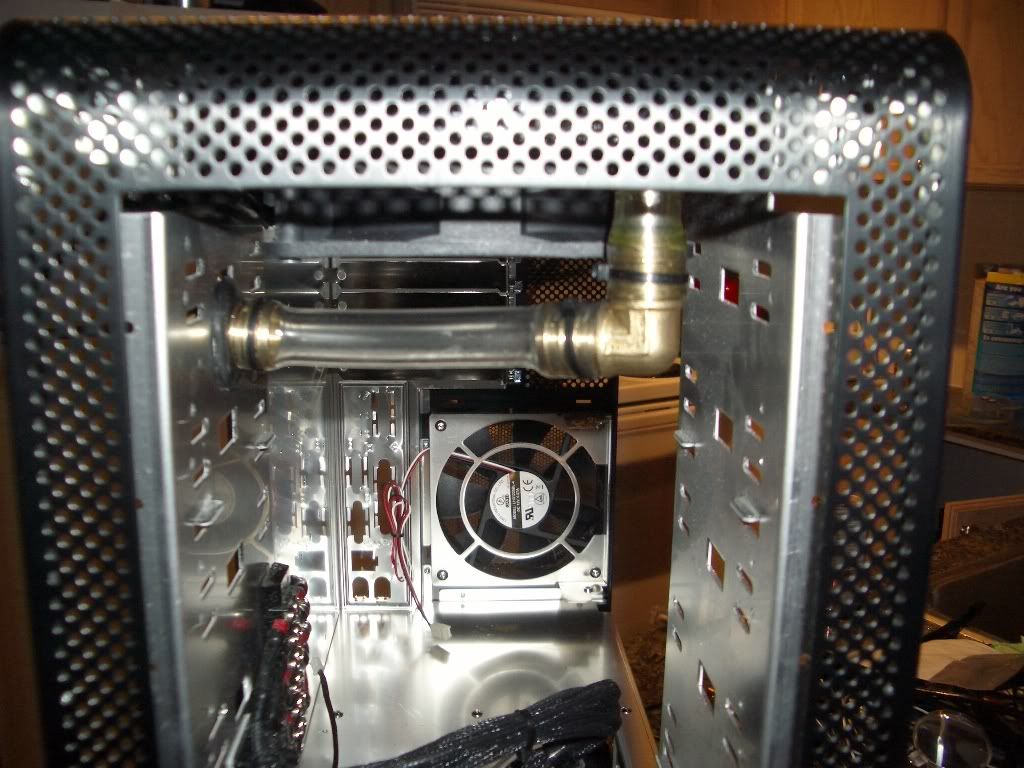
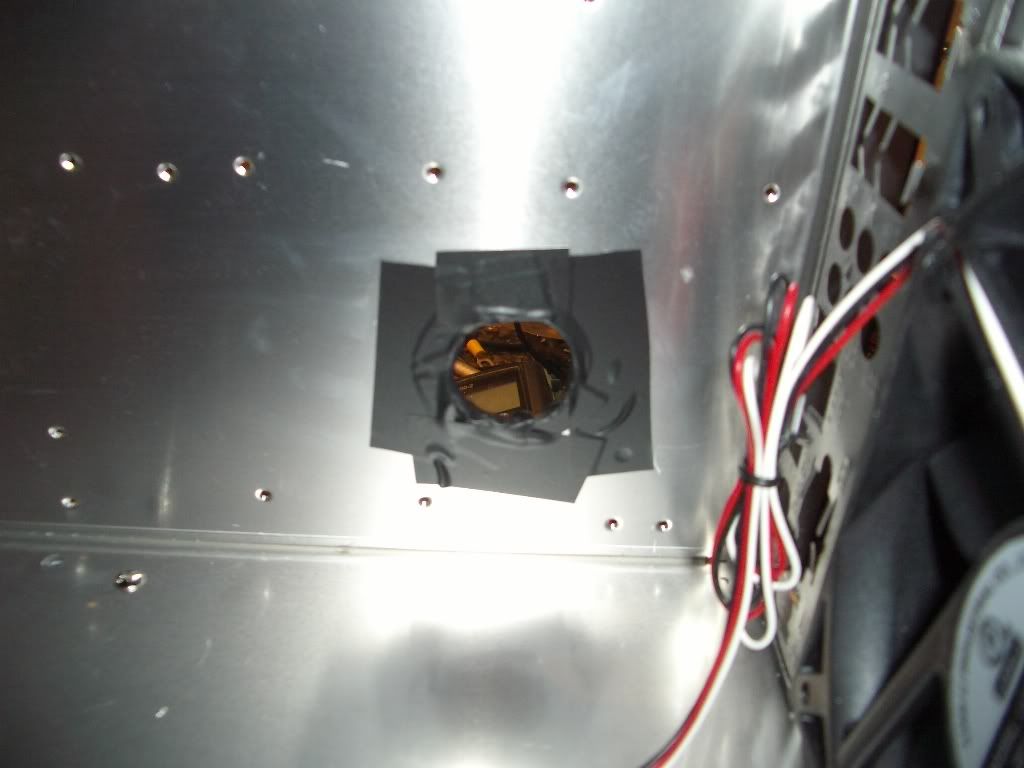
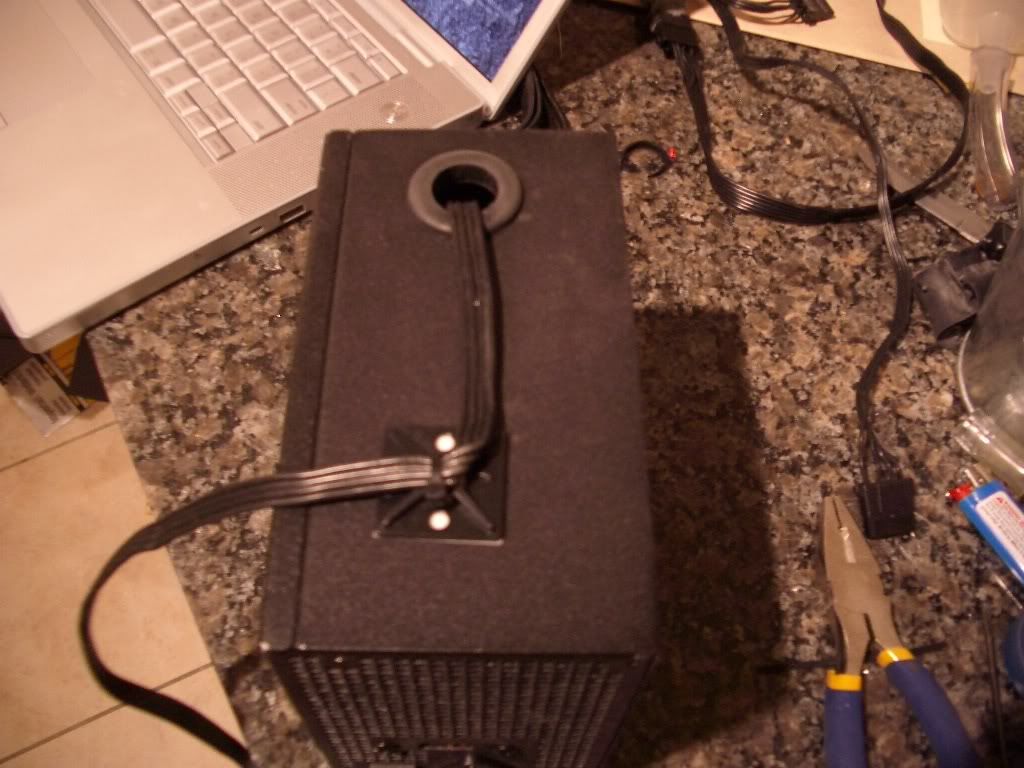
First off, I hate wires. I HATE wires. Therefore, I'm going to be routing a few of the cables out the side of the PSU. You can see the 1" hole and 3/4 ID rubber grommet I've used for this task (PSU warranty what?). The single cable is lonely right now, but I can assure the hole will be populated with a few 4 pin molex connectors. Since the time of this photo, I've straightened out that 4pin connector, but I don't really care because you can't see it anyways.
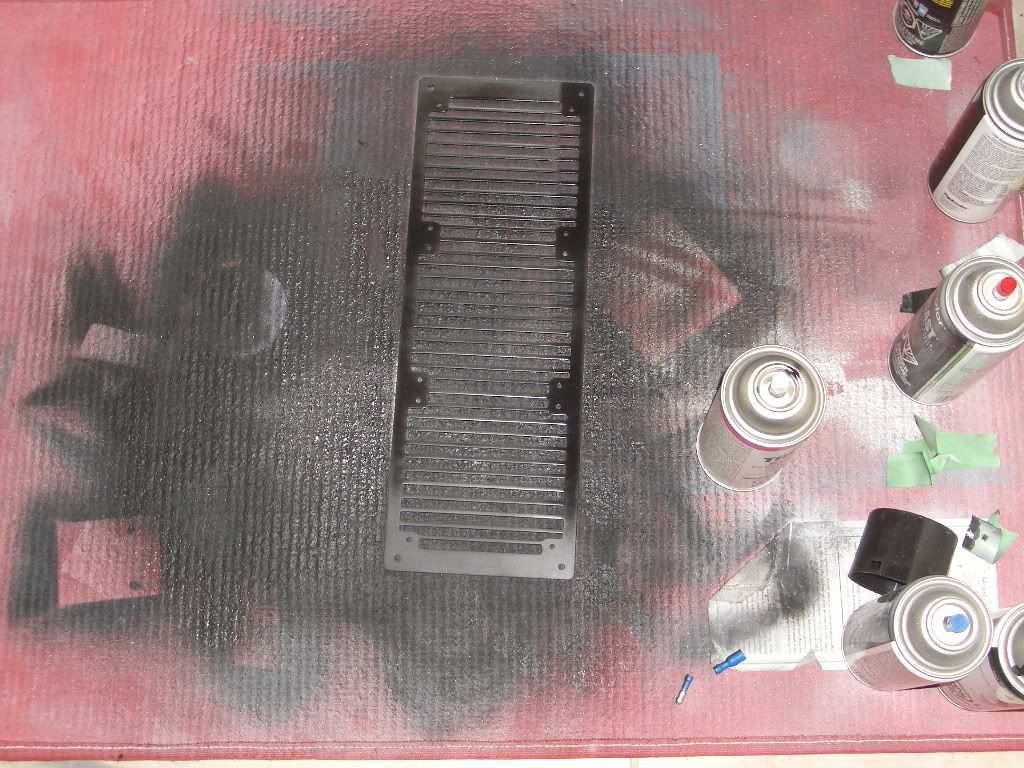
Next up (images to follow in a minute or two) I'm starting my wire terminals. My cables live by the rule, "If you can't hide them, show them off," so I'll be employing a nice wire terminal for my sunbeam rheobus. Here's a quick (read: blurry) snapshot of the Blue connectors (sigh) that had to be painted black. Vinyl dye to the rescue!
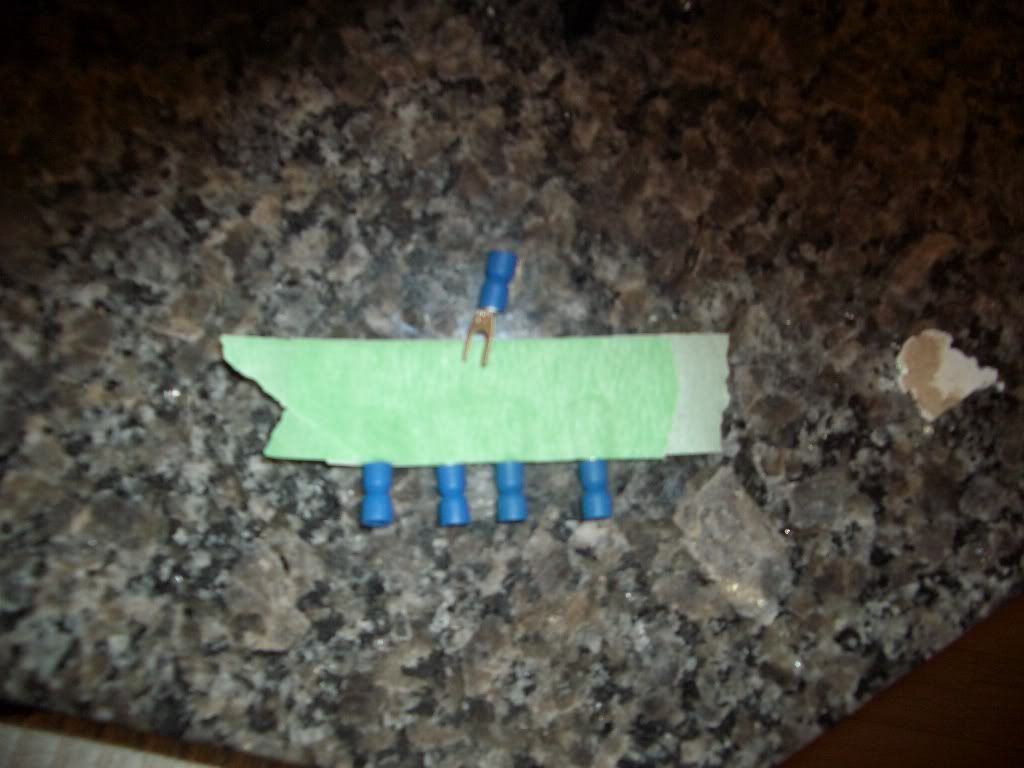
After painting... They look identical, but black. I'll let you all visualize that one, rather than taking another picture")
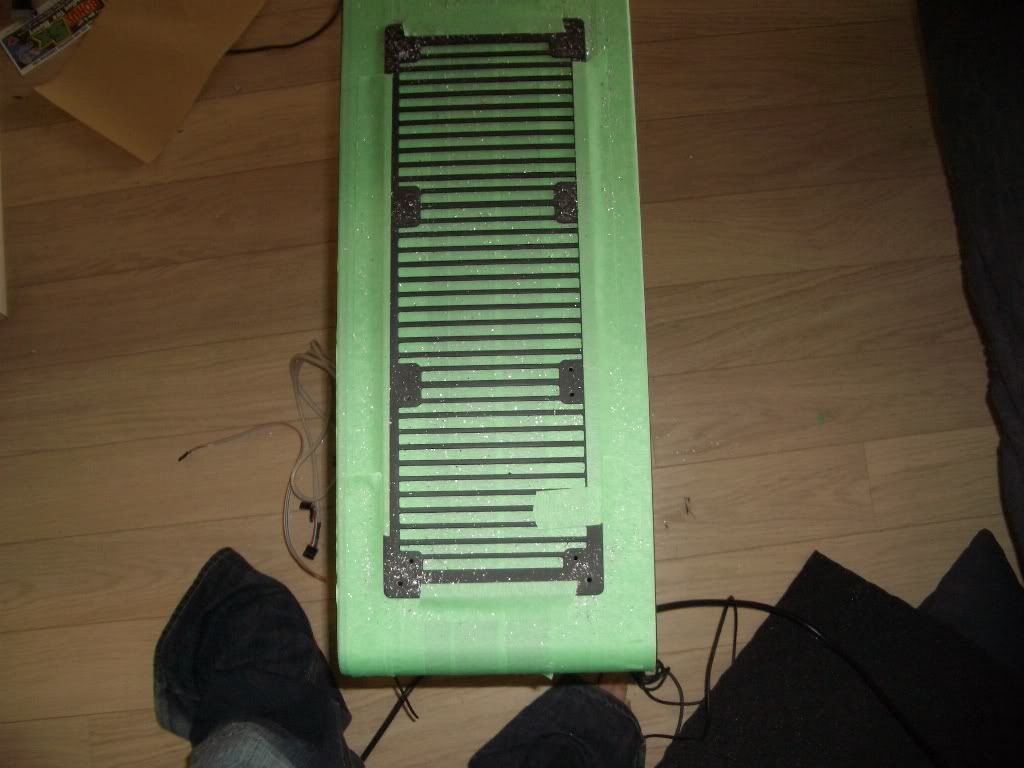
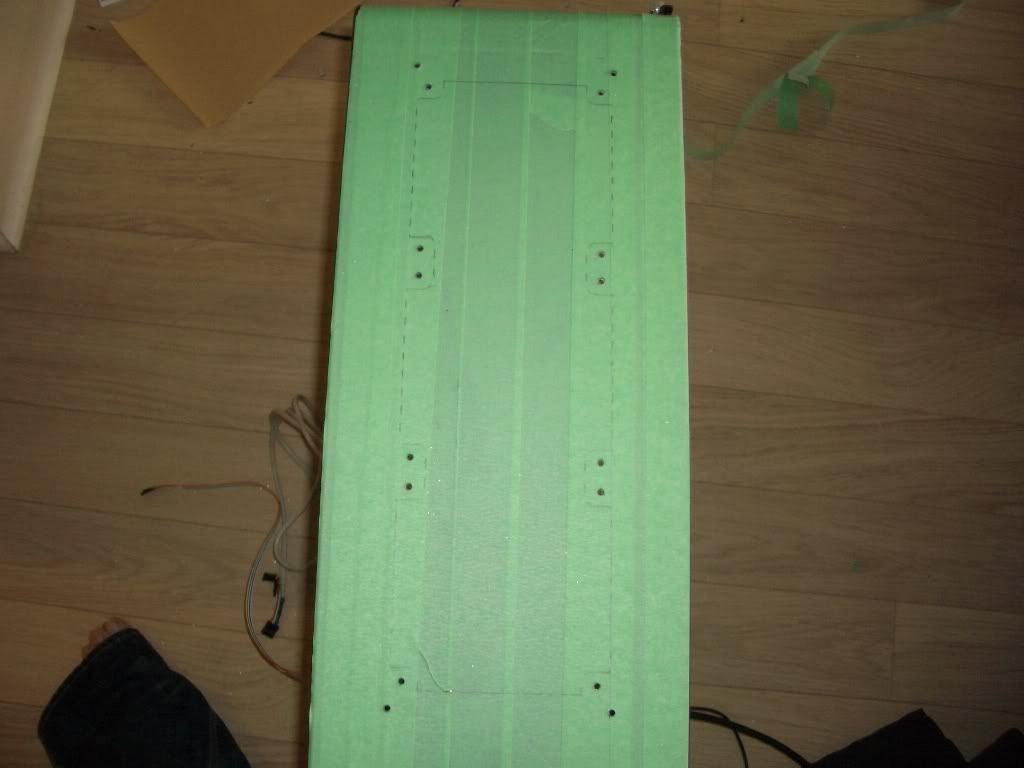
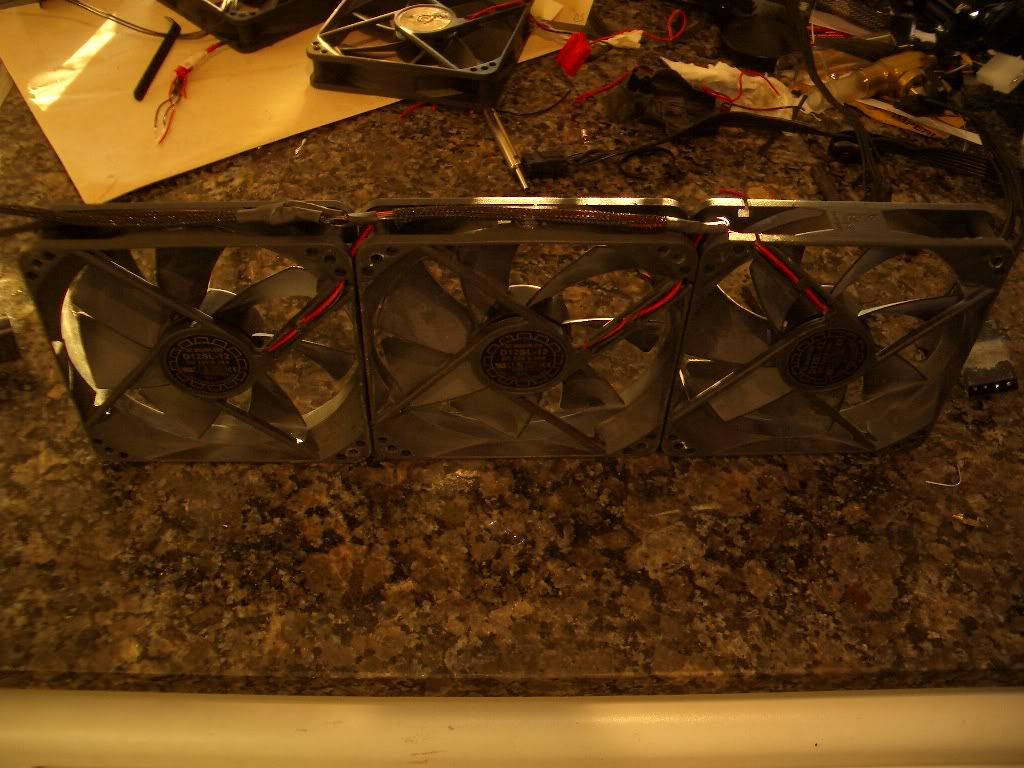
Up next, we've got a beautiful photo of my radiator fans, lit only by the 7am sunlight. They're all soldered, heatshrink and sleeved. Yes, I was up until 7am to take this pic, and no I don't sleep... Ever.
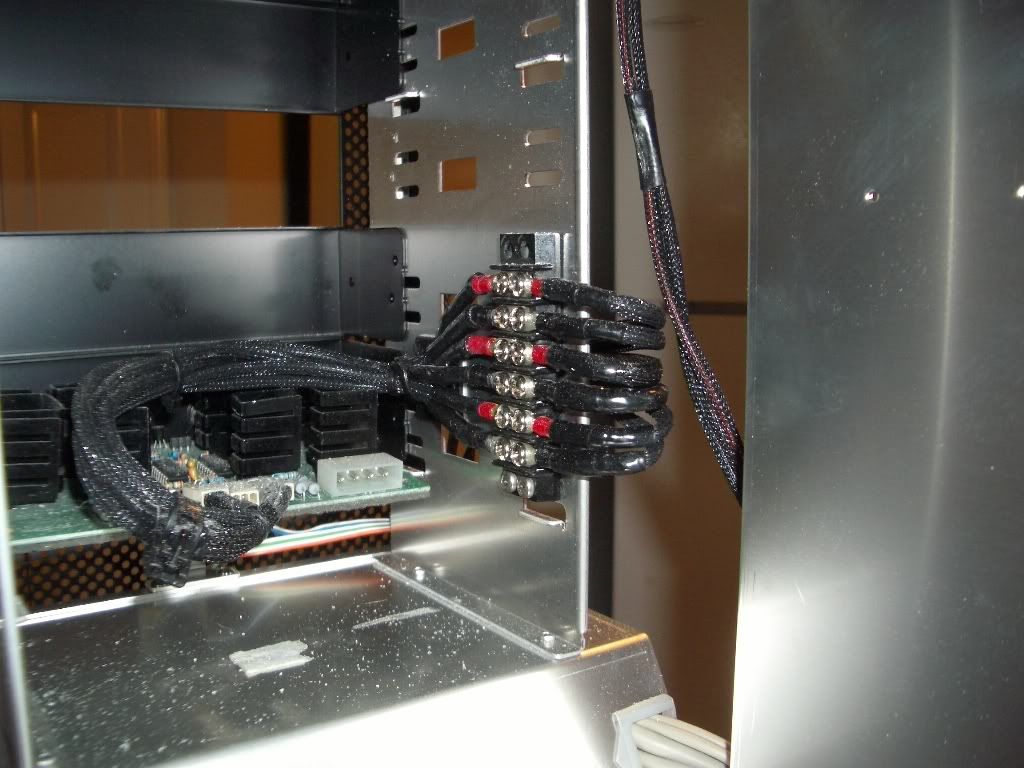
Lastly, until I get the case in, I've got a pic of the beginnings of my wire terminal. From top to bottom (of the terminal) we have:
Radiator fans
CCFL set 1
CCFL set 2
The last 4pin connector on the rheobus will be reserved for something else, that I may or may not do, as time permits.
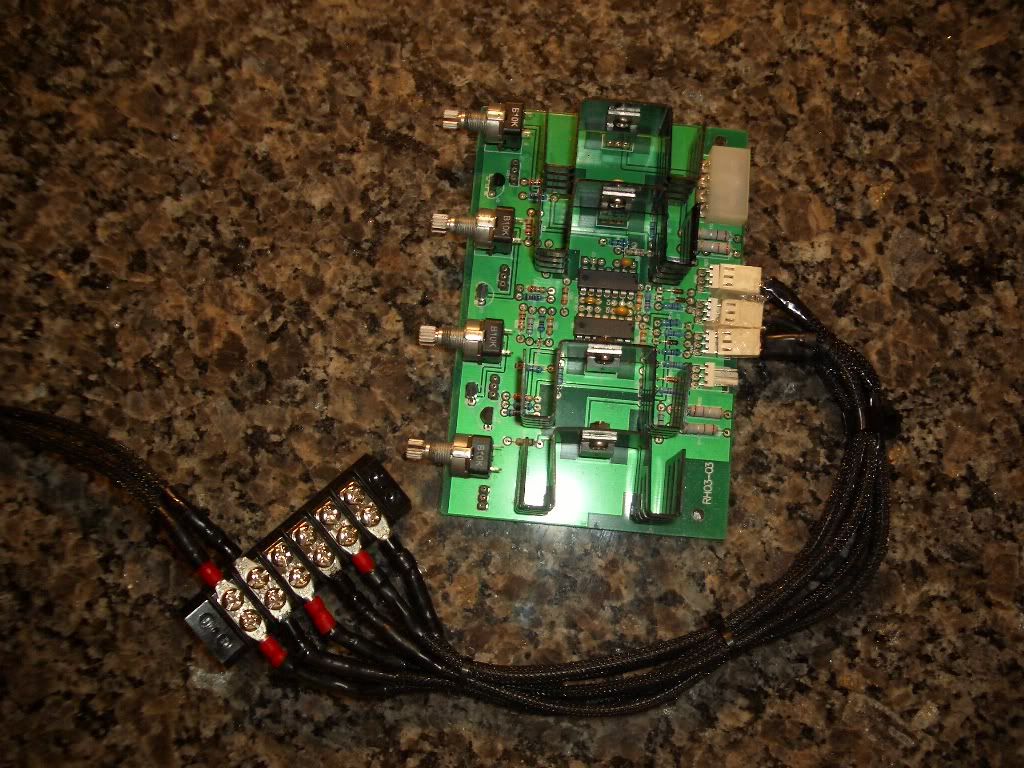
I've got some nicer heatshrink coming in to re-cover those 3 pin connectors... Not like anyone's gonna see them or anything. Also, yes, they're hot glued in. The last thing I want is for a pin to pop out (these are all self-crimped) having me to re-do the ENTIRE cable.
Update, 10pm Wednesday. 60 hours remaining.
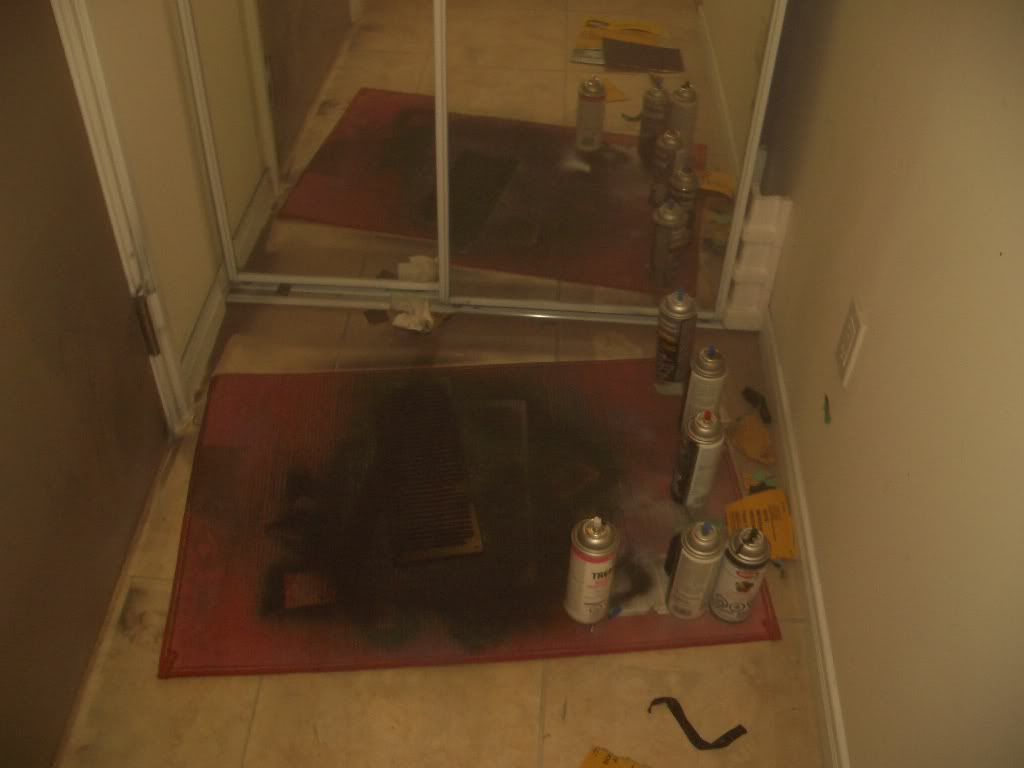
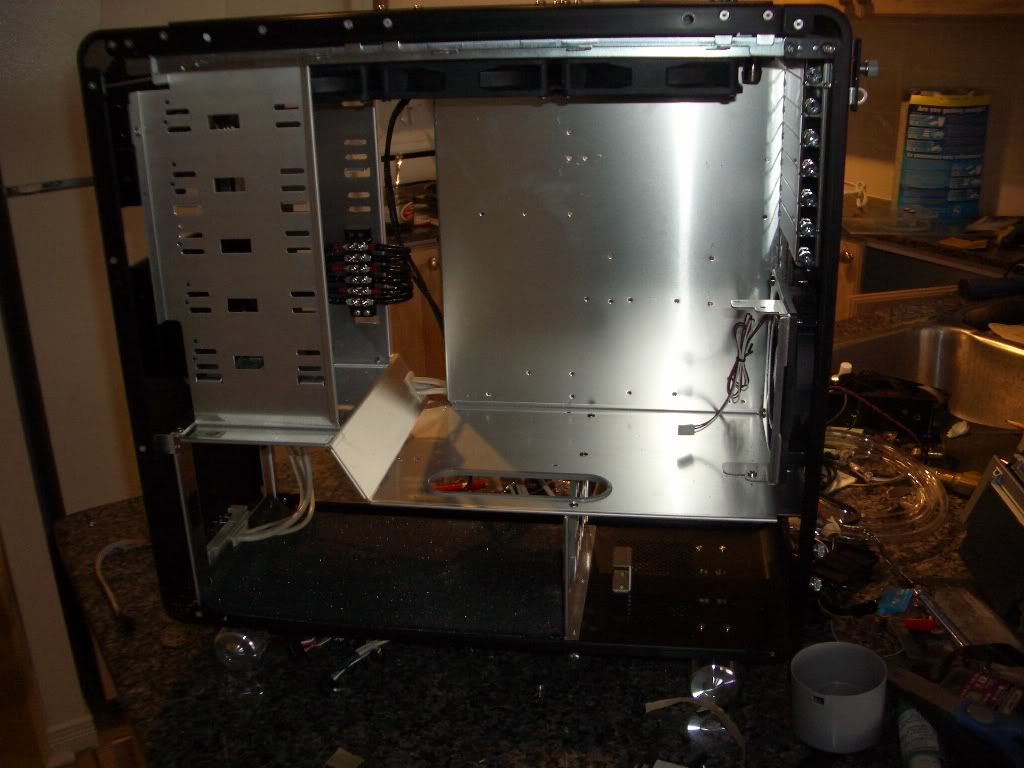
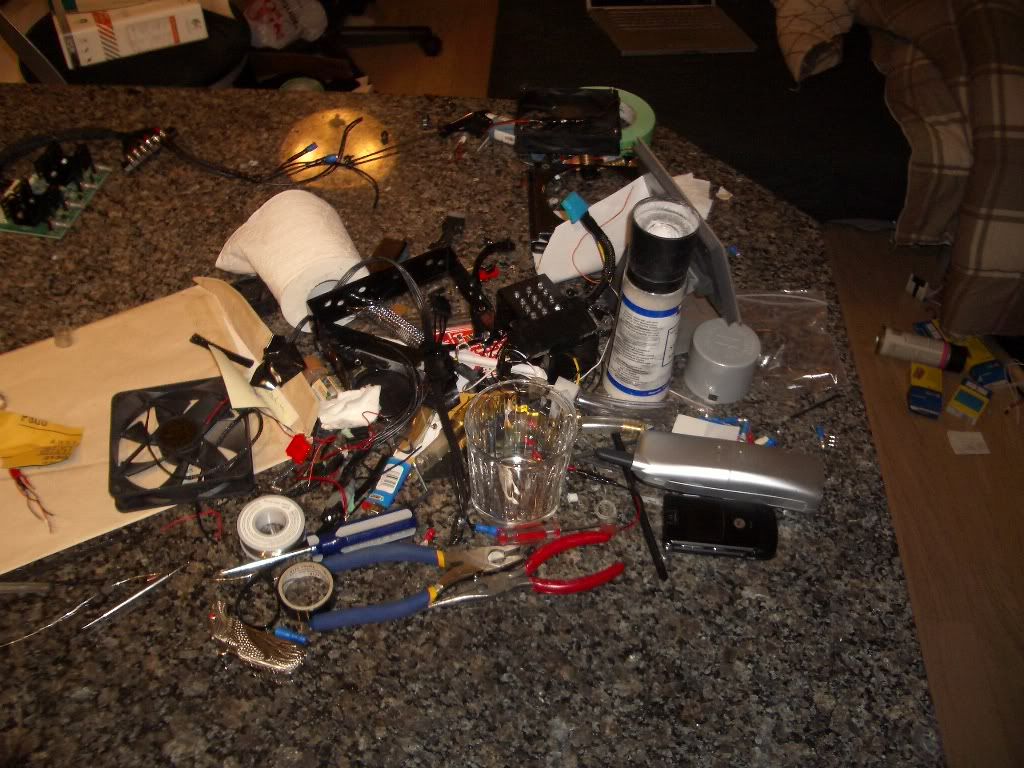
What's with the time limit? Well, let's just say I've got the girlfriend coming over this weekend... And I'm not too sure that a room like this (see below) would fly with her.
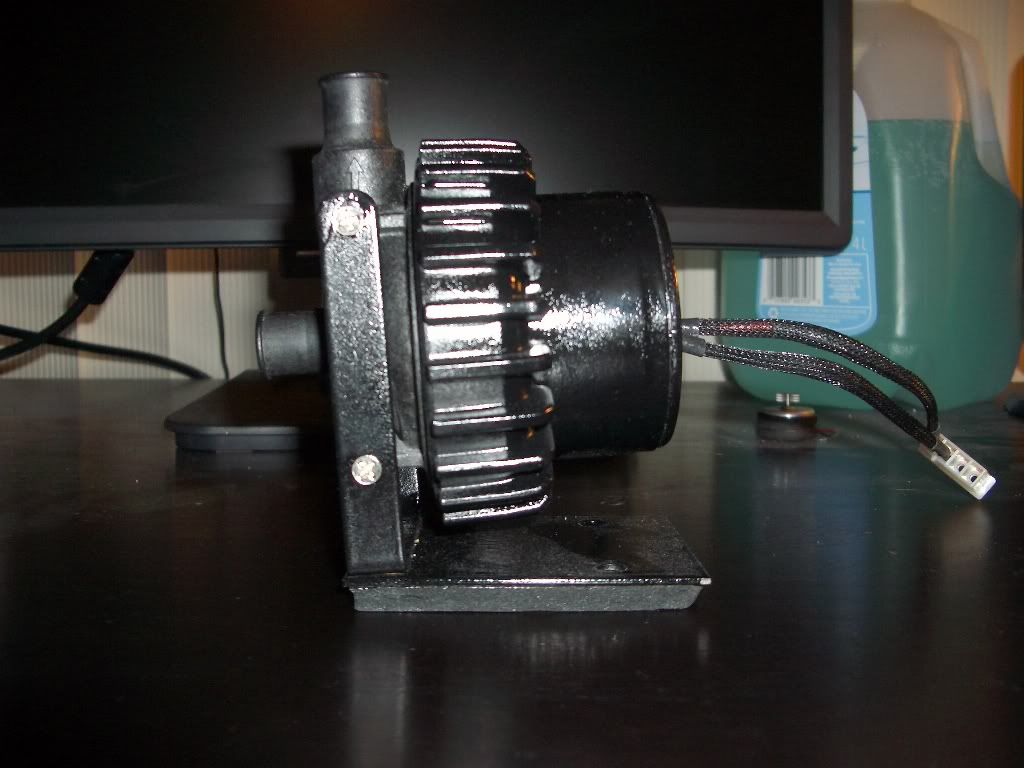
And... What do we have here? I got a nice package in the mail tonight, my new baby!
Anyways... on to the update
First off, we've got more work done on the cable terminal, which I'll be (endearingly) referring to as "the squid." All the cables are cut, soldered, and put into place, ready to be bent into their proper positions, zip tied and mounted to the case (Cmon Fedex!). You can see the body of the terminal strip here.
Once again, I've got good heatshrink coming in to fix those tails, but it won't be arriving for at least 2 weeks (yay ebay).
Here we have the other end of the squid, complete with the ball snap connectors for the main rad fans, and another set of un-finished wires for the 2nd front radiator.
An up close shot of my horrible shrink-wrapping job (how DO you solder to those connectors?! The outside just melts, forcing Arcy to cut them off, and try to melt them back together when the wire's on).
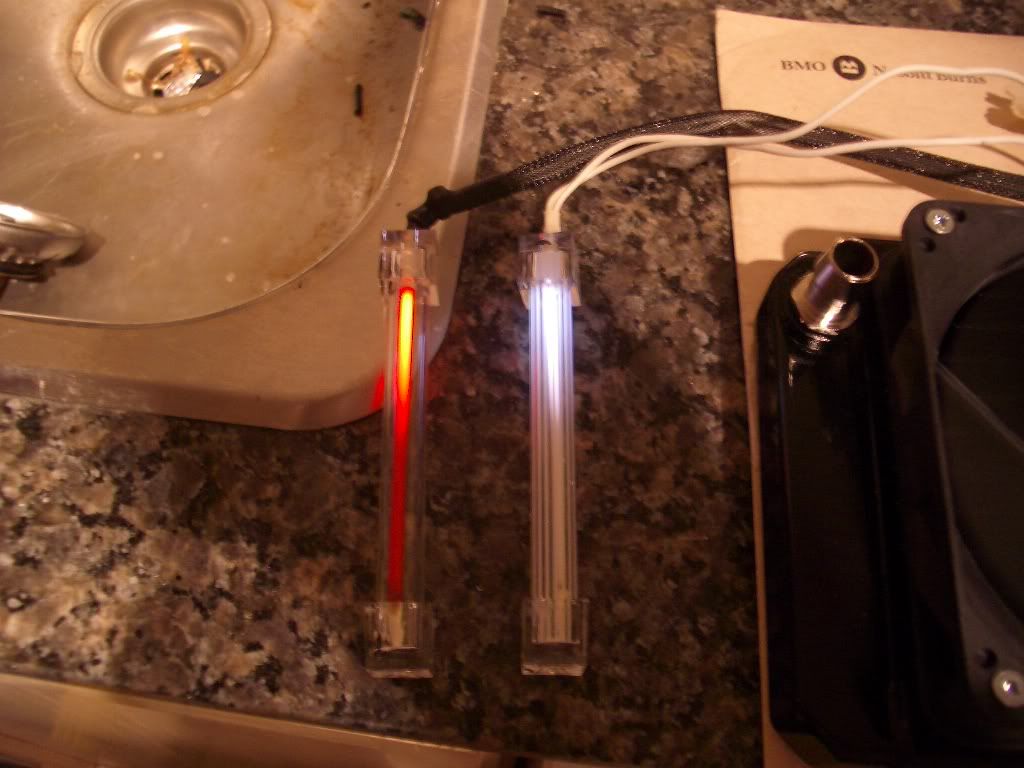
Here you can see the dimmed cathodes (full brightness bleached the CCD on my camera). There will be 2 inverters, one for 4" red and one for 4" white, but I don't have the other one crimped yet. Yes, I do have another colour scheme in the works too. Some UV cathodes for late night gaming and benching. Wow, all that rust in my sink is from the vinegar that was in my rad! It's amazing how fast vinegar oxidizes the surface of stainless steel. Ew!
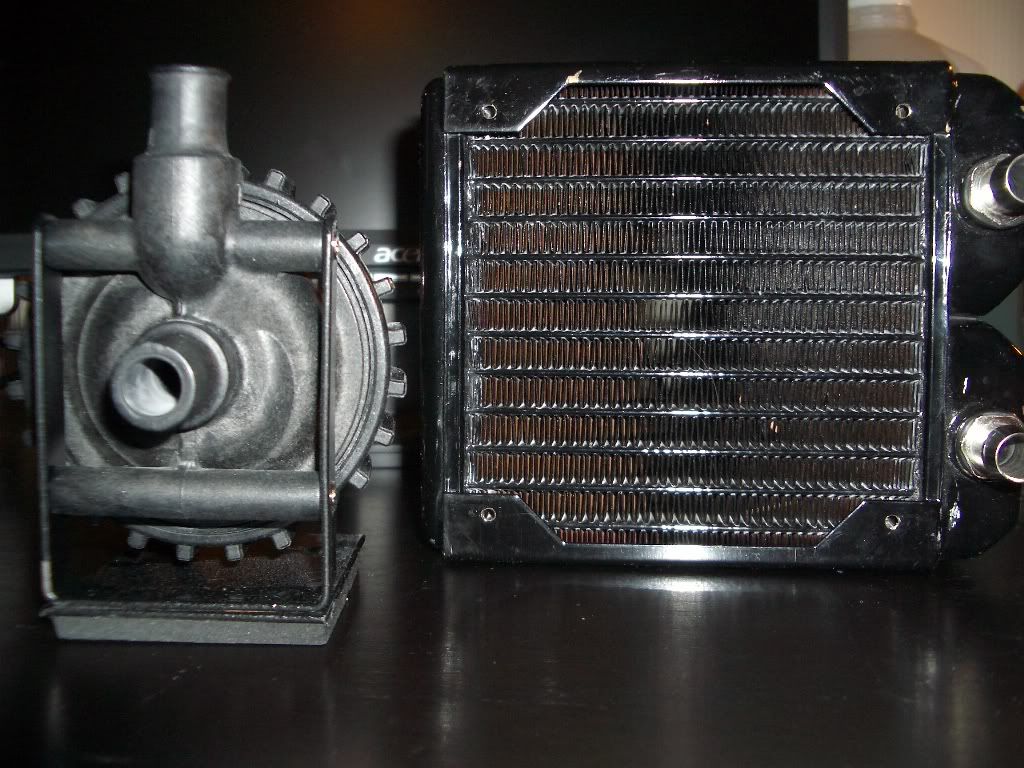
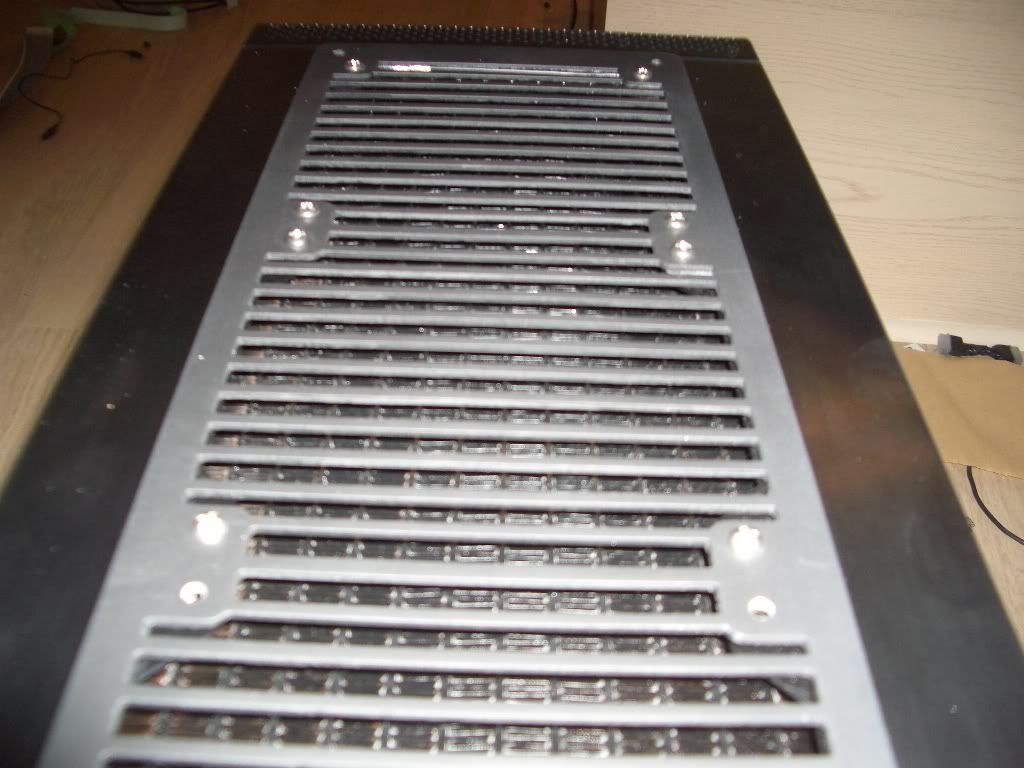
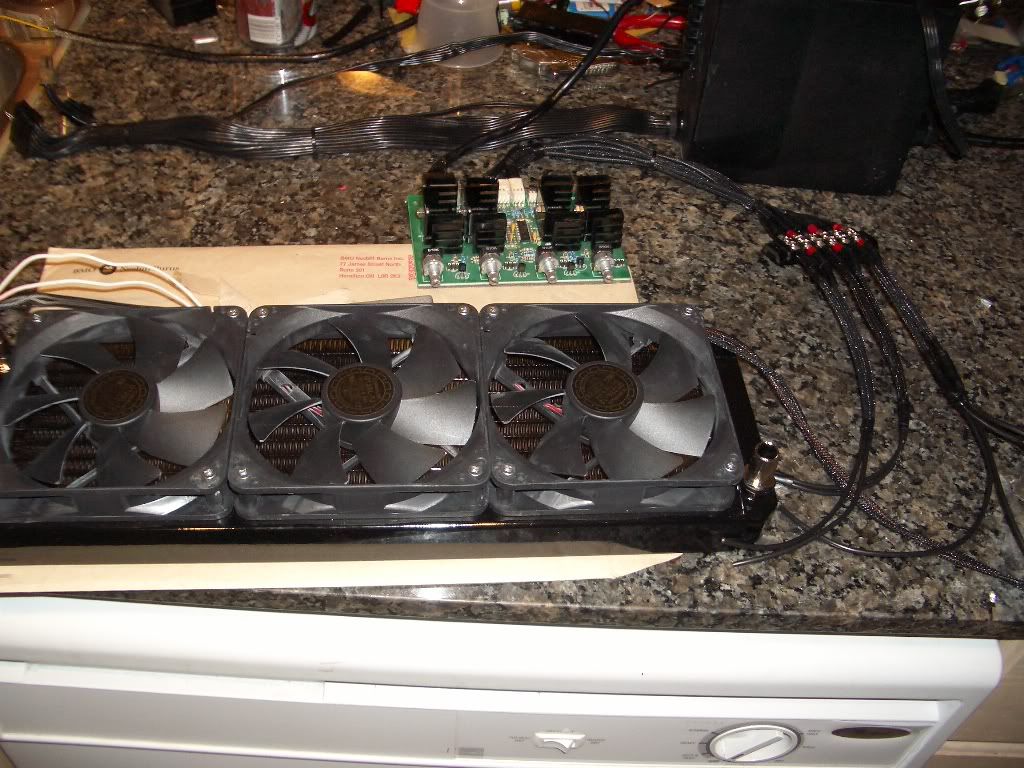
And now, tonight, I leave you all with an up-close and personal shot of my radiator, equipped with 3 running 1200rpm yate loons. Ready to do it's cooling job, begging fedex for my case.
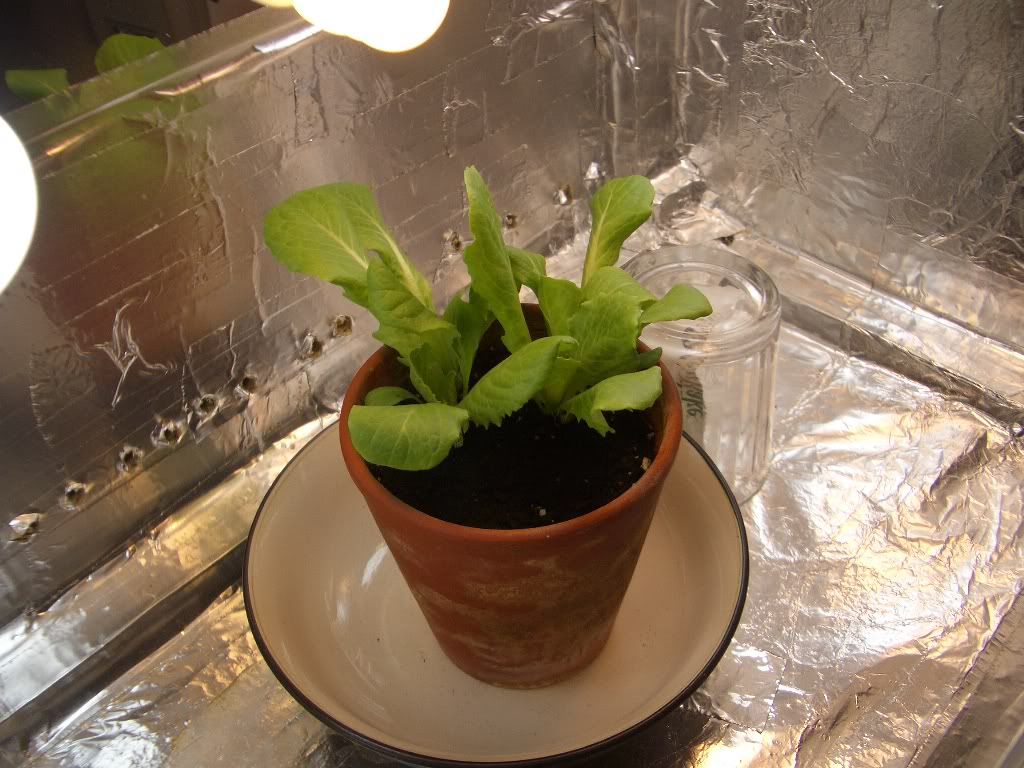
(oh, and my dishwasher! Er... I mean "glass rinser")
Stay tuned, I've got lots to show you!
I'm not going to be changing any system components (other than getting a new motherboard from Asus), but I've come into possession of a beautiful Lian-Li PC-V1000B Plus 2 (I think Lian-Li is taking a page out of ATI's naming convention book!) and cleaning out my closet, I found a few assorted radiators, fans and cold cathodes. I decided to order a triple BIP Xflow radiator for the top, along with an AC Ryan Radgrill.
The main goals for this project will be, in this order:
- Noise Level
- Overclockability
- Cable and Tube Routing
- Overall Style
If any of you know me, which you don't, you'd know that a new project can easily consume every last cycle of brain power I possess. What better time to do an upgrade than the day after school ends, and I await the return of my pre-exam marks. As I eat, sleep, and breathe this upgrade process, you can imagine how hard it is to wait for my parts.
I can't.
And so, I break the cardinal rule of beginning to cut and solder my cables, before the case even reaches my door. Armed with (the larger versions of) these four images
I begin my work.
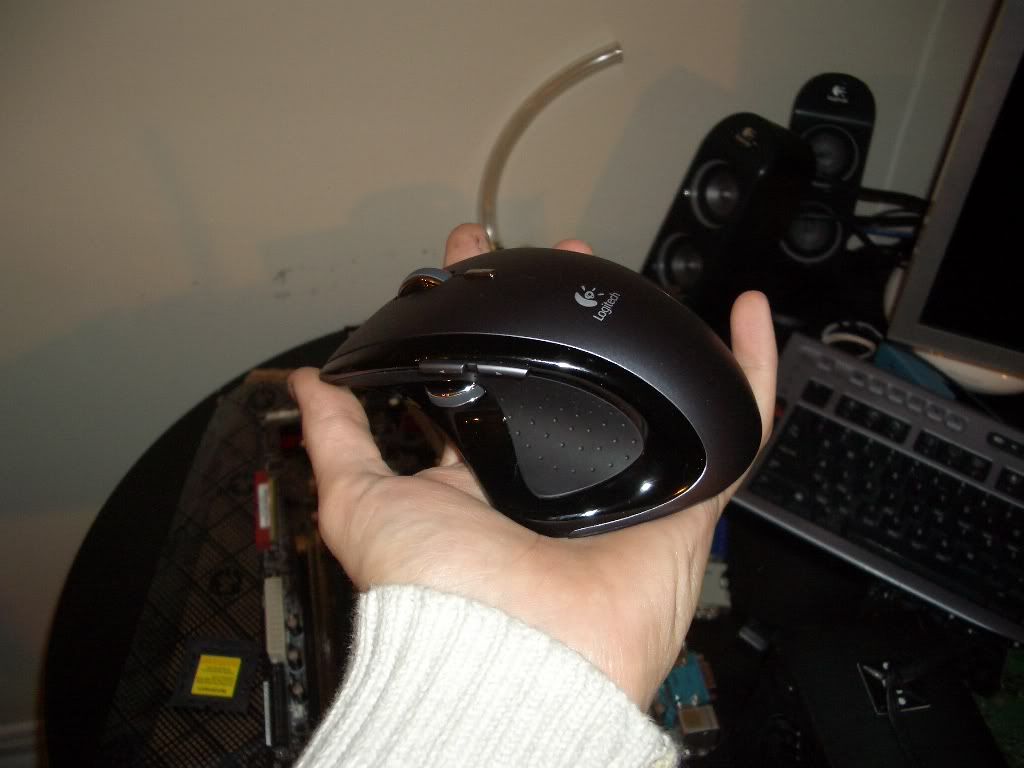
First off, I hate wires. I HATE wires. Therefore, I'm going to be routing a few of the cables out the side of the PSU. You can see the 1" hole and 3/4 ID rubber grommet I've used for this task (PSU warranty what?). The single cable is lonely right now, but I can assure the hole will be populated with a few 4 pin molex connectors. Since the time of this photo, I've straightened out that 4pin connector, but I don't really care because you can't see it anyways.
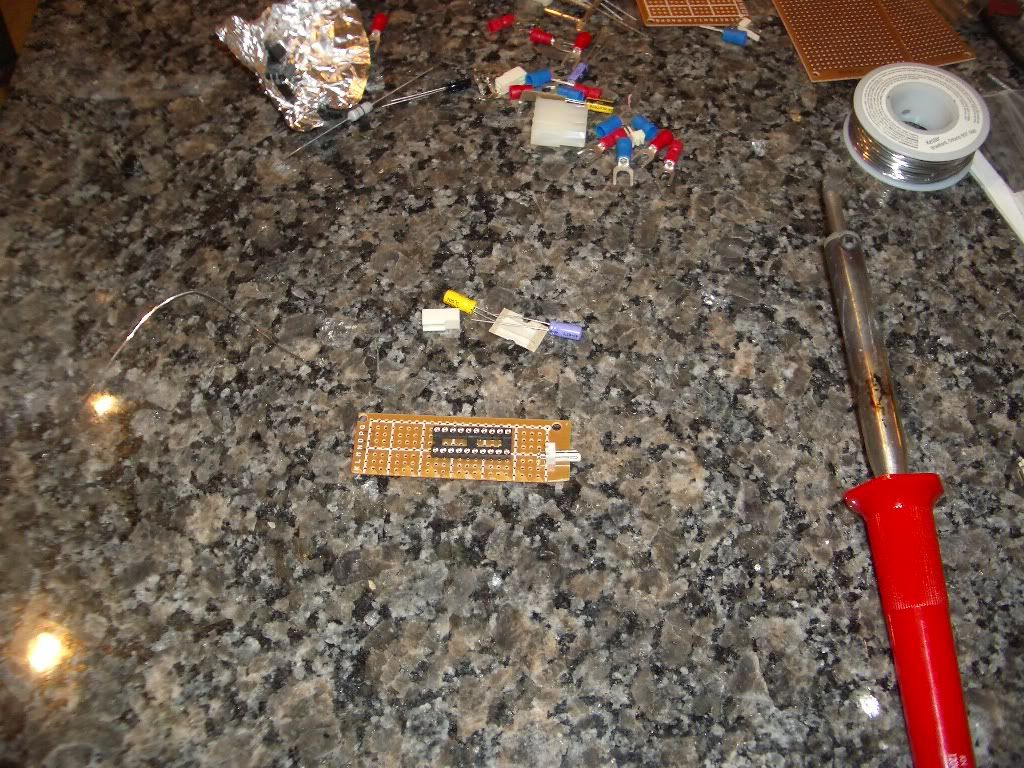
Next up (images to follow in a minute or two) I'm starting my wire terminals. My cables live by the rule, "If you can't hide them, show them off," so I'll be employing a nice wire terminal for my sunbeam rheobus. Here's a quick (read: blurry) snapshot of the Blue connectors (sigh) that had to be painted black. Vinyl dye to the rescue!
After painting... They look identical, but black. I'll let you all visualize that one, rather than taking another picture
Up next, we've got a beautiful photo of my radiator fans, lit only by the 7am sunlight. They're all soldered, heatshrink and sleeved. Yes, I was up until 7am to take this pic, and no I don't sleep... Ever.
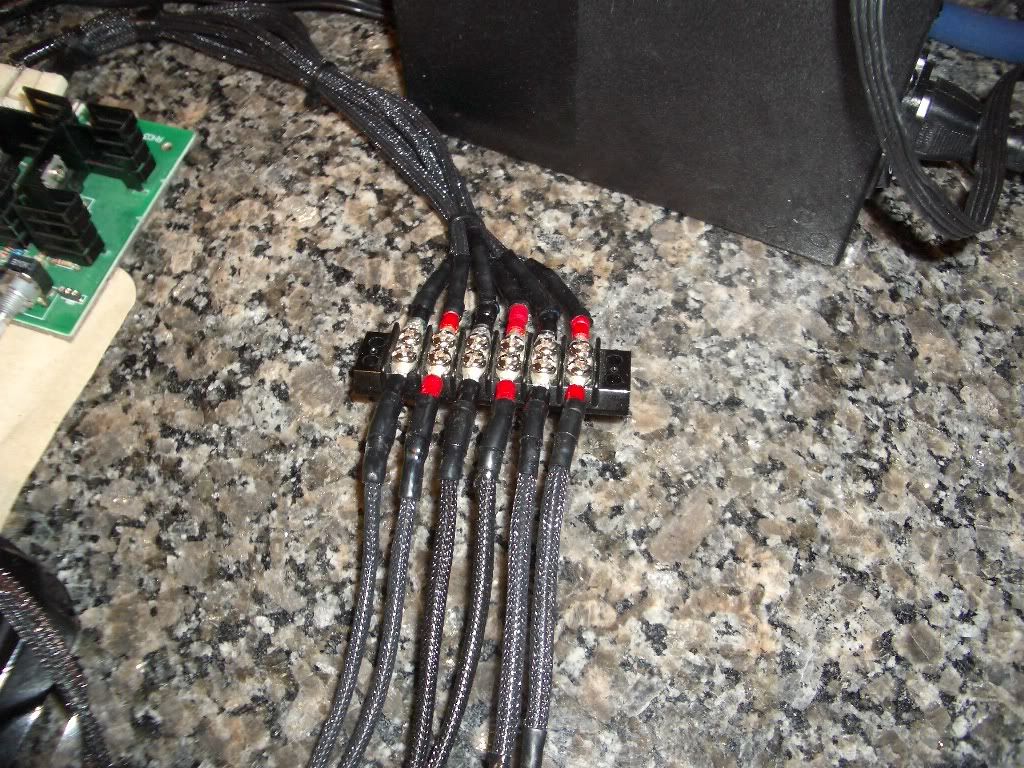
Lastly, until I get the case in, I've got a pic of the beginnings of my wire terminal. From top to bottom (of the terminal) we have:
Radiator fans
CCFL set 1
CCFL set 2
The last 4pin connector on the rheobus will be reserved for something else, that I may or may not do, as time permits.
I've got some nicer heatshrink coming in to re-cover those 3 pin connectors... Not like anyone's gonna see them or anything. Also, yes, they're hot glued in. The last thing I want is for a pin to pop out (these are all self-crimped) having me to re-do the ENTIRE cable.
Update, 10pm Wednesday. 60 hours remaining.
What's with the time limit? Well, let's just say I've got the girlfriend coming over this weekend... And I'm not too sure that a room like this (see below) would fly with her
.
And... What do we have here? I got a nice package in the mail tonight, my new baby!
Anyways... on to the update
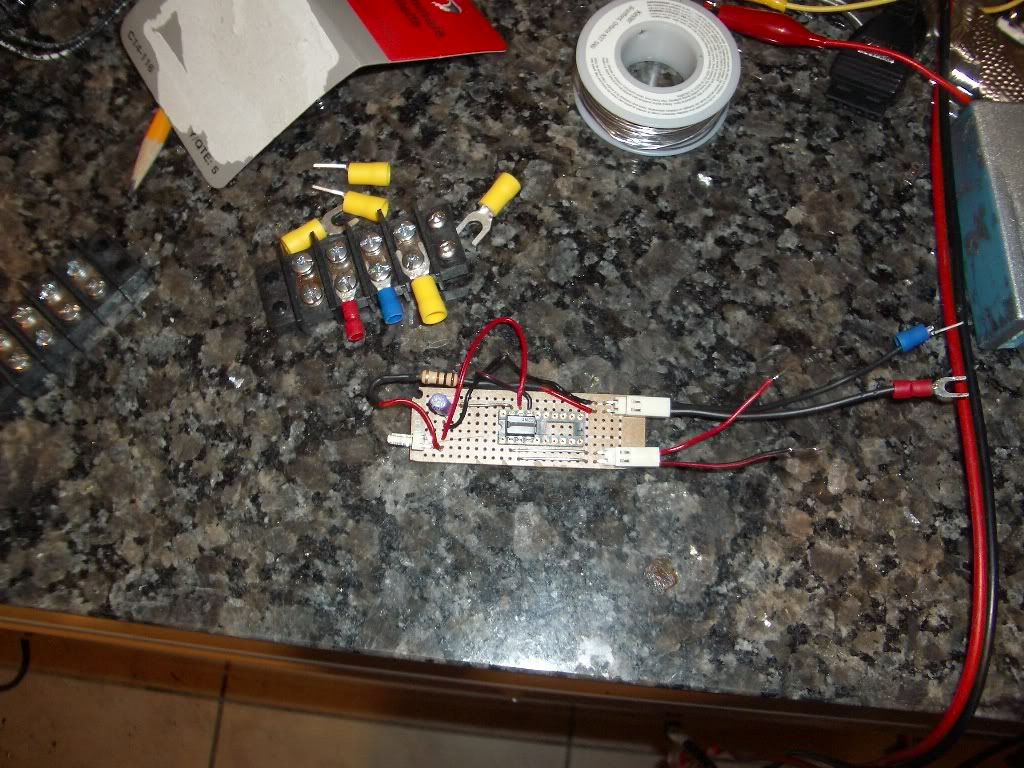
First off, we've got more work done on the cable terminal, which I'll be (endearingly) referring to as "the squid." All the cables are cut, soldered, and put into place, ready to be bent into their proper positions, zip tied and mounted to the case (Cmon Fedex!). You can see the body of the terminal strip here.
Once again, I've got good heatshrink coming in to fix those tails, but it won't be arriving for at least 2 weeks (yay ebay
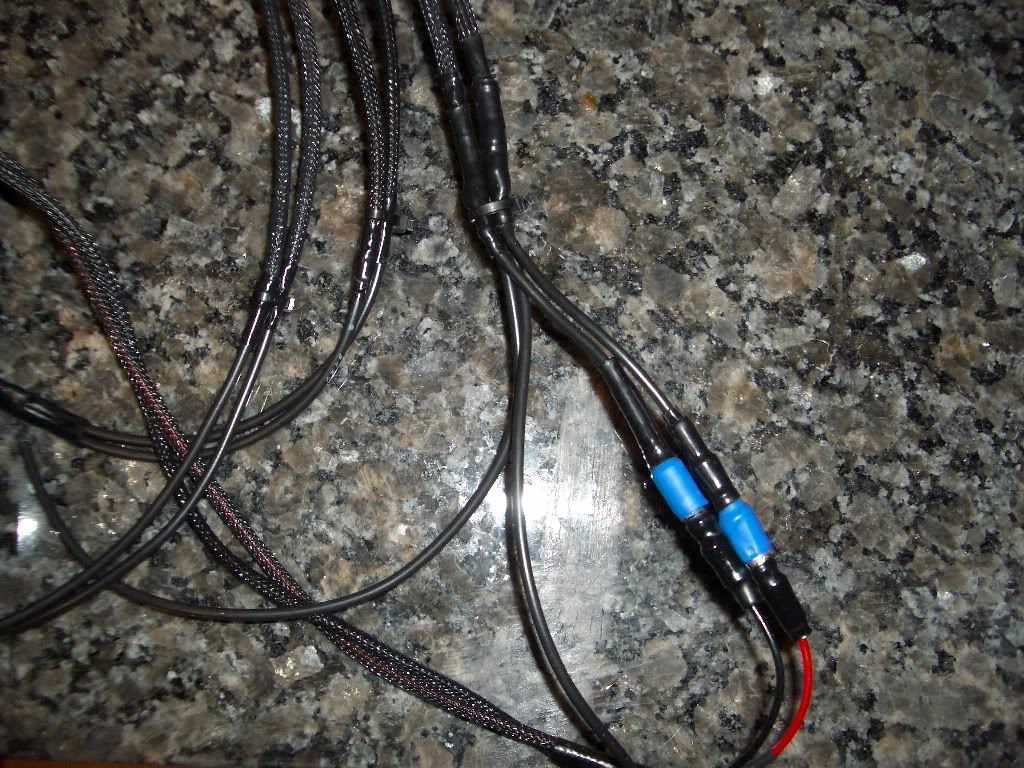
). Here we have the other end of the squid, complete with the ball snap connectors for the main rad fans, and another set of un-finished wires for the 2nd front radiator.
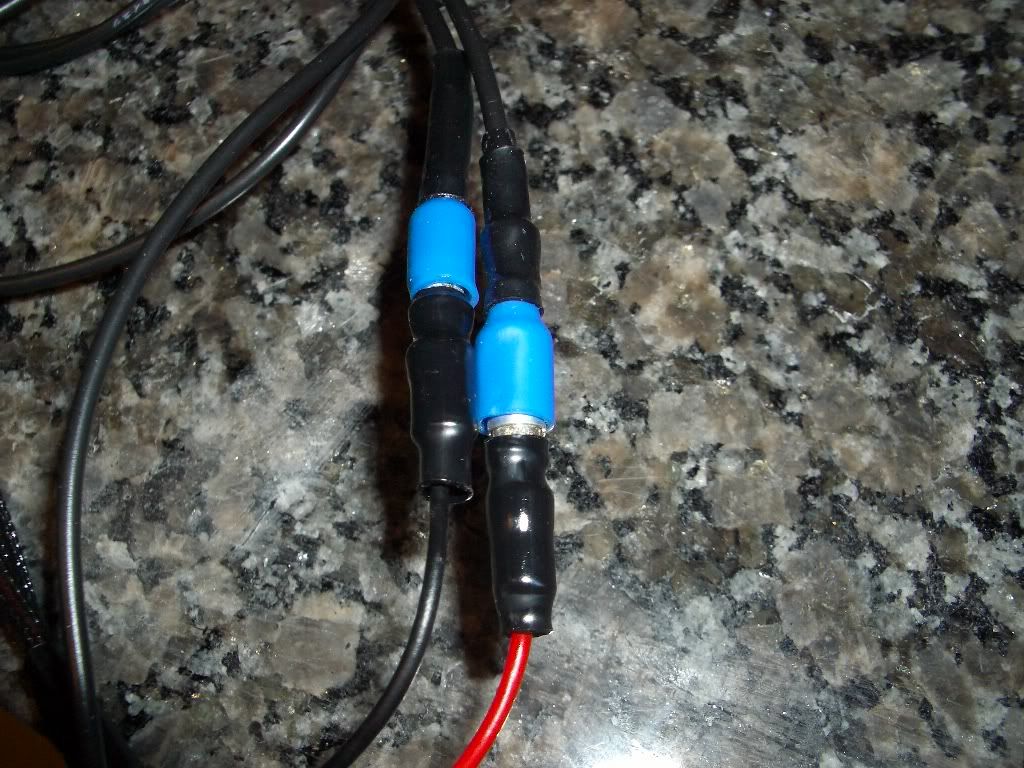
An up close shot of my horrible shrink-wrapping job (how DO you solder to those connectors?! The outside just melts, forcing Arcy to cut them off, and try to melt them back together when the wire's on).
Here you can see the dimmed cathodes (full brightness bleached the CCD on my camera
). There will be 2 inverters, one for 4" red and one for 4" white, but I don't have the other one crimped yet. Yes, I do have another colour scheme in the works too. Some UV cathodes for late night gaming and benching. Wow, all that rust in my sink is from the vinegar that was in my rad! It's amazing how fast vinegar oxidizes the surface of stainless steel. Ew!
And now, tonight, I leave you all with an up-close and personal shot of my radiator, equipped with 3 running 1200rpm yate loons. Ready to do it's cooling job, begging fedex for my case.
(oh, and my dishwasher! Er... I mean "glass rinser")
Stay tuned, I've got lots to show you!