Hi everybody!
I would like to show you some pictures what I (André) with a friend (Finn) do tinker in our free time.
We both come from Cologne, Germany.
Our crafting threads on hobby basis consist in many forums since 2007.
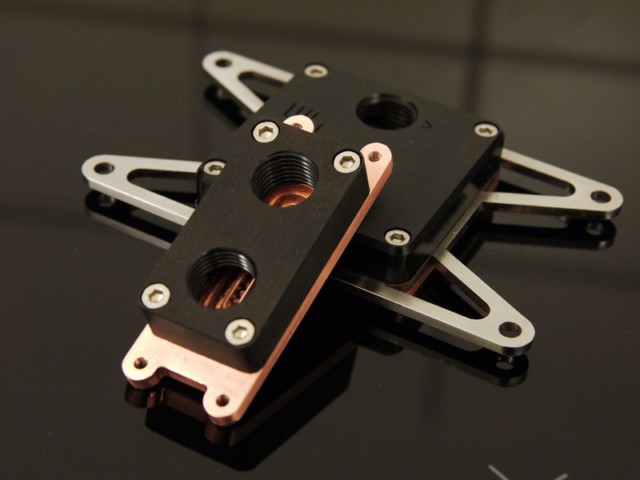
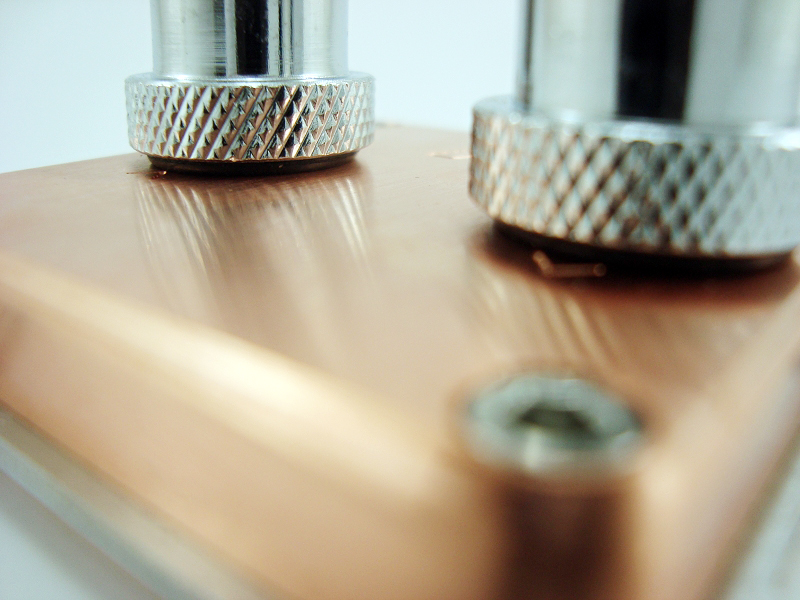
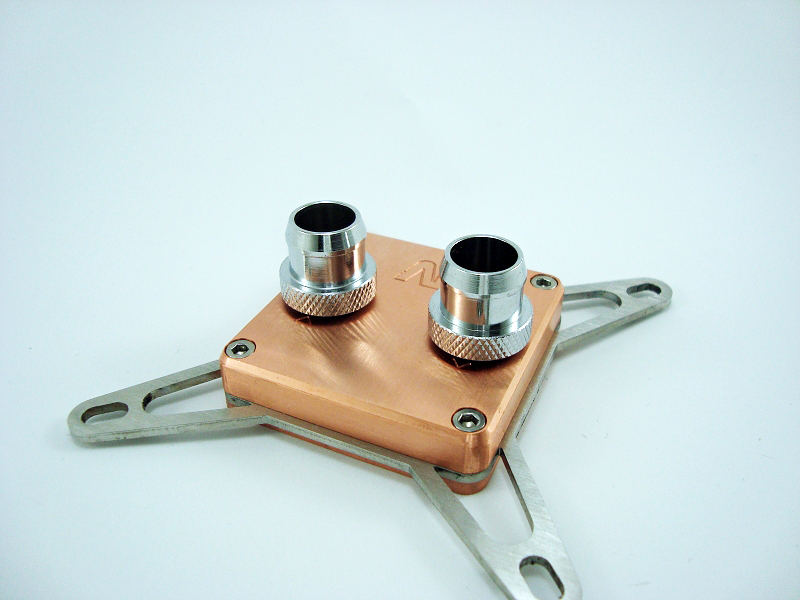
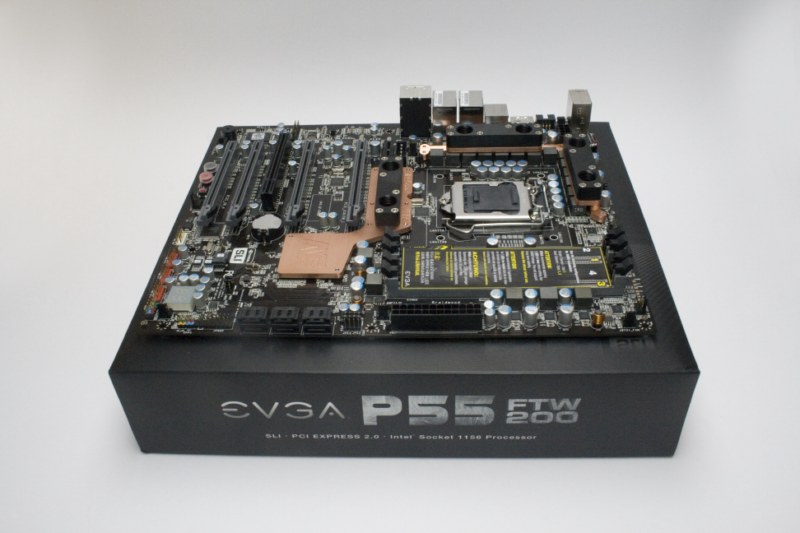
The self made waterblocks have exited many readers, and some of you allready know our homemade coolers. Maybe some of you allready had discovered our pictures in the waterblock-picture-threads in other forums. With the handcafted coolers and complete Mainboardsets we leisurely got a name in watercooling by cooling enthusiasts.
In close cooperation with many forum users, we have developed a lot of waterblocks.
Often, you can take part of the developement and be really close with decisions here in the forum.
I hope that u are going to like reading my posts! ^^
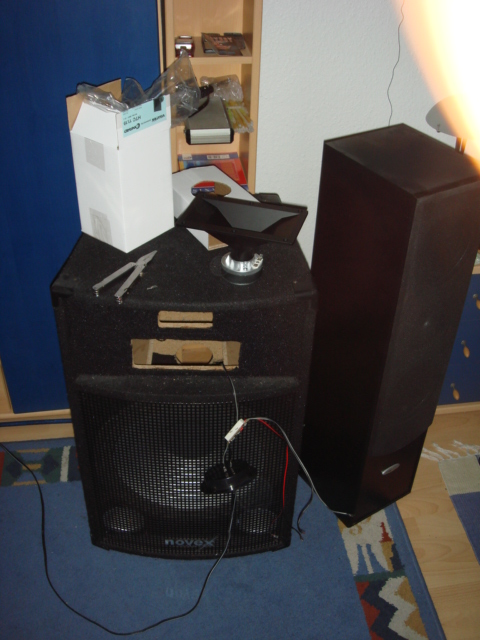
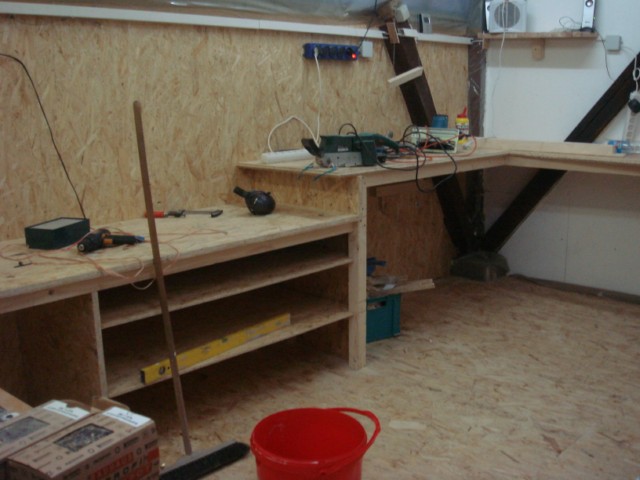
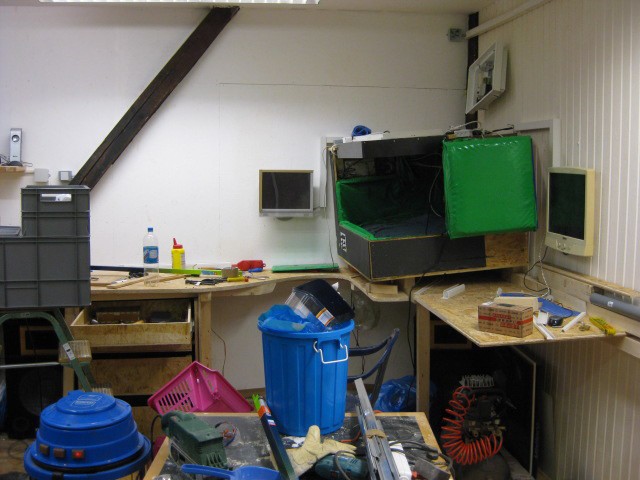
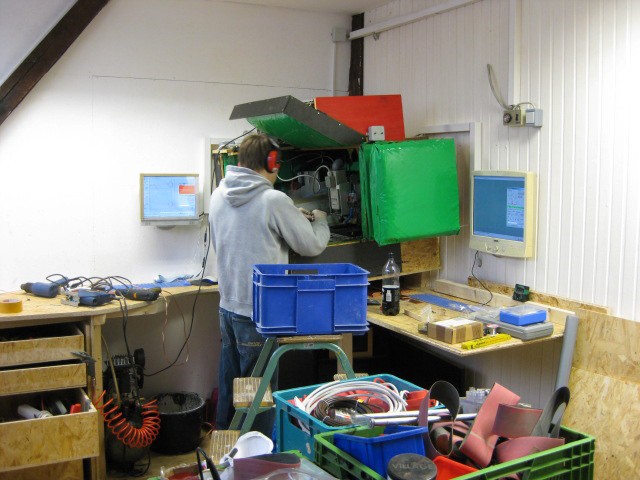
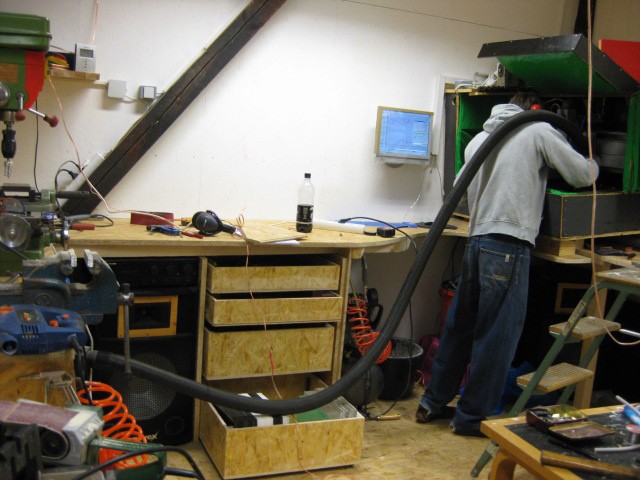
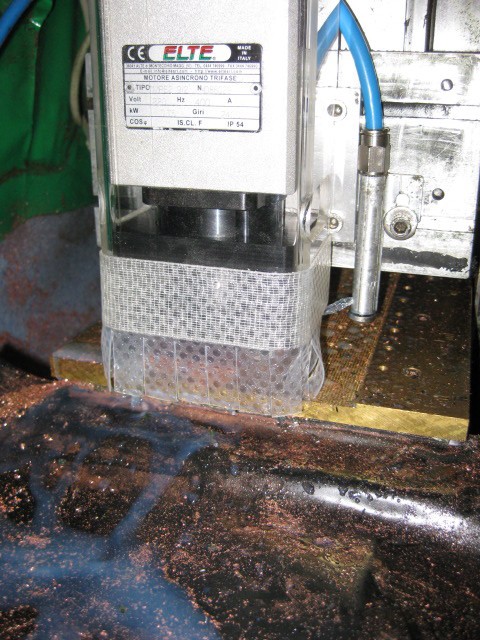
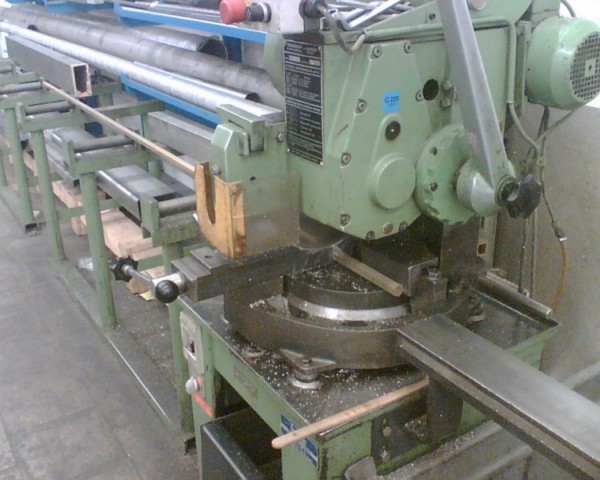
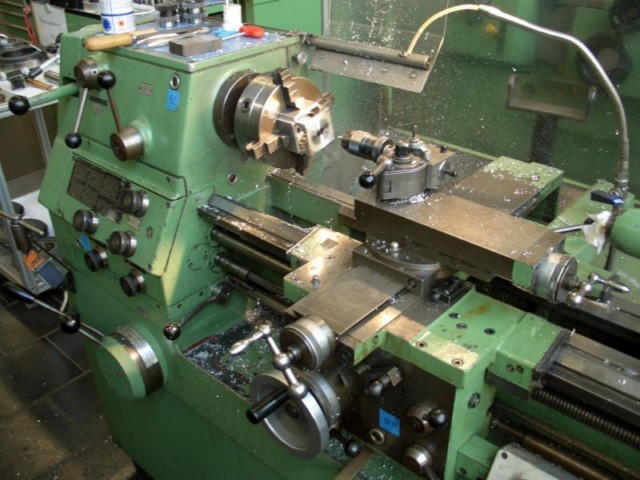
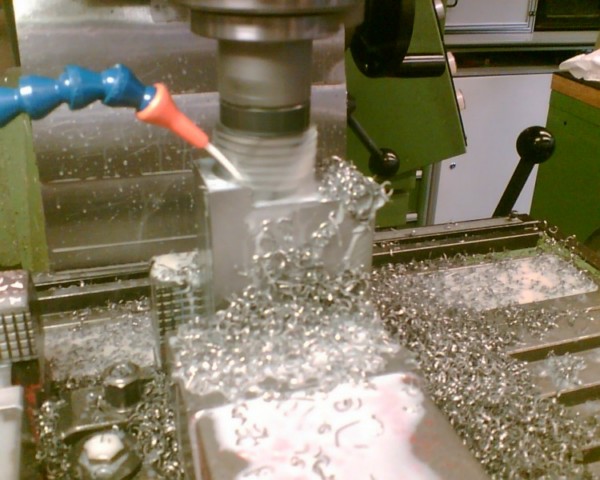
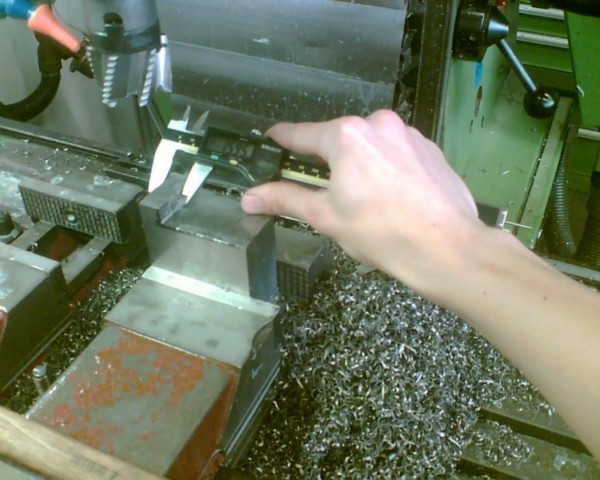
at the beginning a picture from our old workshop in my basement:
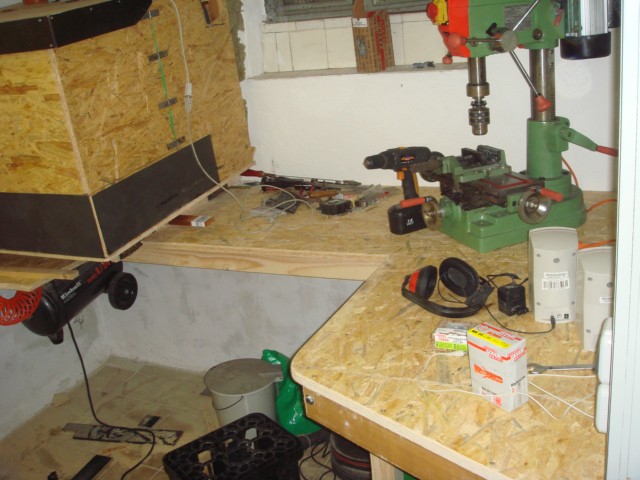
Left side: a noise-protection-box with CNCs, on the right...our manual drill.
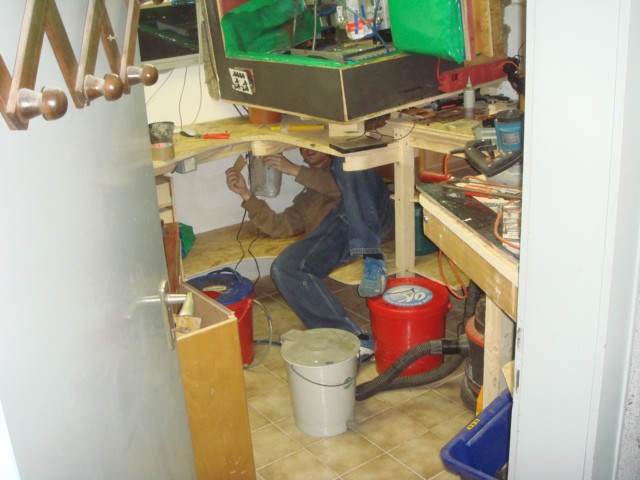
at the bottom: this is me...gluing the CNC coolant effluent
the workshop was really small.
It was 9m² and is now too small for our new CNC
But see below for more

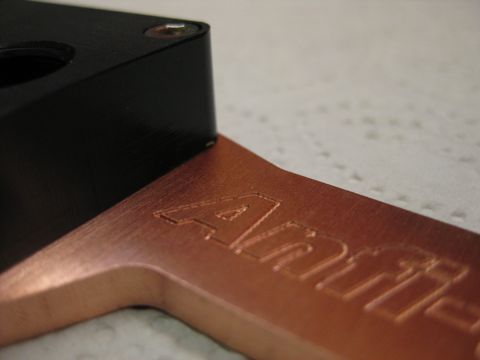
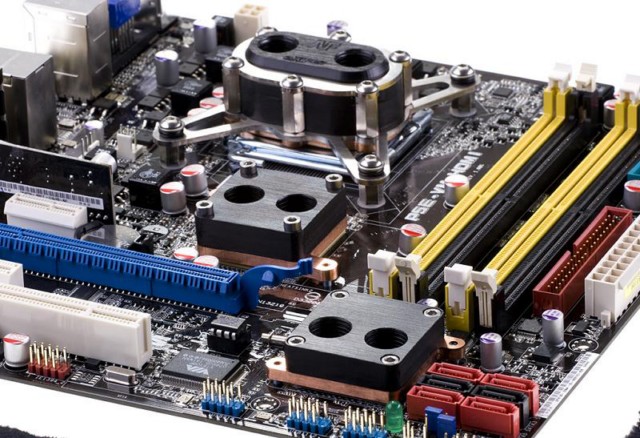
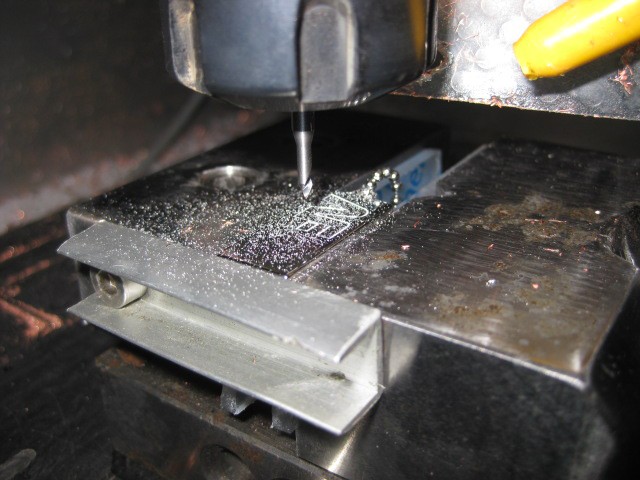
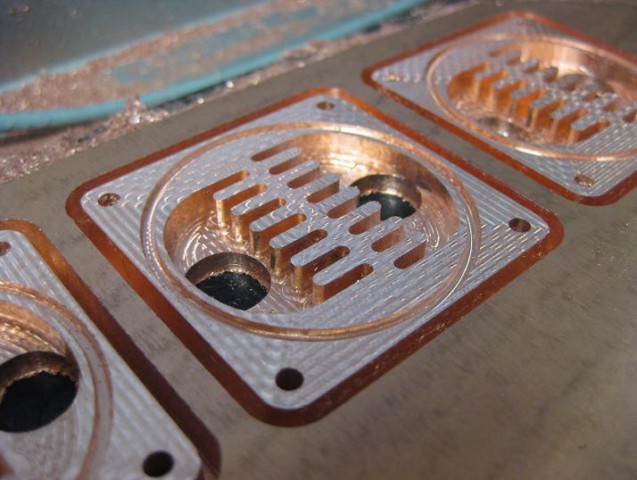
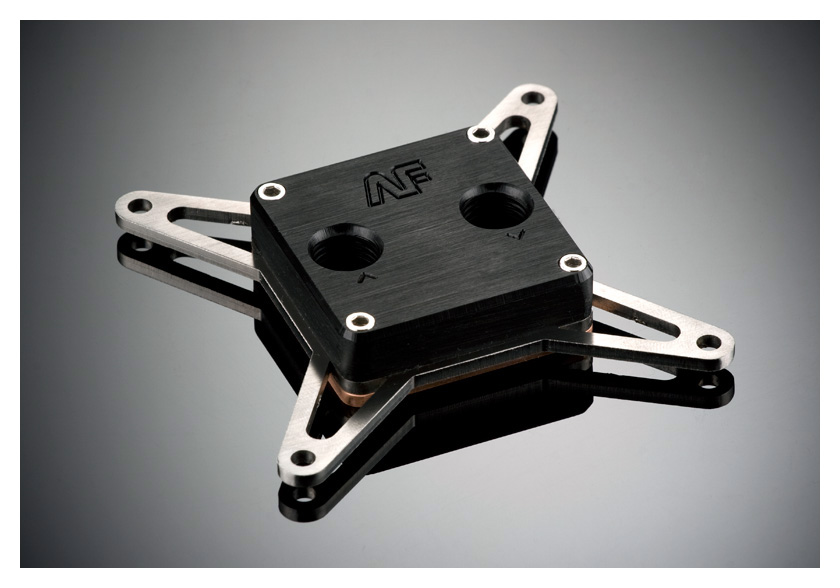
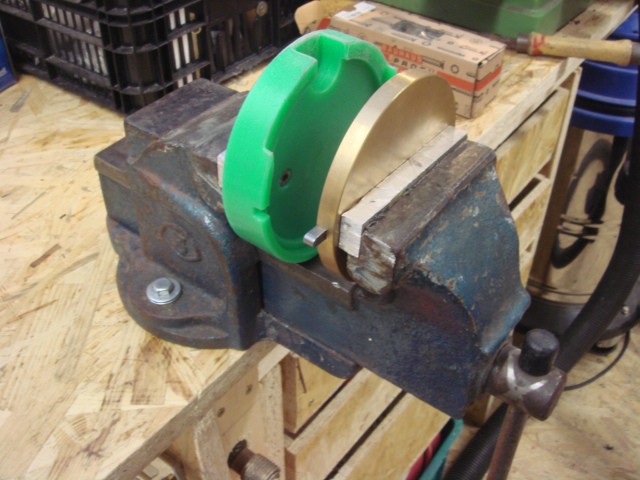
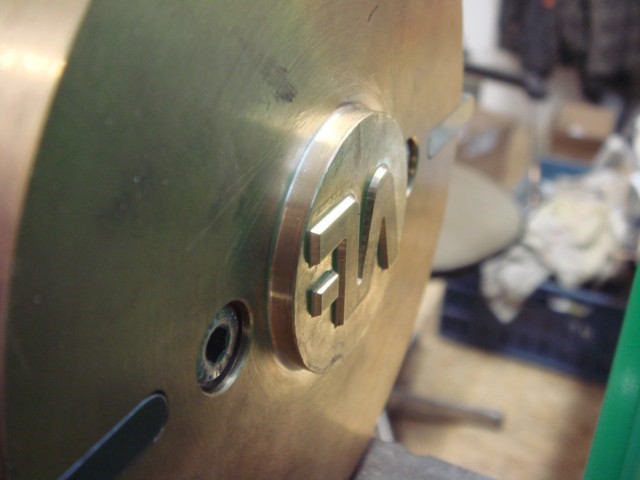
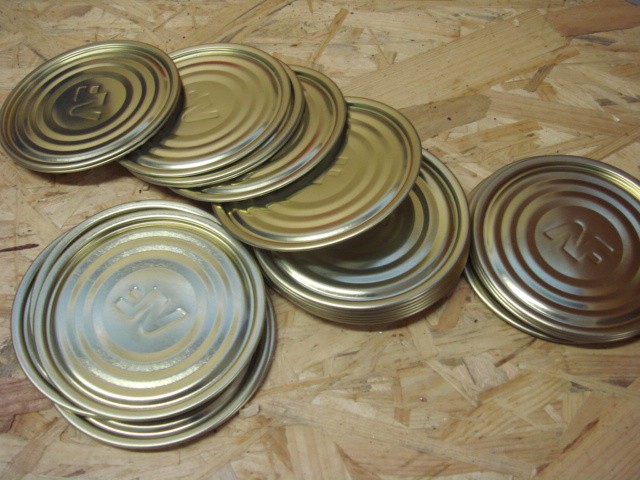
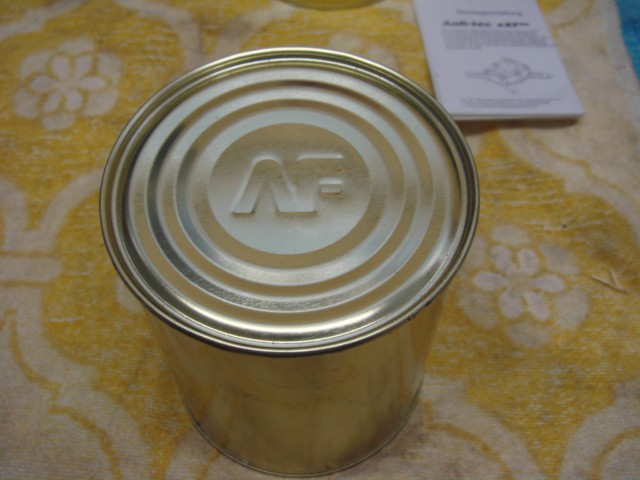
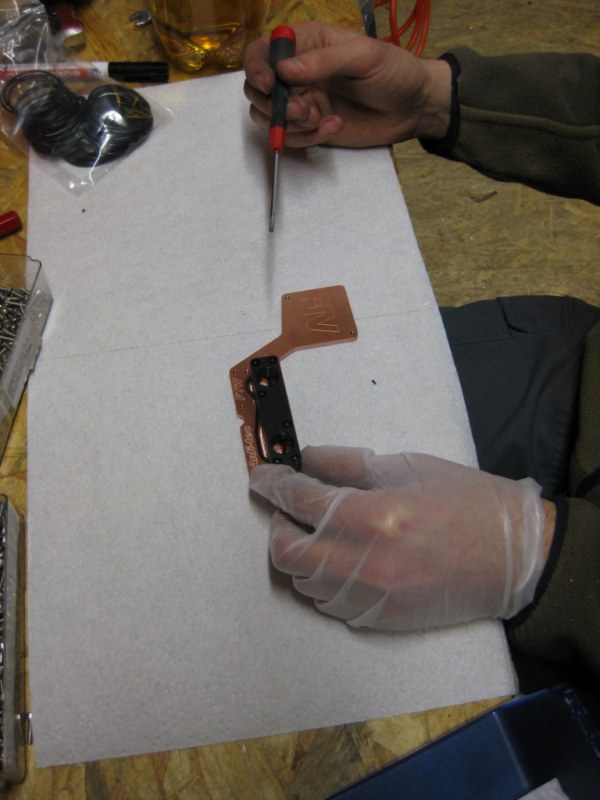
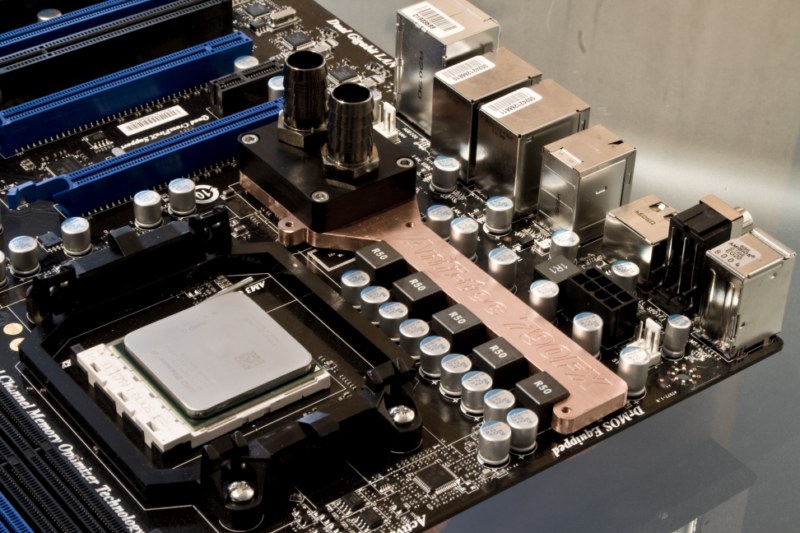
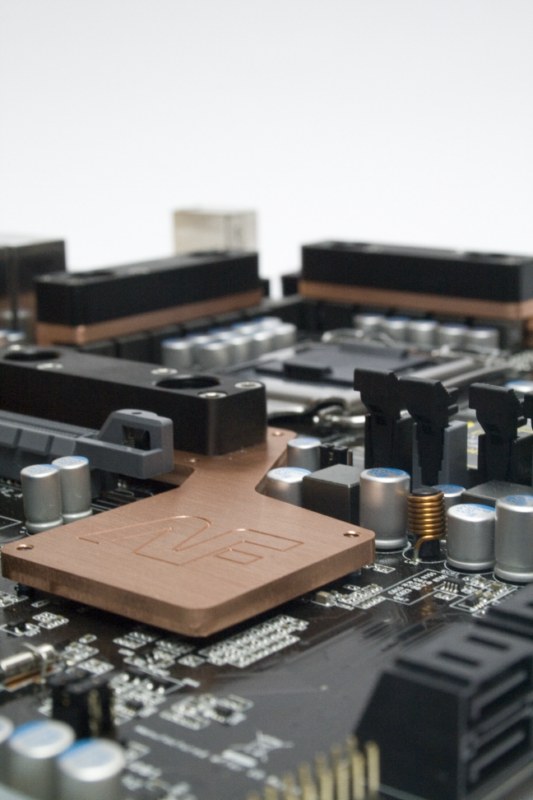
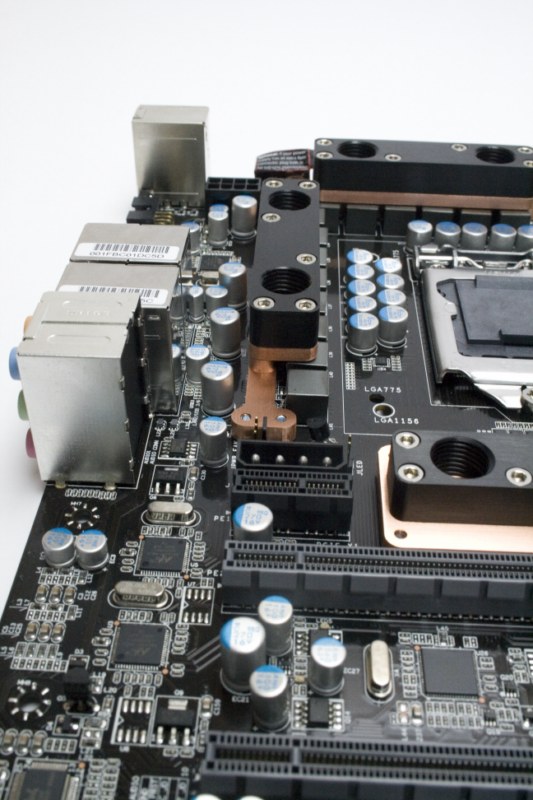
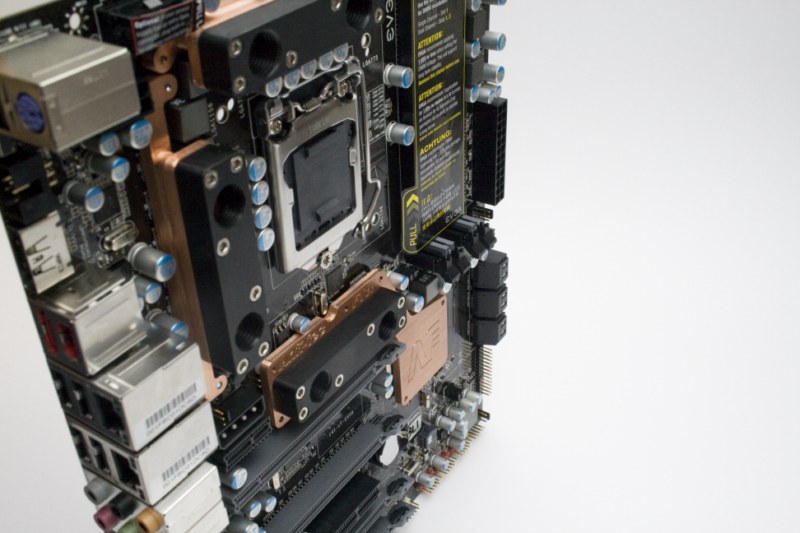
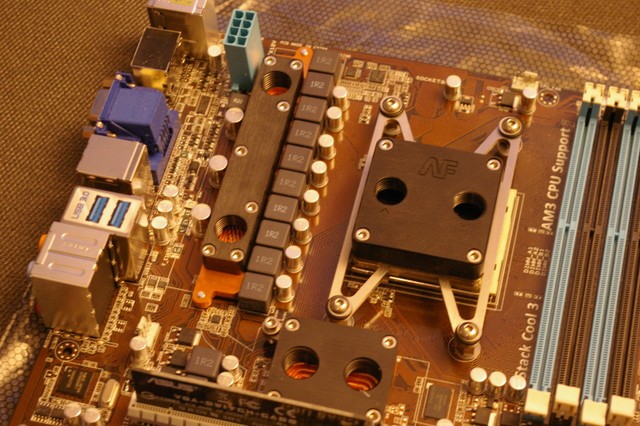
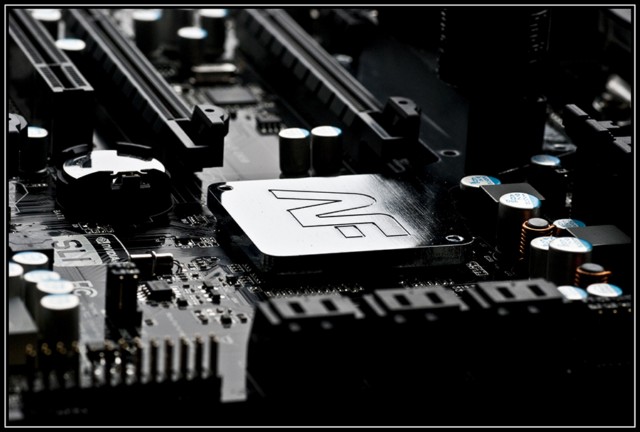
our standard Northbridgestruktur on the left - right side, our logo (ΛF) [ André & Finn] mowed in lawn: D

left side, our first CNC - right, a couple of EVGA 680i PWM copper bottoms
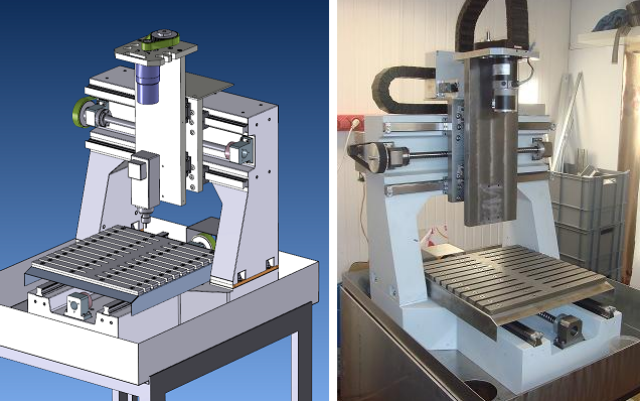
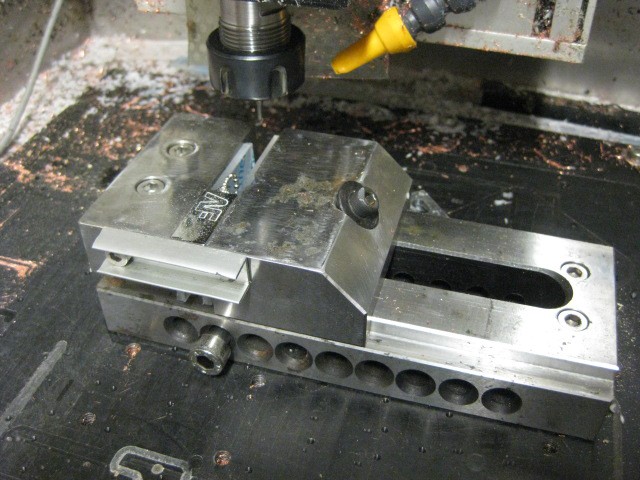
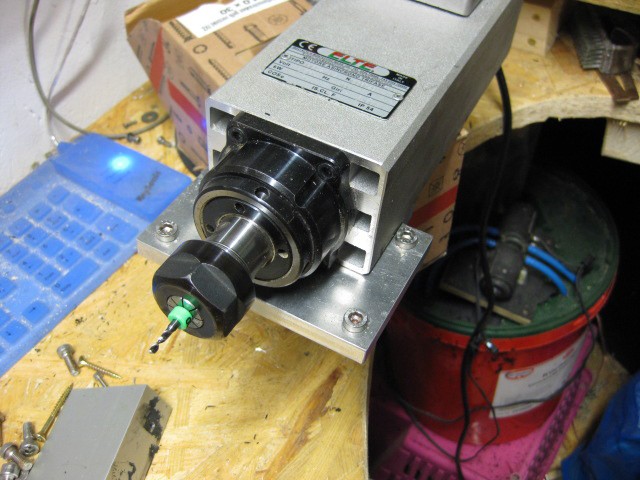
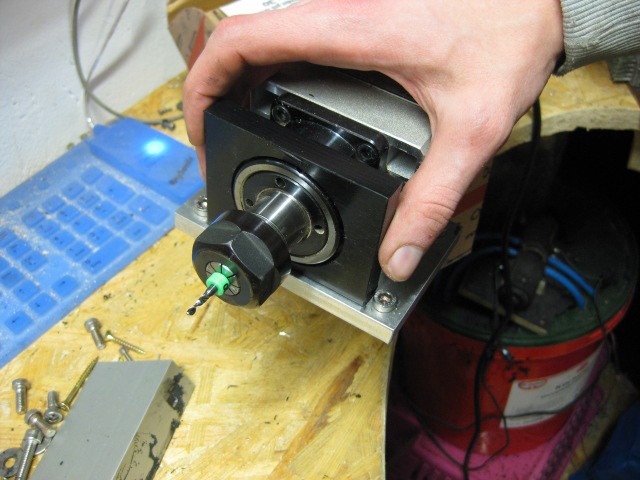
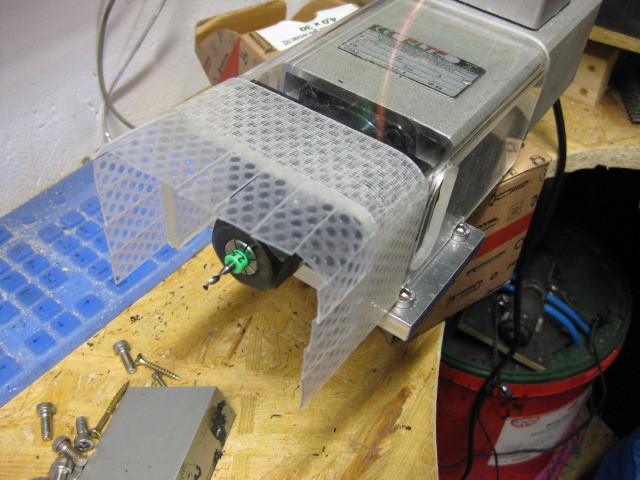
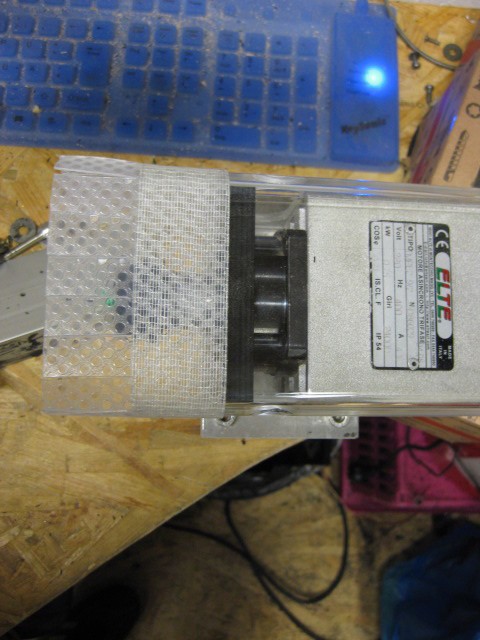
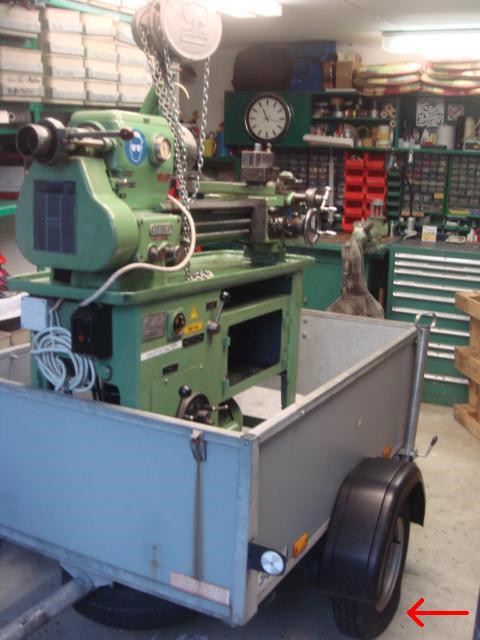
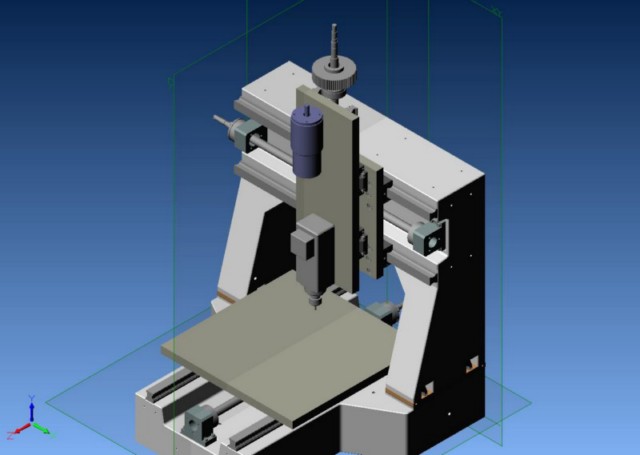
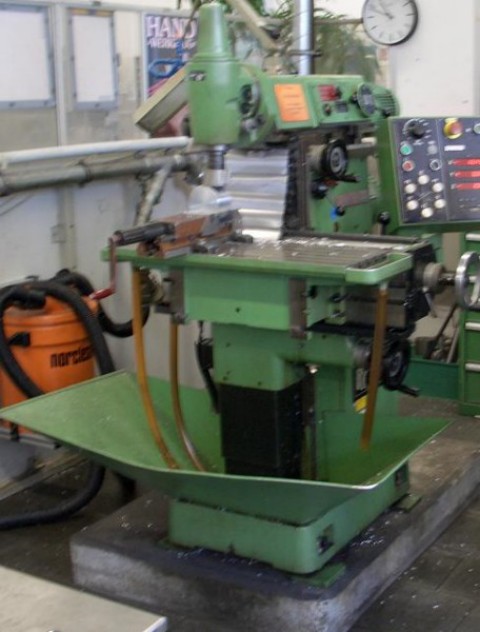
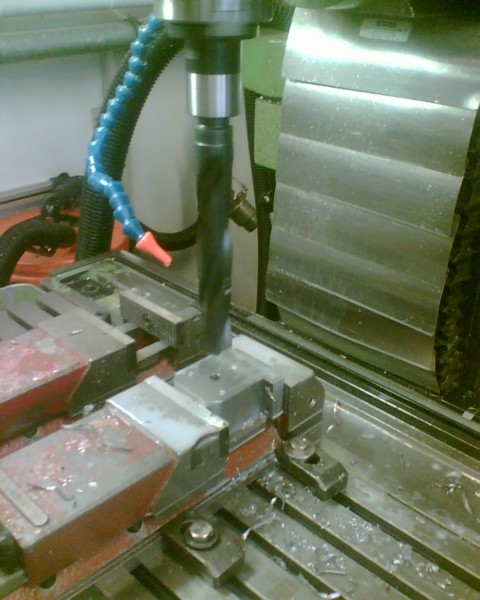
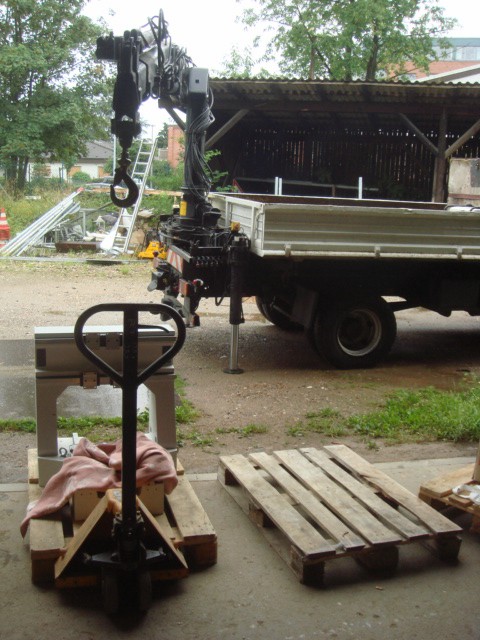
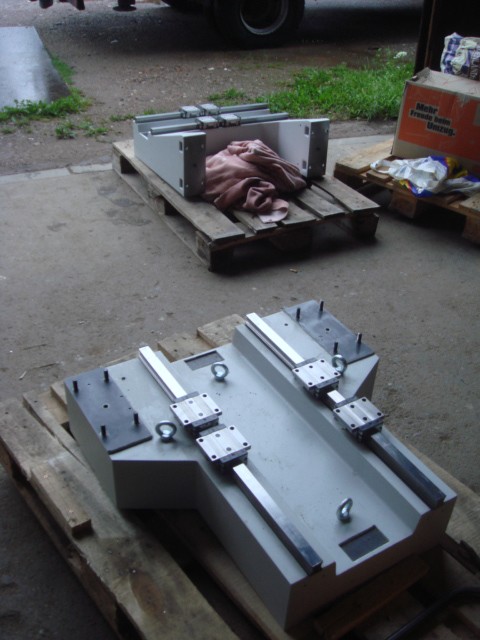
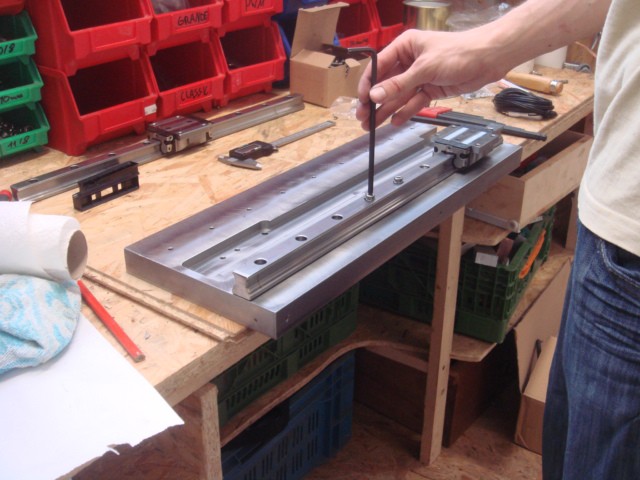
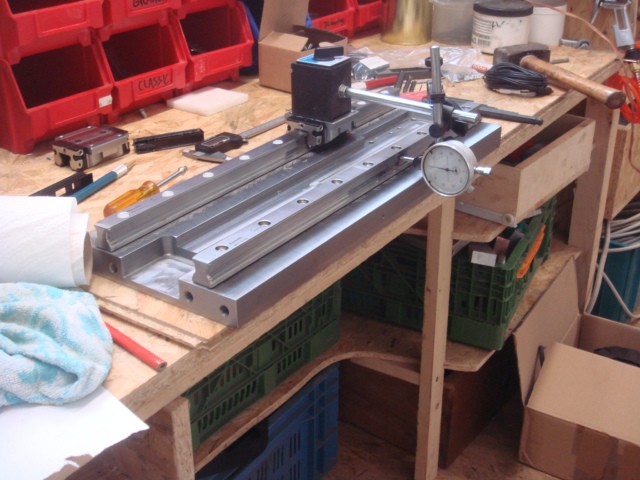
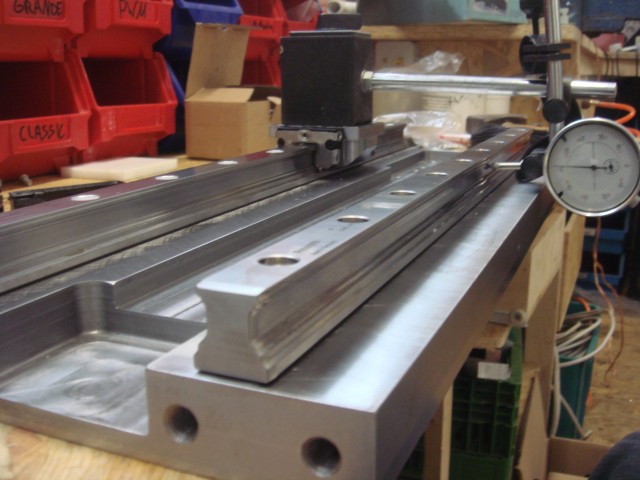
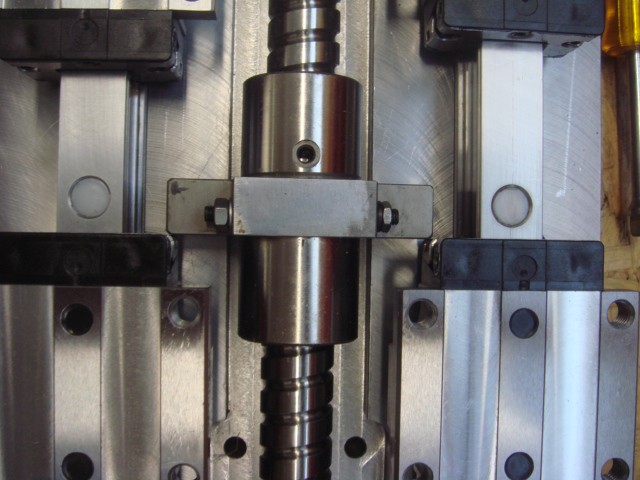
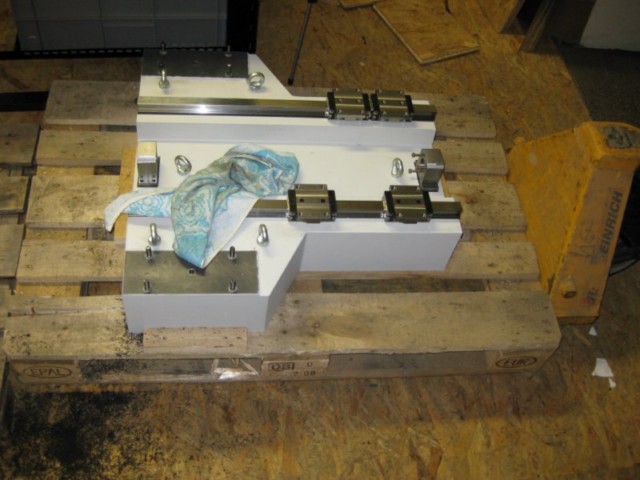
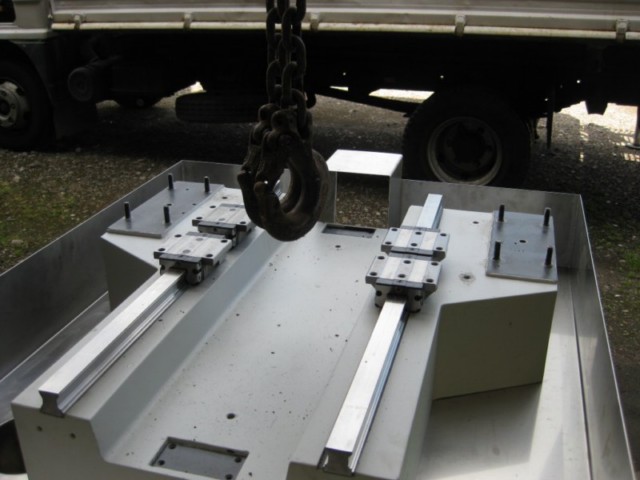
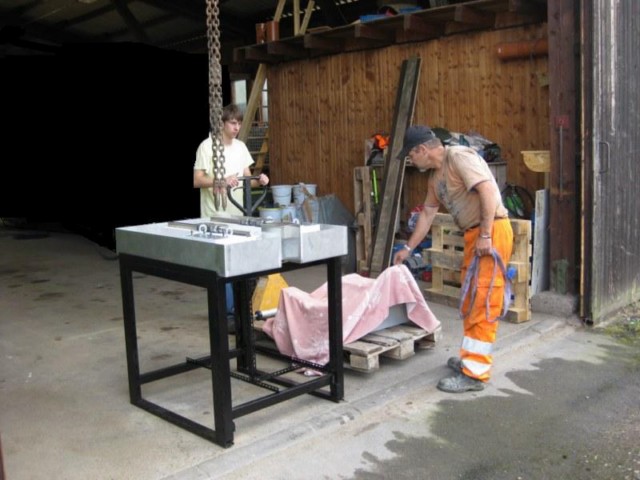
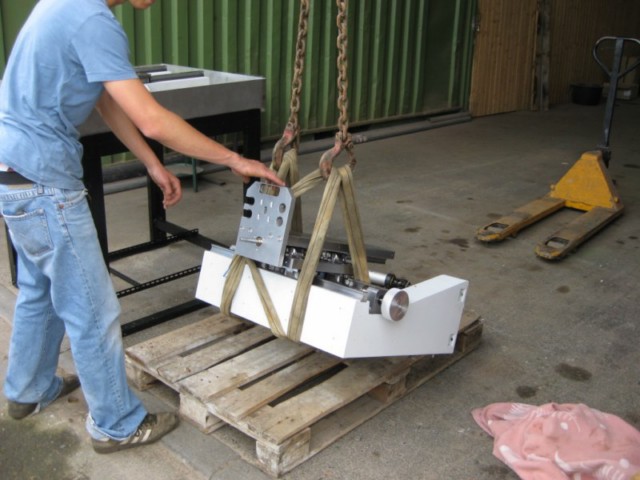
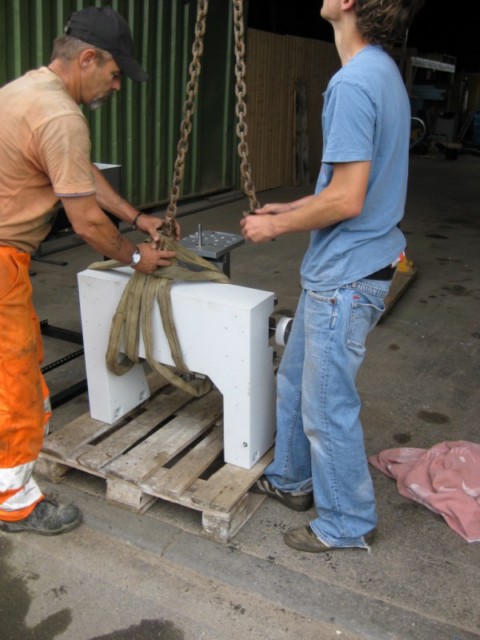
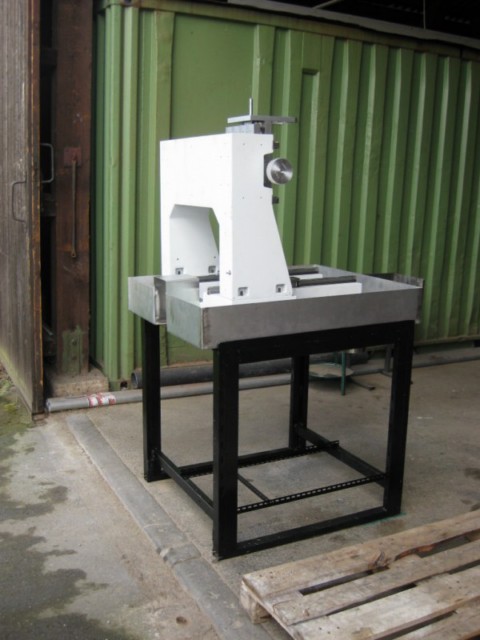
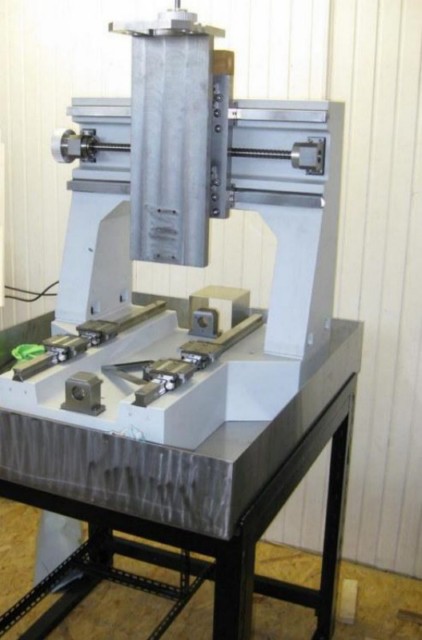
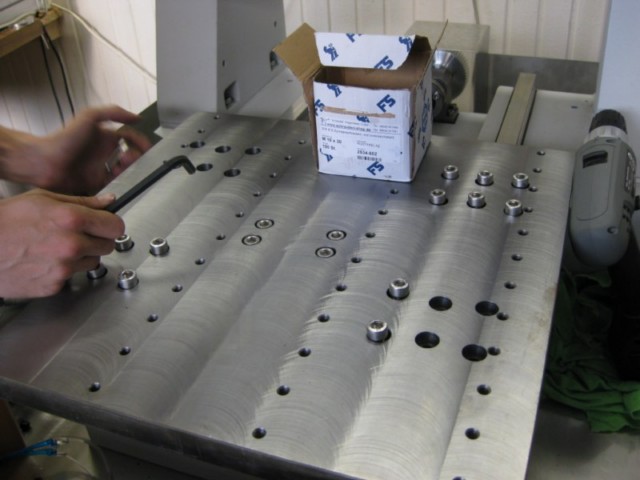
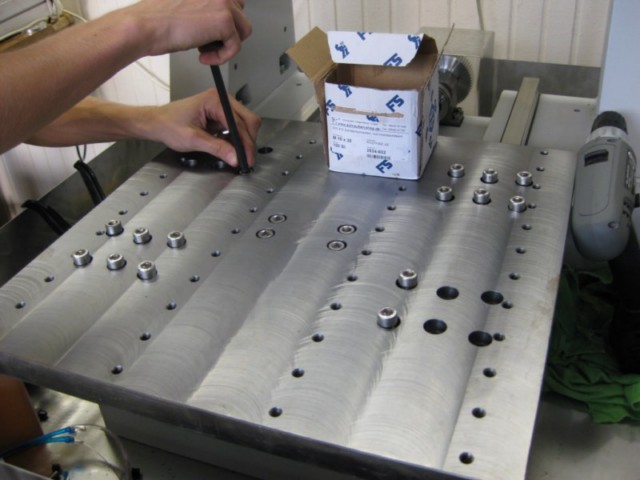
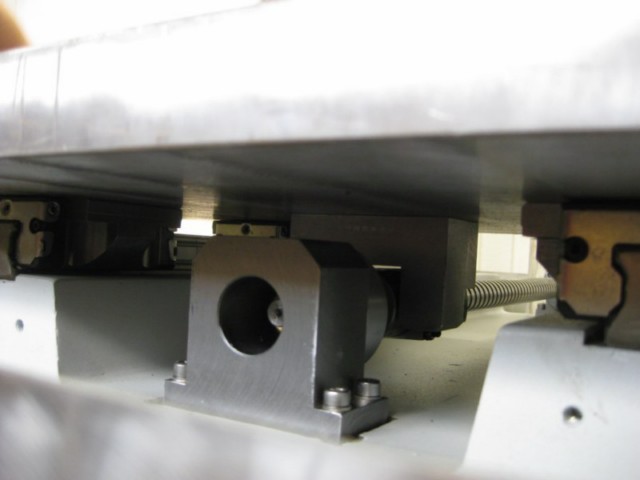
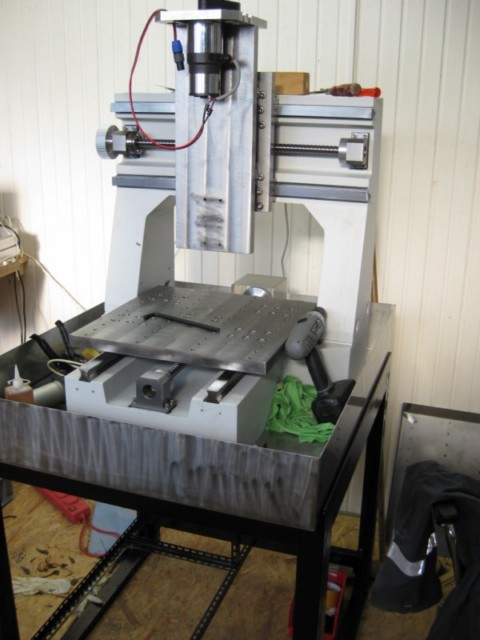
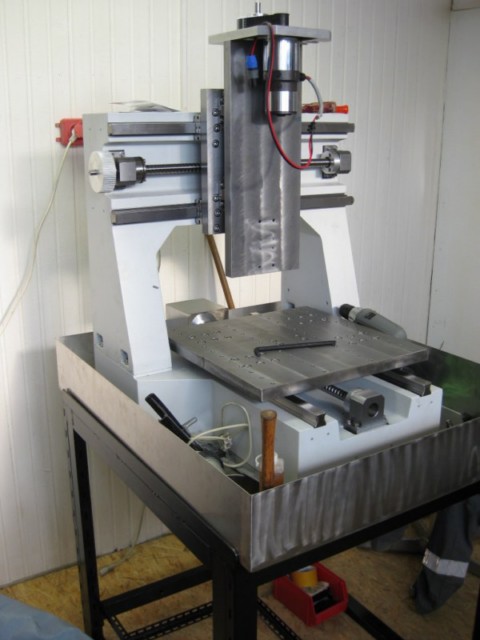
here our new CNC milling machine ...
here in the thread you can follow the assembling")
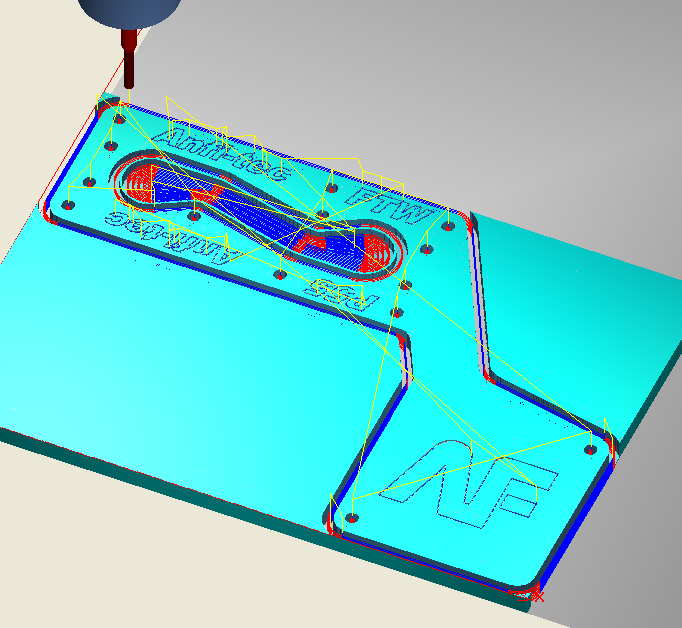
from the CAD to the implementation of the real machine
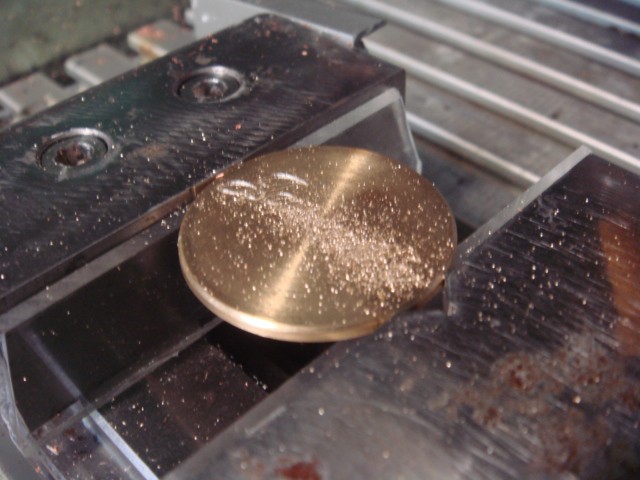
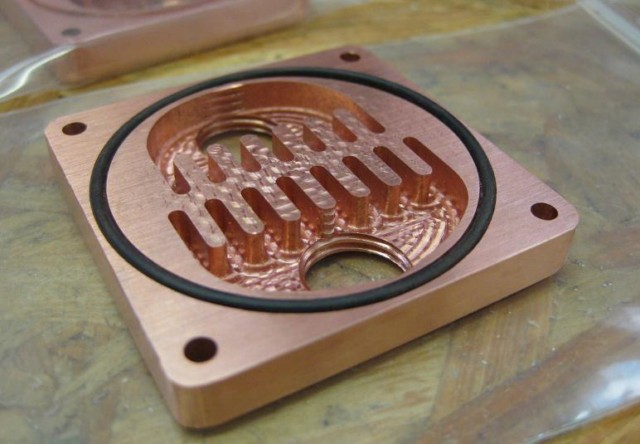
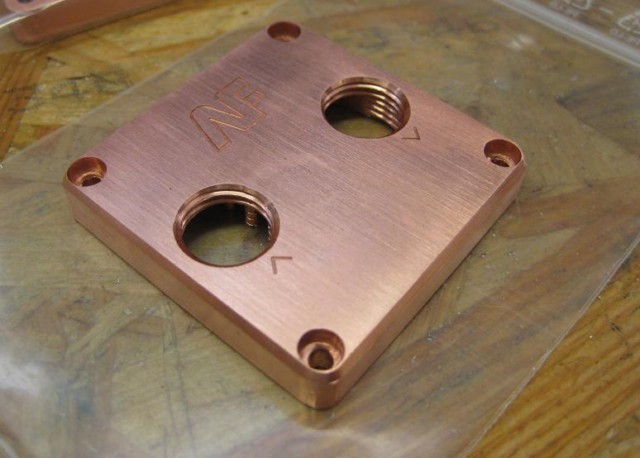
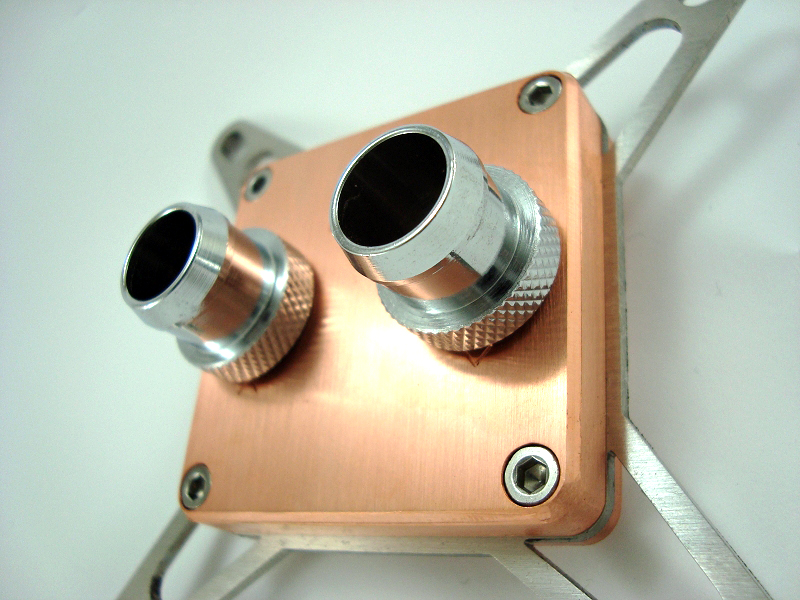
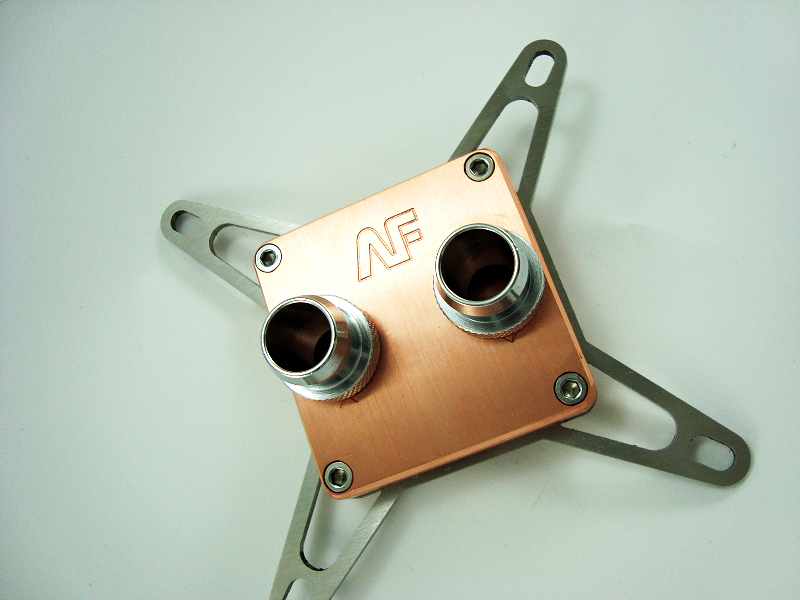
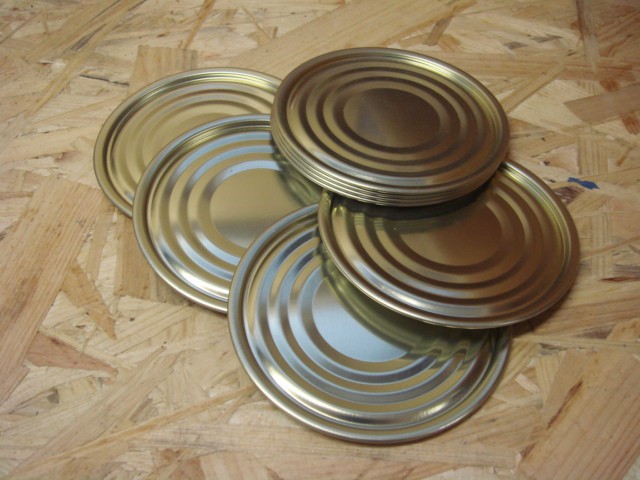
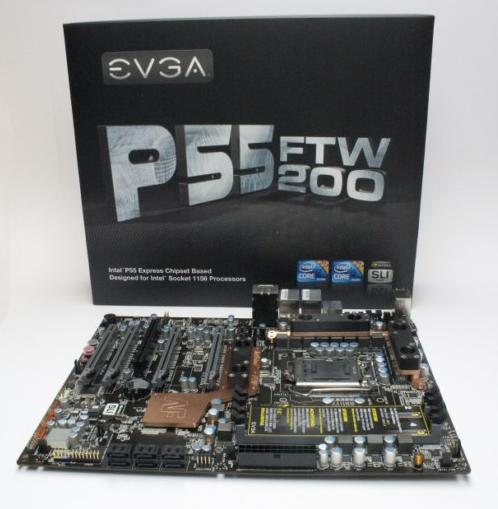
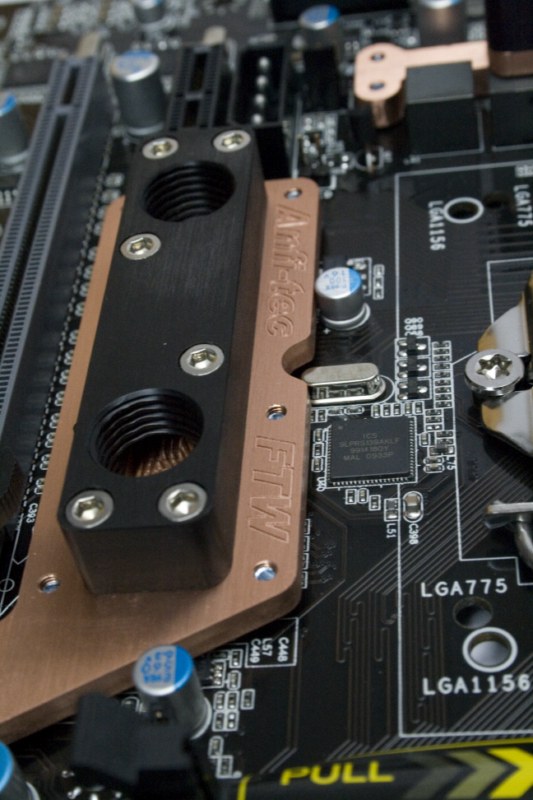
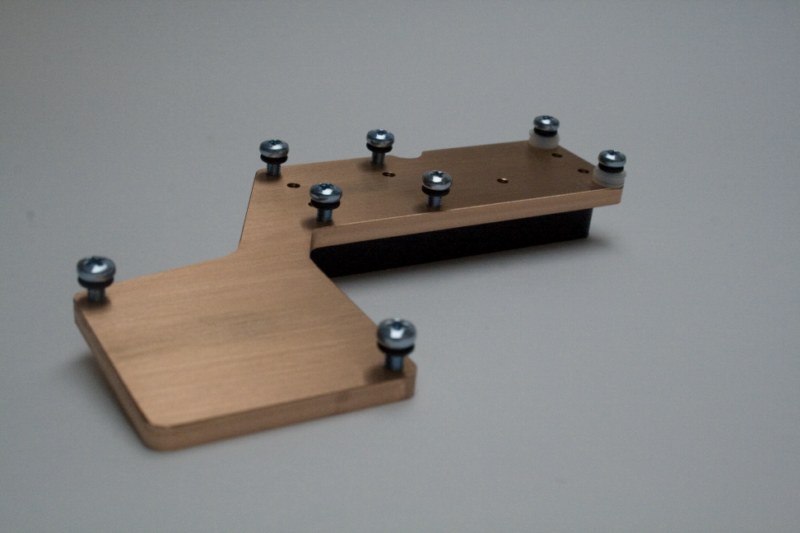
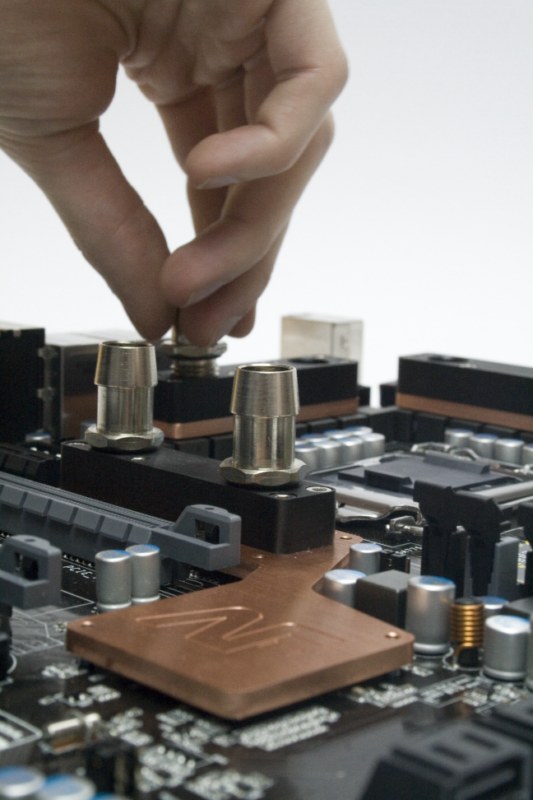
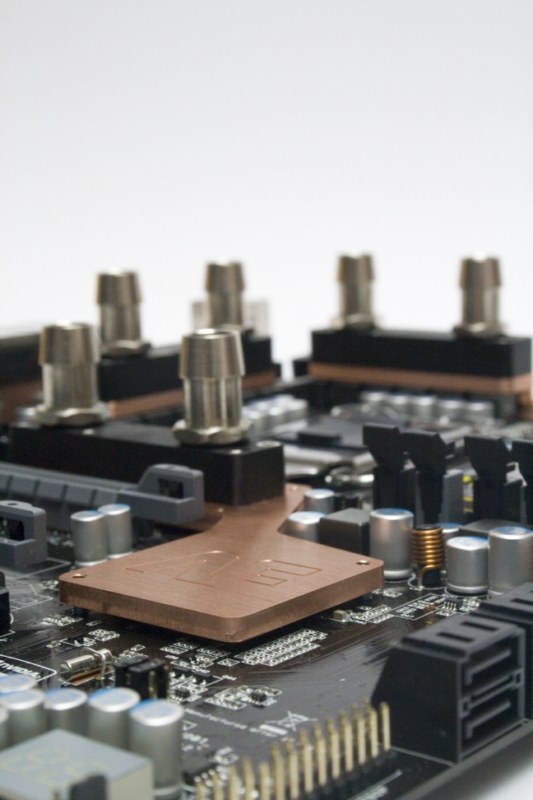
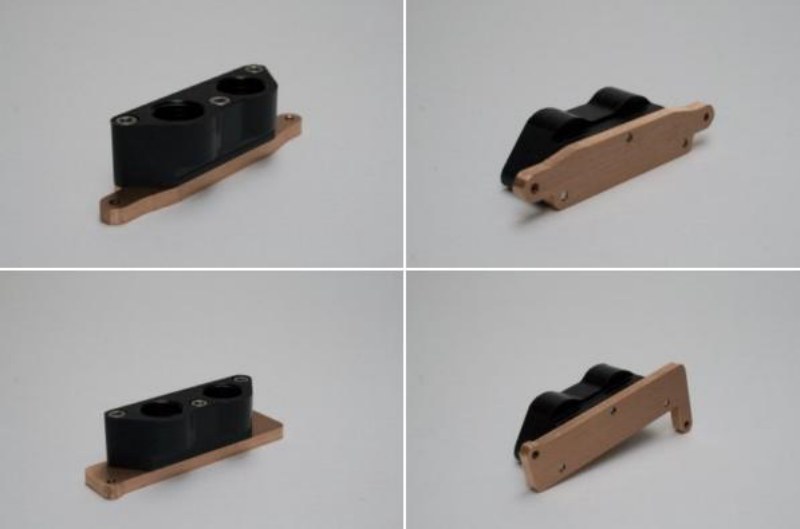
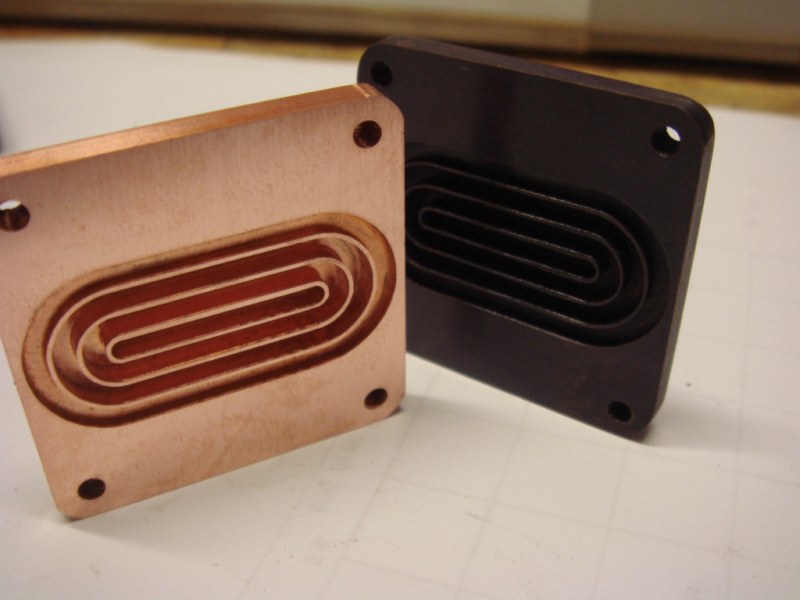
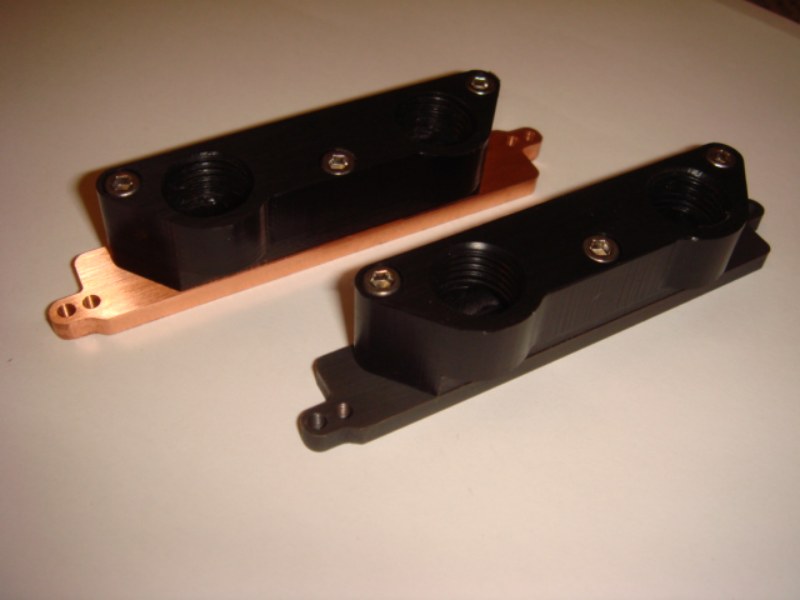
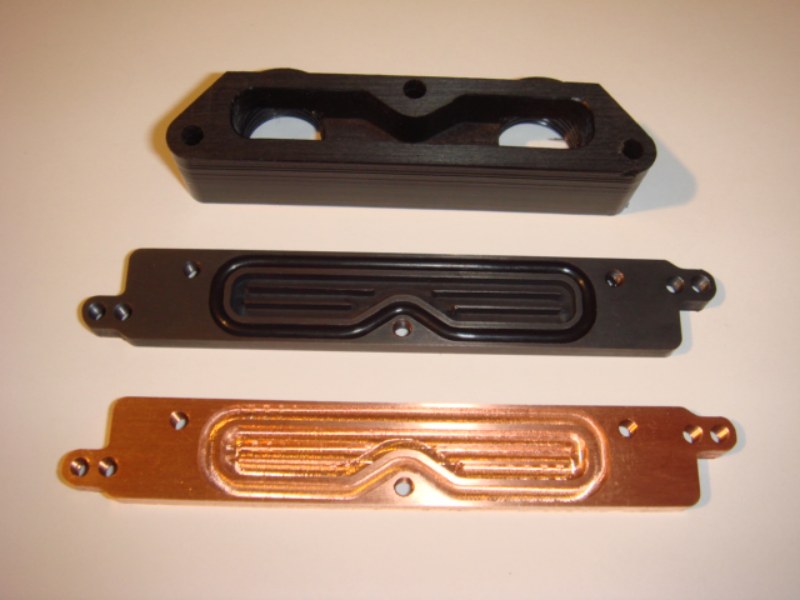
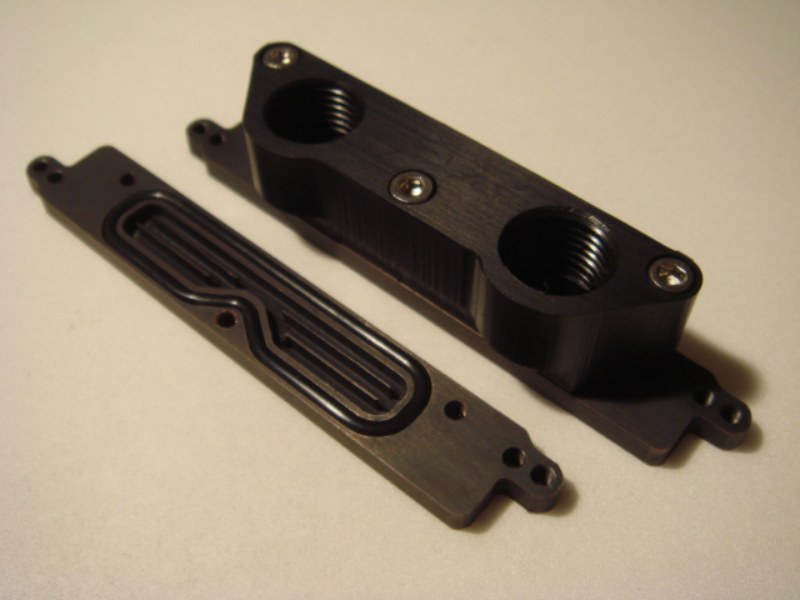
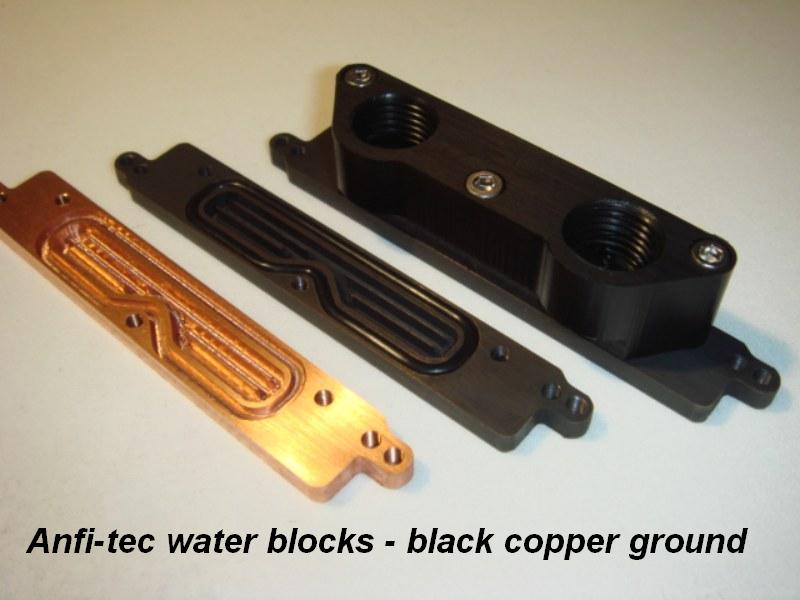
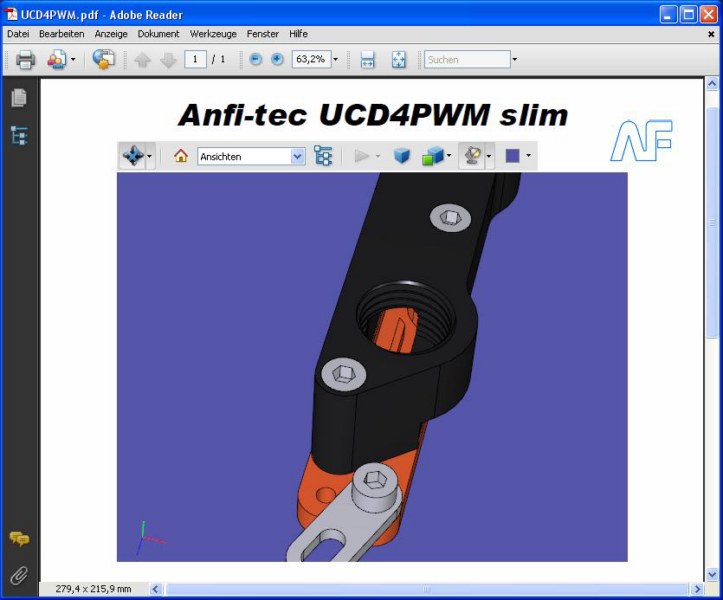
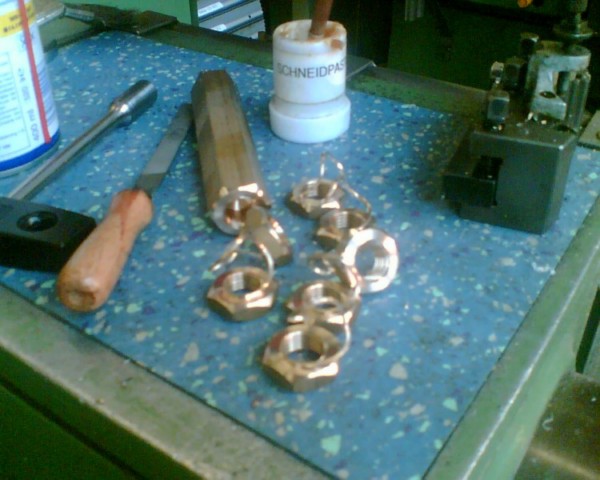
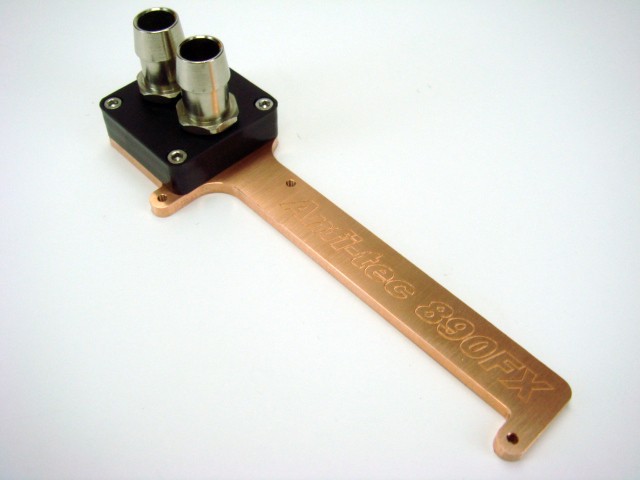
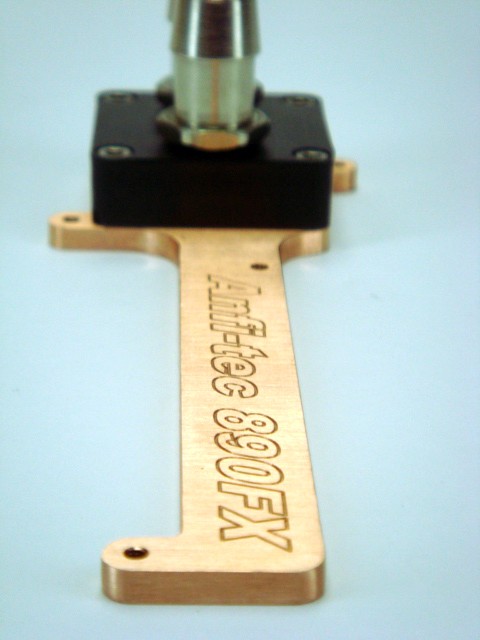
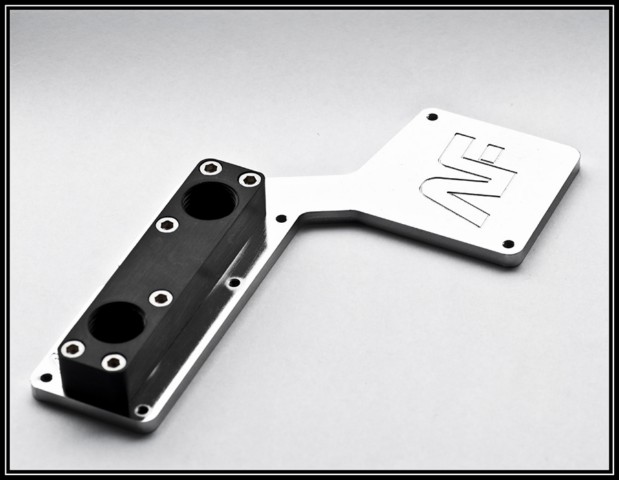
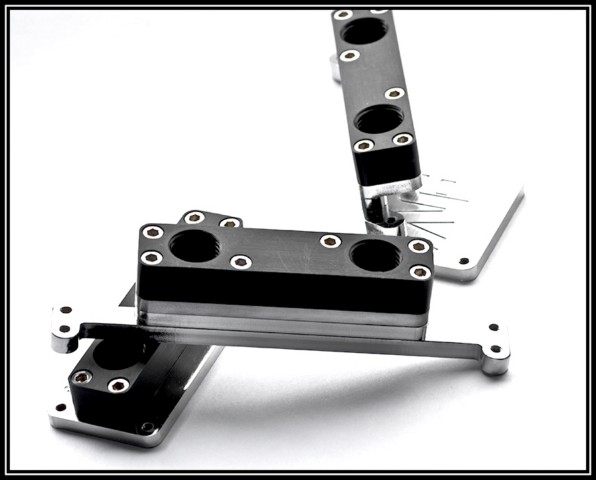
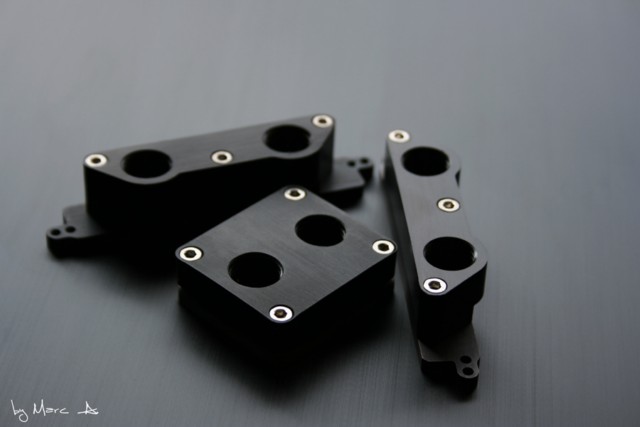
and here are a few waterblocks ^^
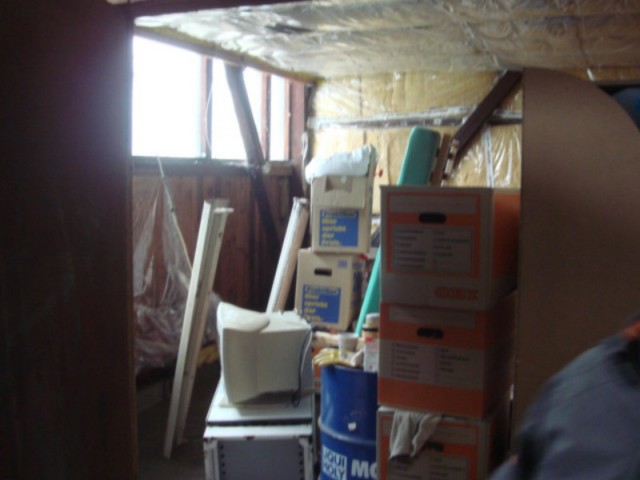
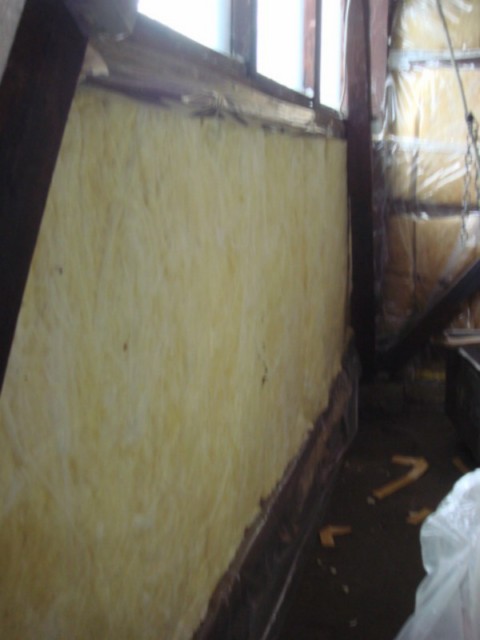
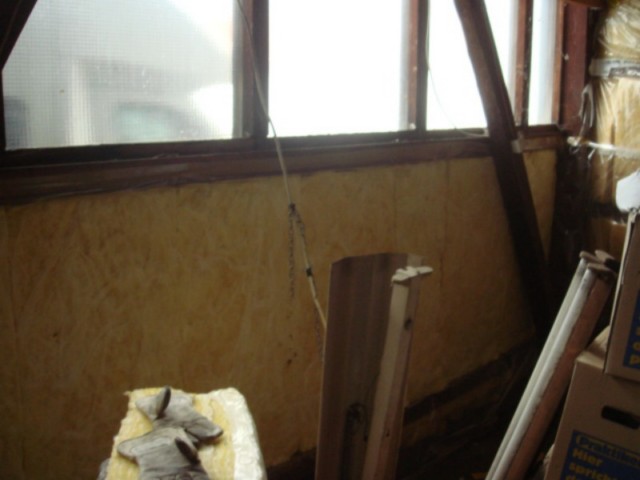
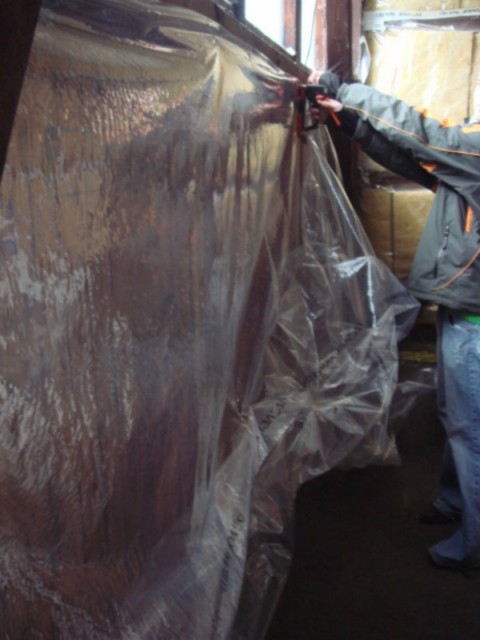
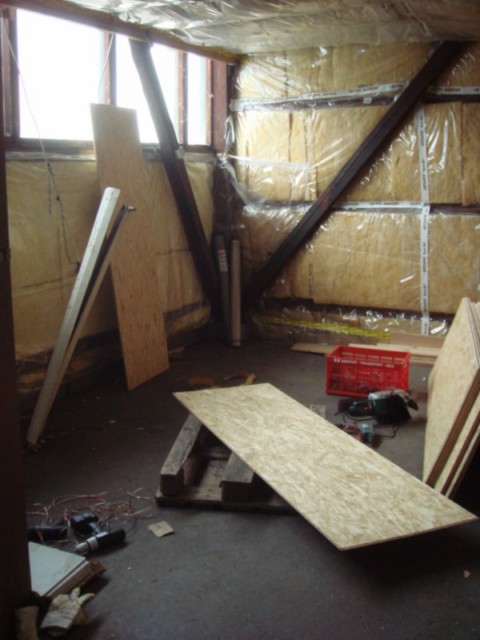
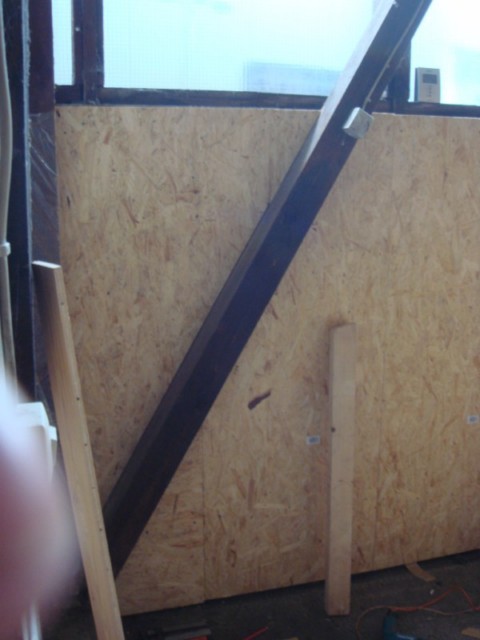
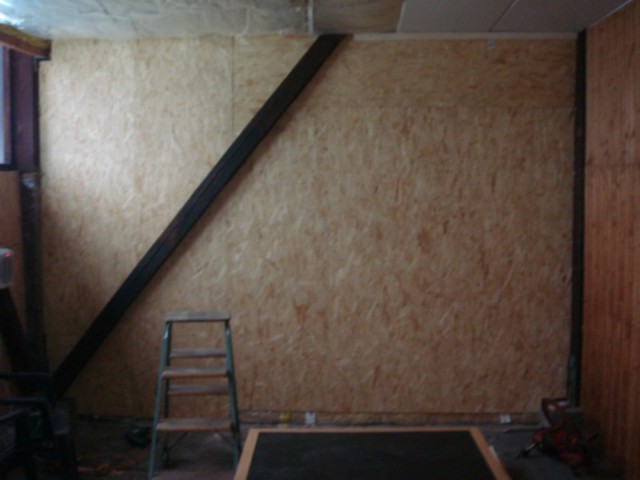
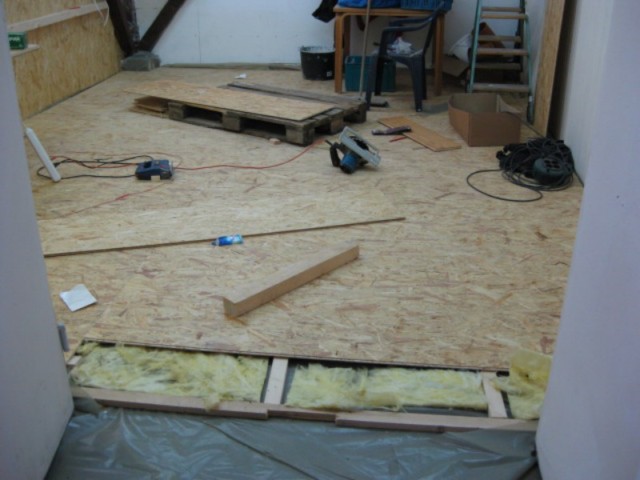
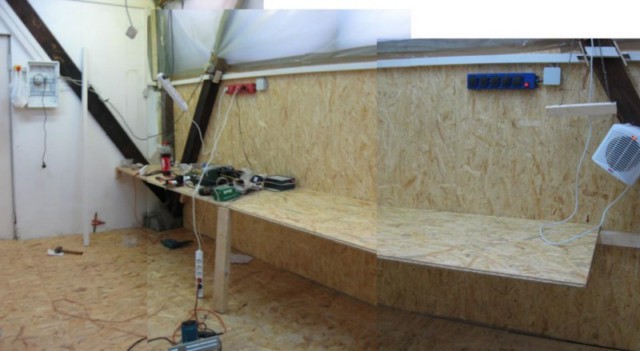
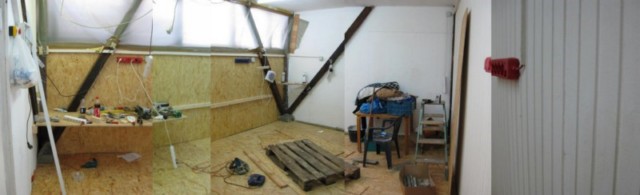
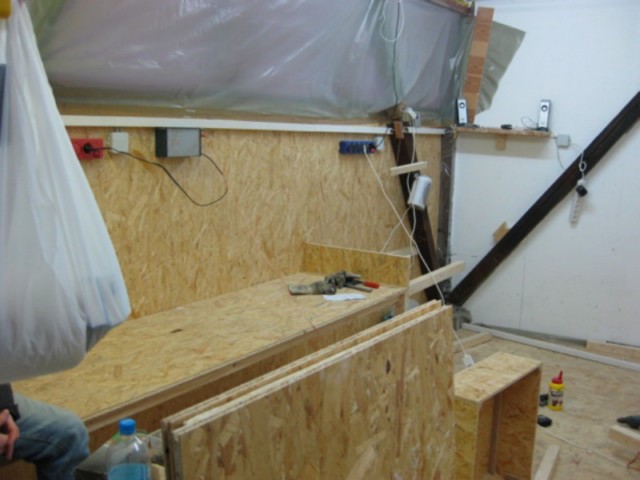
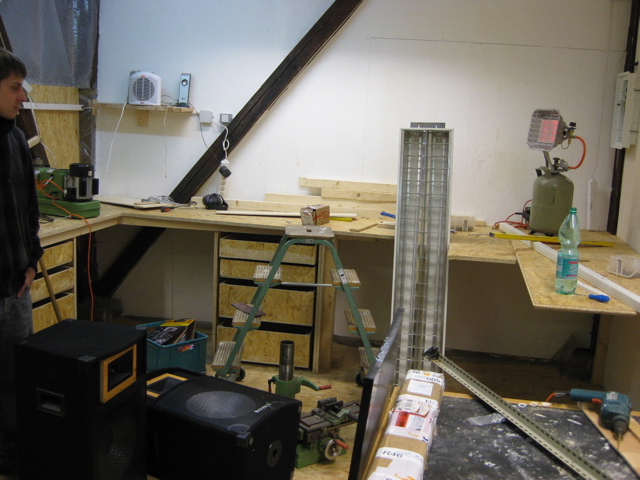
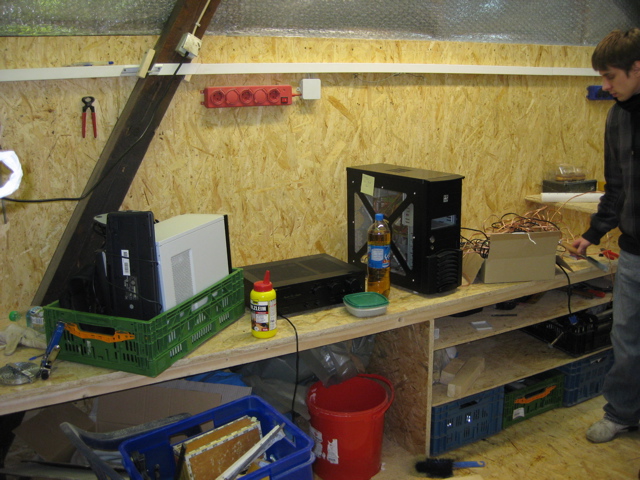
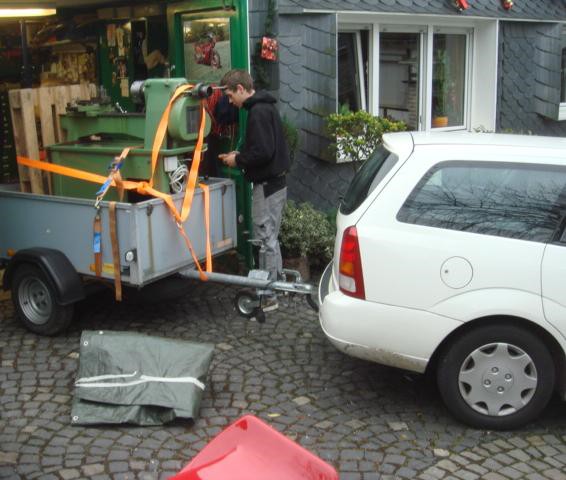
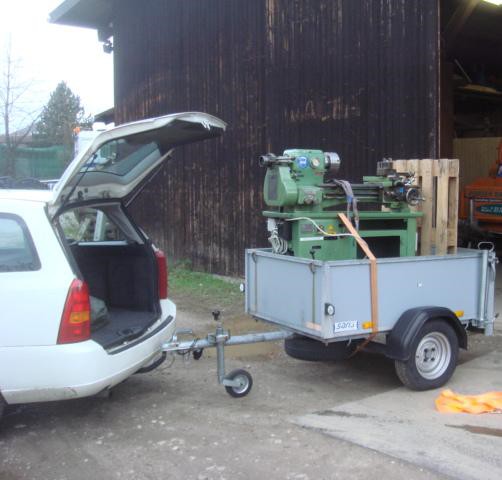
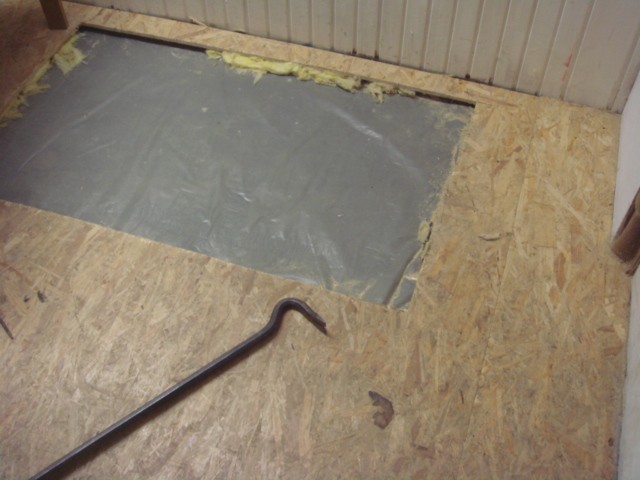
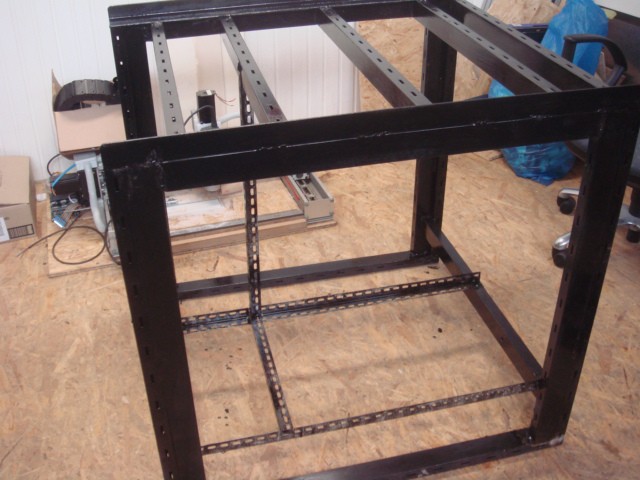
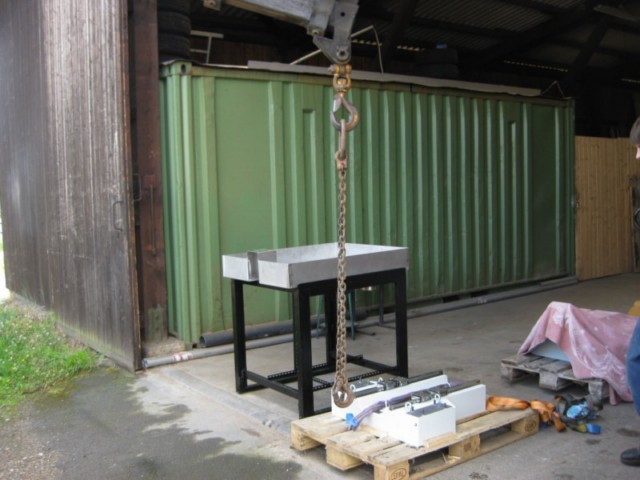
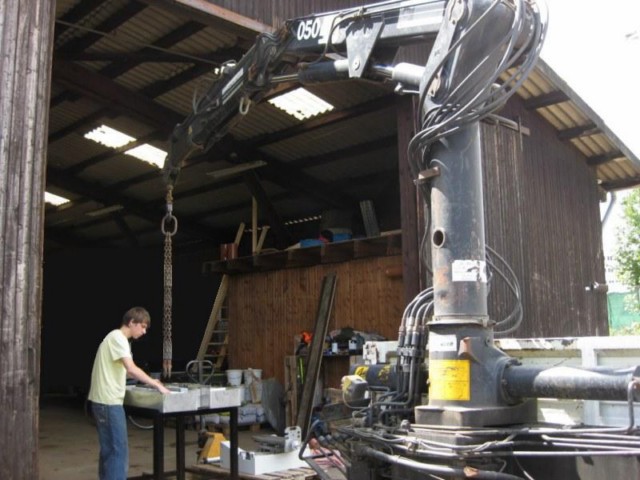
the old basement was much, much too small for our new CNC machine...so we watched out for a new room.
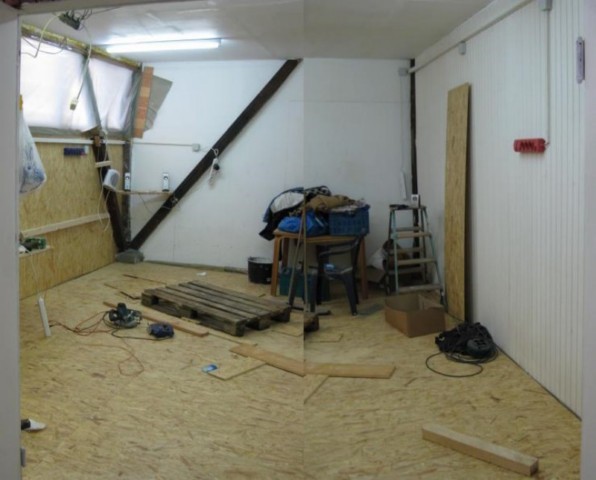
An acquaintance have had a little space for ous in his wooden hall.
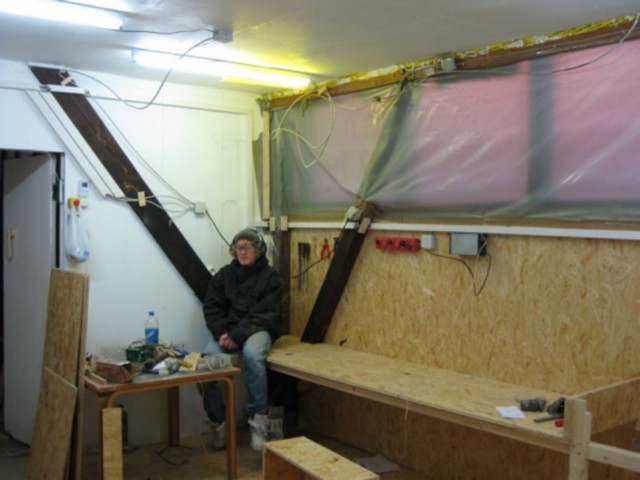
The place was just twice as large as my cellar, but hopefully that will be enough space for our new workshop.
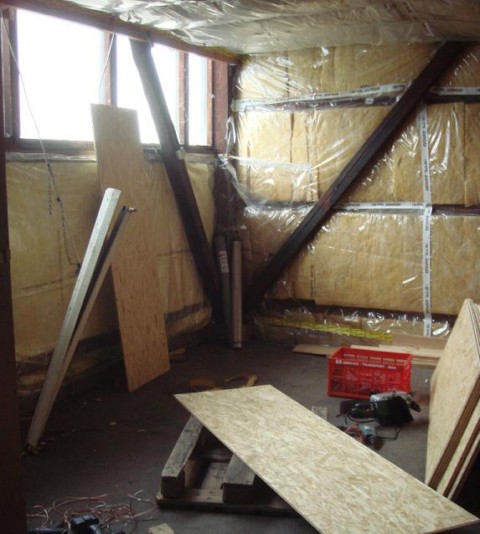
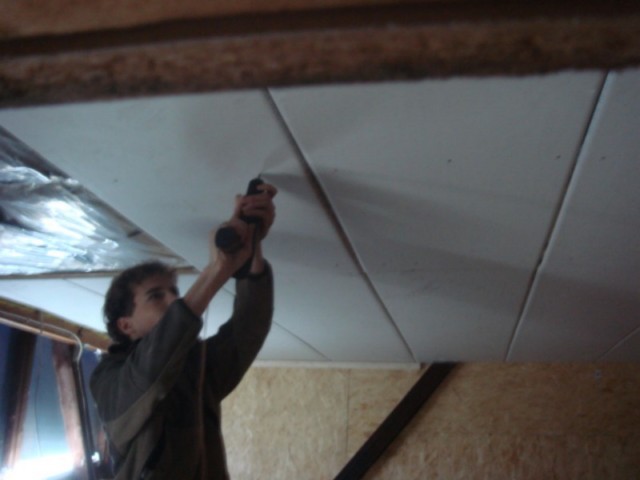
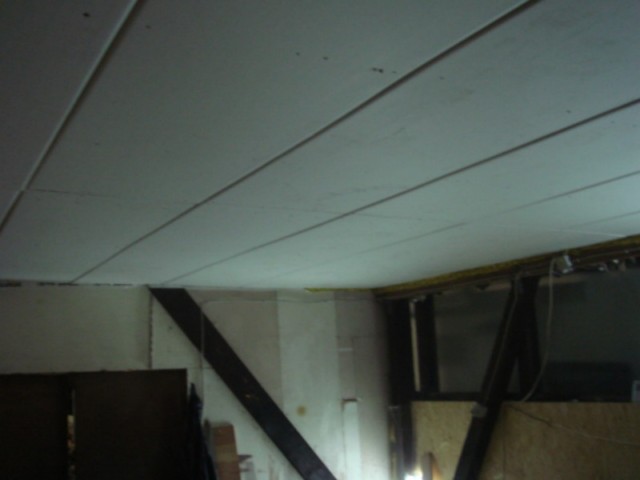
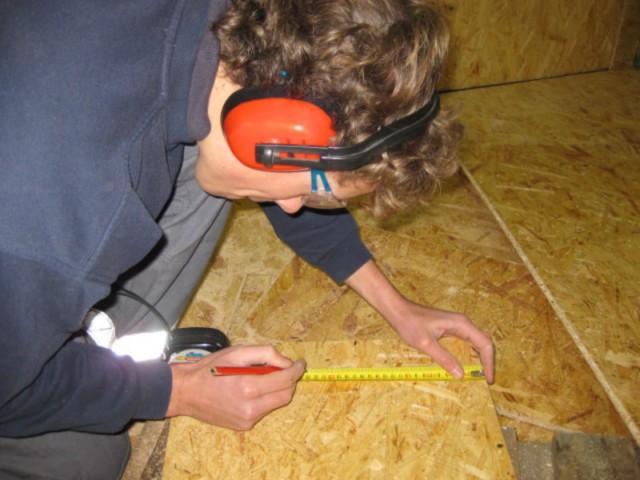
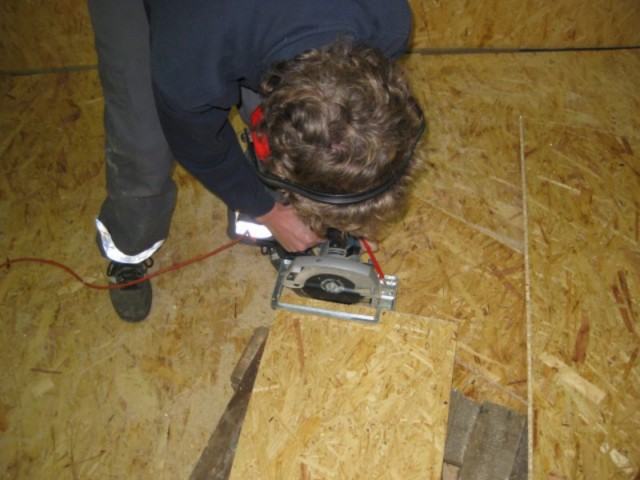
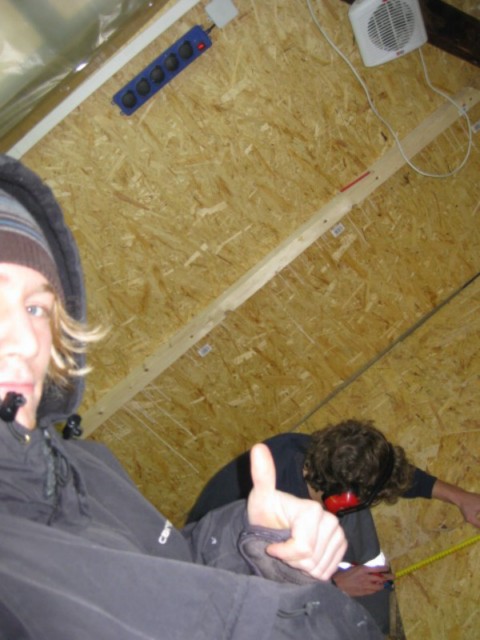
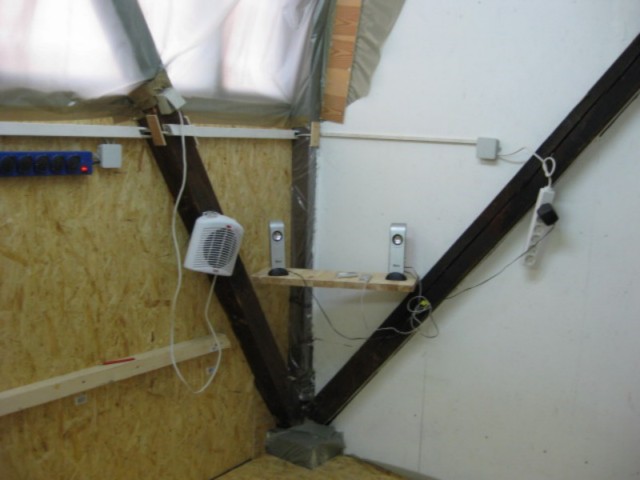
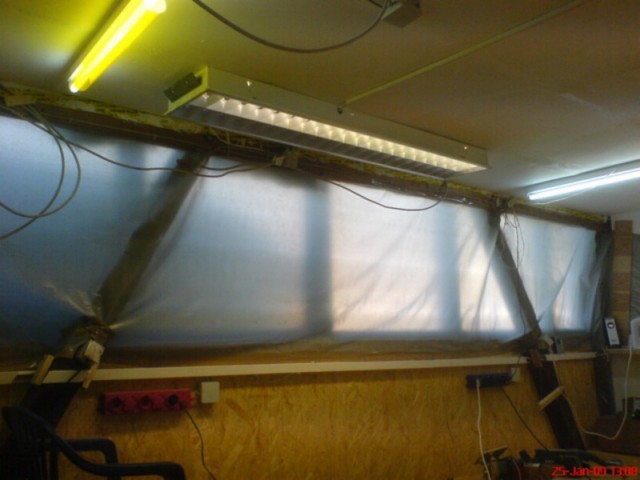
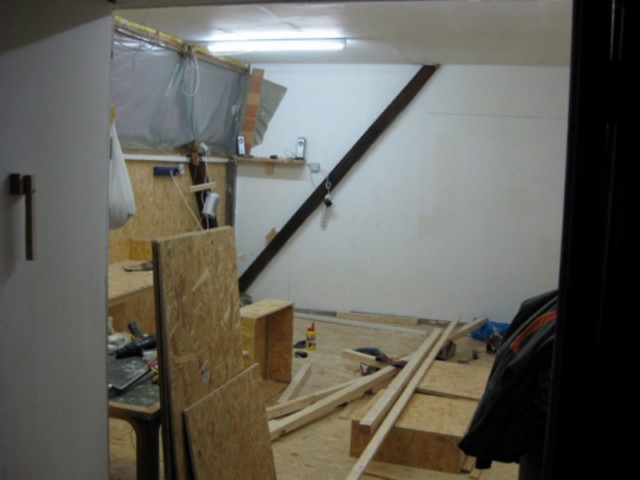
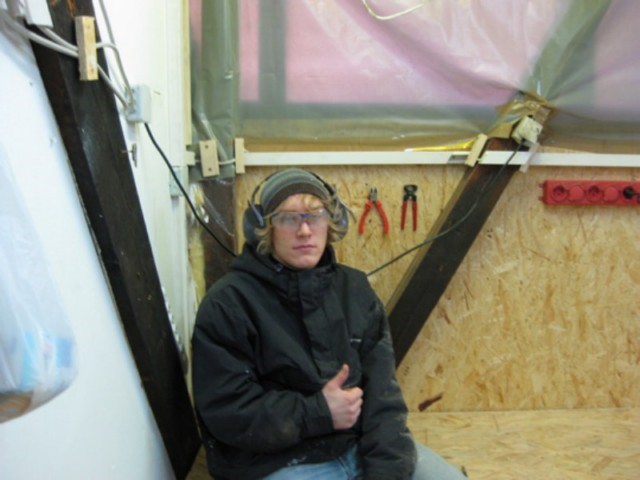
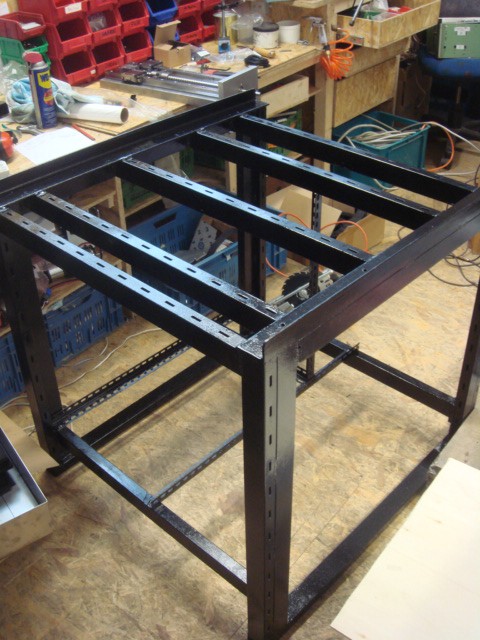
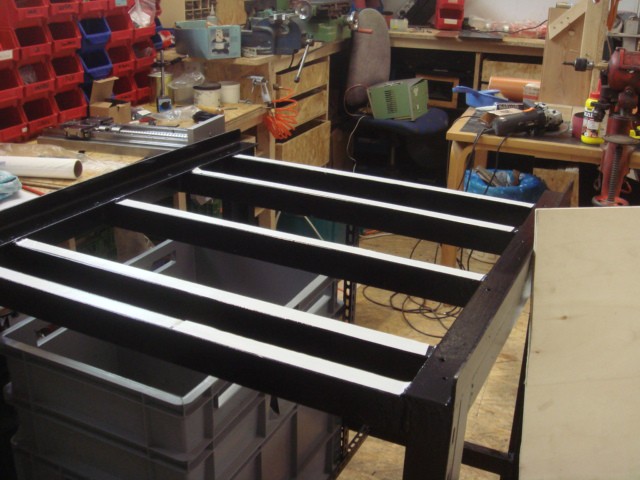
in the next few posts I will provide you with pictures of building the new workshop,.. so stay tuned
MfG [ΛF] Andreoid & [ΛF] finnzwerg
edit:
hmmm? why does the IMG tag not work?
I would like to show you some pictures what I (André) with a friend (Finn) do tinker in our free time.
We both come from Cologne, Germany.
Our crafting threads on hobby basis consist in many forums since 2007.
The self made waterblocks have exited many readers, and some of you allready know our homemade coolers. Maybe some of you allready had discovered our pictures in the waterblock-picture-threads in other forums. With the handcafted coolers and complete Mainboardsets we leisurely got a name in watercooling by cooling enthusiasts.
In close cooperation with many forum users, we have developed a lot of waterblocks.
Often, you can take part of the developement and be really close with decisions here in the forum.
I hope that u are going to like reading my posts! ^^
at the beginning a picture from our old workshop in my basement:
Left side: a noise-protection-box with CNCs, on the right...our manual drill.
at the bottom: this is me...gluing the CNC coolant effluent
the workshop was really small.
It was 9m² and is now too small for our new CNC
But see below for more
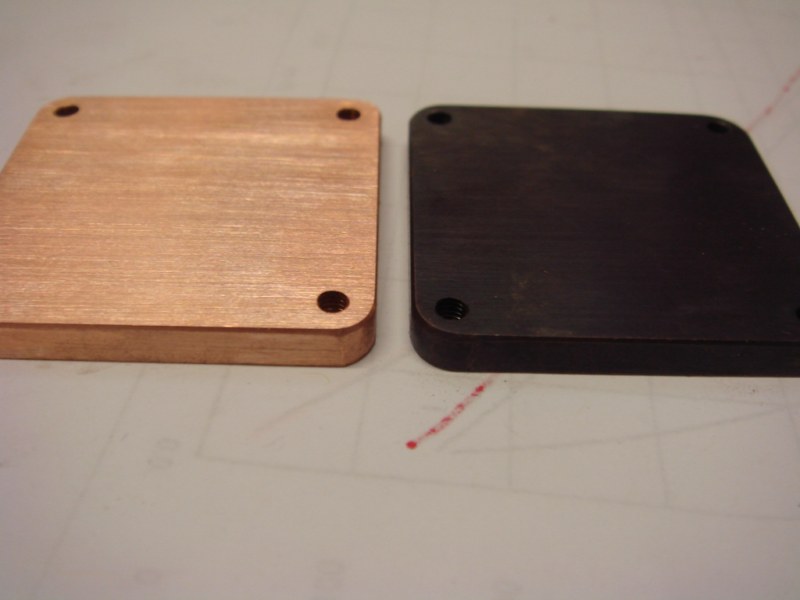
our standard Northbridgestruktur on the left - right side, our logo (ΛF) [ André & Finn] mowed in lawn: D
left side, our first CNC - right, a couple of EVGA 680i PWM copper bottoms
here our new CNC milling machine ...
here in the thread you can follow the assembling
from the CAD to the implementation of the real machine
and here are a few waterblocks ^^
the old basement was much, much too small for our new CNC machine...so we watched out for a new room.
An acquaintance have had a little space for ous in his wooden hall.
The place was just twice as large as my cellar, but hopefully that will be enough space for our new workshop.
in the next few posts I will provide you with pictures of building the new workshop,.. so stay tuned
MfG [ΛF] Andreoid & [ΛF] finnzwerg
edit:
hmmm? why does the IMG tag not work?


.jpg)
.jpg)
.jpg)
.jpg)
.jpg)
.jpg)
.jpg)